
Redeth's 1989 4Runner Resurrection

 Apr 7, 2013 | 03:59 PM
#1242
Registered User
iTrader: (4)
Joined: May 2010
Posts: 720
Likes: 16
From: People's Republic of California
I'm donating some of the IFS stuff to Mark(chefyota) but i'll check with him. i was just planning to sell what i could and just scrap the rest. But if you guys can use most of it then i'll be more then willing to donate to you guys. He kinda jumped on the offer so i'll see what he replies first. i'll let cha know then.
Bummer about the ticket man! I got the EXACT same ticket in the City of Hawthorne, by one those no longer valid stupid bogus cameras. That was over 7 years ago, and I HAVE NOT purchased anything in that city since then, and never will. I use to go to that Costco, Home Depot, Sport Chalet, Best Buy, and sometimes fill up gas (they were closer in time to me because of the freeway). I now take longer on surface streets, but shorter distance, to the Torrance stores. The purpose is to rob them of my tax dollars, and it has worked.
With traffic school it was around $400. They have missed out on more of my sales and gas tax dollars then what I had to pay for that ticket. My biggest claim in robbing them was convincing a friend to buy his F250 at Power Ford in Torrance instead of South Bay Ford in Hawthorne!! cha ching!
A one time gain for Hawthorne of about $200 (the city gets about half the ticket cost) has and will continue to cost them thousands over my lifetime. Payback!
 Apr 7, 2013 | 06:21 PM
#1243
Registered User
Joined: Dec 2008
Posts: 2,391
Likes: 1
From: tecumseh nebraska
Thats a ridiculous amount of bones on the ticket!! Dont let it get you down buddy!! Keep on keepin on, whats done is done so make it work and finish the job!! Maybe a delay on the $$$ but itll be alright!! So you figured out the sleeves?? for the shock hoops?? cant wait to see it finished!! More inspiration for my sas!! 85 axles sittn in my yard sayin.. WTF!!?? why im i sittn in the dirt??!!
Apr 7, 2013 | 07:42 PM
#1244
Thread Starter
Registered User
Joined: Apr 2012
Posts: 2,817
Likes: 2
From: Los Angeles CA
NOOOOOOOOO I just deleted a write up i did 2ce!!!!! WTF! ok i'll post it up in about 30 min-1hr. gotta retype everything. SHEESH! I hate when that happens.
Last edited by Redeth005; Apr 7, 2013 at 07:45 PM.
Apr 7, 2013 | 07:49 PM
#1245
Registered User
Joined: Mar 2013
Posts: 66
Likes: 0
I'd bet they are sleeves, bubba. Probably for inside the bushings for the front hanger of the rear (?) pack u bought?
When u install new bushings in the new front hanger. ..... that bolt slides through a sleeve. Same with the front hanger bushing of the front pack. The rear one, with the shackle, that can use them as well if a kit. Probably so, if u have one pair of leaf packs and 4 sleeves?
When u install new bushings in the new front hanger. ..... that bolt slides through a sleeve. Same with the front hanger bushing of the front pack. The rear one, with the shackle, that can use them as well if a kit. Probably so, if u have one pair of leaf packs and 4 sleeves?
Apr 7, 2013 | 08:33 PM
#1246
Thread Starter
Registered User
Joined: Apr 2012
Posts: 2,817
Likes: 2
From: Los Angeles CA
LOTS-o-STUFF DONE TODAY!
OMG wow guys! Thanks for all the replies and so quickly too. We didn't get to the shock hoops yet but we can definitely get to it later on during the week. Thanks Toyo for explaining. And thanks Tuef for those pix. That made it much easier to understand what you guys were saying.
We went picture happy today
Our day began today at about 10:30-11ish in the morning and we finished at about 7:30pm
Started off with grinding down the left overs of that plasma cutter. which wasn’t much. Then started to weld.
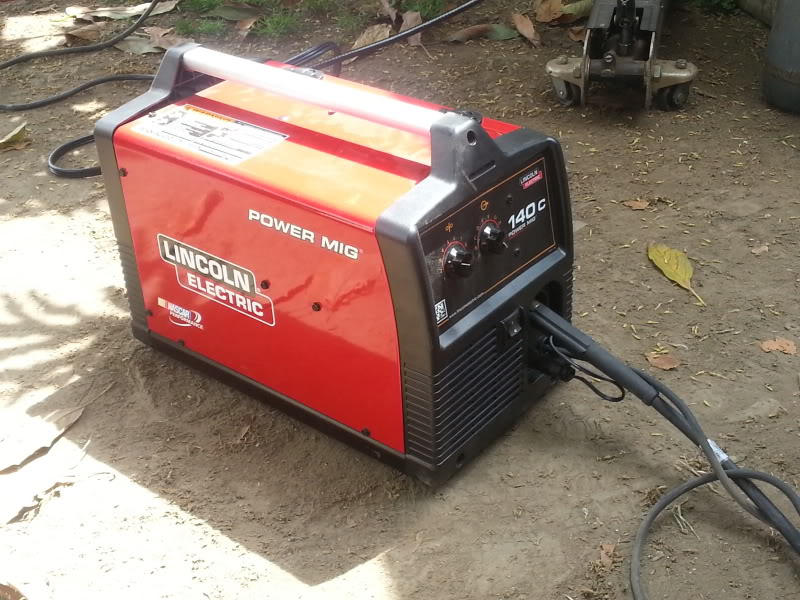
Here is Rubens welder from work.
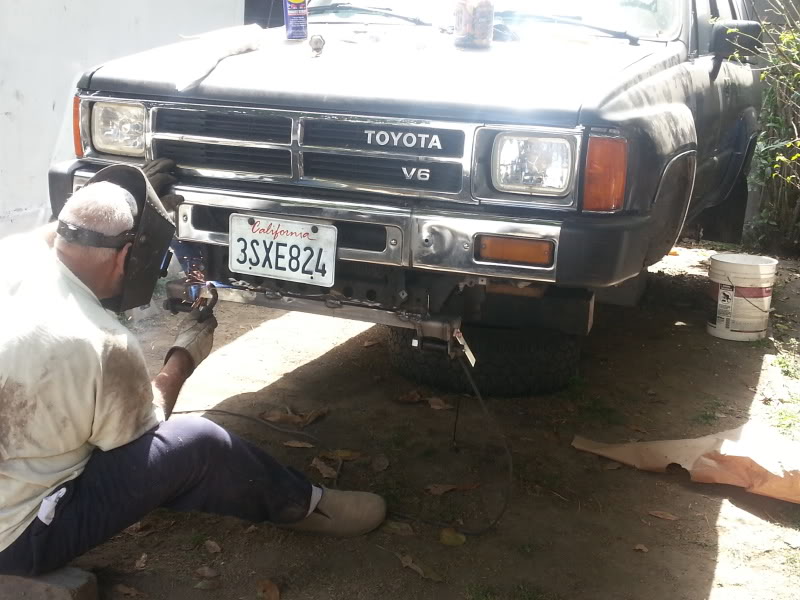
Here is Ruben Hard at work!
Got the pipes through the frame.
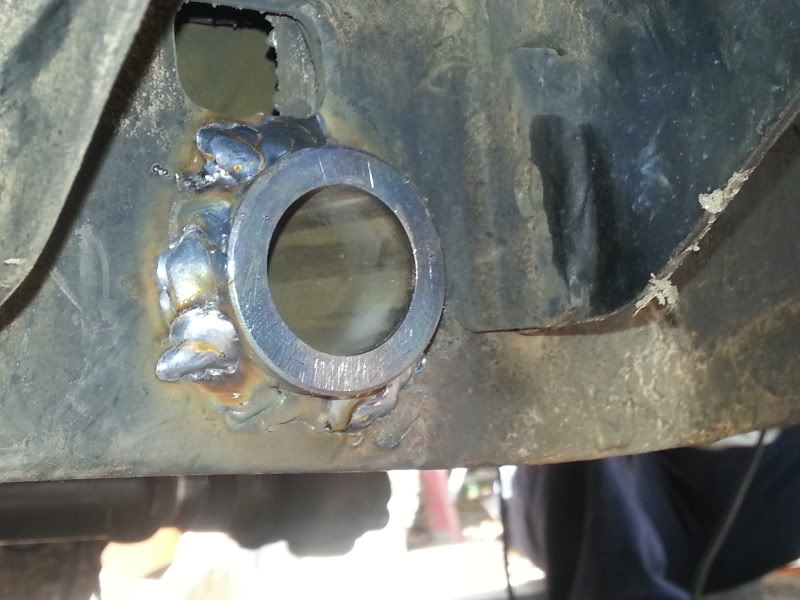
Wanted to make sure I knew it was going to fit right before I painted the parts.
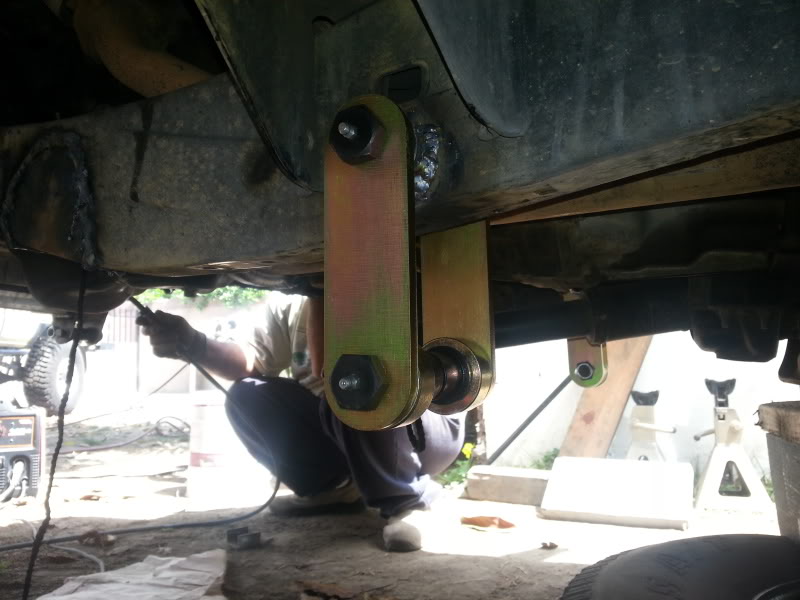
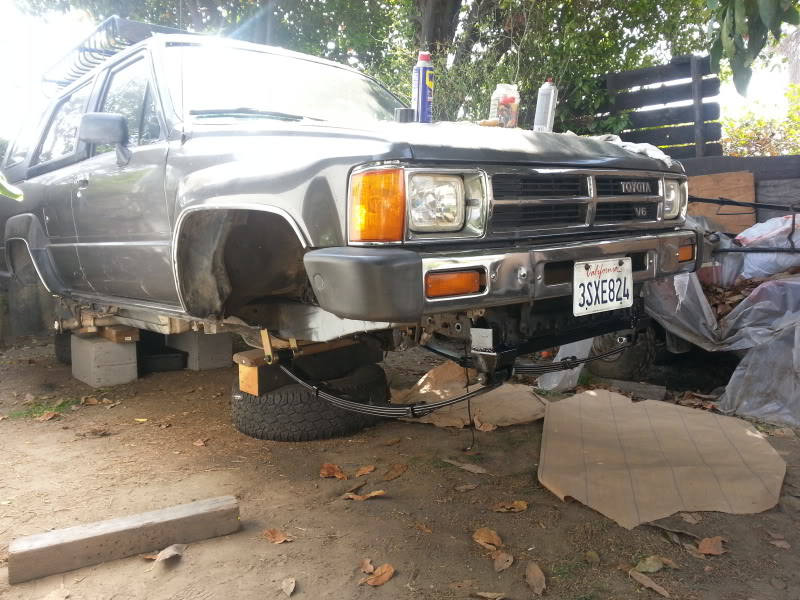
Here is the spring hanger already done, primed, painted, and leaf springs mounted.
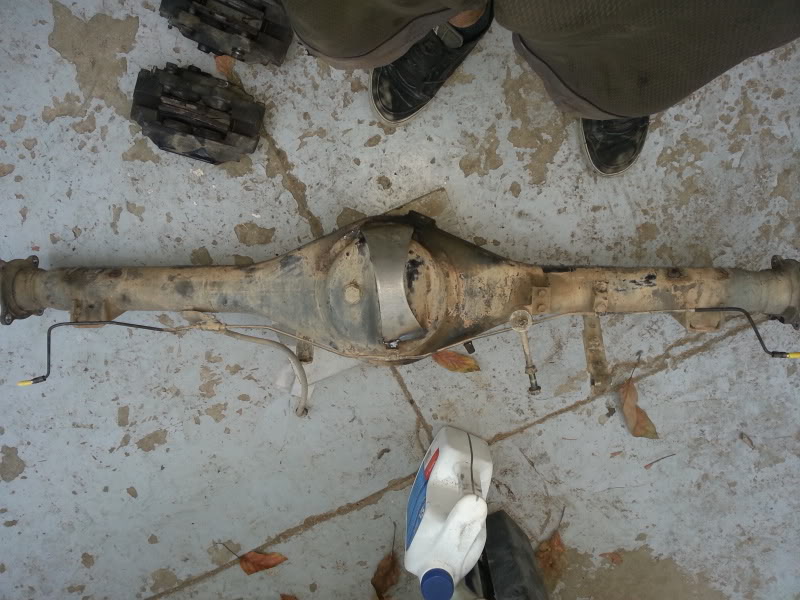
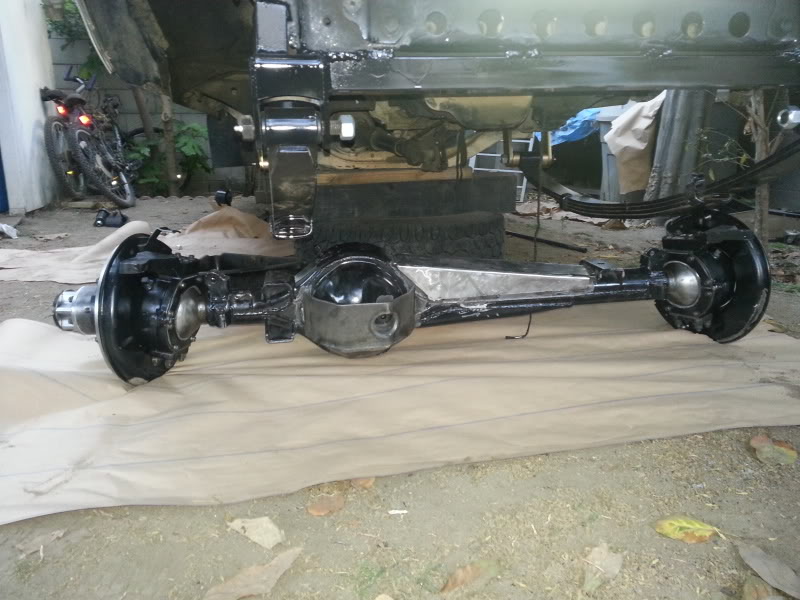
After that we welded on all the axle armor to both the front and rear axles.
My rear came out just a weeeee bit crooked. but it’s ok; it will still serve its purpose. So long as it protects the diff and looks ok when I grind it down and clean it all up then paint. I’m sure it won’t look so bad.
The Front axle came out flawlessly! just needs to get re painted because I ran out of primer
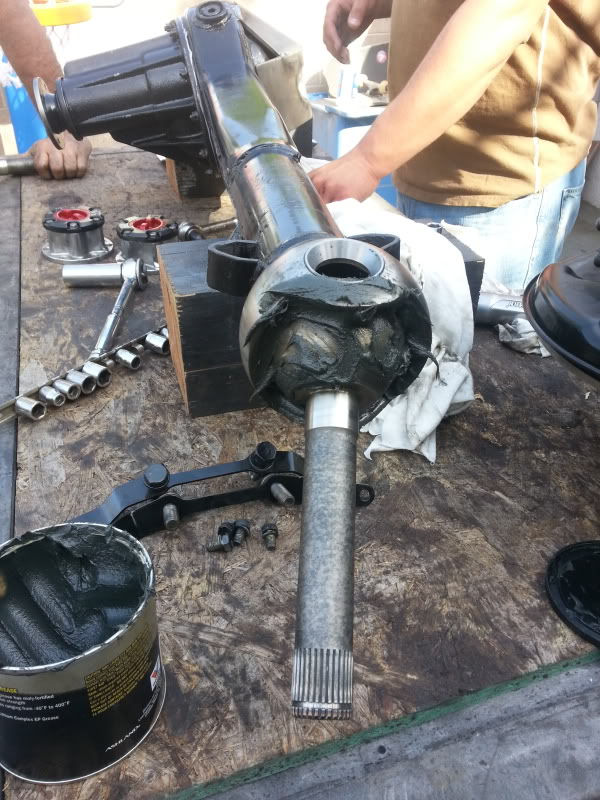
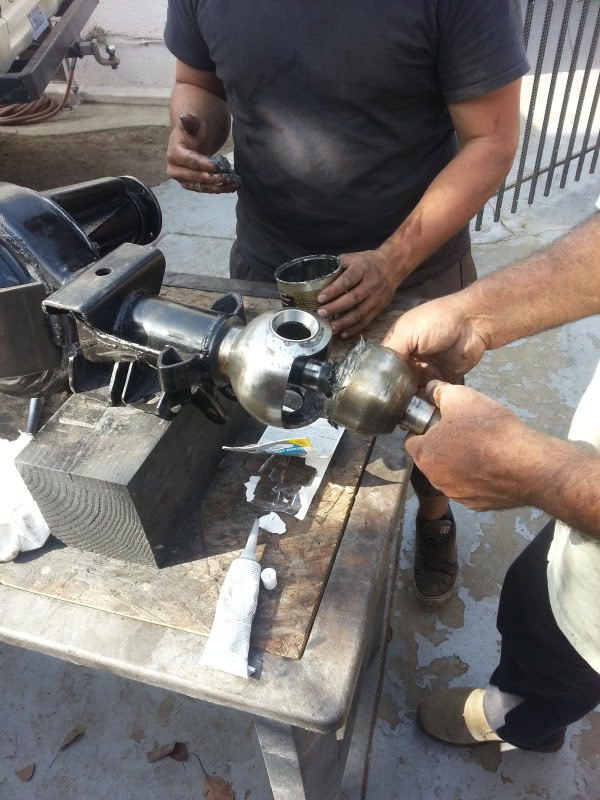
Once the armor was welded on, had a lunch break the axle was finally cooled off enough to begin putting it all back together. This was the funnest part of all. I did it with a big smile on my face the whole time lol Only thing problem is that we all kind of screwed up once we were almost done we realized we had a few extra parts.... lol and that is a big No No  So we had to take both knuckles apart and we install the seals and part behind the rotor where the rotor meets the knuckle. such a pain in the but because once we were done with that we seen we had forgotten to install one of the dust shields LMAO
  so there we go a 2nd time taking it apart and re installing it. I'm sure by now if i had to do this all over again i'd be a pro at it lol! :rofl:
Anyway here we are re installing the birfields, knuckels, greasing bearings etc etc..... i know its a lot of the same-ish pix. but i'm a picture whore so i'll post them all up lol
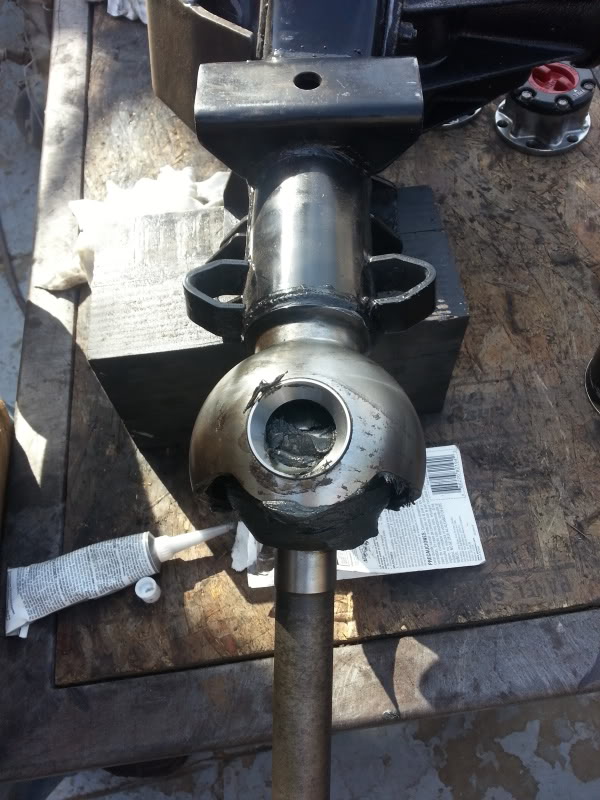
GREASE GREASE & MORE GREASE!

YES! I USED THE WHOLE TUB OF GREASE TODAY! Wanted to make sure i wasnt gonna have to remove those knuckles again any time soon!


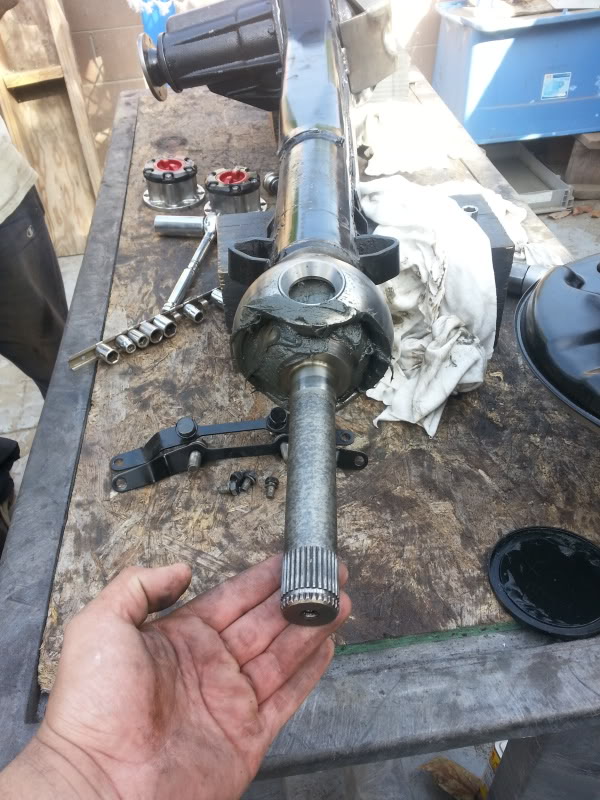

ONE ON ONE MORE TO GO

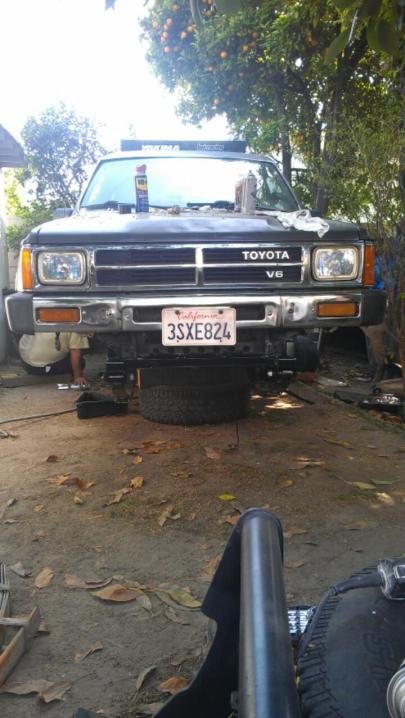
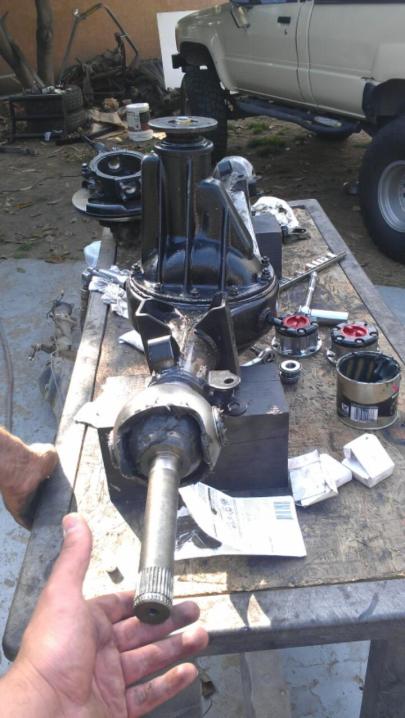
Moved the axle underneath the truck while his son Chris was over. More man power the better especially for something that heavy. Like i said guy i ran out of primer so we have yet to paint it. I'll do that tomorrow.
BUT DAMN THAT THING CAME OUT AWESOME!


That’s all I've got for today guys. I'll keep you all posted with the progress throughout the week.
I'm super anxious guys! it's only a matter of time i'm on the road with my SAS'd lifted, geared and dual locked truck WOOOO WOOOOO WOOOOOO HAPPY DANCE!
We went picture happy today
Our day began today at about 10:30-11ish in the morning and we finished at about 7:30pm
Started off with grinding down the left overs of that plasma cutter. which wasn’t much. Then started to weld.
Here is Rubens welder from work.
Here is Ruben Hard at work!
Got the pipes through the frame.
Wanted to make sure I knew it was going to fit right before I painted the parts.
Here is the spring hanger already done, primed, painted, and leaf springs mounted.
After that we welded on all the axle armor to both the front and rear axles.
My rear came out just a weeeee bit crooked. but it’s ok; it will still serve its purpose. So long as it protects the diff and looks ok when I grind it down and clean it all up then paint. I’m sure it won’t look so bad.
The Front axle came out flawlessly! just needs to get re painted because I ran out of primer
Once the armor was welded on, had a lunch break the axle was finally cooled off enough to begin putting it all back together. This was the funnest part of all. I did it with a big smile on my face the whole time lol
Only thing problem is that we all kind of screwed up once we were almost done we realized we had a few extra parts.... lol and that is a big No No So we had to take both knuckles apart and we install the seals and part behind the rotor where the rotor meets the knuckle. such a pain in the but because once we were done with that we seen we had forgotten to install one of the dust shields LMAO so there we go a 2nd time taking it apart and re installing it. I'm sure by now if i had to do this all over again i'd be a pro at it lol! :rofl:Anyway here we are re installing the birfields, knuckels, greasing bearings etc etc..... i know its a lot of the same-ish pix. but i'm a picture whore so i'll post them all up lol
GREASE GREASE & MORE GREASE!
YES! I USED THE WHOLE TUB OF GREASE TODAY! Wanted to make sure i wasnt gonna have to remove those knuckles again any time soon!
ONE ON ONE MORE TO GO
Moved the axle underneath the truck while his son Chris was over. More man power the better especially for something that heavy. Like i said guy i ran out of primer so we have yet to paint it. I'll do that tomorrow.
BUT DAMN THAT THING CAME OUT AWESOME!
That’s all I've got for today guys. I'll keep you all posted with the progress throughout the week.
I'm super anxious guys! it's only a matter of time i'm on the road with my SAS'd lifted, geared and dual locked truck WOOOO WOOOOO WOOOOOO HAPPY DANCE!
Last edited by Redeth005; Apr 7, 2013 at 08:42 PM.
 Apr 8, 2013 | 11:46 AM
#1250
Thread Starter
Registered User
Joined: Apr 2012
Posts: 2,817
Likes: 2
From: Los Angeles CA
Wooooot woooot wooot Happy dance!
I got ahold of my insurance adjuster. And my check has already been sent out for my Corolla's car crash that happened 1year ago. I should get my check of $691 in 2-3 days! Sweeeet! Cha ching!. Too bad more then half of that is gonna go to the damn ticket I got yesterday. What a bummer lol. But with this money I'm gonna pay off my two 3rd member gear/locker installs.
Still bummed out about that ticket though. That's almost enough for the CBI bumper that I want.
Apr 8, 2013 | 12:02 PM
#1251
Registered User
Joined: Aug 2011
Posts: 1,507
Likes: 2
From: Fraser Valley, British Columbia
Red, this rig is no longer a daily driver right?
At least with manual hubs we can unlock the front end. I dont think I could put an auto locker up front in Canada. Too many times I need to drive with my hubs locked so I can switch to 4 wheel drive. A Spartan up front would put me in a ditch.
When I move to Australia where they never get snow I can get away with what you can in Cali.
PS,
Bad luck on your ticket. Sometimes police officers make it difficult to like them.
---------------
Last edited by Red Wagon; Apr 8, 2013 at 12:03 PM.
Apr 8, 2013 | 09:23 PM
#1253
Thread Starter
Registered User
Joined: Apr 2012
Posts: 2,817
Likes: 2
From: Los Angeles CA
Hi guys. We didn't get much done today. We mounted the axle to the front leaf sptings. Mounted the new pitman arm and Hy-steer bars. We havnt tightened the nuts for the tie rods and pitman arm yet. We ran out of sunlight today. And I wanted to prime and paint the front axle armor today but it was so damn windy out here In CA it would havr been impossible to paint without getting dust on it. Especially because were parked under about 2 of Rubens trees and he has a lot of loose dirt. So I am just gonna wait till the wind stops.
BTW Tuef I hope you have help for when you plan to mount that axle. It is really hard to align the ubolts with the plate when you have the top piece of armor on there. At least for us it was. Good luck on that bro.
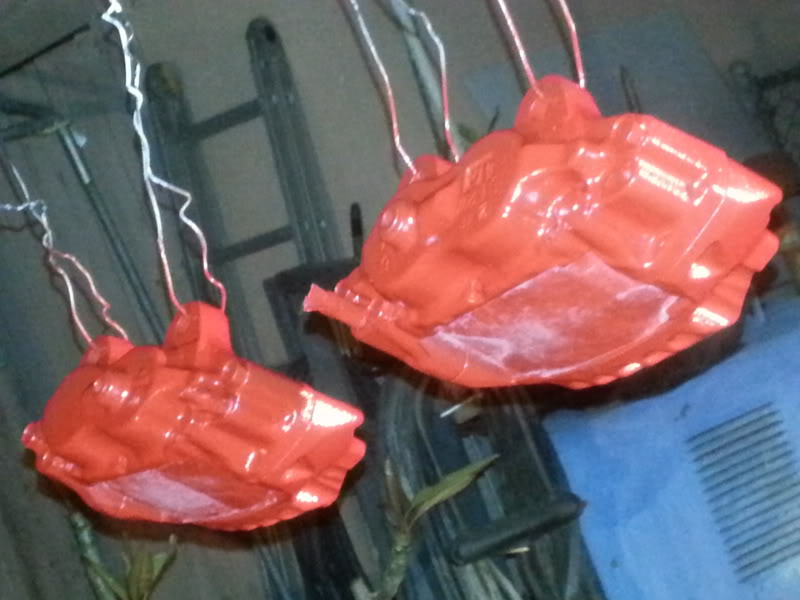
Before heading home I bought these from my girls uncles auto store. I had them order these for me. They're rebuilt toyota calipers. Oem. Just need the core for these. So I'm gonna turn mine in tomorrow. I stuffed cloth where thw brake pads go. Then I cut some cardboard to fit the rotor area completely to avoid painting inside. And on the rubber boot. Did this at about 9pm then stored them in my garage after these pix were taken. It was too dark out so these pix look all off on the color. Ill try to grab aome daytime pix for u tomorrow hopefully ill have them mounted by then.
Primed:


Painted:

BTW Tuef I hope you have help for when you plan to mount that axle. It is really hard to align the ubolts with the plate when you have the top piece of armor on there. At least for us it was. Good luck on that bro.
Before heading home I bought these from my girls uncles auto store. I had them order these for me. They're rebuilt toyota calipers. Oem. Just need the core for these. So I'm gonna turn mine in tomorrow. I stuffed cloth where thw brake pads go. Then I cut some cardboard to fit the rotor area completely to avoid painting inside. And on the rubber boot. Did this at about 9pm then stored them in my garage after these pix were taken. It was too dark out so these pix look all off on the color. Ill try to grab aome daytime pix for u tomorrow hopefully ill have them mounted by then.
Primed:
Painted:
Apr 9, 2013 | 08:19 AM
#1257
Thread Starter
Registered User
Joined: Apr 2012
Posts: 2,817
Likes: 2
From: Los Angeles CA
Hey guys sorry those pix are really bad quality. I took the pix at about 9-9:30pm. The lighting was pretty bad so u can't really tell the actual color of the calipers. It is red color though. I noticed one picture looks reddish orange and the other looks brick red. Ill take some better pix when I get home. The sun will be out and ill have better picture quality.
I'm really hoping today isn't as windy as it was yesterday. This way I can paint the rest of the axle.
I'm really hoping today isn't as windy as it was yesterday. This way I can paint the rest of the axle.
Apr 9, 2013 | 11:17 AM
#1260
Thread Starter
Registered User
Joined: Apr 2012
Posts: 2,817
Likes: 2
From: Los Angeles CA
As far as cutting the ifs stuff off yes that wouod be really hard to do if u don't have access to a plasma cutter.
Yes, easy cleaning once u paint them. Just wipe and done lol. Just make sure to buy that high temp caliper paint.


