When you click on links to various merchants on this site and make a purchase, this can result in this site earning a commission. Affiliate programs and affiliations include, but are not limited to, the eBay Partner Network.
Alexman / Arlindsay and either 22RE Performance or LCEngineering have youtube videos that show how to apply the sealant on the half-moons.
thanks Ray I'll check that out
So the evergreen kit came with a bunch of o rings... Can anyone ID them? I'm not sure what they're for
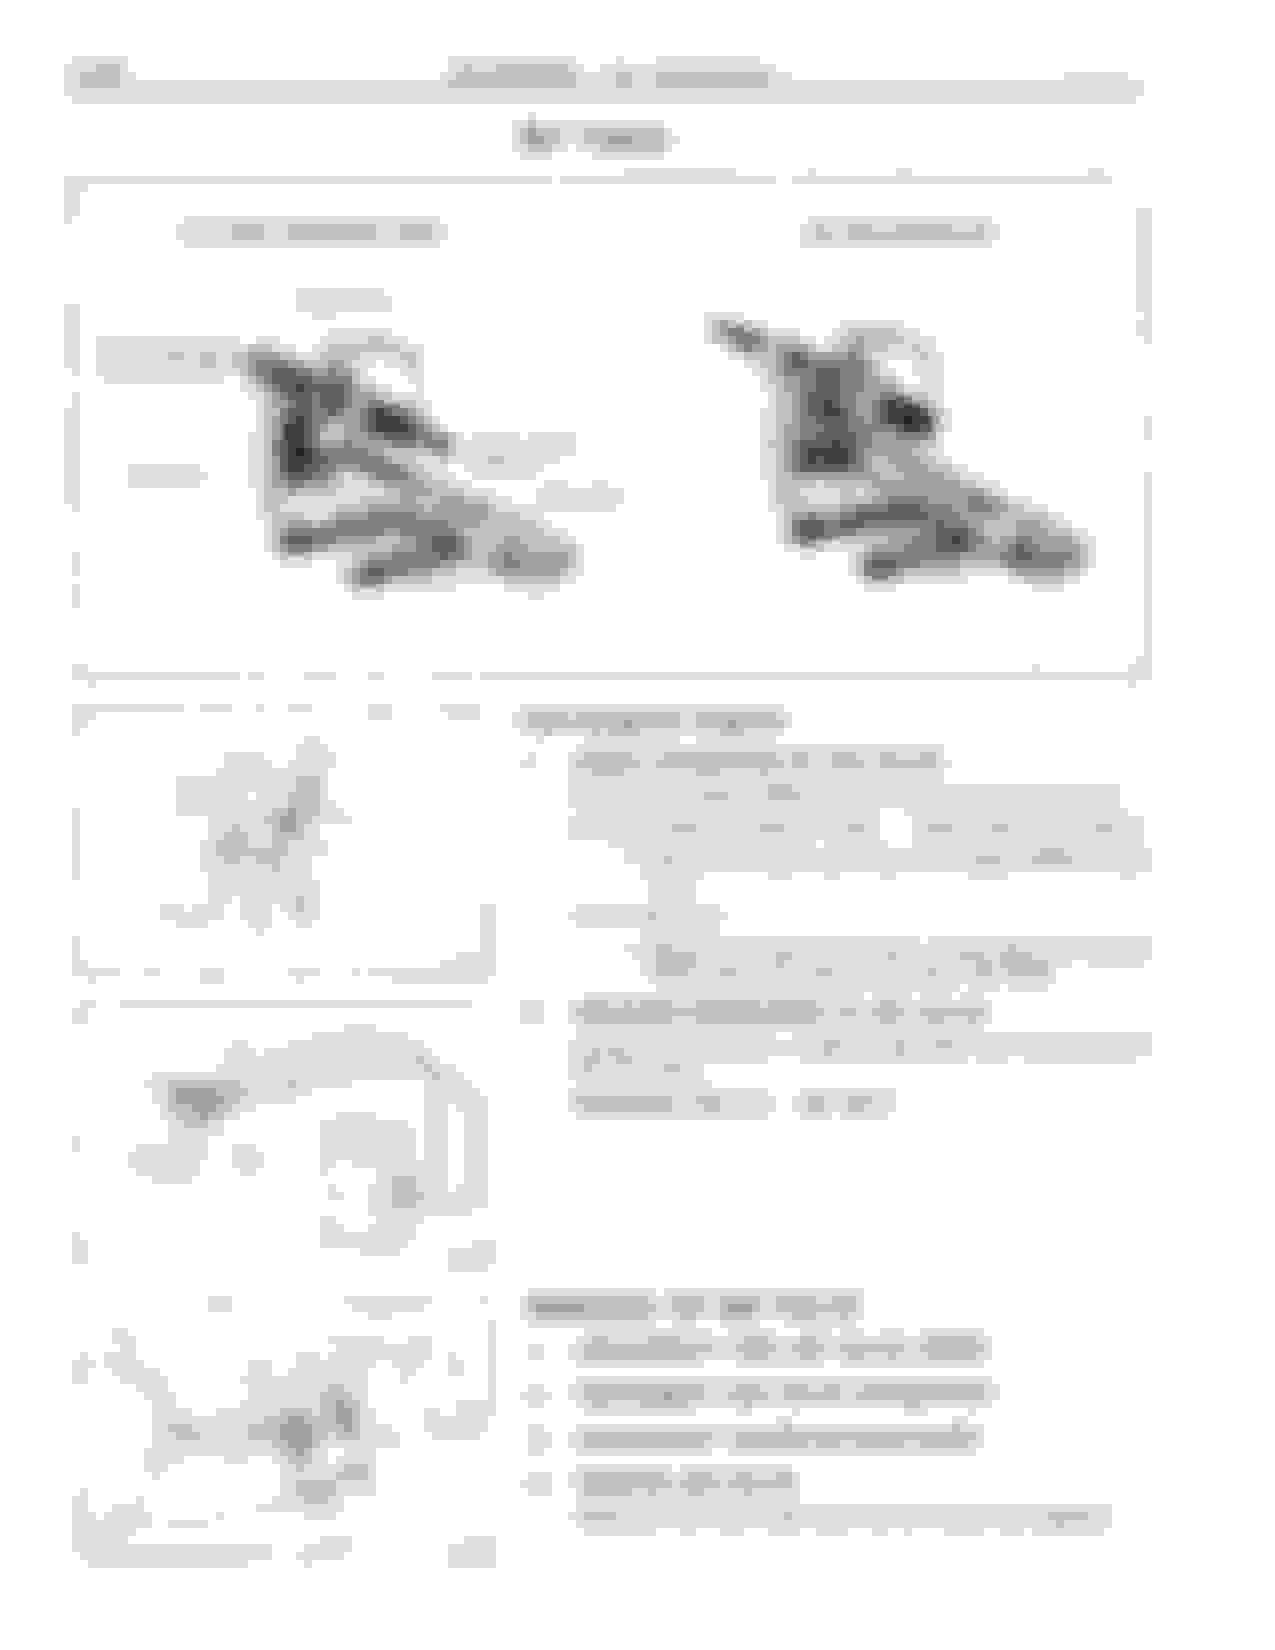
Also, i checked the fsm, and i searched... Couldn't find a good walkthrough on replacing the input seal, so hopefully that means it's so simple I'm the only one dumb enough to ask how, or I totally missed it
I assume I'm gonna need to drain the transmission and get new fluid, and it looks like a gasket for the front plate
Re-use transmission fluid?
i put nice new redline synthetic fluid in 10k miles/2 years ago... When i replace the trans input seal, is it okay to catch it in a new clean container, filter/strain, and re-use... Or is that an insanely bad idea and I should eat the $70 and get new oil again?
Second that.
I do not know what to use to strain, but when I was in the Navy we used a white lint-free fabric for wiping critical hydraulic parts. That would probably work.
Yes, haven't updated because ive been flip-flopping wildly between this, motorhome, and grad school
over the weekend i started in this and ended up on plumbing issues
Anyway, i got the transmission input seal replaced, and my injectors out to RCfuelinjection for servicing
I have all next week off work (hopefully), and refilling the transmission and getting this engine back in is on the to-do list. Along with insulating my floor, installing a woodstove, replacing a toilet, remodeling my bedroom, running a new electrical service, and possibly going back into work one day for a nasa meeting
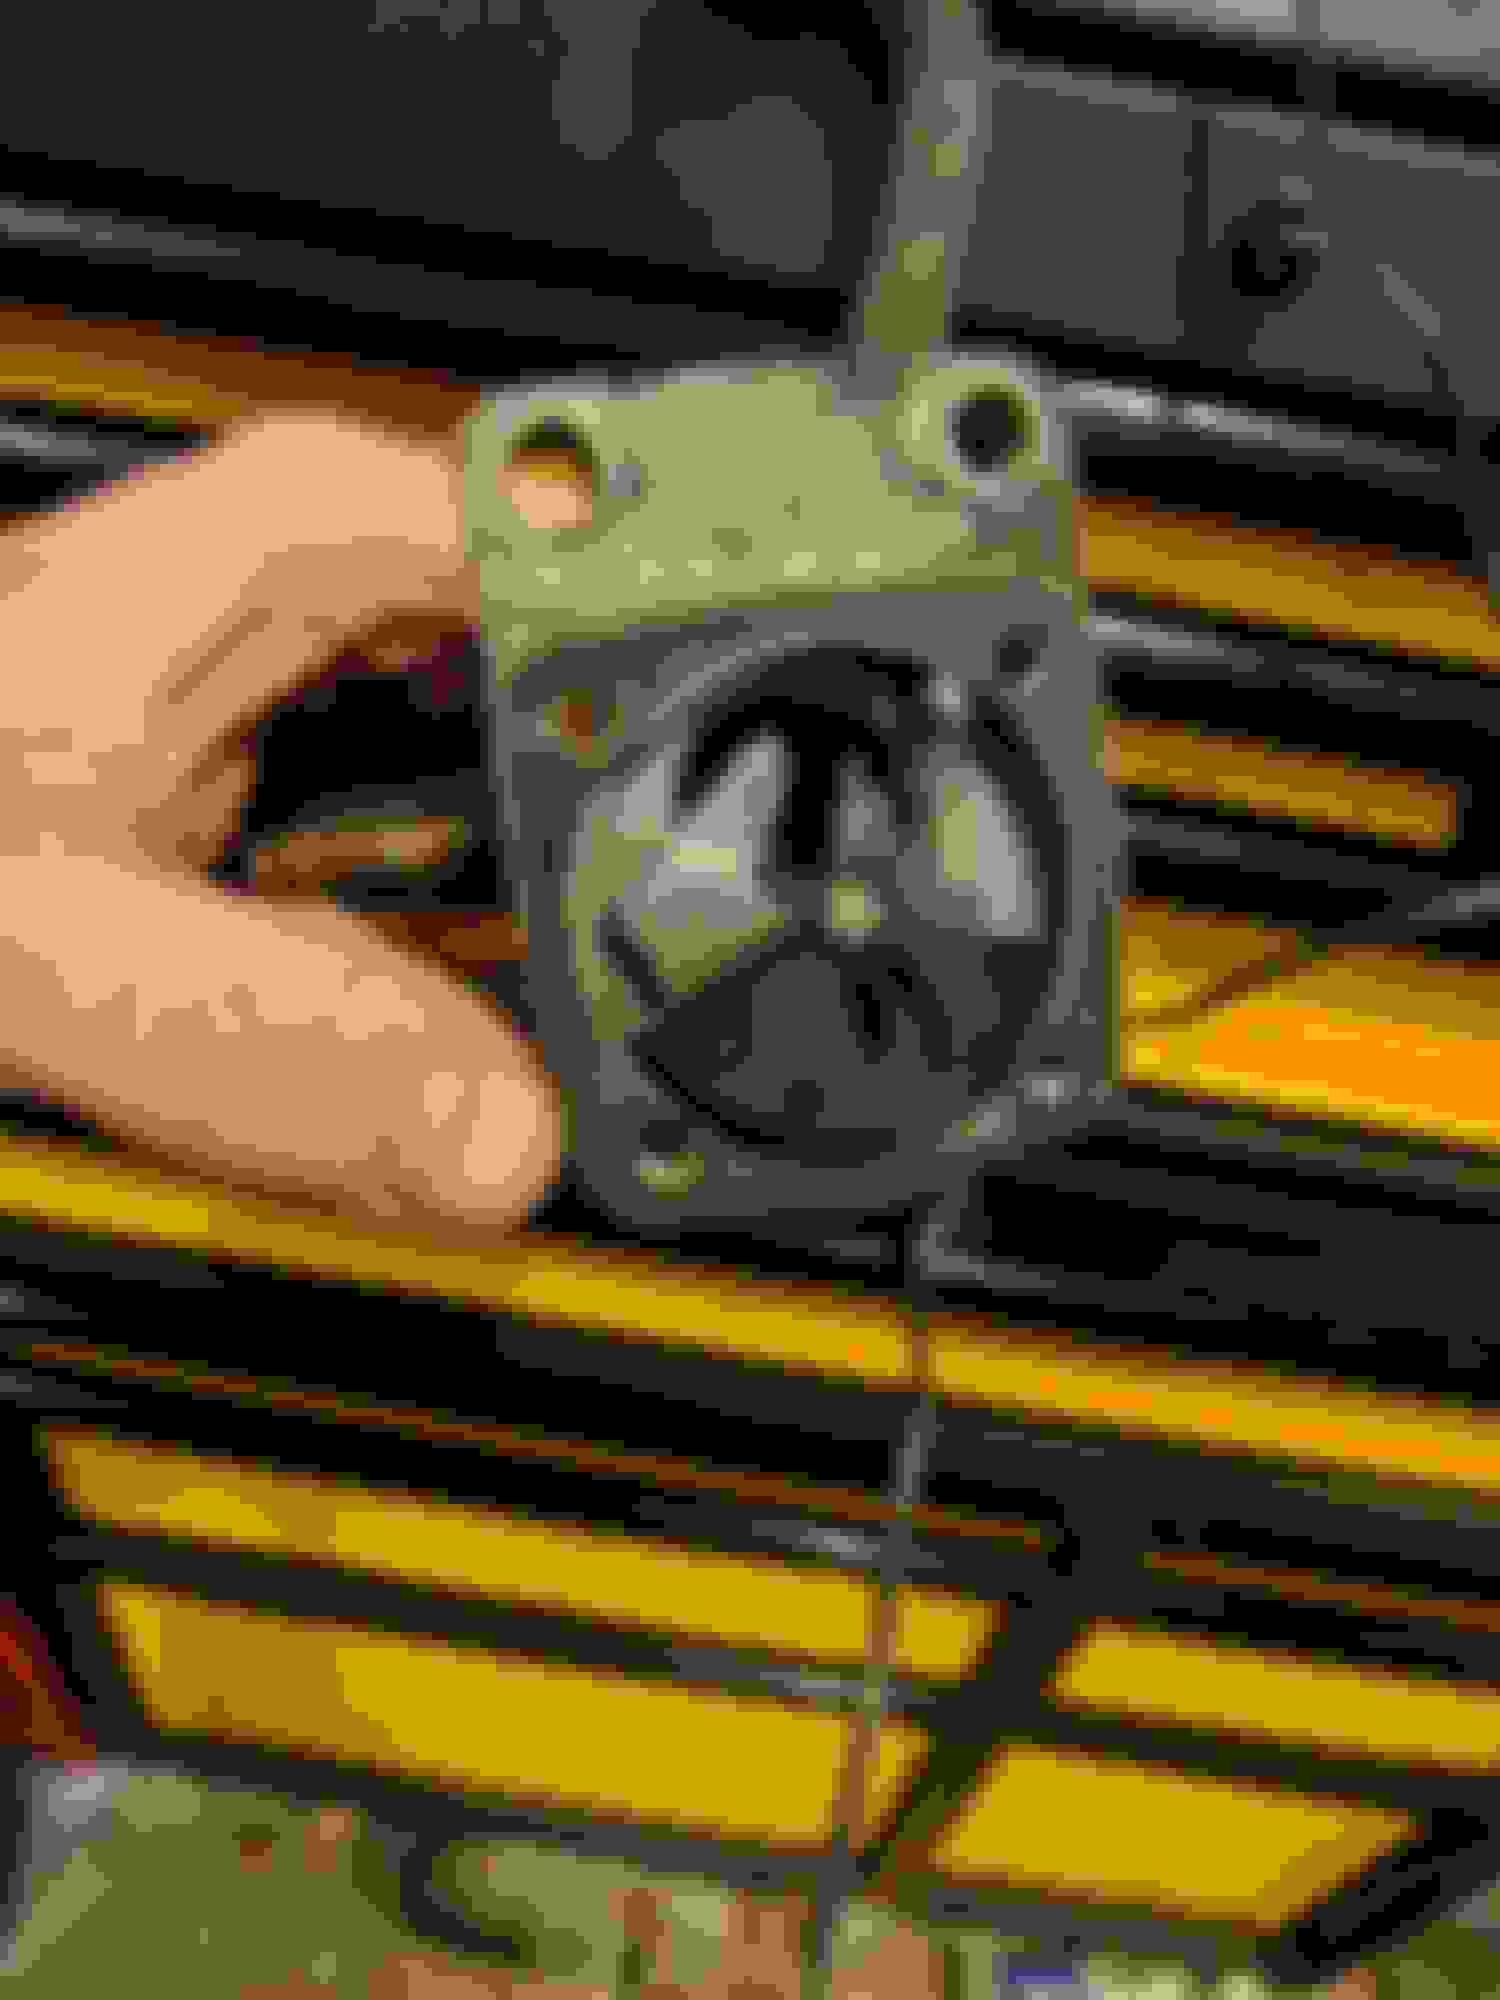
I also think my iacv is definitely stuck, 20 degrees and 70 degrees it looked like the same position, so hopefully disassembling, cleaning, and reassembling that will fix it
I also think my iacv is definitely stuck, 20 degrees and 70 degrees it looked like the same position, so hopefully disassembling, cleaning, and reassembling that will fix it
I experimented with mine quite a bit. I put it in the freezer and at room temp and there was no observable difference in the amount it was open until I applied voltage to it. The orifice should be pretty much completely open when cold or room temp. There is an adjustment you can make to set the position. Then when you apply voltage you can see the bimetallic strip warp to one side. It's not a dramatic change. The spring does all the work. The hot water circulating through it just holds it warm for a period of time after shutting off the engine so the cycle doesn't start from the very beginning each time you start the vehicle. If you have the service manual there is some info in there but not very much.
Last edited by Melrose 4r; Nov 16, 2018 at 11:54 AM.
Reason: I had it backwards, it's open when cold...that's what happens when I try to do forum stuff while I'm at work!
I opened mine up because it looked gross and I was convinced it was seized. The original grease in there was nothing but dry paste mixed with carbon soot. Cleaned with acetone and used Napa silglyde grease, which claims not to freeze, dry out or run up to 400�f.
Much smoother operation and mine definitely had a noticeable difference from 70�F room temp to 0� in the freezer. I believe it was more open when freezing, which makes sense if you think about it's function and operation. It increases air flow to the intake during cold starts.
I had it backwards, open when cold. Closed when hot is correct, as GSP suggests above. What differed from the manual was that mine wasn't closing completely or nearly completely so I adjusted it to allow full closure...I think...open was more arbitrary...and you can't pinch the hose to test as the manual suggests because they are so old and hard.
3 hours of progress today, got the intake put together and started on the maze of hoses and wires. I'm telling myself that of it all runs when I'm done I'll take the upper intake and valve cover back off and get them powder coated.
Back at it today
New pilot and throw out bearings (those were both a blast, grease didn't work for the pilot, wet paper did, then some fun on the press for the throw out)
Got the transmission fluid filtered and refilled
New oem clutch installed
Got the engine mostly in place and I think lined up ok (, then the biggest hangup of the day was figuring out the dang bellhouse bolts. I'm still confused about why I have one nut for the starter instead of two, one bolt in a bag that says clutch slave bracket when the slave cylinder is totally mounted up... In general why i seem to now be missing a couple bolts when i bagged them all and still have all the bags
Tomorrow I'm going to back the engine up a bit and make sure the gap is even all the way around the transmission and engine, I feel like i could gently squeeze everything together now with the bolts but I don't want to mess up that new pilot bearing
Also need to dig through the electronic fsm to double check bolt locations and sizes for the transmission and starter, and lay out what I have to see what I'm missing
Then comes new spark plugs and all the connections and accessories
The other thing currently catching me up is the exhaust is disconnected where the tube meets the manifold and I'm having a hard time lining that up. Might need to remove manifold. Just a pita.

 Nov 5, 2018 | 05:21 PM