When you click on links to various merchants on this site and make a purchase, this can result in this site earning a commission. Affiliate programs and affiliations include, but are not limited to, the eBay Partner Network.
In my haste to get a glimpse of the 1-piece rear window I completely forgot that the rear window seal is what provides the final �front to back� tension on the headliner.
ie; You have to take out the rear window, pull the headliner to the tension you want it, glue and clamp that rear edge.
Then..........
Install the rear window.
So, it looks like the rear window needs to come back out.... Lol.
I don�t mind the work, but damn if I hate to waste the $70 worth of window sealant I used putting it in.
The headliner is the fulcrum of the interior.
It comes out last and goes in first.
My sewing skills turned out to be not so bad after all.
I�m installing the headliner a little over-tight because it�s fabric and I expect some stretching over time.
So I guess the posts from this point on will be re-assembly.
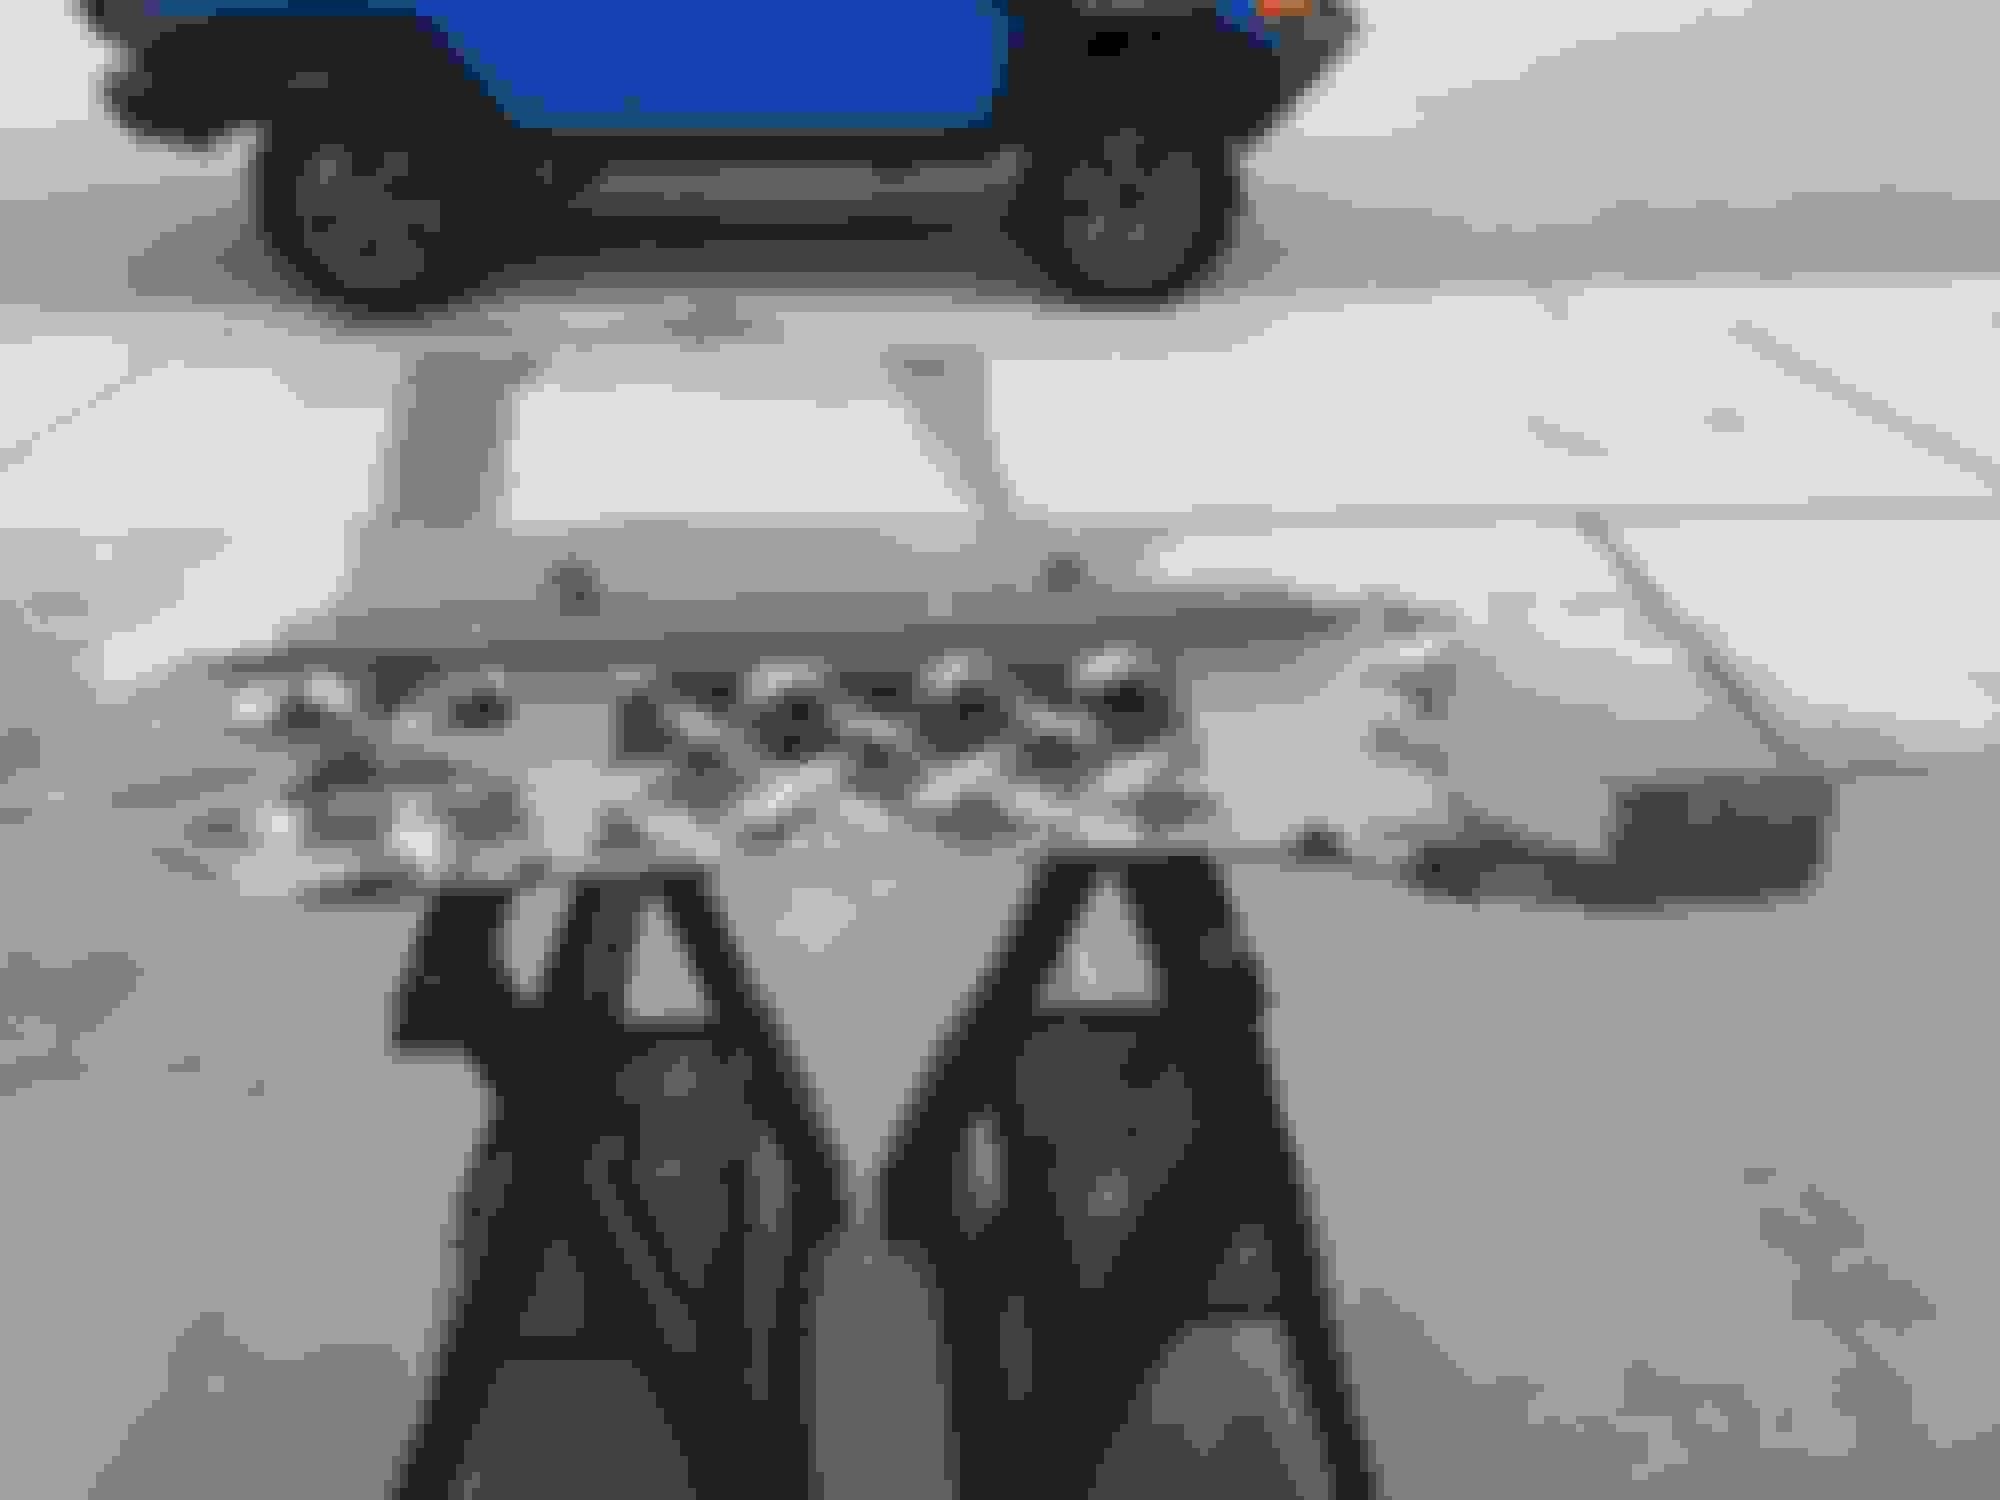
I noticed I overlooked an issue with the body lift.
I did not address the impact to the transmission linkage and it�s permanently stuck in Park until I can figure it out.
I noticed I overlooked an issue with the body lift.
I did not address the impact to the transmission linkage and it�s permanently stuck in Park until I can figure it out.
I don�t think so.
just need to find a spot where I can add 2� in the linkage to compensate for the lift.
4crawler�s site is super vague to resolve this.
Some statements say there is pently of room for shifter linkage adjustment, followed up by mentioning a linkage adjustment spacer you can buy from them.
it�s all smoke and mirrors with 4crawler so far.
It�s like they piece together their website, but when you go to order and ask them if what you have will complete the job, they just shrug their shoulders like every lift is the first time it�s ever been tried.
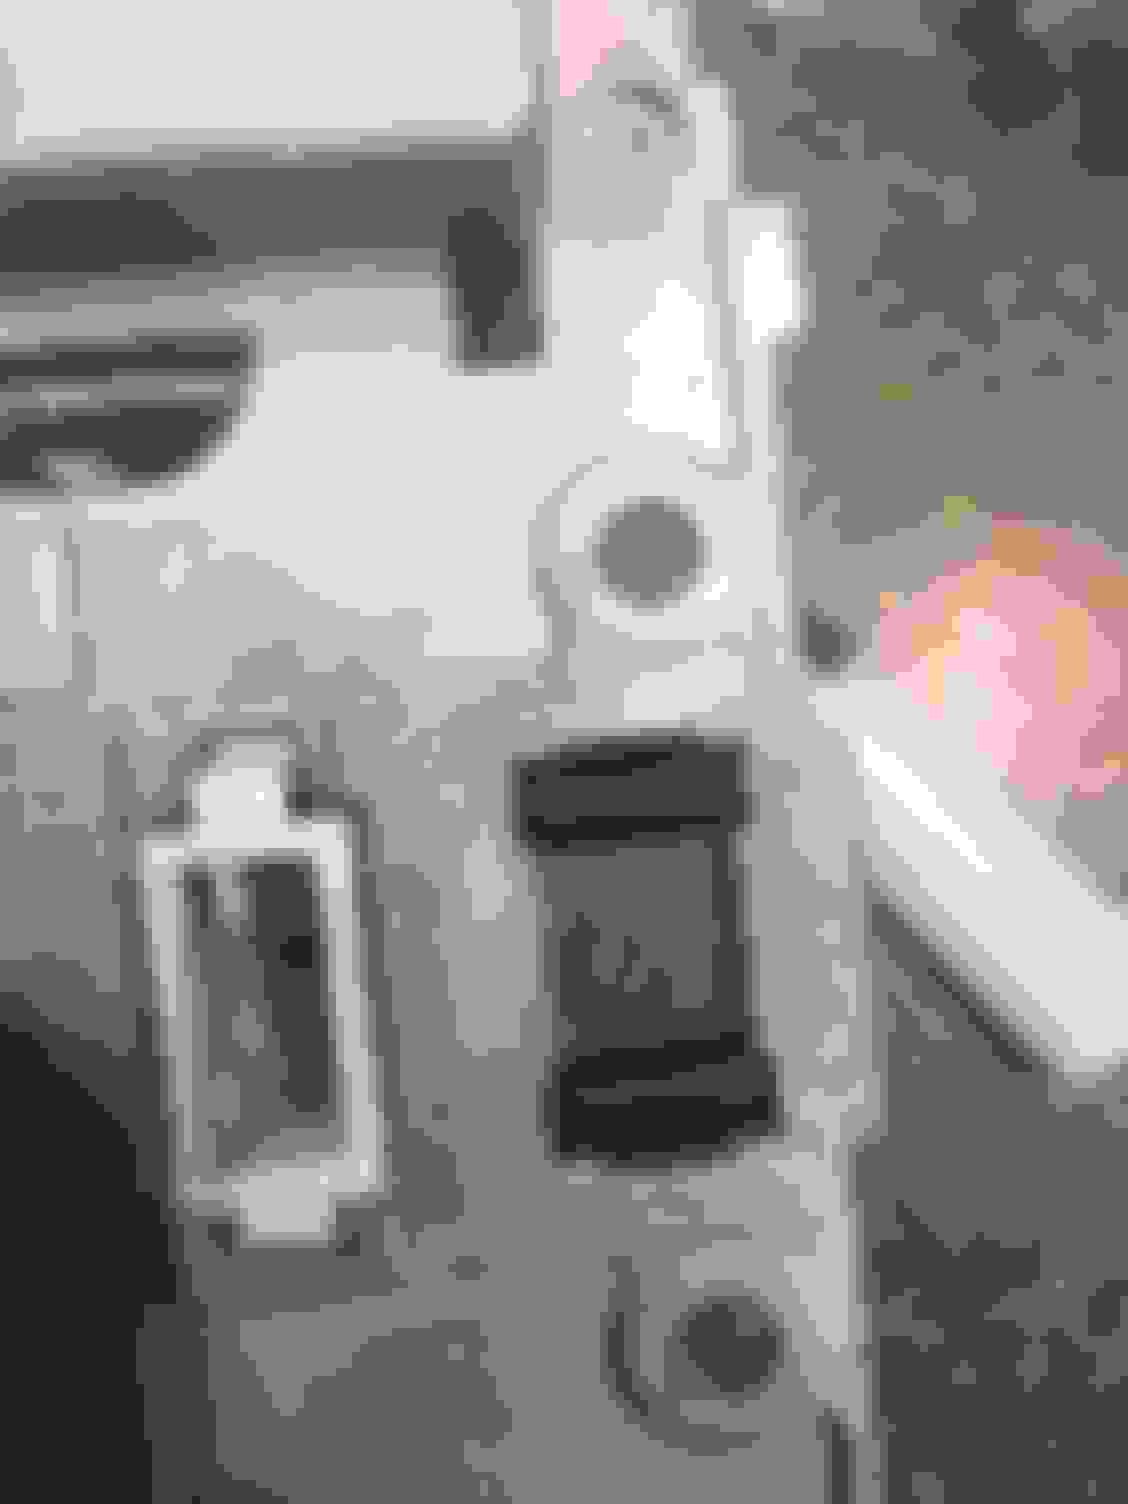
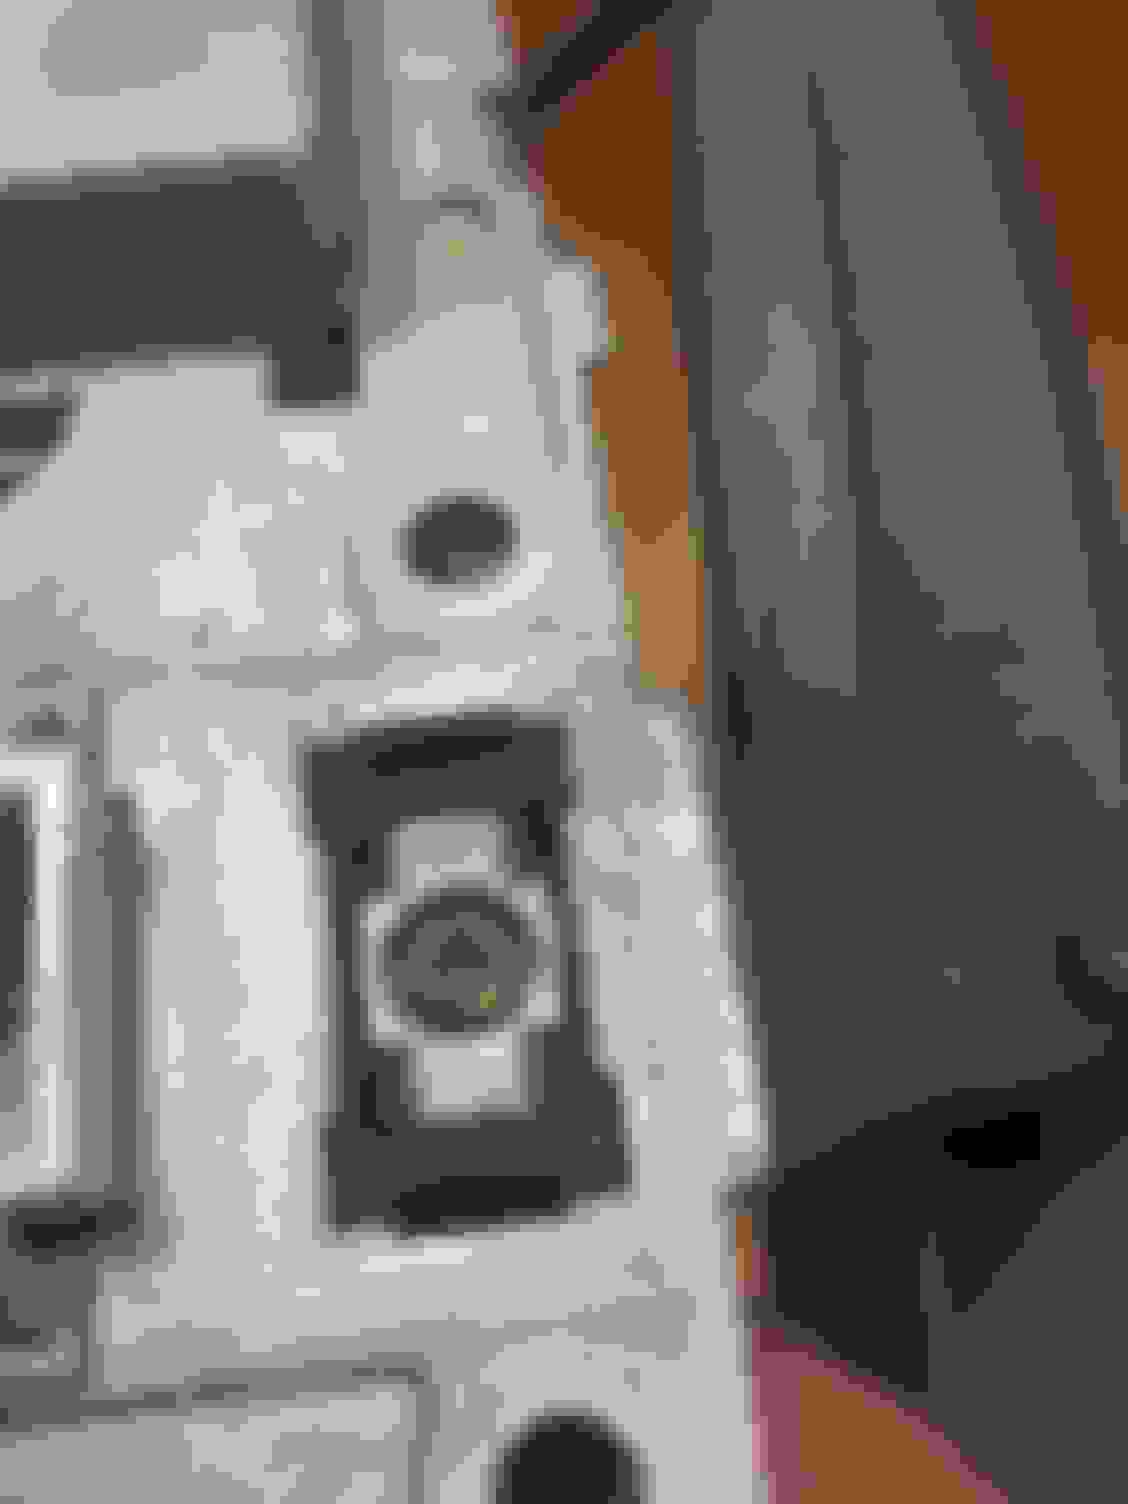
Has anyone tried upgrading ALL of the dash bulbs to LED?
I know there are websites to order them from, but it looks like some of the mounting holes have no room for bulbs that are not the SAME size or smaller, etc...
4Crawler's website was self designed (I think?) back in the late 1990s to early 2000s and the format has stayed the same ever since. It could use an upgrade.
Since you have an SR5 truck, your gauge cluster should come with a oil pressure gauge.
Toyota used the oil pressure warning light on base models and on higher trim models (such as your SR5) Toyota used an oil pressure gauge in place of the light. For manufacturing purposes, the space for the oil pressure warning light was left in place, unused, on models that came with the gauge.
I have never seen a washer fluid warning light on earlier models, so this must have been an option not equipped on your truck, but left in place for manufacturing purposes.
I don't know what the LED equivalent to the PRND2L indicator bulbs would be, but with enough searching with dimensions, original bulb type, and light output, you can probably find some. You might need to get creative with this exposed-lead type of bulb though.
I prefer the soft, warm glow of the OEM incandescent bulbs myself, but I am definitely in the minority on that.
Welding the hood braces to the hood skin didn�t turn out well. The temperature swings and the expansion and contraction of the metal caused dimples in the hood skin.
So I did some research on this and the correct fix for this is:
3M 08463
It�s a flexible (FLEXIBLE!) super adhesive foam.
$65 for 6.5 Oz. You do the math.
Requires the double pump gun also, so I�m out $120.
Anyway, this is designed for this purpose. I wish I would have known that. Lol..
I have to wait for the gun to arrive, but when it does I�ll post up some photos of that process.


 Dec 24, 2018 | 11:07 AM