93-98 T100s (Build-Up Section) Post your build-ups here

97 T100 Build

Thread Tools
 
Search this Thread
 
Old Feb 16, 2019 | 08:15 AM
  #181  
55reasons's Avatar
Thread Starter
Registered User
 
Joined: Aug 2014
Posts: 255
Likes: 38
The 3M 08571 showed up today


....time to re-attach the hood bracing to the hood skin the RIGHT way.

Last edited by 55reasons; Feb 16, 2019 at 01:15 PM.
Reply
Old Feb 16, 2019 | 01:46 PM
  #182  
old87yota's Avatar
Registered User
10 Year Member
Liked
Loved
Community Favorite
 
Joined: Jun 2013
Posts: 3,112
Likes: 582
From: Portland, Oregon, USA
Now that's fancy!

3M products in general are pretty darn good, so I suspect that is some quality stuff there.

Show us what it looks like after you get done!

Reply
Old Feb 17, 2019 | 10:18 AM
  #183  
55reasons's Avatar
Thread Starter
Registered User
 
Joined: Aug 2014
Posts: 255
Likes: 38
The 3M foam expands 400%, so obviously it oozes out of everywhere.

After it dried, I ran a razor around the edge to cut off all the extra foam.

Then, took a dremel with a brass wheel around to remove the remnants of the foam/adhesive.

This is what that looks like:


Reply
Old Feb 17, 2019 | 11:38 AM
  #184  
old87yota's Avatar
Registered User
10 Year Member
Liked
Loved
Community Favorite
 
Joined: Jun 2013
Posts: 3,112
Likes: 582
From: Portland, Oregon, USA
It looks pretty good!

Reply
Old Feb 18, 2019 | 06:18 PM
  #185  
55reasons's Avatar
Thread Starter
Registered User
 
Joined: Aug 2014
Posts: 255
Likes: 38
Side view mirrors

Question about the passenger side view mirror:

Do they ALL have these hyrogyphics on them?

Does anyone have one that doesn’t have this?


Reply
Old Feb 23, 2019 | 02:21 PM
  #186  
55reasons's Avatar
Thread Starter
Registered User
 
Joined: Aug 2014
Posts: 255
Likes: 38
With the interior almost done, I decided to pull the stock wheels and Falkens off and throw them up for sale to make way for my favorite 4Runner wheels and a set of 33x12.50R18 A/T’s.

she doesn’t look like much but it has come a LONG way.

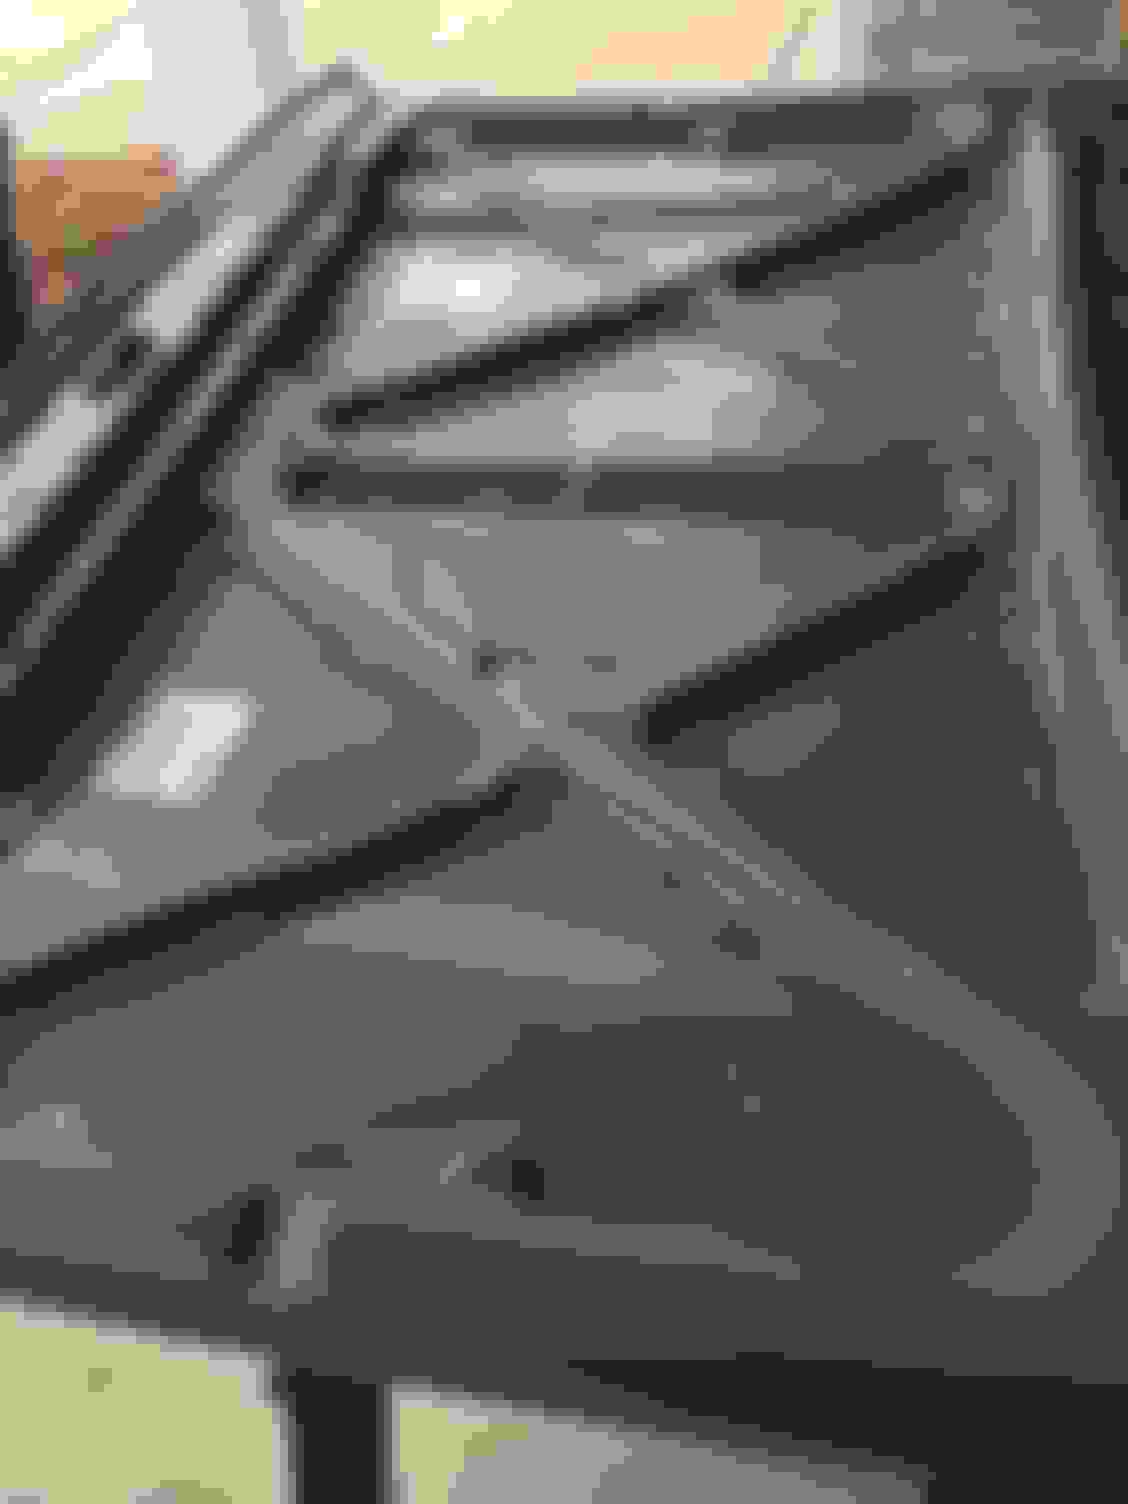
Just looking at this pic makes me want to get some new upper and lower control arms while it’s up.


Reply
Old Feb 24, 2019 | 08:10 AM
  #187  
swampedout's Avatar
Registered User
5 Year Member
Liked
Loved
Community Favorite
 
Joined: Apr 2017
Posts: 964
Likes: 197
Its looking great. Youre doing a lot of stuff I wish I had the time for.

As for the mirrors, the pic you posted is the front of the plastic case?
IIRC My mirrors have no writing and I have a total of four mirrors in my posession (all oem to my knowledge, one power sr5 mirror) and none of them had writing on the case.
Reply
Old Feb 24, 2019 | 10:04 AM
  #188  
55reasons's Avatar
Thread Starter
Registered User
 
Joined: Aug 2014
Posts: 255
Likes: 38
Originally Posted by swampedout
Its looking great. Youre doing a lot of stuff I wish I had the time for.

As for the mirrors, the pic you posted is the front of the plastic case?
IIRC My mirrors have no writing and I have a total of four mirrors in my posession (all oem to my knowledge, one power sr5 mirror) and none of them had writing on the case.

That’s crazy because EVERY truck I come across with chrome mirrors, (even the three in the local junk yards) have the same writing on the passenger side mirror.

Only the passenger side, and only on the chrome mirrors.

So you have a passenger side chrome power mirror without that writing in it?
Reply
Old Feb 24, 2019 | 01:12 PM
  #189  
swampedout's Avatar
Registered User
5 Year Member
Liked
Loved
Community Favorite
 
Joined: Apr 2017
Posts: 964
Likes: 197
Hmm we are in different territories then. All mine are black not chrome and ive got 3 driver side mirrors
Reply
Old Feb 24, 2019 | 02:57 PM
  #190  
55reasons's Avatar
Thread Starter
Registered User
 
Joined: Aug 2014
Posts: 255
Likes: 38
Originally Posted by swampedout
Hmm we are in different territories then. All mine are black not chrome and ive got 3 driver side mirrors

Yeah, it’s the chrome passenger side I’m asking about.
Reply
Old Feb 24, 2019 | 03:00 PM
  #191  
55reasons's Avatar
Thread Starter
Registered User
 
Joined: Aug 2014
Posts: 255
Likes: 38
Started some body work today...


Started with the bed rail, that spread to the bed side and ext cab area.

next thing you know I was block sanding the hood.
Reply
Old Feb 26, 2019 | 05:58 PM
  #192  
55reasons's Avatar
Thread Starter
Registered User
 
Joined: Aug 2014
Posts: 255
Likes: 38
Door panels round 2.

Since I still had leftover fabric from the headliner, I went ahead and recovered the door panels.


Reply
Old Feb 26, 2019 | 06:49 PM
  #193  
old87yota's Avatar
Registered User
10 Year Member
Liked
Loved
Community Favorite
 
Joined: Jun 2013
Posts: 3,112
Likes: 582
From: Portland, Oregon, USA
That looks pretty darn good, 55reasons!

Reply
Old Feb 26, 2019 | 10:10 PM
  #194  
PabstPenguin's Avatar
Registered User
 
Joined: May 2018
Posts: 13
Likes: 2
From: Idaho
I would pay you to teach me how to do the door panels and body work like that
Reply
Old Mar 8, 2019 | 01:26 PM
  #195  
55reasons's Avatar
Thread Starter
Registered User
 
Joined: Aug 2014
Posts: 255
Likes: 38
Originally Posted by PabstPenguin
I would pay you to teach me how to do the door panels and body work like that
You don’t want to learn how to do bodywork.
Every Vehicle you paint takes a year off your life or more.

Interiors are just basic sewing. Hit up your grandmother and spend a week behind a sewing machine.
Reply
Old Mar 9, 2019 | 07:20 AM
  #196  
55reasons's Avatar
Thread Starter
Registered User
 
Joined: Aug 2014
Posts: 255
Likes: 38
Progress on the bed / bodywork

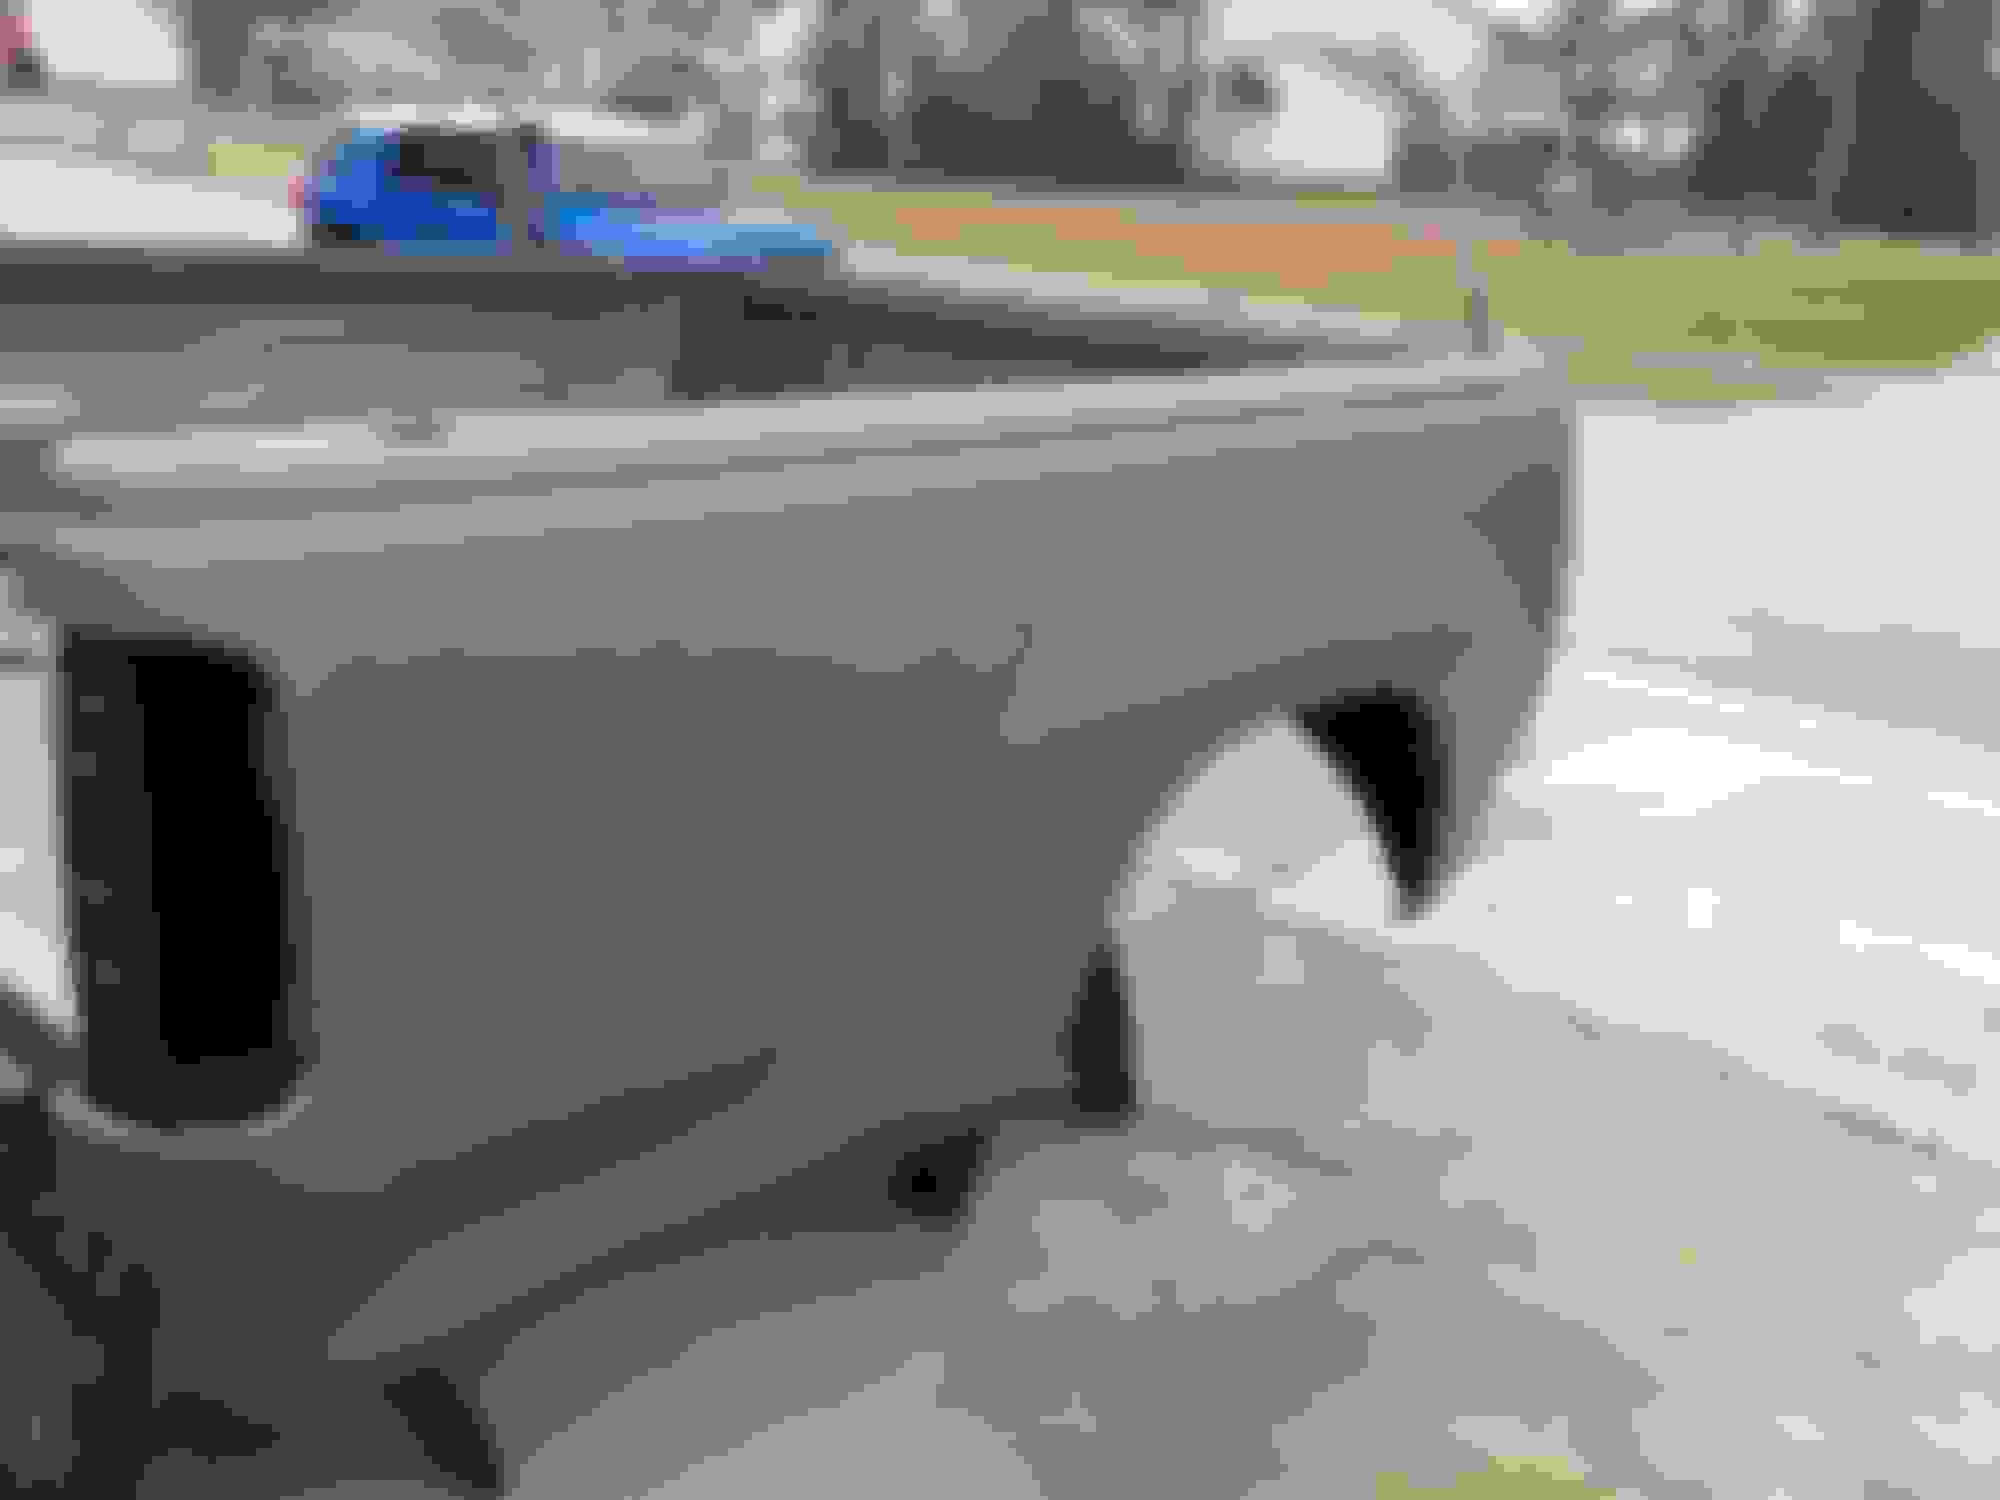
The bed I pulled from the scrapyard was completely rust free, but it had a handful of scrapes, small dents, and one big one on the driver side below the tail light.

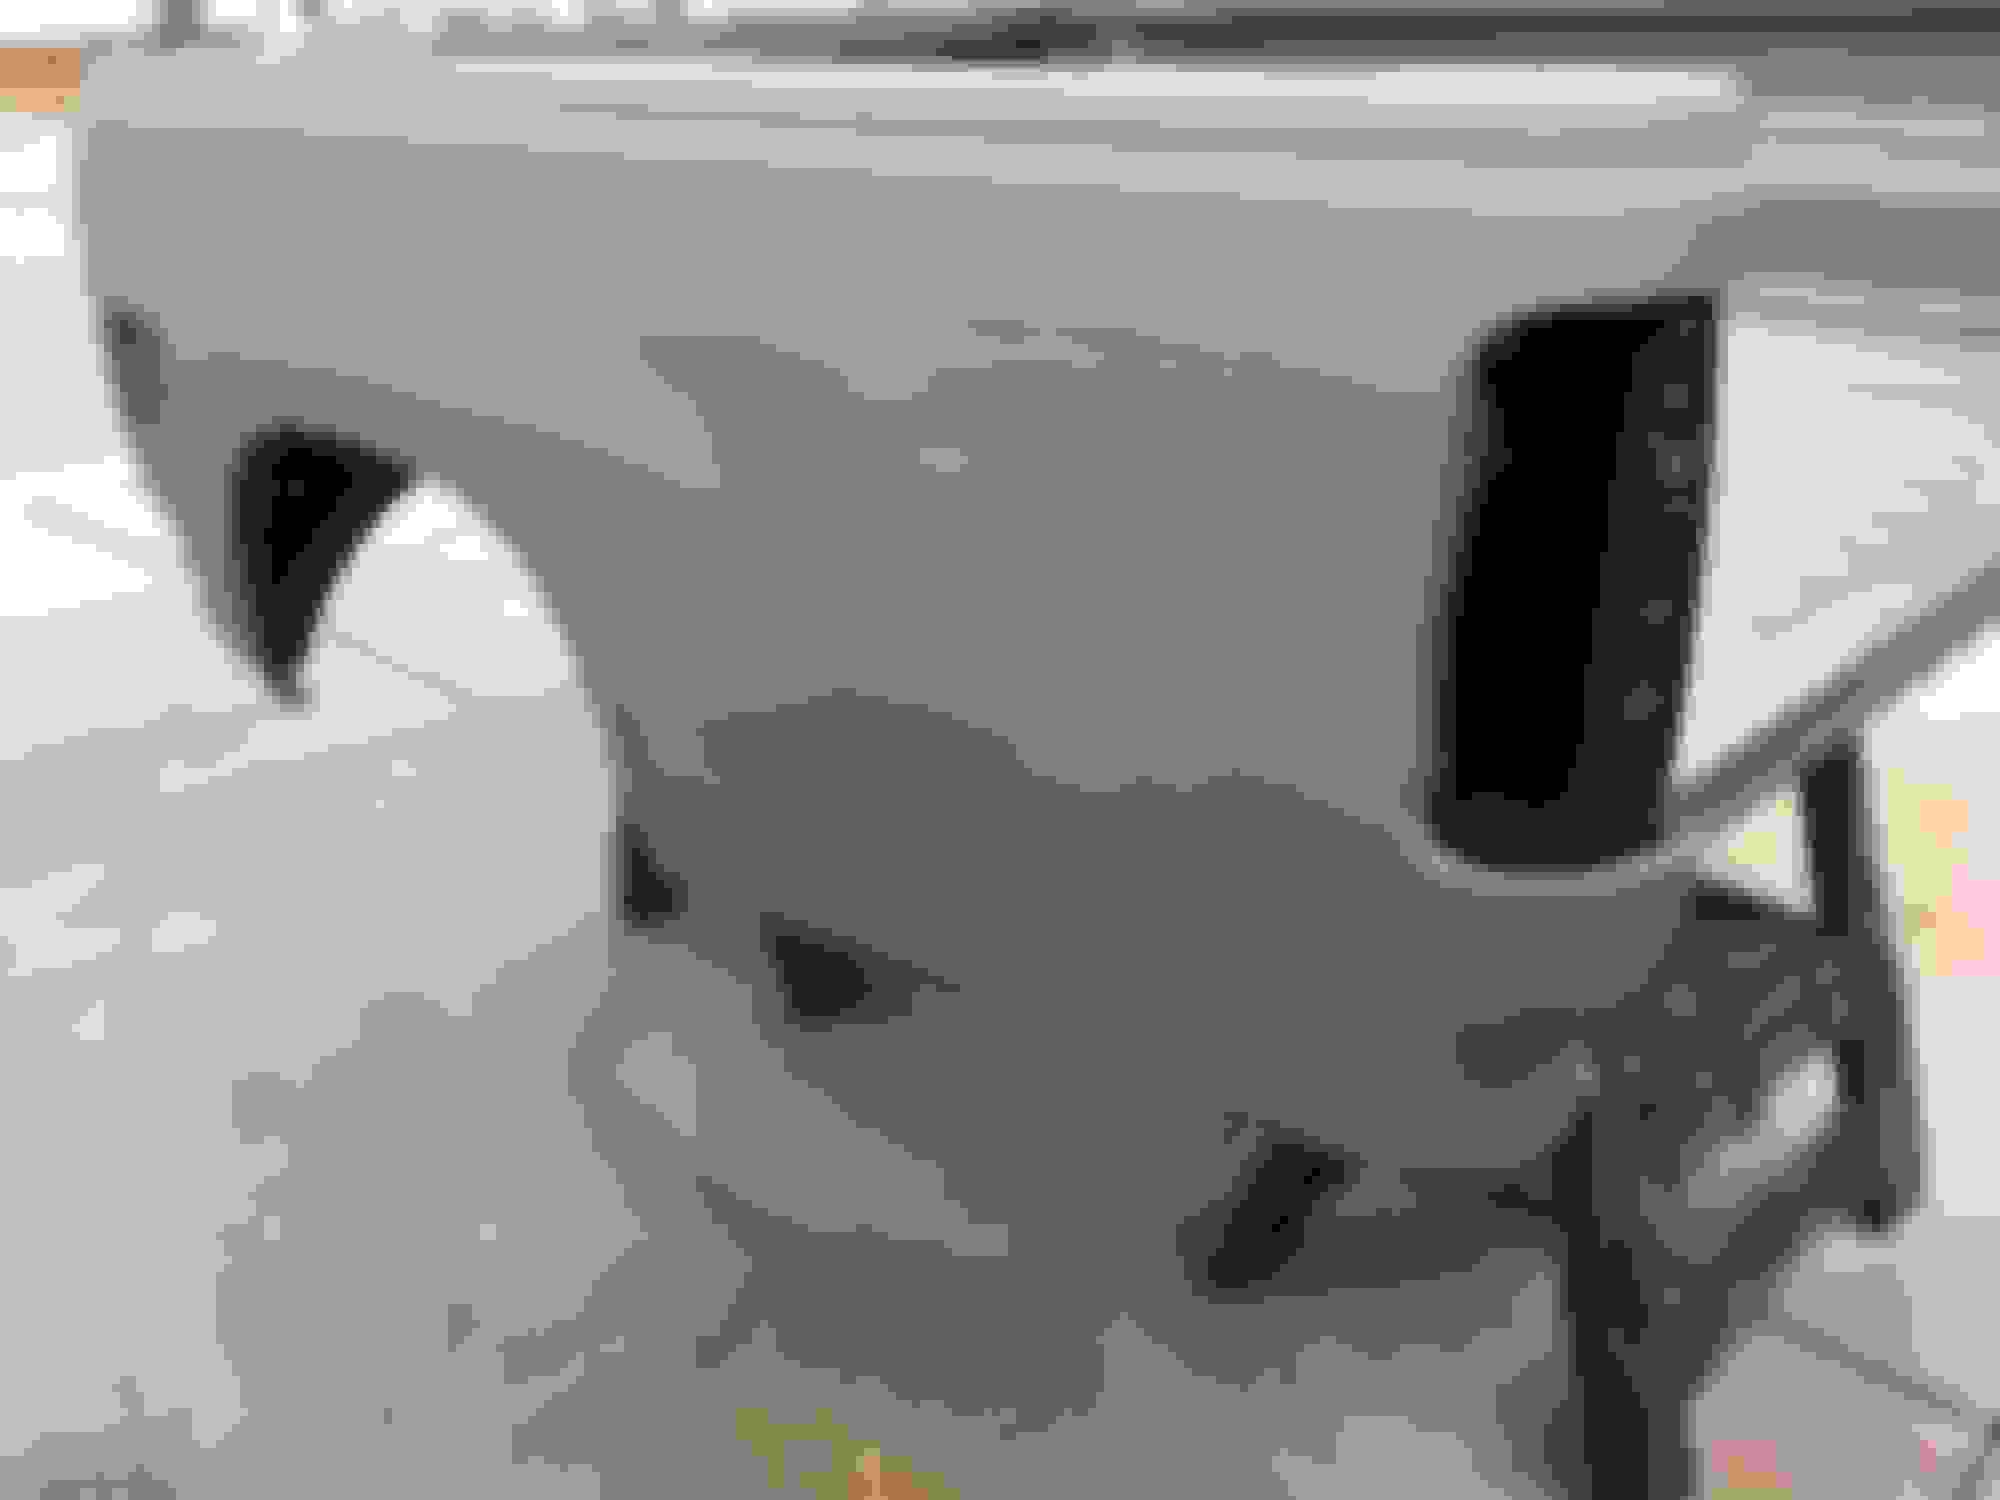
Finished the passenger side. One full day of block sanding.

The driver side had been blocked once, one coat of etching primer, and probably this afternoon I’ll break out the stud welder and start pulling that dent.

I absolutely HATE body filler, so I try to beat metal until only sanding and primer will do the job.

I’ll try to document that along the way if my hands stay clean enough.


Reply
Old Mar 9, 2019 | 01:14 PM
  #197  
55reasons's Avatar
Thread Starter
Registered User
 
Joined: Aug 2014
Posts: 255
Likes: 38
In case anyone has never used a stud welder

Clean it off.
Weld studs on.
Slap the dent out.
Cut off the studs.
Sand off and weld material.
Enjoy.


Reply
Old Mar 9, 2019 | 04:42 PM
  #198  
old87yota's Avatar
Registered User
10 Year Member
Liked
Loved
Community Favorite
 
Joined: Jun 2013
Posts: 3,112
Likes: 582
From: Portland, Oregon, USA
I used a stud welder in high school in an automotive class.

Let's just say your work was much better than what I did in high school. I think I ended up causing more damage than repairs.....

The bed is looking good!

Reply
Old Mar 13, 2019 | 02:40 PM
  #199  
55reasons's Avatar
Thread Starter
Registered User
 
Joined: Aug 2014
Posts: 255
Likes: 38
In the mean time...... The tail gate “decal”.

The decal on the T100 tail gate is definitely unique.

The adhesive/foam holding it on is impenetrable and I’m certain that even with heat applied, fishing line, and whatever else, it would never be in good enough condition to re-mount.

I have asked around and people have given some recommendations for some people that reproduce old decals, but his is much more than just a vinyl sticker.

So, here goes nothing to make something that looks the part, but with some added (updated) style and design...


Last edited by 55reasons; Mar 13, 2019 at 02:41 PM.
Reply
Old Mar 24, 2019 | 03:34 PM
  #200  
55reasons's Avatar
Thread Starter
Registered User
 
Joined: Aug 2014
Posts: 255
Likes: 38
Test fit of wheels and tires.

0ulled the 33x12.40R18’s off my FJ and rolled it around to check for rub.

Loving the ride height.

I needed this motivation. Lol.


Reply


All times are GMT -8. The time now is 12:06 AM.