93-98 T100s (Build-Up Section) Post your build-ups here

97 T100 Build

Old Mar 24, 2019 | 03:35 PM
  #201  
55reasons's Avatar
Thread Starter
Registered User
 
Joined: Aug 2014
Posts: 255
Likes: 38
On to the body work on the cab.

Slow and steady.


Reply
Old Apr 19, 2019 | 10:54 AM
  #202  
55reasons's Avatar
Thread Starter
Registered User
 
Joined: Aug 2014
Posts: 255
Likes: 38
Final body panel / door alignment and bed mounting

Made some “anti-squeak” washers from an old vinegar bottle.

Body panels finally spot on..

Getting close now!


Reply
Old Apr 20, 2019 | 04:21 PM
  #203  
55reasons's Avatar
Thread Starter
Registered User
 
Joined: Aug 2014
Posts: 255
Likes: 38
Exhaust came in today from Amazon.

Coated it in 1200 degree paint to try and ward off some of the rust for a while.


Reply
Old Apr 20, 2019 | 04:23 PM
  #204  
55reasons's Avatar
Thread Starter
Registered User
 
Joined: Aug 2014
Posts: 255
Likes: 38
Door to go....


Reply
Old May 4, 2019 | 05:13 PM
  #205  
55reasons's Avatar
Thread Starter
Registered User
 
Joined: Aug 2014
Posts: 255
Likes: 38
Progress. Wheels and tires, etc.

Finally decided on tires for the wheels.

Wrapped the exhaust.

....still pounding away at the body work.


Reply
Old May 5, 2019 | 12:14 PM
  #206  
old87yota's Avatar
Registered User
10 Year Member
Liked
Loved
Community Favorite
 
Joined: Jun 2013
Posts: 3,112
Likes: 582
From: Portland, Oregon, USA
The tires look great!

Body work takes a lot of time to get just right. It is worth it to spend the extra time now. The T100 will look great when you are done!

I don't think I have seen someone wrap the exhaust to the end of the tail pipe, just headers. Did you do this for any particular reason?

Reply
Old May 8, 2019 | 07:56 PM
  #207  
BeRT100's Avatar
Registered User
10 Year Member
Liked
Loved
 
Joined: Jan 2013
Posts: 23
Likes: 5
From: SOCAL
I knew if I waited long enough, you'd solve this hood/ brace problem, on my truck, for me ��
Bet you'll put on more than the OEM widely spaced dabs of the original stuff - which let loose over time starting 'bout the 3d year.
BUT I've come to think of it as my version of a "shaker hood" with out the big block price.--sigh.
Reply
Old Jun 29, 2019 | 07:26 PM
  #208  
55reasons's Avatar
Thread Starter
Registered User
 
Joined: Aug 2014
Posts: 255
Likes: 38
Originally Posted by old87yota
The tires look great!

Body work takes a lot of time to get just right. It is worth it to spend the extra time now. The T100 will look great when you are done!

I don't think I have seen someone wrap the exhaust to the end of the tail pipe, just headers. Did you do this for any particular reason?

Purely cosmetic. I had about 3 ft left over in my drawer from my Harley and decided to see how it would look. Lol.
Reply
Old Jun 29, 2019 | 07:29 PM
  #209  
55reasons's Avatar
Thread Starter
Registered User
 
Joined: Aug 2014
Posts: 255
Likes: 38
Originally Posted by BeRT100
I knew if I waited long enough, you'd solve this hood/ brace problem, on my truck, for me ��
Bet you'll put on more than the OEM widely spaced dabs of the original stuff - which let loose over time starting 'bout the 3d year.
BUT I've come to think of it as my version of a "shaker hood" with out the big block price.--sigh.
Yeah, well, the 3M stuff is NOT cheap. It’s holding up really well. I used two whole tubes of it and the hood does NOT appear to have any signs of letting go of this stuff.

time will tell with black paint, high surface temps, etc, but I think this is the solution.

oh, and if you’re going to buy it, I would suggest checking the gap between the roof brace and roof too. It’s ALSO probably come unstuck as well.
Reply
Old Jun 29, 2019 | 07:38 PM
  #210  
55reasons's Avatar
Thread Starter
Registered User
 
Joined: Aug 2014
Posts: 255
Likes: 38
I’ve been busy...

Nobody wants to see 6 months worth of bodywork in a thread, so I spared everyone.

I went ahead and put Dynamat in the inside of the fenders, and then mounted them all up with stainless steel bolts and washers this time.

I hit the under edges of the tailgate with POR15 and did the same on the jambs of the bed for the tailgate as well.

i’m not Really sure if there is supposed to be any sort of bushings on the “hinge pivot things” for the tailgate, so Inwent ahead and made some after seeing how much the metal was worn.

Took a spray paint can, cut a long strip off it, measured up the diameter of the pivot point, cut to length, melted the ends together with a lighter, then reinforced with 2 part epoxy. I’m thinking maybe this will provide a smoother pivot without all the metal on metal contact.


Reply
Old Jun 29, 2019 | 07:41 PM
  #211  
55reasons's Avatar
Thread Starter
Registered User
 
Joined: Aug 2014
Posts: 255
Likes: 38
Also, finished the last portion of the wiring harness.

Full disassemble, clean all wires and connectors with electronics cleaner, install new flex-loom, re-wrap with super-33 tape, and re-route.


Reply
Old Jun 29, 2019 | 07:43 PM
  #212  
55reasons's Avatar
Thread Starter
Registered User
 
Joined: Aug 2014
Posts: 255
Likes: 38
License plate light housings anyone?

Early on I ordered license plate light housings, but it only comes with the inner assembly. Does anyone know where to get the liters from?


Reply
Old Jun 29, 2019 | 07:45 PM
  #213  
55reasons's Avatar
Thread Starter
Registered User
 
Joined: Aug 2014
Posts: 255
Likes: 38
LED light upgrade ... HYPERFLASH ?

After rebuilding the entire harness I just HAD to do an LED upgrade for the bulbs.

I am going to ASSUME that I’m going to get hyper flash now?


Reply
Old Jun 29, 2019 | 07:49 PM
  #214  
55reasons's Avatar
Thread Starter
Registered User
 
Joined: Aug 2014
Posts: 255
Likes: 38
Most recent pic

I plan to paint it next Saturday.

Hopefully my paint skills have not faded and I don’t waste a full load of PPG paint. Lol...


Last edited by 55reasons; Jun 29, 2019 at 07:52 PM.
Reply
Old Jun 30, 2019 | 09:49 AM
  #215  
old87yota's Avatar
Registered User
10 Year Member
Liked
Loved
Community Favorite
 
Joined: Jun 2013
Posts: 3,112
Likes: 582
From: Portland, Oregon, USA
You did a lot of work!

Things are coming along nicely!

Reply
Old Jun 30, 2019 | 01:50 PM
  #216  
55reasons's Avatar
Thread Starter
Registered User
 
Joined: Aug 2014
Posts: 255
Likes: 38
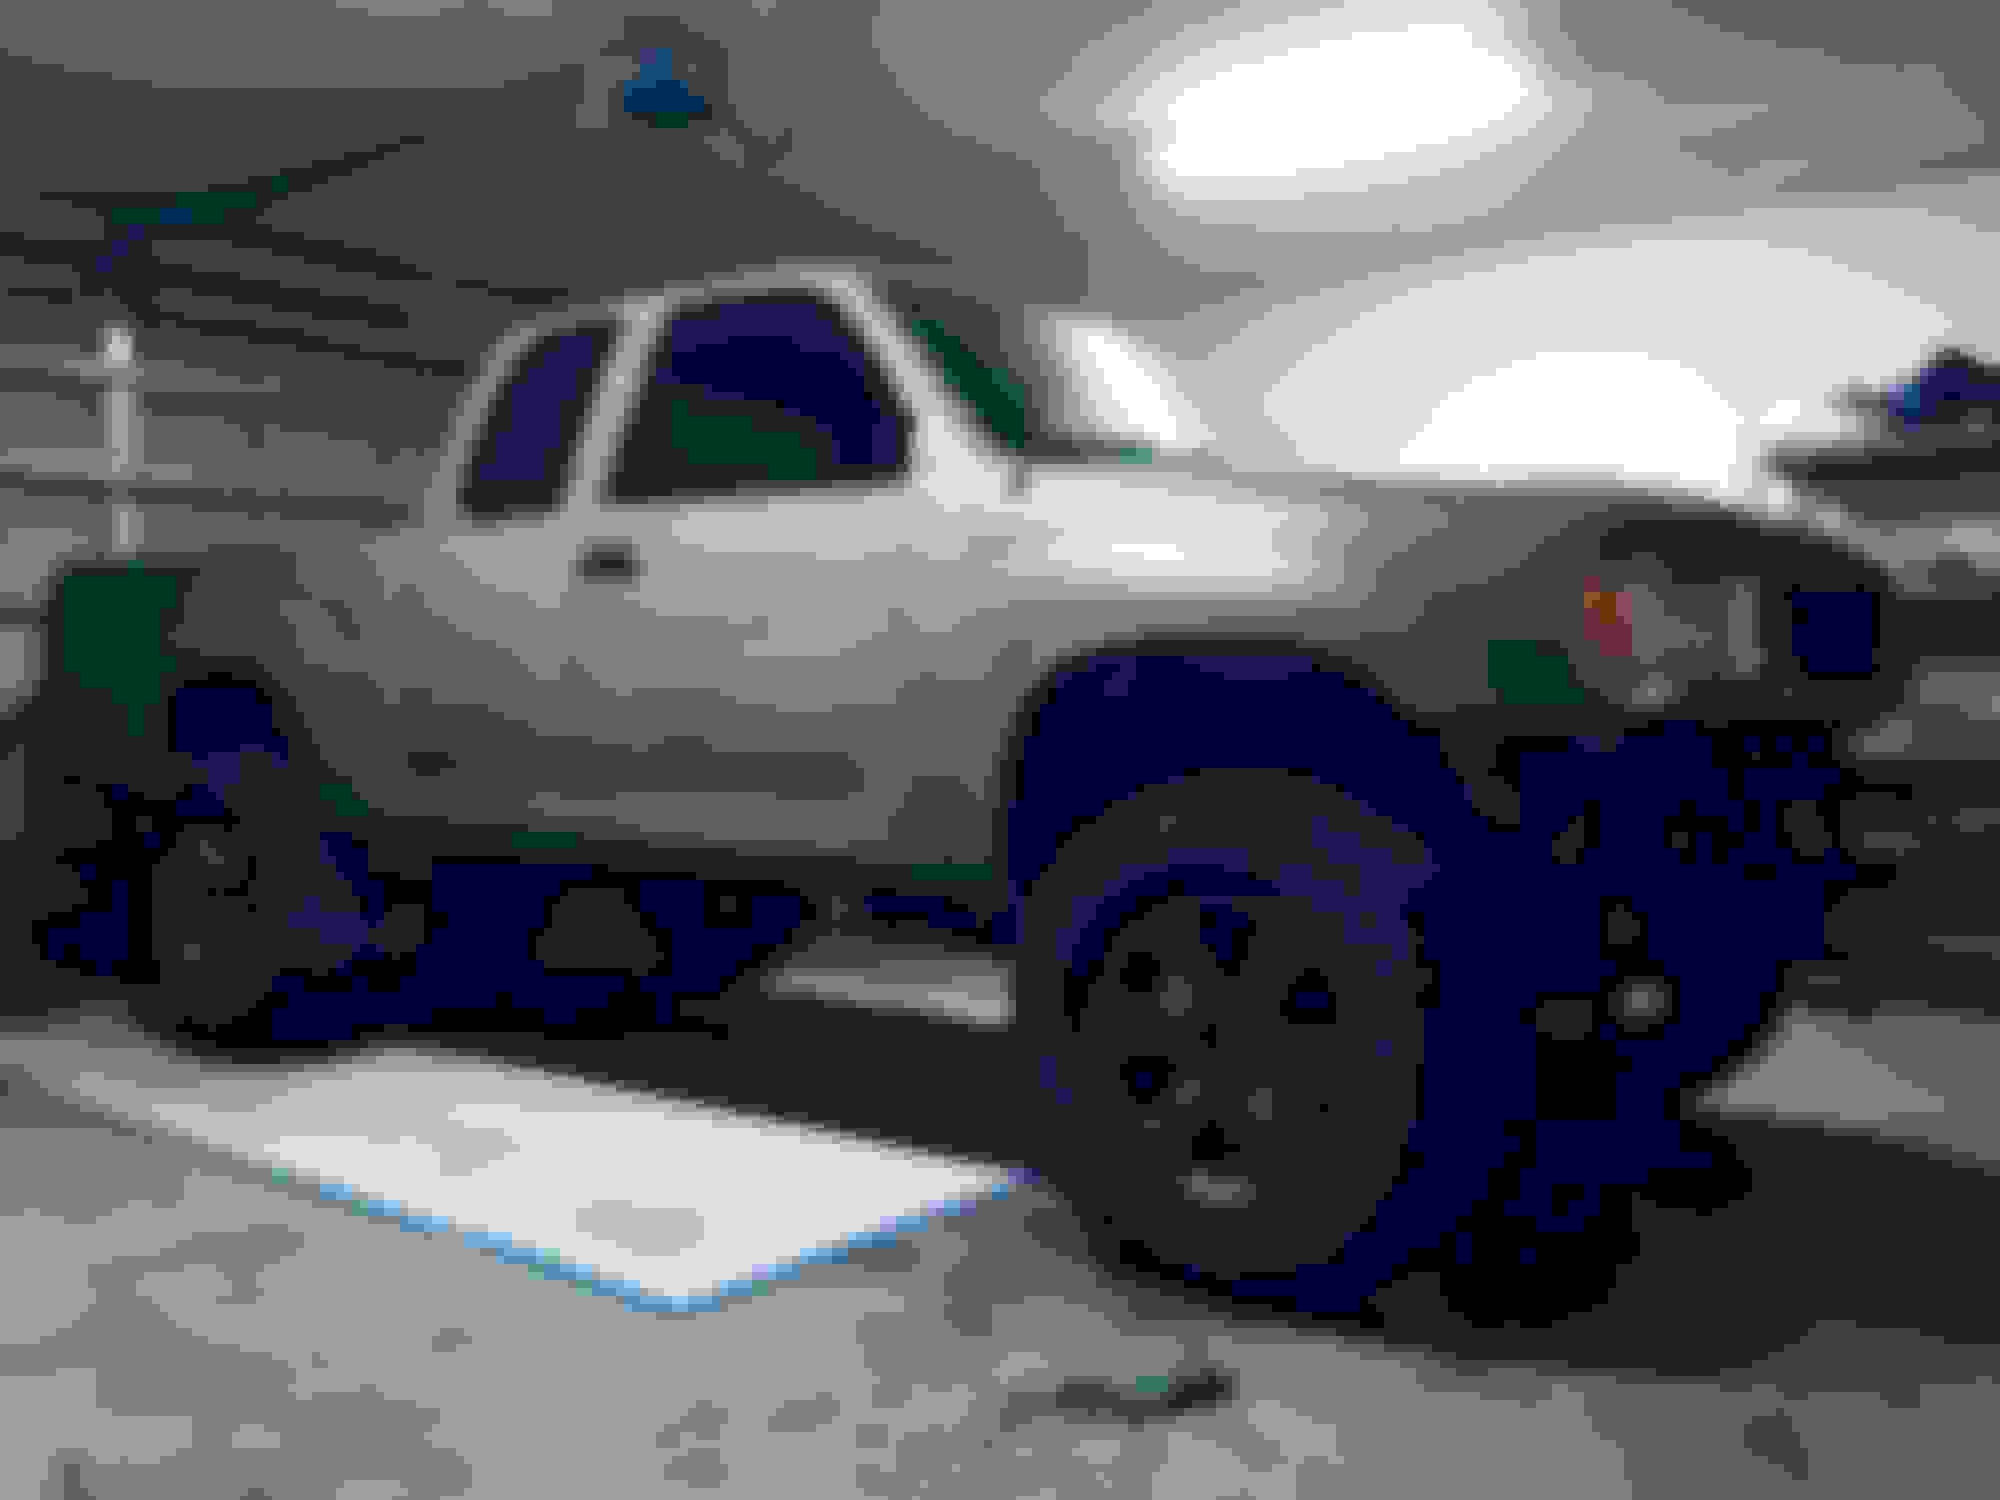
Possibly the last photo before I lay the paint on...

For this, I’m using PPG dark grey sealer (about 10 shades darker than the etching primer in this photo)

Hoping to get (3) coats of black, but we’ll see how far it stretches.

Before the clear goes on the tailgate, I’m hoping to get the decal I had made on. Hopefully this will allow the decal to be buried under the clear coat to pay homage to the style of the T100, but bring it to a more modern look.

Wish me luck, as paint day is ALWAYS the most stressful day of a build!


Reply
Old Jun 30, 2019 | 01:51 PM
  #217  
55reasons's Avatar
Thread Starter
Registered User
 
Joined: Aug 2014
Posts: 255
Likes: 38
Originally Posted by old87yota
You did a lot of work!

Things are coming along nicely!

Thank-you sir!

I’m WAAAAAAAAY past my intended schedule.
Reply
Old Jul 3, 2019 | 07:16 AM
  #218  
55reasons's Avatar
Thread Starter
Registered User
 
Joined: Aug 2014
Posts: 255
Likes: 38
Rear license plate light housings.

In case anyone is ever looking for that part number!


Reply
Old Jul 8, 2019 | 01:36 PM
  #219  
55reasons's Avatar
Thread Starter
Registered User
 
Joined: Aug 2014
Posts: 255
Likes: 38
Out of the paint booth and to alignment

Surprisingly, my fishing line alignment was only off by .25 !


Reply
Old Jul 8, 2019 | 04:21 PM
  #220  
old87yota's Avatar
Registered User
10 Year Member
Liked
Loved
Community Favorite
 
Joined: Jun 2013
Posts: 3,112
Likes: 582
From: Portland, Oregon, USA
I see you got the T100 painted!

Reply

Thread Tools
Search this Thread

All times are GMT -8. The time now is 03:27 AM.