
KawaZX636's 1983 Toyota Pickup Restoration

 Oct 27, 2014 | 07:32 PM
#983
Thread Starter
Super Moderator
iTrader: (3)
Joined: Jan 2012
Posts: 3,218
Likes: 26
From: Salisbury, MD
Funny you should say that... I actually have a walk out basement with french doors to the back yard so I could technically fit it in the basement parts cache! LOL But I think I'll just stash it in my garage until I reassemble it. The interior wasn't painted because I will be Raptor Lining the interior from floor to roof for durability and sound deadening. I had thought about painting the rear corners, but thought that it would be more of a hassle than anything since they will hardly be exposed once the seats and headline is install so I'm going all the way with the raptor.
Oct 28, 2014 | 04:07 PM
#985
Thread Starter
Super Moderator
iTrader: (3)
Joined: Jan 2012
Posts: 3,218
Likes: 26
From: Salisbury, MD
Raptor is actually a spray on bedliner and it kind off doubles as a sound deadener in my scenario. No carpet, just raptor liner in the interior - I'm going for low/easy maintenance.
Oct 28, 2014 | 09:49 PM
#986
Thread Starter
Super Moderator
iTrader: (3)
Joined: Jan 2012
Posts: 3,218
Likes: 26
From: Salisbury, MD
Removed the masking tape tonight - it was like open presents at Christmas!
The paint was still slightly soft so I decided to opt out of back masking the paint and prepping the interior for Raptor Liner tonight. Then my wife called and informed me that Camden (my son) wasn't staying in bed so I had to return home to be the ultimate voice of authority - aka Dad! After I got him settled in I went out to the garage to work on my bed. I straightened the areas around the fenders that I needed to fill and worked a little on gapping the fuel filler door. I think that I'm going to do a slight mod with how it bolts on to the bed so its easier to adjust and so I can get it perfectly flush with the bed. I'm going to weld a couple bolts to the hinge so that I can mount it with nuts from the back side of the filler pocket. Right now it just screws into the inside of the filler pocket so it doesn't leave much room for adjustment and it is difficult to align because the filler door has to open to tighten the screws down. This will be a quick and easy fix - it'll take me longer to roll out the welder than it will to do the mod!


The paint was still slightly soft so I decided to opt out of back masking the paint and prepping the interior for Raptor Liner tonight. Then my wife called and informed me that Camden (my son) wasn't staying in bed so I had to return home to be the ultimate voice of authority - aka Dad! After I got him settled in I went out to the garage to work on my bed. I straightened the areas around the fenders that I needed to fill and worked a little on gapping the fuel filler door. I think that I'm going to do a slight mod with how it bolts on to the bed so its easier to adjust and so I can get it perfectly flush with the bed. I'm going to weld a couple bolts to the hinge so that I can mount it with nuts from the back side of the filler pocket. Right now it just screws into the inside of the filler pocket so it doesn't leave much room for adjustment and it is difficult to align because the filler door has to open to tighten the screws down. This will be a quick and easy fix - it'll take me longer to roll out the welder than it will to do the mod!
Oct 29, 2014 | 11:05 PM
#989
Thread Starter
Super Moderator
iTrader: (3)
Joined: Jan 2012
Posts: 3,218
Likes: 26
From: Salisbury, MD
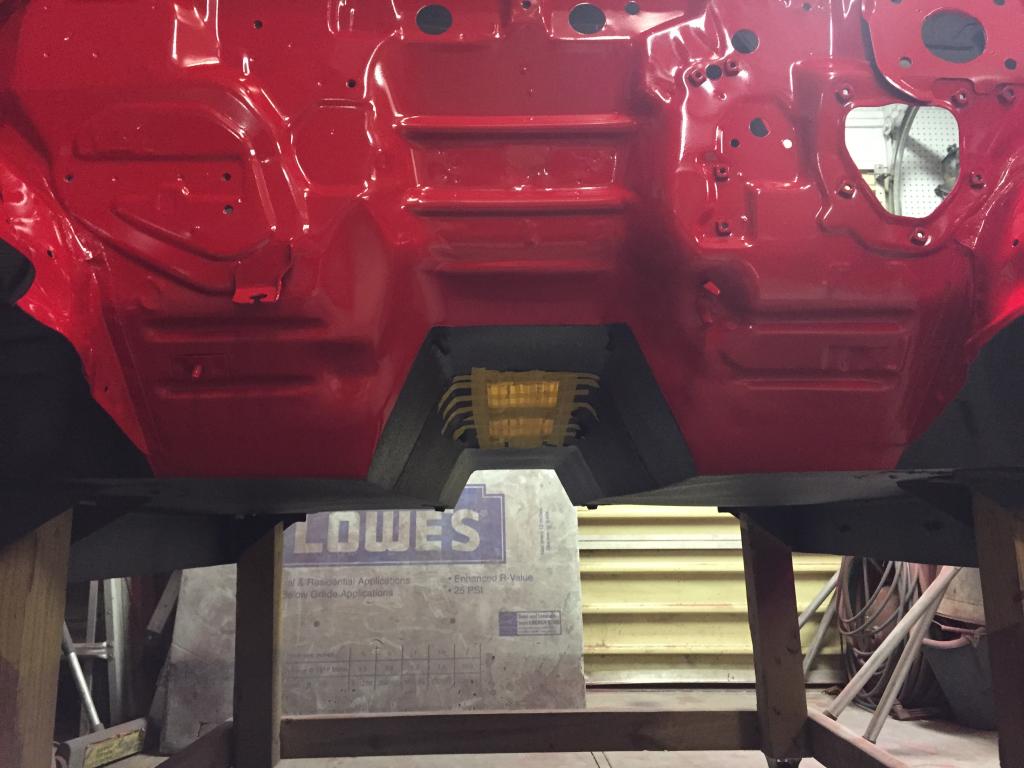
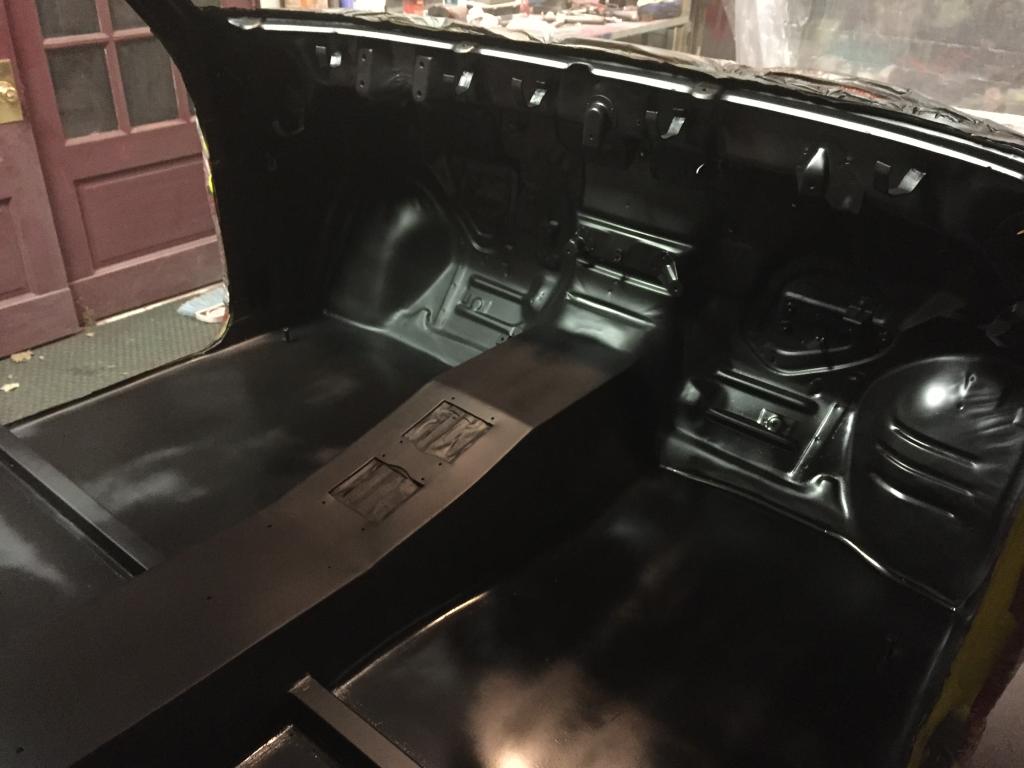
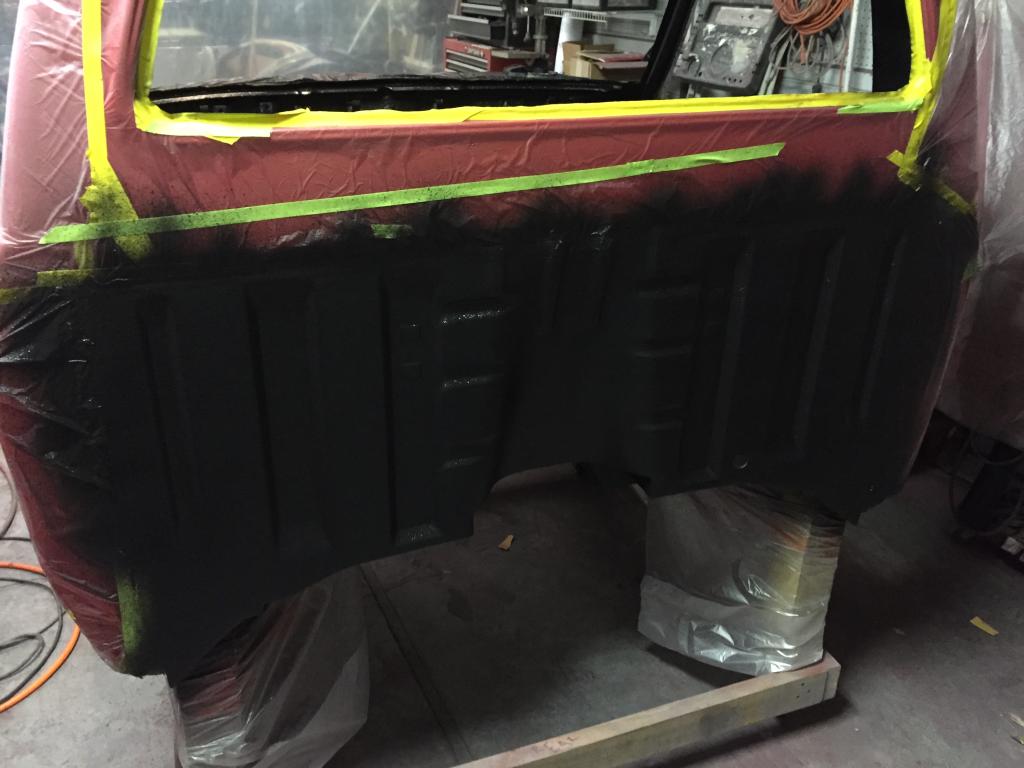
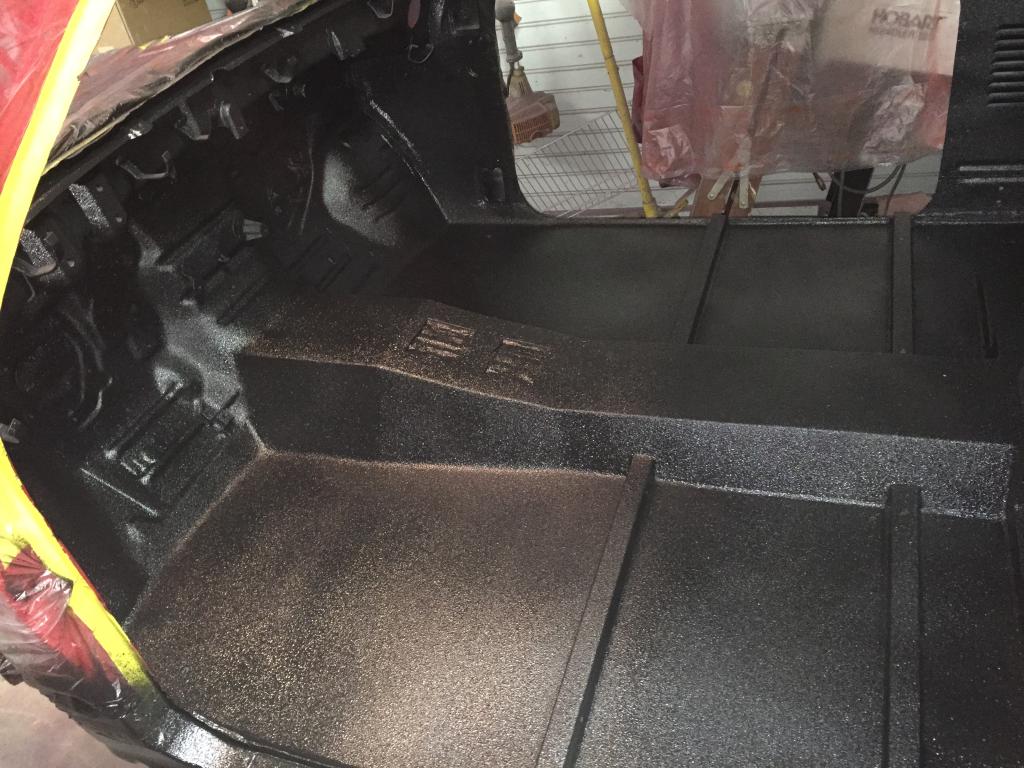
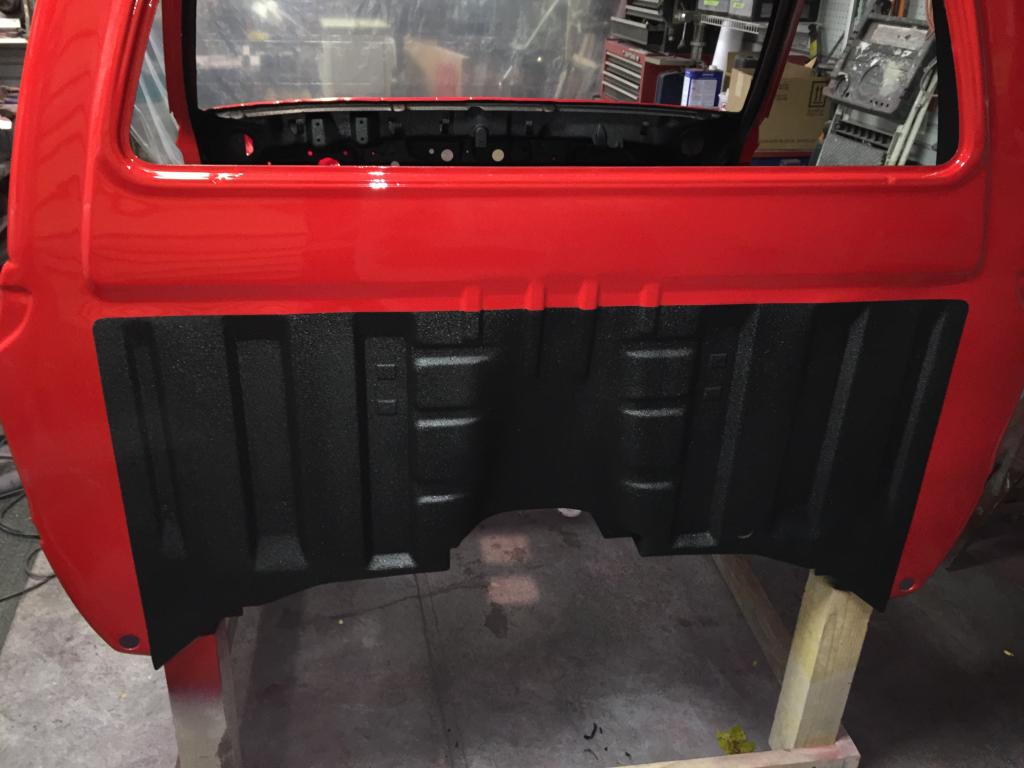
I had a little hiccup today... Last night I was scuffing my interior to prep for Raptor Liner when I got to thinking, "what would Raptor think about the seam sealer? So I did a little research today and it turns out that I would have adhesion issues if I sprayed the Raptor directly over the seam sealer. Well this sucked considering that I could have top coated the seam sealer when I sprayed the rest of the cab. Soooo I back masked all the exterior paint and ended up top coating the interior with the satin black that I was going to use for the engine compartment (that's definitely going to be red now). I shot two coats on the interior tonight with my detail gun and as soon as it is fully cured I'll scuff it up and spray the Raptor. It actually looks really nice. It wasn't quite flashed off yet when I took the pictures so it looks a little blotchy but it would be a good finish for an engine compartment.


 Oct 30, 2014 | 08:14 PM
#991
Thread Starter
Super Moderator
iTrader: (3)
Joined: Jan 2012
Posts: 3,218
Likes: 26
From: Salisbury, MD
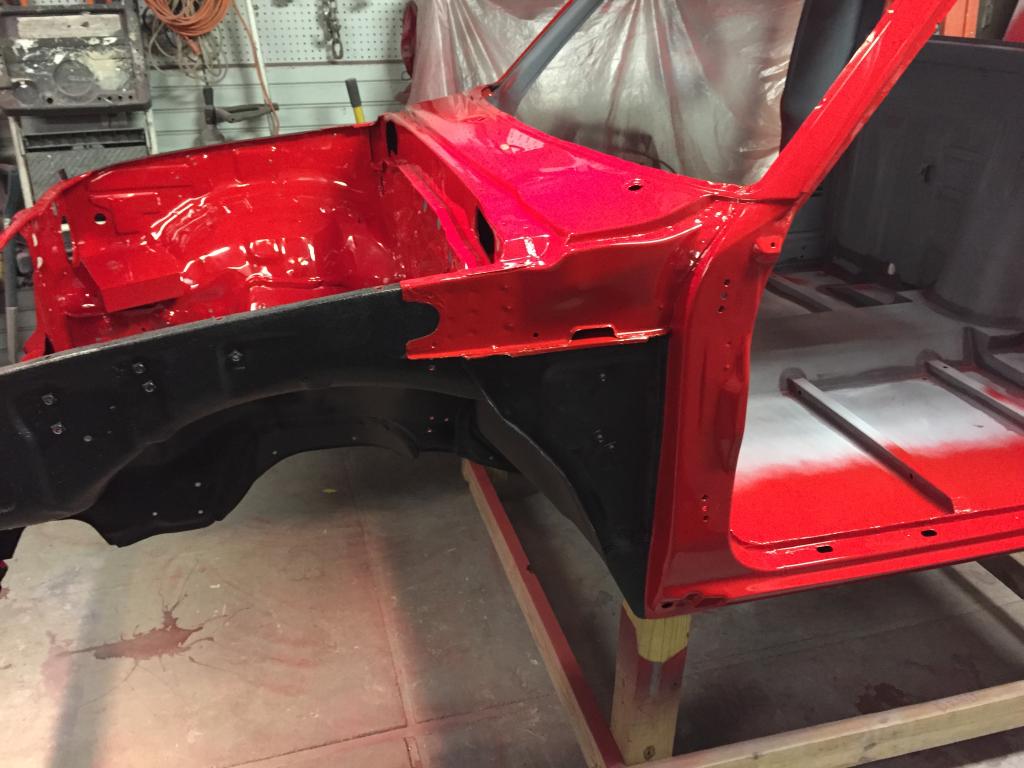
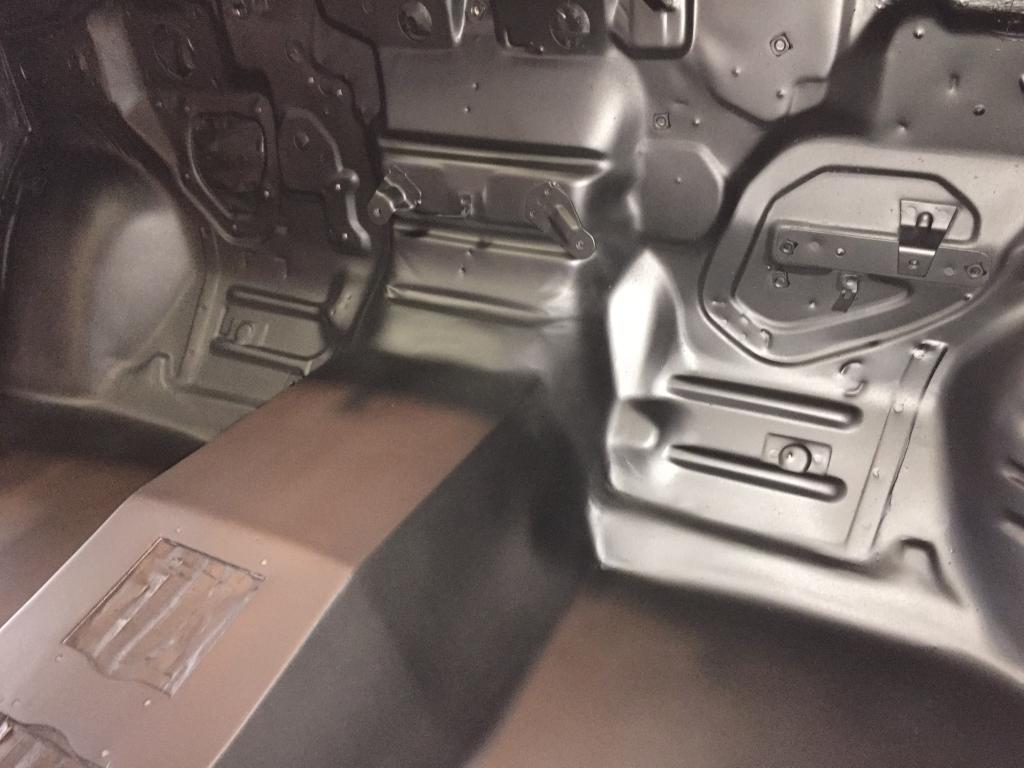
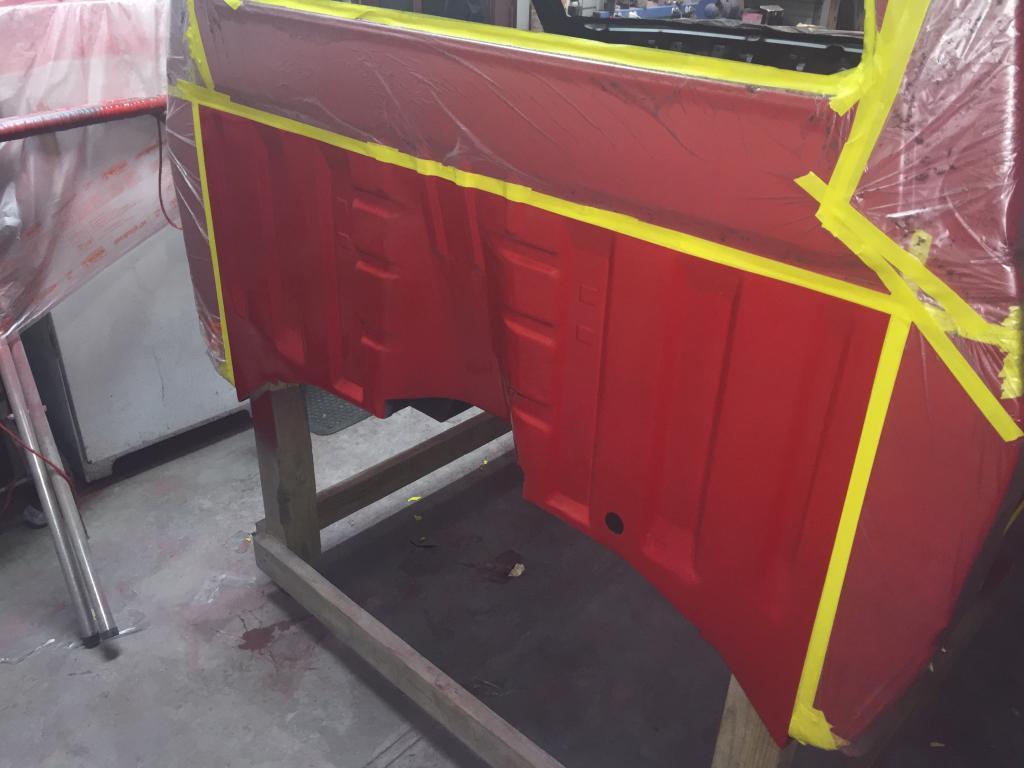
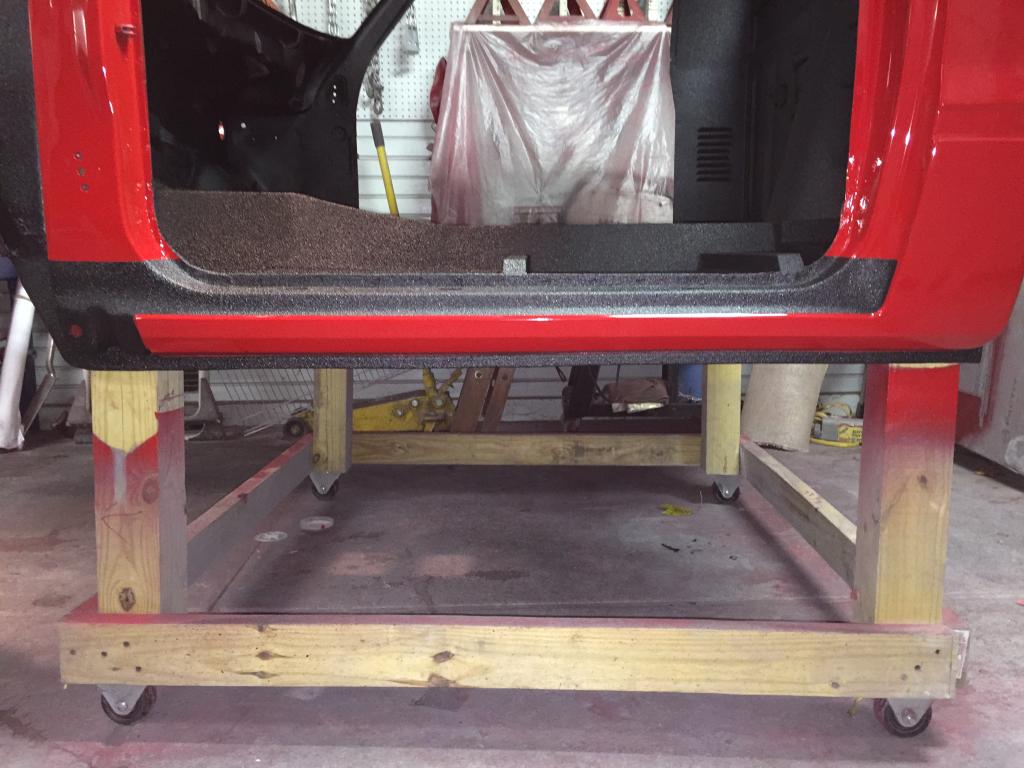
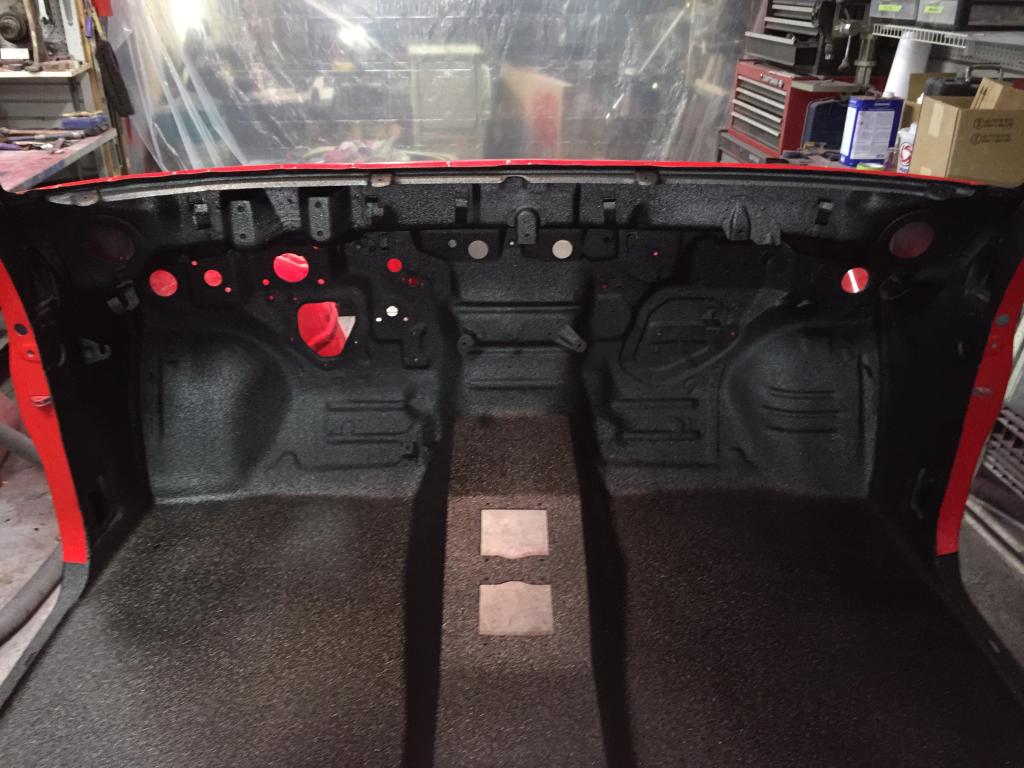
Here's a another couple shots of that satin engine paint after it dried. I am actually really impressed with the finish, especially since I was using my detail gun and didn't exactly spray it on very evenly. That's somewhat unheard of when you are talking satin, flat and matte finishes. Really great sheen and excellent coverage - it easily covered the overlapped red (of all colors) after the first coat.
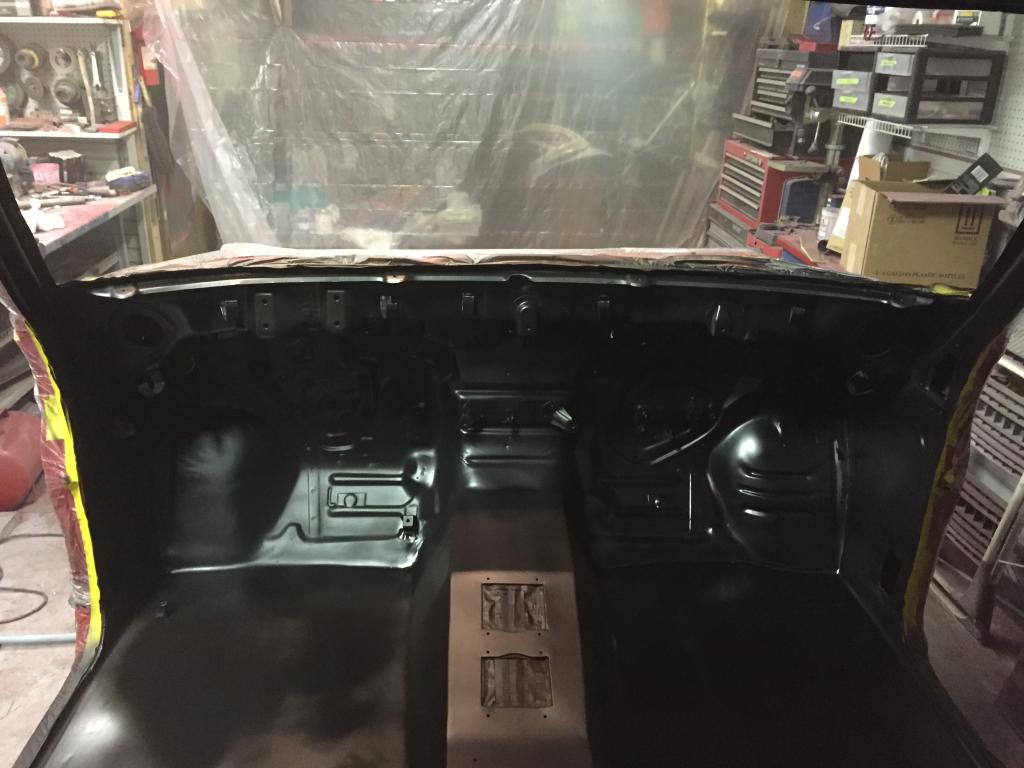
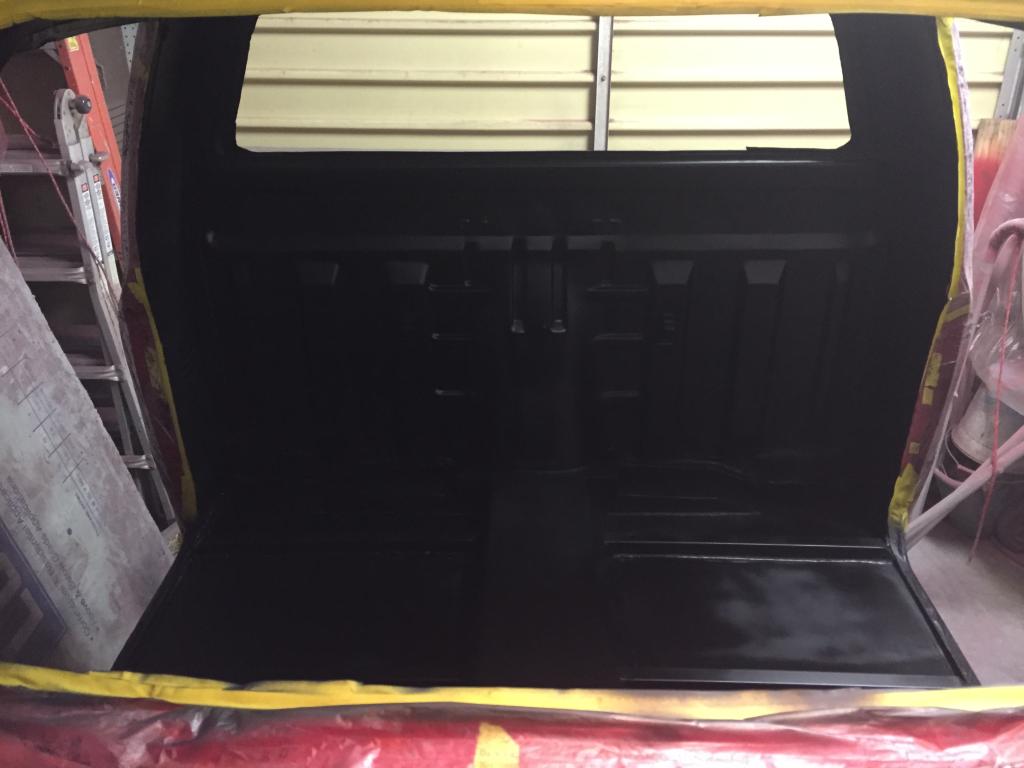
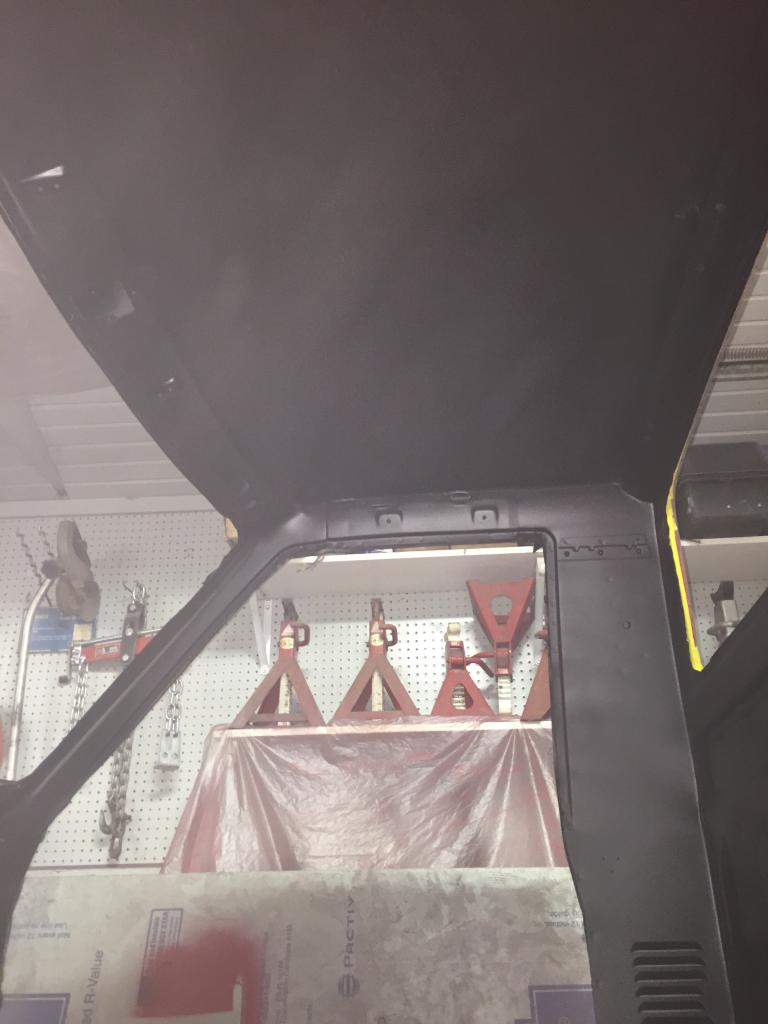
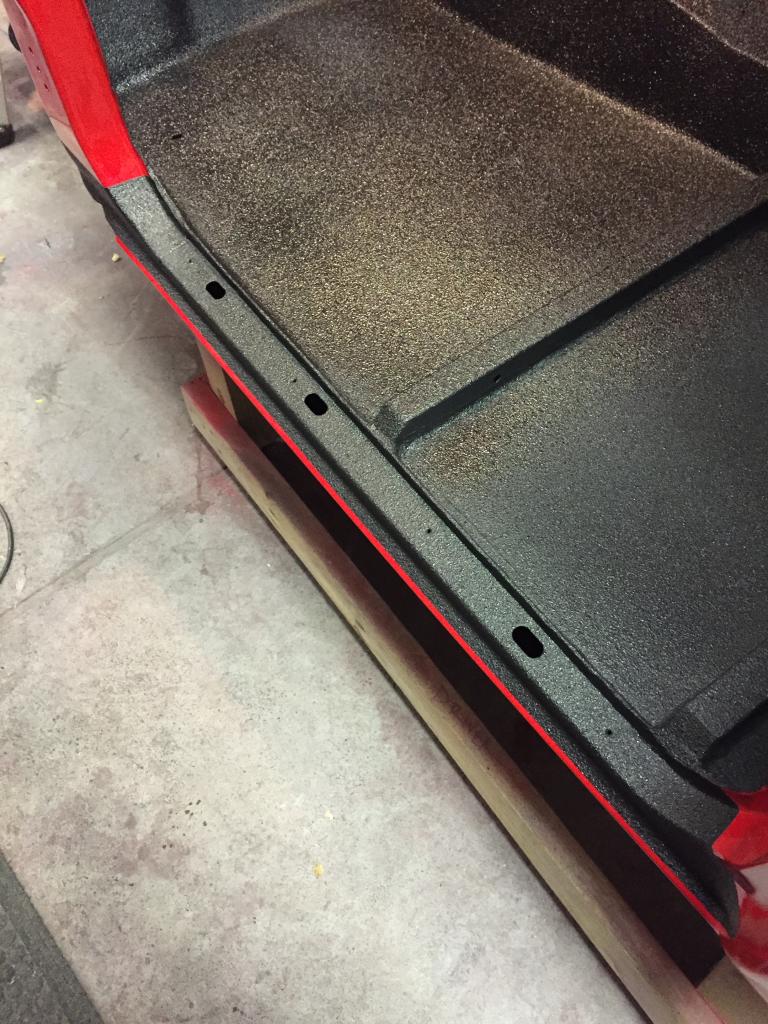
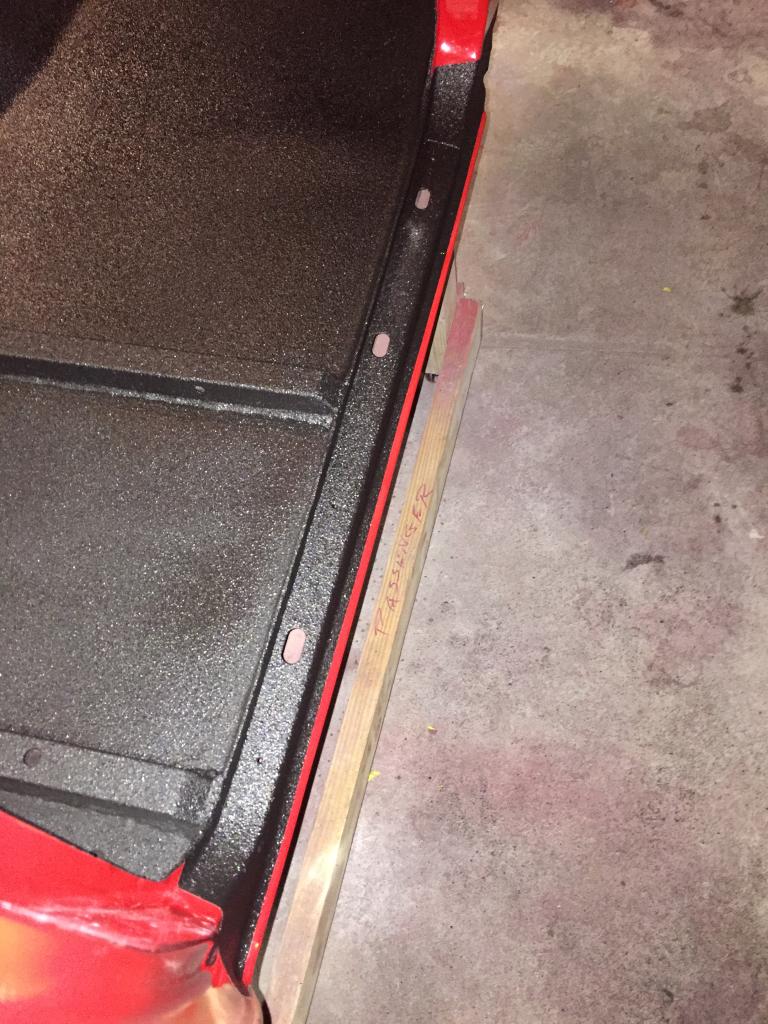
After admiring the coating, I went ahead and back masked the areas that I want to Raptor Liner. I'm going to spray it along the door sill about a 1/4" inward from where it bends down into the exterior rockers and the along the bottom of the rocker panels where the rockers are spot welded on - this is a little bit for protection, but mostly to make that 3/4" or so flange hanging below the rockers "disappear" into the chassis so the cab doesn't look like it hangs lower than the bottom of the bed skirts. I'd say 95% of all trucks are like that and it is one of those things that always just annoys me. You would think that manufacturers would come up with a better design that eliminates that. In addition to the interior (roof, floor, walls and all) I'm also going to line the back of the cab that will be covered up by the bed. Since I don't plan on installing carpet to help deaden sound and hide sound deadener, I'm going to have to do everything I can to deaden the noise from the outside world. I'm confident that it will help a fair amount - especially on the roof when it rains! I'm going to give the paint one more day to cure and then I'll scuff it, spray some adhesion promoter and then line it all. Here's the masked off areas to give you an idea of what will be lined - pretty much anything without tape or plastic on it will get lined:
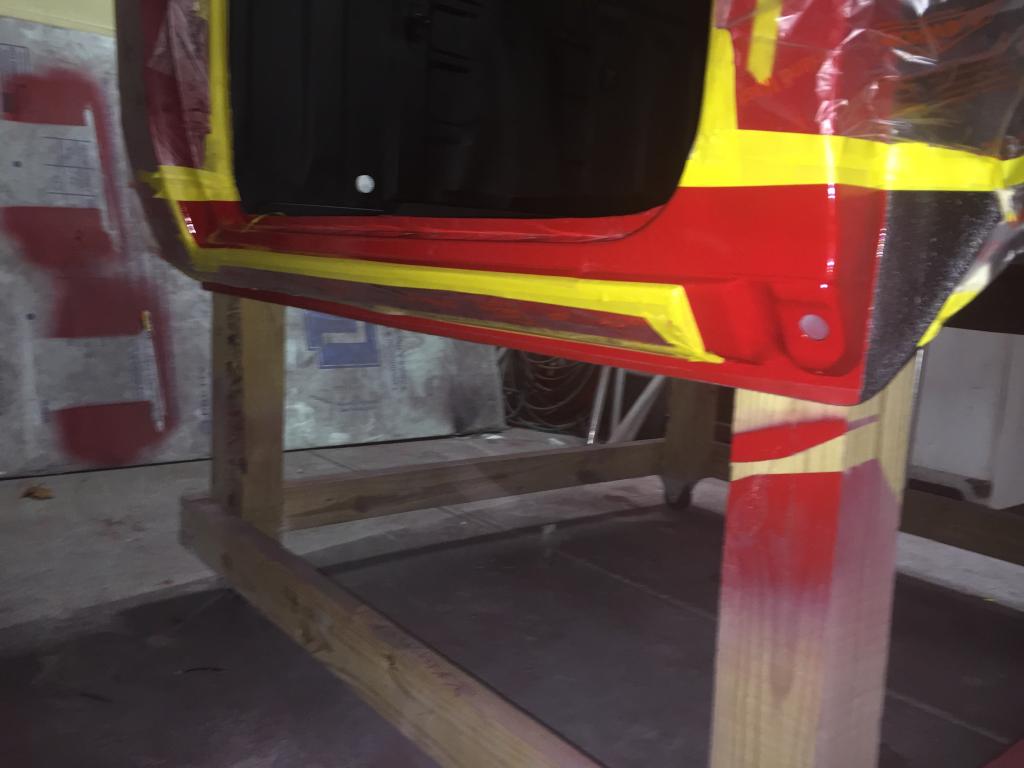
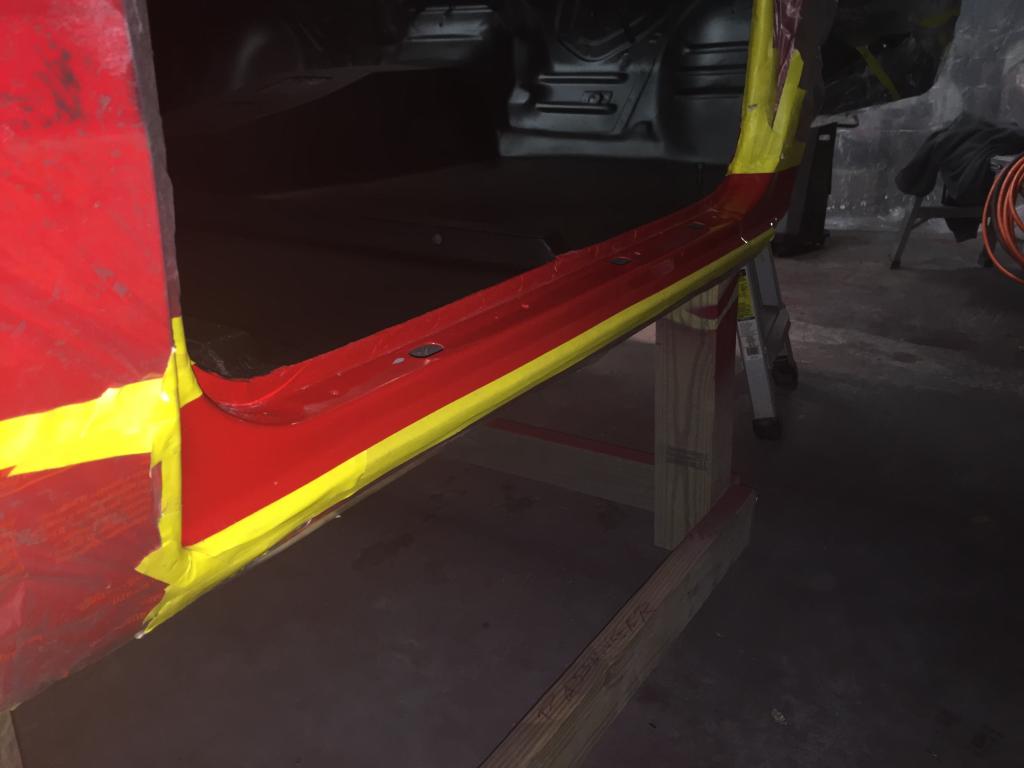


After admiring the coating, I went ahead and back masked the areas that I want to Raptor Liner. I'm going to spray it along the door sill about a 1/4" inward from where it bends down into the exterior rockers and the along the bottom of the rocker panels where the rockers are spot welded on - this is a little bit for protection, but mostly to make that 3/4" or so flange hanging below the rockers "disappear" into the chassis so the cab doesn't look like it hangs lower than the bottom of the bed skirts. I'd say 95% of all trucks are like that and it is one of those things that always just annoys me. You would think that manufacturers would come up with a better design that eliminates that. In addition to the interior (roof, floor, walls and all) I'm also going to line the back of the cab that will be covered up by the bed. Since I don't plan on installing carpet to help deaden sound and hide sound deadener, I'm going to have to do everything I can to deaden the noise from the outside world. I'm confident that it will help a fair amount - especially on the roof when it rains! I'm going to give the paint one more day to cure and then I'll scuff it, spray some adhesion promoter and then line it all. Here's the masked off areas to give you an idea of what will be lined - pretty much anything without tape or plastic on it will get lined:


Last edited by kawazx636; Oct 30, 2014 at 08:18 PM.
Oct 31, 2014 | 10:22 PM
#992
Thread Starter
Super Moderator
iTrader: (3)
Joined: Jan 2012
Posts: 3,218
Likes: 26
From: Salisbury, MD
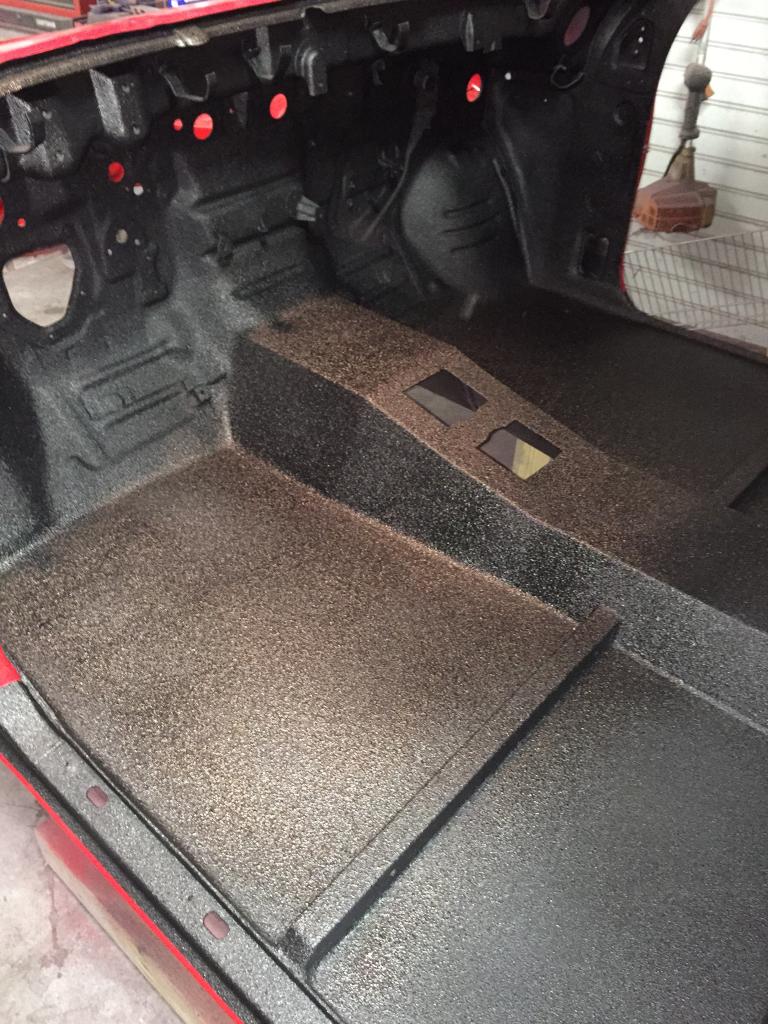
After a long night if thorough scuffing, I applied some adhesion promoter and shot the first coat of Raptor on the interior. I've got a hour of flash time to kill so I'm going to run out to grab a coffee since it's 2:20am and it doesn't look like my evening is going to end too soon...

 Nov 1, 2014 | 02:01 AM
#993
Thread Starter
Super Moderator
iTrader: (3)
Joined: Jan 2012
Posts: 3,218
Likes: 26
From: Salisbury, MD
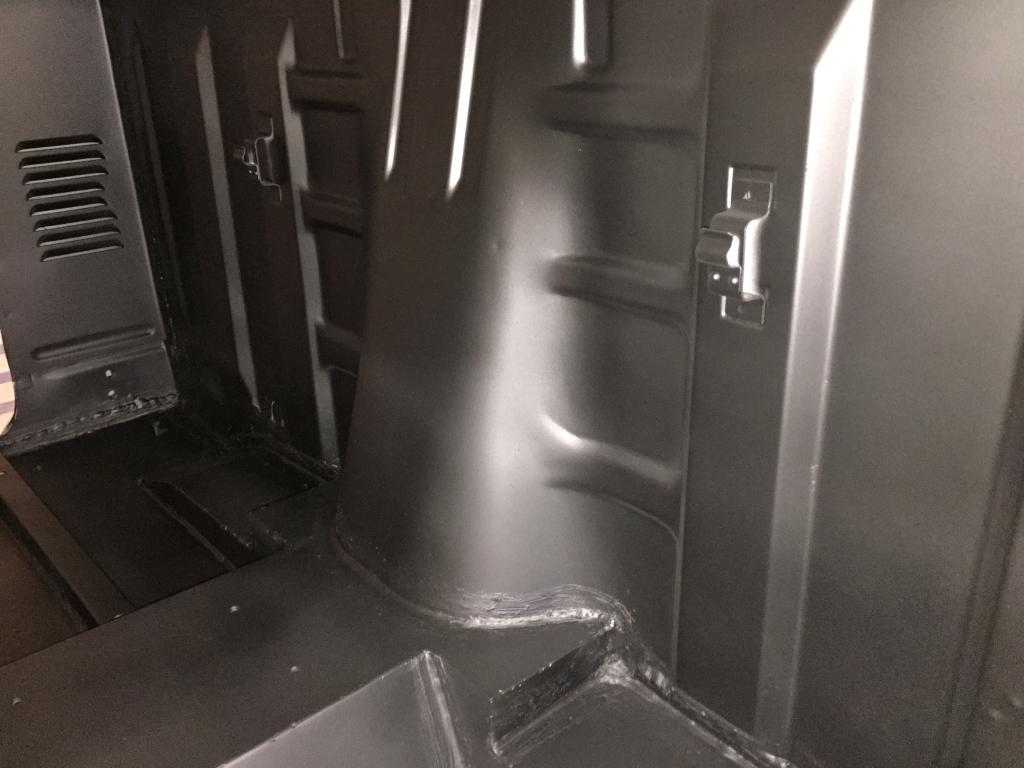
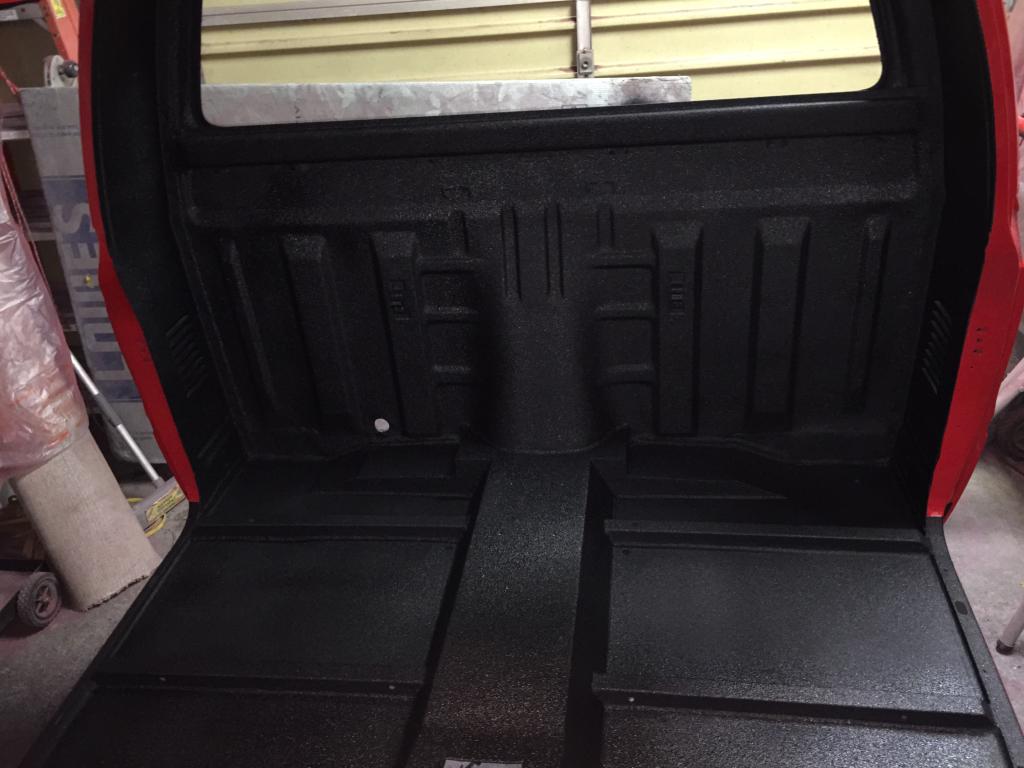
It's officially 6:00am and I have been at it since about 9:30 last night, but it was worth hitting another milestone - THE CAB PAINT IS DONE!! Just finished unmasking everything (another Christmas day for me!) I'm really pleased with the results. Here it is in all its glory:
I've been up for 24 hours so I'm going to bed now.... *yawn*


I've been up for 24 hours so I'm going to bed now.... *yawn*
 Nov 1, 2014 | 08:53 AM
#996
Thread Starter
Super Moderator
iTrader: (3)
Joined: Jan 2012
Posts: 3,218
Likes: 26
From: Salisbury, MD
Whatchu talkin bout Willis?! It has been rolling this whole time... On a dollie... LOL I really hope it'll come around soon. It's really hard not to rush it right about now too - I have an irresistable urge to go plop the cab on the frame right now but I know that it'll be easier and cleaner if I wetsand the paint with it off

 Nov 1, 2014 | 02:58 PM
#999

Registered User
Joined: Nov 2014
Posts: 1
Likes: 0
From: New Zealand
Hi just joined the forum and loving this thread. Here in NZ before this model hilux came out your choices in 4wds were either Landcruisers or Landrovers , these changed all that. I spent plenty of hours in a yellow version of yours on hunting as my mates dad had one and later my step brother bought its twin. My mates dad still has his, he'll never sell it.
Cant wait to see the finished product, the work you've done so far is superb.
Cant wait to see the finished product, the work you've done so far is superb.


