
KawaZX636's 1983 Toyota Pickup Restoration
 Nov 16, 2014 | 05:23 PM
#1021
Did you use any special products in prepping the fender flares? I'm not sure what I need to do mine when I get there this winter. Thanks. You're doing an excellent job on your build
Nov 16, 2014 | 07:23 PM
#1022
Thread Starter
Super Moderator
iTrader: (3)
Joined: Jan 2012
Posts: 3,218
Likes: 26
From: Salisbury, MD
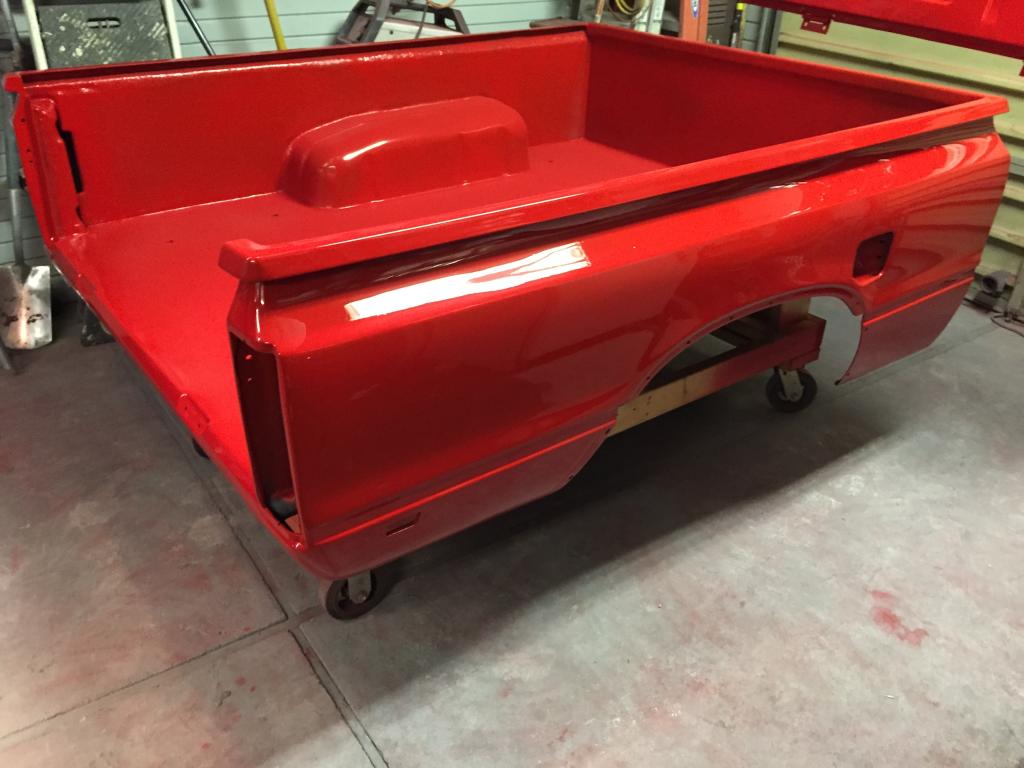
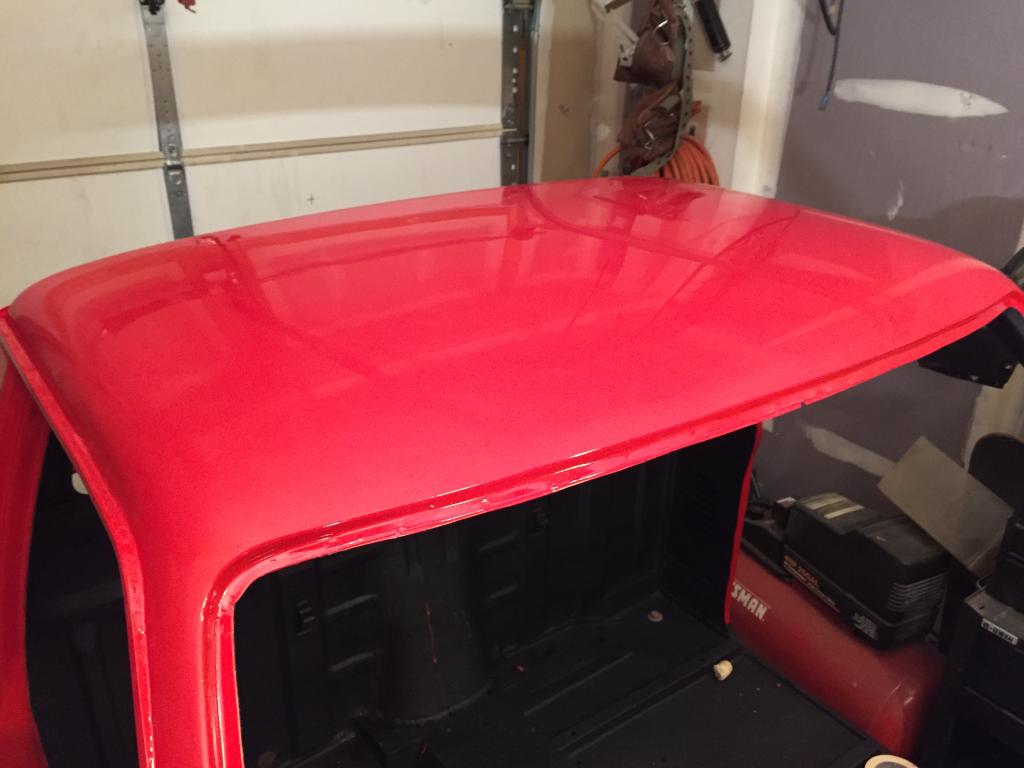
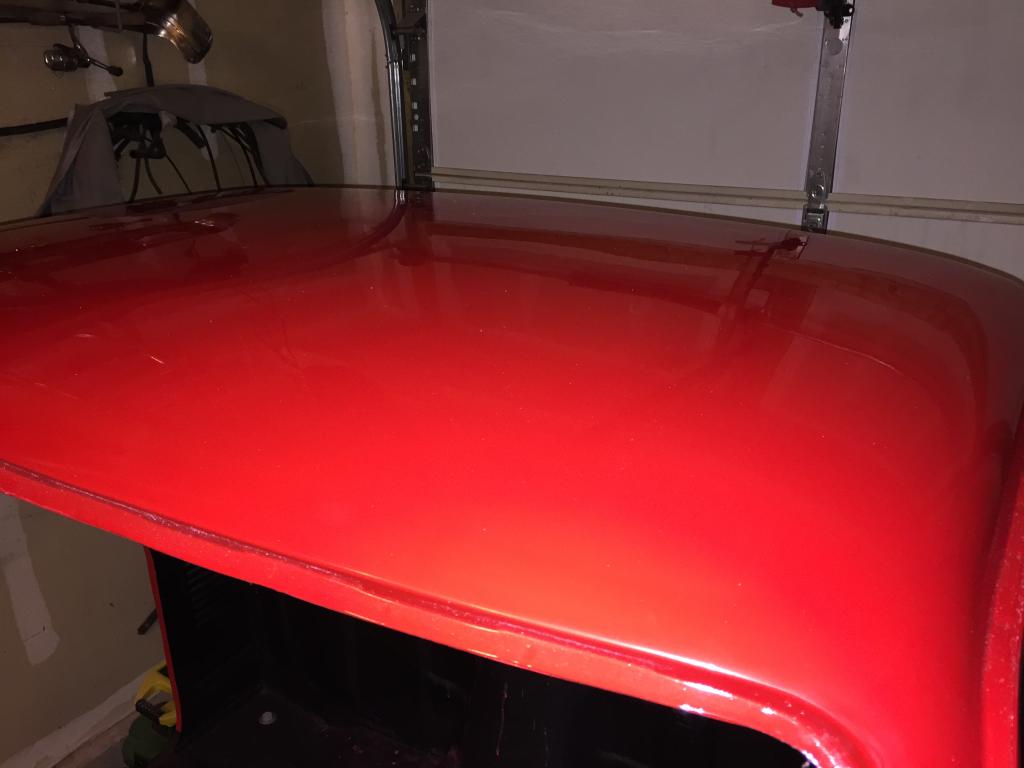
Thanks guys, but it's not all fun and games yet. I'm pretty satisfied with how paint flowed out on the bed - this is probably the best paint I've ever laid. I hardly have any orange peel, but since this is a garage job I still have to wetsand everything to get rid of the nibs, a couple sags and what little orange peel that I have. It is certainly what I would call a very good "10 foot paint job" (looks excellent from 10 feet) but I want it to look good from 10 inches so there is still a little more work to do.
Here are some shots after the dust settled, removes the masking and cleaned the shop a little:
Here are some shots after the dust settled, removes the masking and cleaned the shop a little:


 Nov 22, 2014 | 09:21 AM
#1024
Thread Starter
Super Moderator
iTrader: (3)
Joined: Jan 2012
Posts: 3,218
Likes: 26
From: Salisbury, MD
Haven't had much time to check in with an update in a while so he we go.
Bed was on the move again. Headed over to my cousin's garage to storage until I'm ready for it again:

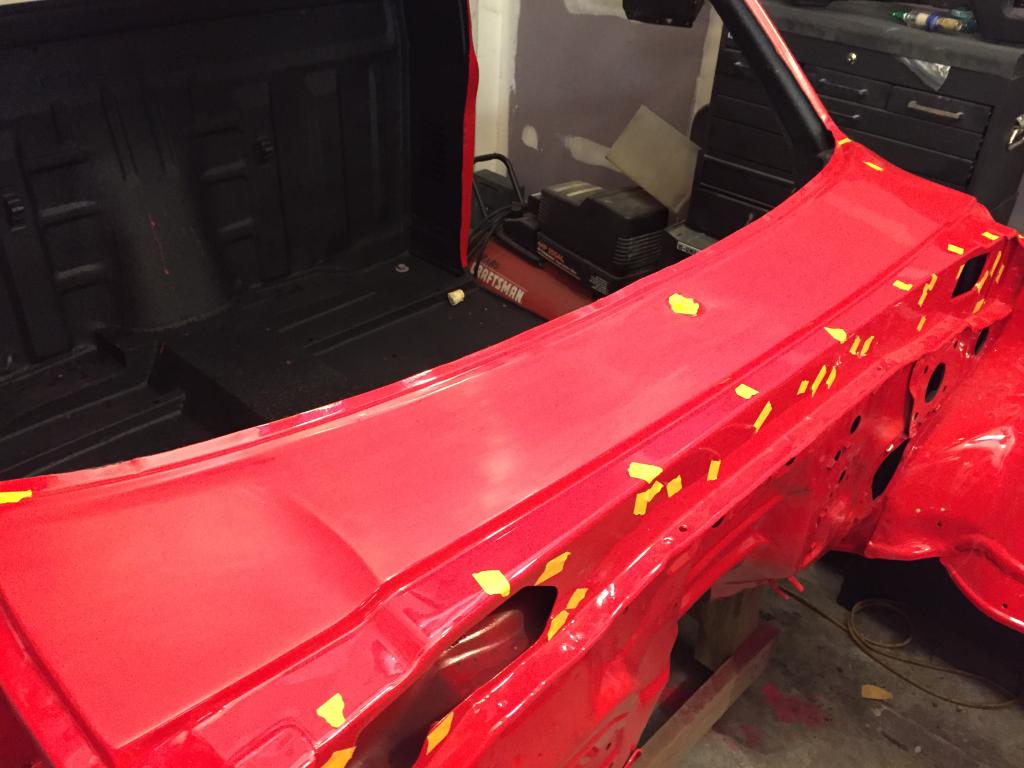
Then I started color sanding. Removed any sags, nibs and orange peel and took the cab to 2,000 grit. Tape is just there to keep the water from getting into the cowl.
Bed was on the move again. Headed over to my cousin's garage to storage until I'm ready for it again:
Then I started color sanding. Removed any sags, nibs and orange peel and took the cab to 2,000 grit. Tape is just there to keep the water from getting into the cowl.
Nov 22, 2014 | 09:31 AM
#1025
Thread Starter
Super Moderator
iTrader: (3)
Joined: Jan 2012
Posts: 3,218
Likes: 26
From: Salisbury, MD
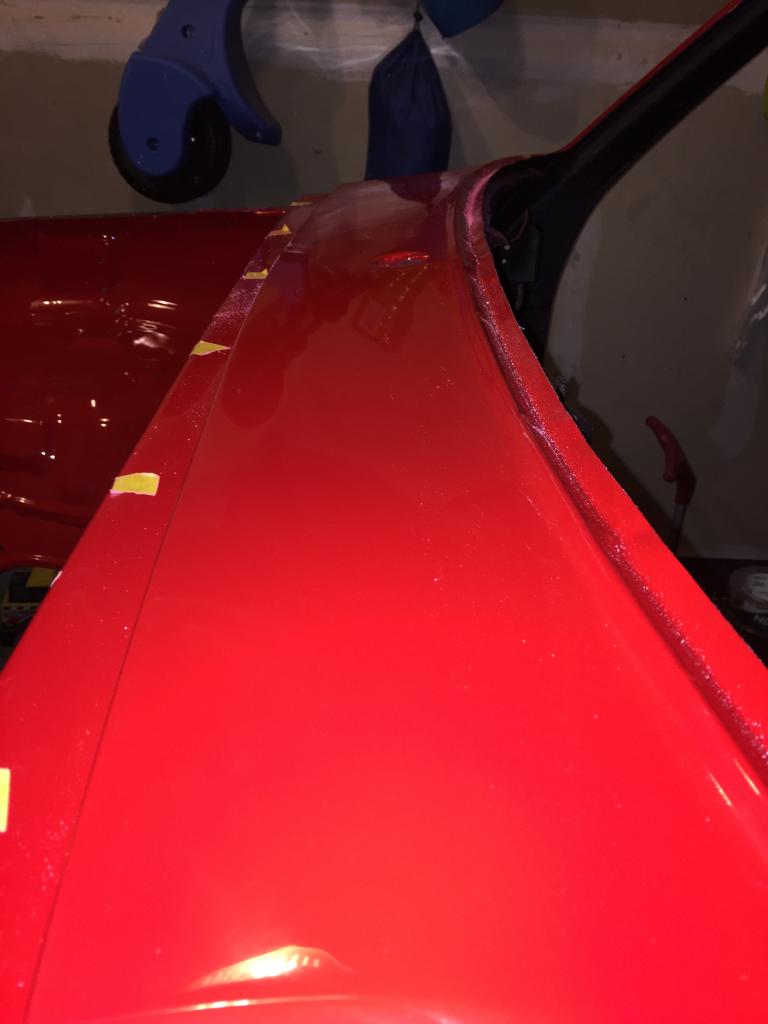
The I started buffing and polishing. I'm using Norton's Liquid Ice system - i've used it before with great results. Here are a couple shots after cutting it with a wool pad. I still have two more steps to go, but the shine is already coming through nicely.
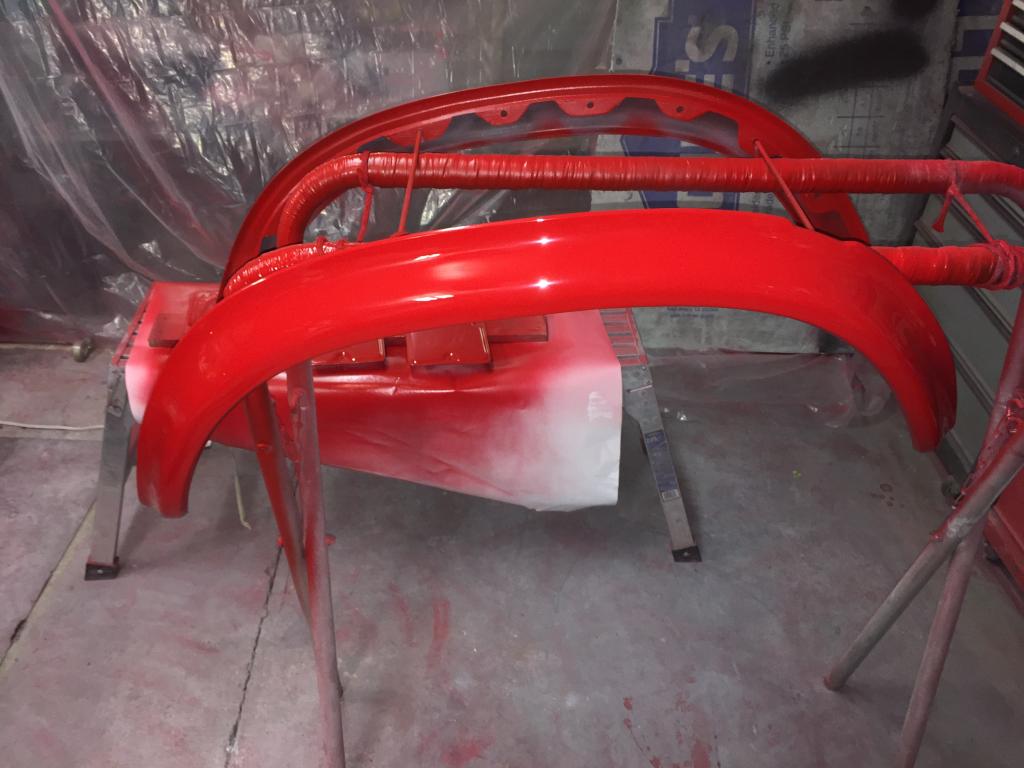
Then last night I got sick of dealing with paint so I went on a little powdercoating marathon. Powdercoating my door hinges, hood hinges, valance/hood latch bracket, fender stays, modified gas pedal, fuel filler, wipers and tailgate latches. Also assembled my door hinges with removeable pins and new bronze bushings. They are nice and tight now.
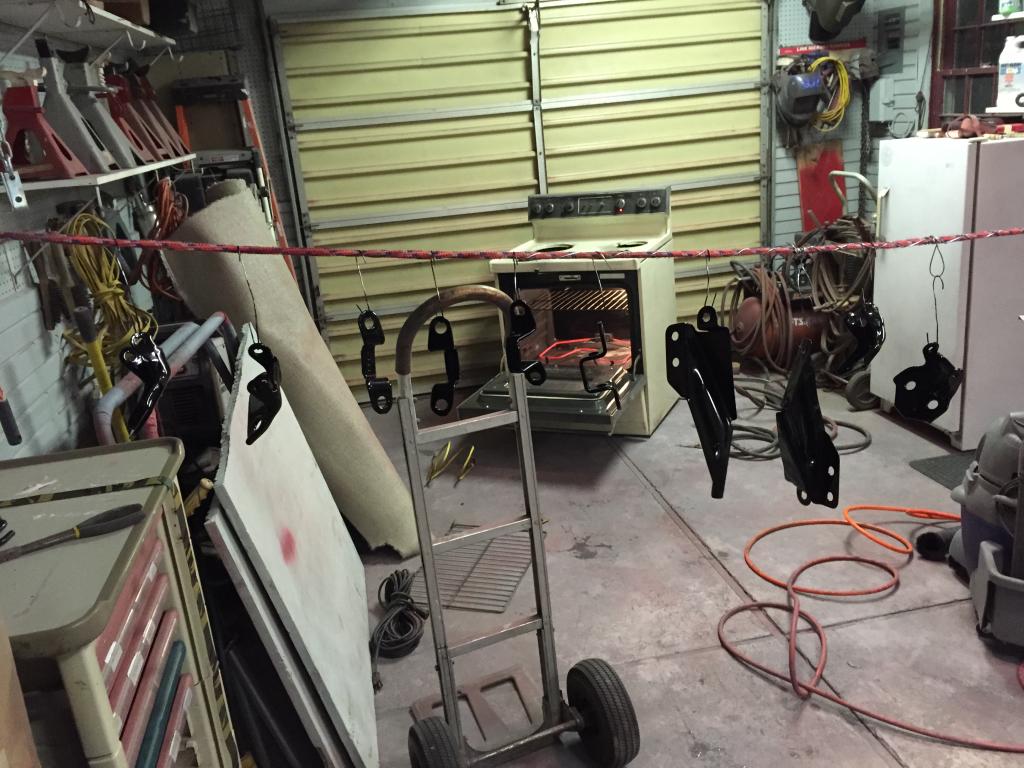
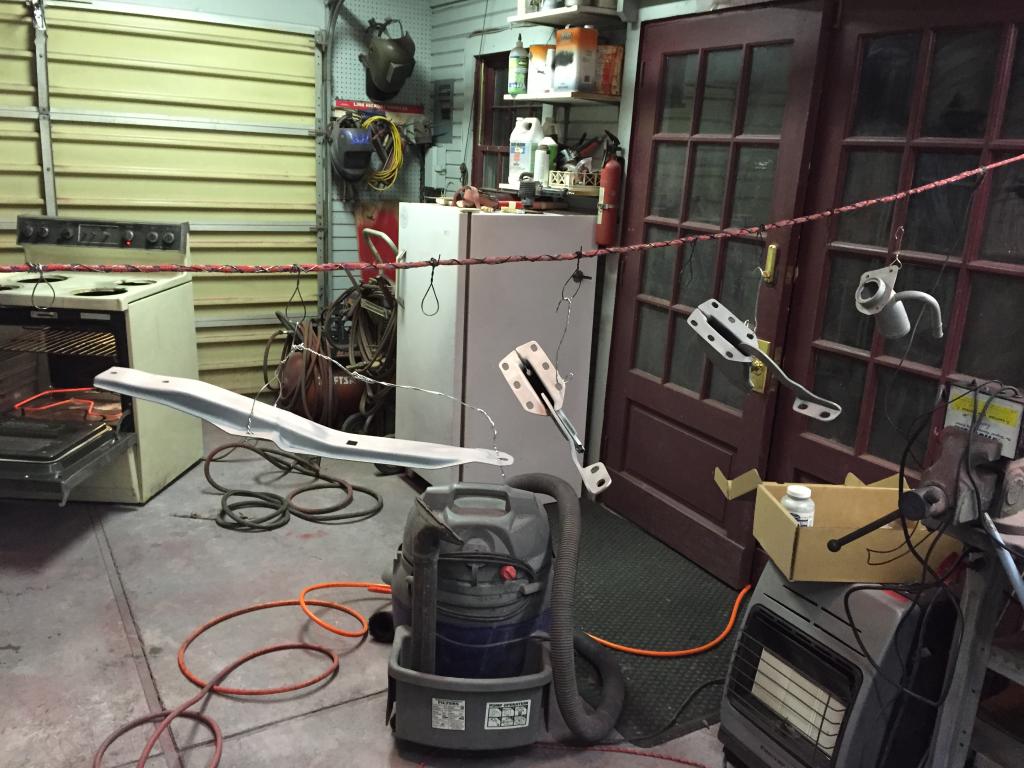
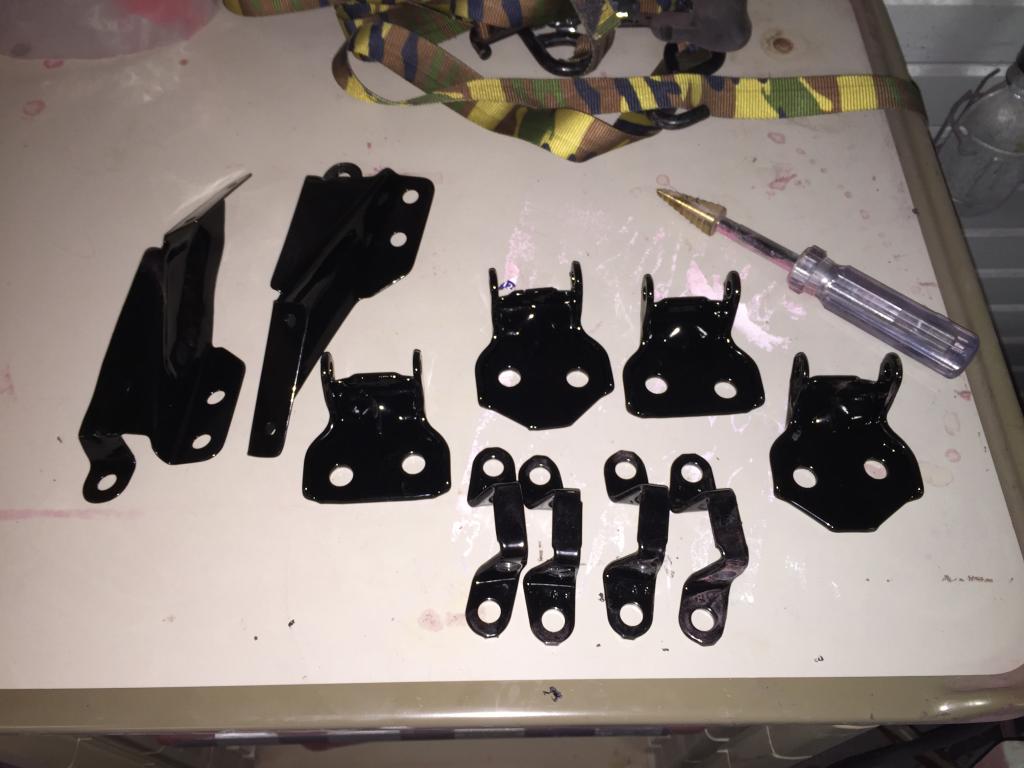
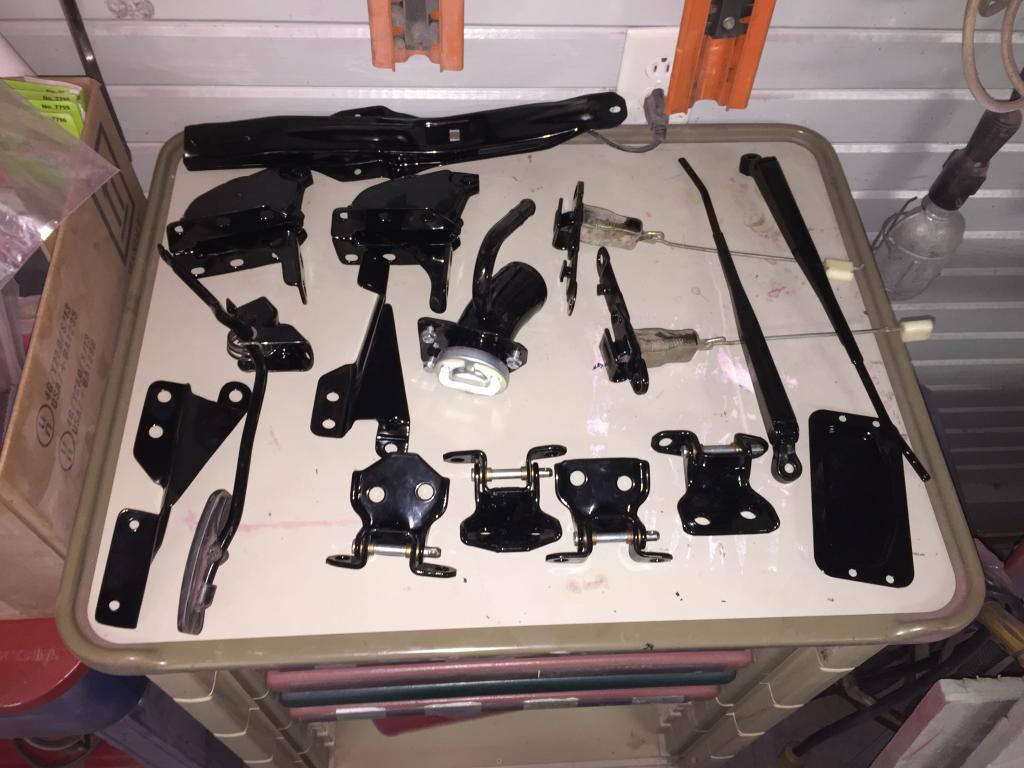


Then last night I got sick of dealing with paint so I went on a little powdercoating marathon. Powdercoating my door hinges, hood hinges, valance/hood latch bracket, fender stays, modified gas pedal, fuel filler, wipers and tailgate latches. Also assembled my door hinges with removeable pins and new bronze bushings. They are nice and tight now.


 Nov 27, 2014 | 06:52 PM
#1027
Thread Starter
Super Moderator
iTrader: (3)
Joined: Jan 2012
Posts: 3,218
Likes: 26
From: Salisbury, MD
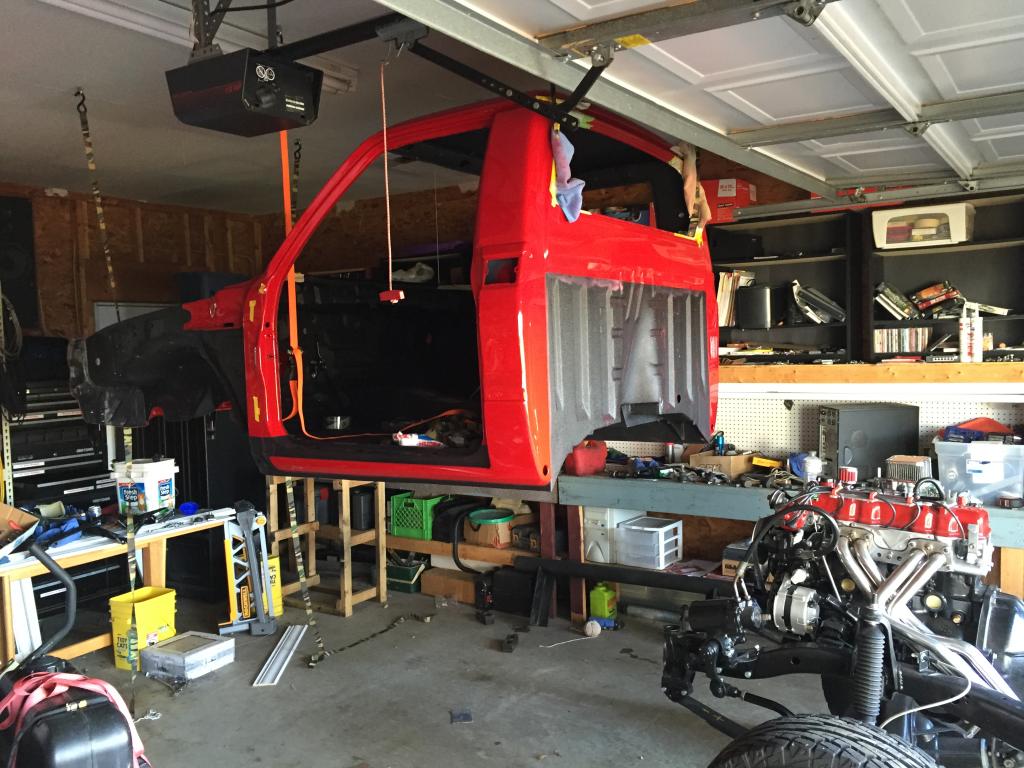
This Thanksgiving I am thankful that my cab didn't crash to the garage floor when I mounted it on the chassis this morning. I am also thankful for my incredibly understanding wife that puts up with my truck, my way cool son and my second son (found out it's a boy yesterday) on the way!!
Here's the cab install pics. I thought that the transport made me nervous... That was nothing compared to getting on the chassis flying solo again!
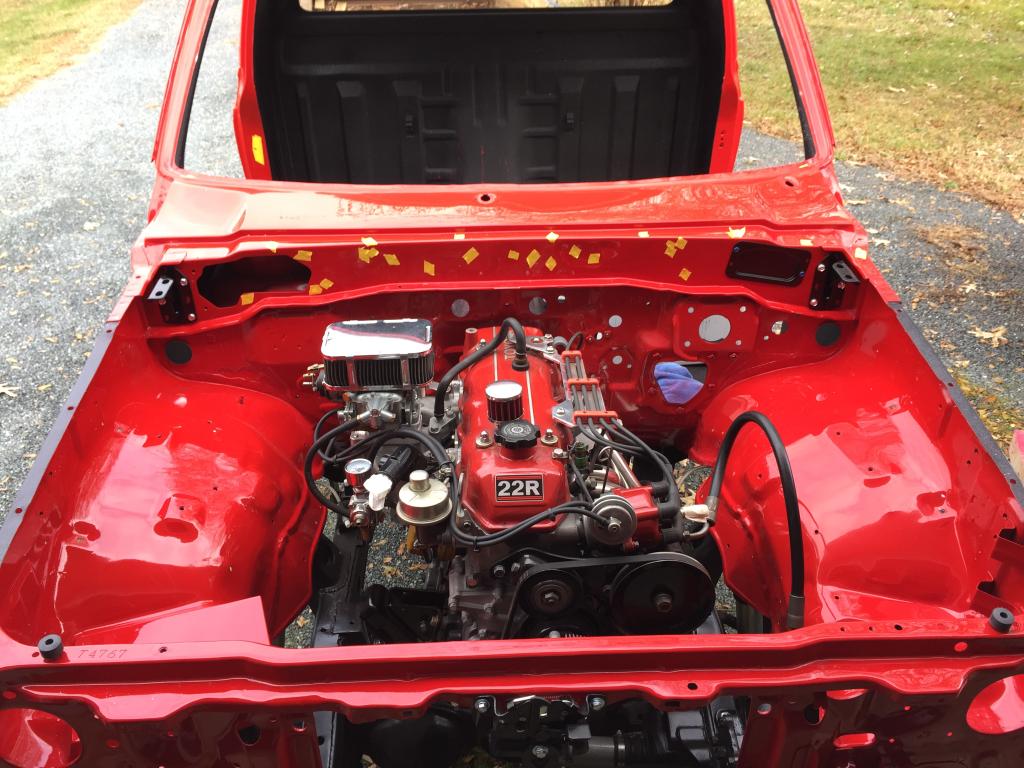
Slurp...sexy!!!

Valve cover and engine trim will stay red - turned out to be a good fit
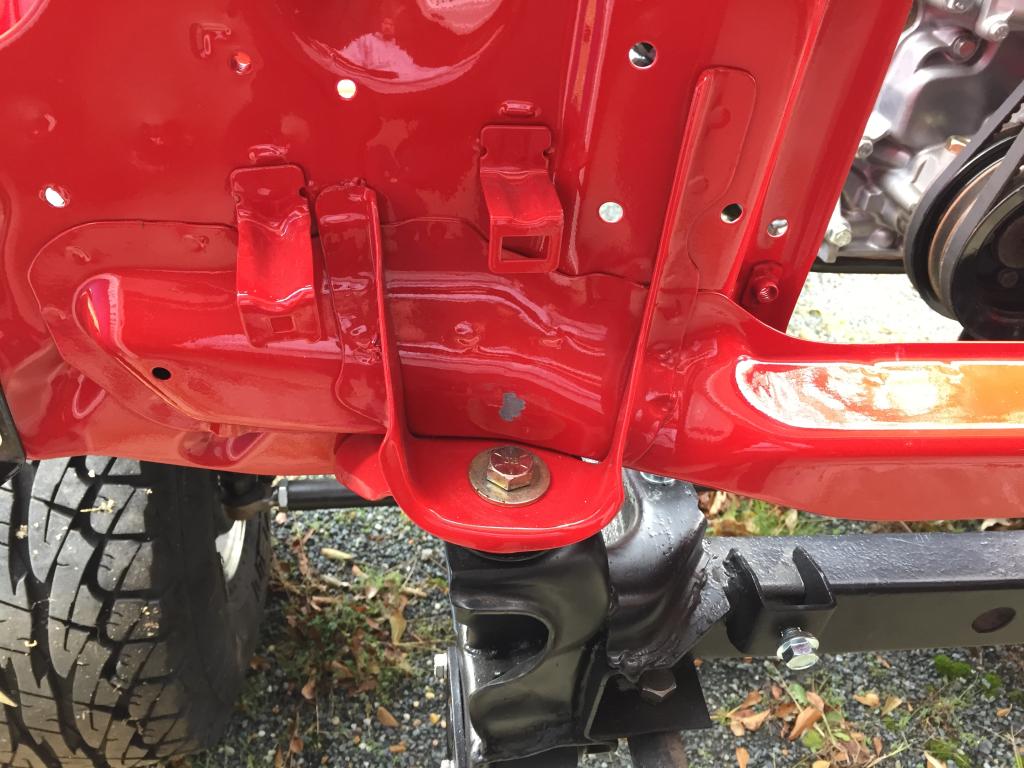
Only casualty in mounting the cab - I wasn't paying attention to my socket rubber on the paint near the front body mount. No big deal, it'll touch up easy.
Happy thanksgiving everybody!!!
Here's the cab install pics. I thought that the transport made me nervous... That was nothing compared to getting on the chassis flying solo again!

Slurp...sexy!!!

Valve cover and engine trim will stay red - turned out to be a good fit

Only casualty in mounting the cab - I wasn't paying attention to my socket rubber on the paint near the front body mount. No big deal, it'll touch up easy.

Happy thanksgiving everybody!!!
Nov 27, 2014 | 07:12 PM
#1028
CONGRATS to you & the Mrs. on your unborn son....
The truck looks awesome......Your hard work & attention to detail is shining thru as you put it back together....
Really like the motor sitting in there.....
Coming along great !!!


 Nov 30, 2014 | 07:45 PM
#1030
Thread Starter
Super Moderator
iTrader: (3)
Joined: Jan 2012
Posts: 3,218
Likes: 26
From: Salisbury, MD
I try to stay busy... LOL Although I haven't done as much work on my truck as I would like to lately. Time is running short since my deadline is basically mid April when the baby is due. If I'm not done by then there is not telling when I will get it done. I suppose worst case scenario, I could get everything put back together and finish the little things as I get the time, but that's not the ideal situation.
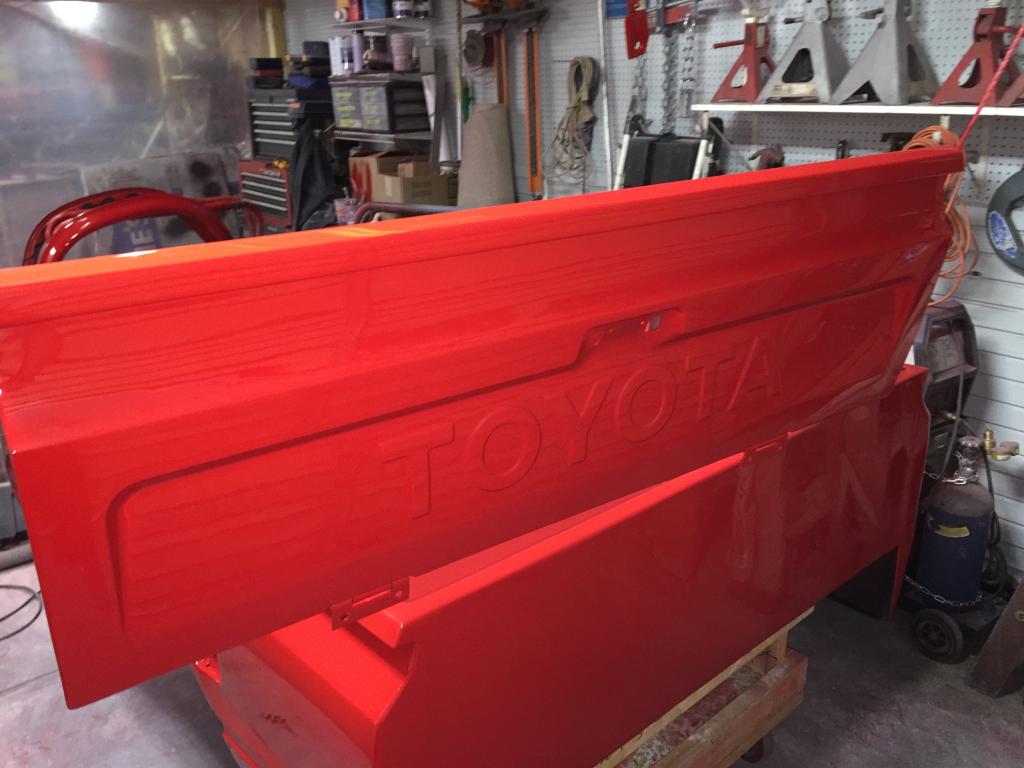
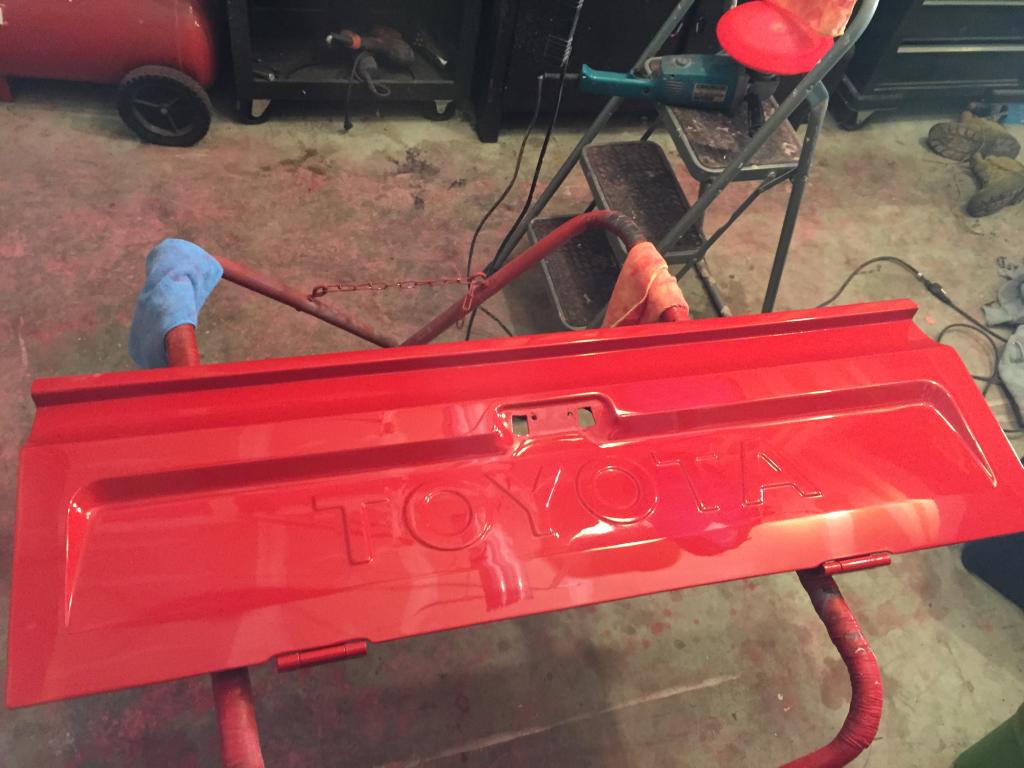
Tonight I got the tailgate wetsanded and buffed out. In my efforts to minimize orange peel on on the tailgate (knowing that the raised lettering would be a real PITA to wetsand and buff out any orange peel) I sprayed the paint on a little heavier which resulted in a couple runs. No big deal-I was able to easily shave the runs down with the back side of a razor and wetsand them flat with 1,500 grit. I wetsanded the entire tailgate with 2,000 then 3,000 grit (again 3,000 isn't necessary, but it makes buffing and polishing a lot easier).
I forgot to take pictures of the runs but there was one below the right leg of the A, one below the first T and one to the far left where the angled recess meets the flat part that runs the length of the tailgate. You won't see them in the pictures below because thaf are GONE! LOL
Here we are wetsanded to 3,000 grit - smooth and dull:

And here we are buffed and cut:
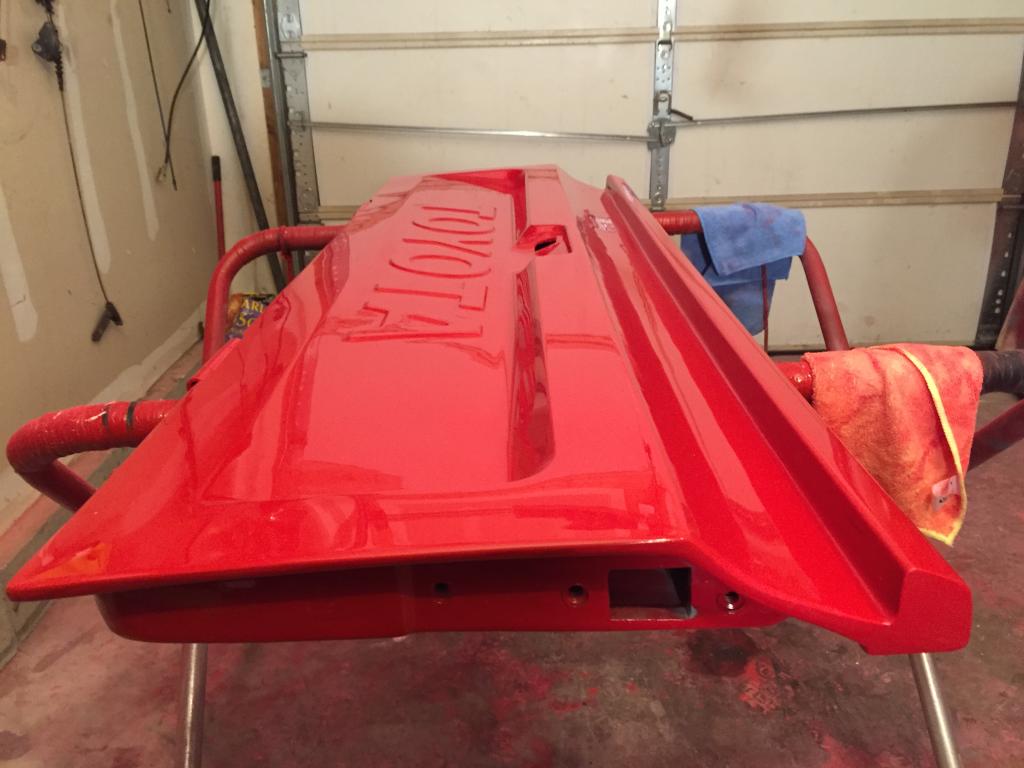
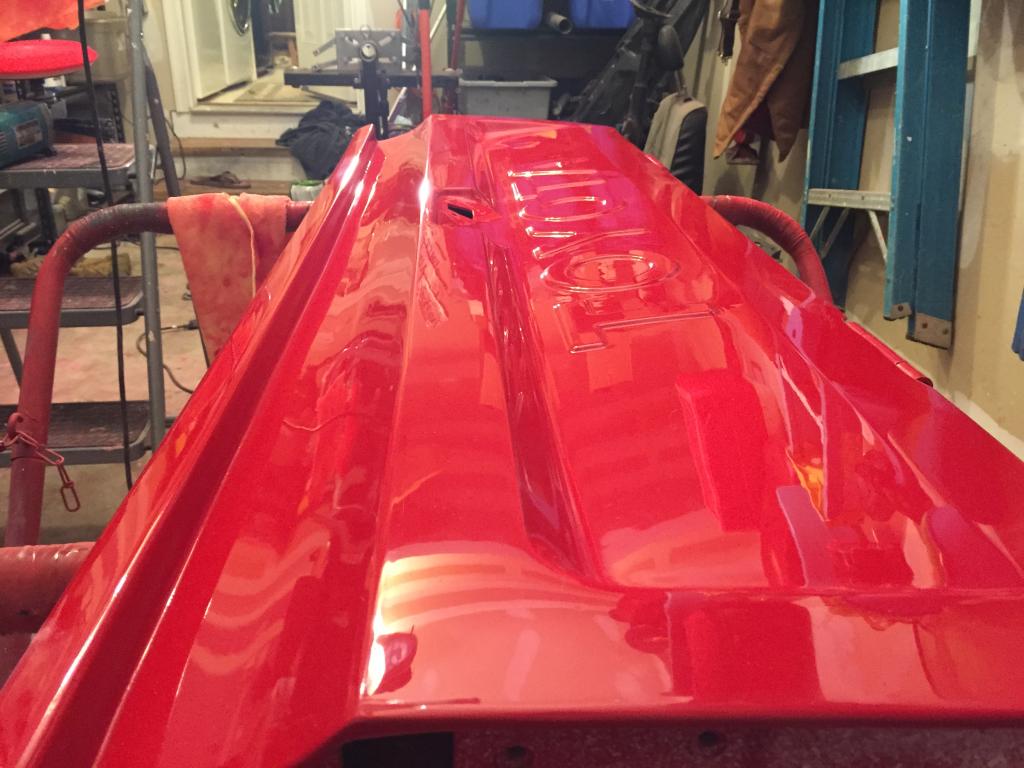
I use Norton's Liquid Ice System - it's a single compound system that uses a Wool buffing pad, a foam cutting pad and a foam finishing pad. Believe it or not, this tailgate isn't even finished yet!!! I still have one more step to go with the finishing/polishing pad, but I'm going to do that with the truck fully assembled. It'll look even glassy-er after that! I've used this system before on motorcycles and my dad's '68 Mustang that he sold a while back and it has never let me down. It is an Extremely easy system to use and takes the guess work out of what compounds and pads to use and obviously yields great results. Perfect for the first time user and the seasoned professional. If you need to cut and polish your paint, GO WITH THIS!
Next up I want to get the bed back to my garage from storage and get it wetsanded and buffed out so I can haul it over to Line-x to get the bedliner sprayed on. I would mount it on the cab and have it sprayed, but I don't plan on firing the engine for a while so transporting a non-driving truck would be more of a pain than just the bed plus I want have the headboard of the bed between the cab and bed sprayed as well. Not to mention, I just want to get all the coatings finally done on this truck. That'll hopefully go down this week so I can get it over to Line-x. I somehow got talking guns with the Owner of the Line-X shop a couple weeks ago and got to talking about how much I hate my Glock 27. He wants one so I might be trading mine for a Line-X job. I hate the gun, but I've never sold (or traded away) a gun so I'm kind of hesitant to do so, but I suppose that it may be time to break that habit to save some money LOL It's for a greater cause right???
Tonight I got the tailgate wetsanded and buffed out. In my efforts to minimize orange peel on on the tailgate (knowing that the raised lettering would be a real PITA to wetsand and buff out any orange peel) I sprayed the paint on a little heavier which resulted in a couple runs. No big deal-I was able to easily shave the runs down with the back side of a razor and wetsand them flat with 1,500 grit. I wetsanded the entire tailgate with 2,000 then 3,000 grit (again 3,000 isn't necessary, but it makes buffing and polishing a lot easier).
I forgot to take pictures of the runs but there was one below the right leg of the A, one below the first T and one to the far left where the angled recess meets the flat part that runs the length of the tailgate. You won't see them in the pictures below because thaf are GONE! LOL
Here we are wetsanded to 3,000 grit - smooth and dull:
And here we are buffed and cut:


I use Norton's Liquid Ice System - it's a single compound system that uses a Wool buffing pad, a foam cutting pad and a foam finishing pad. Believe it or not, this tailgate isn't even finished yet!!! I still have one more step to go with the finishing/polishing pad, but I'm going to do that with the truck fully assembled. It'll look even glassy-er after that! I've used this system before on motorcycles and my dad's '68 Mustang that he sold a while back and it has never let me down. It is an Extremely easy system to use and takes the guess work out of what compounds and pads to use and obviously yields great results. Perfect for the first time user and the seasoned professional. If you need to cut and polish your paint, GO WITH THIS!
Next up I want to get the bed back to my garage from storage and get it wetsanded and buffed out so I can haul it over to Line-x to get the bedliner sprayed on. I would mount it on the cab and have it sprayed, but I don't plan on firing the engine for a while so transporting a non-driving truck would be more of a pain than just the bed plus I want have the headboard of the bed between the cab and bed sprayed as well. Not to mention, I just want to get all the coatings finally done on this truck. That'll hopefully go down this week so I can get it over to Line-x. I somehow got talking guns with the Owner of the Line-X shop a couple weeks ago and got to talking about how much I hate my Glock 27. He wants one so I might be trading mine for a Line-X job. I hate the gun, but I've never sold (or traded away) a gun so I'm kind of hesitant to do so, but I suppose that it may be time to break that habit to save some money LOL It's for a greater cause right???
Nov 30, 2014 | 08:04 PM
#1031
Registered User
Joined: May 2013
Posts: 400
Likes: 0
From: San Antonio, Tx.
I somehow got talking guns with the Owner of the Line-X shop a couple weeks ago and got to talking about how much I hate my Glock 27. He wants one so I might be trading mine for a Line-X job. I hate the gun, but I've never sold (or traded away) a gun so I'm kind of hesitant to do so, but I suppose that it may be time to break that habit to save some money LOL It's for a greater cause right???
By the way... sweet ˟˟˟˟ing tits! You're truck looks so fantastic now! Maybe I'll be able to talk my old lady in to letting me get that in depth with my rustoration, but she's never really been one to support me taking up the entire garage and driveway (and back yard) with disassembled truck.
 I think I might have her almost convinced!
 Dec 3, 2014 | 05:45 PM
#1033
Thread Starter
Super Moderator
iTrader: (3)
Joined: Jan 2012
Posts: 3,218
Likes: 26
From: Salisbury, MD
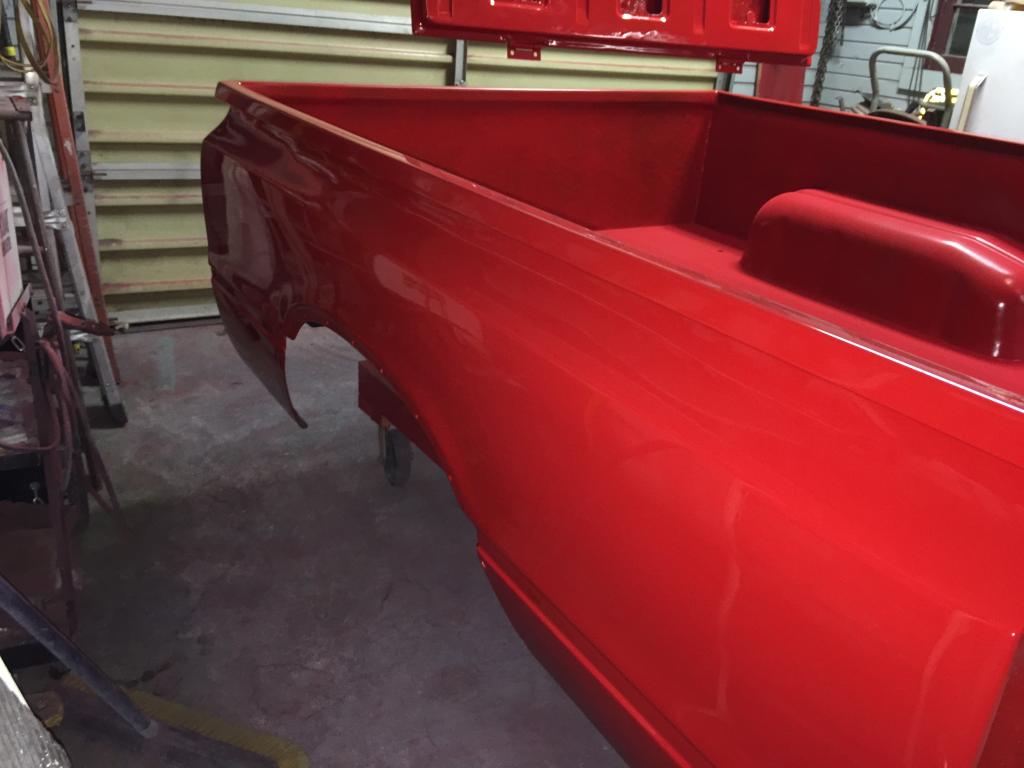
Last night I got the bed all wetsanded down to 3,000 grit. I'm not typically one to brag, but it looks damn good! Bedsides should look nice and straight, but you never know for sure until you get a glassy polish on it. Here they are after wetsanding (keep in mind that it's ONLY wetsanded right now and the paint still has a good luster):
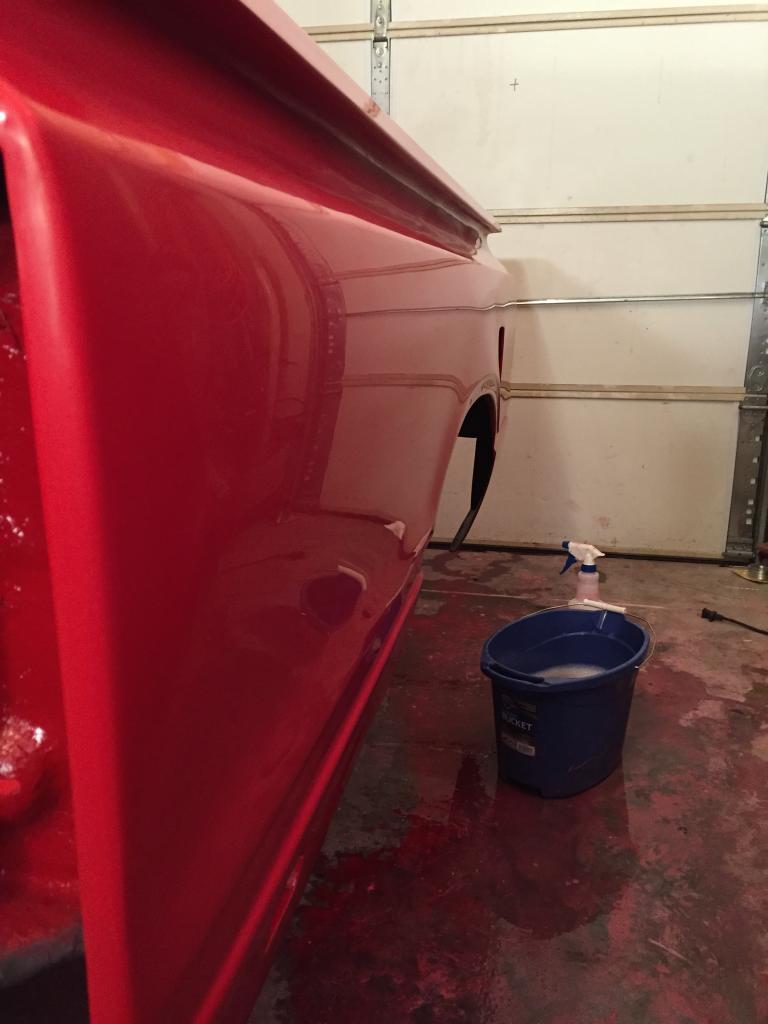

And my garage floor looks like a murder scene...
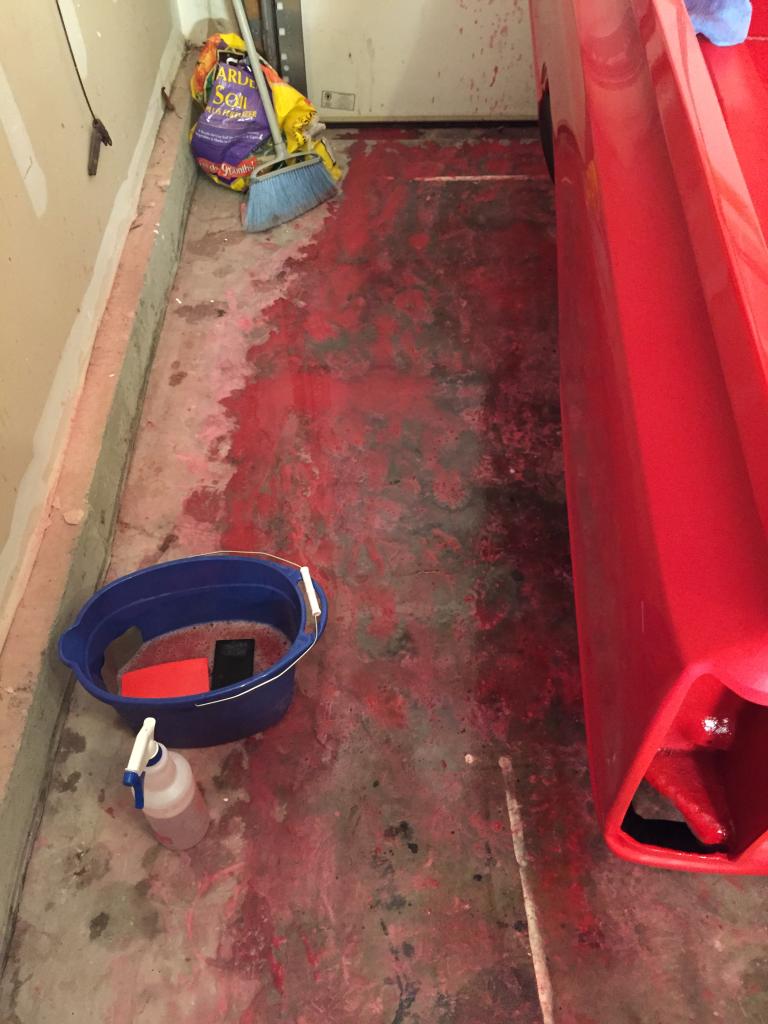
I'm just about to get started buffing and polishing - I'll likely check back in in a couple hours


And my garage floor looks like a murder scene...

I'm just about to get started buffing and polishing - I'll likely check back in in a couple hours
Last edited by kawazx636; Dec 3, 2014 at 05:47 PM.

 Dec 3, 2014 | 09:53 PM
#1036
Thread Starter
Super Moderator
iTrader: (3)
Joined: Jan 2012
Posts: 3,218
Likes: 26
From: Salisbury, MD
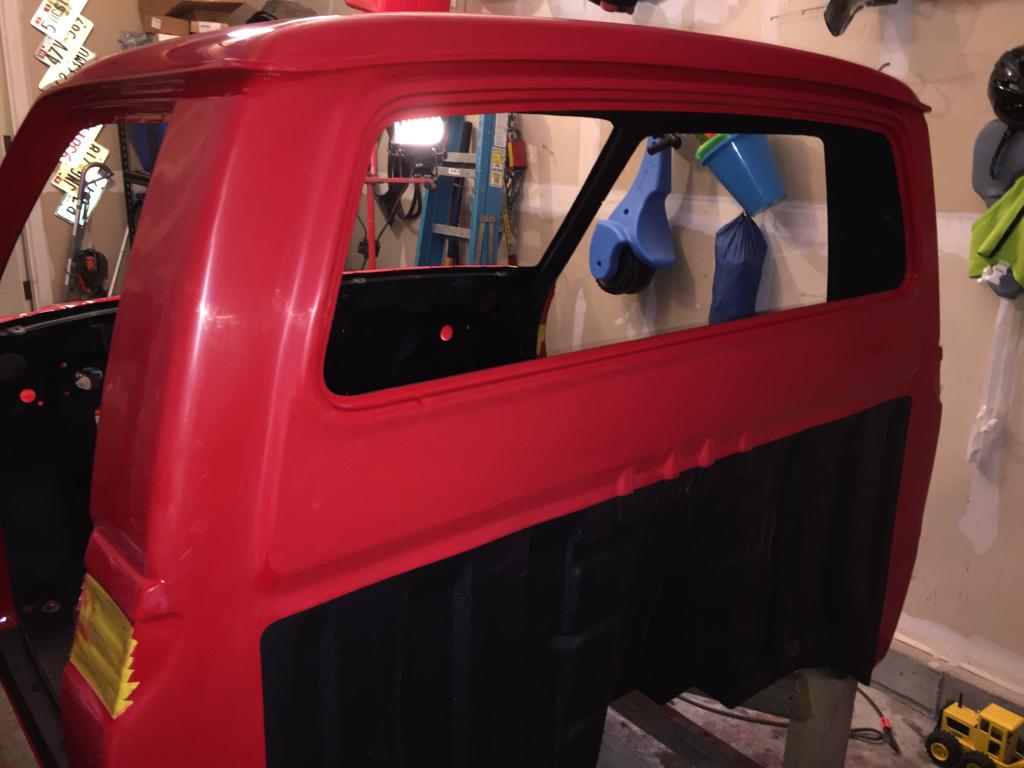
Passenger side done! Here's another first gen selfie:

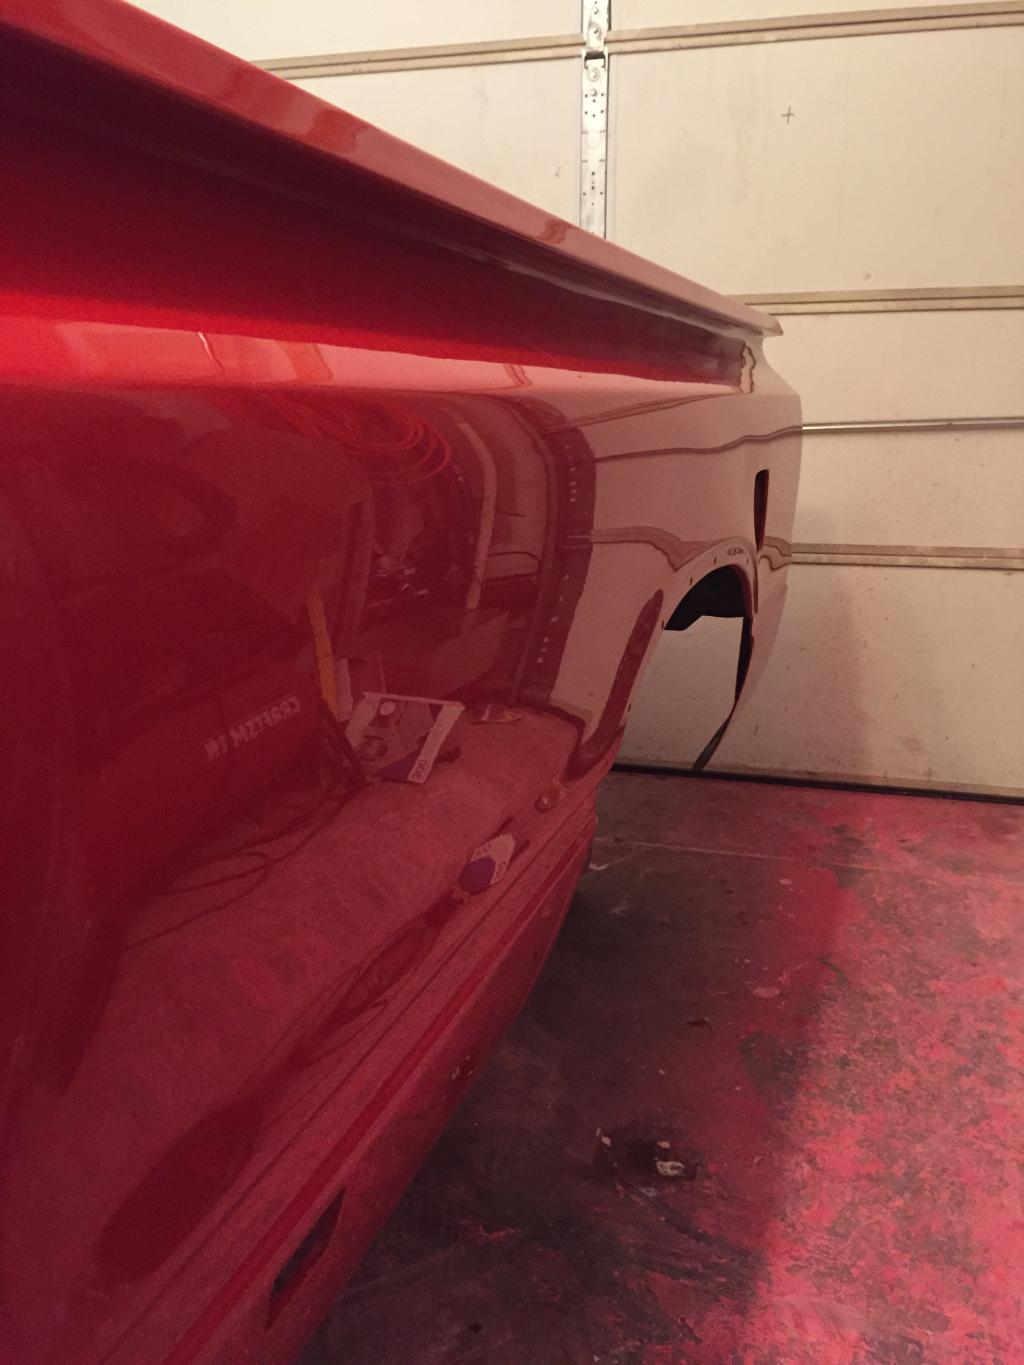
Overall, pretty good. I did notice a few random fish eyes in the paint. They aren't even noticeable, but I know they are there so eventually I will probably fix them with an eye dropper then sand and buff them out. I want to get it out in the sun to touch up any spots that I may have not polished well due to my poor garage lighting, but for now it is good to go. I'm going to slide by Line-X tomorrow to get the bed liner scheduled - hopefully I can get an appointment on Friday so I can mount the bed on the chassis this weekend


Overall, pretty good. I did notice a few random fish eyes in the paint. They aren't even noticeable, but I know they are there so eventually I will probably fix them with an eye dropper then sand and buff them out. I want to get it out in the sun to touch up any spots that I may have not polished well due to my poor garage lighting, but for now it is good to go. I'm going to slide by Line-X tomorrow to get the bed liner scheduled - hopefully I can get an appointment on Friday so I can mount the bed on the chassis this weekend
Dec 4, 2014 | 08:49 PM
#1039
Thread Starter
Super Moderator
iTrader: (3)
Joined: Jan 2012
Posts: 3,218
Likes: 26
From: Salisbury, MD
It's just compound, paint dust and water - it'll dry out and I can sweep most of it up. What's left I can just wash out with a hose.
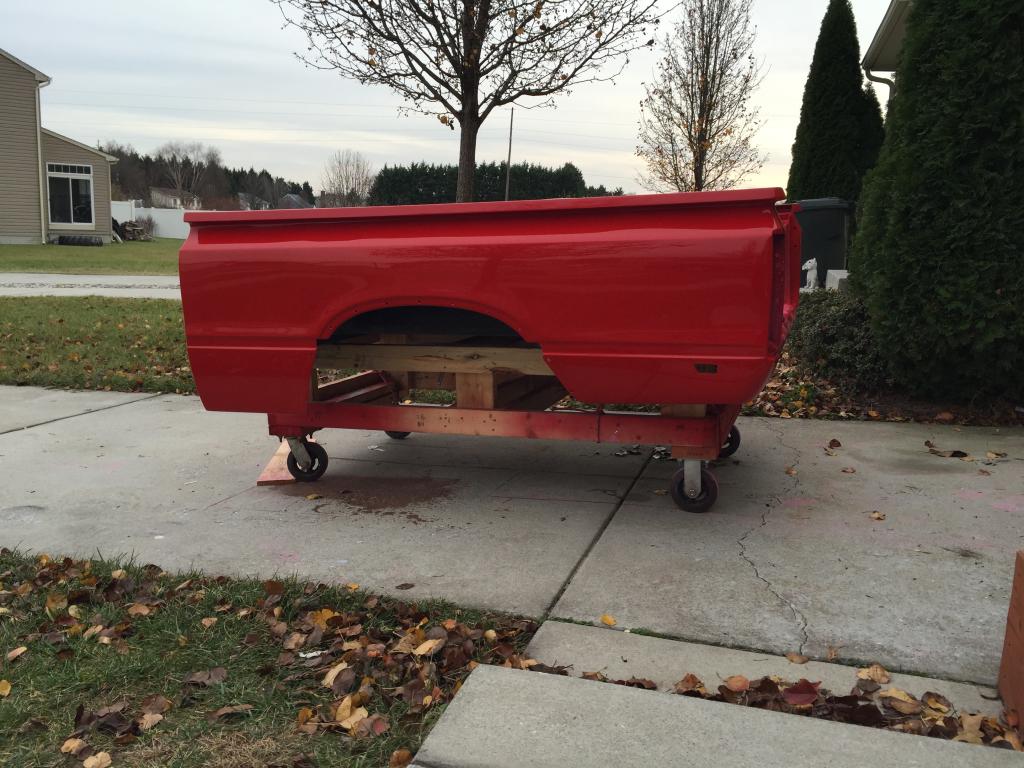
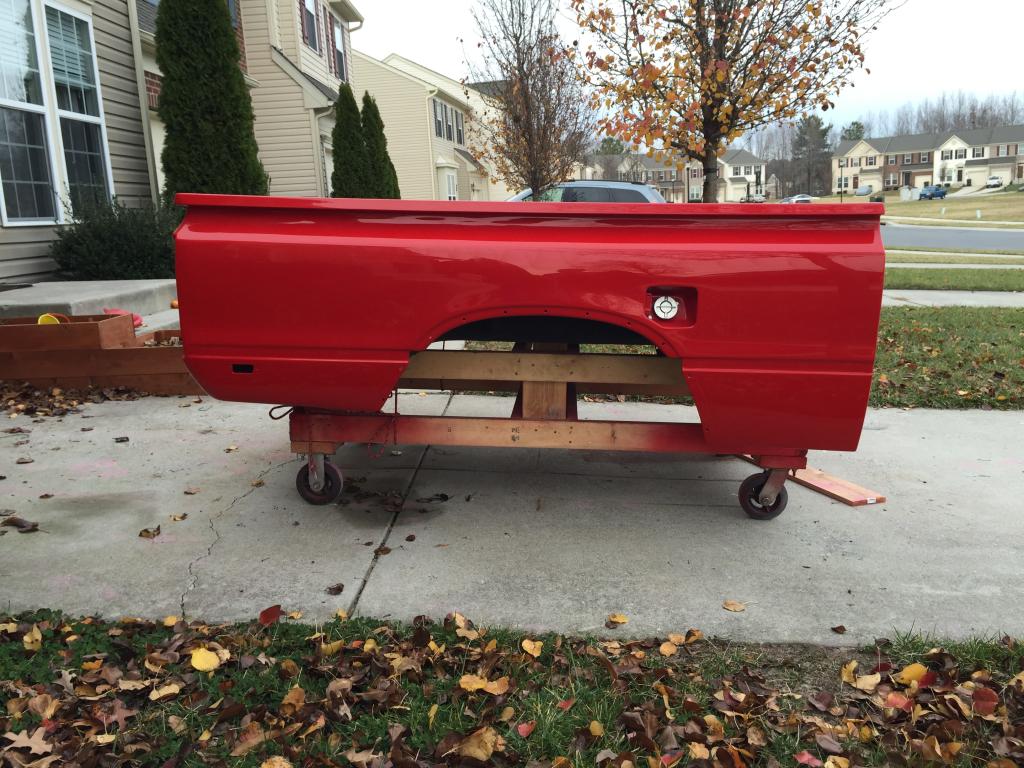
I pulled the bed out in the daylight today to get a better idea of any areas that I may have missed. Just a couple spots need some attention, But I'll get that done when everything is put back together.
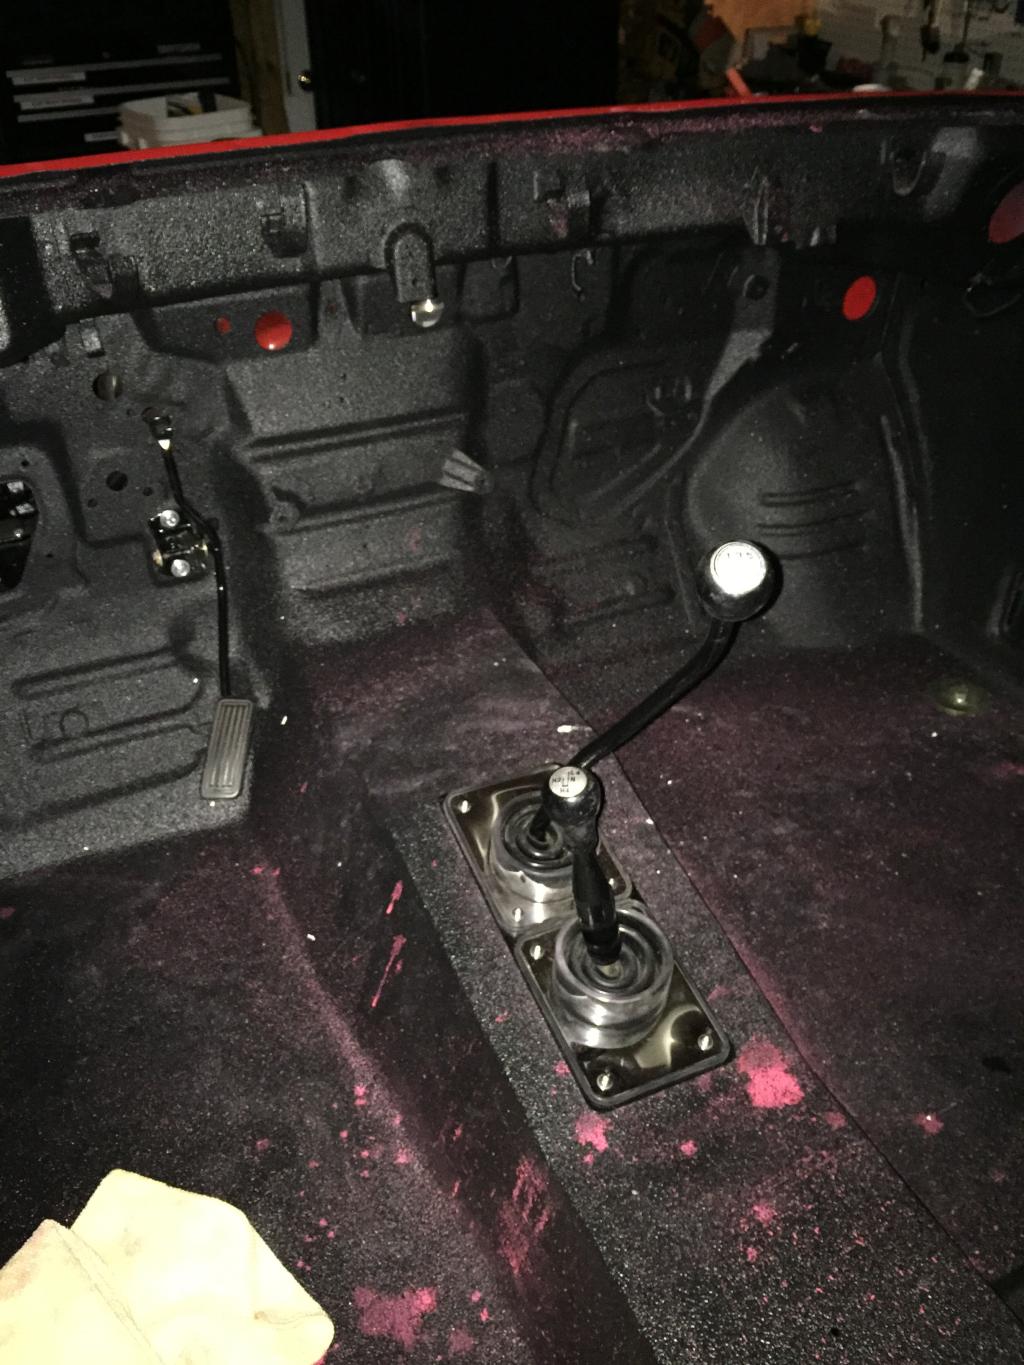
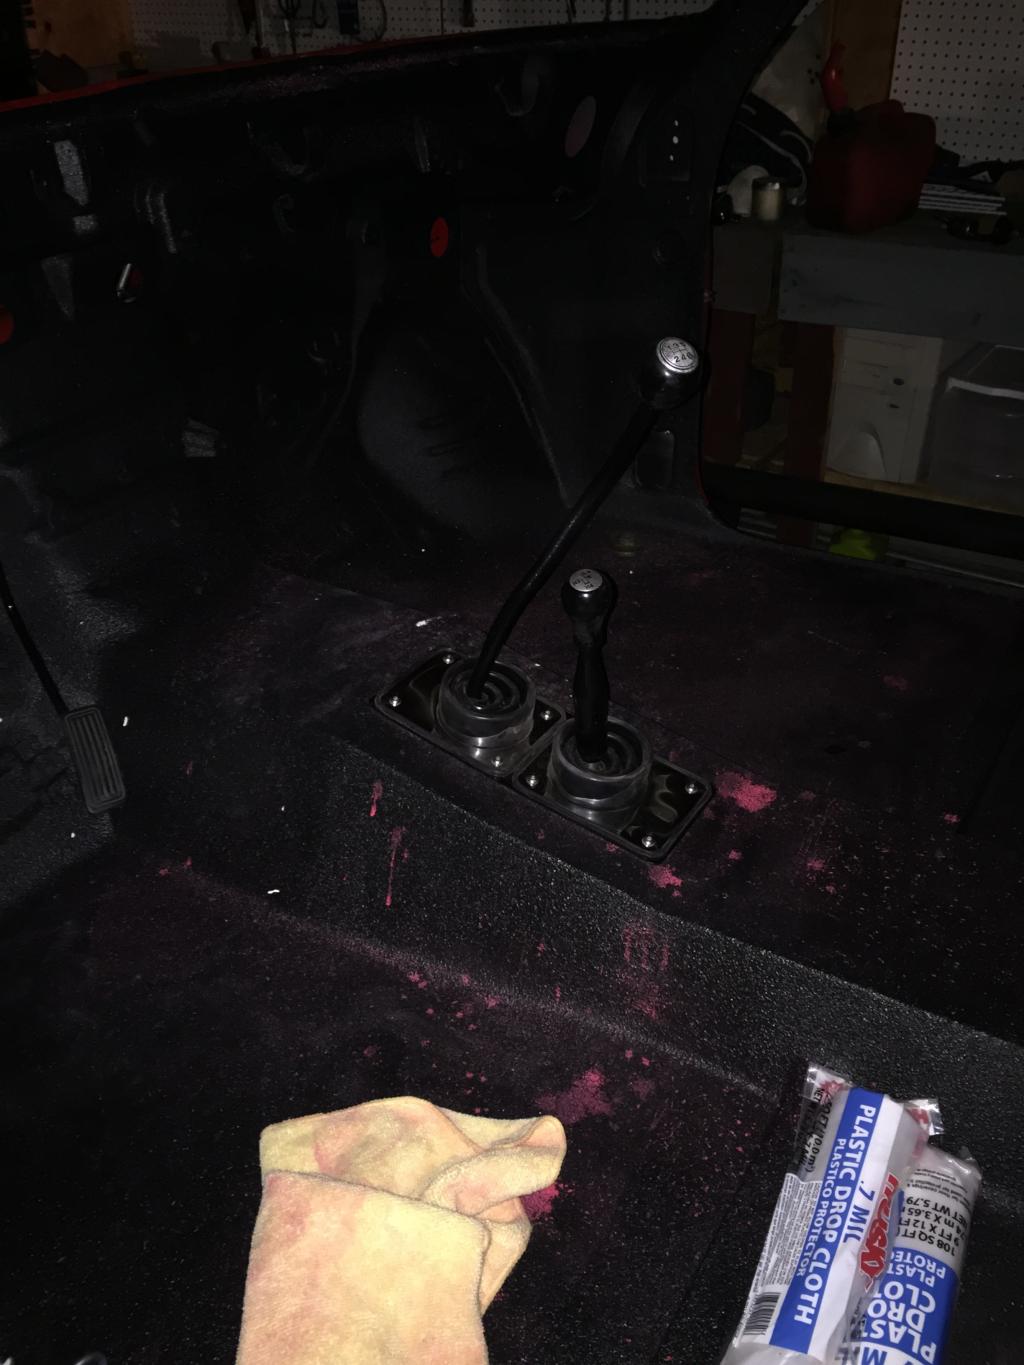
Installed the shift boots. It's not a permanent solution, but later on down the road I will get something different once I figure out my interior options.
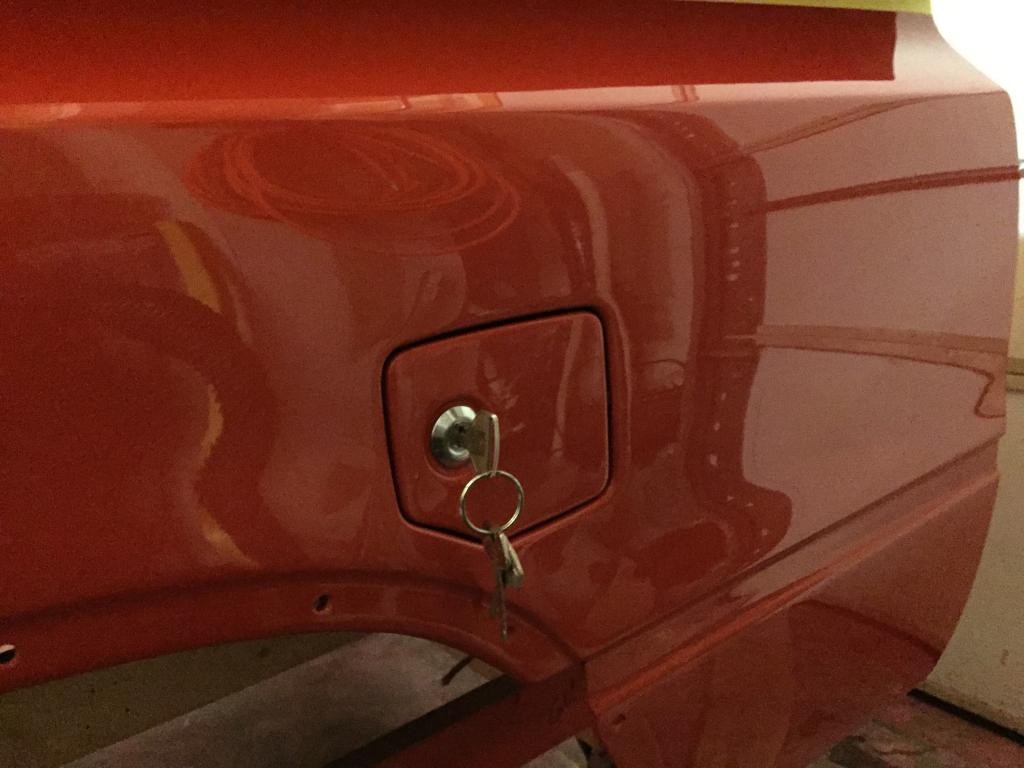
Then I got the fuel door installed and gapped up. I still need to get some rubber bumpers to keep the door flush and to prevent it from rattling.
Installed those little rubber tailgate bumpers on my rollpan too.
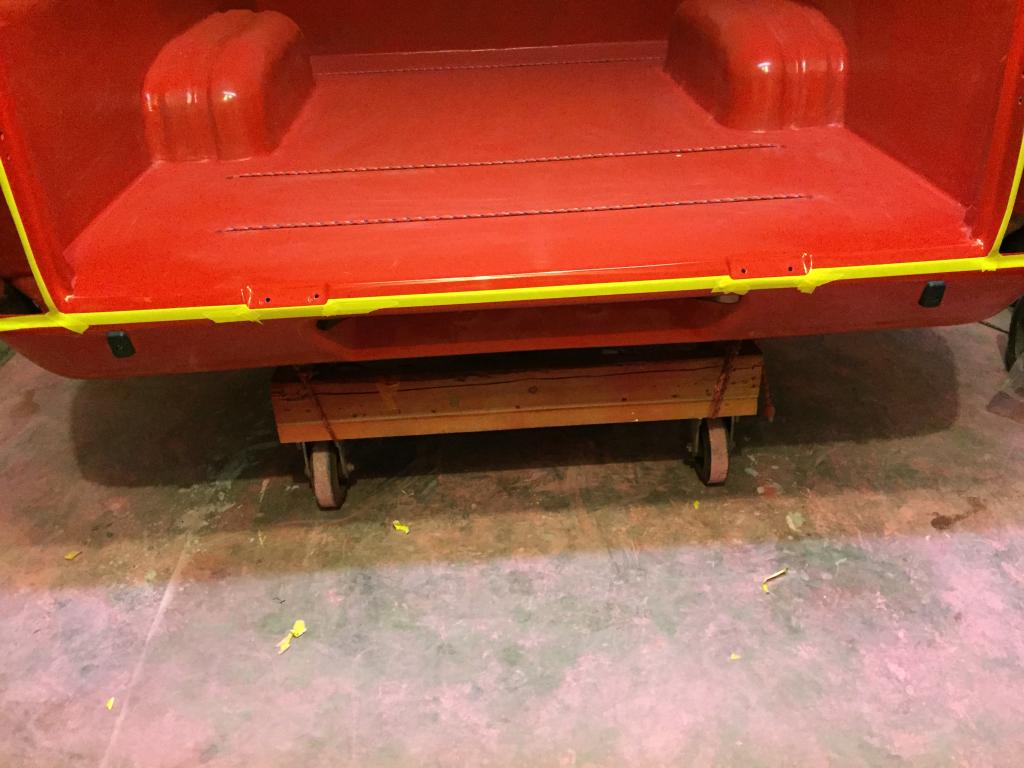
I also masked off my Line-X lines so that there is no confusion at all as to where I want and don't want bed liner to be sprayed. They will likely re-mask it with their tape, but at least they know. I'll be dropping it off in the morning and hopefully they can fit it in for me tomorrow. Worst case scenario, I get it back on Monday.
I pulled the bed out in the daylight today to get a better idea of any areas that I may have missed. Just a couple spots need some attention, But I'll get that done when everything is put back together.


Installed the shift boots. It's not a permanent solution, but later on down the road I will get something different once I figure out my interior options.


Then I got the fuel door installed and gapped up. I still need to get some rubber bumpers to keep the door flush and to prevent it from rattling.

Installed those little rubber tailgate bumpers on my rollpan too.

I also masked off my Line-X lines so that there is no confusion at all as to where I want and don't want bed liner to be sprayed. They will likely re-mask it with their tape, but at least they know. I'll be dropping it off in the morning and hopefully they can fit it in for me tomorrow. Worst case scenario, I get it back on Monday.
Dec 5, 2014 | 03:47 AM
#1040
Registered User
Joined: Jan 2012
Posts: 325
Likes: 2
From: Kansas City, Missouri
I am not usually a huge fan of ruby red, but this truck is looking really great! The Black/Red contrast is nice. Stock grey to black fender decals would really look awesome if you can find them! I remember seeing them on that very clean red truck we saw on ebay with low miles that went to Hawaii. The cab is looking exceptionally nice even before anything is installed!
The shift boots seem to line up great. If the gear shift is in neutral, it could hardly be much more centered.
If the transfer case shifter is in 2WD, it will be way off to the upper right when in 4W low, but that's hard to avoid since the travel is so far. Any boot will flex quite a bit for that.
I think the shift boots look much better than stock. Are you unsatisfied with the seal against the shifters? What don't you like about it!?
Last edited by 83pingpong; Dec 7, 2014 at 05:05 AM.


