
KawaZX636's 1983 Toyota Pickup Restoration
 Oct 6, 2014 | 05:12 PM
#922
Registered User
Joined: Jan 2012
Posts: 325
Likes: 2
From: Kansas City, Missouri
Don't you hate it when that happens?? Go to a dealership for something free and then leave with a new truck and a payment... I'd love to have another Tundra, but the gas mileage kills me. I'm holding out to see what they do with the Tacoma redesign and go from there. I heard they may be doing a diesel! I'll PM you my address shortly.
Your gasser build is exceptional, and the venerable 22R is at the top for light truck powerplants. And a TD conversion would just add more expense!
But search TDI Toyota 4x4 on youtube and get them. As soon as I don't have a stack of higher priorities, I will do it.
Frankly, I would pay FULLsized price for a true light turbo-diesel Toyota pickup (4 cylinder). More torque, and better mpg. not to mention the sound of turbo! Sometimes, less is more. I just don't need to haul horses or win races. But I wouldn't expect to do that with a 22R either.
Last edited by 83pingpong; Oct 6, 2014 at 05:19 PM.
Oct 6, 2014 | 09:01 PM
#923
^^A friend of mine has the tundra crew max(he inherited it, has an f-150 & f-350). I borrowed it a couple of times. Not impressed at all. Mileage sucks big buttocks.
The way the back seat folds town is stupid. The design on both my dodges allow much better storage with the seats folded up.
Wait for the new Taco
The way the back seat folds town is stupid. The design on both my dodges allow much better storage with the seats folded up.
Wait for the new Taco
Oct 7, 2014 | 09:50 PM
#924
Thread Starter
Super Moderator
iTrader: (3)
Joined: Jan 2012
Posts: 3,218
Likes: 26
From: Salisbury, MD
I spent all of last night meticulously sanding the surfacer on the fenders all the way up to 600 grit. Typically for a single stage paint 320 grit is adequate, but the higher you go the better the paint flows out thus less orange peel thus less wet sanding. A little work now saves work later.
Tonight I shot the fenders and valance with color. I shot one light tack coat followed by 3 medium wet coats. I want a little extra thickness to have a little forgivingness in wet sanding and to be able to buff out future scratches. It laided wonderfully with no orange peel at all until I shot the last coat, but it still didn't orange peel too badly. If I let the 3rd coat flash off a bit longer before doing the 4th coat I probably wouldn't have had any orange peel. Nothing some wet sanding won't fix though. Here are the shots:
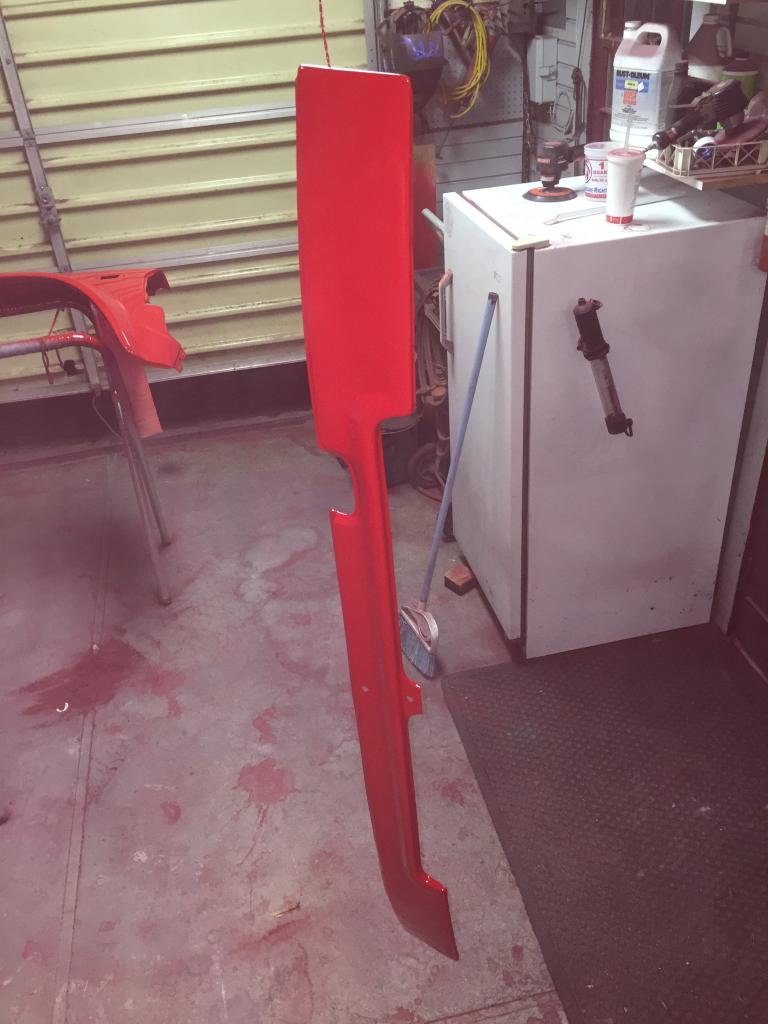

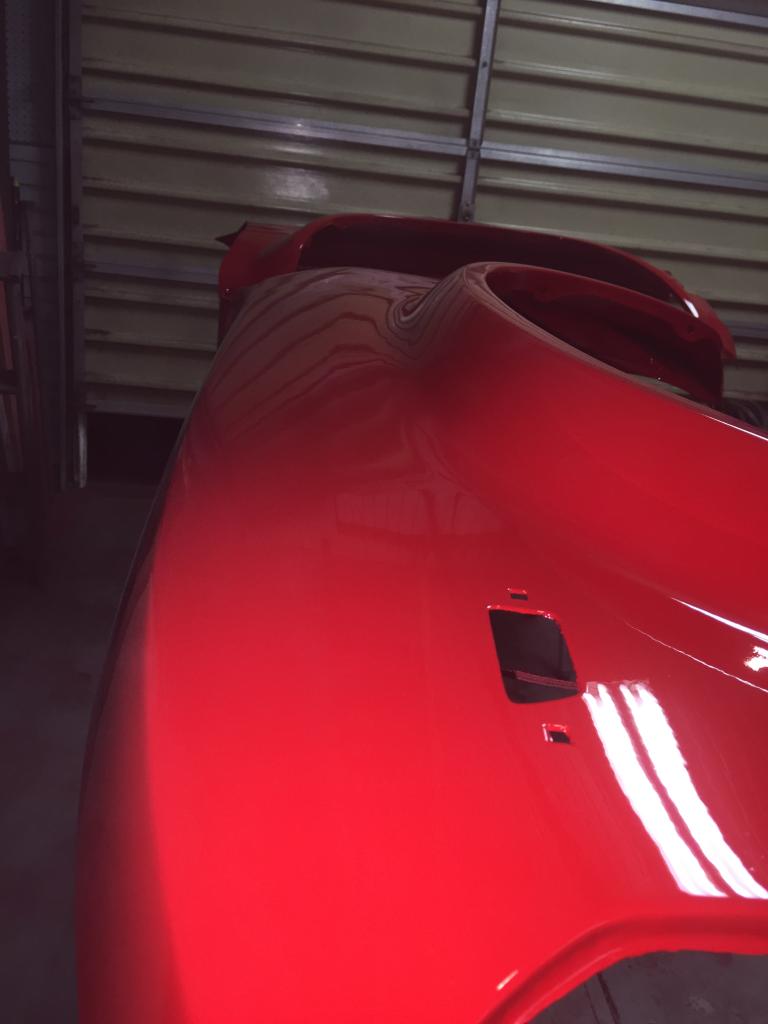
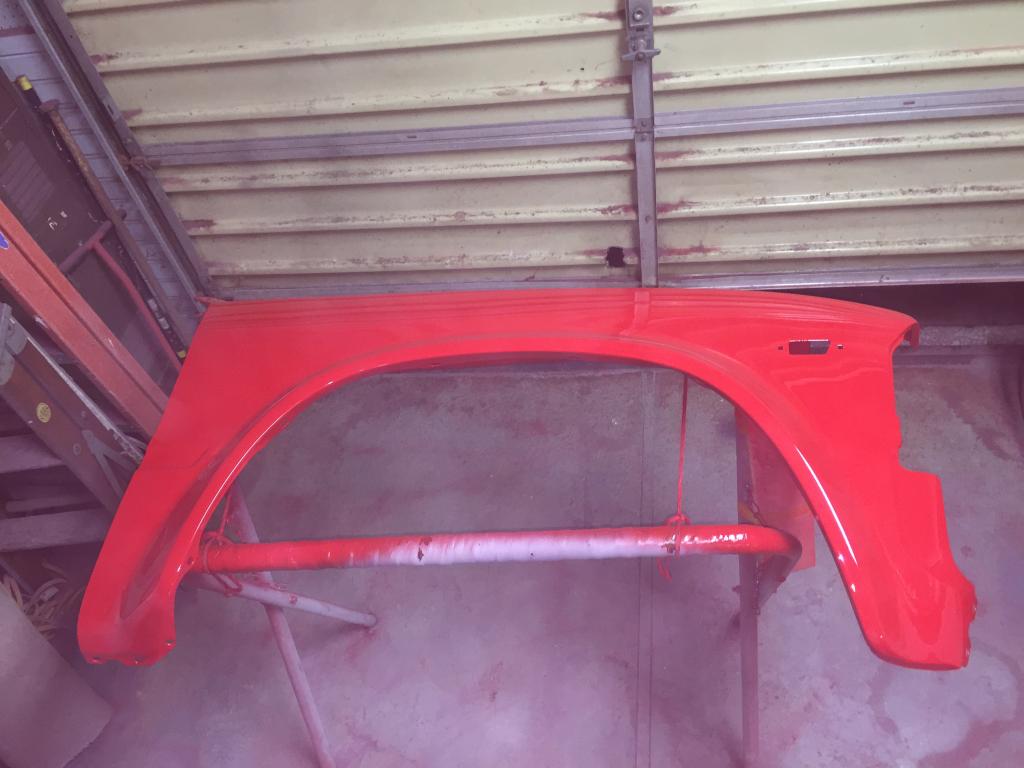
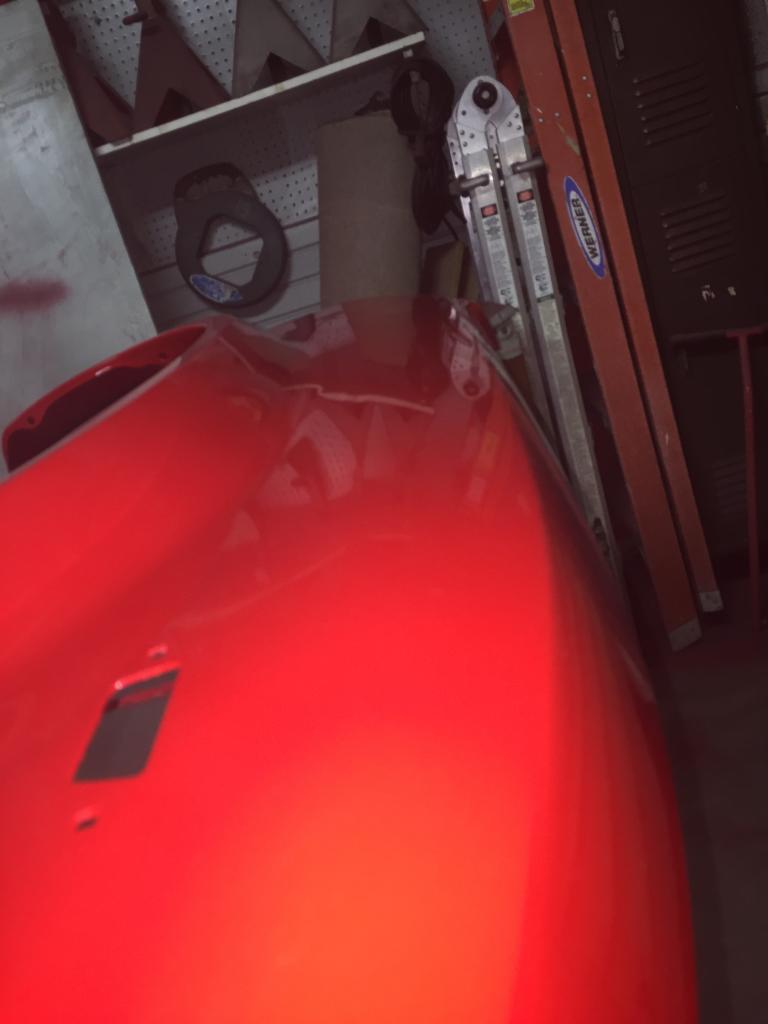
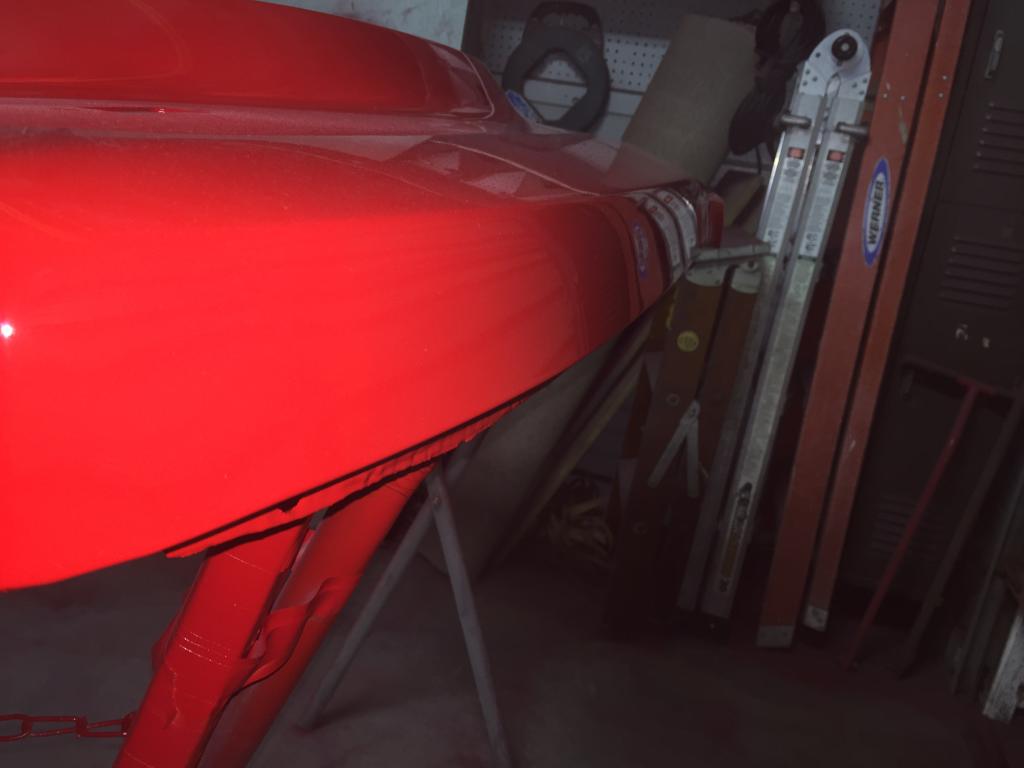
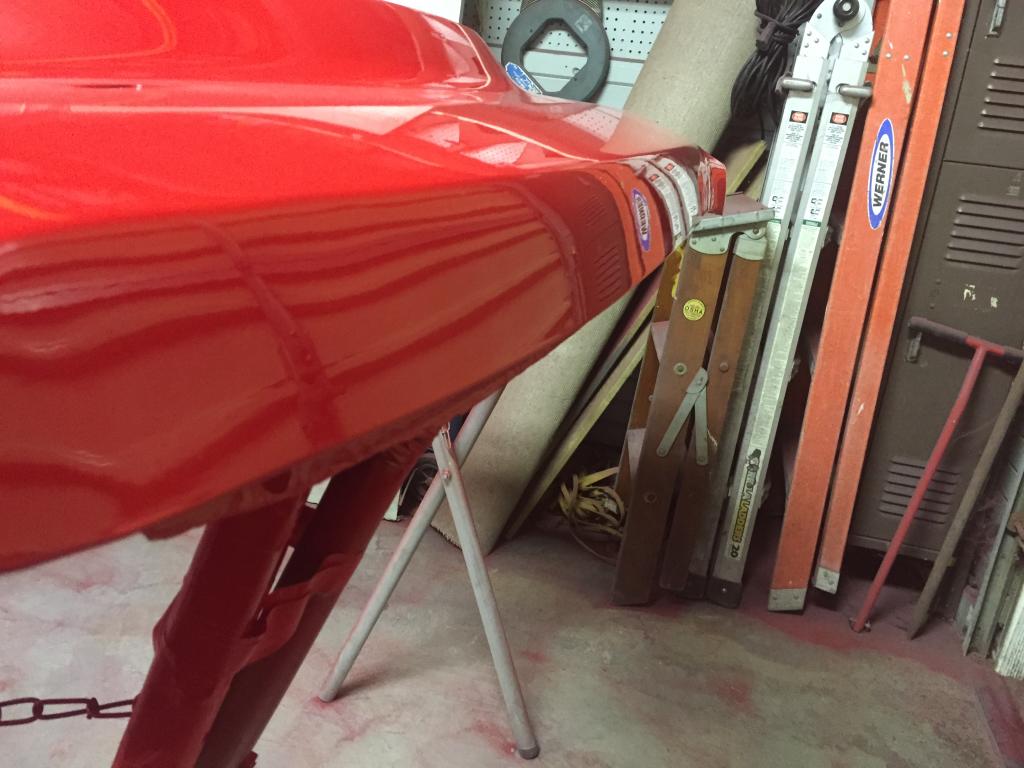
As you can see, the paint flowed out and leveled nicely and the orange peel is rather minimal - especially for 4 coats. I didn't see any runs either. I'll know a little more after it is fully cured, but I will likely be able to start wetsanding at 2,000 grit to get rid of any blemishes.
Tonight I shot the fenders and valance with color. I shot one light tack coat followed by 3 medium wet coats. I want a little extra thickness to have a little forgivingness in wet sanding and to be able to buff out future scratches. It laided wonderfully with no orange peel at all until I shot the last coat, but it still didn't orange peel too badly. If I let the 3rd coat flash off a bit longer before doing the 4th coat I probably wouldn't have had any orange peel. Nothing some wet sanding won't fix though. Here are the shots:


As you can see, the paint flowed out and leveled nicely and the orange peel is rather minimal - especially for 4 coats. I didn't see any runs either. I'll know a little more after it is fully cured, but I will likely be able to start wetsanding at 2,000 grit to get rid of any blemishes.
 Oct 8, 2014 | 09:45 PM
#926
Thread Starter
Super Moderator
iTrader: (3)
Joined: Jan 2012
Posts: 3,218
Likes: 26
From: Salisbury, MD
Bottomline though, I always tell people that you learn by doing not by watching. I never pay somebody to do what I can either learn or get better at doing.
Oct 10, 2014 | 08:16 AM
#927
Thread Starter
Super Moderator
iTrader: (3)
Joined: Jan 2012
Posts: 3,218
Likes: 26
From: Salisbury, MD
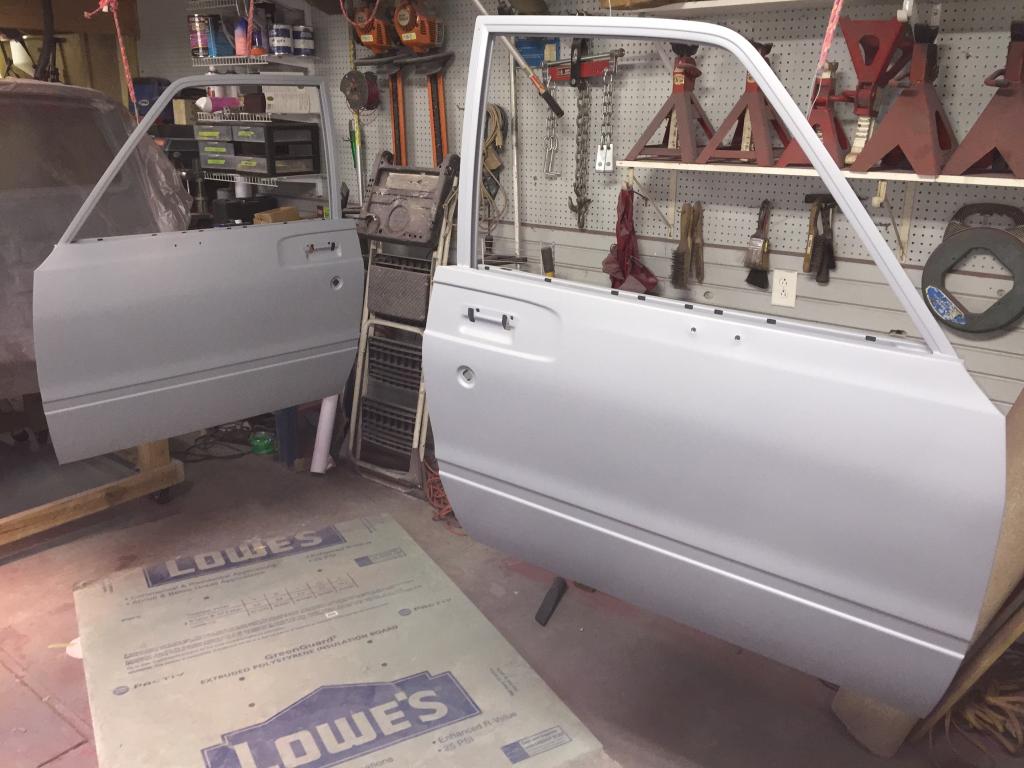
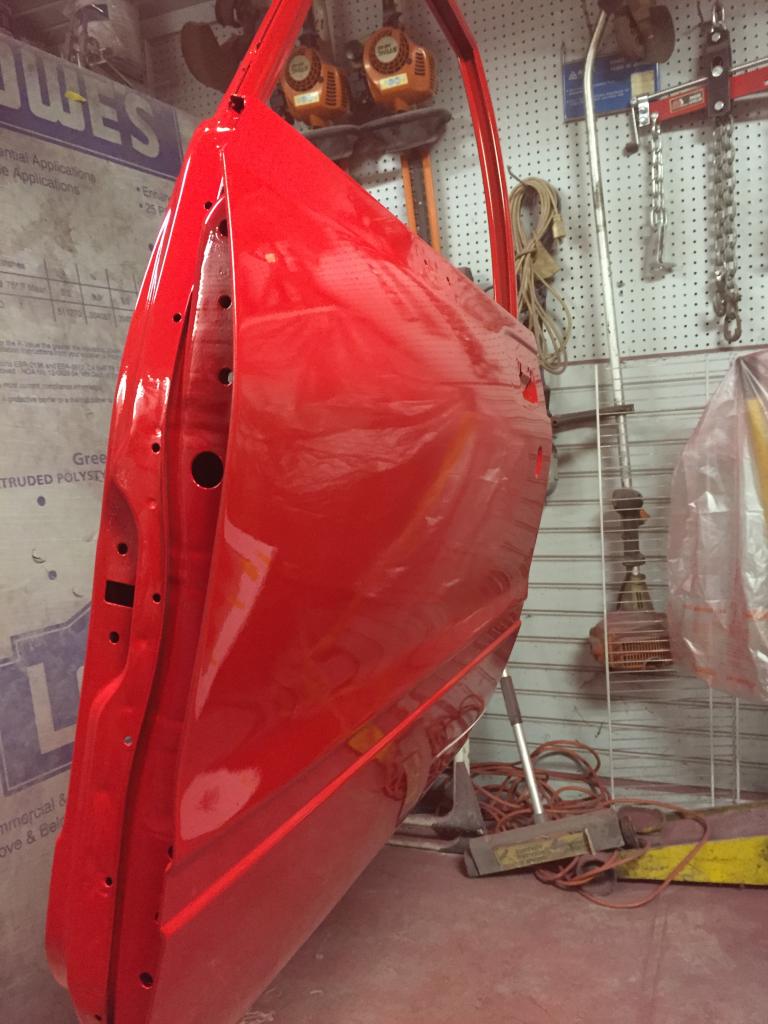
I seam sealed the doors last night. There was some slight evidence of water intrusion on the door skin folded edges so I made sure that they were cleaned out really well when I blasted them and sealed with epoxy really well then thoroughly covered it with seam sealer. These should be the only seams that will be regularly seen since they are in the door jamb so I tried to make them as puuuuurdy as possible.
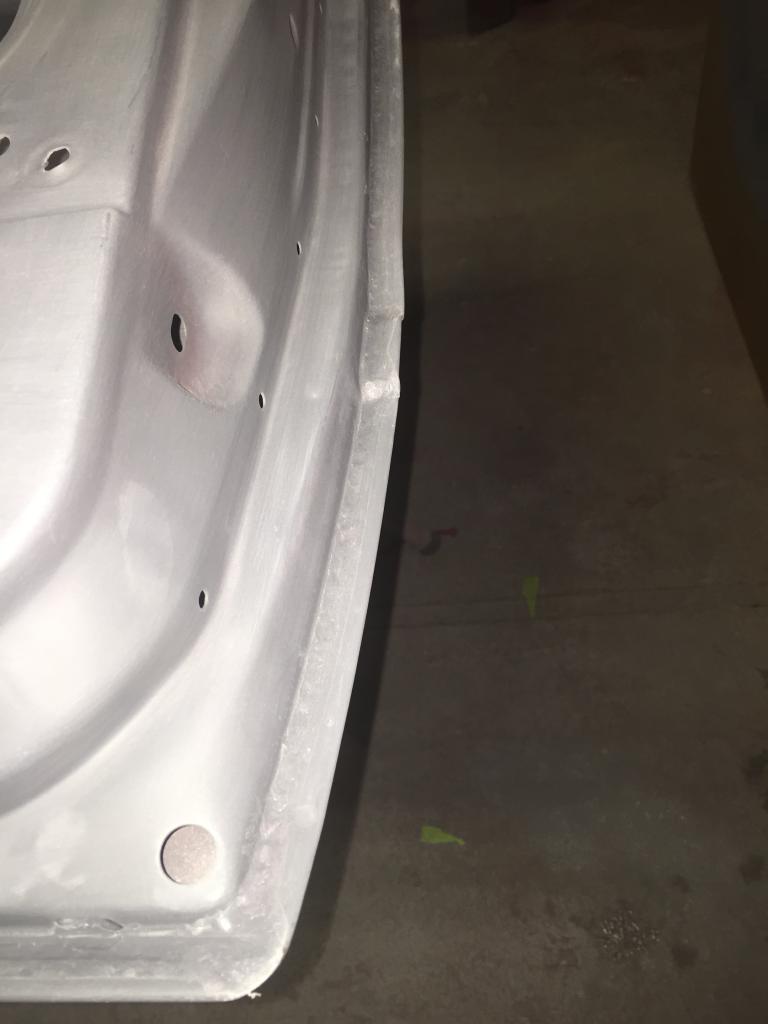
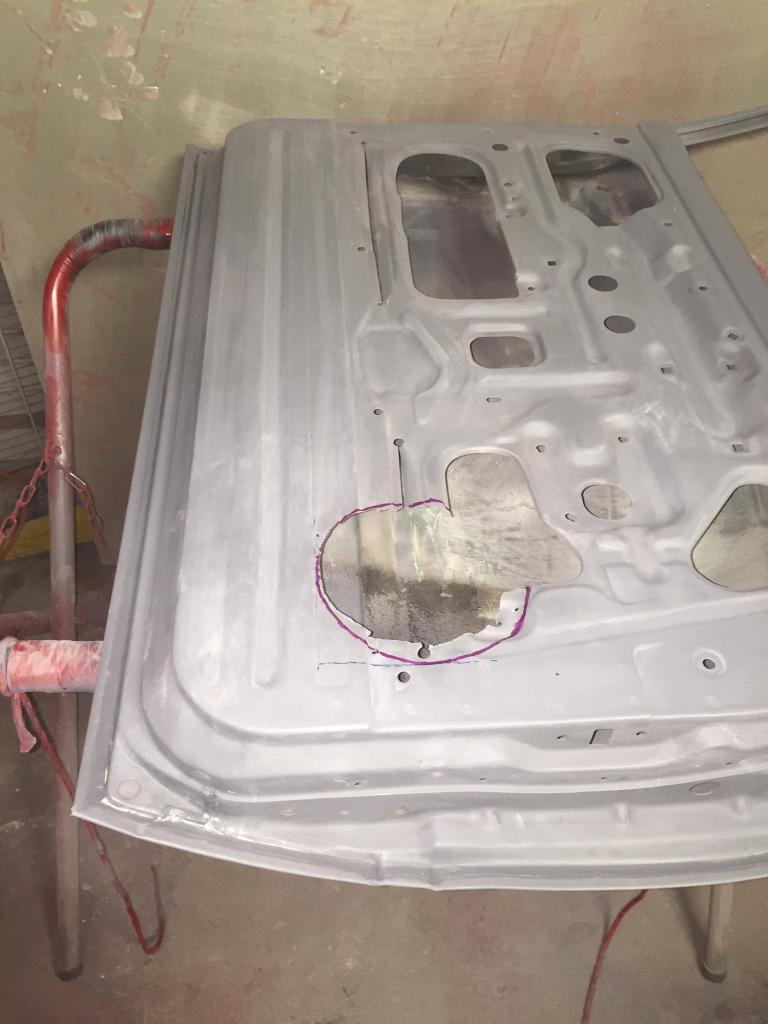
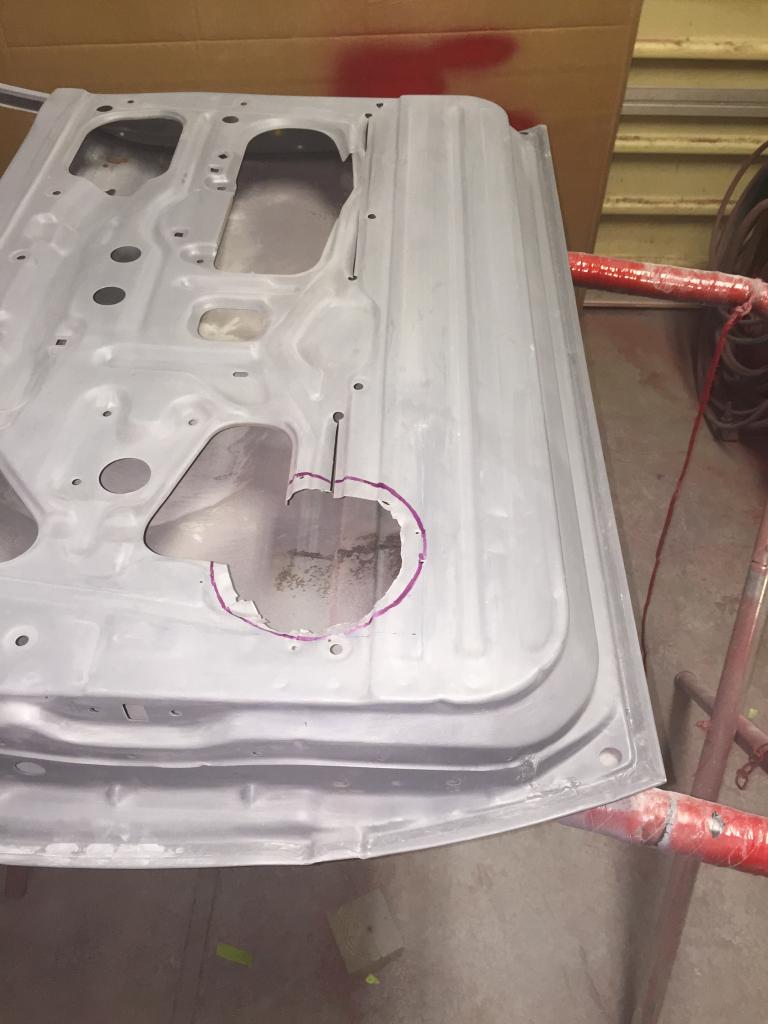
Notice the neat 6" circles that I drew on the doors as well? I want to cut out the speaker holes prior to painting so I don't mess anything up. The previous owner did one hell of a hack job on the door to get the old speakers in there. The holes will so be perfectly round and equally located on each door. Hopefully I get that done this afternoon so I can shoot one more coat of surfacer (I wasn't quite satisfied with the surface on the first shot) on the doors before paint. The hood is all ready to go so I'll likely color shoot it and the doors together.


Notice the neat 6" circles that I drew on the doors as well? I want to cut out the speaker holes prior to painting so I don't mess anything up. The previous owner did one hell of a hack job on the door to get the old speakers in there. The holes will so be perfectly round and equally located on each door. Hopefully I get that done this afternoon so I can shoot one more coat of surfacer (I wasn't quite satisfied with the surface on the first shot) on the doors before paint. The hood is all ready to go so I'll likely color shoot it and the doors together.
Oct 11, 2014 | 09:08 PM
#928
Thread Starter
Super Moderator
iTrader: (3)
Joined: Jan 2012
Posts: 3,218
Likes: 26
From: Salisbury, MD
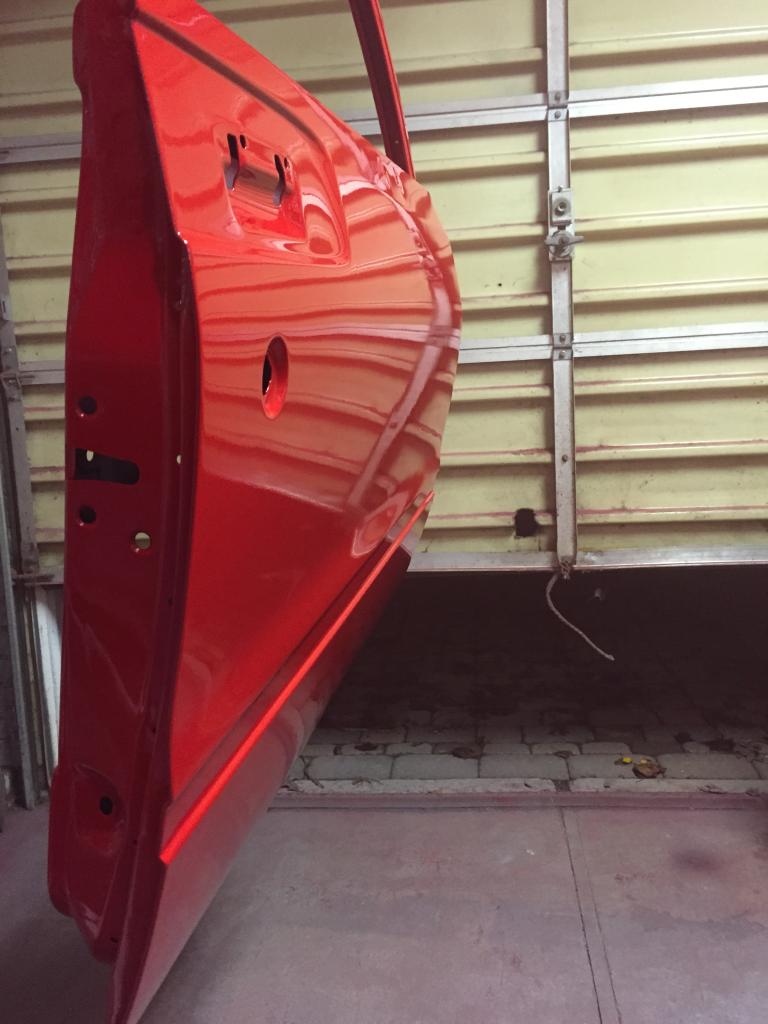
Cleaned up the speaker holes. Round and much better now:
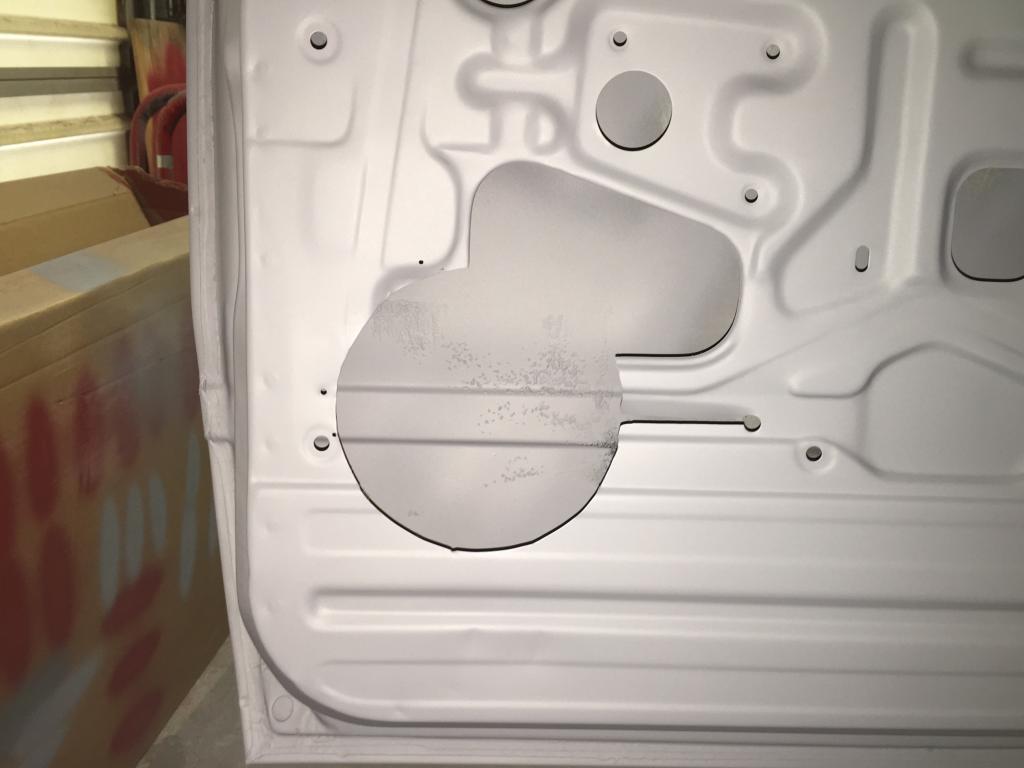
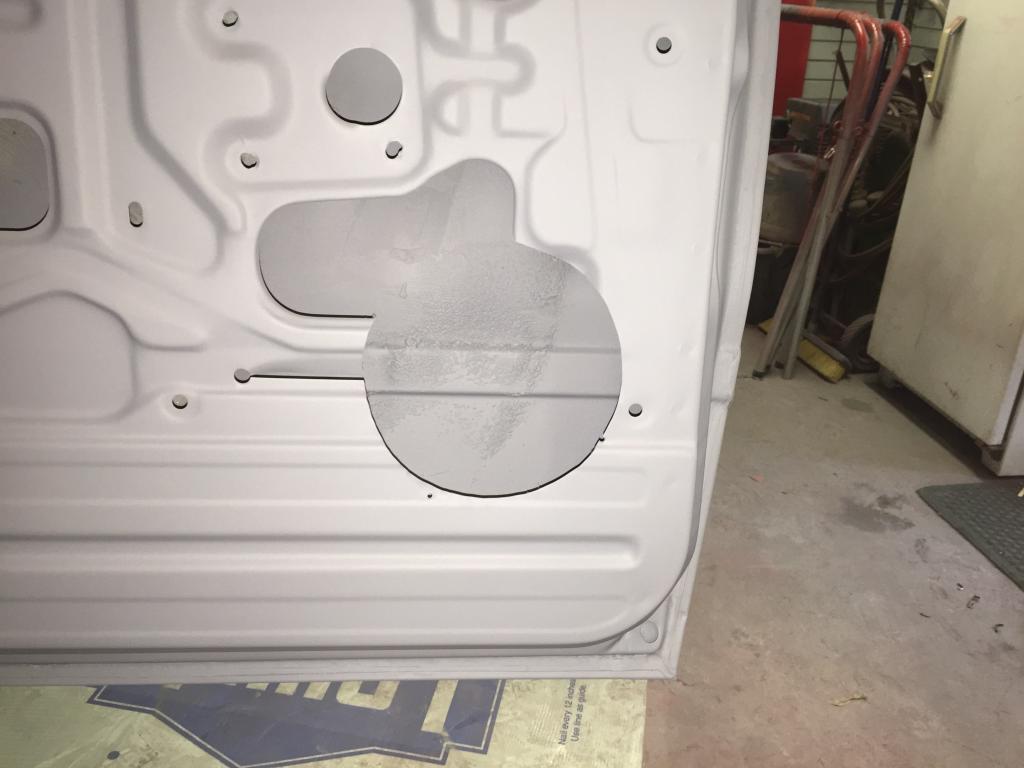
Sprayed a couple more coats of surfacer yesterday too:
Tonight I sanded the doors down to 600 grit and just barely shot the first coat of color. Currently waiting for it to flash off before I shoot 2 more coats. Be back in about a hour with the results...


Sprayed a couple more coats of surfacer yesterday too:

Tonight I sanded the doors down to 600 grit and just barely shot the first coat of color. Currently waiting for it to flash off before I shoot 2 more coats. Be back in about a hour with the results...
Oct 11, 2014 | 09:54 PM
#929
Thread Starter
Super Moderator
iTrader: (3)
Joined: Jan 2012
Posts: 3,218
Likes: 26
From: Salisbury, MD
TA-DA! As promised:
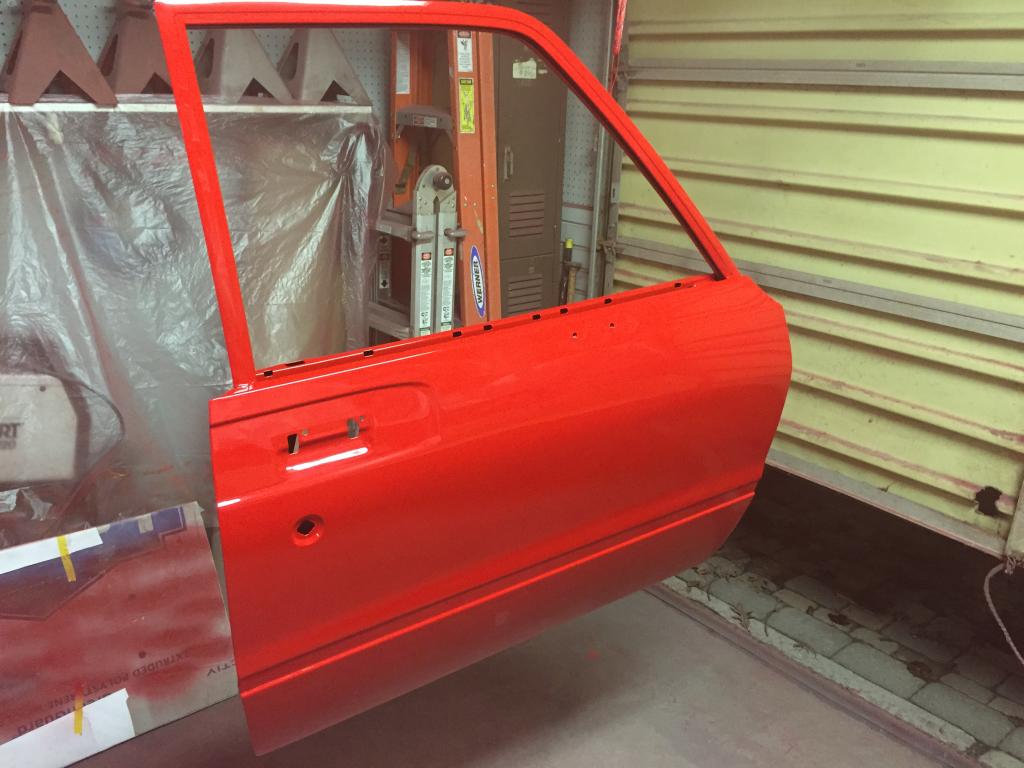
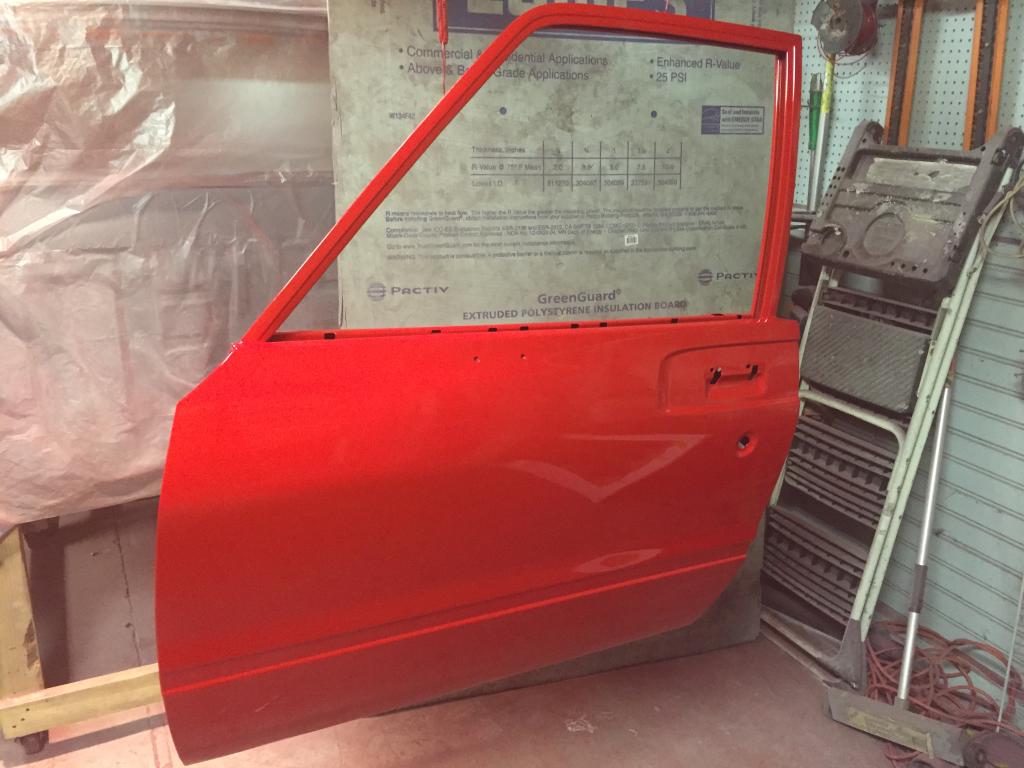
I'm not sure if you can tell in the pictures, but I ended up with a slight little bit of orange peel. Not really bad, but it can be wetsanded out easily. I think it was from the slightly colder temperature tonight so I probably could have used a little more reducer to help the flow. Overall, I'm very satisfied with the results so far. The fruit flies have been crazy around here lately, but they seemed to subside today so hopefully I don't have little visitors in my paint. Next is the hood. It's ready to shoot already and I probably could have done it tonight but I don't have much hanging space and I don't want to lay it flat and cause the possibility of having more debris landing in the paint. As soon as these doors cure, I'll get them over to my painted parts storage (AKA an area of my basement that has been quarantied off from my two-year-old so) and then shoot the hood. After that it's on to surfacing the cab!


I'm not sure if you can tell in the pictures, but I ended up with a slight little bit of orange peel. Not really bad, but it can be wetsanded out easily. I think it was from the slightly colder temperature tonight so I probably could have used a little more reducer to help the flow. Overall, I'm very satisfied with the results so far. The fruit flies have been crazy around here lately, but they seemed to subside today so hopefully I don't have little visitors in my paint. Next is the hood. It's ready to shoot already and I probably could have done it tonight but I don't have much hanging space and I don't want to lay it flat and cause the possibility of having more debris landing in the paint. As soon as these doors cure, I'll get them over to my painted parts storage (AKA an area of my basement that has been quarantied off from my two-year-old so) and then shoot the hood. After that it's on to surfacing the cab!
Oct 12, 2014 | 04:09 AM
#930
Amen on the advice to 84 yota dude. Each step counts on the one before it. More work is involved in body work but to me the rewards are more worth it over mechanicing. 2000 grit and some elbow grease will take care of the orange peel. Don't know which brand of compounds you will use to polish out but I like Meguiars compounds.
Sandpaper may sound scary to use but I get into more trouble with a buffer and compounds. Been following along and truck is going to look great. Great job!!!
Sandpaper may sound scary to use but I get into more trouble with a buffer and compounds. Been following along and truck is going to look great. Great job!!!
Oct 12, 2014 | 05:14 AM
#931
Registered User
Joined: Jan 2012
Posts: 325
Likes: 2
From: Kansas City, Missouri
sound deadening layers
I don't know if the doors in this truck had them, but are those flexible plastic liners that you see in doors for quieting down the doors? Some kind of vapor barrier? Are you going to cut custom liners and glue them in with caulk or something? I have noticed that the doors sound more tinny when closed if you remove them, but not sure if that's all they are for.
Also, have you thought about a hood liner and firewall liner? I think those will quiet down the cab a lot, so you can hear those speakers better!
Also, have you thought about a hood liner and firewall liner? I think those will quiet down the cab a lot, so you can hear those speakers better!
 Oct 13, 2014 | 04:08 PM
#935
Thread Starter
Super Moderator
iTrader: (3)
Joined: Jan 2012
Posts: 3,218
Likes: 26
From: Salisbury, MD
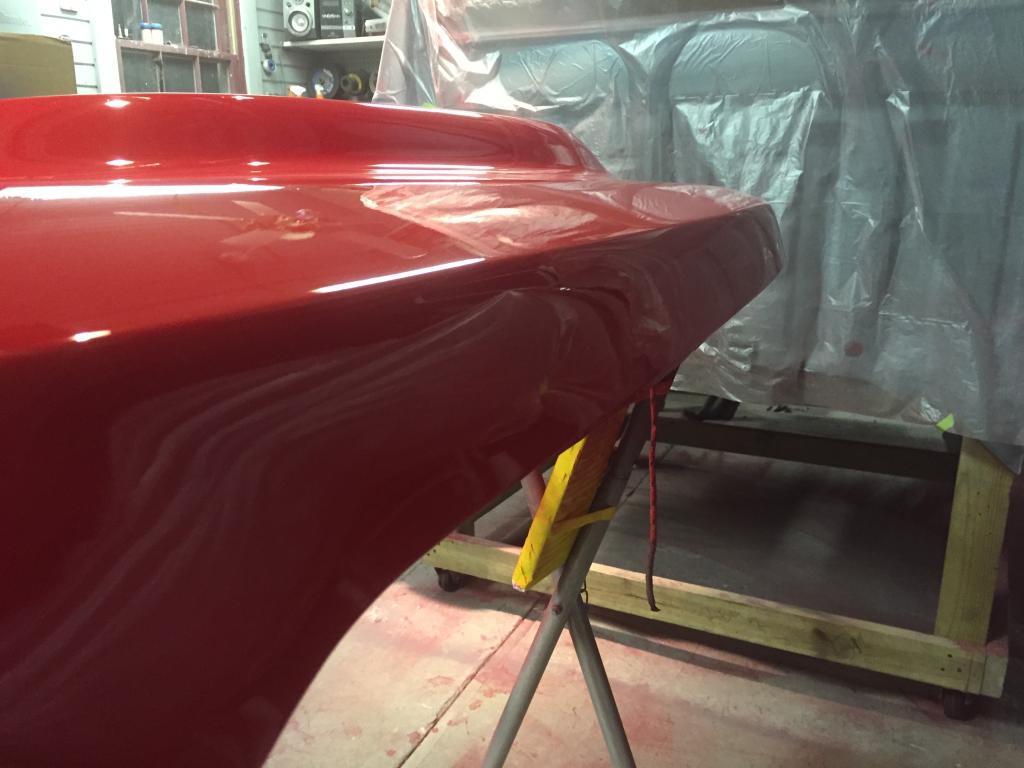
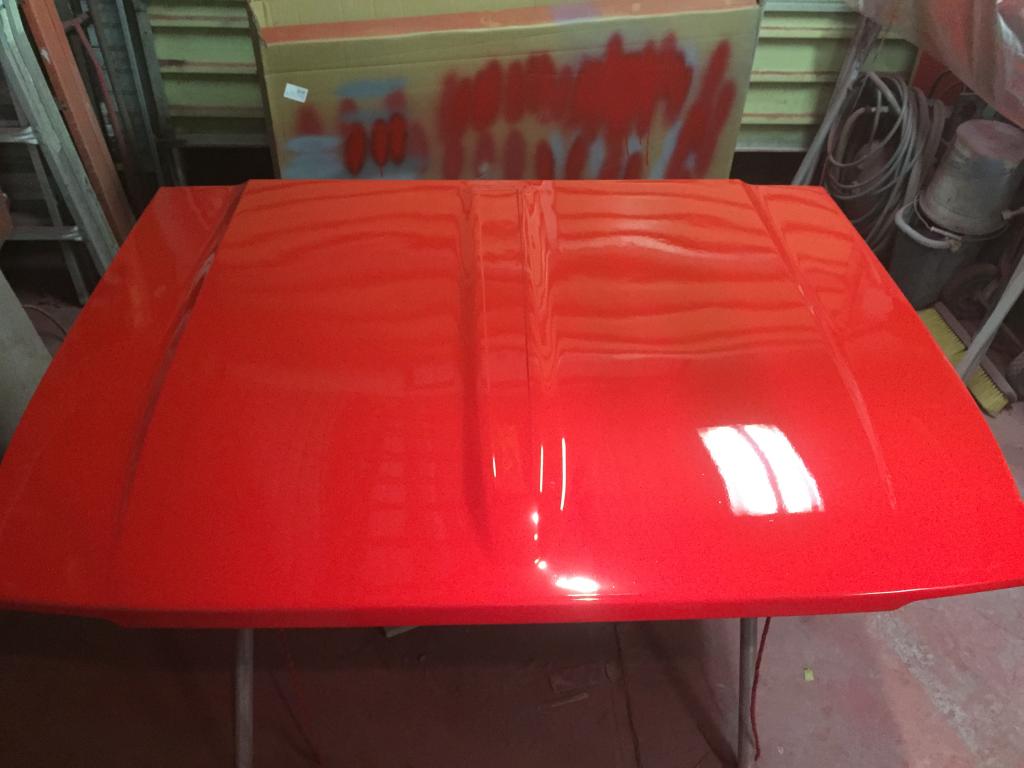
Hood... Check! Not sure what happened, but the paint didn't flow out as well this time around. I had a mediocre amount of orange peel come through. It probably wouldn't seem like much to most people and would likely be acceptable to most but by my standards it isn't up to par. I ended up throwing on an extra coat to give me plenty of room for wetsanding.

Last edited by kawazx636; Oct 13, 2014 at 04:09 PM.
Oct 13, 2014 | 05:10 PM
#936
Oct 13, 2014 | 05:18 PM
#937
Registered User
Joined: Jan 2012
Posts: 325
Likes: 2
From: Kansas City, Missouri
orange peel = too much paint-blobs, thick paint lines and accumulated drips?
These over painting errors would be fixable with wet sanding, so I assume it is too much pooling up in various ways.
These over painting errors would be fixable with wet sanding, so I assume it is too much pooling up in various ways.
Last edited by 83pingpong; Oct 13, 2014 at 05:21 PM.
Oct 13, 2014 | 05:41 PM
#938
Thread Starter
Super Moderator
iTrader: (3)
Joined: Jan 2012
Posts: 3,218
Likes: 26
From: Salisbury, MD
I'm assuming you don't know what orange peel is? No problem! Basically orange peel is the result of the paint not laying completely flat and smooth thus resembling the surface of an orange. It can be caused by lack of spray pressure, ambiant temperature and improper/wrong reducers. But the bottom line is that the reason for orange peel is the lack of proper atomization of paint due to one or more of the causes above. When the paint doesn't properly atomize then it won't flow out smooth and glassy like you want and you'll end up with the orange peel affect. Like I said, its not a big deal as it can be wetsanded out but it's just more work. The amazing thing about painting is that anybody can do it but the reason that professionals are so good is because they know the setup and mixing side of things a lot better. If I had a professional painter set up my gun and mix my paint for me then the average person would see no difference between a panel I painted and a panel a professional painted.
Oct 13, 2014 | 07:25 PM
#939
Registered User
Joined: Jan 2011
Posts: 1,051
Likes: 0
From: Memphis, TN
I vote for a proper Kawazx636 "How to Paint" instruction write up, including preparation, mixing, painting, wet sanding, body work, etc, etc..
Your engine desmog write up was so precise and comprehensive, you just HAVE to do another!
Looking forward to this truck being put together!!
Your engine desmog write up was so precise and comprehensive, you just HAVE to do another!
Looking forward to this truck being put together!!
Oct 14, 2014 | 07:22 AM
#940
Thread Starter
Super Moderator
iTrader: (3)
Joined: Jan 2012
Posts: 3,218
Likes: 26
From: Salisbury, MD
I vote for a proper Kawazx636 "How to Paint" instruction write up, including preparation, mixing, painting, wet sanding, body work, etc, etc..
Your engine desmog write up was so precise and comprehensive, you just HAVE to do another!
Looking forward to this truck being put together!!
Your engine desmog write up was so precise and comprehensive, you just HAVE to do another!
Looking forward to this truck being put together!!
1 - Prep, prep, prep and more prep - Sandblast or 80 grit DA on bare metal before filler or epoxy. Sand filler to 180-220 before recoating with epoxy. Sand epoxy to 320-400 before surfacer. Sand surfacer to 600 before Color
2 - Buy quality paint guns and at least two of them - one for primer and one for color/clear. Cheap Harbor Freight guns will get you no where near a quality paint job. I also recommend getting a smaller detail gun to get into tighter places - On my truck for instance, the areas under the dash, the corners of the window frame of the doors and door jambs. You want something that is compact with a more narrow spray pattern so you can spot shoot without throwing excess paint.
3 - LOTS OF AIR - a pancake compressor isn't going to get you anywhere. You need at least a 60 gallon tank putting out 8CFM at 25-30psi to be able to continuously spray.
4 - Lots of DRY air - water/oil separators are must. You can use inline desiccant dryers, but if you are painted a whole vehicle you will quickly find out that you've gone through a half dozen desiccant dryers at $10 a pop and you could have just gone out and bought a real water separator. I have separator built into the air plumbing in my Pop's garage, but since I run a hose from one garage to another I run the risk of collecting more moisture so I use an additional Kobalt separator that does the job really well. I also use it at home on my smaller compressor to keep water out of my air tools and it works extremely well there too. I think it is somewhere around $30 - worth the money.
5 - A GOOD pressure regulator. A PRESSURE REGULATOR, not the cheap ones that I like to call a volume regulator that just restricts flow. A good pressure regulator does not give you a spike in pressure when you first pull the trigger.
5 - Degrease and dewax parts everytime you apply filler, paint and primer. YOU are naturally greasy so wear nitrile gloves and clean anything you touch. One of the #1 causes of delamination is contamination. I have easily used over 2 gallons of SEMsolve since I have started the bodywork and I probably still have another gallon to go. After you degrease/dewax anything you paint, you also want to tack cloth it off. I don't care how "lint-free" a rag says it is, you will quickly see how "lint-free" your rag wasn't when you lay paint without tacking off the surface. Tack once, tack twice and if you think you have it clean, tack it again. They are an absolutely MUST if you want to have smooth paint that free of dust and lint.
6 - You don't need a paint booth to get a good paint job, but you do need to keep your work area clean. You can paint in your garage if you are mindful of your contaminants. Dust doesn't necessarily kill a paint job, but you'll surely have work to do later. You'll see how much when I get to it - I have very little dust in my paint so far, but it'll still take some time to wetsand out. Get a vacuum with a fine particle filter and vacuum up dust and dirt - DON'T SWEEP. Sweeping sends the dust airborne and takes forever to settle...in your paint... After you are done spraying a coat, a panel or whatever, GET THE HELL OUT! Don't walk around and admire your shiny new paint; you can do that in about an hour after it has tacked out. Walking around your freshly painted parts just increases the chances of stirring up dust, bumping into the part, pissing off the fly gods, etc...
7 - Know your paint and read the tech sheets - they tell you everything you need to know about application, pressure, fluid tips, mixing ratios, reduction, flashing, re-coat windows, sanding/prep, cure times, etc.
8 - Paint is not kind to humans - Be safe and use common sense - ie: gloves, carbon filter respirators, eye protection and other safety equipment.
9 - MOST IMPORTANT - READ READ READ READ READ AND READ SOME MORE. If you don't know what you are doing, read up on it. I've had very few people in my life actually walk me through and teach me how to do something. I always read up online and figure out how to do things properly. I bet that for every five hours I have spent working on this truck, I have spent one hour researching something. You're not going to be an expert at whatever you do, but if you do it like an expert would then you should have desireable results. It also helps to NOT watch shows like OverHauling, Fast and Loud and Bitchin' Rides. I'm not saying that those guys don't know what they are doing (although I sometimes question Gas Monkey Garage), but in no way can you expect to turn around a car in the time frames they do - those shows will make you feel like you're working at a snails pace. They have teams of professionals that know what they are doing in order to build cars like they do. Although, I would love to see what some of the older Overhauling cars look like now - since you really need to allow the fillers and primers to shrink before painting, there is no way that the paint isn't cracked or flaking on those vehicles after 10 years. I know Foose is good and I know there is a quick turn around theme to the show, but that doesn't stop the laws of bodywork.
10 - I just felt like there should be a 10 so here's a good 10 for you - DO NOT BE AFRAID TO FAIL! I have failed on several things while building this truck (Like the Raptor Liner and others that I was too embarrassed to share with you all) and I'll likely have more. I might seem to have an unlimited budget on this truck, but believe me I DO NOT. I am just really good at budgeting other aspects of my life to redirect money towards my truck and so far my wife hasn't caught on the financial reality of my project. That being the case, failing can be expensive but in the long run I'd rather fail, spend a little more and learn something than never know if I did something wrong. I know you guys hated it when teachers used to tell you this, but knowledge is power.
Dang, just wrote a book... And here I was saying that I wasn't going to spoon feed you...
Last edited by kawazx636; Oct 14, 2014 at 08:05 AM.


