
KawaZX636's 1983 Toyota Pickup Restoration


 May 24, 2014 | 08:35 PM
#723
Thread Starter
Super Moderator
iTrader: (3)
Joined: Jan 2012
Posts: 3,218
Likes: 26
From: Salisbury, MD
Absolutely not
 May 28, 2014 | 07:32 PM
#727
Thread Starter
Super Moderator
iTrader: (3)
Joined: Jan 2012
Posts: 3,218
Likes: 26
From: Salisbury, MD
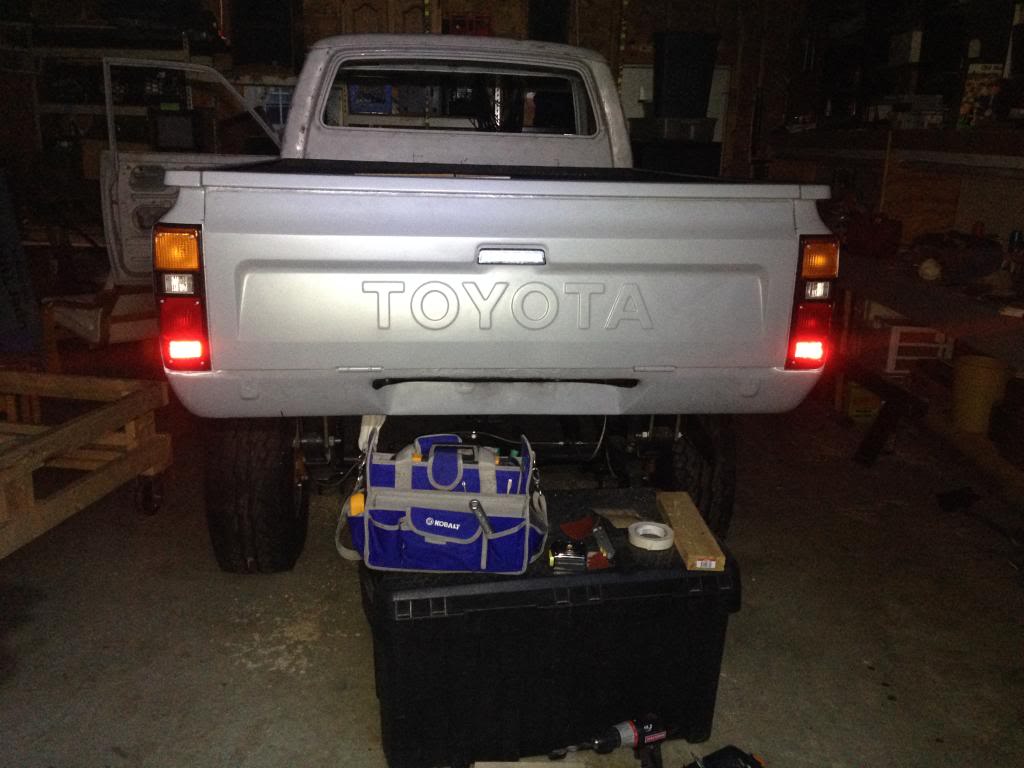
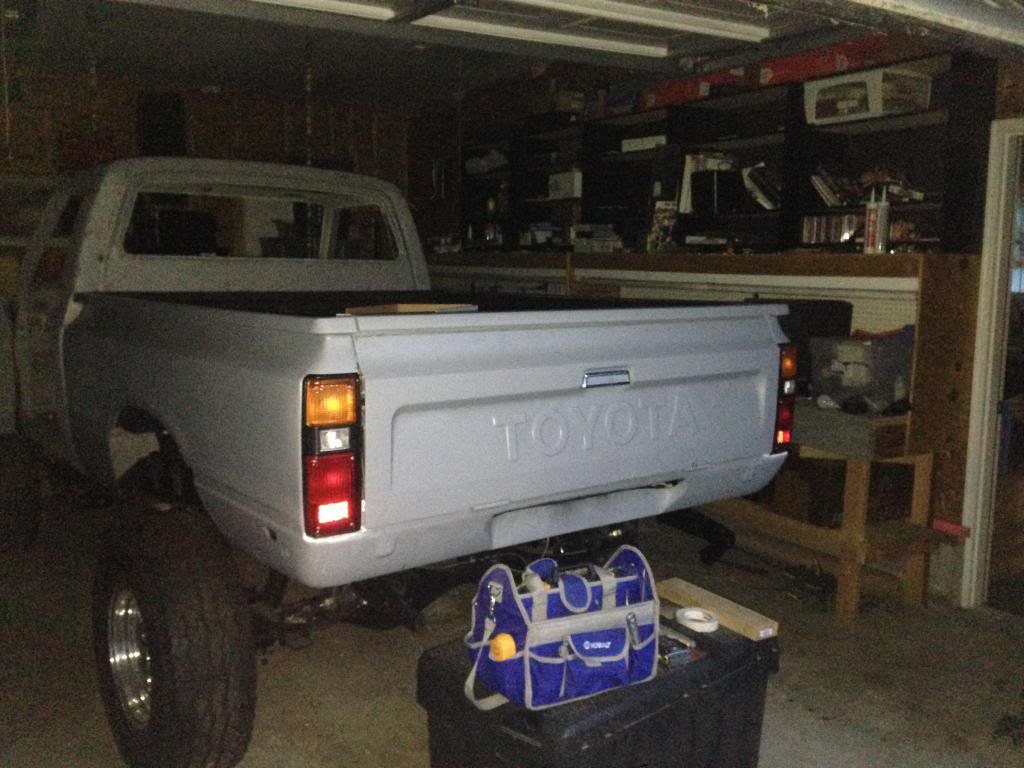
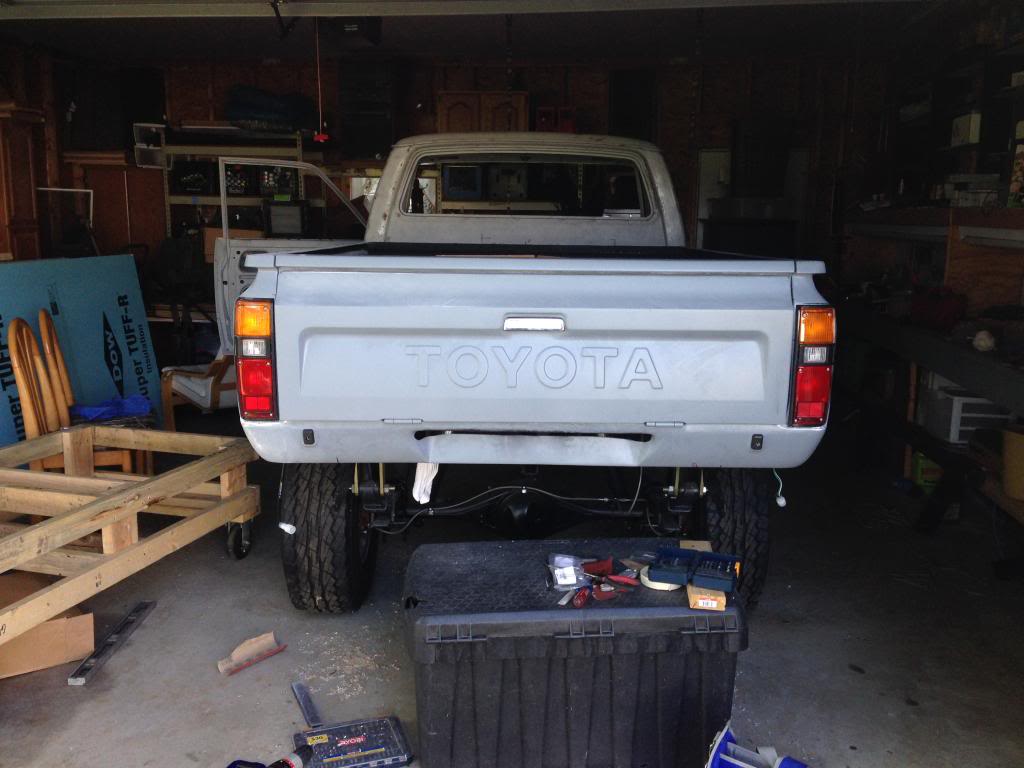
I finally got some free time to mock up the tail light assemblies on the bed. I had to make some slight adjustments to the fiberglass bed to make everything fit snug, but nothing major. It's just the way fiberglass is and it probably doesn't help having to use aftermarket tail lights. Here's how they look:
I got the side markers mocked up too but I ran out of light for pictures and the garage is having electric issues so I had the breaker off. I also started blocking the bed. Up around bed rails has the "original" weld waviness from where Corey took the mold on the bedside - pretty much every bed has this waviness in it. He says it gives it a metal look, but I'm going to try to make all of my panels as laser straight as possible. It's not a lot of block sanding, but I think it will turn out better. I blocked it down with 50grit through the epoxy to the gel coat to knock down some of the high spots and to give it some tooth. Then I'll swipe it with some body filler and block it again to get it perfectly straight. Don't get me wrong here, the bed would be perfectly good for 95% of folks out there, but I just want to take it a bit further. I'm hoping to get some time with the truck this weekend, but we'll see.
I got the side markers mocked up too but I ran out of light for pictures and the garage is having electric issues so I had the breaker off. I also started blocking the bed. Up around bed rails has the "original" weld waviness from where Corey took the mold on the bedside - pretty much every bed has this waviness in it. He says it gives it a metal look, but I'm going to try to make all of my panels as laser straight as possible. It's not a lot of block sanding, but I think it will turn out better. I blocked it down with 50grit through the epoxy to the gel coat to knock down some of the high spots and to give it some tooth. Then I'll swipe it with some body filler and block it again to get it perfectly straight. Don't get me wrong here, the bed would be perfectly good for 95% of folks out there, but I just want to take it a bit further. I'm hoping to get some time with the truck this weekend, but we'll see.
May 28, 2014 | 07:43 PM
#728
Thread Starter
Super Moderator
iTrader: (3)
Joined: Jan 2012
Posts: 3,218
Likes: 26
From: Salisbury, MD
Forgot to mention, I scored a nice set of original fender flares on eBay last weekend. I'm going to run the factory flares at least until Corey replicates the Bushwacker flares. I also snagged some tailgate bumpers (the black rubber things on the roll pan) and hood bumper adjusters - both Toyota new-old stock.
Jun 1, 2014 | 08:57 PM
#729
Thread Starter
Super Moderator
iTrader: (3)
Joined: Jan 2012
Posts: 3,218
Likes: 26
From: Salisbury, MD
Got some goodies Saturday (More coming tomorrow!). NOS tail gate bumpers :
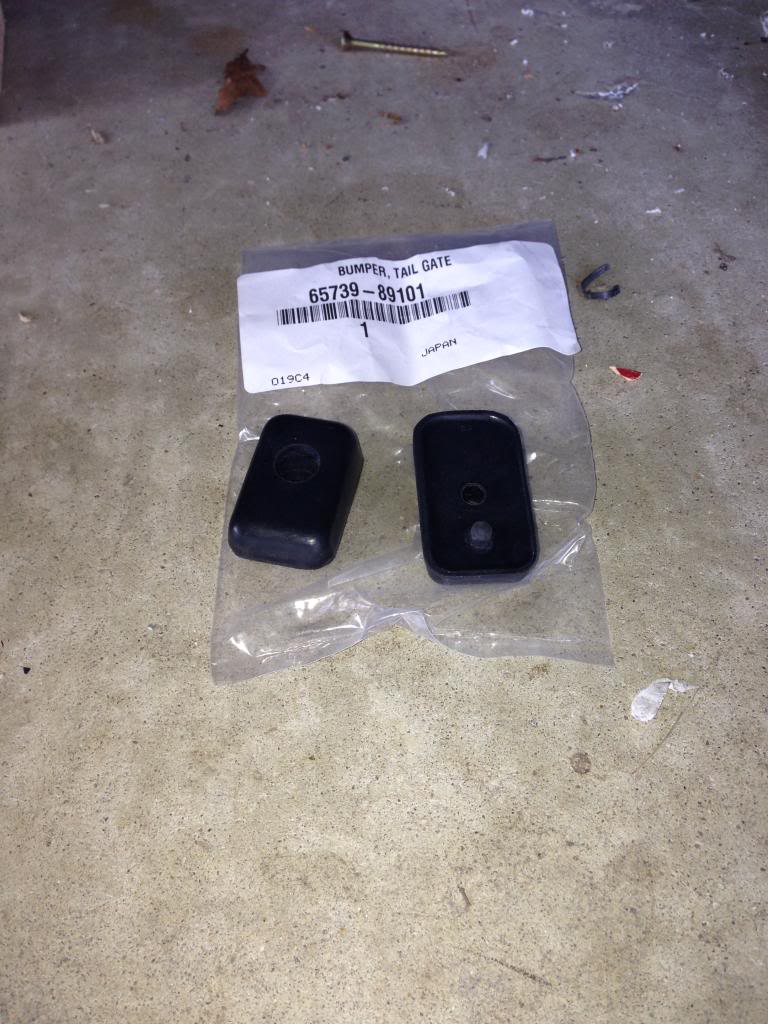
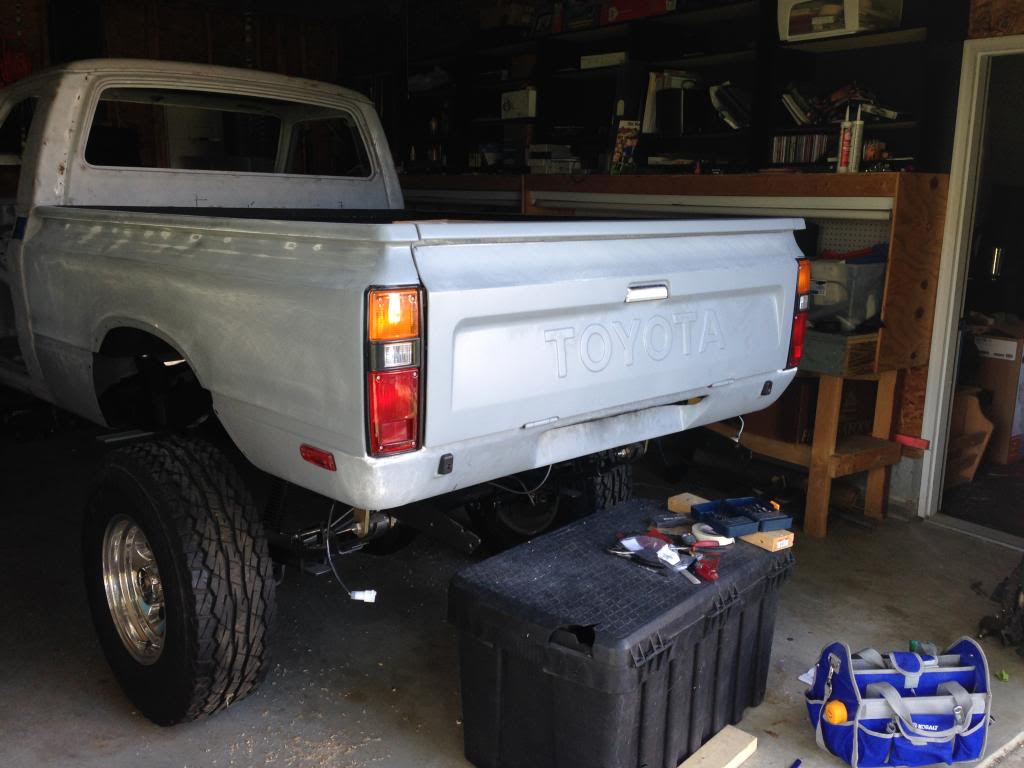
They were $20, but they are a part of the classic original look so I had to have them. I went to fit them up and finish up the bed mock up today:
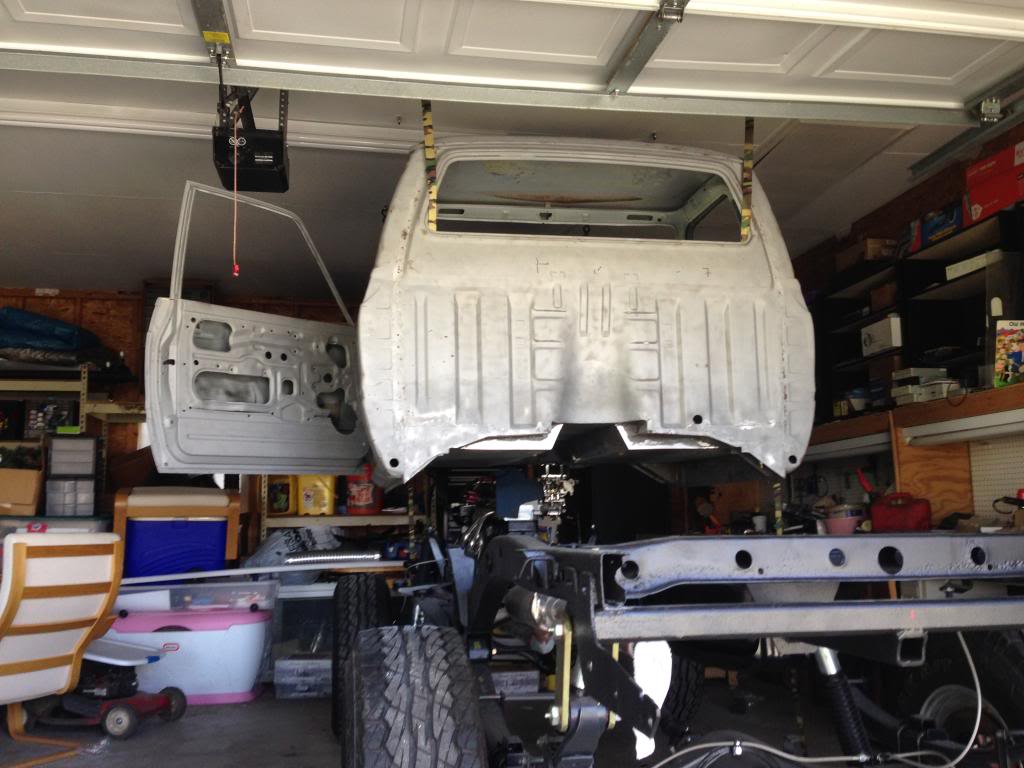
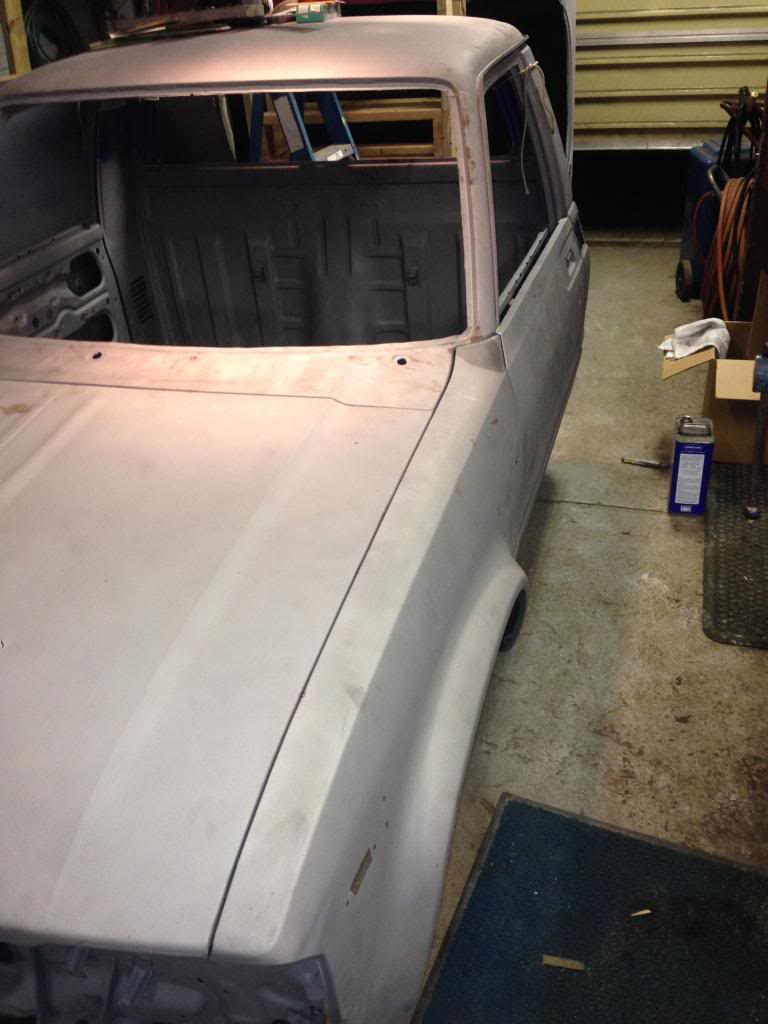
Then it was off with the cab and bed again using my nifty little lift system:
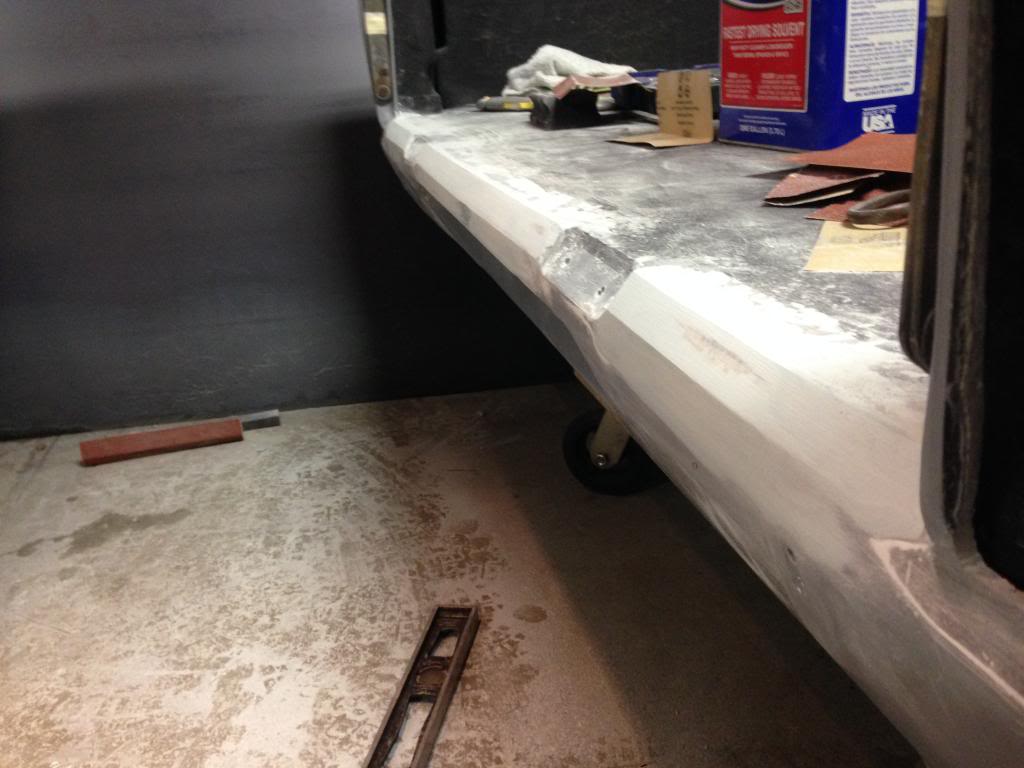
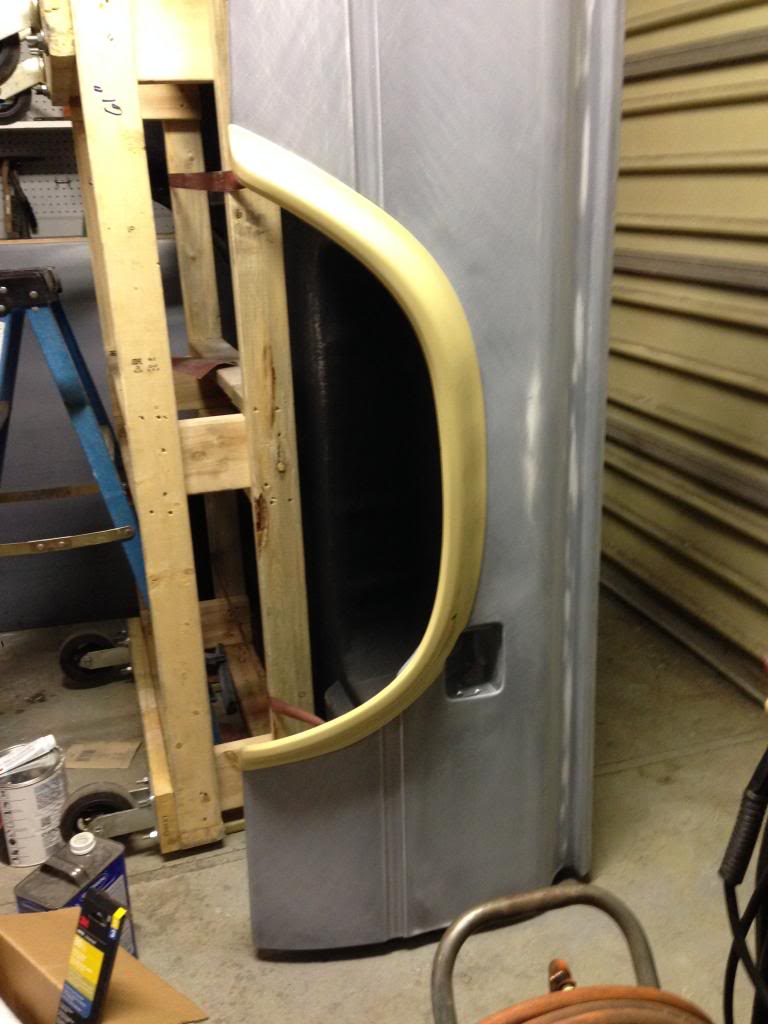
Annnnnd finally some bodwork!! There were a few things with the bed that I want to straighten out. One is the weld waves up around the bed rails, another is the raw fiberglass up under the tail gate rail and the other is the raw fiberglass where the bed floor wraps down around the rollpan. Corey leaves some areas as raw fiberglass so I just have to fill it with a little body filler and smooth it out - no big deal at all. I got the top part almost done tonight and I'll get the underside done tomorrow night. Here it is so far:
I'll knock down and round off the hard edges once I get everything shaped the way I want. Here's the underside so you can see what I was talking about with the raw fiberglass:
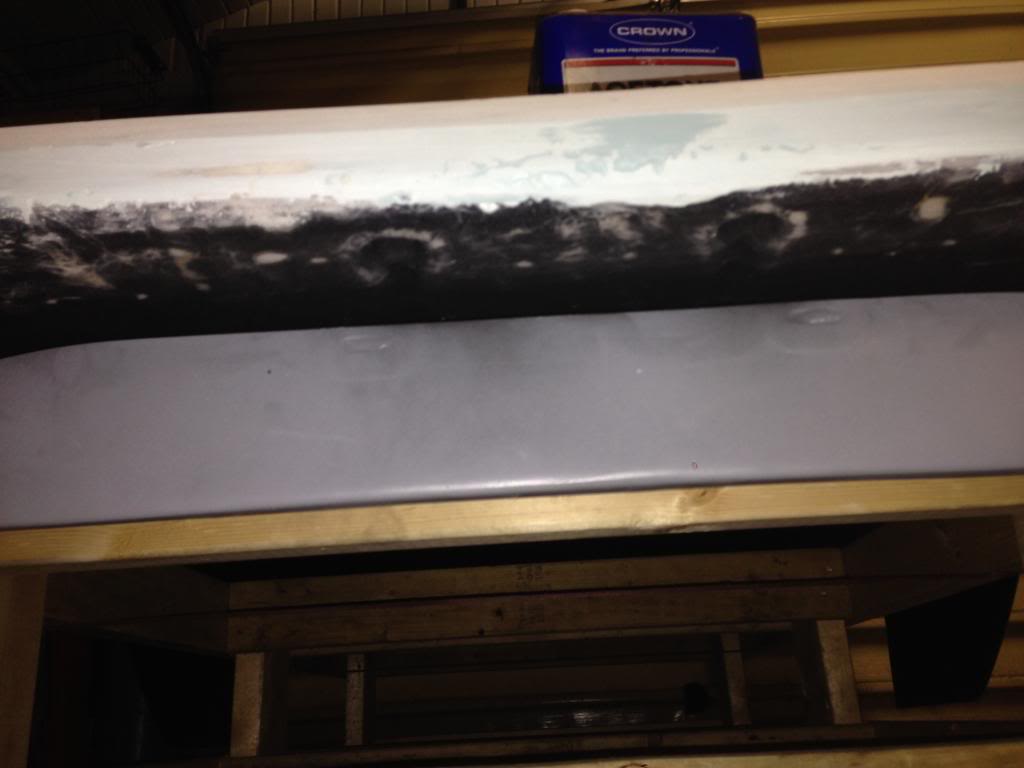
I'm using Evercoat Rage Ultra body filler and let me tell you all this...That stuff is GOOD!! I've used Rage Gold before and thought that it was pretty good, but Ultra blows that out of the water!! Mixes extremely well, doesn't leave any pin holes, sands ridiculously easy and feathers extremely well. My only problem so far is that it kicks super fast - I've only had a maximum of 5 minutes of working time on each coat so far, but that should just be a matter of finding my ideal hardener ratio. Ideally, I'd like to get about 8 minutes of working time before it kicks. I would certainly recommend Ultra to anybody and it is definitely worth the few extra bucks! I think I only paid $65 for a gallon at my local jobber and economy stuff typically runs around $40-50.
They were $20, but they are a part of the classic original look so I had to have them. I went to fit them up and finish up the bed mock up today:
Then it was off with the cab and bed again using my nifty little lift system:
Annnnnd finally some bodwork!! There were a few things with the bed that I want to straighten out. One is the weld waves up around the bed rails, another is the raw fiberglass up under the tail gate rail and the other is the raw fiberglass where the bed floor wraps down around the rollpan. Corey leaves some areas as raw fiberglass so I just have to fill it with a little body filler and smooth it out - no big deal at all. I got the top part almost done tonight and I'll get the underside done tomorrow night. Here it is so far:
I'll knock down and round off the hard edges once I get everything shaped the way I want. Here's the underside so you can see what I was talking about with the raw fiberglass:
I'm using Evercoat Rage Ultra body filler and let me tell you all this...That stuff is GOOD!! I've used Rage Gold before and thought that it was pretty good, but Ultra blows that out of the water!! Mixes extremely well, doesn't leave any pin holes, sands ridiculously easy and feathers extremely well. My only problem so far is that it kicks super fast - I've only had a maximum of 5 minutes of working time on each coat so far, but that should just be a matter of finding my ideal hardener ratio. Ideally, I'd like to get about 8 minutes of working time before it kicks. I would certainly recommend Ultra to anybody and it is definitely worth the few extra bucks! I think I only paid $65 for a gallon at my local jobber and economy stuff typically runs around $40-50.
Last edited by kawazx636; Jun 1, 2014 at 09:01 PM.
Jun 2, 2014 | 07:54 PM
#731
Thread Starter
Super Moderator
iTrader: (3)
Joined: Jan 2012
Posts: 3,218
Likes: 26
From: Salisbury, MD
TADA!
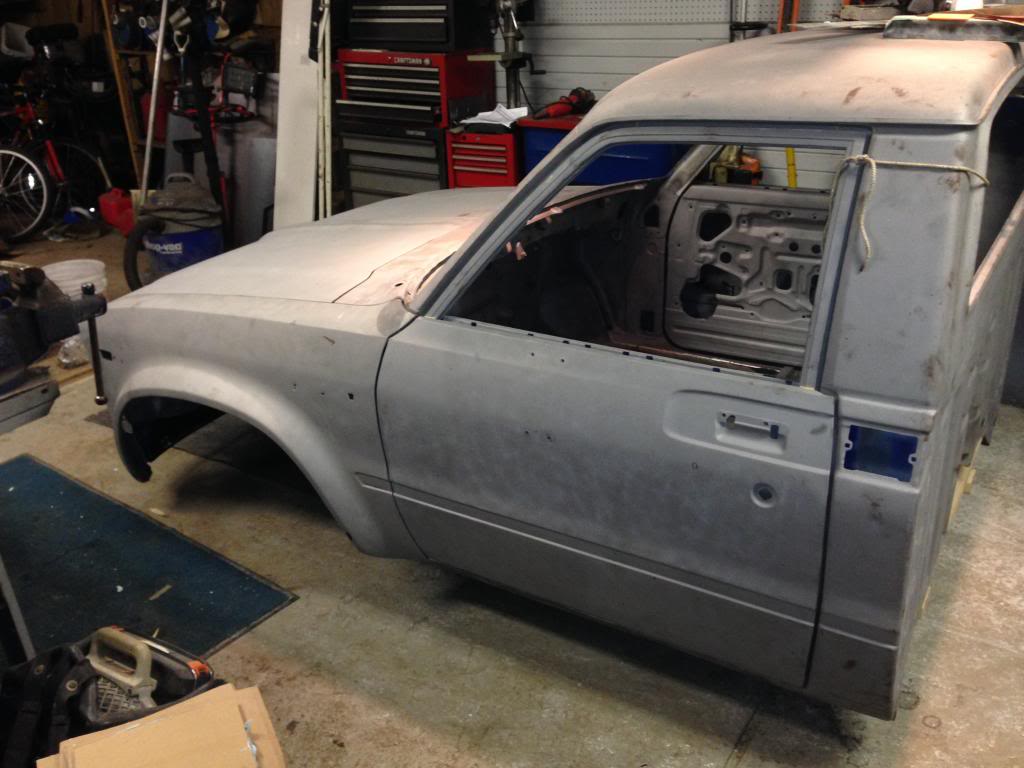
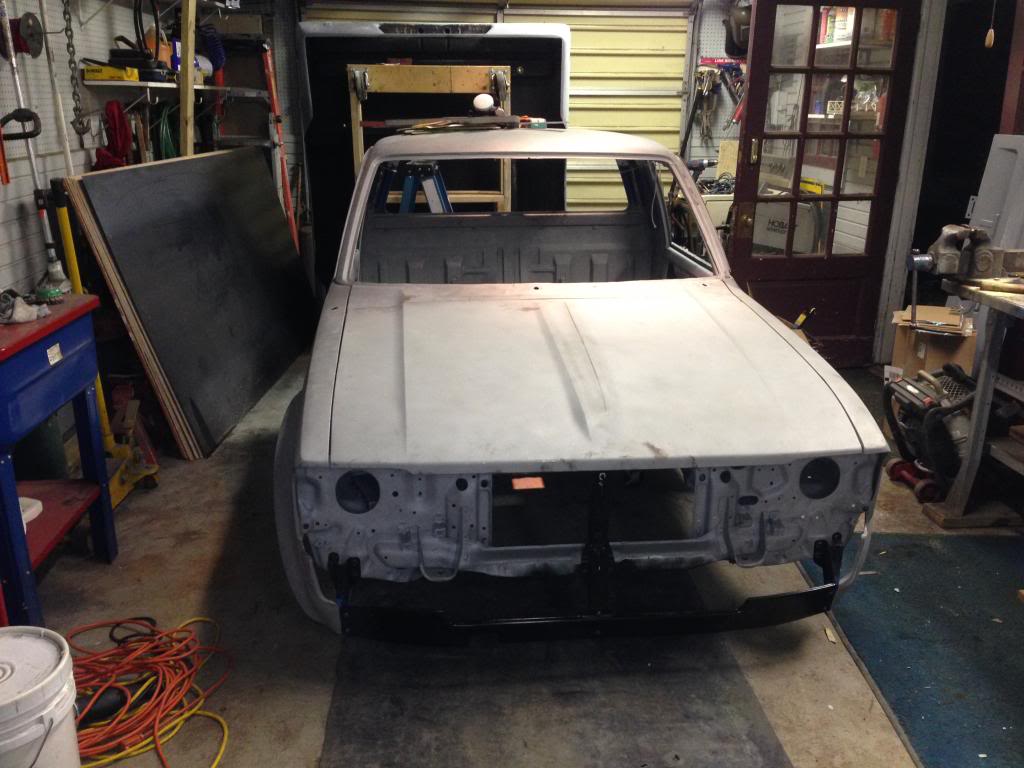
It's moments like this that really get me motivated to get in the garage every night - It is finally starting to look like a truck!!!! Everything is lining up properly so far except the lower valance. I have seem to misplaced the factory valance (very first part that I've lost so far - not too bad), but I had an aftermarket valance to use. It seems to fit a little funky and it did so prior to starting the project because I tried to replace the hacked up factory valance when I first bought the truck. I think my solution to the problem will be a smoothie valance to get rid of the phillips bolts that hold everything together. I'll get get some elevator bolts and weld them from the front side, smooth it out and use nuts on the back side. It should look pretty clean when done. I think I may take a trip to the hardware store tomorrow to get the elevator bolts among a ridiculous amount of other hardware that I need to snag - going with stainless for all the body hardware for a clean, rust free look.


It's moments like this that really get me motivated to get in the garage every night - It is finally starting to look like a truck!!!! Everything is lining up properly so far except the lower valance. I have seem to misplaced the factory valance (very first part that I've lost so far - not too bad), but I had an aftermarket valance to use. It seems to fit a little funky and it did so prior to starting the project because I tried to replace the hacked up factory valance when I first bought the truck. I think my solution to the problem will be a smoothie valance to get rid of the phillips bolts that hold everything together. I'll get get some elevator bolts and weld them from the front side, smooth it out and use nuts on the back side. It should look pretty clean when done. I think I may take a trip to the hardware store tomorrow to get the elevator bolts among a ridiculous amount of other hardware that I need to snag - going with stainless for all the body hardware for a clean, rust free look.
Jun 3, 2014 | 06:16 AM
#733
Thread Starter
Super Moderator
iTrader: (3)
Joined: Jan 2012
Posts: 3,218
Likes: 26
From: Salisbury, MD
I was browsing through eBay today and came across this gem:
http://www.ebay.com/itm/Toyota-Other-SR5-Standard-Cab-Pickup-2-Door/221447928586?_trksid=p3984.c100052.m2206&_trkparms=aid%3D222007%26algo%3DSIC.MBE%26ao%3D1%26asc%3D22945%26meid%3D7359161412723915282%26pid%3D100052%26prg%3D9893%26rk%3D1%26rkt%3D4%26sd%3D251536185976
Man, I would love to own this truck for a classy little around town pickup! I've never really be a fan of the low and slows, but I could certainly make an exception for this one!
Jun 3, 2014 | 06:24 AM
#734
Registered User
Joined: Feb 2014
Posts: 351
Likes: 0
I've seen it there is a web page build on it
And there is a 4x4 1st gen around here but I'm not sure if it's made or factory trial it's behind a barn back in the weeds I'll drive over and snap pics when I get done with mine cause if you know me I can't be around anything I like or I'll buy it and two projects I can't handle
If anyone else wants it I will let whoever have the guys # he's got at least 10 others around his house
Jun 3, 2014 | 11:42 AM
#735
Thread Starter
Super Moderator
iTrader: (3)
Joined: Jan 2012
Posts: 3,218
Likes: 26
From: Salisbury, MD
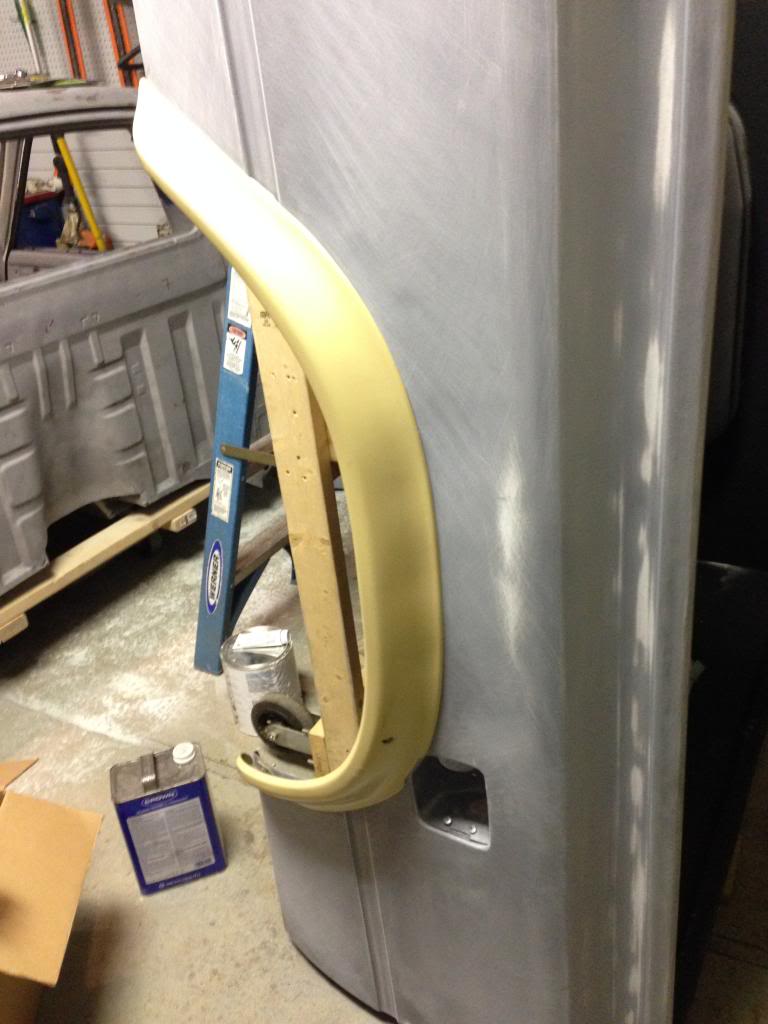
I went home today for lunch and found a nice package sitting on my steps! WOOT WOOT!! I got some super cherry rear fender flares off eBay for $145 shipped!

These things are PERFECT with hardly a chip in the original paint! I'd say that was one hell of a deal. Now the next step... Does anybody know what I can use to strip the paint off them? I'm thinking that I could soda blast them, but I don't really want to waste the money on soda just to do some flares. Is there any solvent that I can use that won't eat the rubber up?

These things are PERFECT with hardly a chip in the original paint! I'd say that was one hell of a deal. Now the next step... Does anybody know what I can use to strip the paint off them? I'm thinking that I could soda blast them, but I don't really want to waste the money on soda just to do some flares. Is there any solvent that I can use that won't eat the rubber up?
Jun 4, 2014 | 10:51 AM
#737
Thread Starter
Super Moderator
iTrader: (3)
Joined: Jan 2012
Posts: 3,218
Likes: 26
From: Salisbury, MD
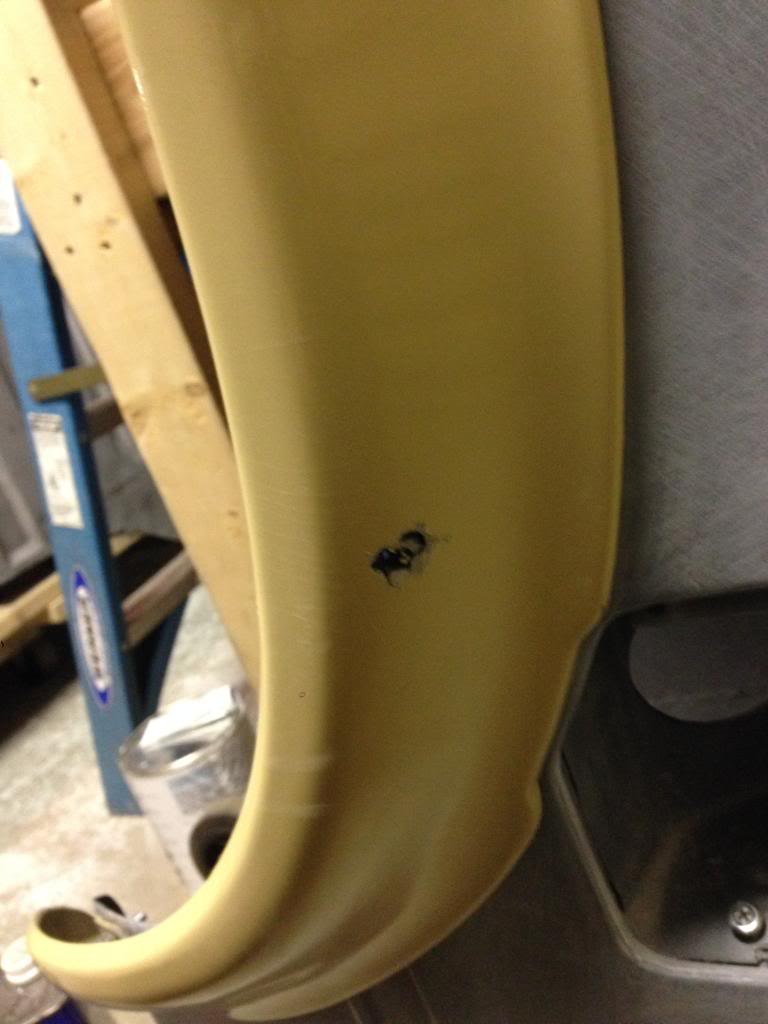
Remember those cherry fender flares from my last post? Well, they aren't so cherry anymore... I was using a step bit to clean up and enlarge the mounting holes and I managed to knock my drill off my workbench and it landed perfectly, tip down into the passenger side fender flare that I had sitting on the floor next to the workbench. Ended up stabbing a hole through it! Boy, was I pissed!

Still mounted them up anyway to make sure they fit properly:
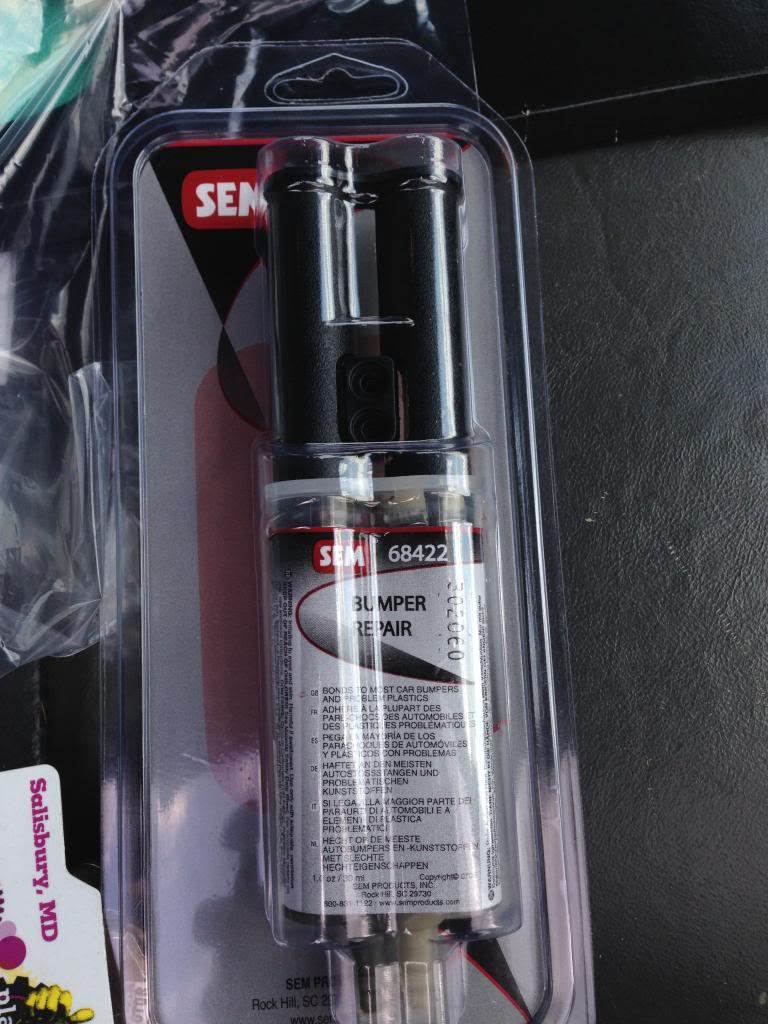
Everything went well except for the "custom" hole that I put through one. I went to my local jobber today during lunch and grabbed some SEM Flexible Parts Repair so I can fix it properly without fear of it cranking later on down the road.
Then I got started on the lower "Smoothie" valance. This truly isn't difficult, but I think it makes the front end look a lot cleaner and easier to align and manipulate the lower front of the fenders when gapping the body panels. I drilled out the threads of the welded nuts on the fender/valance bracket with a 1/4 drill bit. This gives me a little bit of wiggle room for the 6mm bolt to run through it. Then lined up the valance and the bumper and temporarily bolted it together on the bracket that I drilled out with the 6mmx1.0 pan cheese bolt (The bolt that I planned on welding to the valance) and a nut from the back side. After everything was lined up and secured in place, I was able to easily tack weld all of the bolts to the valance :
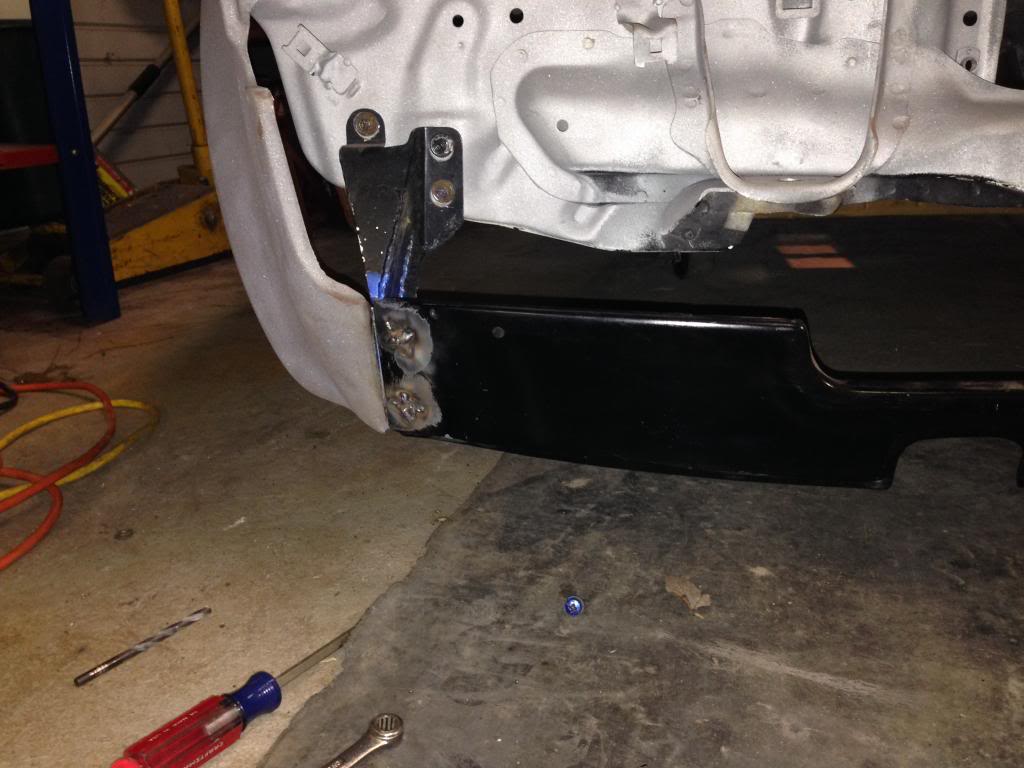
Unscrewed the nut from the back side and popped off the valance so that I could finish building up the weld around the bolt:
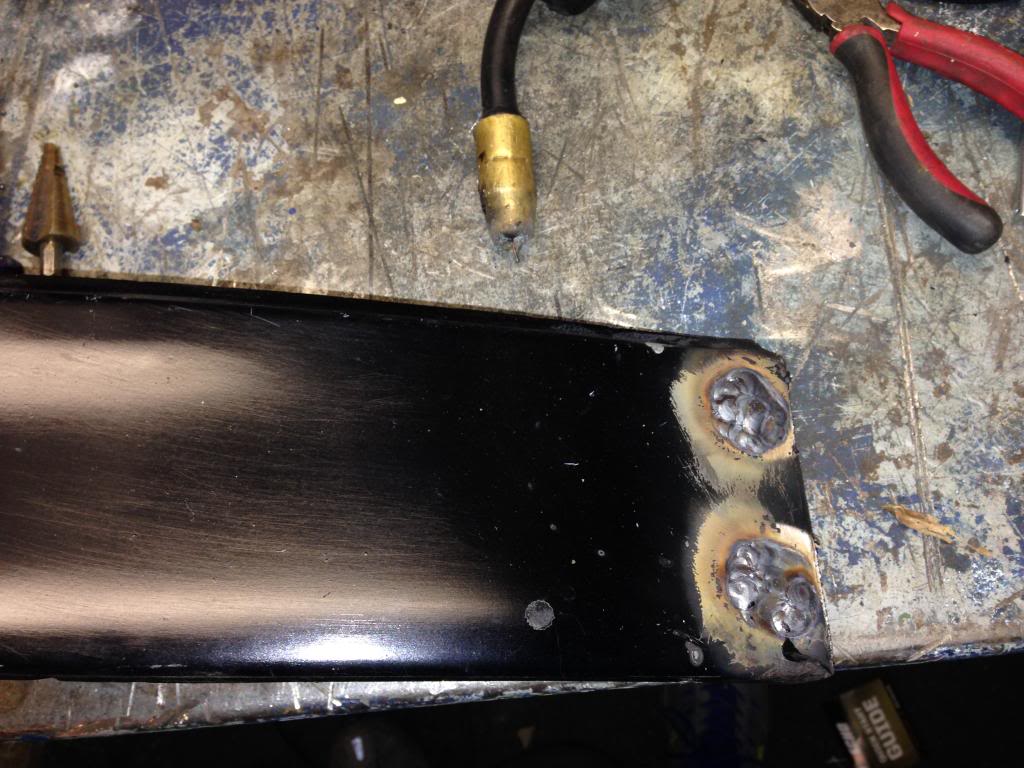
And put it back on the make sure that it didn't get warped from the heat:
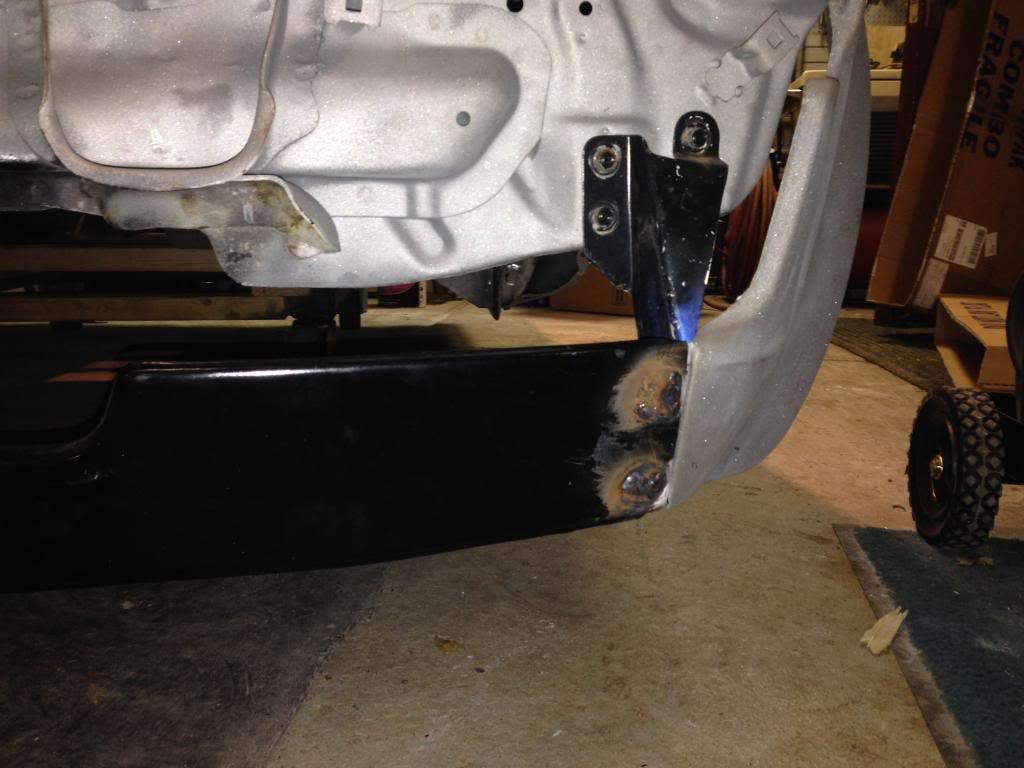
From here, I will be grinding down the welds and shaping the metal. Ideally, I would like to do as much metal fabrication as possible to smooth out the welds and fill the low spots so that I have as little (if any) filler as possible - since the valance is thinner metal and can easily flex, I don't want to slap a bunch of filler on it and risk the potential for cranking. Also, this is a cheap aftermarket valance (not the the original is much better) so I want to trim some of the uneven edges from the stamping and clean up the edges when it lines up with the fenders. Still not too sure what I want to to about the center two mounting holes of the valance. It may make it a little tricky, being as they are not "recessed" in the valance like the outside mounting holes. I may end up just leaving them as is since they truly aren't that noticeable.

Still mounted them up anyway to make sure they fit properly:


Everything went well except for the "custom" hole that I put through one. I went to my local jobber today during lunch and grabbed some SEM Flexible Parts Repair so I can fix it properly without fear of it cranking later on down the road.
Then I got started on the lower "Smoothie" valance. This truly isn't difficult, but I think it makes the front end look a lot cleaner and easier to align and manipulate the lower front of the fenders when gapping the body panels. I drilled out the threads of the welded nuts on the fender/valance bracket with a 1/4 drill bit. This gives me a little bit of wiggle room for the 6mm bolt to run through it. Then lined up the valance and the bumper and temporarily bolted it together on the bracket that I drilled out with the 6mmx1.0 pan cheese bolt (The bolt that I planned on welding to the valance) and a nut from the back side. After everything was lined up and secured in place, I was able to easily tack weld all of the bolts to the valance :

Unscrewed the nut from the back side and popped off the valance so that I could finish building up the weld around the bolt:

And put it back on the make sure that it didn't get warped from the heat:

From here, I will be grinding down the welds and shaping the metal. Ideally, I would like to do as much metal fabrication as possible to smooth out the welds and fill the low spots so that I have as little (if any) filler as possible - since the valance is thinner metal and can easily flex, I don't want to slap a bunch of filler on it and risk the potential for cranking. Also, this is a cheap aftermarket valance (not the the original is much better) so I want to trim some of the uneven edges from the stamping and clean up the edges when it lines up with the fenders. Still not too sure what I want to to about the center two mounting holes of the valance. It may make it a little tricky, being as they are not "recessed" in the valance like the outside mounting holes. I may end up just leaving them as is since they truly aren't that noticeable.
Jun 4, 2014 | 05:42 PM
#739
lookin' awesome Dave .. to bad on the flare .
repairing them is a piece of cake , and nobody will ever know , well except for this thread
as you mentioned , I will have the "bushwackers" hopefully soon , or well in the future anyway !
Stole another one eh! ... you know I have the smoothie valance in production now right ? mine is a little different though
.
repairing them is a piece of cake , and nobody will ever know , well except for this thread
as you mentioned , I will have the "bushwackers" hopefully soon , or well in the future anyway !
Stole another one eh!
... you know I have the smoothie valance in production now right ? mine is a little different though .
Jun 4, 2014 | 09:18 PM
#740
Thread Starter
Super Moderator
iTrader: (3)
Joined: Jan 2012
Posts: 3,218
Likes: 26
From: Salisbury, MD
Kinda stole it from you Corey. I had my front end mocked up when my Dad's friend stopped by the other night and said "are you going to keep those ugly ass screws in the front valance?" That's when I decided the do it "The Corey Way." LOL
I got the fender flare fixed tonight. Went to the local jobber today and grabbed some SEM 68422 to do the repair. It's like a two part epoxy and This stuff ROCKS! But smells awful... Sands and feathers extremely well.
Before:
After:
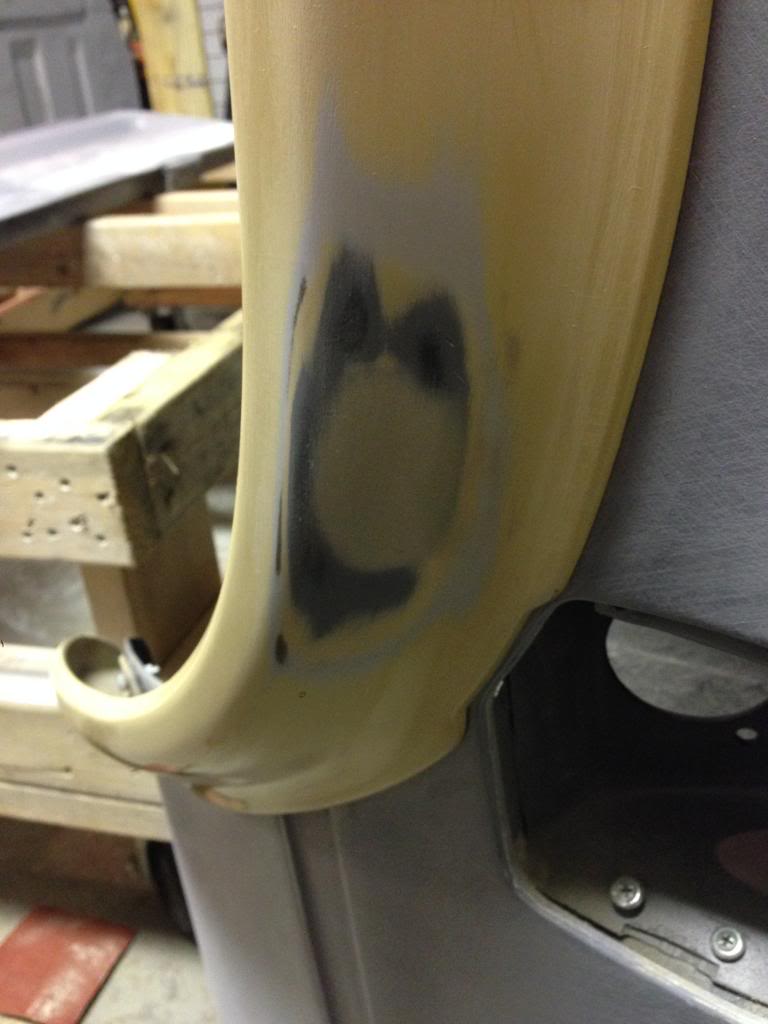
Turned out extremely well and the repair seems to be just as flexible as the rest of the flare.
I also filled the under side of the top rail on the tail gate that Corey made me. Like I said before, there was some raw fiberglass still visible if you looked up under the lip. And like Corey says, that's ok with 95% of his customers, but I'm one of the 5% that is picky as hell. I had one of my old beat up surfboards lying around that I sliced up a strip of high density foam to use as a filler under the lip. I scuffed everything up really well and set the foam in a bed of short strand fiberglass. Then laid some long strand over that to get it close to the level of the lip and topped that with some short strand Everglass to get it shaped. I still have to smooth everything over with some bodyfiller. Looks like all those years of surfboard repair are paying off for something else! My phone died so I didn't get any pictures, but I'll shoot some before I fill it.
The bed touch up is almost done. Since I have it sitting upright, I want to shoot the underside with epoxy and Raptor Liner and get that out of the way so that I won't have to flip it ever again (hopefully). From what I have read, Raptor Liner reeeeeally likes biting into fresh epoxy.
I got the fender flare fixed tonight. Went to the local jobber today and grabbed some SEM 68422 to do the repair. It's like a two part epoxy and This stuff ROCKS! But smells awful... Sands and feathers extremely well.
Before:
After:
Turned out extremely well and the repair seems to be just as flexible as the rest of the flare.
I also filled the under side of the top rail on the tail gate that Corey made me. Like I said before, there was some raw fiberglass still visible if you looked up under the lip. And like Corey says, that's ok with 95% of his customers, but I'm one of the 5% that is picky as hell. I had one of my old beat up surfboards lying around that I sliced up a strip of high density foam to use as a filler under the lip. I scuffed everything up really well and set the foam in a bed of short strand fiberglass. Then laid some long strand over that to get it close to the level of the lip and topped that with some short strand Everglass to get it shaped. I still have to smooth everything over with some bodyfiller. Looks like all those years of surfboard repair are paying off for something else! My phone died so I didn't get any pictures, but I'll shoot some before I fill it.
The bed touch up is almost done. Since I have it sitting upright, I want to shoot the underside with epoxy and Raptor Liner and get that out of the way so that I won't have to flip it ever again (hopefully). From what I have read, Raptor Liner reeeeeally likes biting into fresh epoxy.
Last edited by kawazx636; Jun 4, 2014 at 09:26 PM.


