
KawaZX636's 1983 Toyota Pickup Restoration


 Sep 2, 2014 | 06:24 PM
#863
Thread Starter
Super Moderator
iTrader: (3)
Joined: Jan 2012
Posts: 3,218
Likes: 26
From: Salisbury, MD
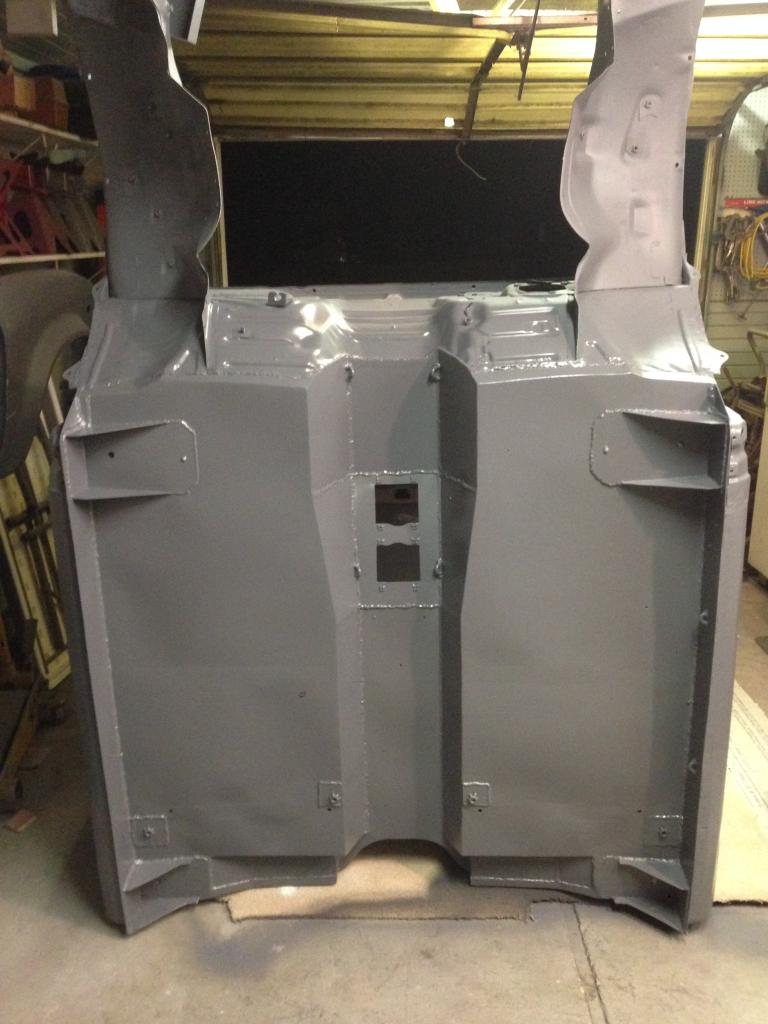
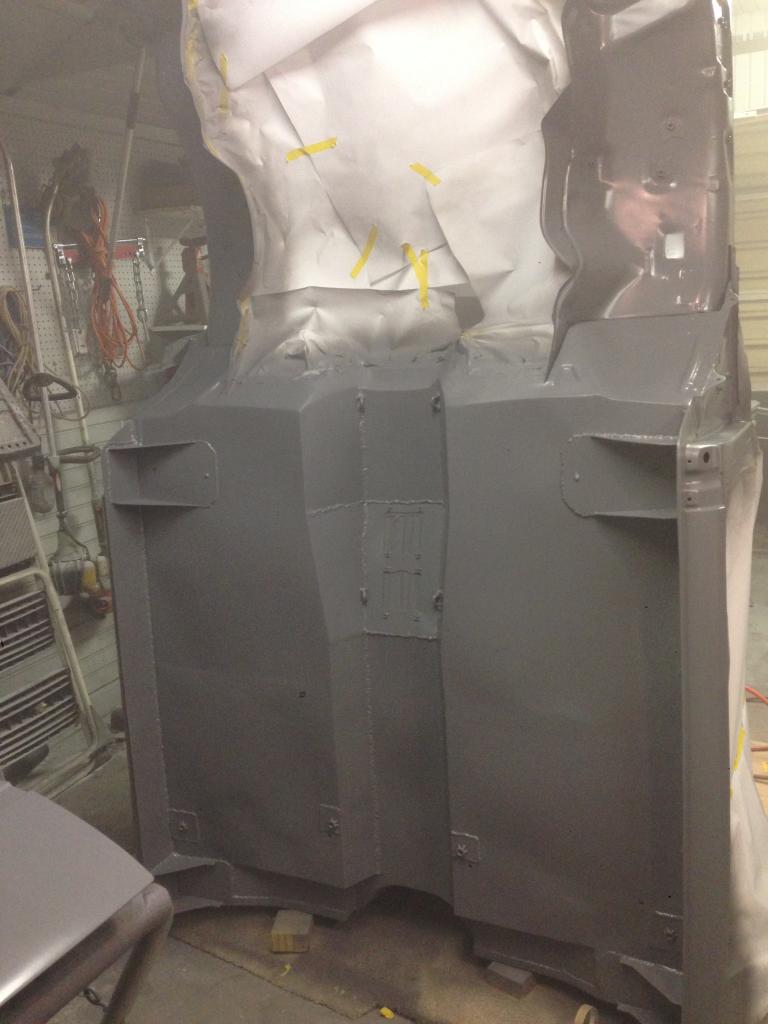
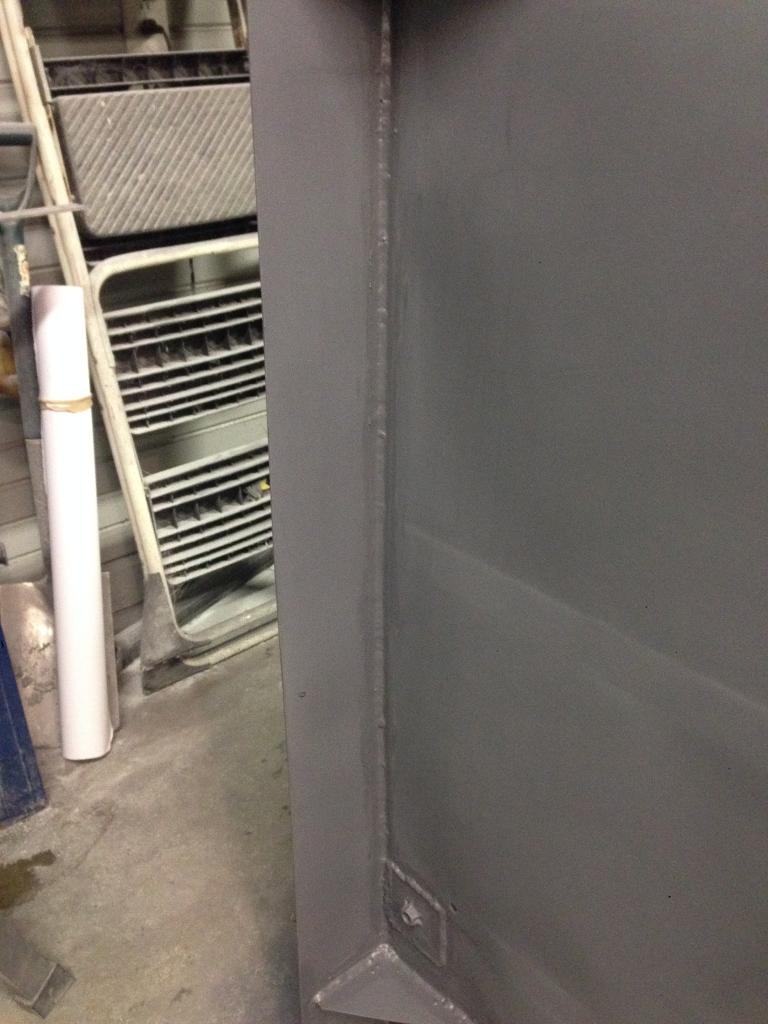
Flipped the cab up and shot epoxy on the underside. I have a little bit of filler work to do where the new floorpan meets the firewall and I might start the rockers while I have easy access, but it shouldn't take too long before it is back right side up so I can mount the doors fenders and hood for final filling and priming.


 Sep 4, 2014 | 04:57 AM
#867
Thread Starter
Super Moderator
iTrader: (3)
Joined: Jan 2012
Posts: 3,218
Likes: 26
From: Salisbury, MD
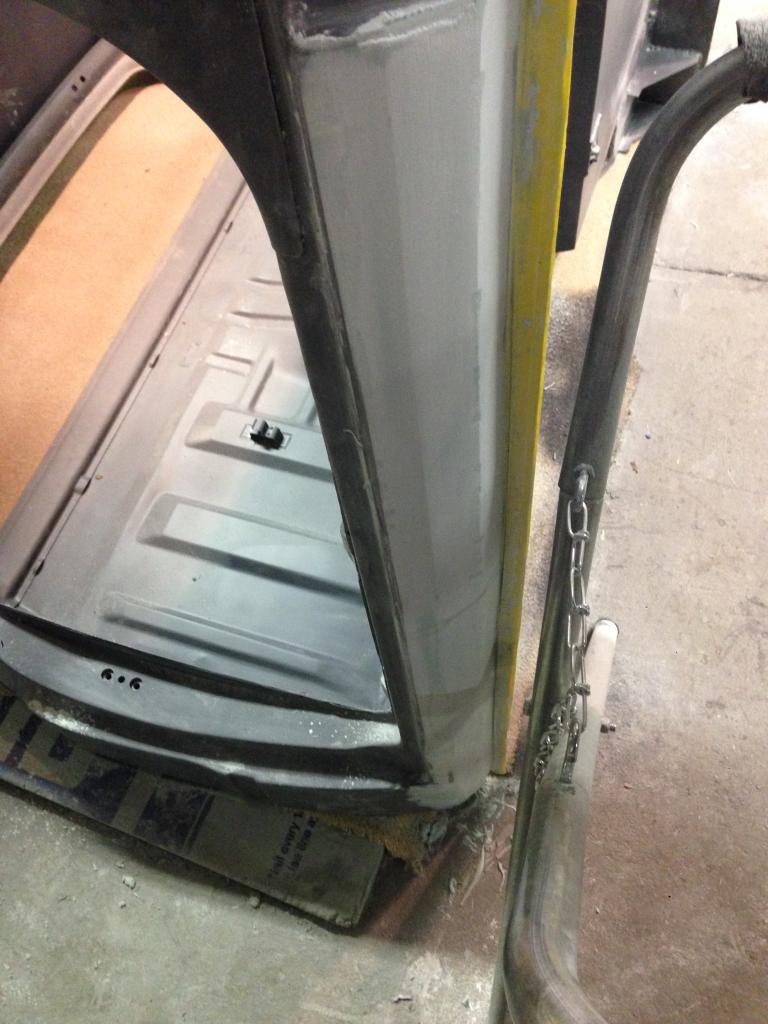
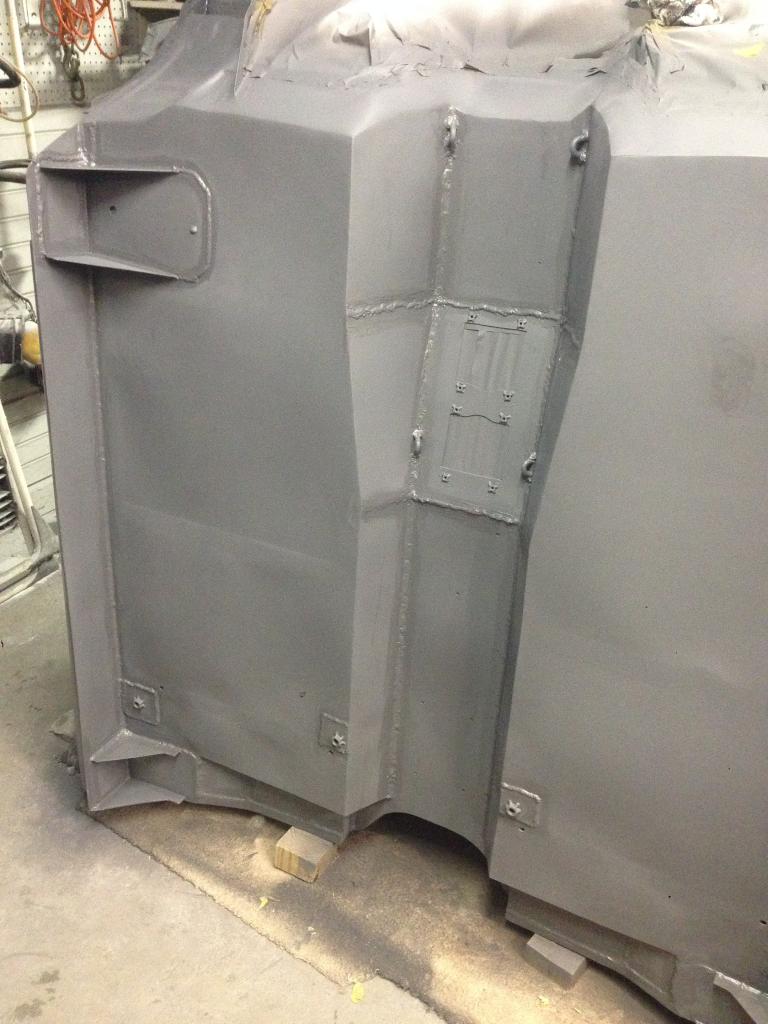
I got the a lot of the underside body work done last night. I laid down some short strand filler to get everything shaped up and then lightweight filler to smooth it out. I have some final sanding and spot filling to do, but for the most part the transition from the new floorpan to the firewall is complete.

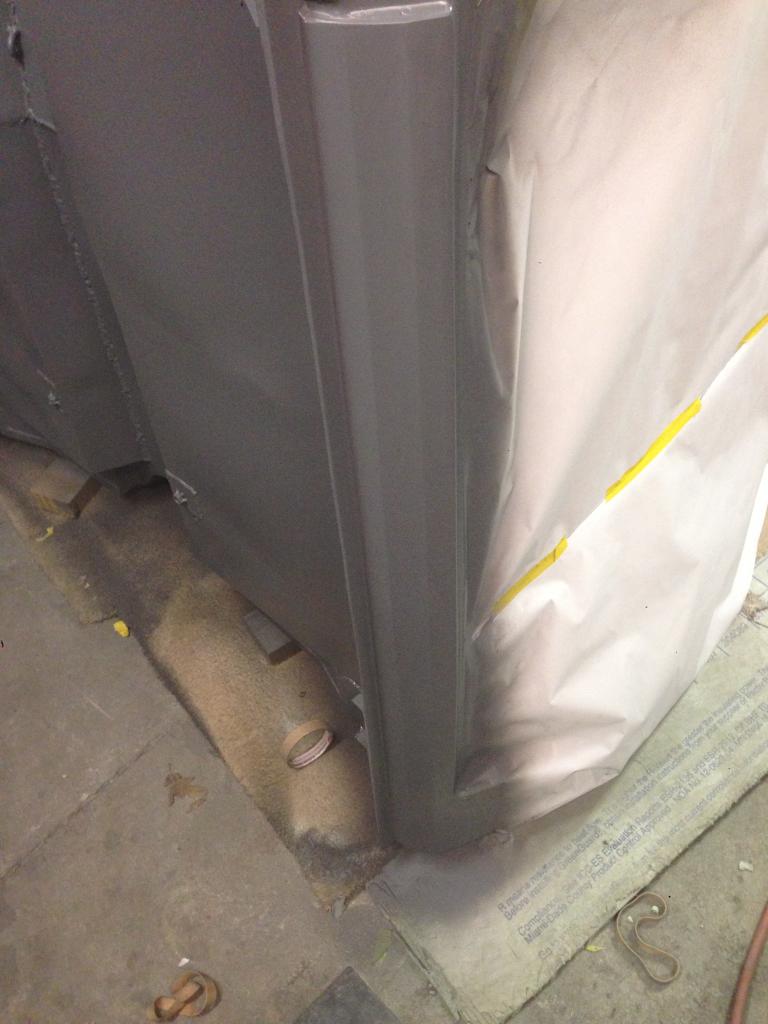
I started a little on the rockers, but that is going to take some time. There's a decent amount of work to be done there that I couldn't see before - story of my build...

I started a little on the rockers, but that is going to take some time. There's a decent amount of work to be done there that I couldn't see before - story of my build...
Sep 6, 2014 | 08:14 PM
#868
Thread Starter
Super Moderator
iTrader: (3)
Joined: Jan 2012
Posts: 3,218
Likes: 26
From: Salisbury, MD
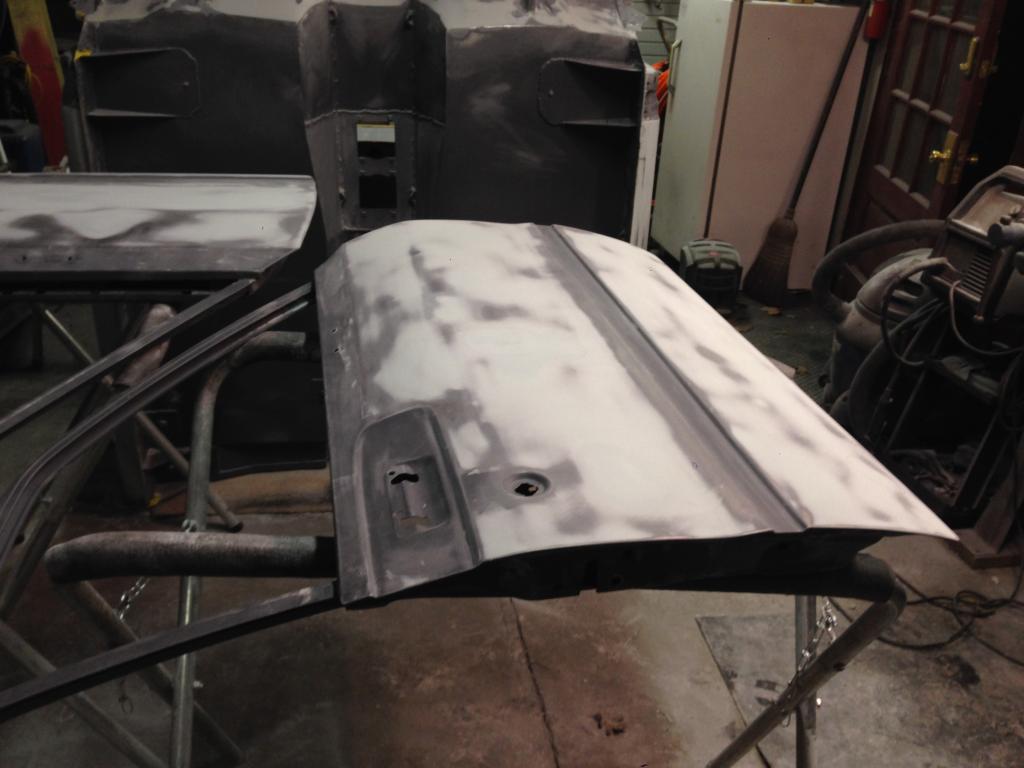
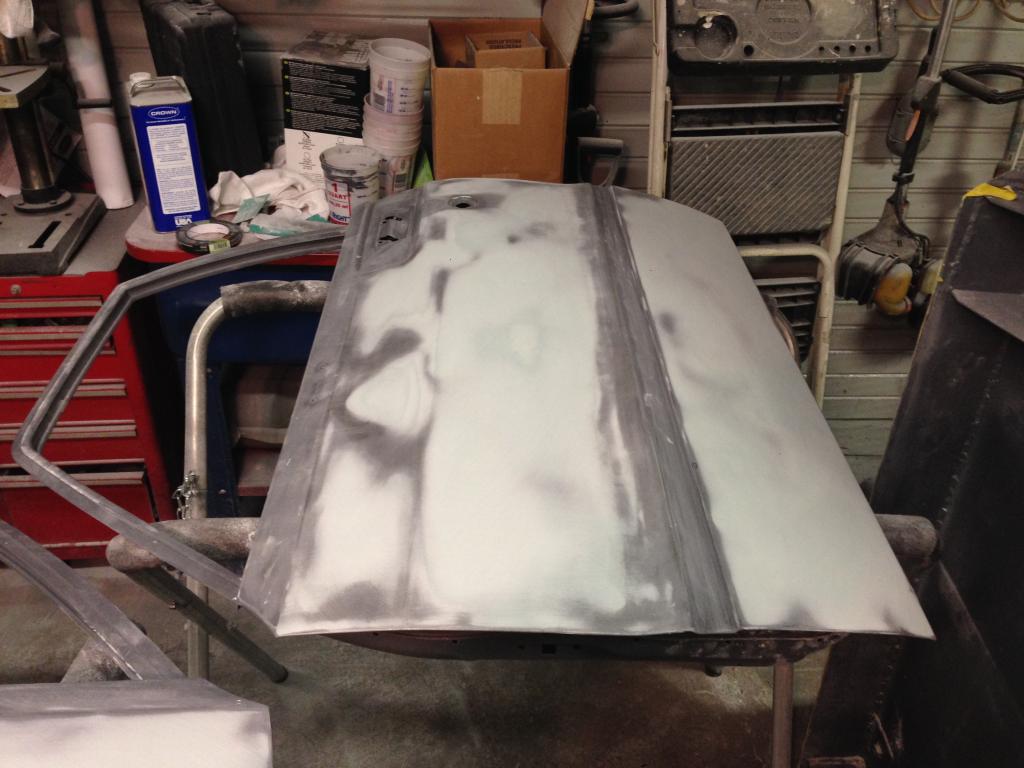
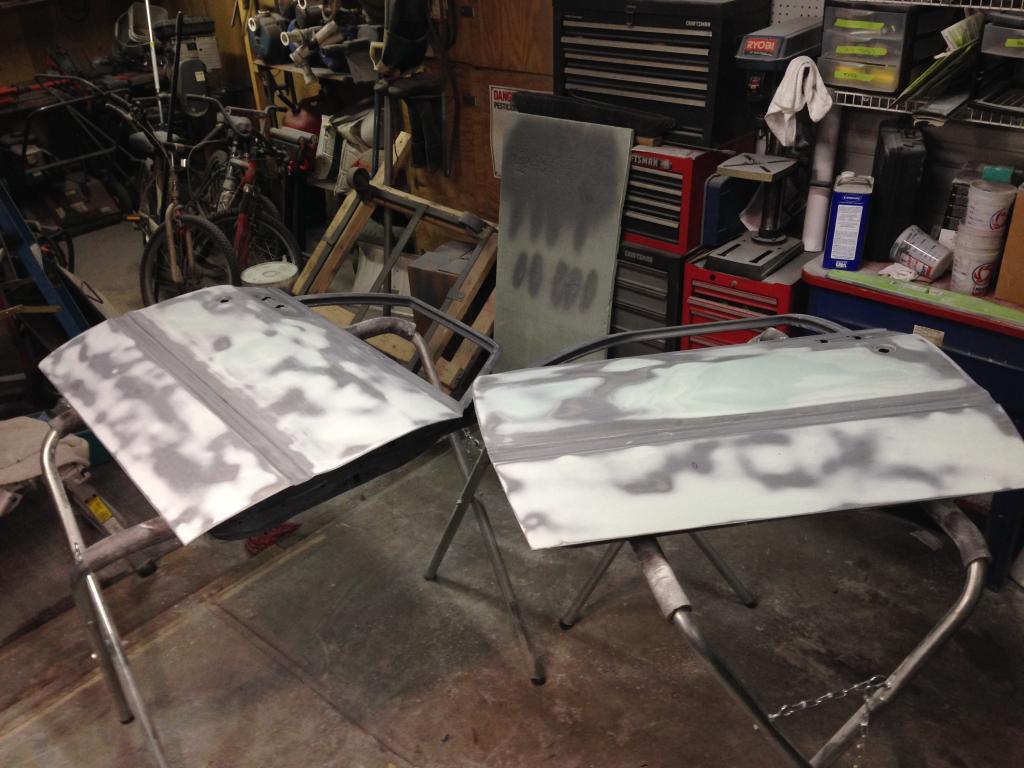
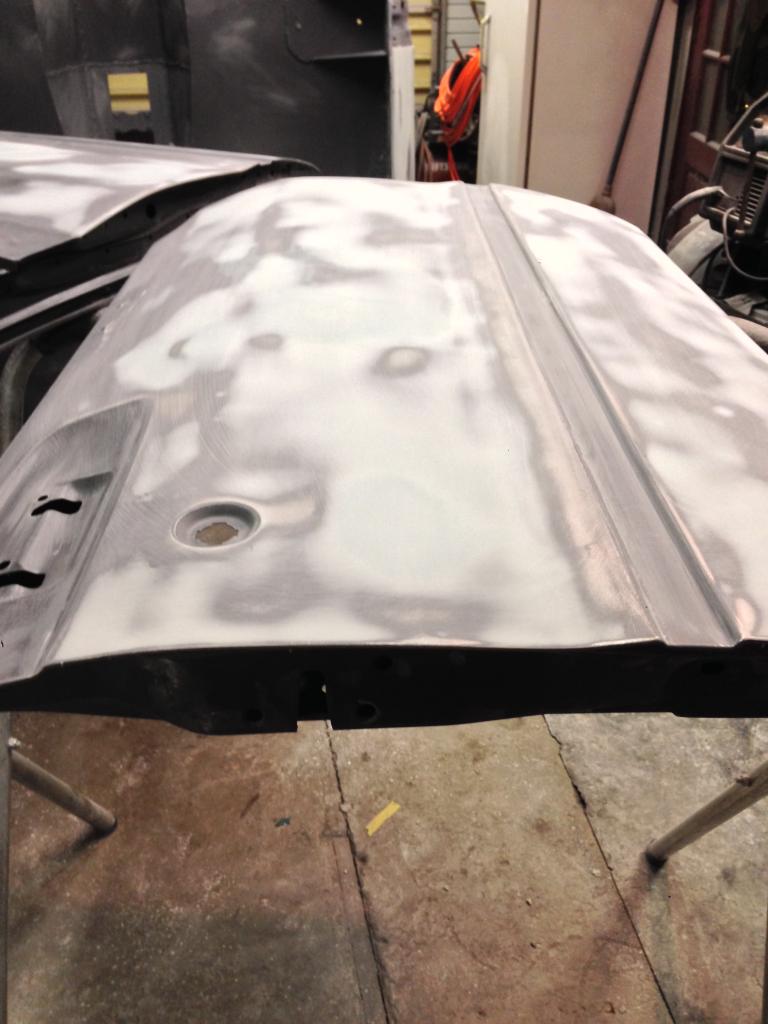
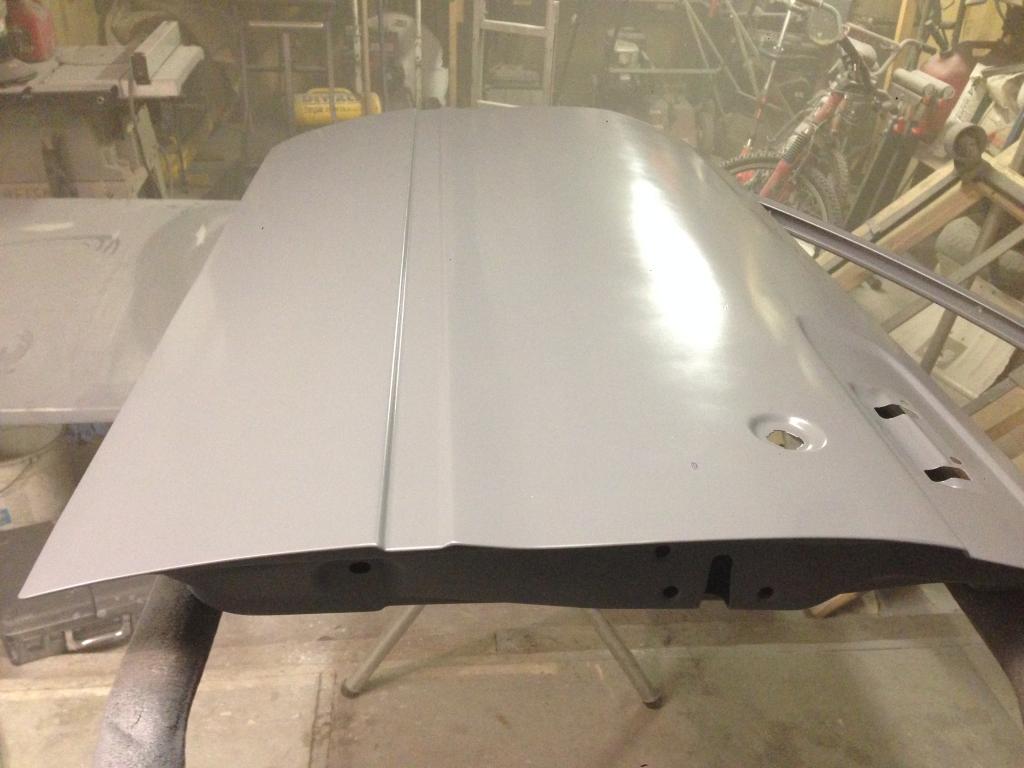
Skim coated the doors with filler tonight. I THOUGHT that my doors were pretty straight, but as you can tell from the filler in the pictures below they were pretty wavy. Not any more though! I have just a couple spots to hit with the glazing putty, but they are both pretty much ready for final sanding and primer.
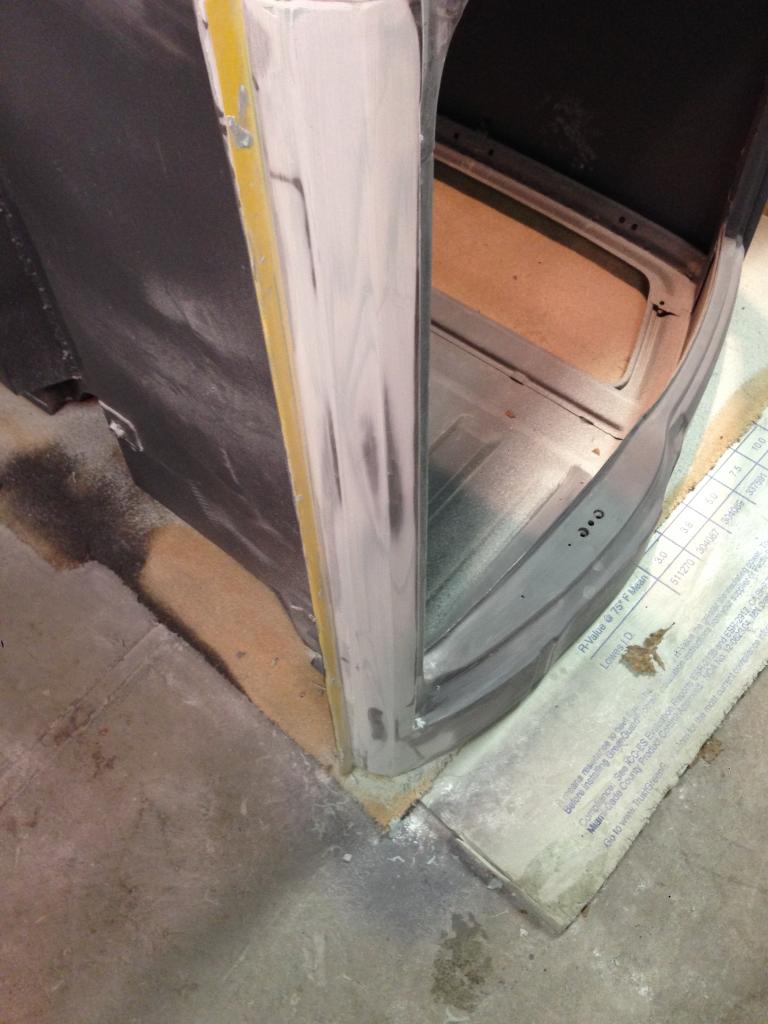
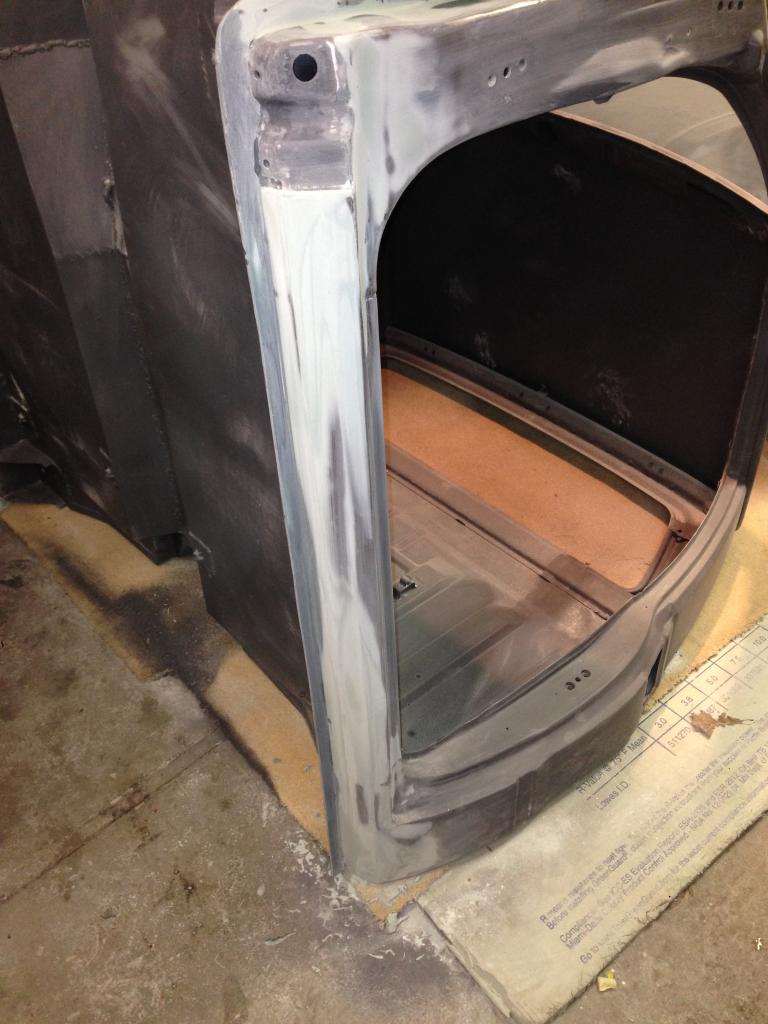
Also got some more work done on te rockers. These are proving to be a real PITA since they were banged up a little and warped a little from replacing the floorpan. I got the shape back with short strand filler and just got started with the lightweight filler tonight. I should be able to get them wrapped up in one evening though.
It's getting there... Slowly but surely
Sep 6, 2014 | 11:18 PM
#869
Sep 7, 2014 | 07:46 AM
#870
Thread Starter
Super Moderator
iTrader: (3)
Joined: Jan 2012
Posts: 3,218
Likes: 26
From: Salisbury, MD
Well I've been at it for about 2 years now working on it whenever I get a chance. For the most part, I usually wait for my son to go to bed so I work from 8pm to 1-2am on it. At first my wife was not a big fan of the project but over time she realized that I'm not going to give it up. So I think her thought now is to give in and let me work on it as much as possible to get it over with.
Sep 8, 2014 | 12:06 AM
#871
You will have countless hours into it but when you are driving it down the road and you know every nut and bolt on it, it is just so much different then driving a bought and paid for truck. Much more rewarding in my opinion. Very few have the patience or skills to do that and 2 years and more is quite normal with all of the other things that life throws at you. One day when you get it done, go back thru your thread and that is another thing you will enjoy reading. Sometimes it wont even feel like it is the same truck you started with. Hang in there. Another rewarding experience is when you take it on a long drive and it gets you there and back with no problems, I think you are going to like that as well. That is like giving yourself a pat on the back.
Last edited by Terrys87; Sep 8, 2014 at 12:15 AM.
Sep 9, 2014 | 09:28 PM
#872
Thread Starter
Super Moderator
iTrader: (3)
Joined: Jan 2012
Posts: 3,218
Likes: 26
From: Salisbury, MD
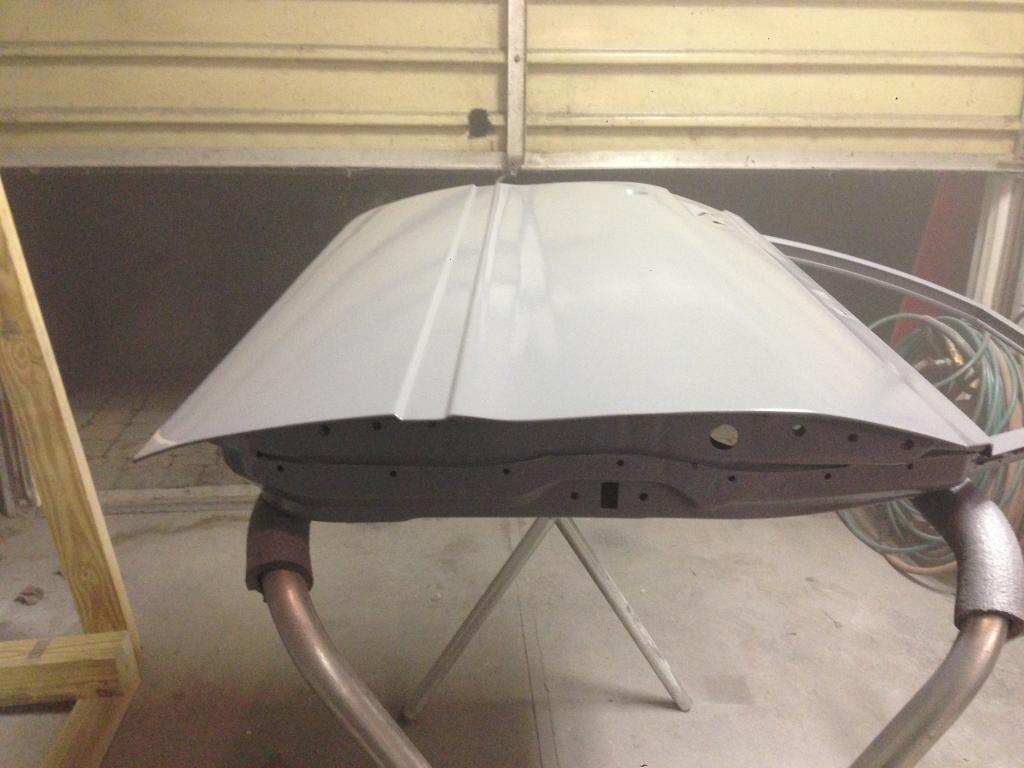
Got the final sanding on the doors done tonight. They are now ready for another coat of epoxy then primer and paint.
Got the rockers done too. What a PITA they were, but I think they came out pretty good. I'll have a better idea of how straight they really are once I put another coat of epoxy on them since filler can deceive the eye. But at least they "feel" straight.
Now if this rain would go away and the himidity would drop, I could get the bottom of the cab done soon. I have about an evening's worth of small touch ups and prep sanding, but I'm pretty much ready to roll with another coat of epoxy on the underside, followed by primer, top coat and Raptor Liner. I have a feeling that this project is going to haul ass once I get the cab right side up again *knocks on wood* Pretty much the only bodywork I have left to do is the fenders and then its just a matter of checking the body gaps and lines to make sure everything looks right before paint. I bet I'm done with this project just in time to park it for the winter...


Got the rockers done too. What a PITA they were, but I think they came out pretty good. I'll have a better idea of how straight they really are once I put another coat of epoxy on them since filler can deceive the eye. But at least they "feel" straight.


Now if this rain would go away and the himidity would drop, I could get the bottom of the cab done soon. I have about an evening's worth of small touch ups and prep sanding, but I'm pretty much ready to roll with another coat of epoxy on the underside, followed by primer, top coat and Raptor Liner. I have a feeling that this project is going to haul ass once I get the cab right side up again *knocks on wood* Pretty much the only bodywork I have left to do is the fenders and then its just a matter of checking the body gaps and lines to make sure everything looks right before paint. I bet I'm done with this project just in time to park it for the winter...
Sep 10, 2014 | 03:00 AM
#873
Registered User
Joined: Feb 2014
Posts: 351
Likes: 0
So I have taken the plastic off it does a have one small rip where a clip goes in that's the only flaw in them on the driver side rear rubber is perfect do you want them have you checked your stuff for yours remember their here if you need them
Sent from my iPhone using YotaTech
Sent from my iPhone using YotaTech
Sep 13, 2014 | 09:36 PM
#874
Thread Starter
Super Moderator
iTrader: (3)
Joined: Jan 2012
Posts: 3,218
Likes: 26
From: Salisbury, MD
Buckle up, big update coming in...
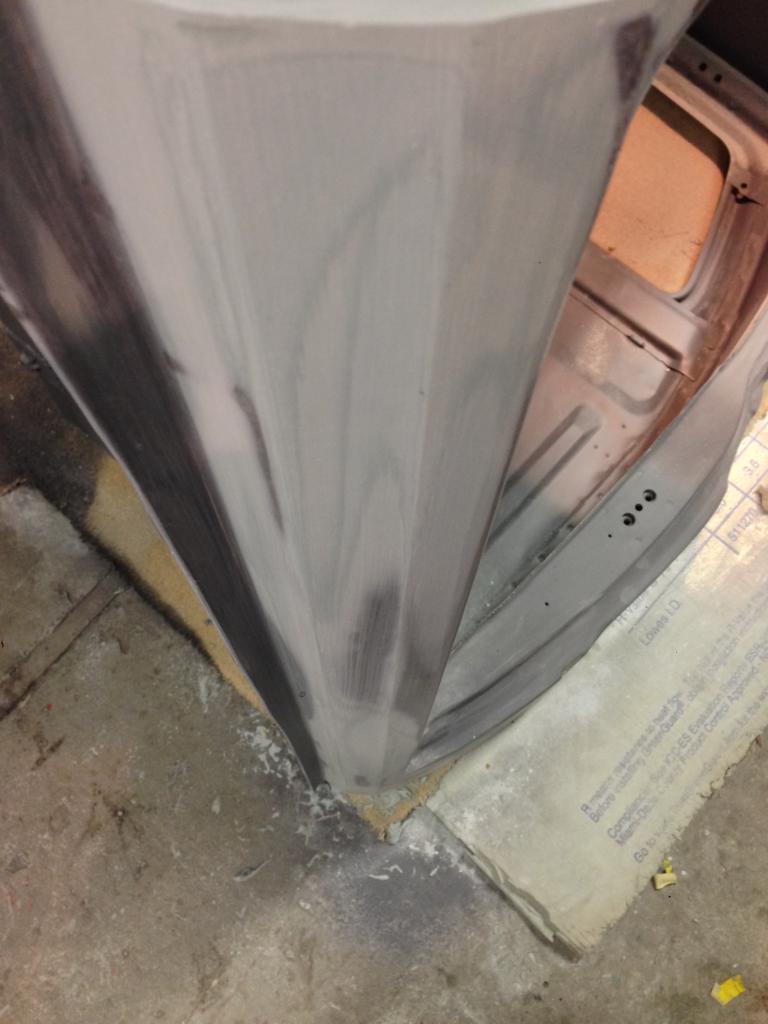
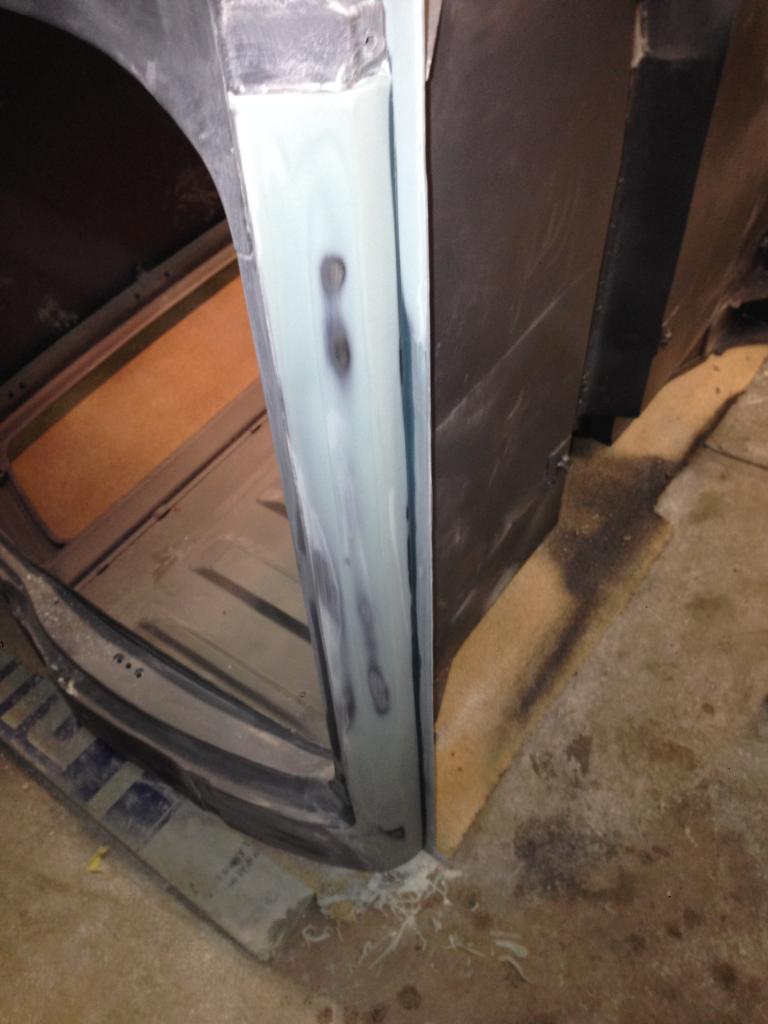
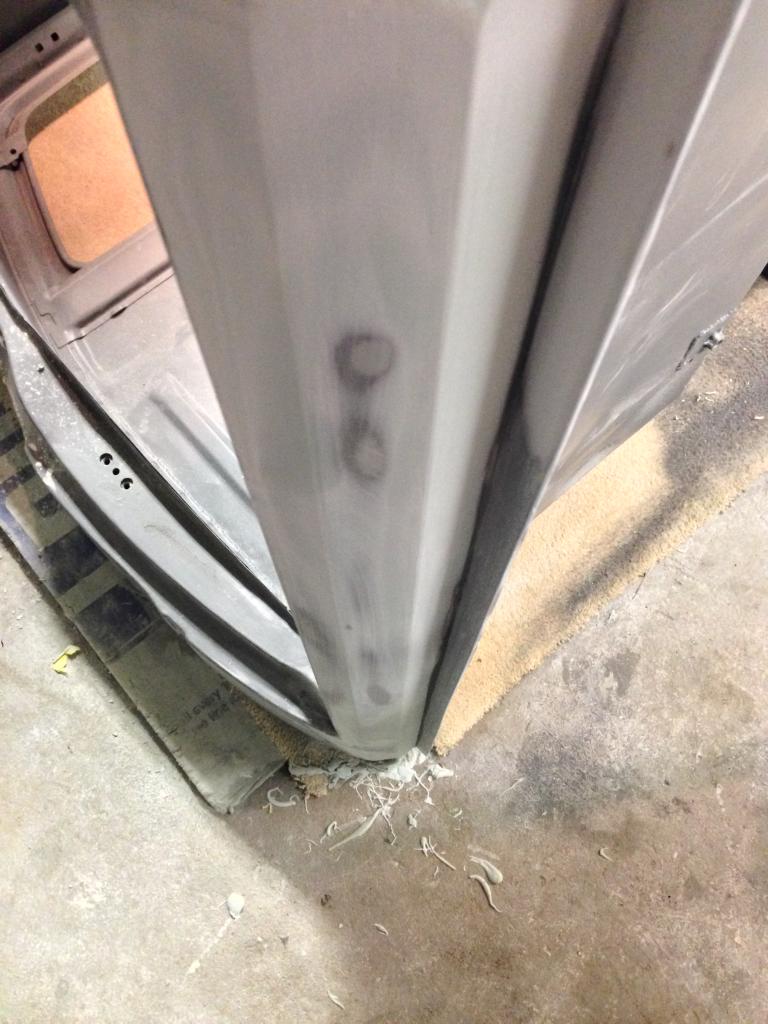
Thursday night I shot two coats of epoxy on the doors and under the cab. Doors still appear to be pretty straight, but I'll still shoot them with surfacer and block them down to make sure. The rockers also still look rather good, but I still want to make a couple adjustments when I flip the cab over.
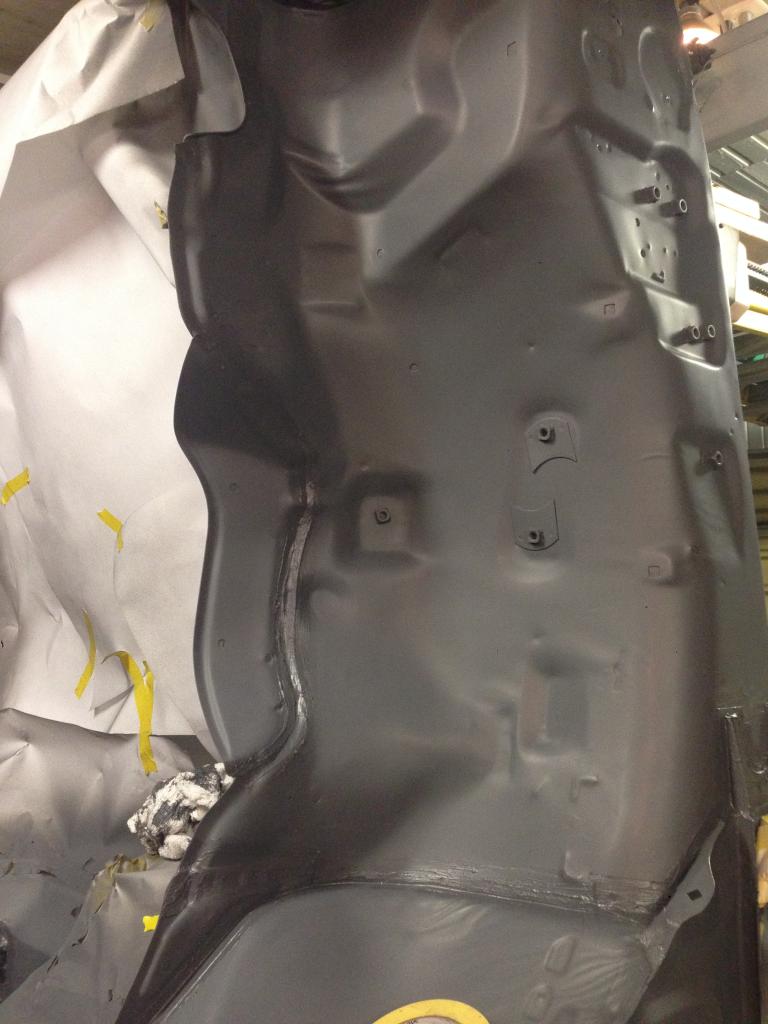
Then Friday night, I was going to shot the Urethane primer. I had a pint mixed up and ready to shoot when I realized that I completely forgot my seam sealer. So I seam sealed Friday night instead. I just used a brush on seam sealer over all the welds and factory lap joints - I made sure that I seam sealed everything that was sealed from the factory. Since this area is under cab and will be coated with Raptor Liner, I wasn't too concerned with keeping it neat and clean so I just slapped it in and didn't mask it off. For things like the drip rail and interior I'll mask it off to get a neat line.
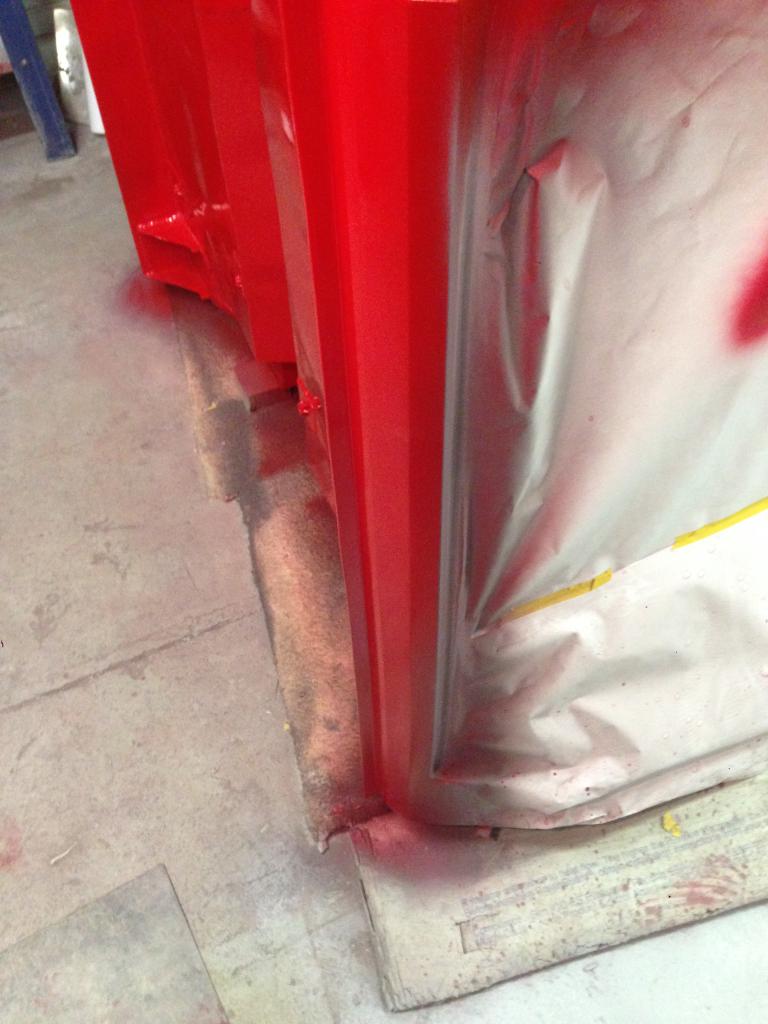
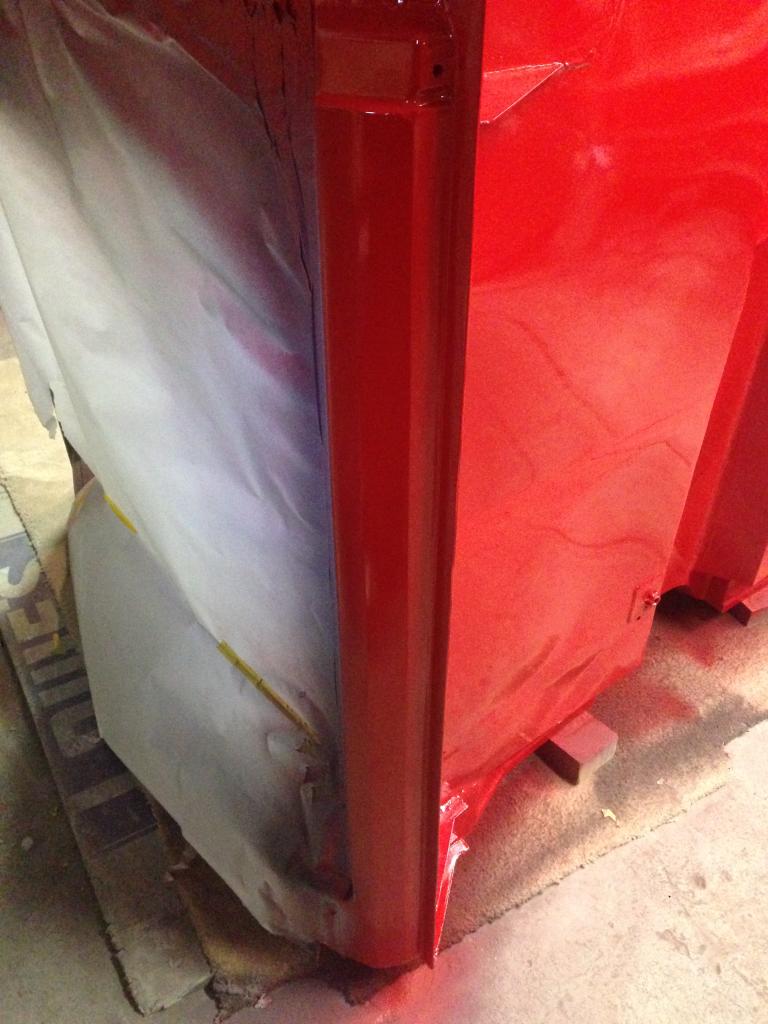
Now for some fun stuff... Tonight I turned it red! I was technically still within the epoxy recoat window, but I still like to give the epoxy a scuffing to ensure proper adhesion so I went over all the epoxy with a maroon scuff pad. Wiped everything down with a tack cloth and mixed some paint. The great part about doing this extra step before the Raptor Liner is the I get a free shot of getting my guns dialed in and getting familiar with the paint. Everything flowed out and covered nicely with no orange peel after I got my gun dial in properly. And the amazing part is that I didn't even do as much prep under the cab as I have and will to everywhere else on the truck and it still turned out well.

I also had a little mishap tonight. I was standing on my aluminum painter's bench shooting the high sections and apparently I didn't lock one of the legs of the bench. That didn't bode well for me... It was a long hard fall to the concrete floor. Unfortunately the cap of my spray cup did not stay on and paint went EVERYWHERE! It was only about a half pint, but a half pint of red paint might as well be 3 gallons of any other color. I had paint on the ceiling, walls, work bench, welder, fridge, floor, etc. In some mirraculous twist of faith, not a single drop landed on me or the cab which completely boggles my mind because the cab was the closest object to the catastrophe. I neglected to take a picture because I had to hurry up and finish the coat I was on so that I could get the garage cleaned up. It literally looked like a brutal murder scene though. All is well that ends well, I suppose the Toyota Gods were looking out for me.
I'm going to give the paint a few days to fully cure before I go at it with the Raptor Liner. Plus I really need some sleep - late nights working on the truck have really taken its toll on me, but I really can't wait to get it right side up again! I have a feeling that it's going to really quick then!
Thursday night I shot two coats of epoxy on the doors and under the cab. Doors still appear to be pretty straight, but I'll still shoot them with surfacer and block them down to make sure. The rockers also still look rather good, but I still want to make a couple adjustments when I flip the cab over.
Then Friday night, I was going to shot the Urethane primer. I had a pint mixed up and ready to shoot when I realized that I completely forgot my seam sealer. So I seam sealed Friday night instead. I just used a brush on seam sealer over all the welds and factory lap joints - I made sure that I seam sealed everything that was sealed from the factory. Since this area is under cab and will be coated with Raptor Liner, I wasn't too concerned with keeping it neat and clean so I just slapped it in and didn't mask it off. For things like the drip rail and interior I'll mask it off to get a neat line.
Now for some fun stuff... Tonight I turned it red! I was technically still within the epoxy recoat window, but I still like to give the epoxy a scuffing to ensure proper adhesion so I went over all the epoxy with a maroon scuff pad. Wiped everything down with a tack cloth and mixed some paint. The great part about doing this extra step before the Raptor Liner is the I get a free shot of getting my guns dialed in and getting familiar with the paint. Everything flowed out and covered nicely with no orange peel after I got my gun dial in properly. And the amazing part is that I didn't even do as much prep under the cab as I have and will to everywhere else on the truck and it still turned out well.
I also had a little mishap tonight. I was standing on my aluminum painter's bench shooting the high sections and apparently I didn't lock one of the legs of the bench. That didn't bode well for me... It was a long hard fall to the concrete floor. Unfortunately the cap of my spray cup did not stay on and paint went EVERYWHERE! It was only about a half pint, but a half pint of red paint might as well be 3 gallons of any other color. I had paint on the ceiling, walls, work bench, welder, fridge, floor, etc. In some mirraculous twist of faith, not a single drop landed on me or the cab which completely boggles my mind because the cab was the closest object to the catastrophe. I neglected to take a picture because I had to hurry up and finish the coat I was on so that I could get the garage cleaned up. It literally looked like a brutal murder scene though. All is well that ends well, I suppose the Toyota Gods were looking out for me.
I'm going to give the paint a few days to fully cure before I go at it with the Raptor Liner. Plus I really need some sleep - late nights working on the truck have really taken its toll on me, but I really can't wait to get it right side up again! I have a feeling that it's going to really quick then!
 Sep 16, 2014 | 09:03 PM
#877
Thread Starter
Super Moderator
iTrader: (3)
Joined: Jan 2012
Posts: 3,218
Likes: 26
From: Salisbury, MD
Let me first start by saying GO O'S!!!!!!! AL East Division Champs! I've been a die hard fan my whole life and this kind of season doesn't happen often.
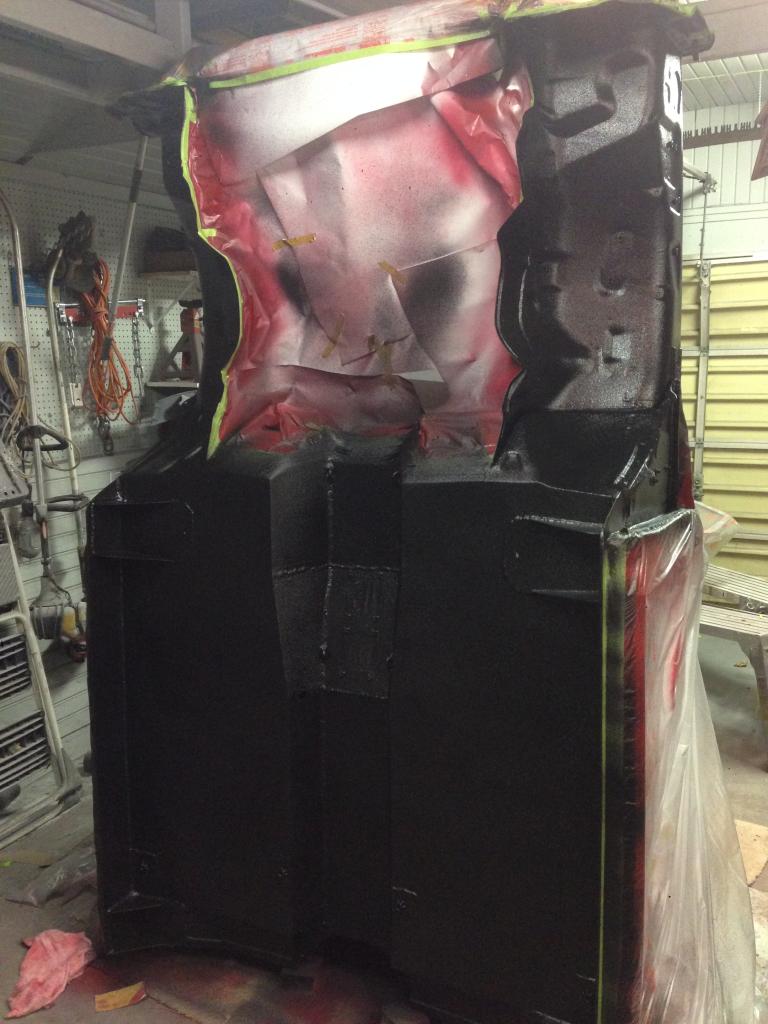
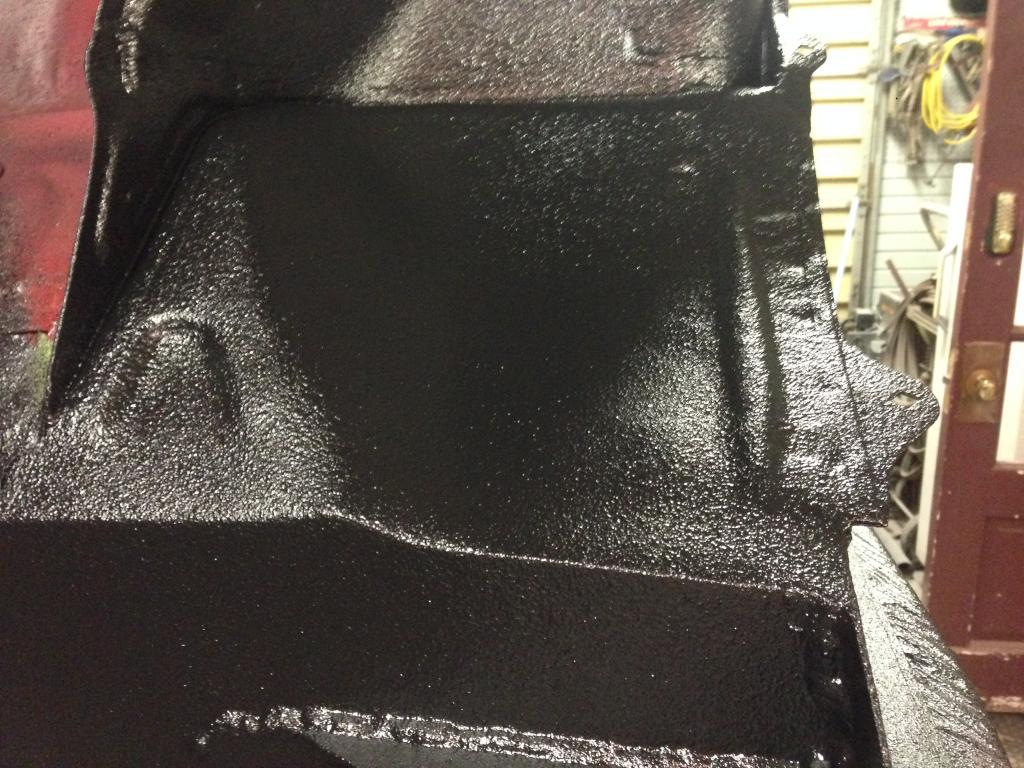
I scuffed up the underbody really good tonight to prep for the Raptor Liner. Then doubled up on the adhesion factor by spraying on some adhesion promoter. I did a test a couple nights ago on a piece of scrap metal that I primed and painted so I could test the adhesion promoter vs just straight Raptor Liner. Both performed well - despite not being completely cured, the piece with the adhesion promoter was impossible to remove with a chisel and the piece without was still difficult to remove but it was possible. So now I have a double whammy bond: Mechanical AND chemical! Boooyah!!!
I shot the first coat and now I'm waiting for the hour flash off time to pass before I apply the second coat so here are some pics to hold you all over for a bit.
Now I wait... It's already 1am so it's going to be a late night - typical...
I scuffed up the underbody really good tonight to prep for the Raptor Liner. Then doubled up on the adhesion factor by spraying on some adhesion promoter. I did a test a couple nights ago on a piece of scrap metal that I primed and painted so I could test the adhesion promoter vs just straight Raptor Liner. Both performed well - despite not being completely cured, the piece with the adhesion promoter was impossible to remove with a chisel and the piece without was still difficult to remove but it was possible. So now I have a double whammy bond: Mechanical AND chemical! Boooyah!!!
I shot the first coat and now I'm waiting for the hour flash off time to pass before I apply the second coat so here are some pics to hold you all over for a bit.


Now I wait... It's already 1am so it's going to be a late night - typical...


