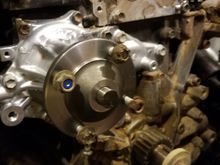
Hi everyone, been searching yotatech and google for 2hrs now.
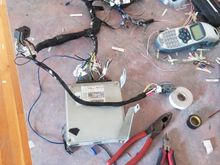
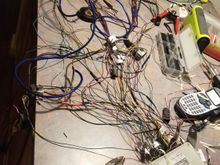
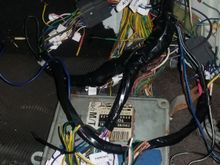
Would any of you be able to tell what this plug is for?
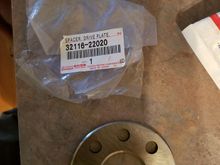
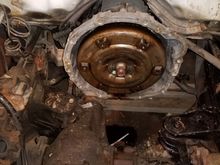
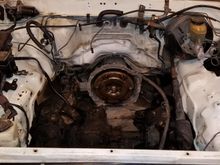
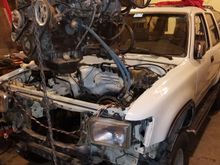
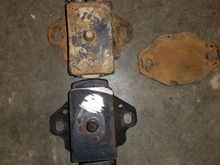
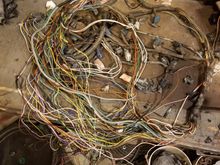
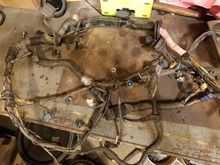
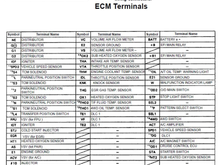
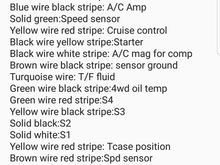
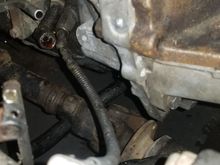
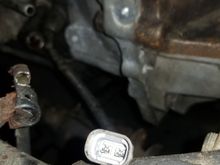
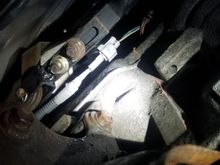
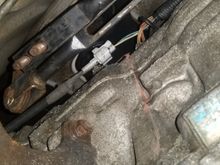
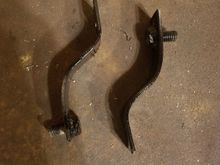
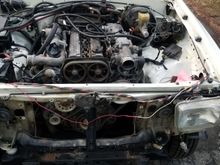
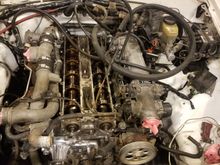
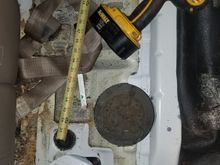
1995 runner 3.0 automatic. It's located passenger side directly behind bell housing.I think it maybe TC lockup? Was doing a motor swap and somehow the plug for it has been deleted. If I know what it is or even the wire colors I can manually wire it back to what it needs. Thank you to anyone, very much appreciated