Khione Runner
 Dec 15, 2011 | 06:58 PM
#1
Thread Starter
Registered User
Joined: Sep 2010
Posts: 122
Likes: 0
From: Moscow Idaho
Khione Runner
Ok so I’m finally slowly getting starting on my 1990 4runner build so I thought I would start a build thread. Oh and props to those that know what Khione means.
A little bit of background information: I am 18 and I just started my freshman year of college and at the same time I work about 25-30 hours a week at a hospital to pay for rent, living expenses, and to fund the 4runner build, so I don’t have a lot of free time. Whenever I can, I make a 45 minute drive to my dad’s shop to work on my 4runner, so this will be a somewhat slow build. A couple years ago I got a 1989 ex-cab pickup with a solid axle and a 4.3, and since then I have pretty much been fixing and re-doing everything on it, but I have learned a lot in the last few years. So now I’m trying to sell my pickup and build a 4runner for a couple reasons. I wanted something with four doors and I wanted to have something that I can say “I built that”.
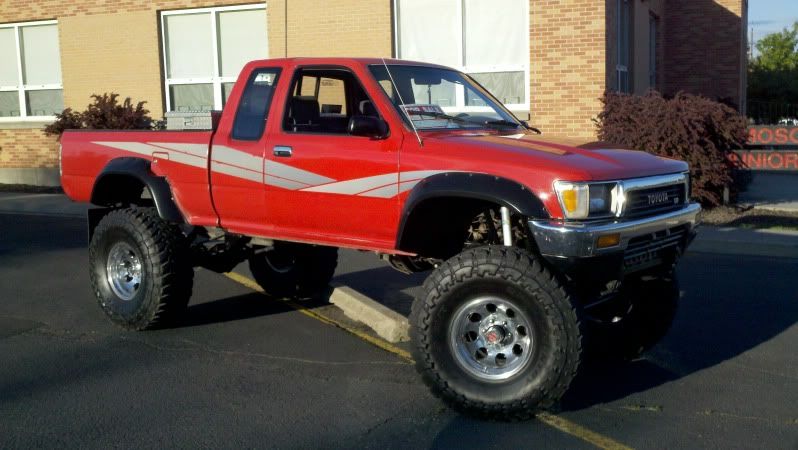
Here is my 89’ that I daily drive
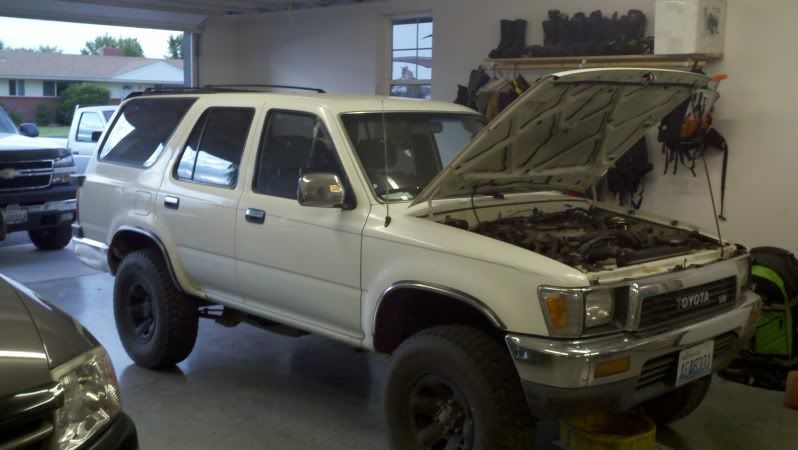
And here is my 1990 4runner the day I picked it up for $1300. It will also be a daily driver. It is really clean and I’m looking forward to having electric windows and remote/electric locks haha.
The plan is:
5.3 chevy vortec
700r4
Twin-sticked Ford 205
Ford Dana 60 front
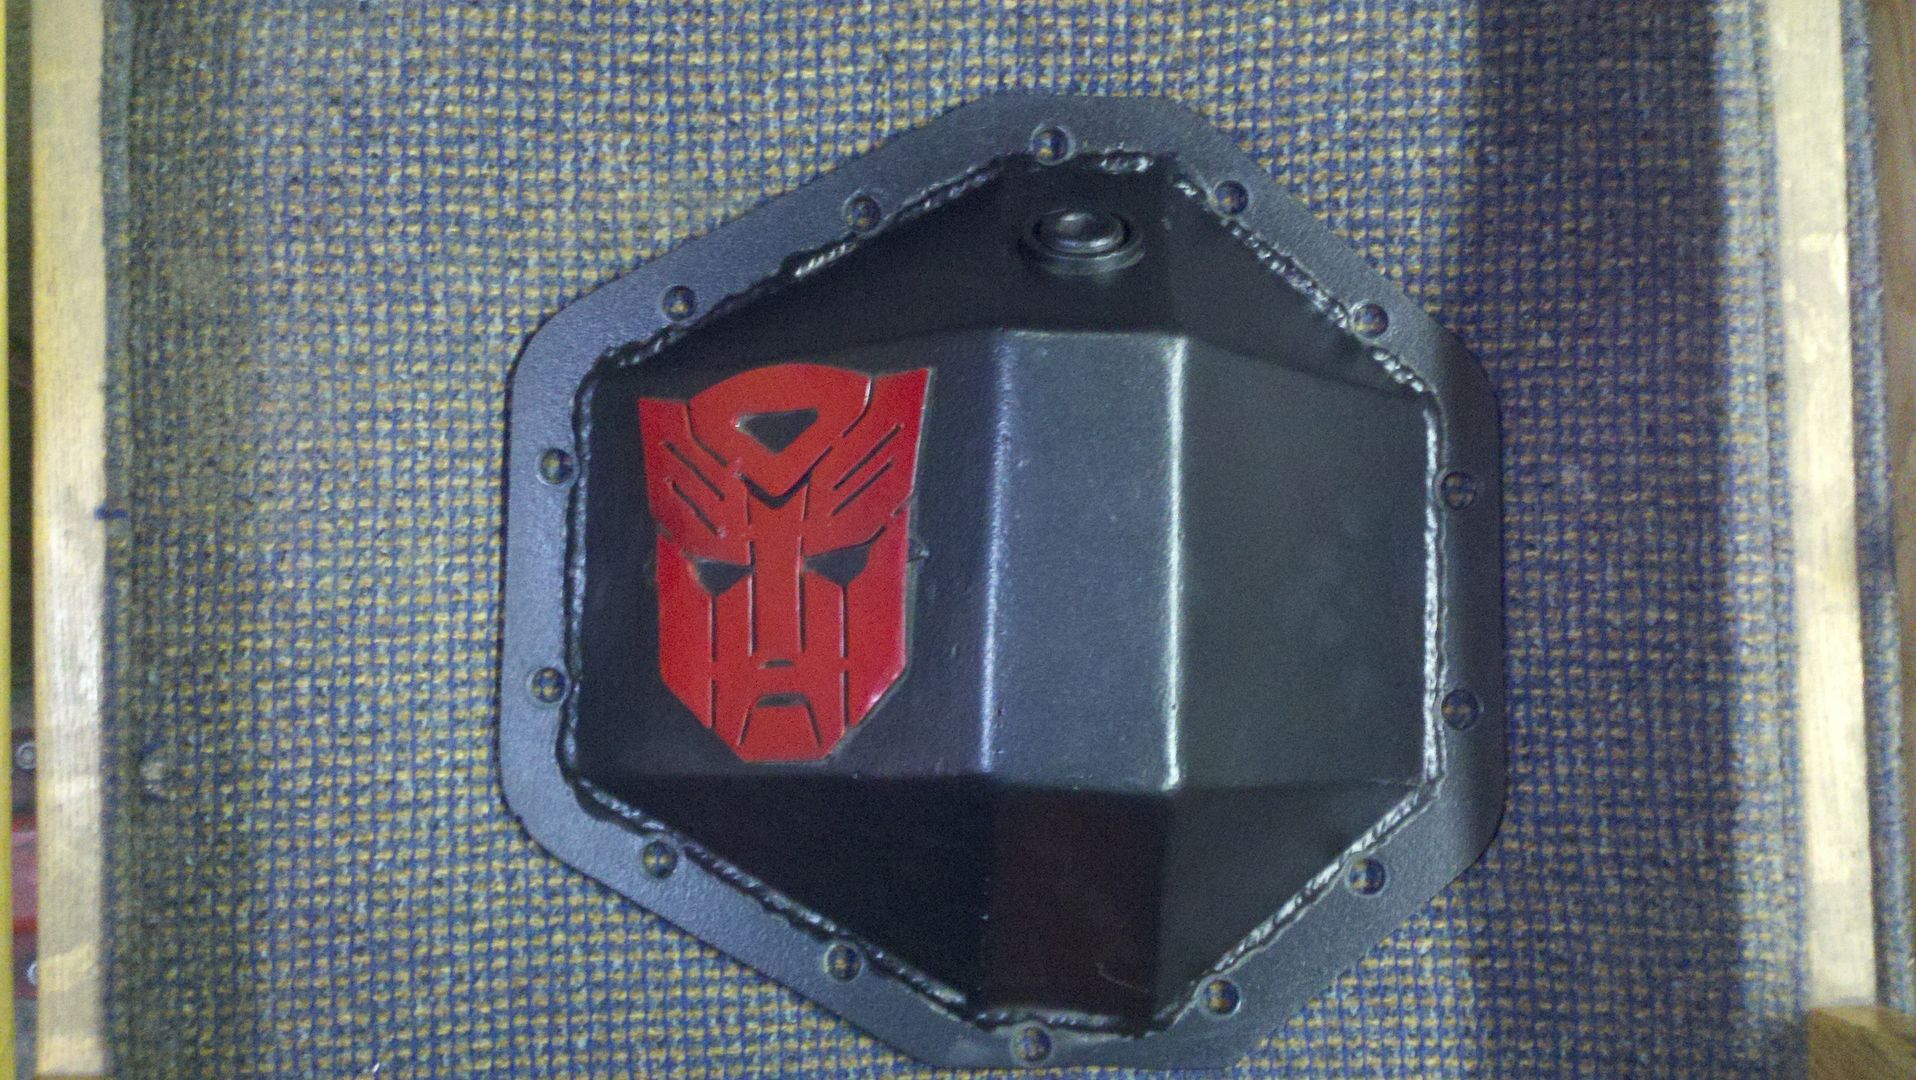
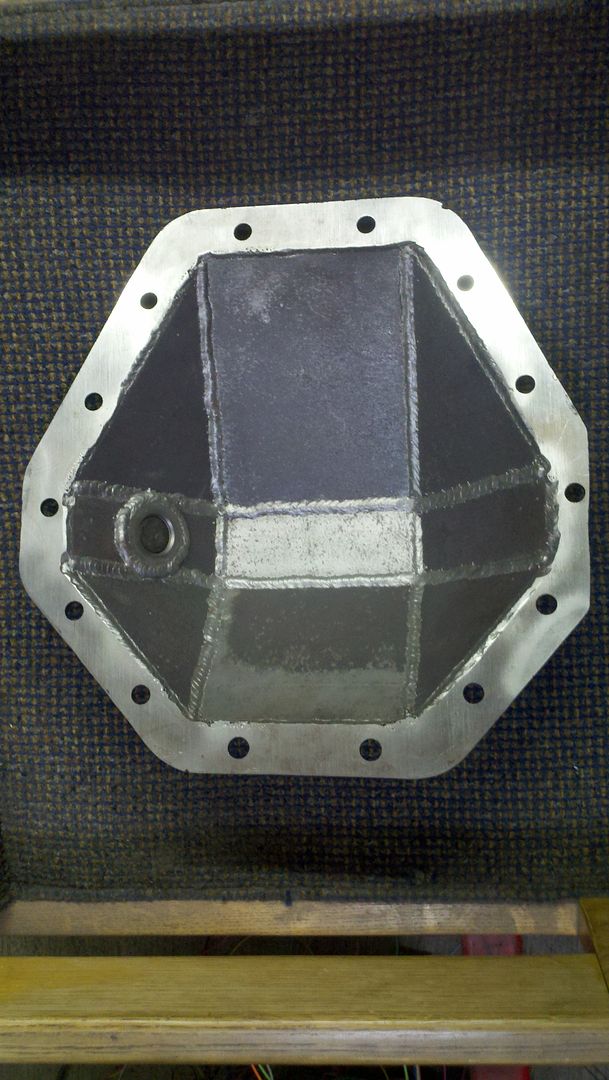
14 bolt rear
14” coilovers in the front, some sort of coil spring in the back.
Tires are going to be a set of 38” toyos
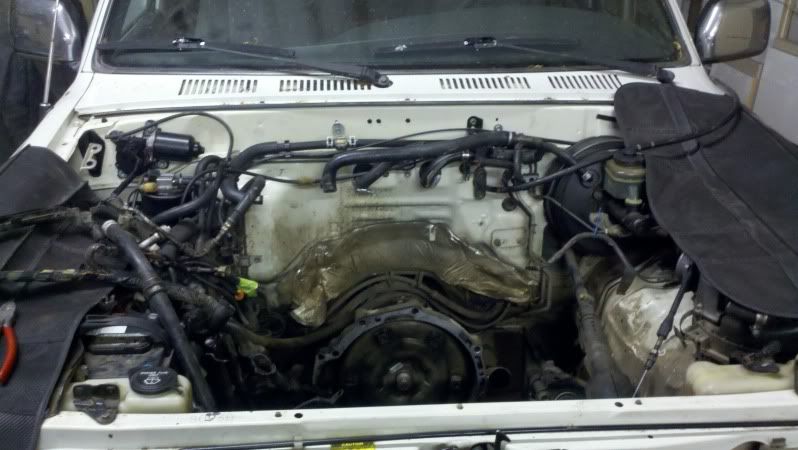
I got the 3.0 removed as well as the auto transmission and transfercase.
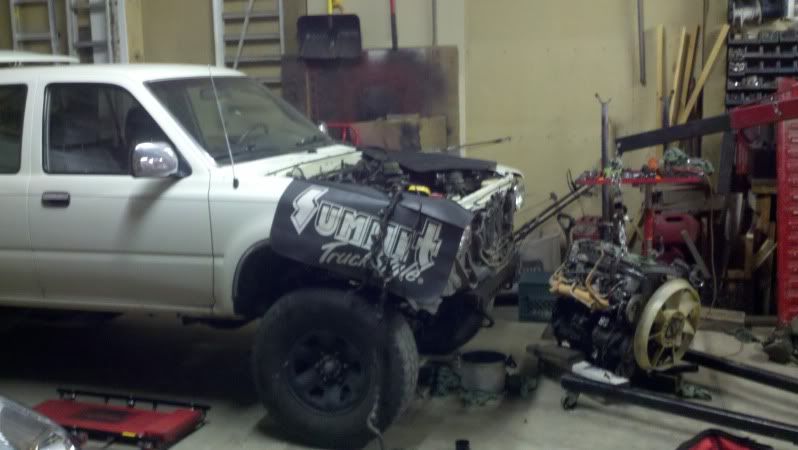
Now there is a spot for the new power-plant to go.
I picked up a 5.3 vortec with 50,000 miles complete with all accessories, harness, and computer.
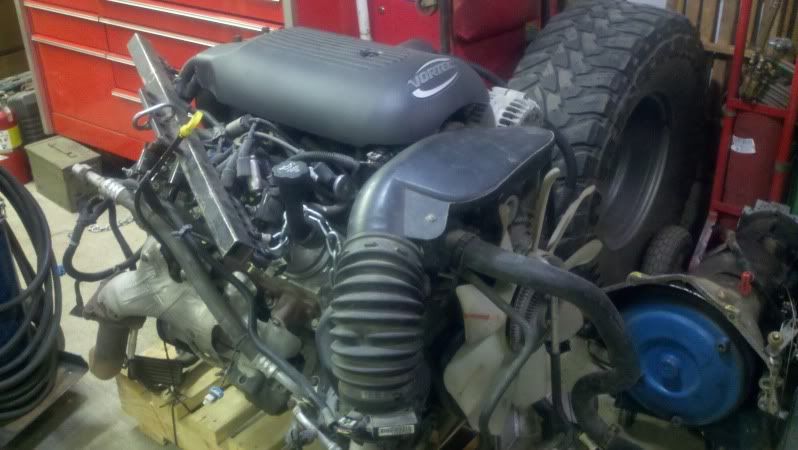
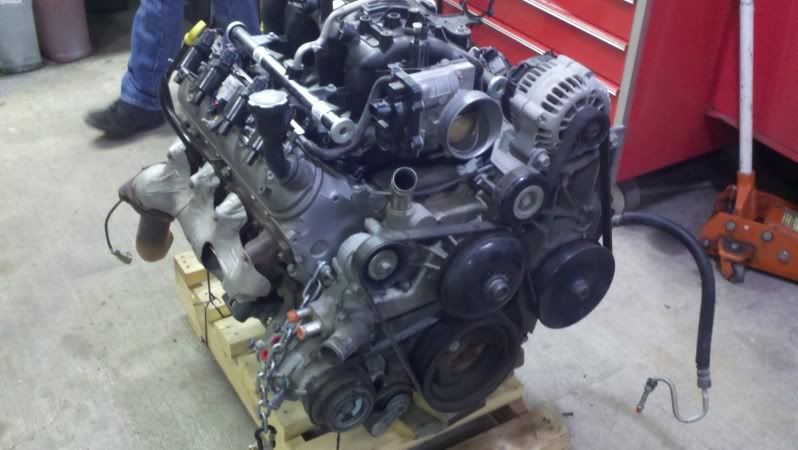
So I started cleaning it up because I swear I have OCD and I like my stuff looking nice lol
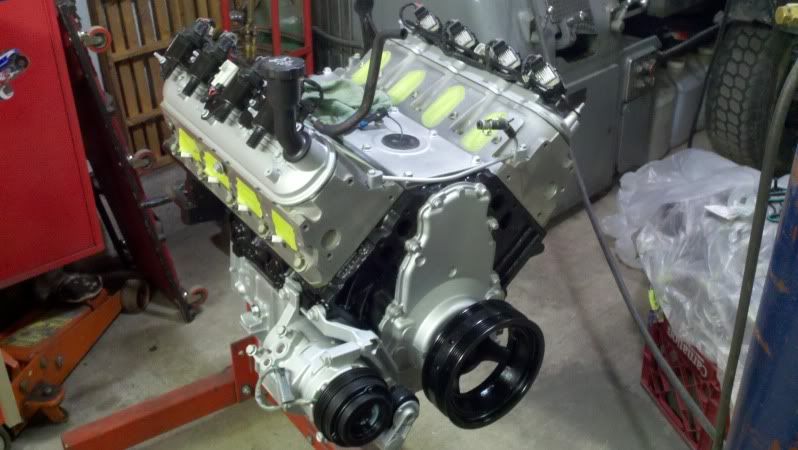
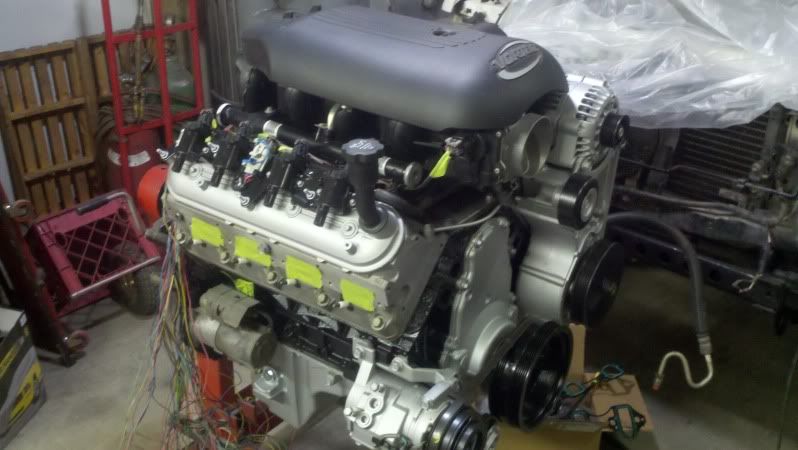
Here it is almost pieced back together. I still have to do some work to the water pump before I put it back on.
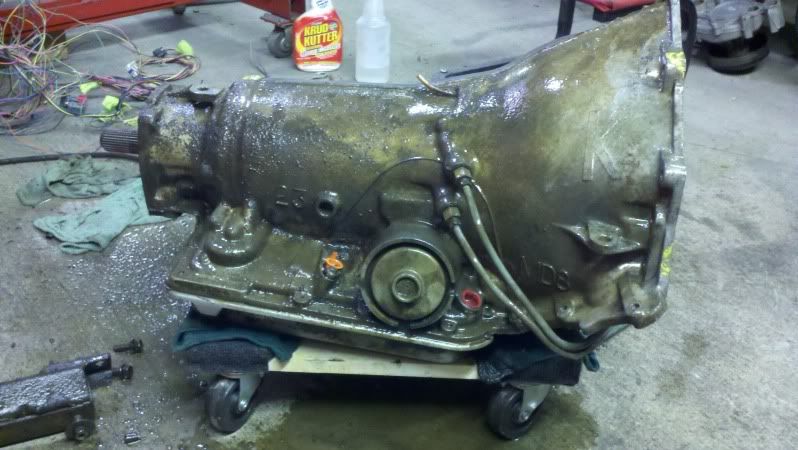
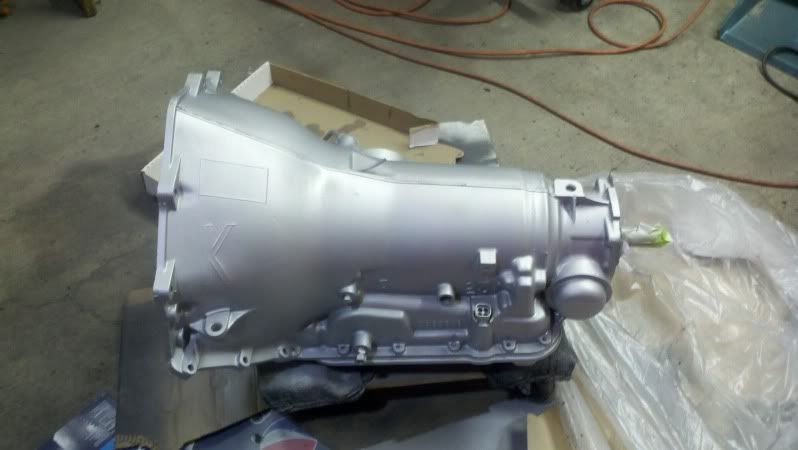
I’m going to be running a 700r4. I picked this up and it was pretty filthy, so I spent a couple hours with a wire brush and some crud kutter cleaning it.
I have been trying to collect parts ever since I got the 4runner earlier this year.
I got a hydraulic assist ram from surplus center
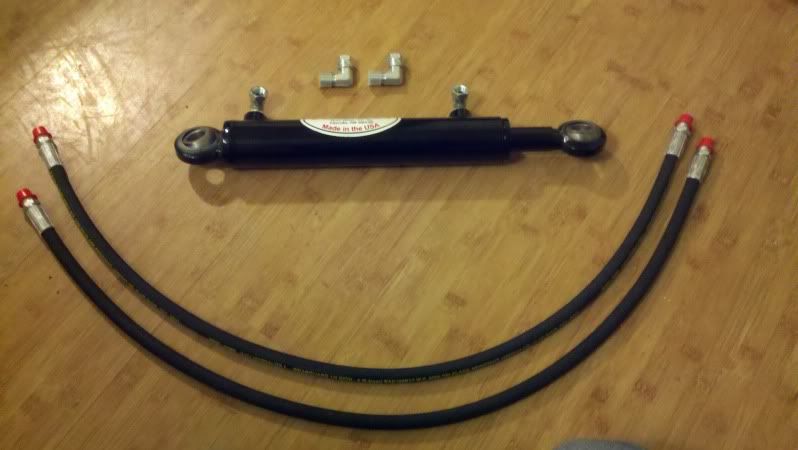
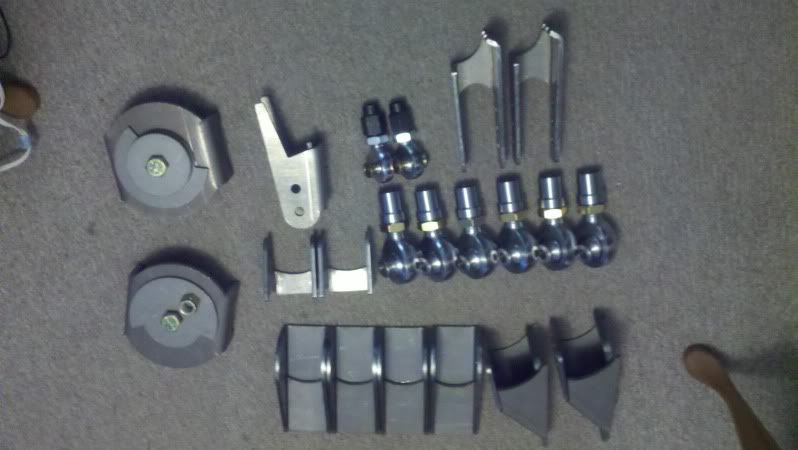
And I ordered ruffstuff brackets during their black-Friday sale. I will be running a front and rear 3-link.

A little bit of background information: I am 18 and I just started my freshman year of college and at the same time I work about 25-30 hours a week at a hospital to pay for rent, living expenses, and to fund the 4runner build, so I don’t have a lot of free time. Whenever I can, I make a 45 minute drive to my dad’s shop to work on my 4runner, so this will be a somewhat slow build. A couple years ago I got a 1989 ex-cab pickup with a solid axle and a 4.3, and since then I have pretty much been fixing and re-doing everything on it, but I have learned a lot in the last few years. So now I’m trying to sell my pickup and build a 4runner for a couple reasons. I wanted something with four doors and I wanted to have something that I can say “I built that”.
Here is my 89’ that I daily drive
And here is my 1990 4runner the day I picked it up for $1300. It will also be a daily driver. It is really clean and I’m looking forward to having electric windows and remote/electric locks haha.
The plan is:
5.3 chevy vortec
700r4
Twin-sticked Ford 205
Ford Dana 60 front
14 bolt rear
14” coilovers in the front, some sort of coil spring in the back.
Tires are going to be a set of 38” toyos
I got the 3.0 removed as well as the auto transmission and transfercase.
Now there is a spot for the new power-plant to go.
I picked up a 5.3 vortec with 50,000 miles complete with all accessories, harness, and computer.
So I started cleaning it up because I swear I have OCD and I like my stuff looking nice lol
Here it is almost pieced back together. I still have to do some work to the water pump before I put it back on.
I’m going to be running a 700r4. I picked this up and it was pretty filthy, so I spent a couple hours with a wire brush and some crud kutter cleaning it.
I have been trying to collect parts ever since I got the 4runner earlier this year.
I got a hydraulic assist ram from surplus center
And I ordered ruffstuff brackets during their black-Friday sale. I will be running a front and rear 3-link.
Last edited by nick89toy; Jan 9, 2012 at 11:58 AM.
Dec 20, 2011 | 12:01 AM
#3
Thread Starter
Registered User
Joined: Sep 2010
Posts: 122
Likes: 0
From: Moscow Idaho
I got a little more done this weekend, not too much though. I got the 5.3 ready so that it can take the water temp sending unit and oil pressure line when it's in.
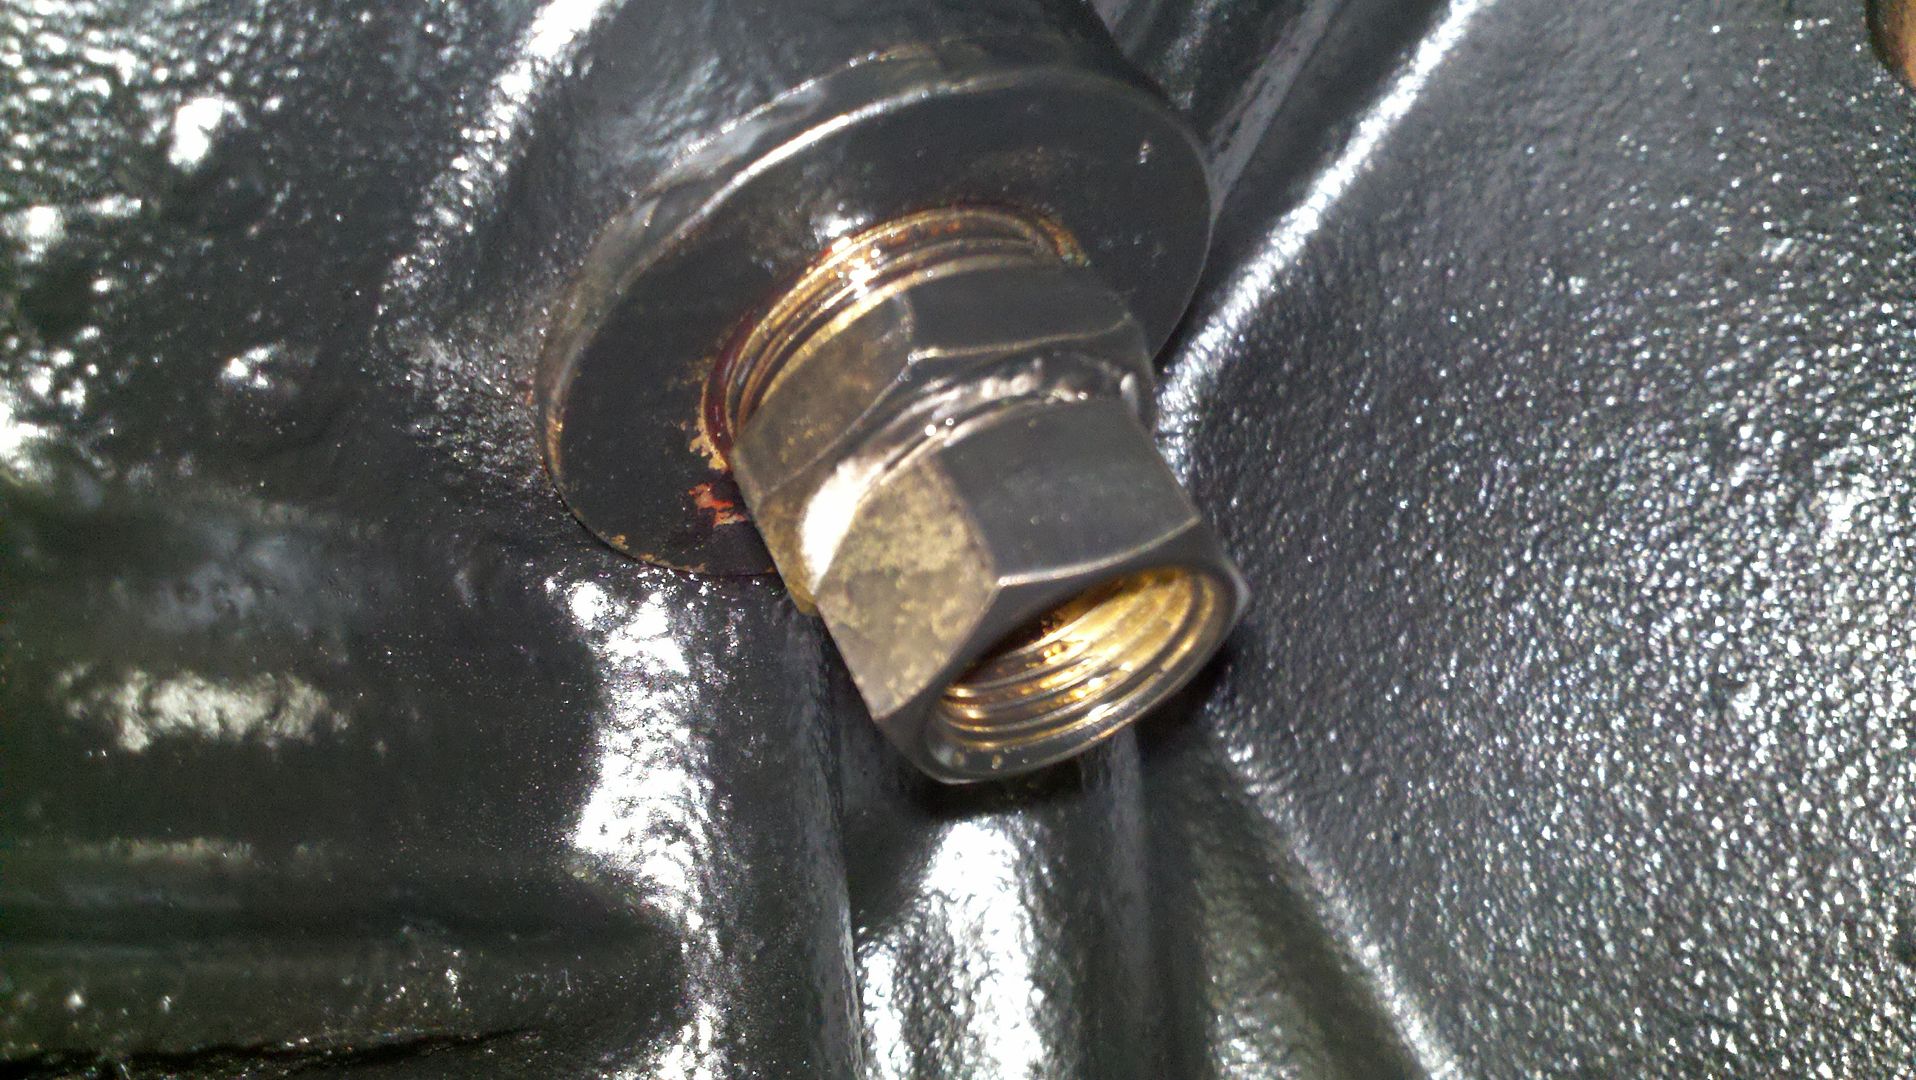
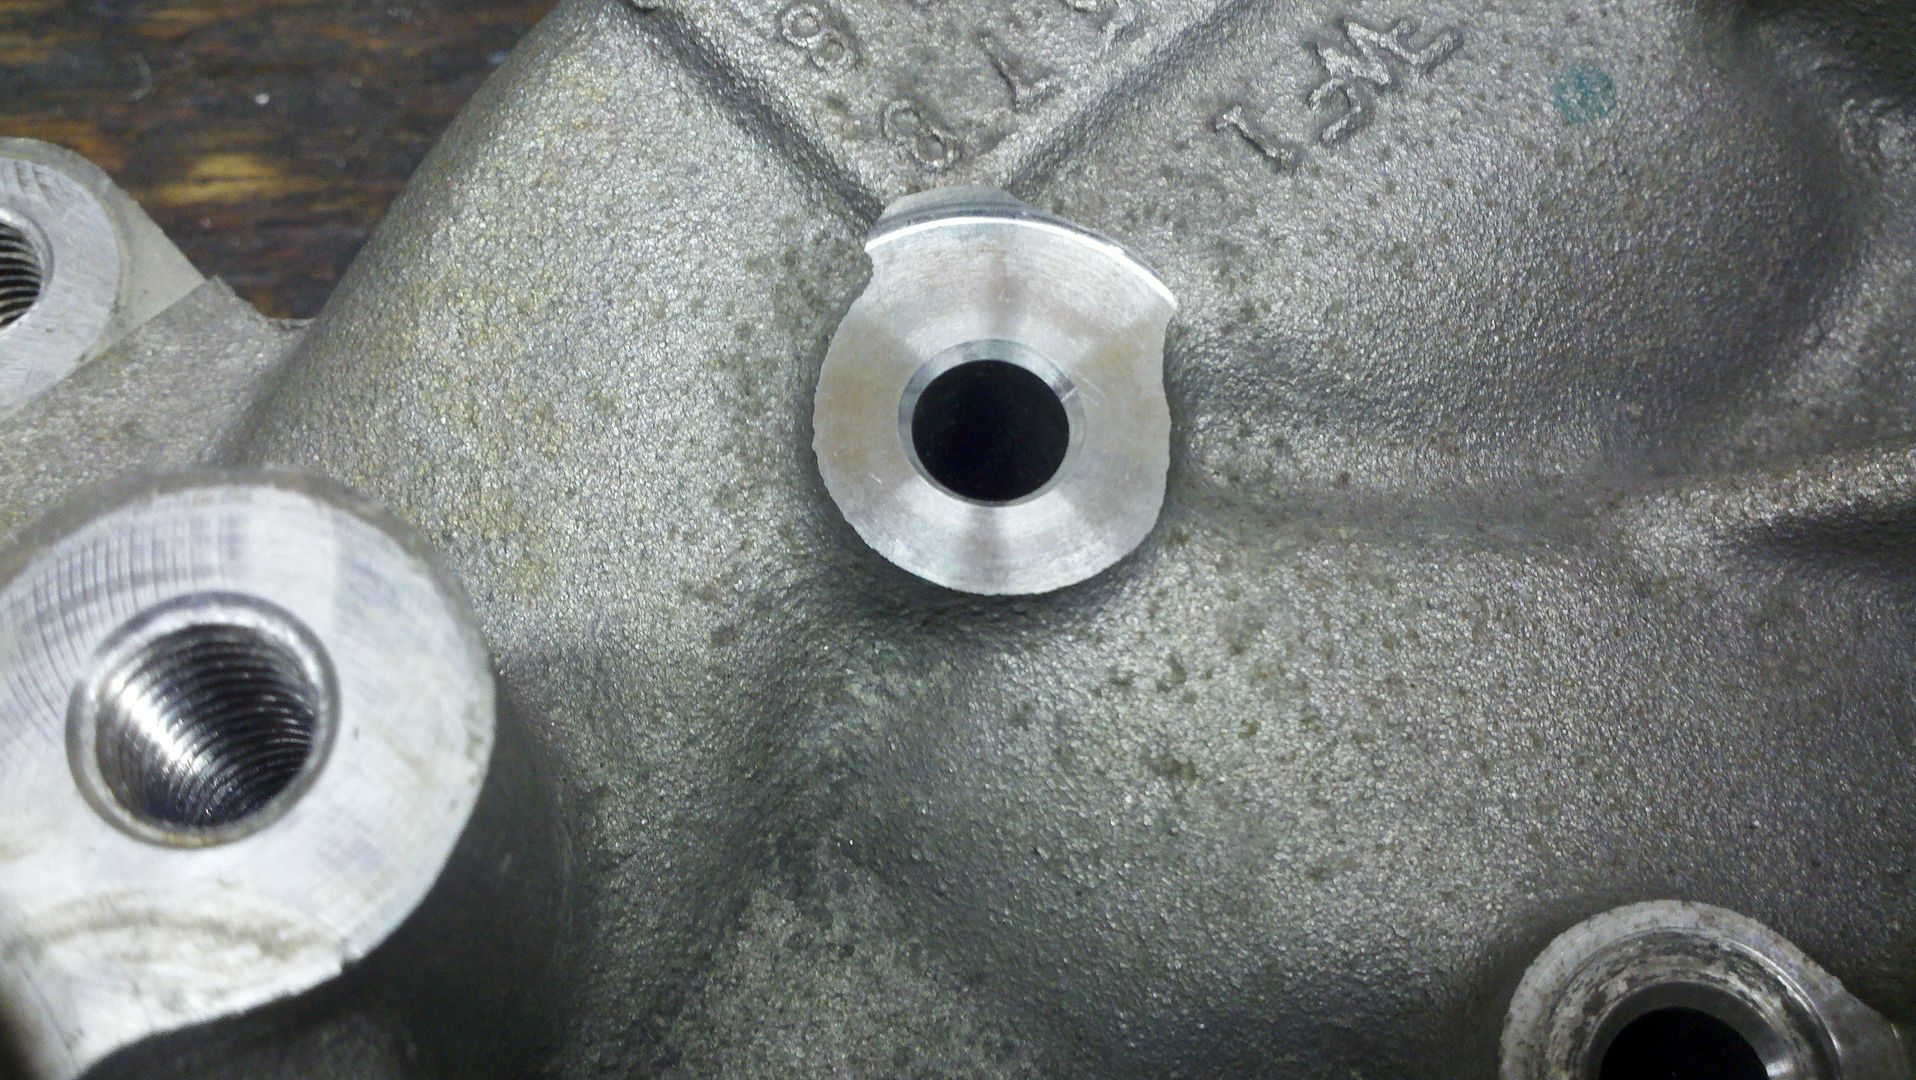
Here is the oil pressure fitting threaded into a metric plug that I drilled and tapped.
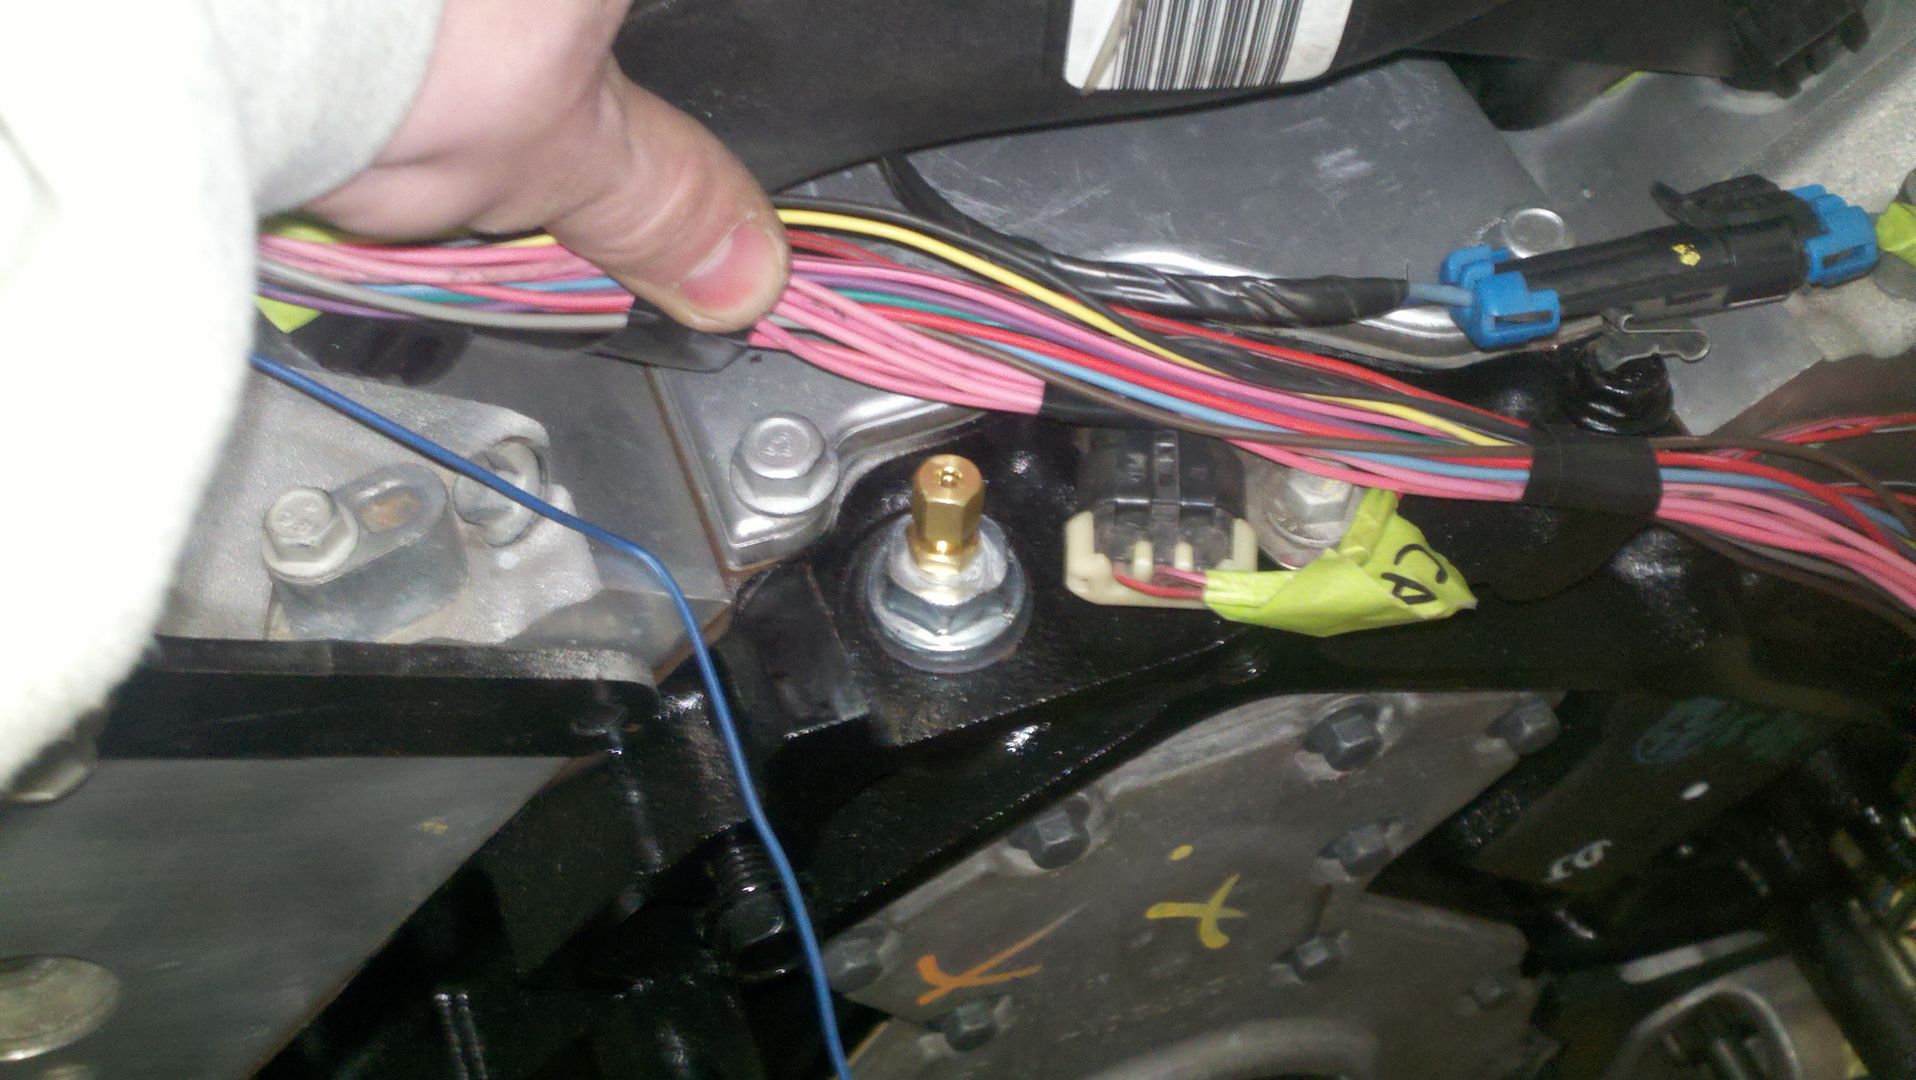
And here are the adapters and fittings setup so that the water temp sending unit can go in. I drilled and tapped the block plug to 1/2" npt and adapted it down from there to 3/8" npt. It was a pain to get the block plug out because i had to make a 17mm allen wrench to fit it.
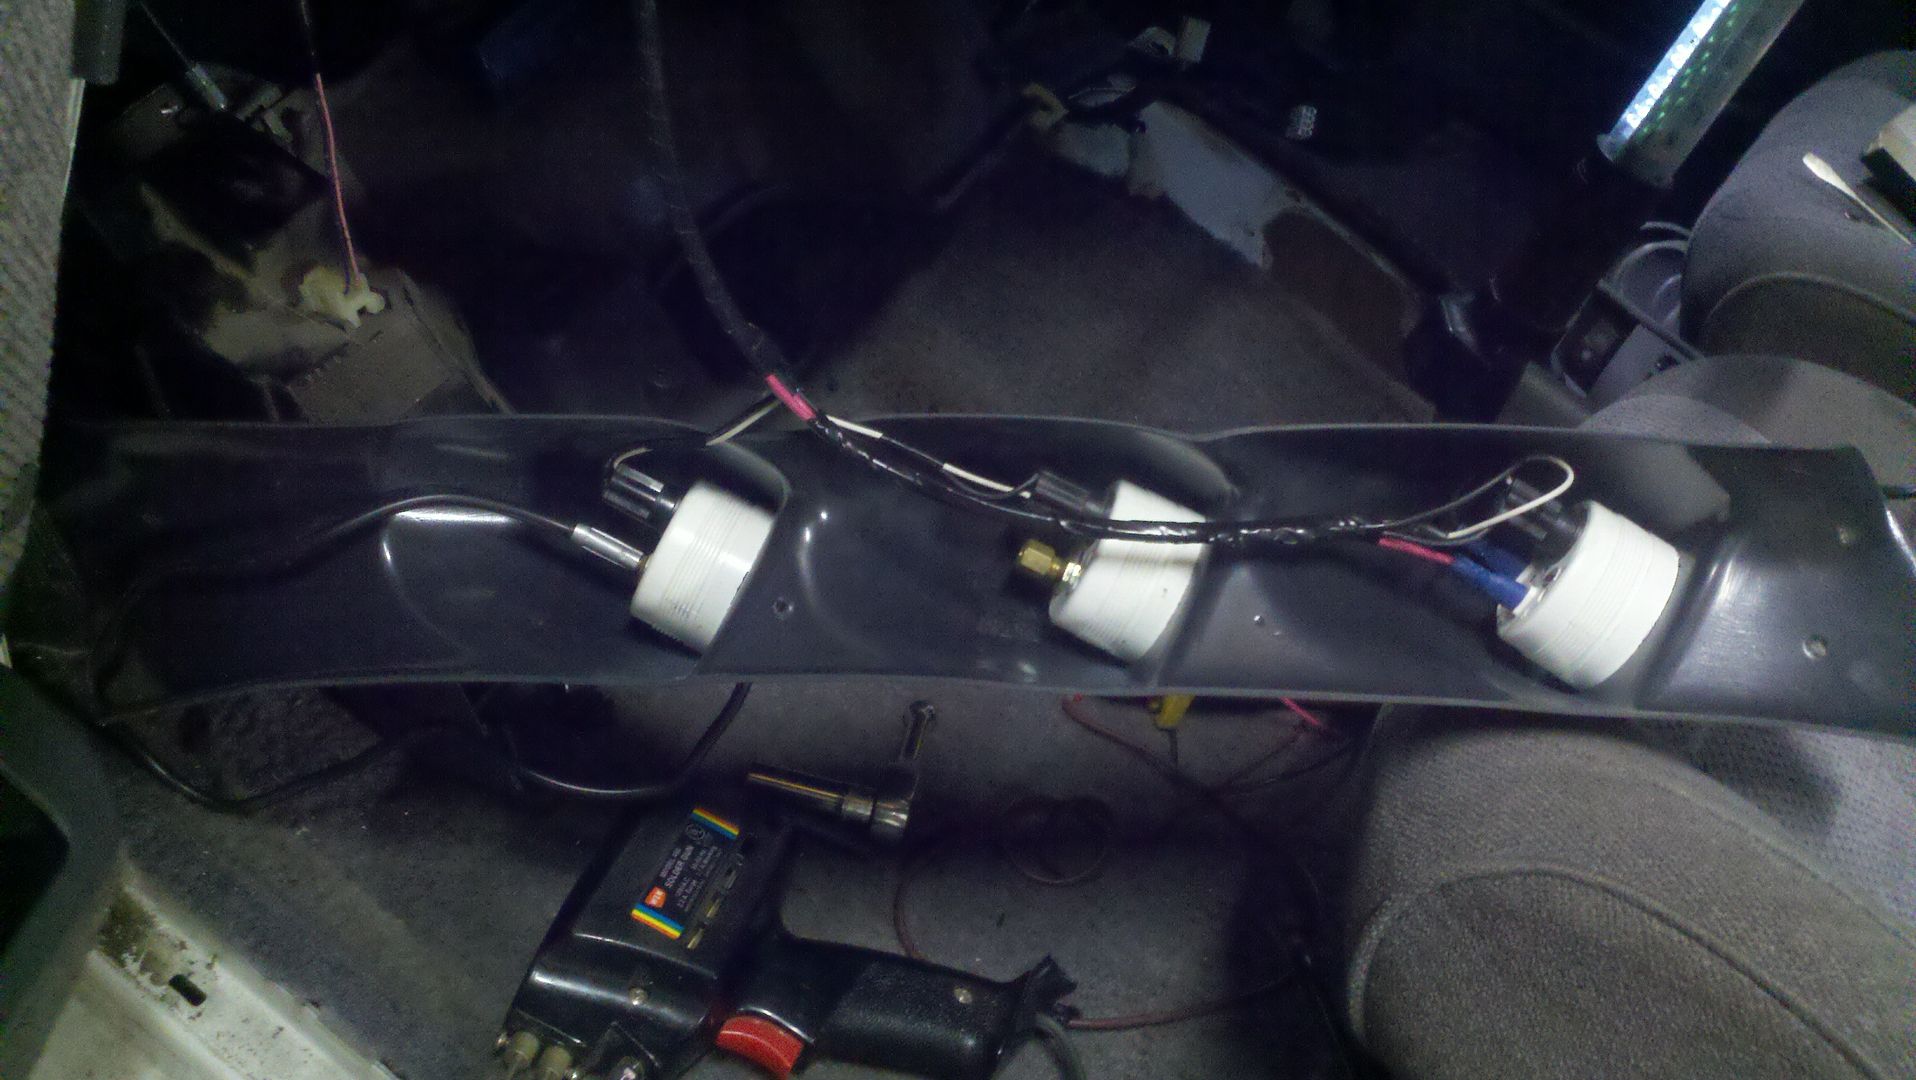
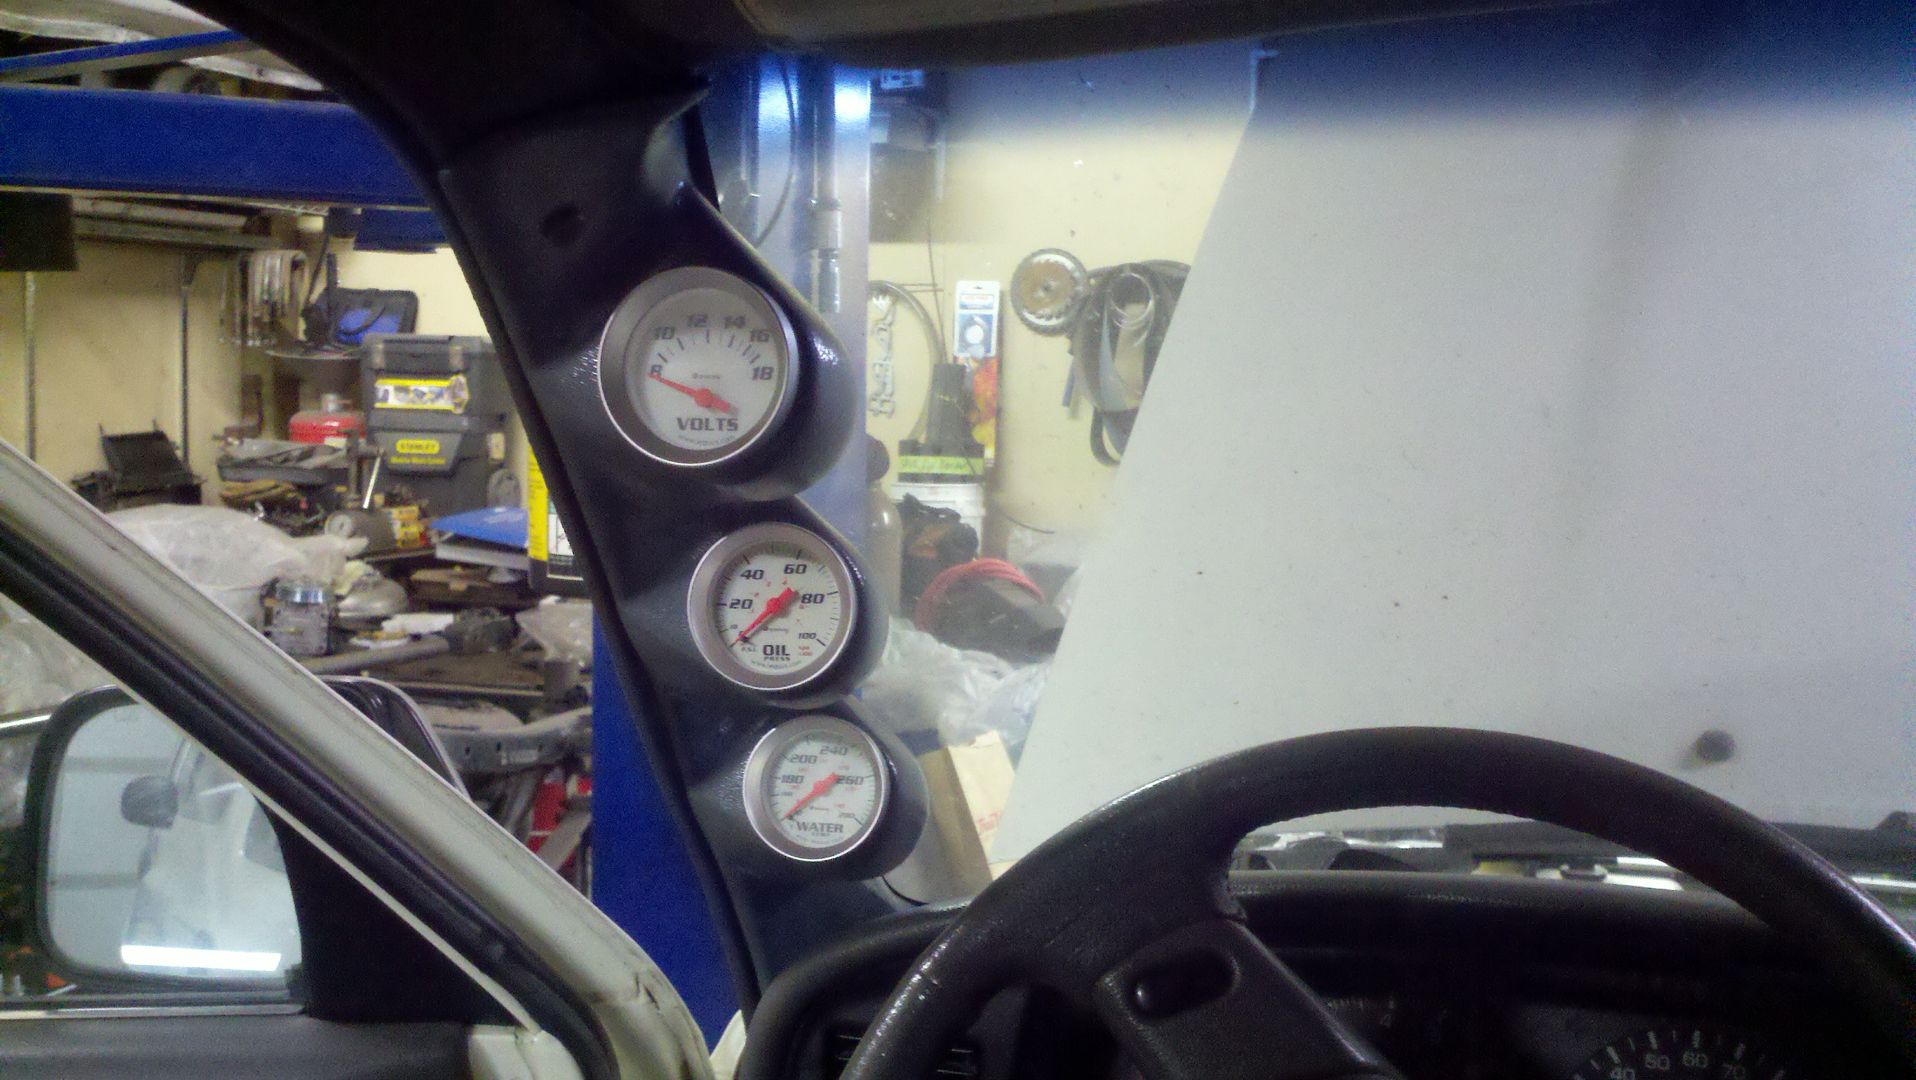
I also got my gauges in as well. I found out the hard way about how toyota does the factory lights backwards with the dimmer so my aftermarket ones were opposite when i had them wired through the dimmer.I didn't really feel like trying to make a voltage converter so i just wired them to the gauge light switched wire before the dimmer.
Here is the oil pressure fitting threaded into a metric plug that I drilled and tapped.
And here are the adapters and fittings setup so that the water temp sending unit can go in. I drilled and tapped the block plug to 1/2" npt and adapted it down from there to 3/8" npt. It was a pain to get the block plug out because i had to make a 17mm allen wrench to fit it.
I also got my gauges in as well. I found out the hard way about how toyota does the factory lights backwards with the dimmer so my aftermarket ones were opposite when i had them wired through the dimmer.I didn't really feel like trying to make a voltage converter so i just wired them to the gauge light switched wire before the dimmer.
Last edited by nick89toy; Jan 9, 2012 at 11:59 AM.
 Dec 20, 2011 | 09:52 AM
#6
Thread Starter
Registered User
Joined: Sep 2010
Posts: 122
Likes: 0
From: Moscow Idaho
The rear axle is a Cab-and-chassis 14 bolt so it is only 63" wide, and i'm going to narrow the Ford Dana 60 to about 64" i think. I'm going to try to run some bushwhacker flares as well. I have not sold my pickup yet, but I might be on Thursday, a guy is very interested and wants to test drive it and he has cash $$$
Last edited by nick89toy; Dec 20, 2011 at 03:32 PM.
Trending Topics
 Dec 25, 2011 | 09:48 AM
#9
Thread Starter
Registered User
Joined: Sep 2010
Posts: 122
Likes: 0
From: Moscow Idaho
Oh yeah Merry Christmas! Is it odd that an 18 year old gets parts for Christmas? haha my parents were very generous and got me some cool stuff:
A steering u-joint for the Ford power-steering box that I will be using and rebuild kit for my York air-compressor
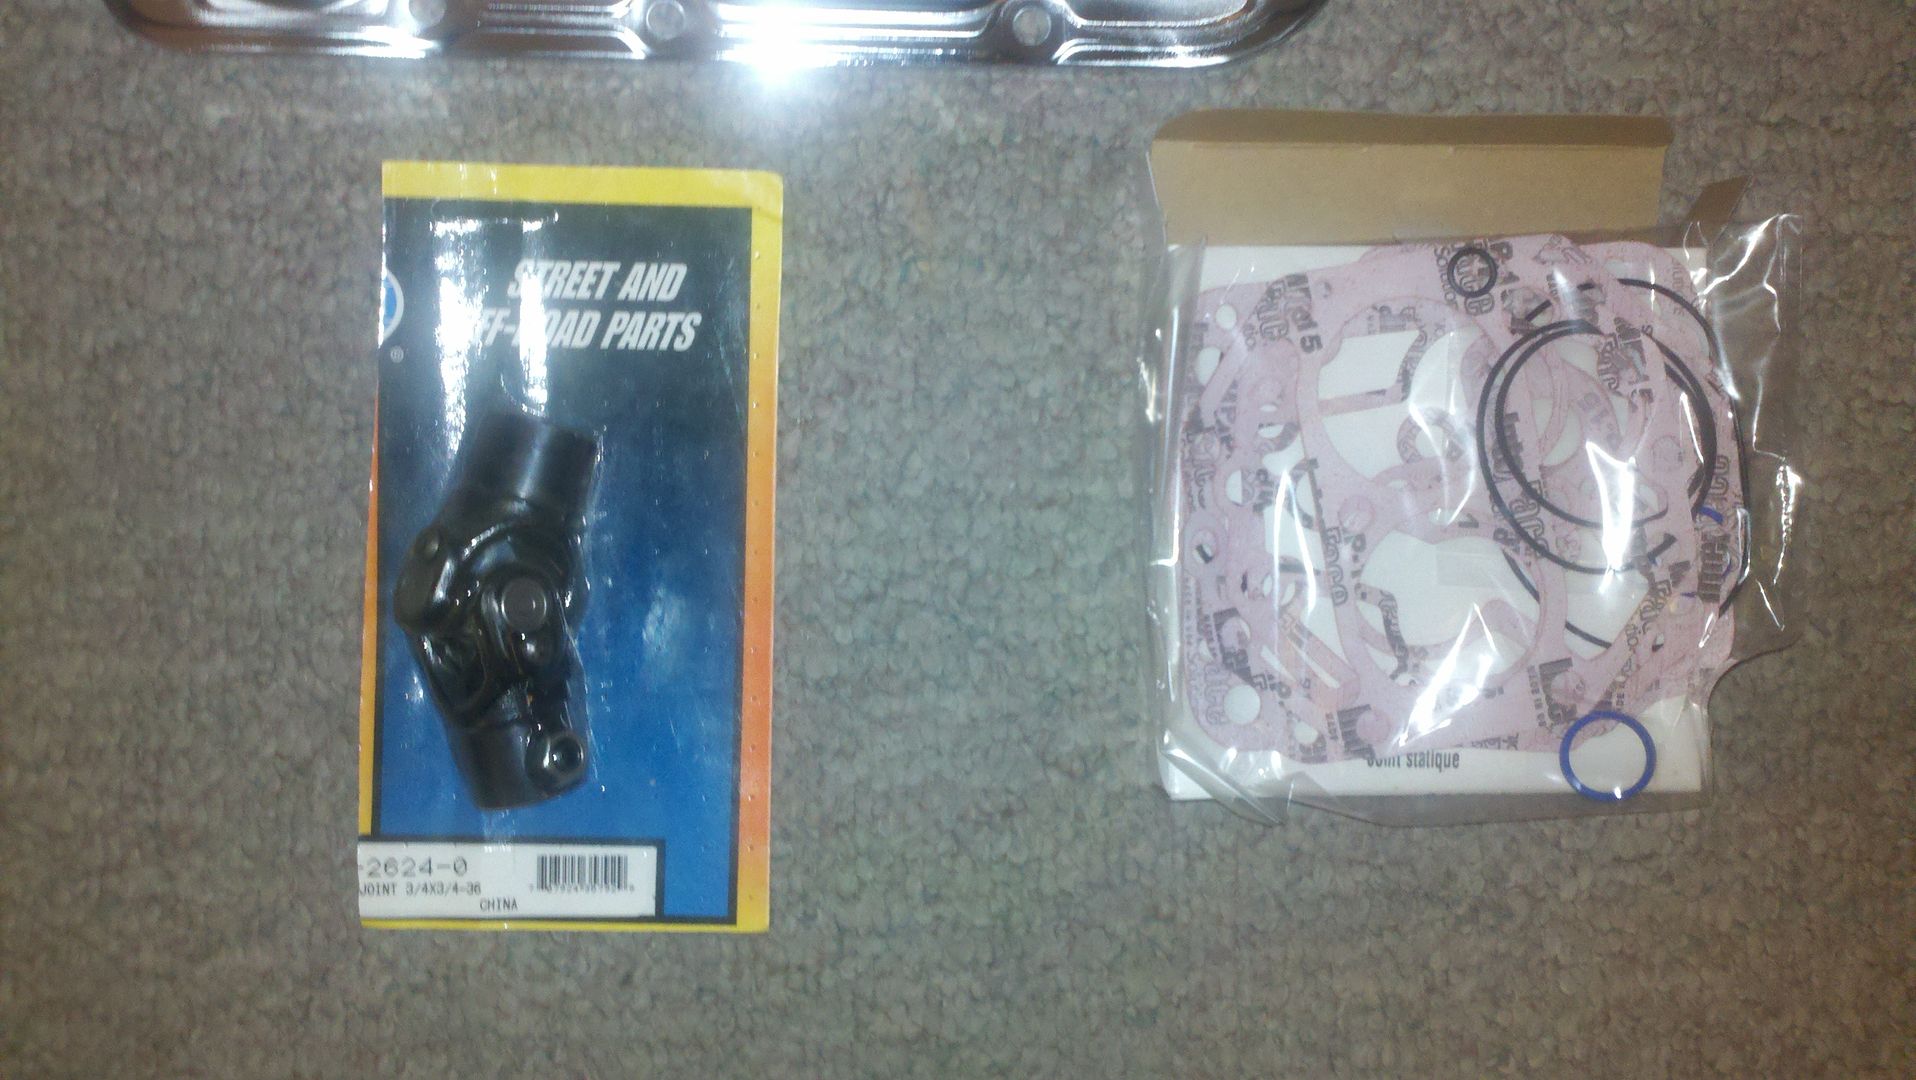
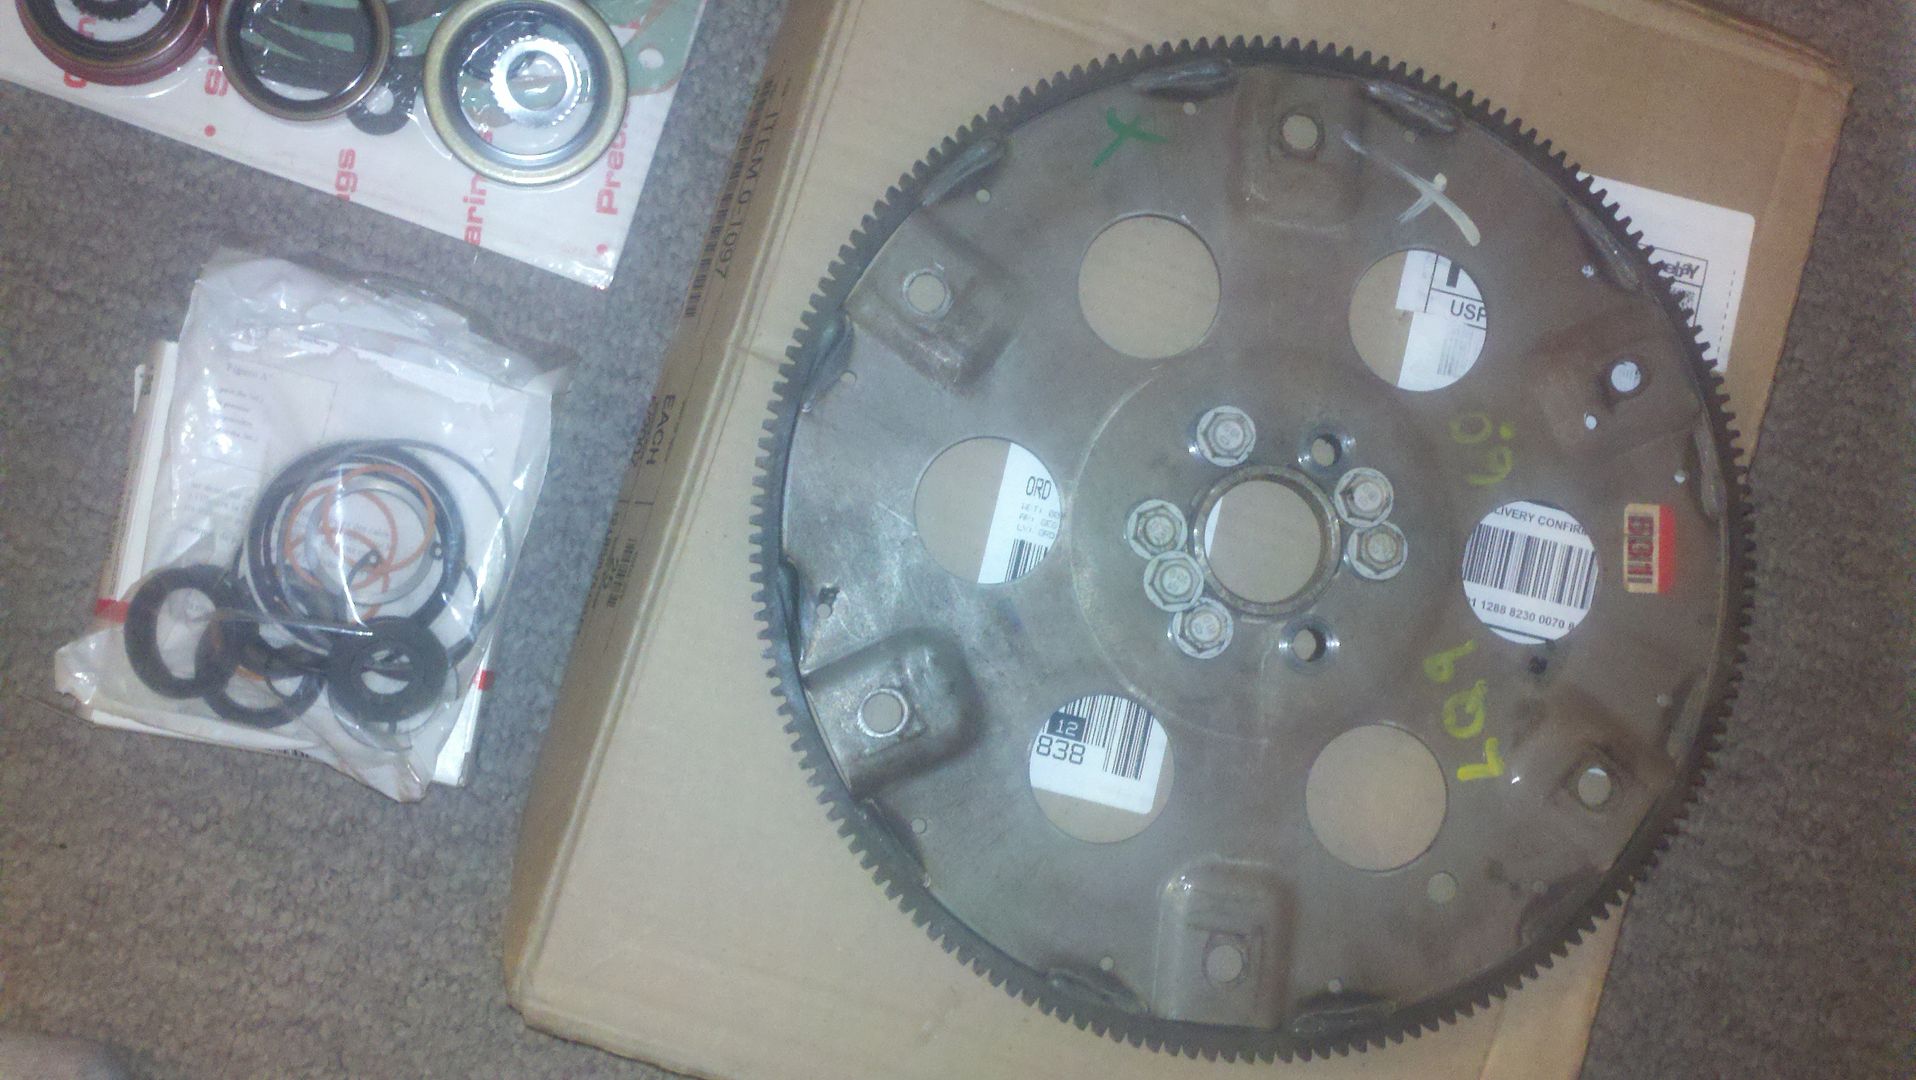
And a seal kit for the steering box, and my dad gave me his flex-plate from his 6.0L to put on my 5.3
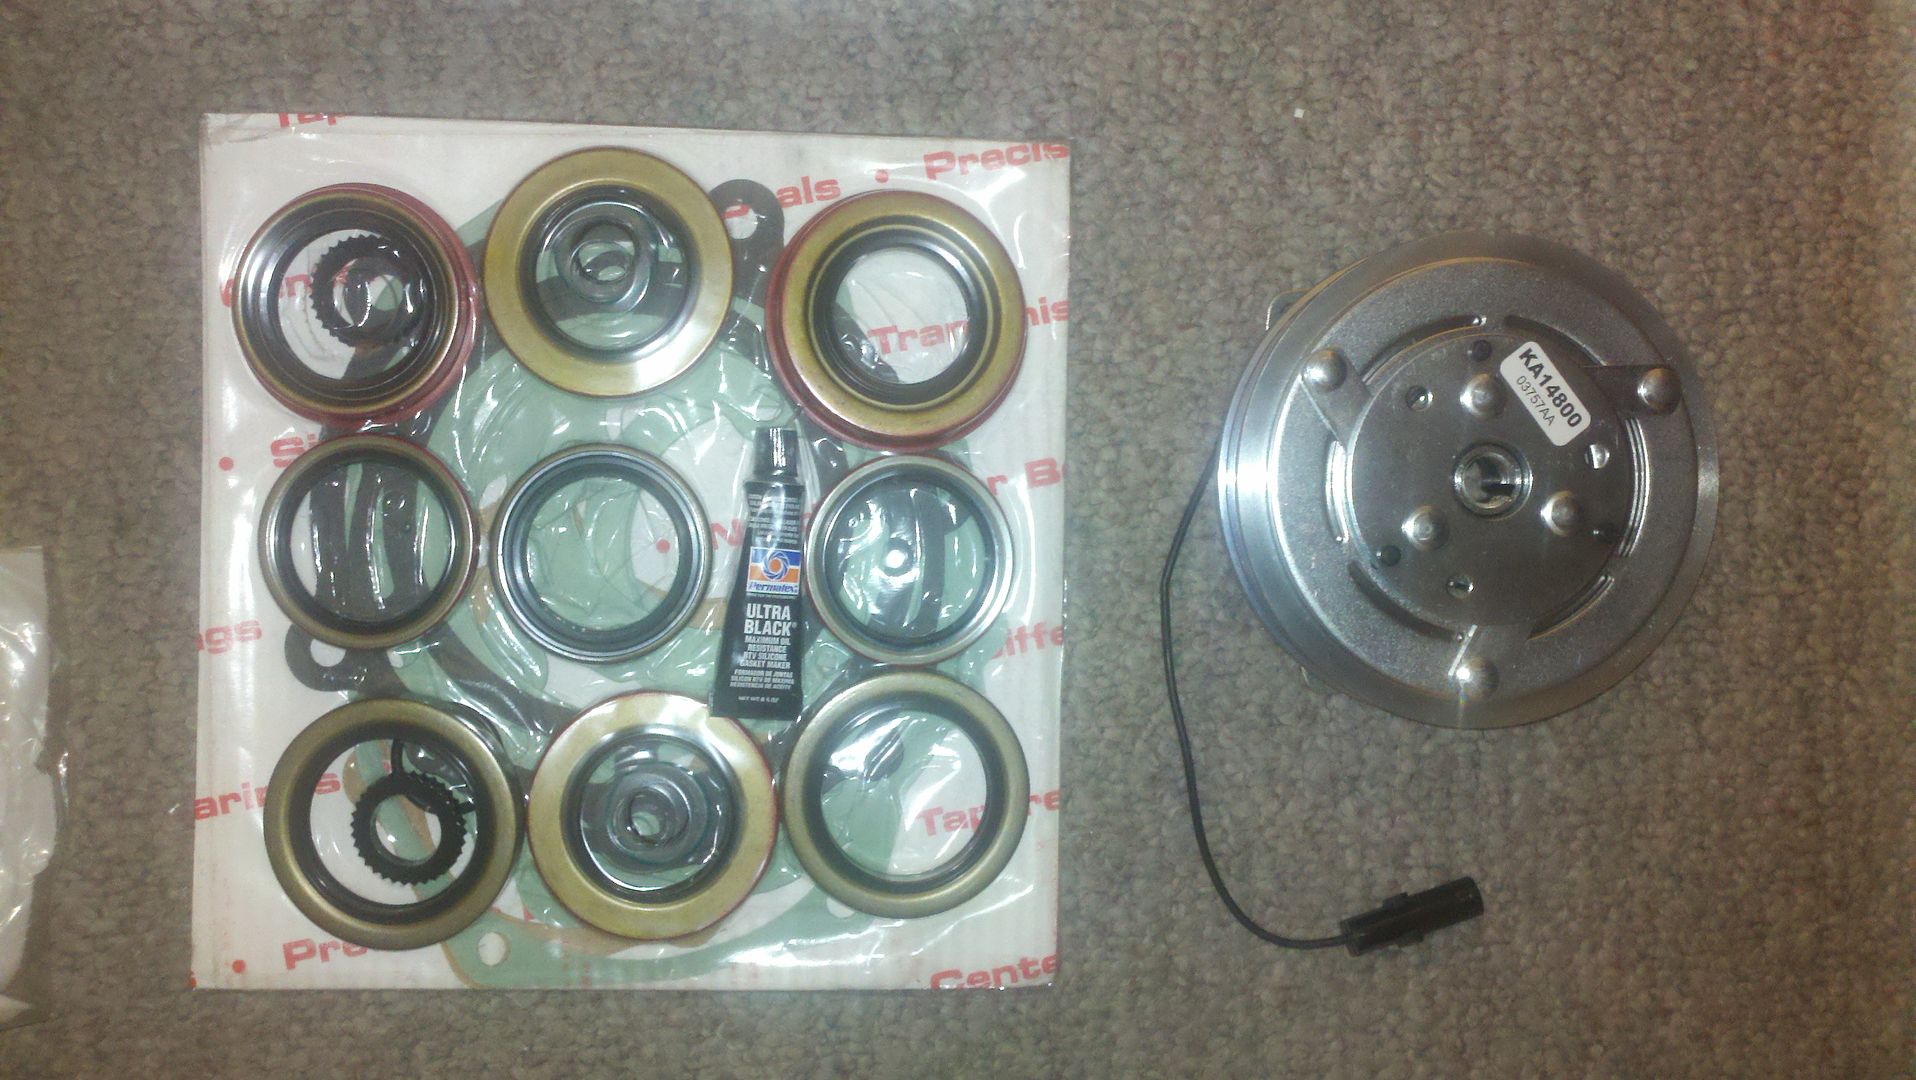
A seal and gasket kit for my Ford NP205 transfer-case, and a serpentine clutch for the York compressor
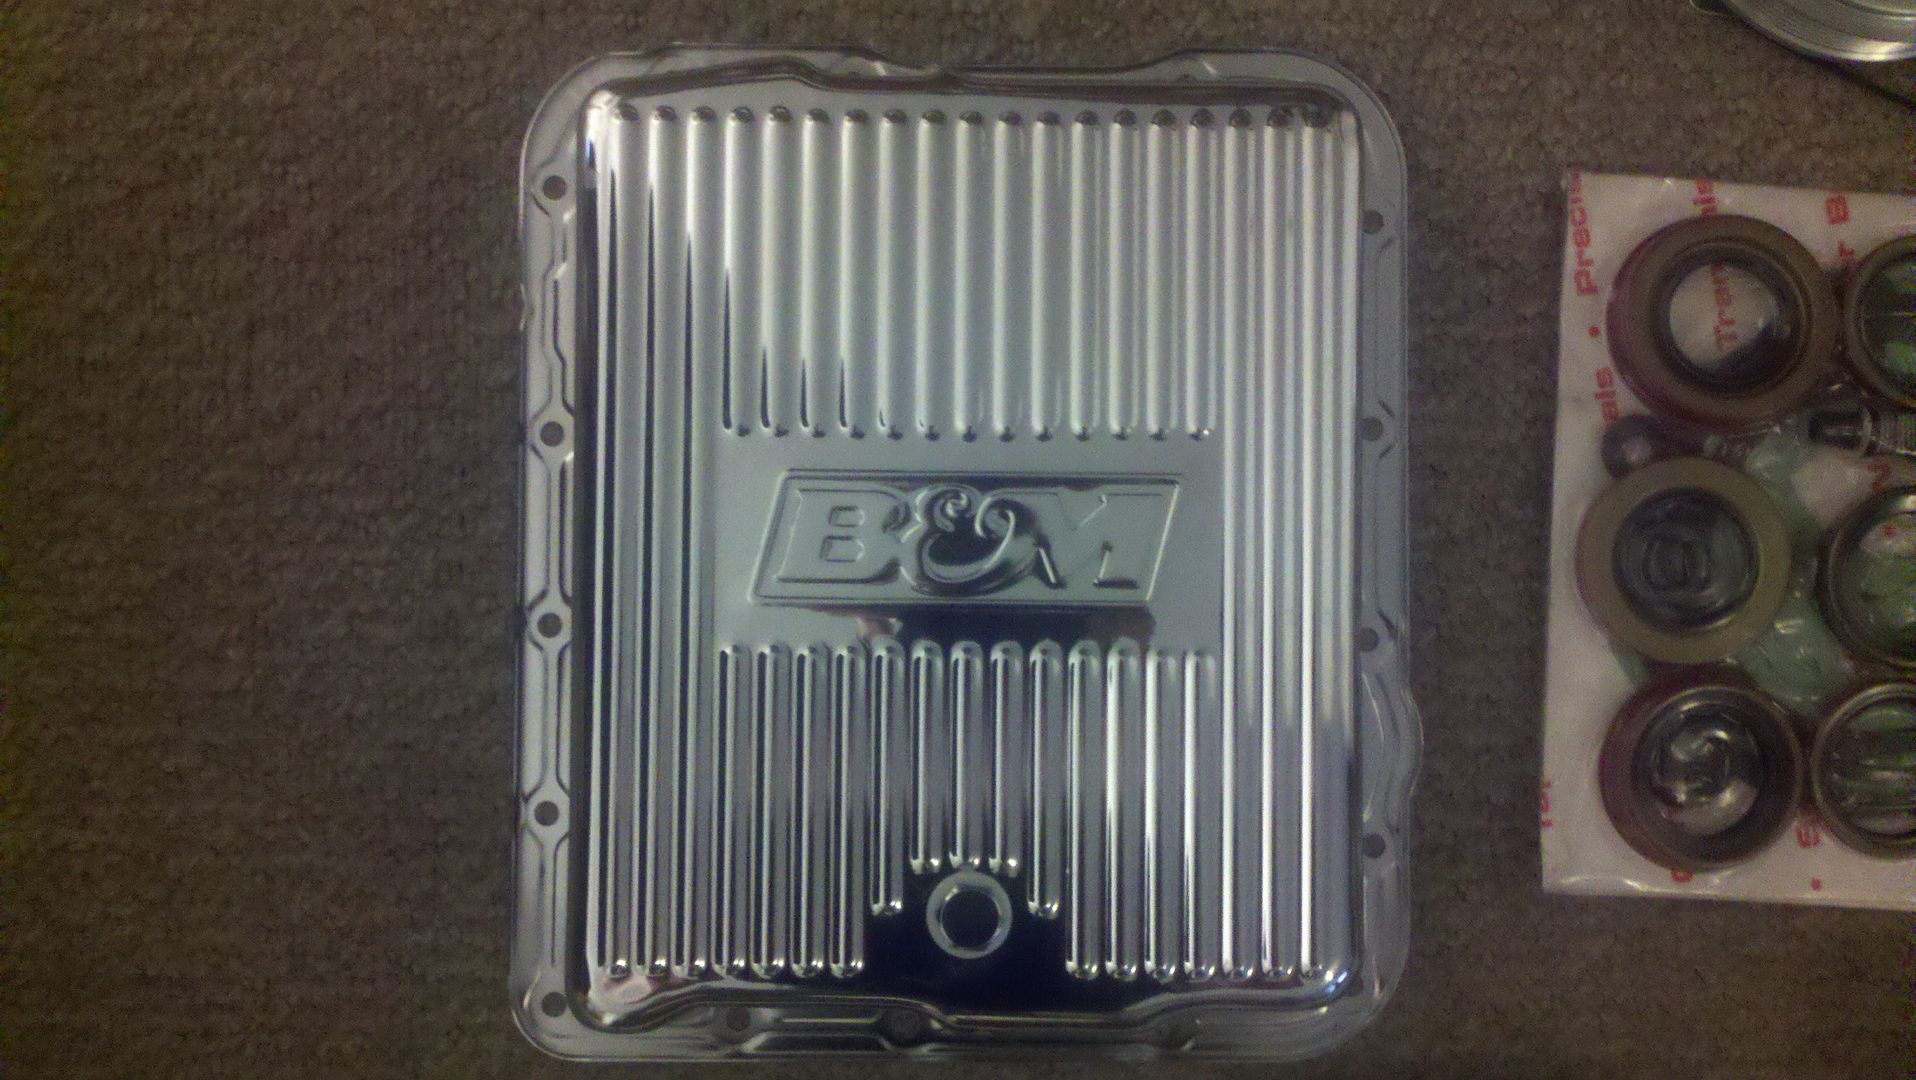
Oh and a bling 700r4 pan
A steering u-joint for the Ford power-steering box that I will be using and rebuild kit for my York air-compressor
And a seal kit for the steering box, and my dad gave me his flex-plate from his 6.0L to put on my 5.3
A seal and gasket kit for my Ford NP205 transfer-case, and a serpentine clutch for the York compressor
Oh and a bling 700r4 pan
Dec 27, 2011 | 12:26 AM
#10
Thread Starter
Registered User
Joined: Sep 2010
Posts: 122
Likes: 0
From: Moscow Idaho
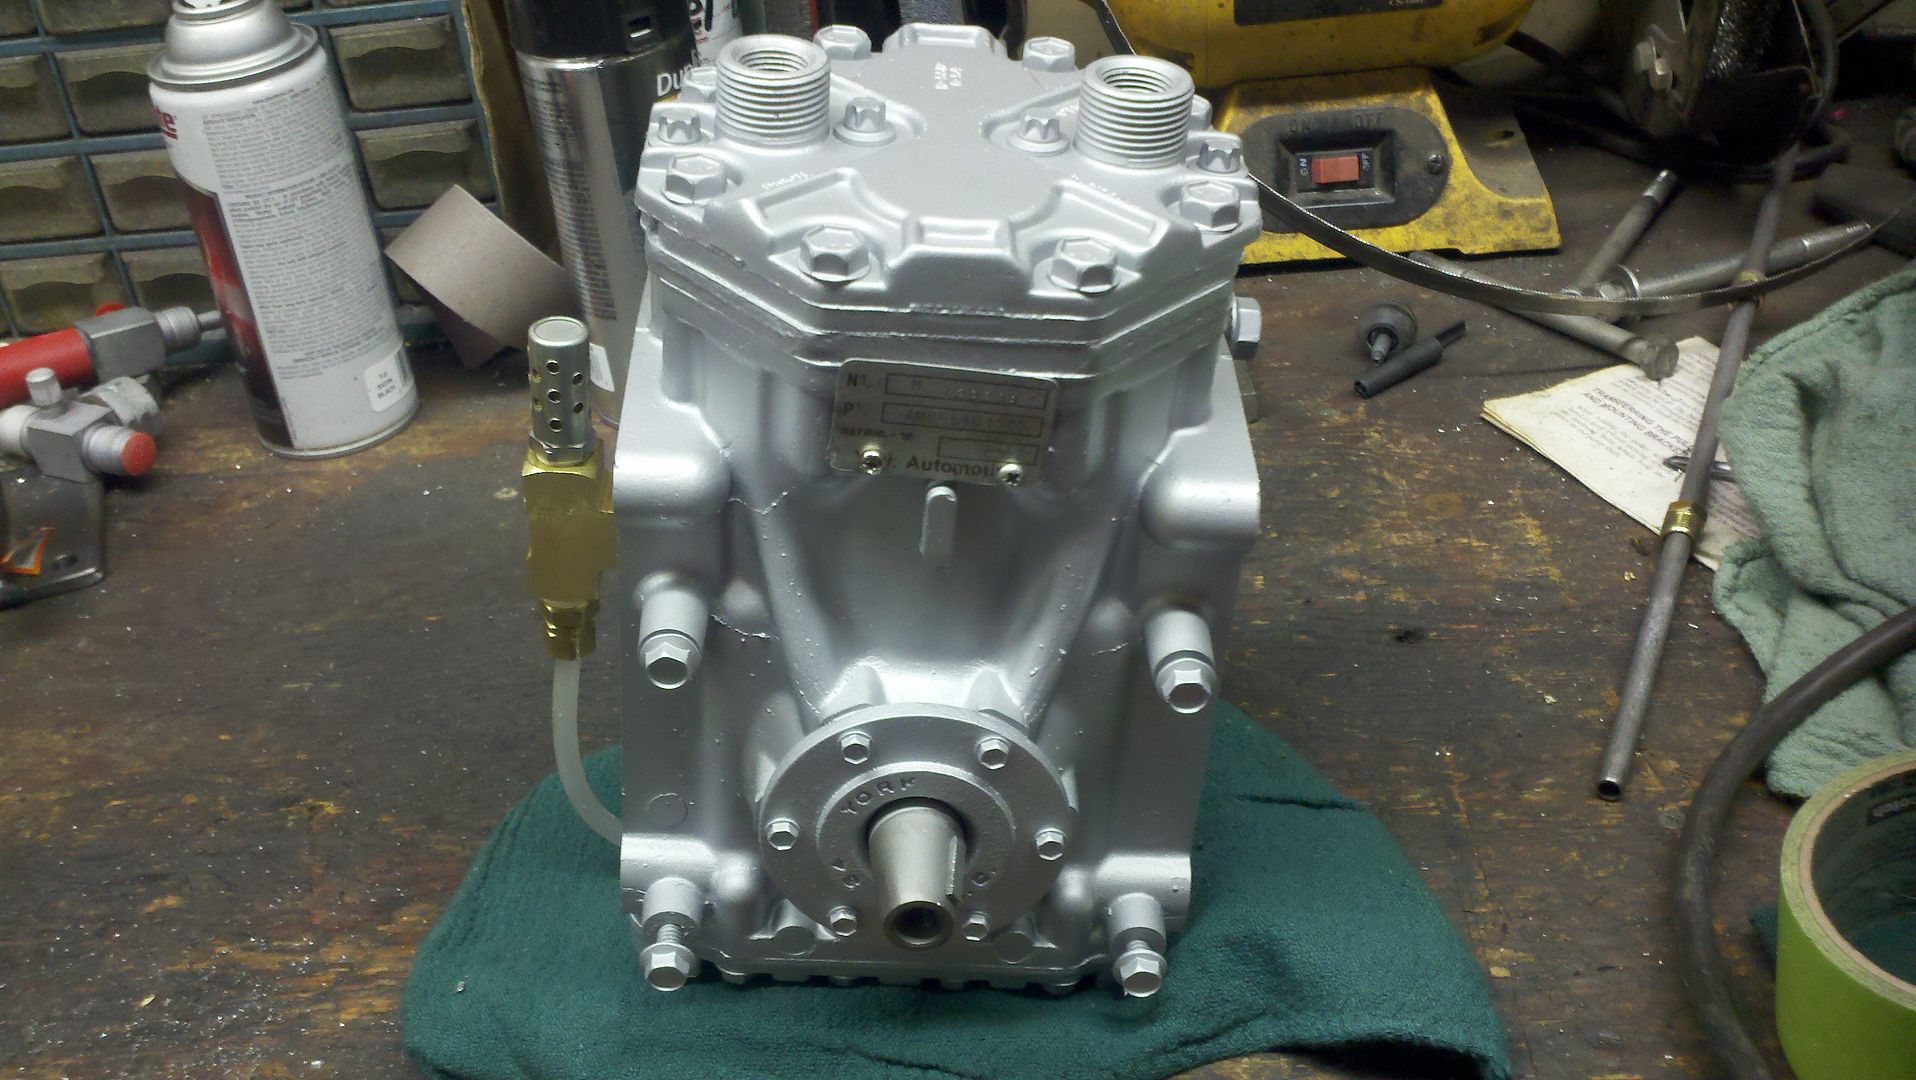
OK so another small update: I got my York 210 all cleaned up and put new gaskets in it. I also tapped the two top ports to 3/8" NPT and I put in the oil sight-tube and breather. I also got brackets cut out to mount it as well and I will get a picture up when I get it mounted.
Dec 30, 2011 | 01:47 AM
#13
Thread Starter
Registered User
Joined: Sep 2010
Posts: 122
Likes: 0
From: Moscow Idaho
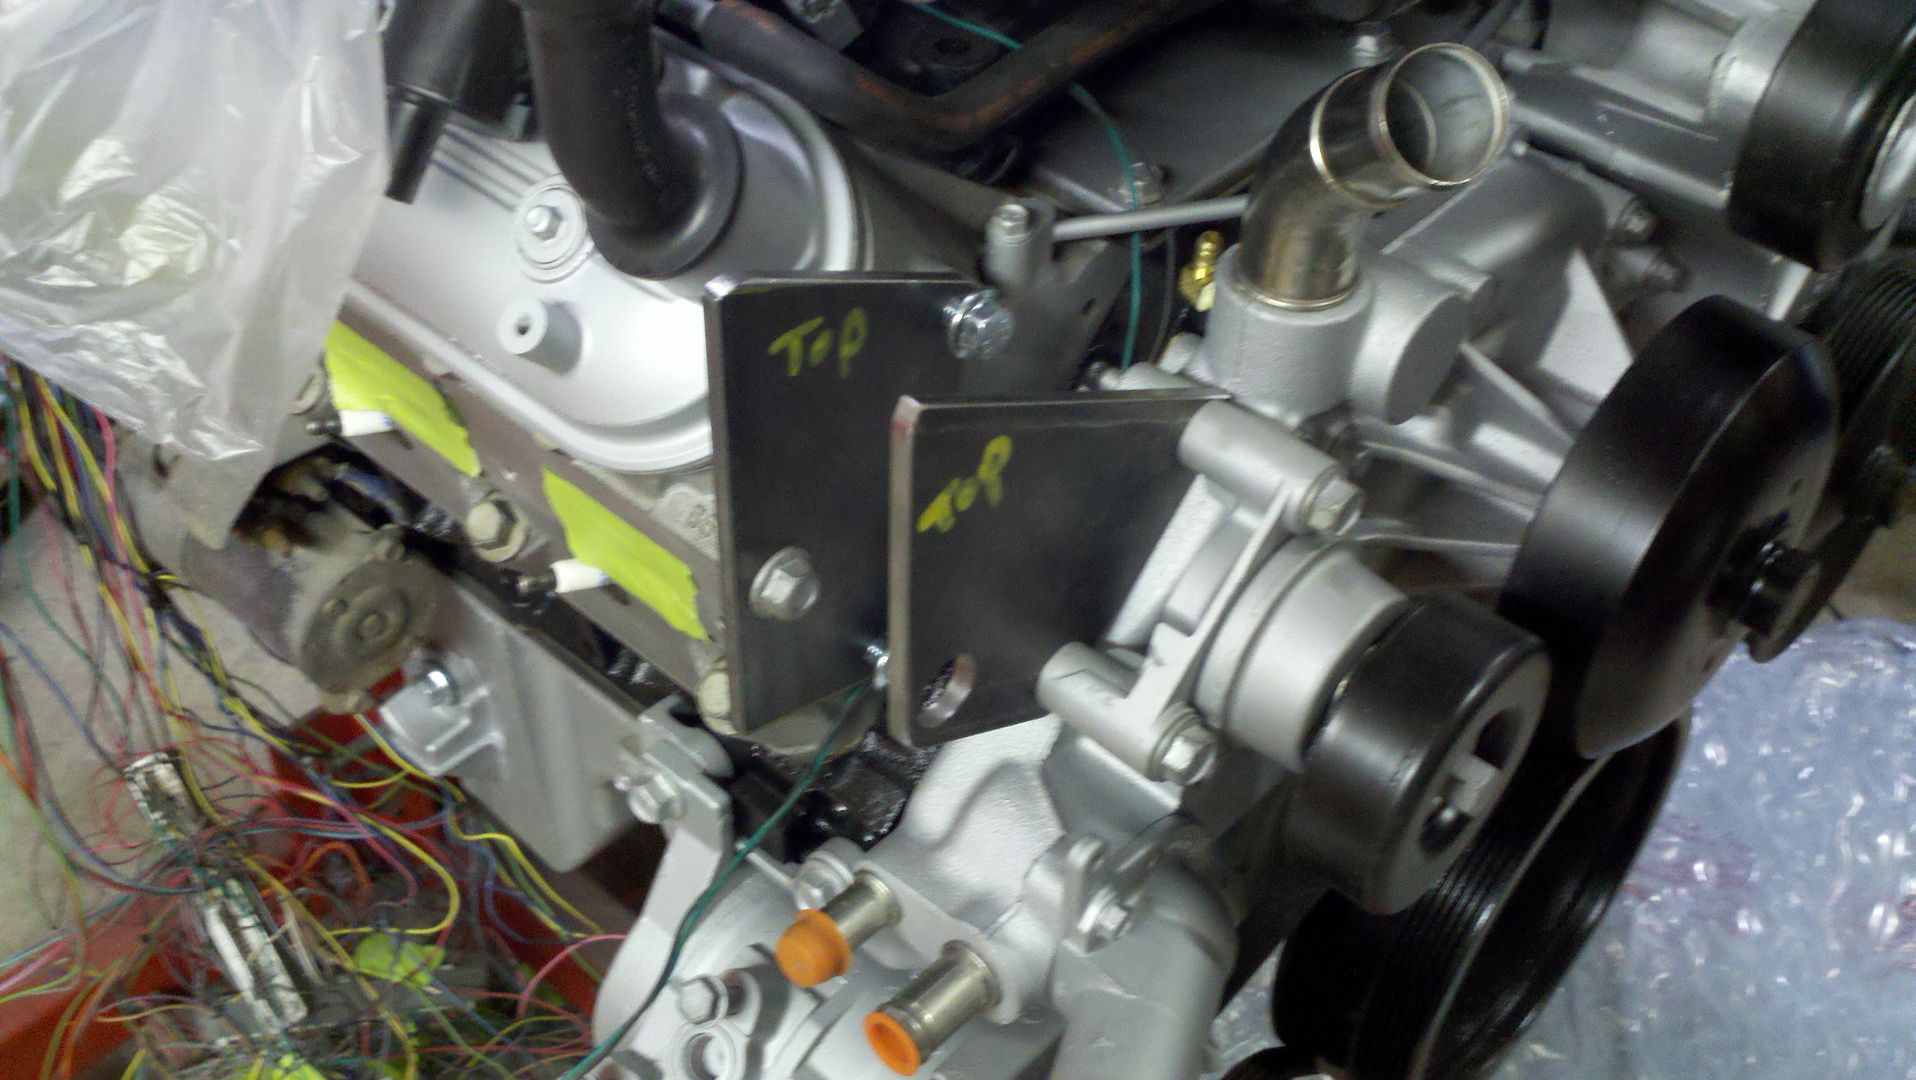
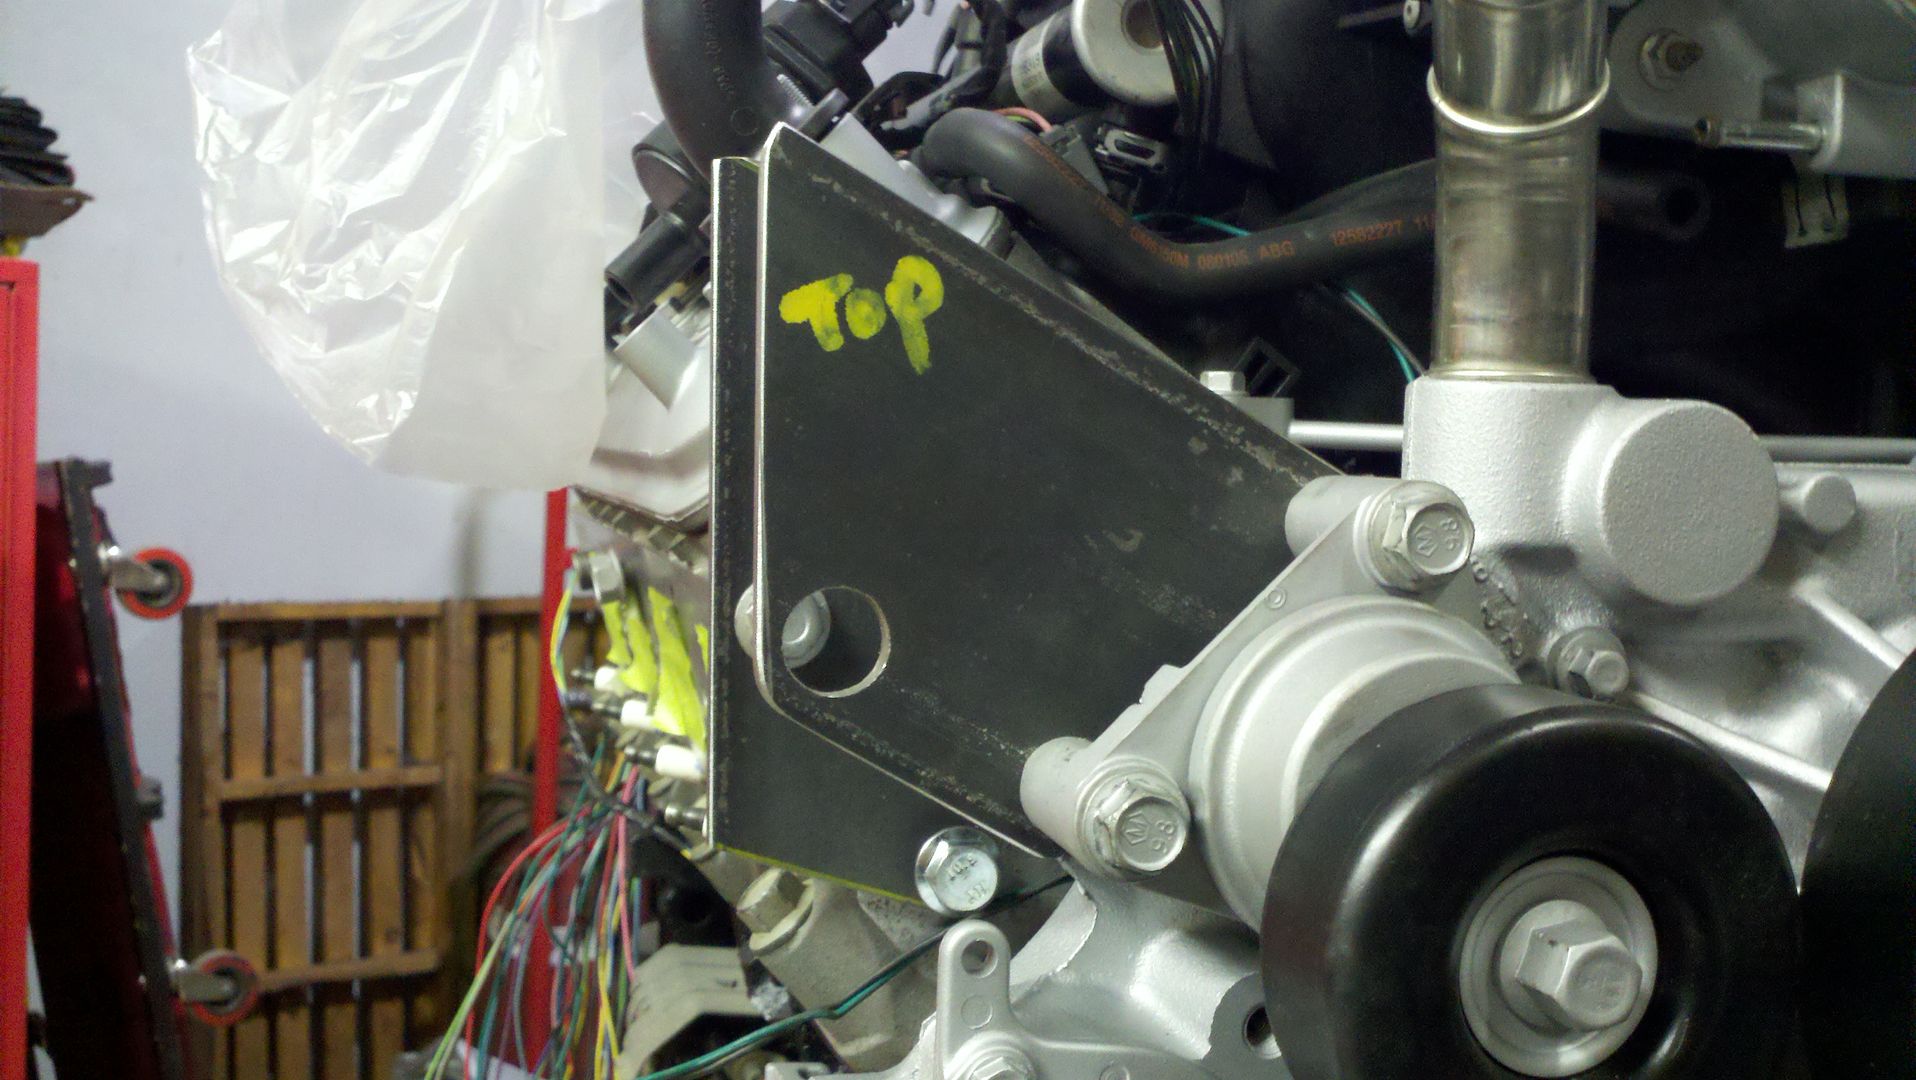
Ok so I've been working on getting my York mounted.
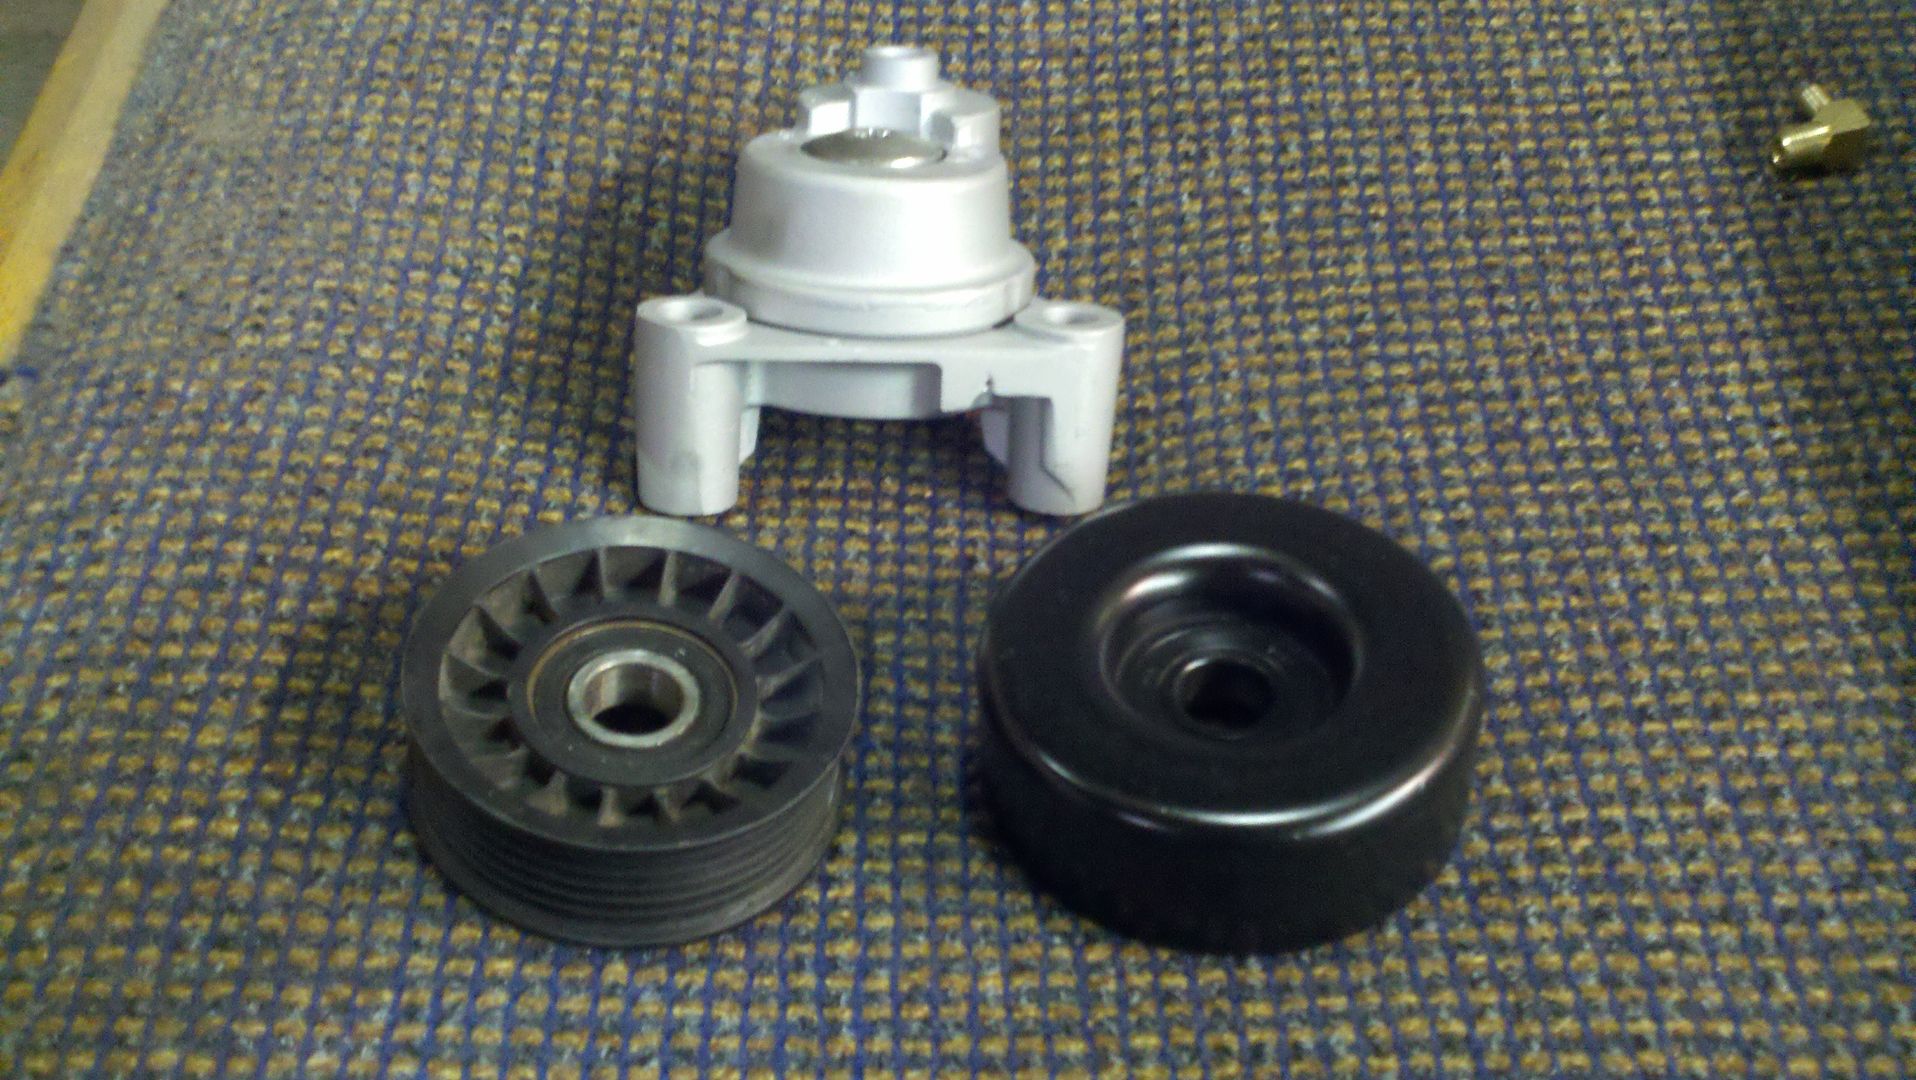
I cut part of the belt tensioner pulley off and flipped it upside down and put a smooth pulley on instead of a grooved one.
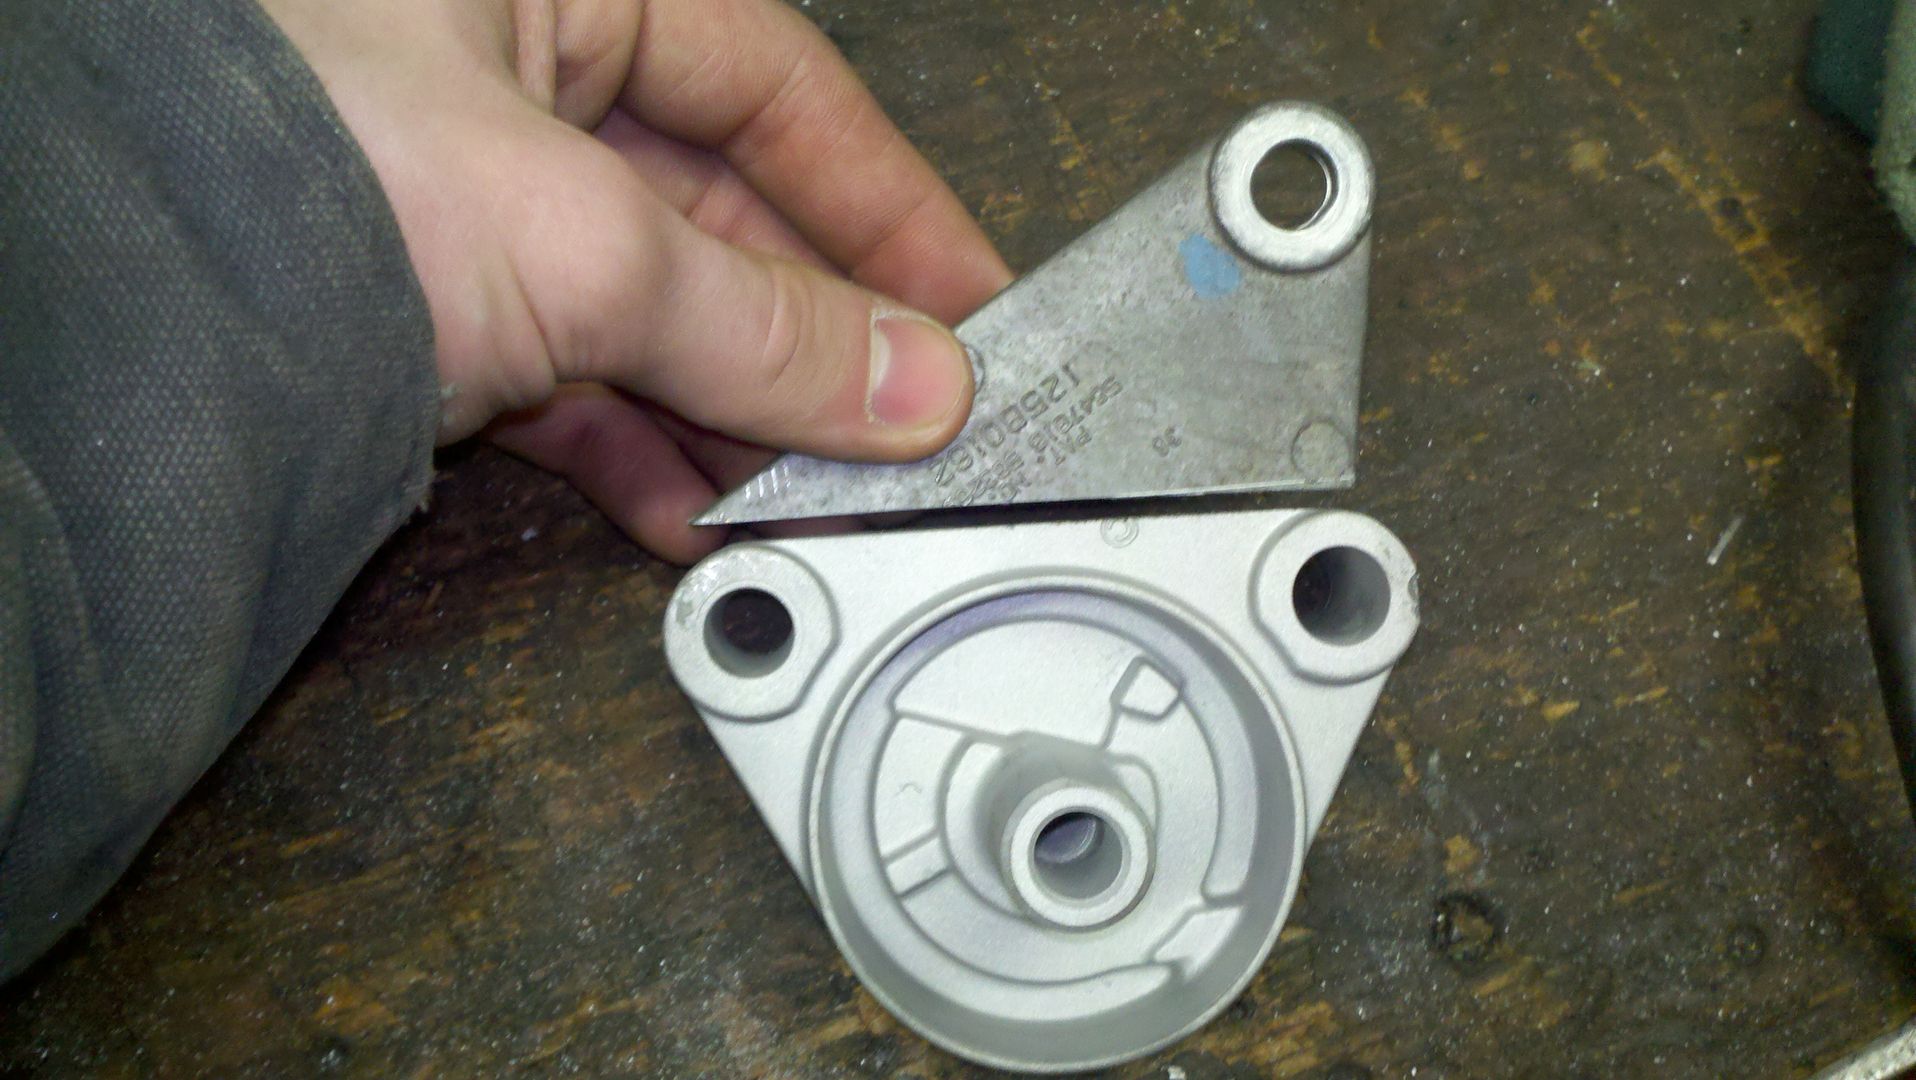
Also one of the spots for a water pump bolt needed shaved down because the bolt ends up right behind the tensioner with it flipped.
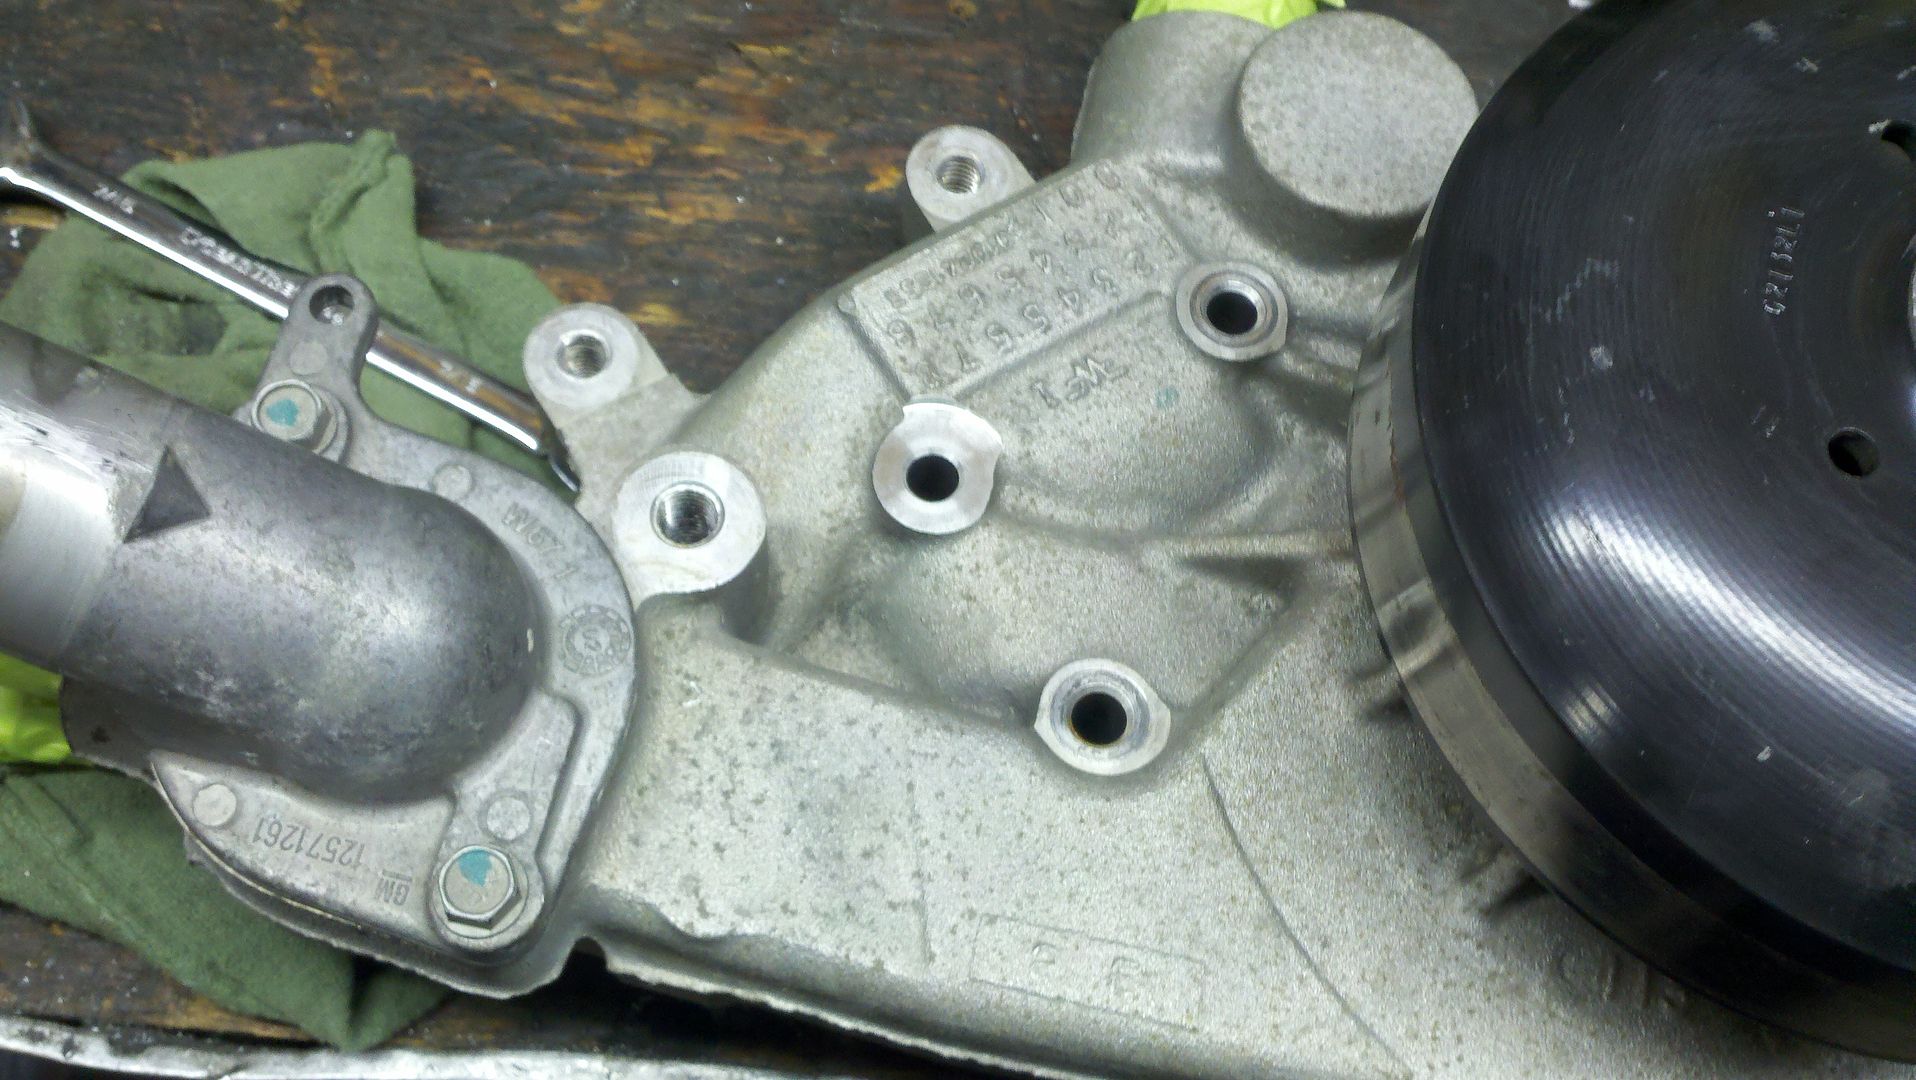
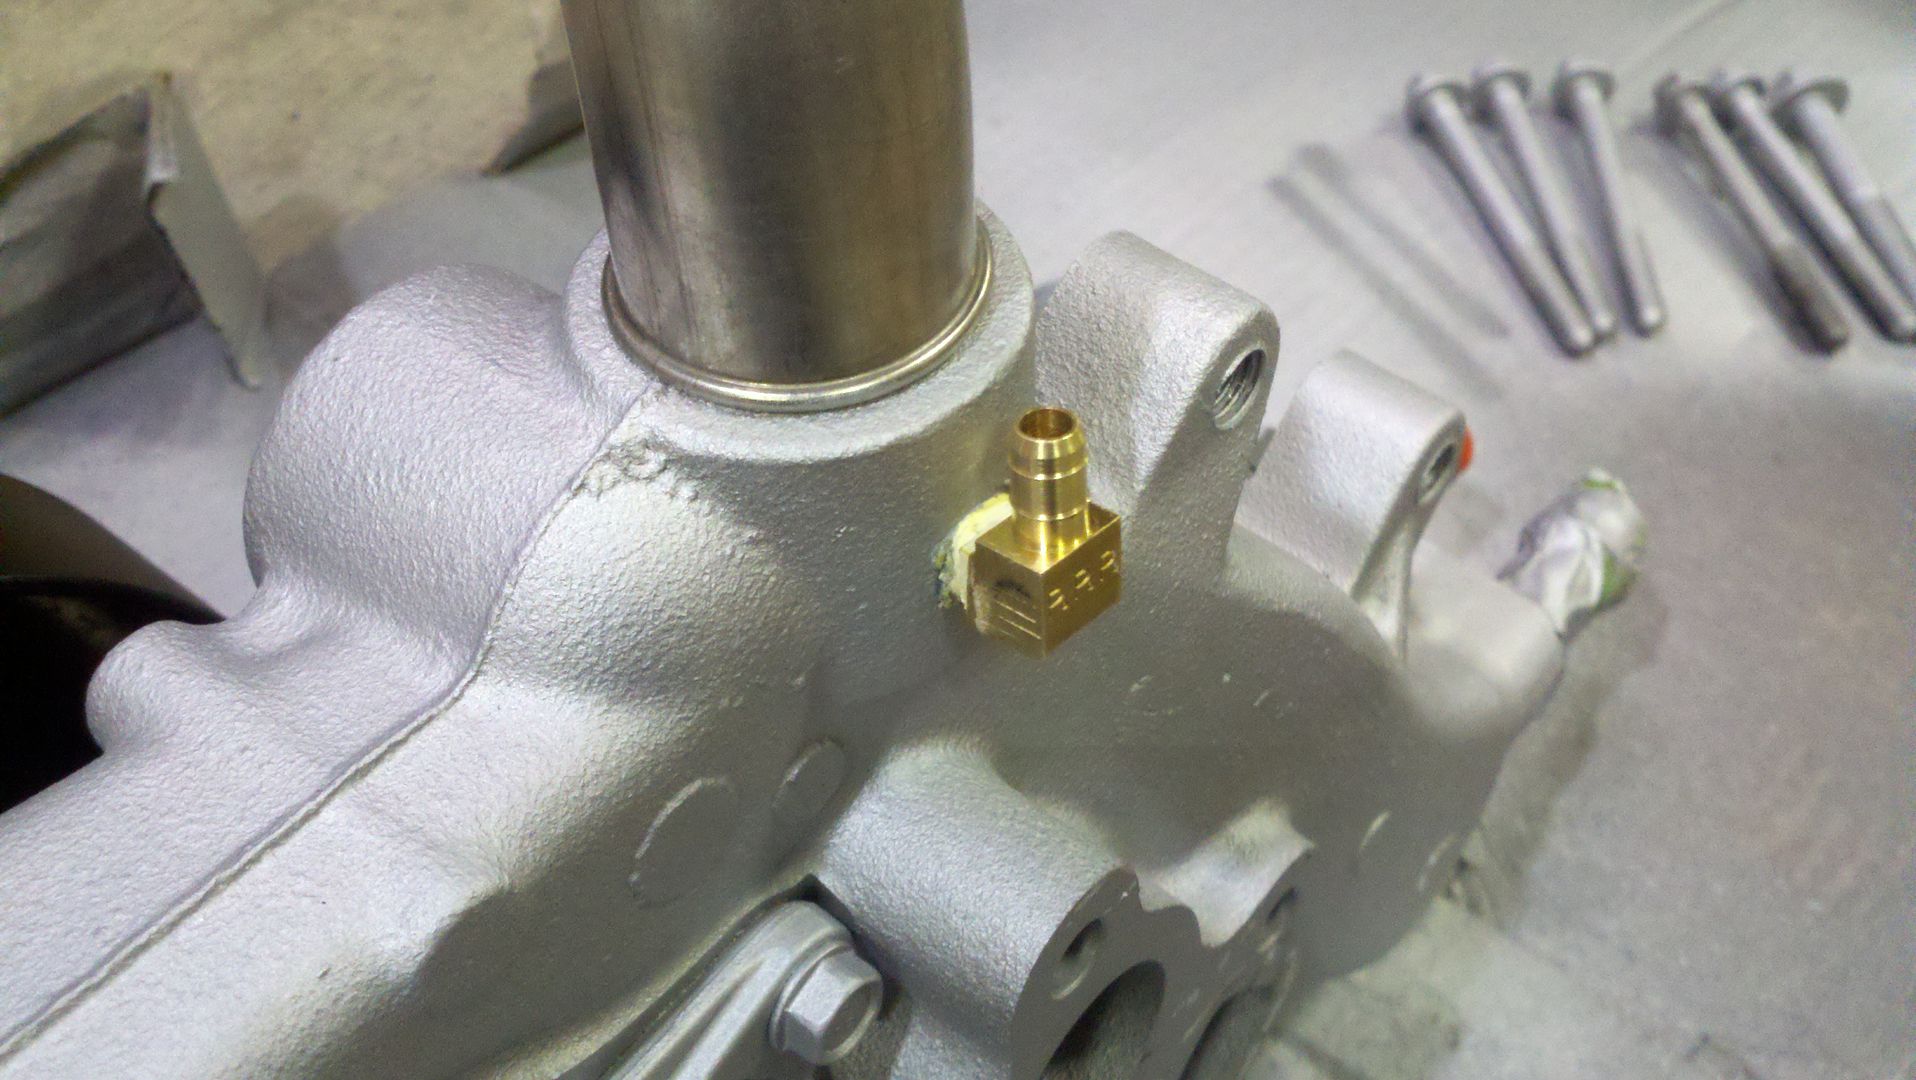
Before I put the water pump back on, I drilled and tapped it for a fitting for the steam port from the throttle valve.
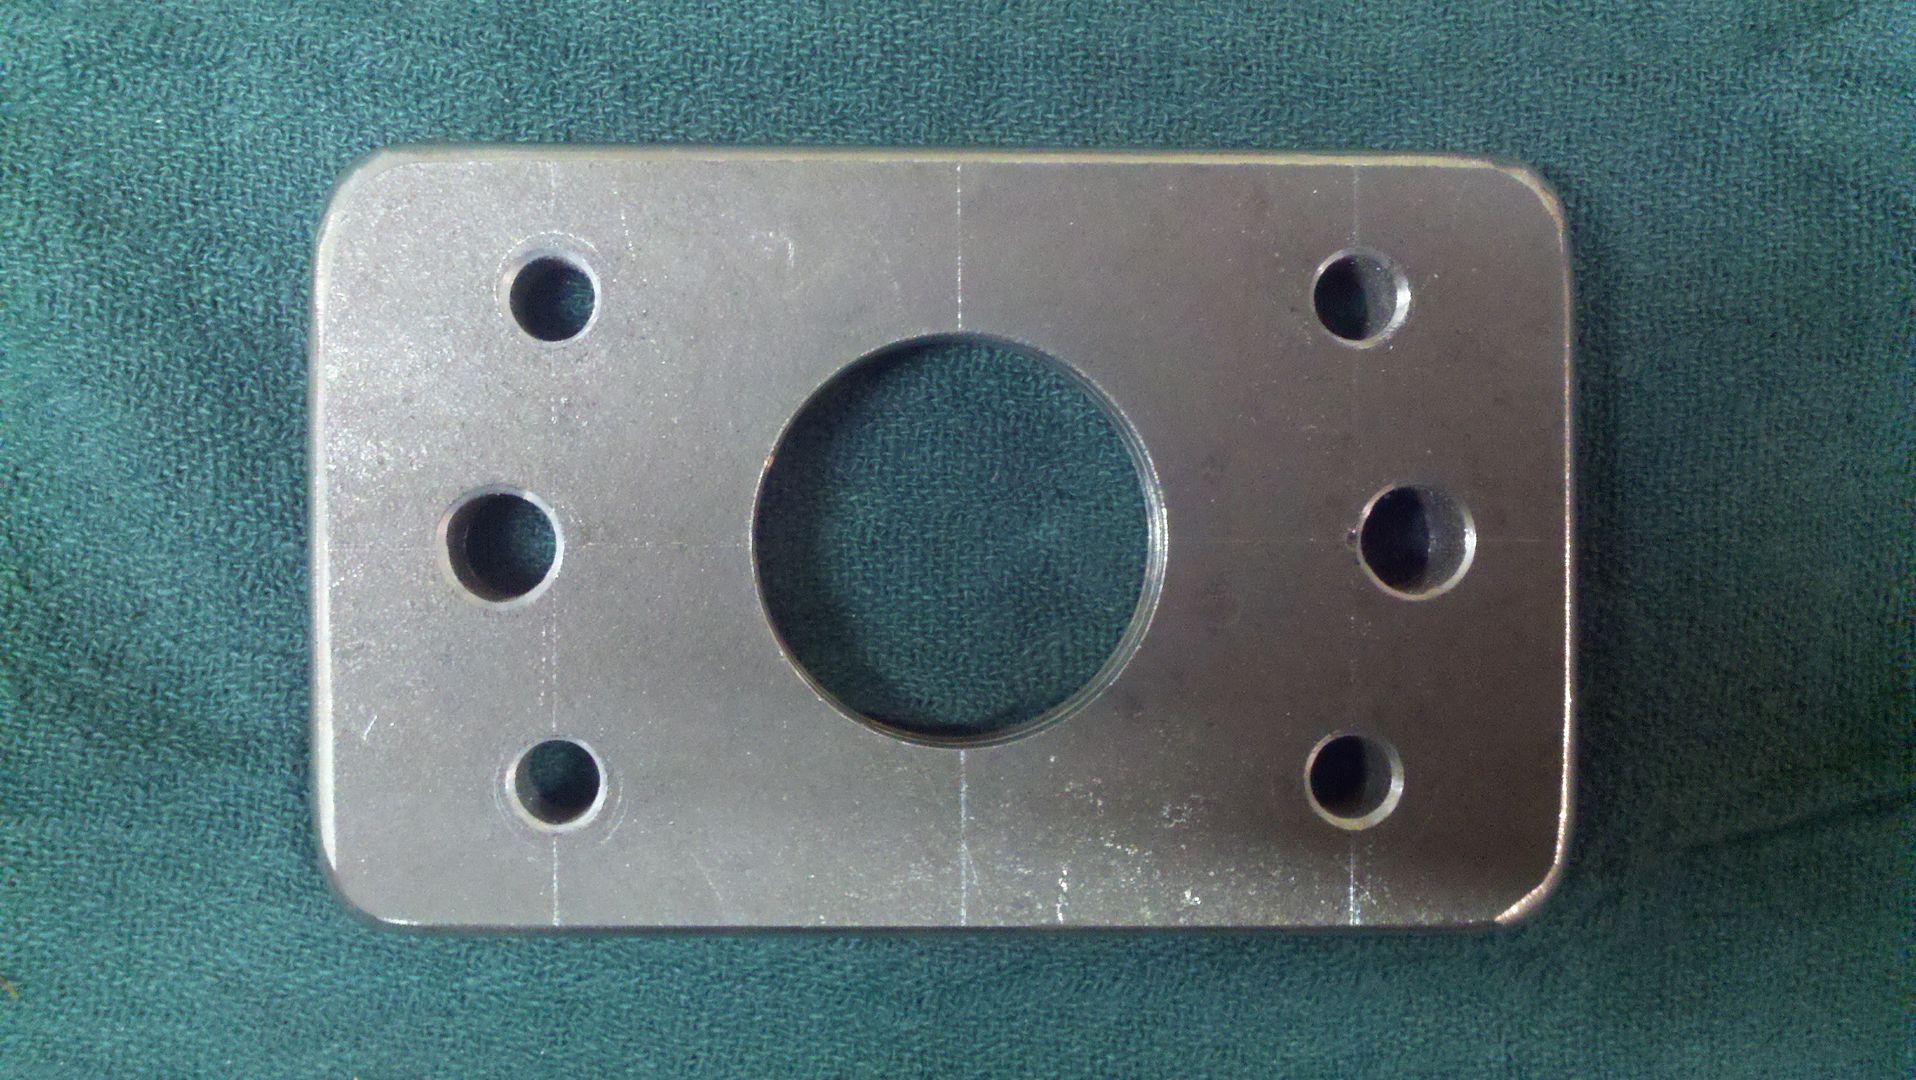
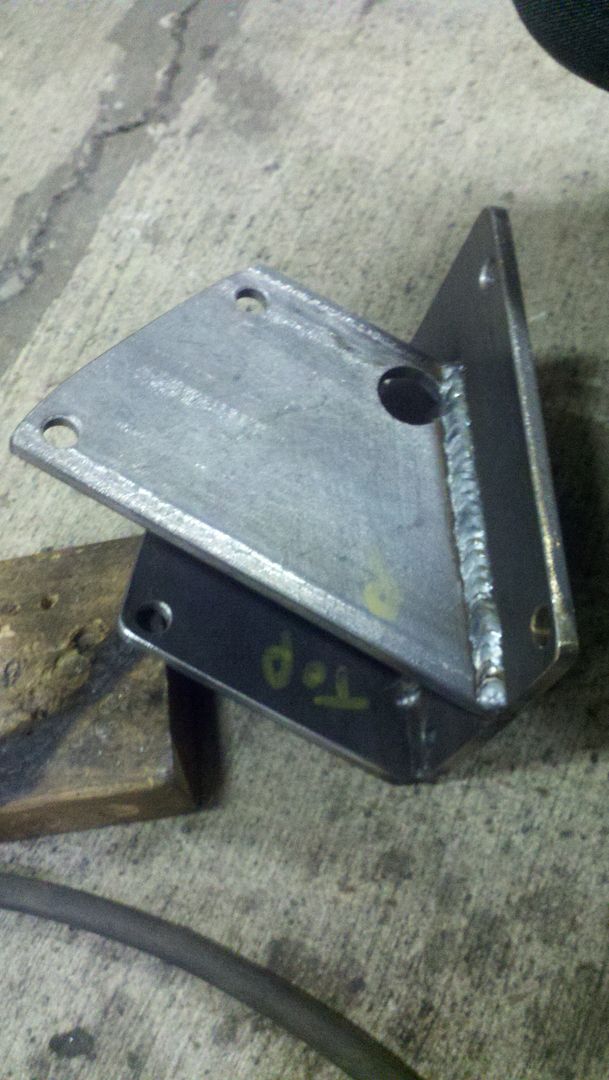
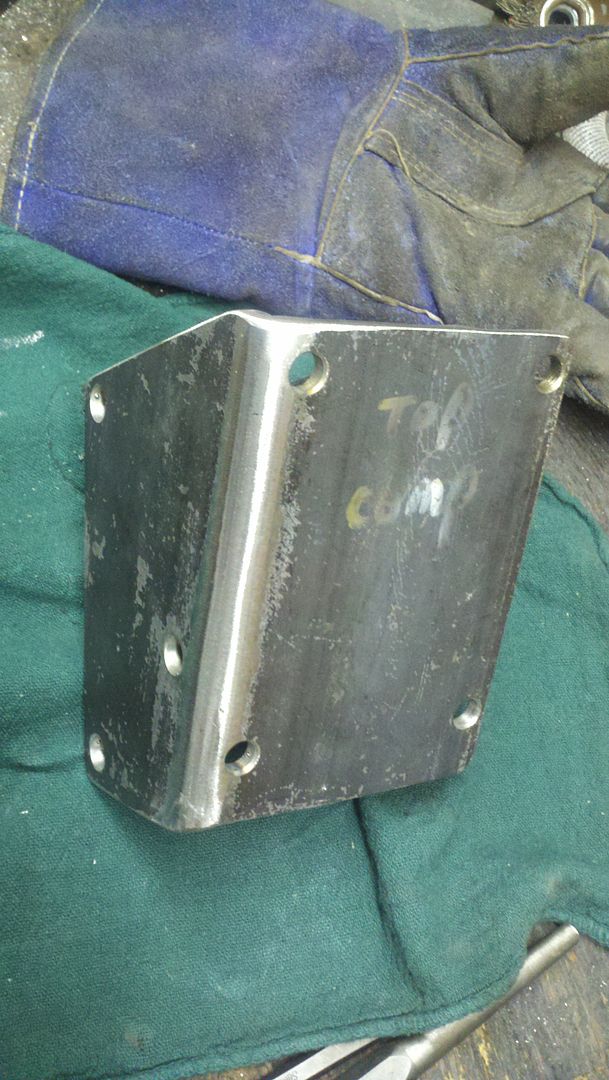
I got all the plates cut out and drilled for the bracket. The two that bolt the engine will both be welded to a plate that bolts to the side of the york.
I cut part of the belt tensioner pulley off and flipped it upside down and put a smooth pulley on instead of a grooved one.
Also one of the spots for a water pump bolt needed shaved down because the bolt ends up right behind the tensioner with it flipped.
Before I put the water pump back on, I drilled and tapped it for a fitting for the steam port from the throttle valve.
I got all the plates cut out and drilled for the bracket. The two that bolt the engine will both be welded to a plate that bolts to the side of the york.
Last edited by nick89toy; Dec 30, 2011 at 02:17 AM.
Jan 8, 2012 | 12:38 AM
#14
Thread Starter
Registered User
Joined: Sep 2010
Posts: 122
Likes: 0
From: Moscow Idaho
I went and picked up a 145 amp alternator today to replace the little 105 amp one. The new one is huge!
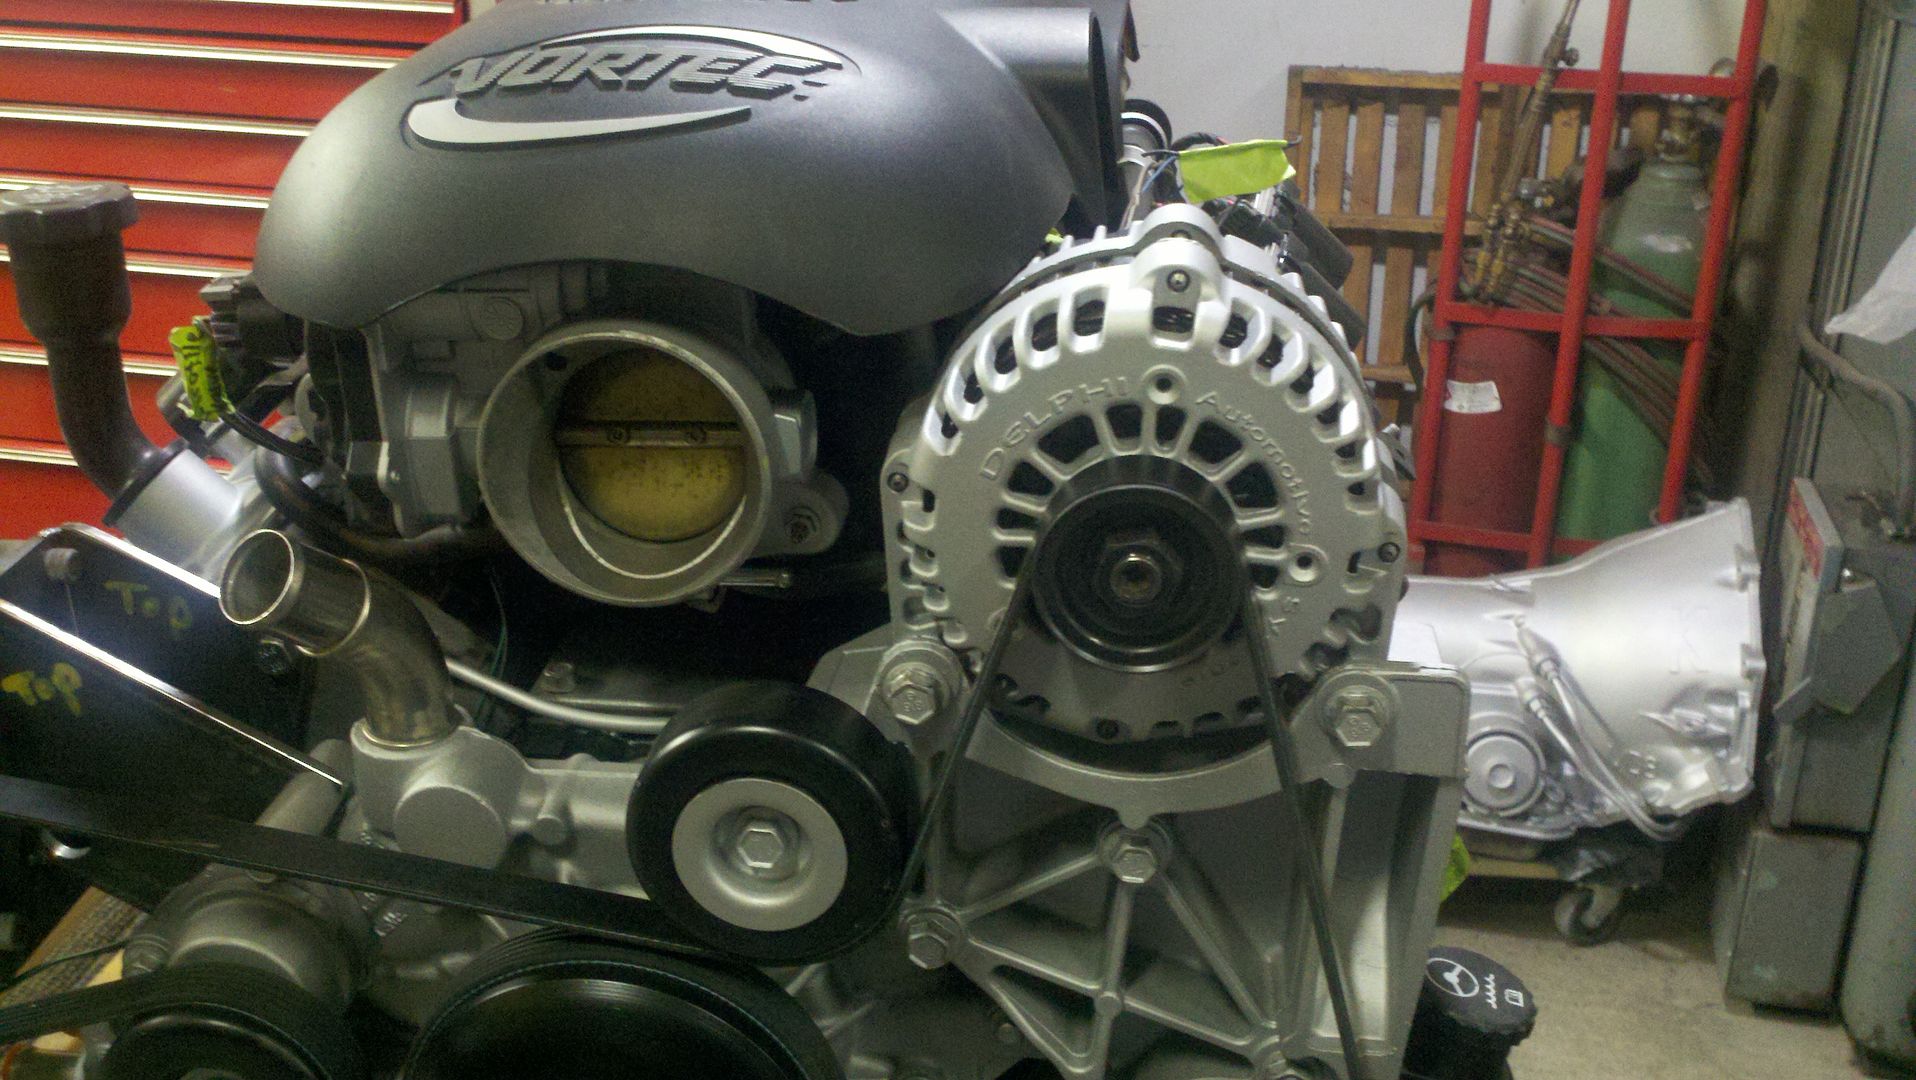
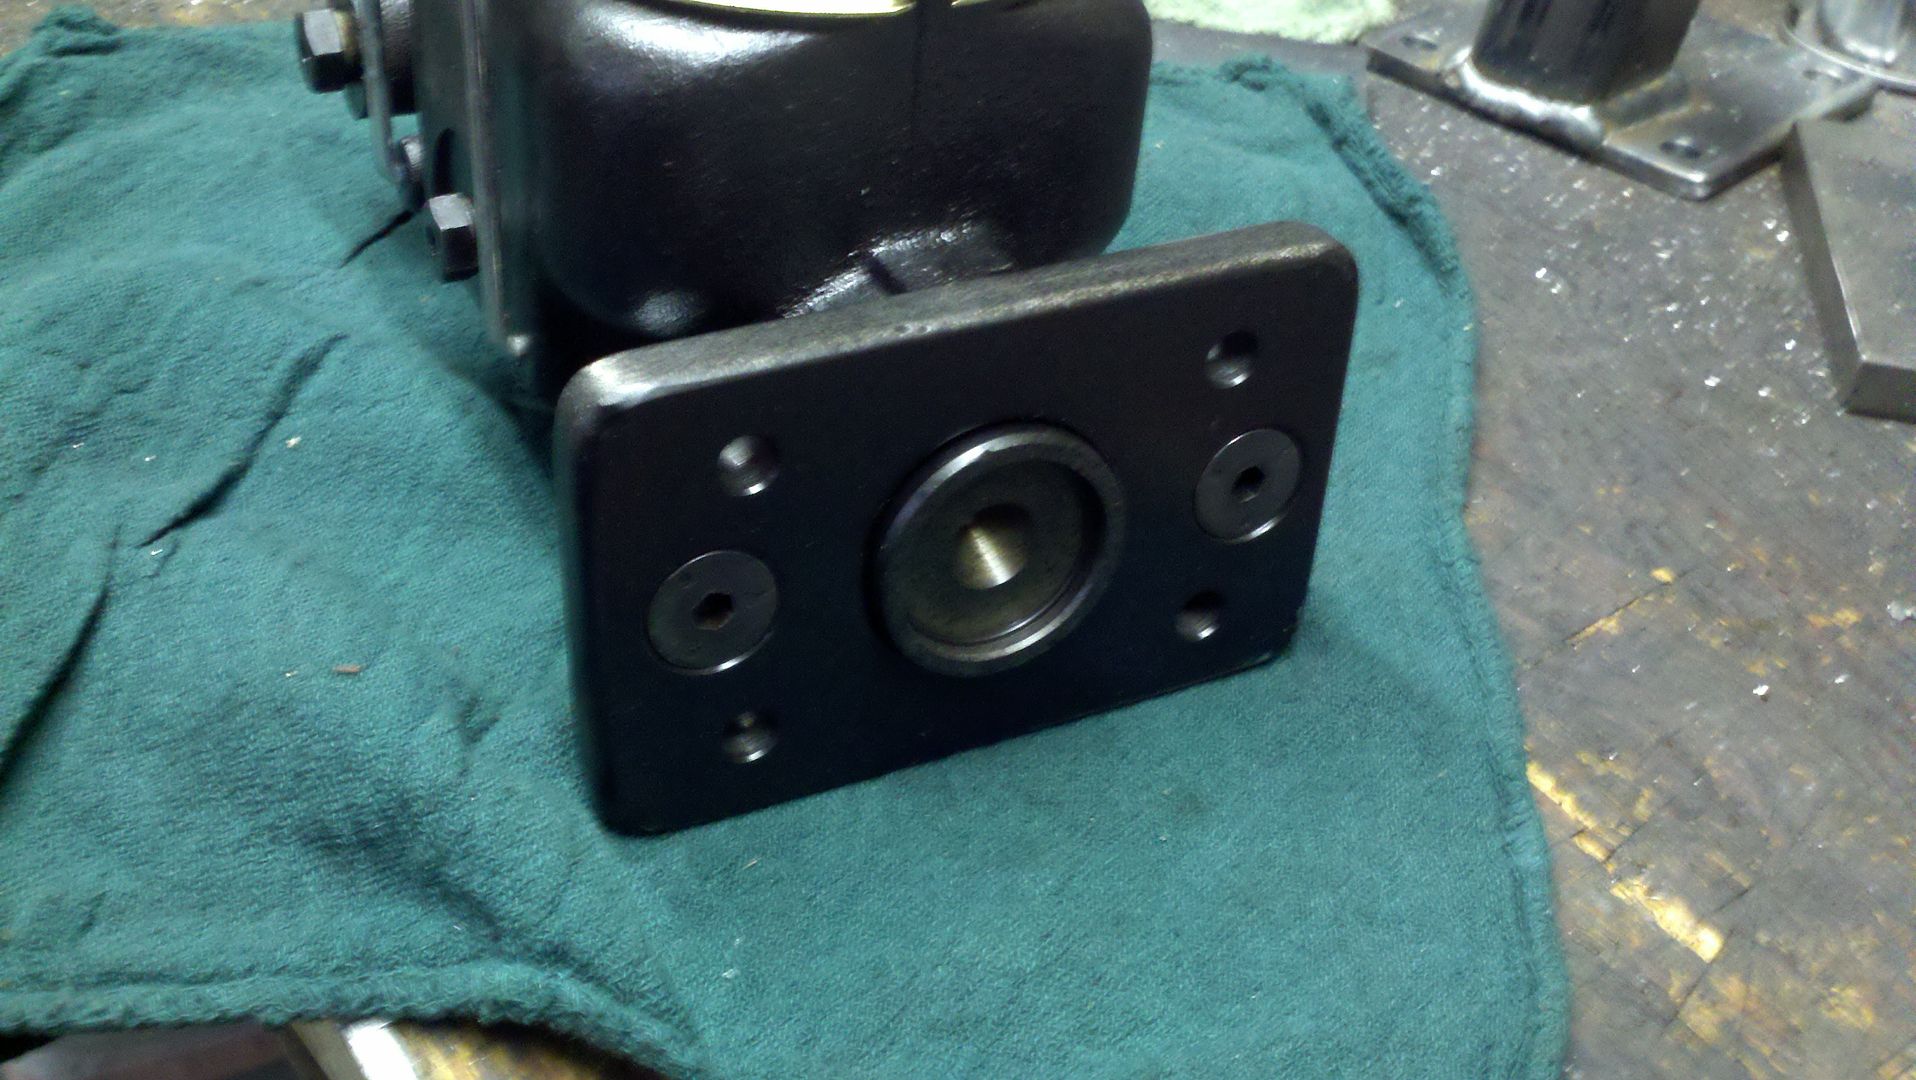
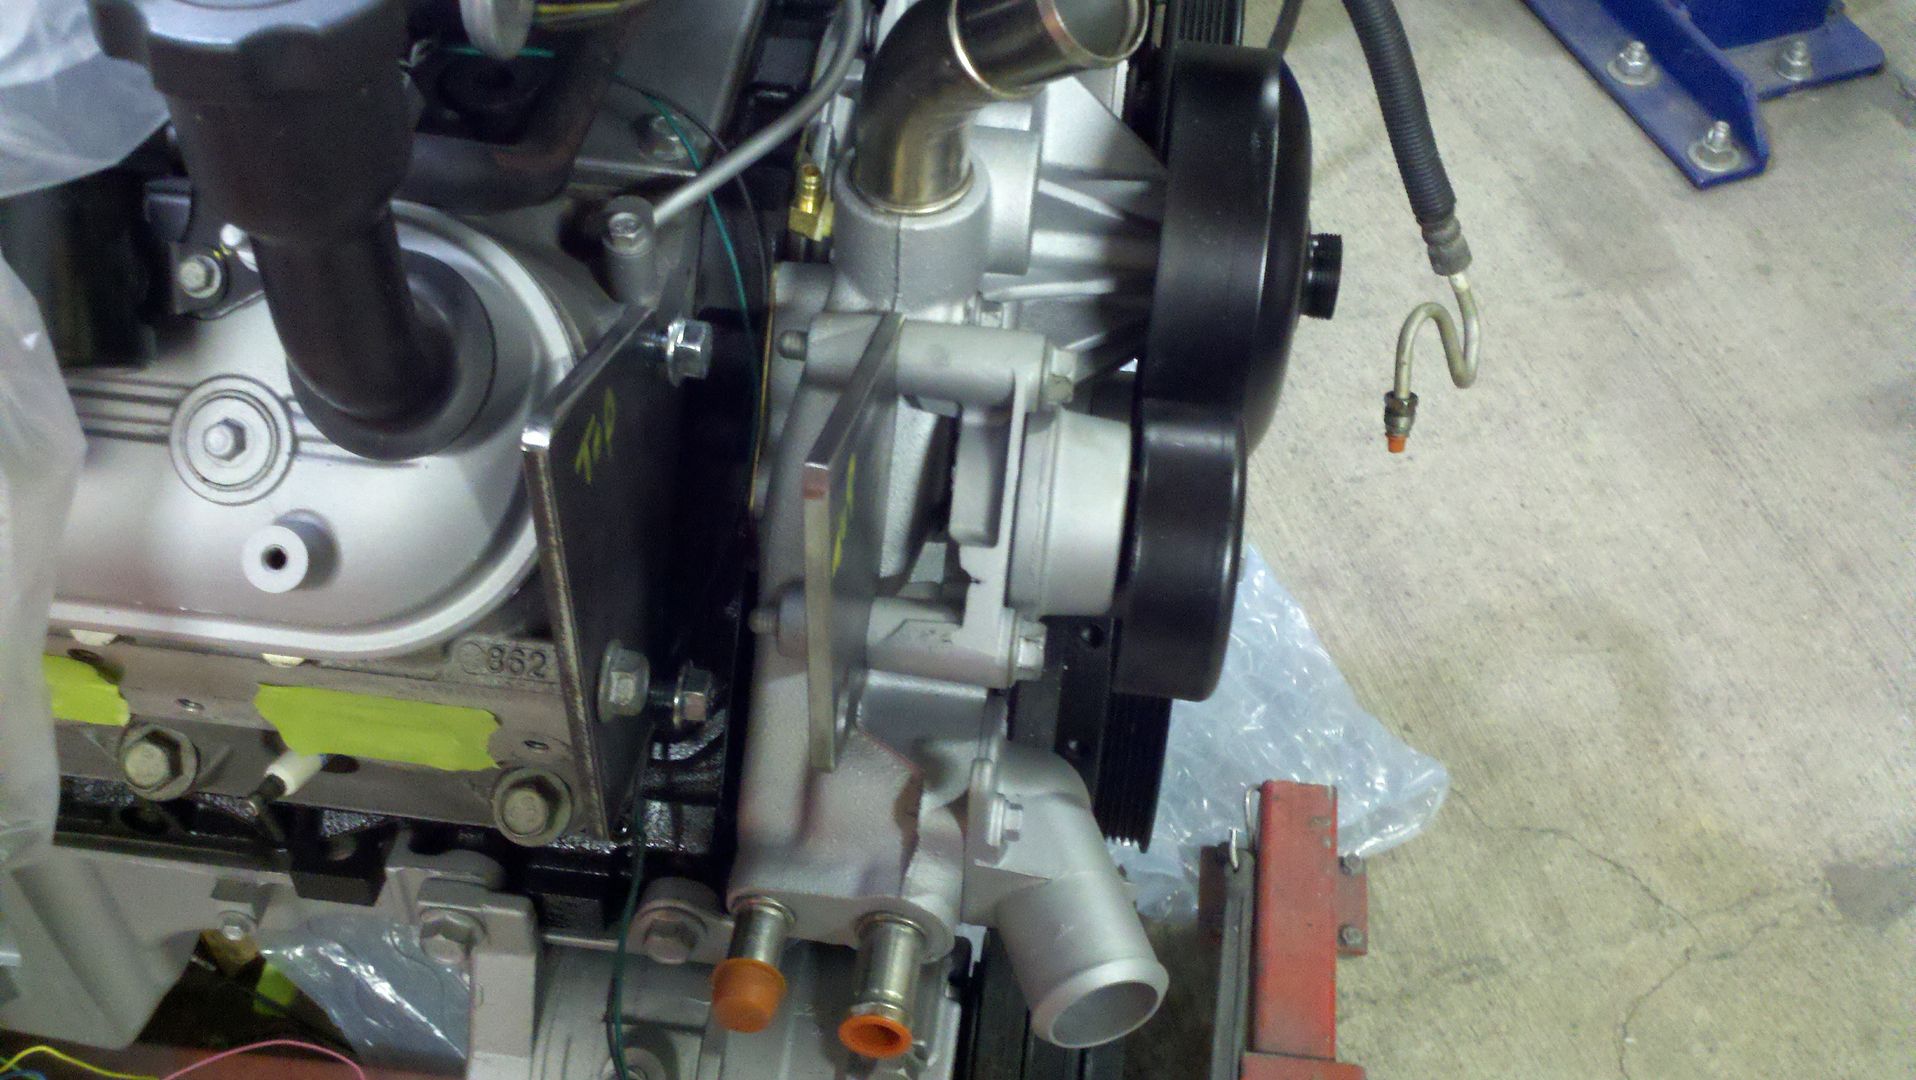
Once I got that on I was able to make sure the new belt that I got was going to work with the York. I welded up the bracket, painted it, and got the York on there solid.
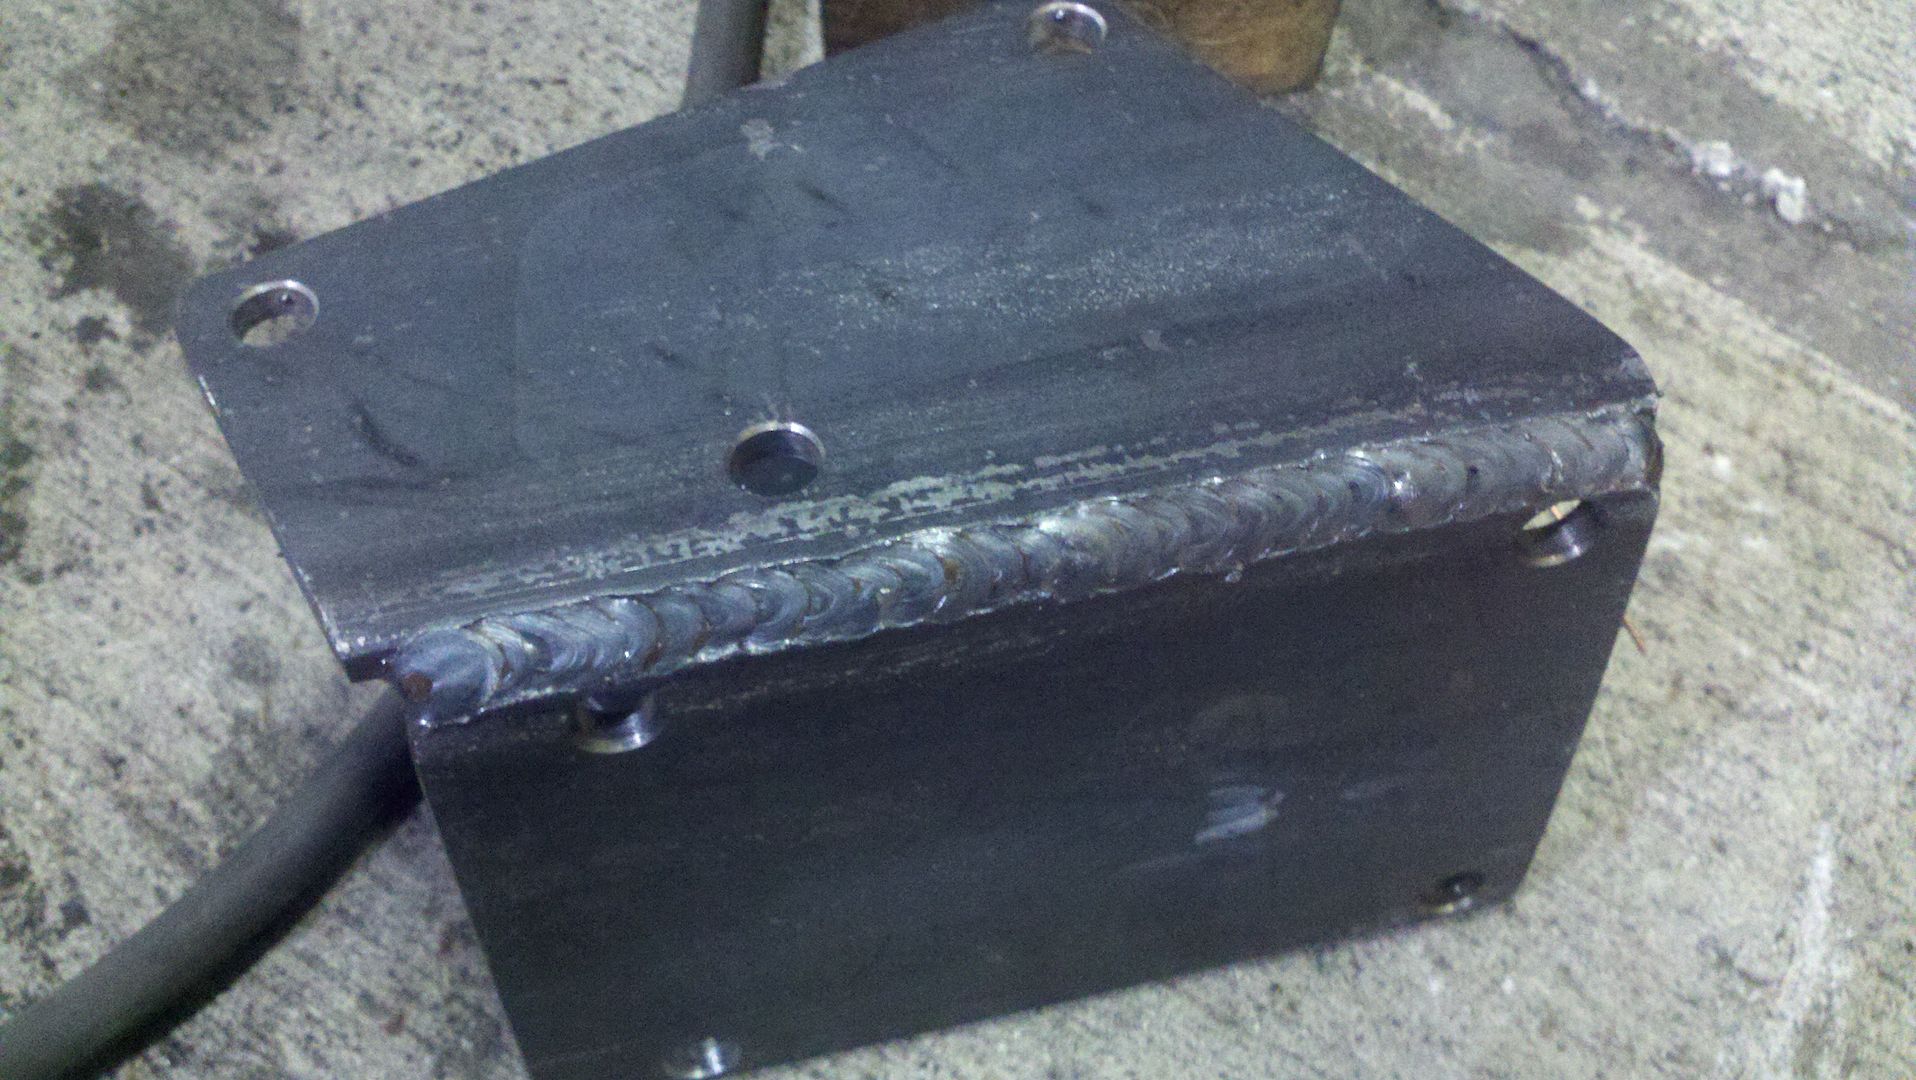
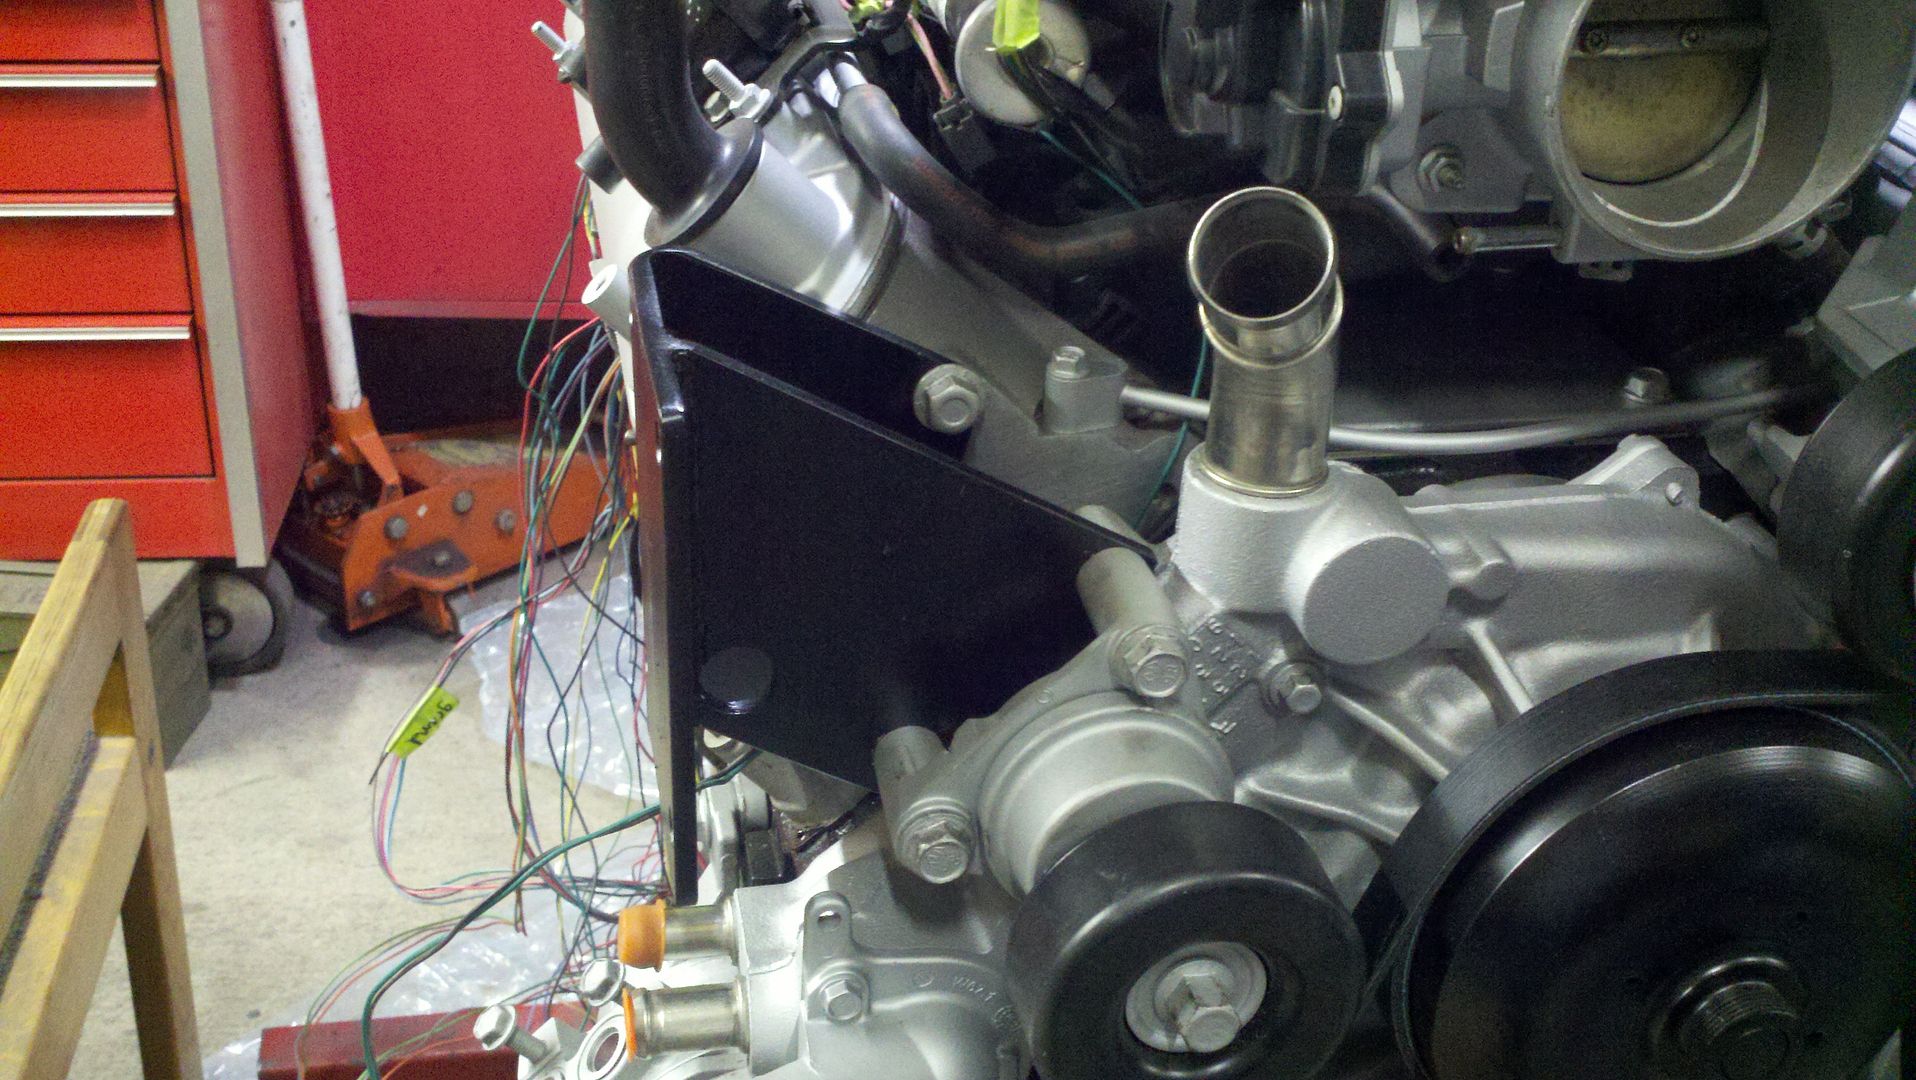
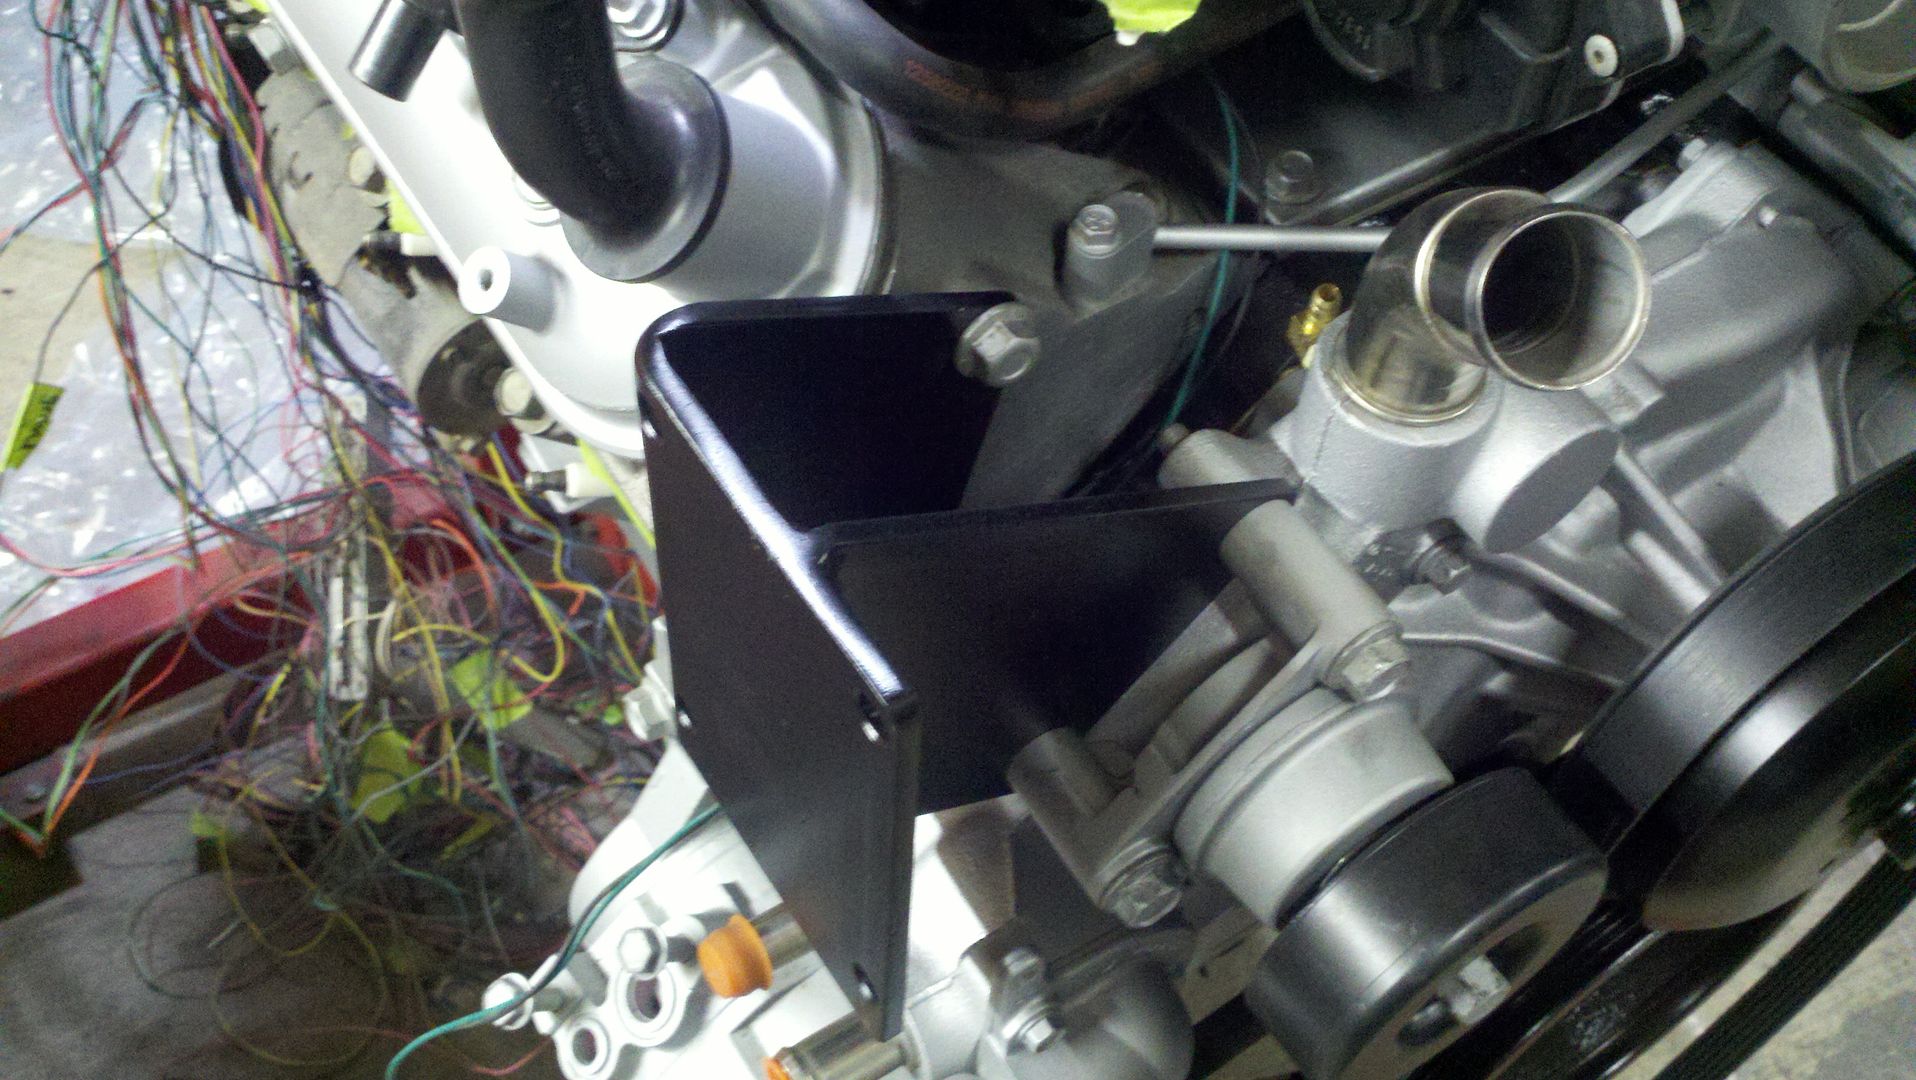
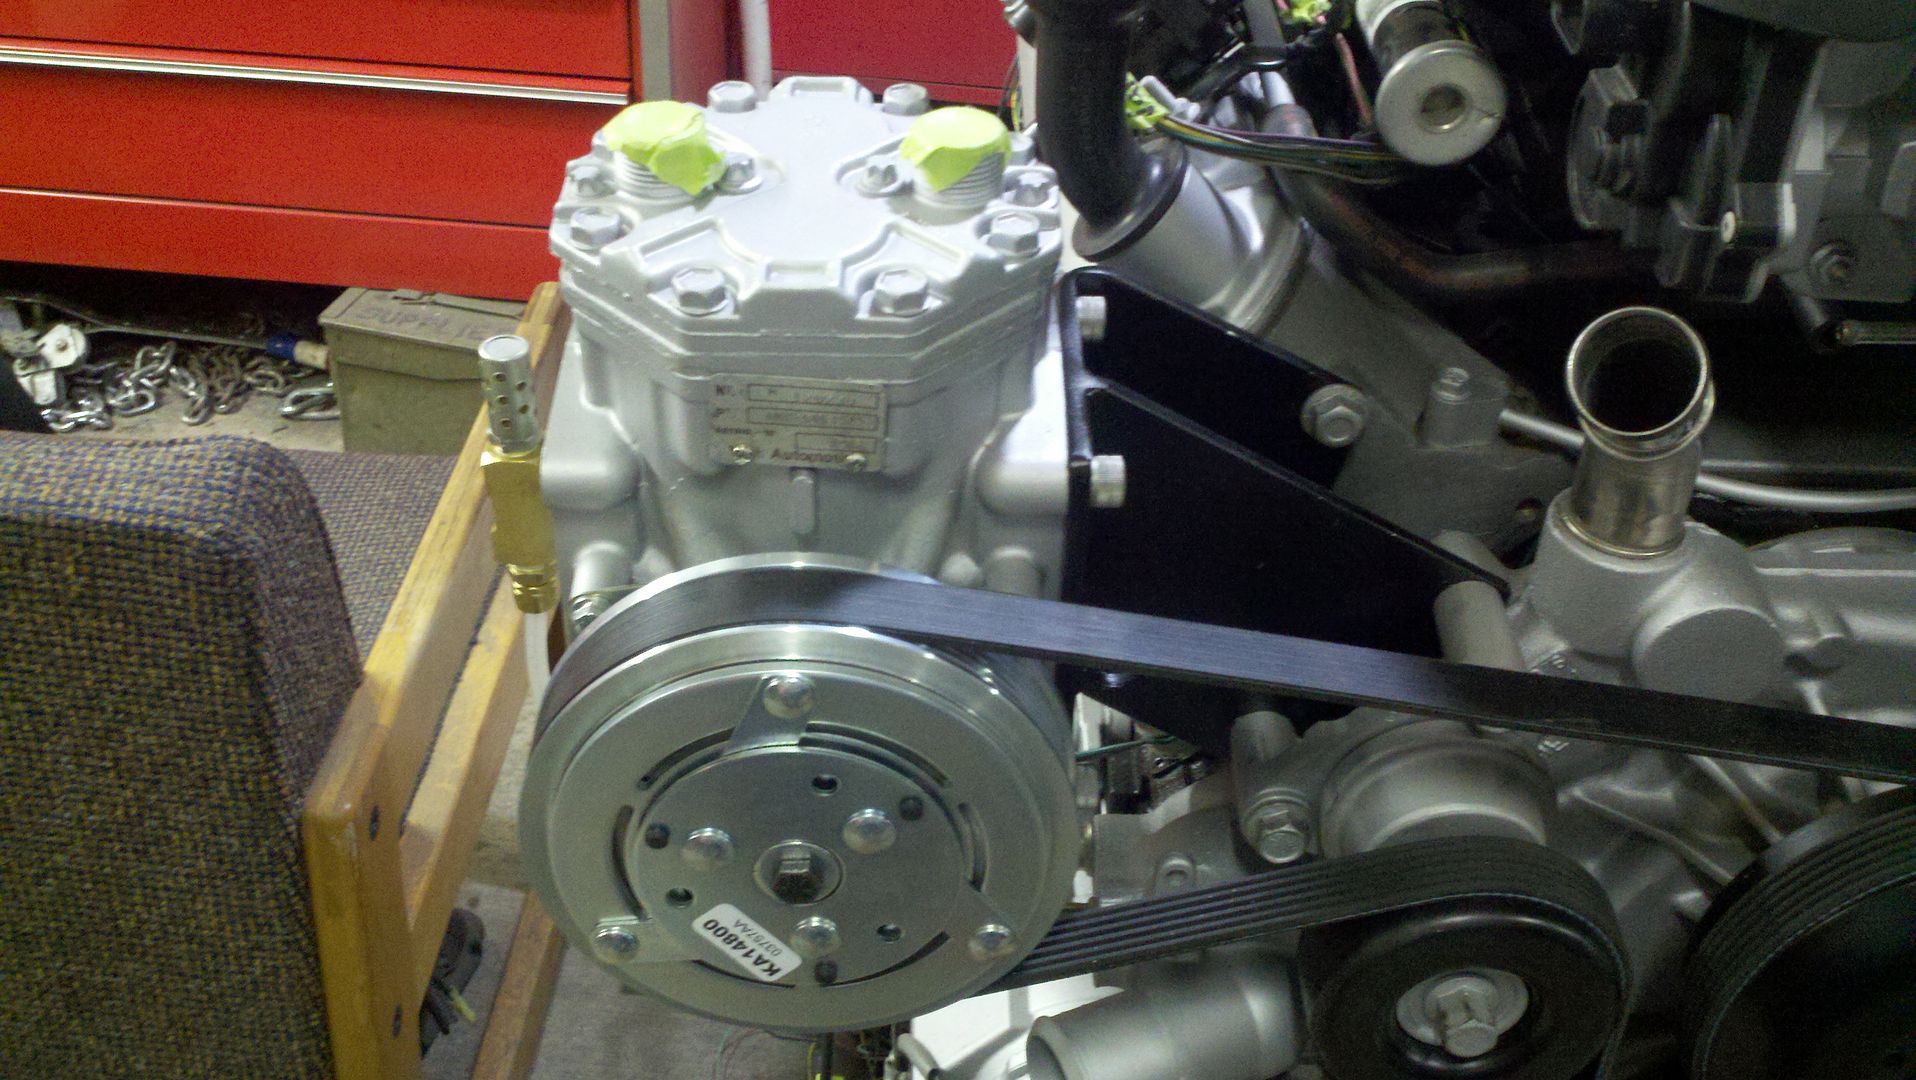
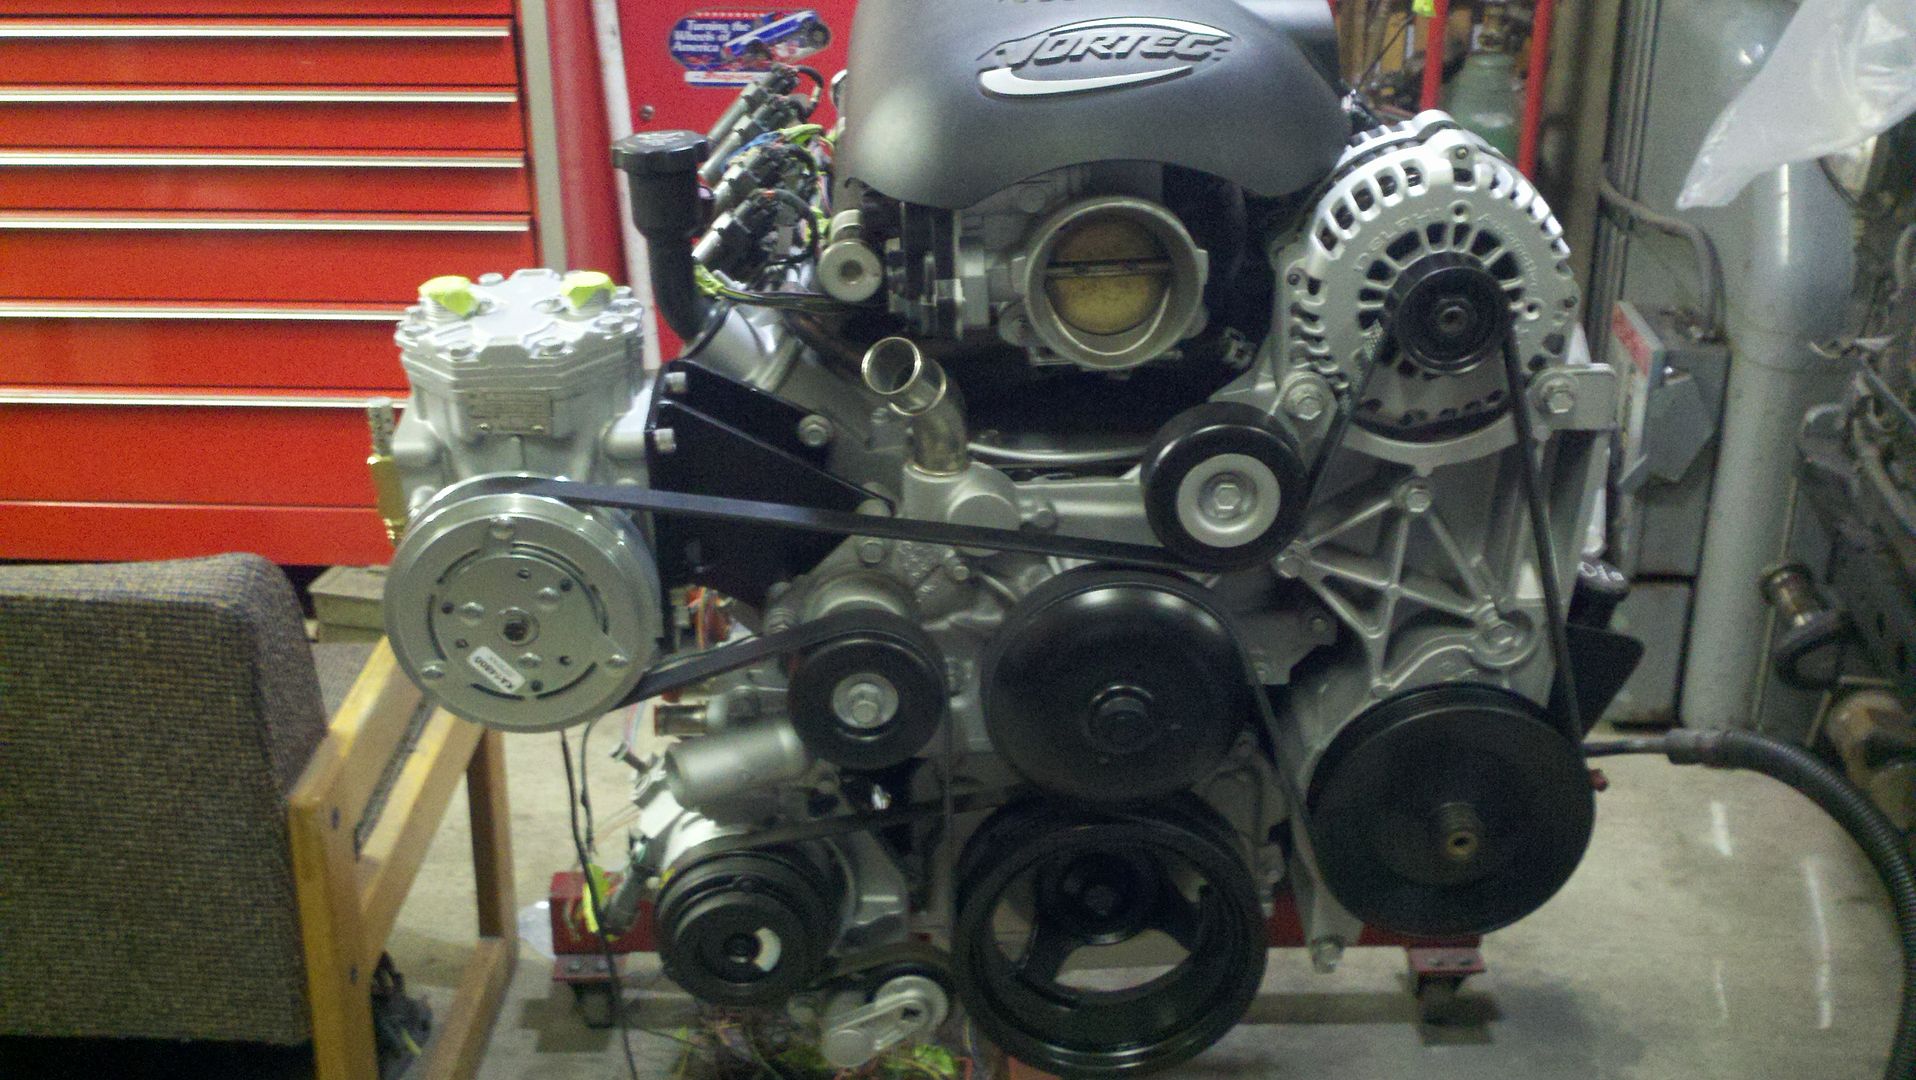
Once I got that on I was able to make sure the new belt that I got was going to work with the York. I welded up the bracket, painted it, and got the York on there solid.
 I also got a fill plug and welded it in there.