
Khione Runner
 Apr 8, 2012 | 02:23 PM
#42
Thread Starter
Registered User
Joined: Sep 2010
Posts: 122
Likes: 0
From: Moscow Idaho
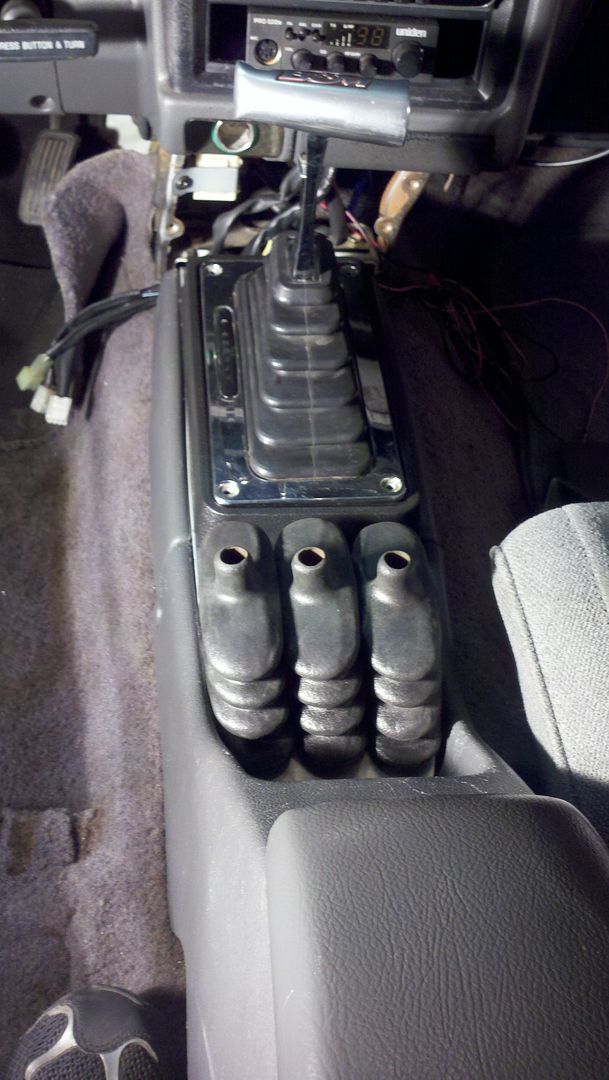
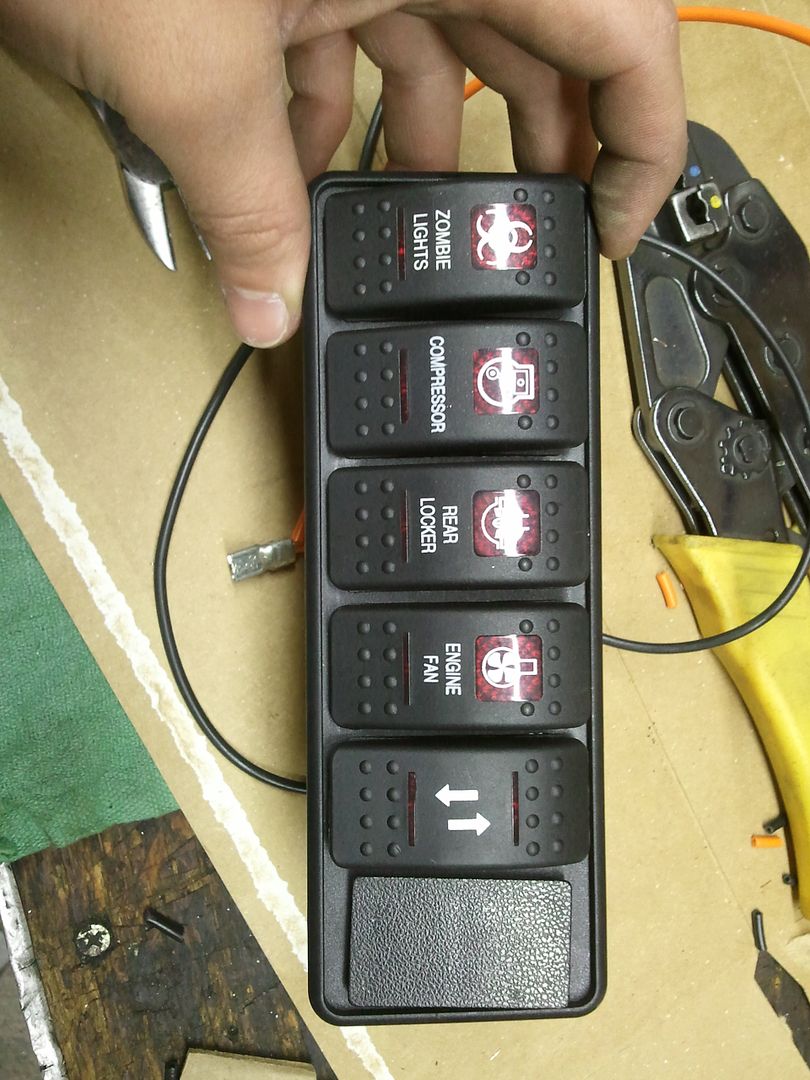
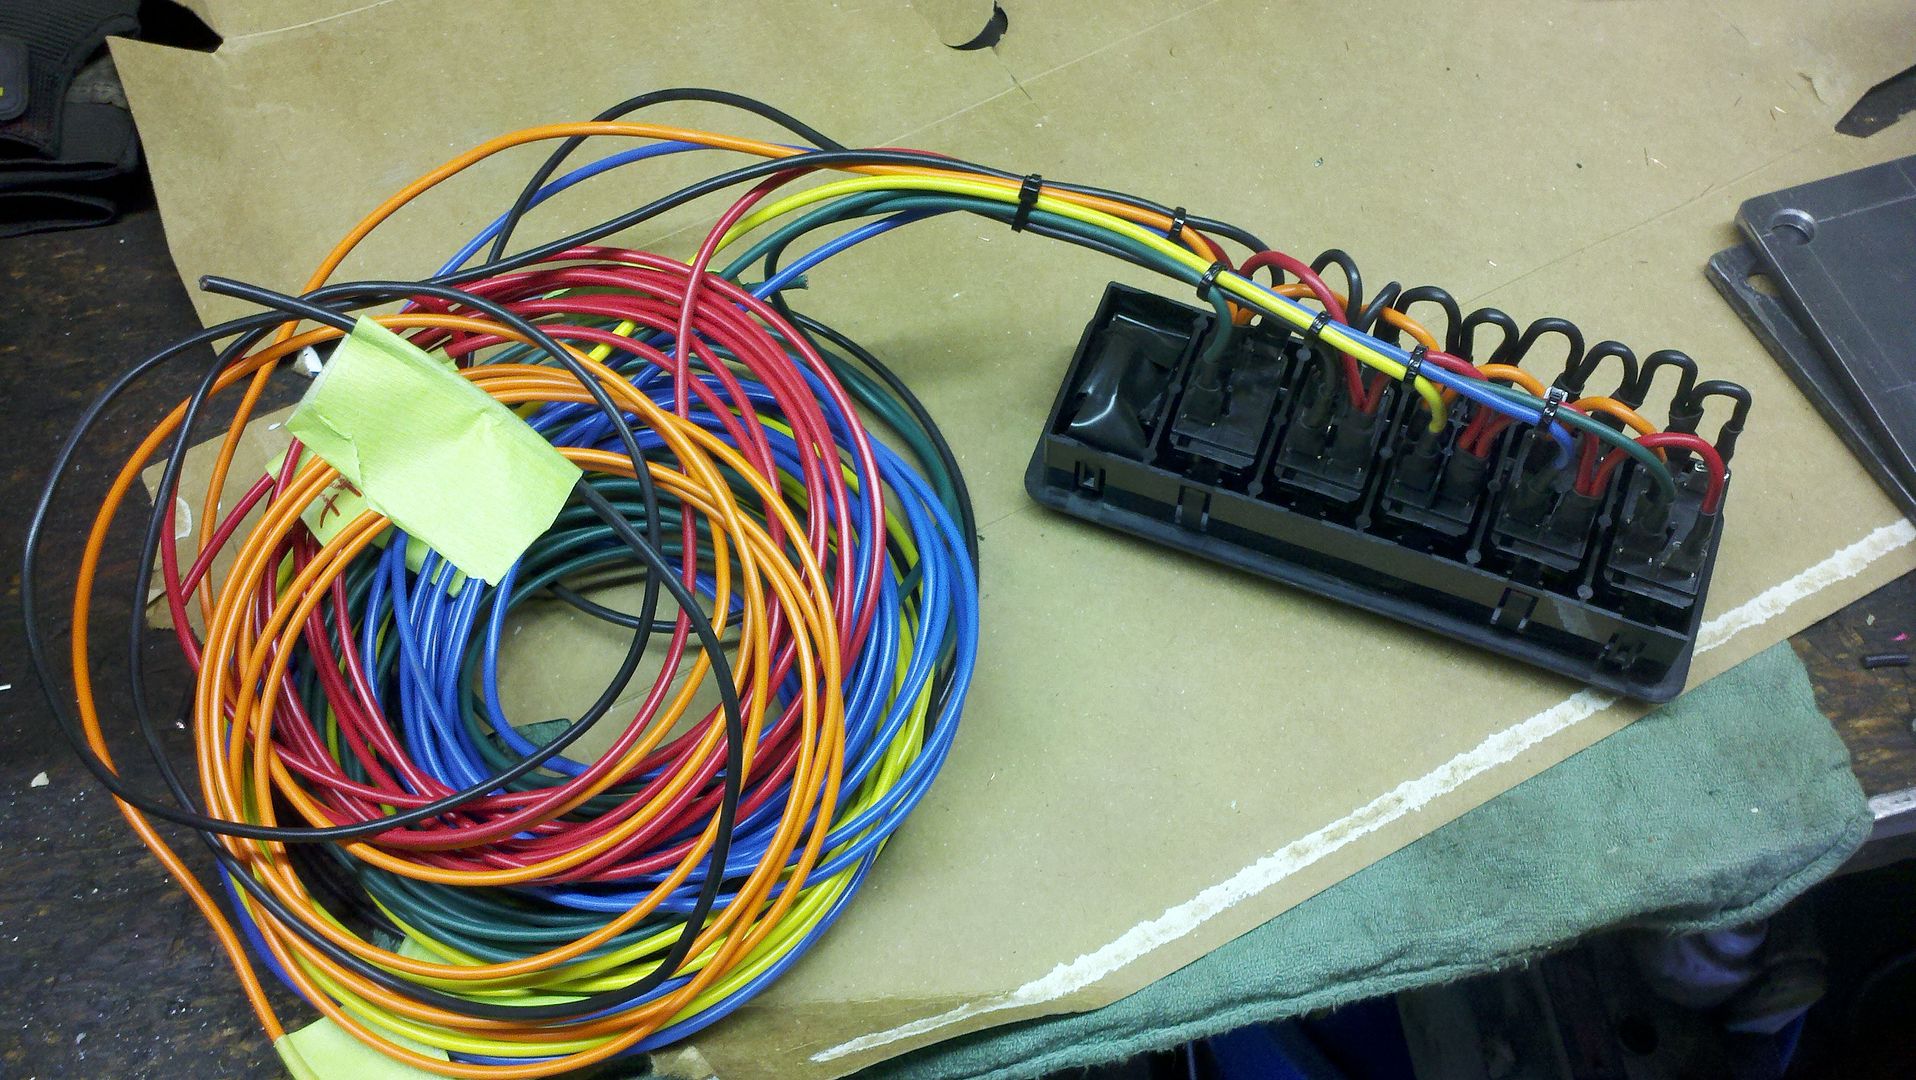
I lengthened the wiring for the rear window switches and moved them to the dash
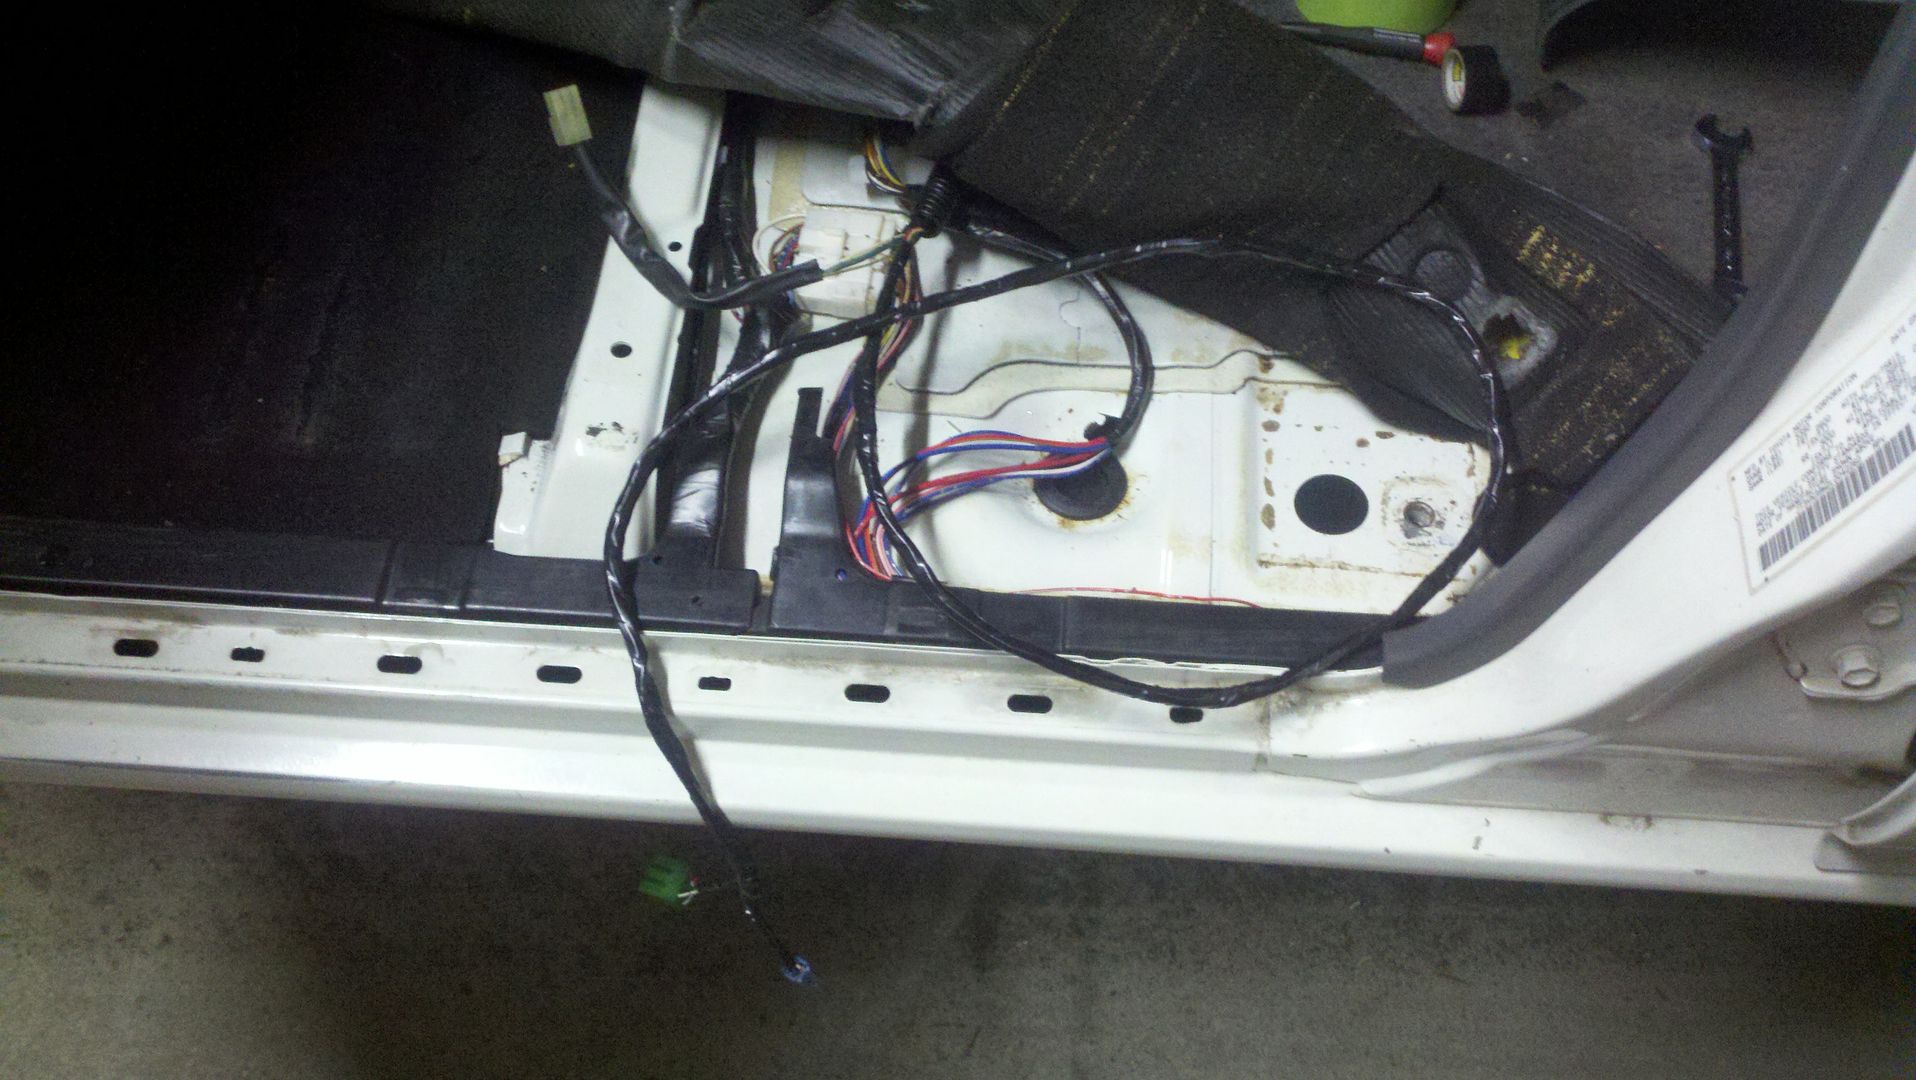

And then made a plate to cover the hole in the floor
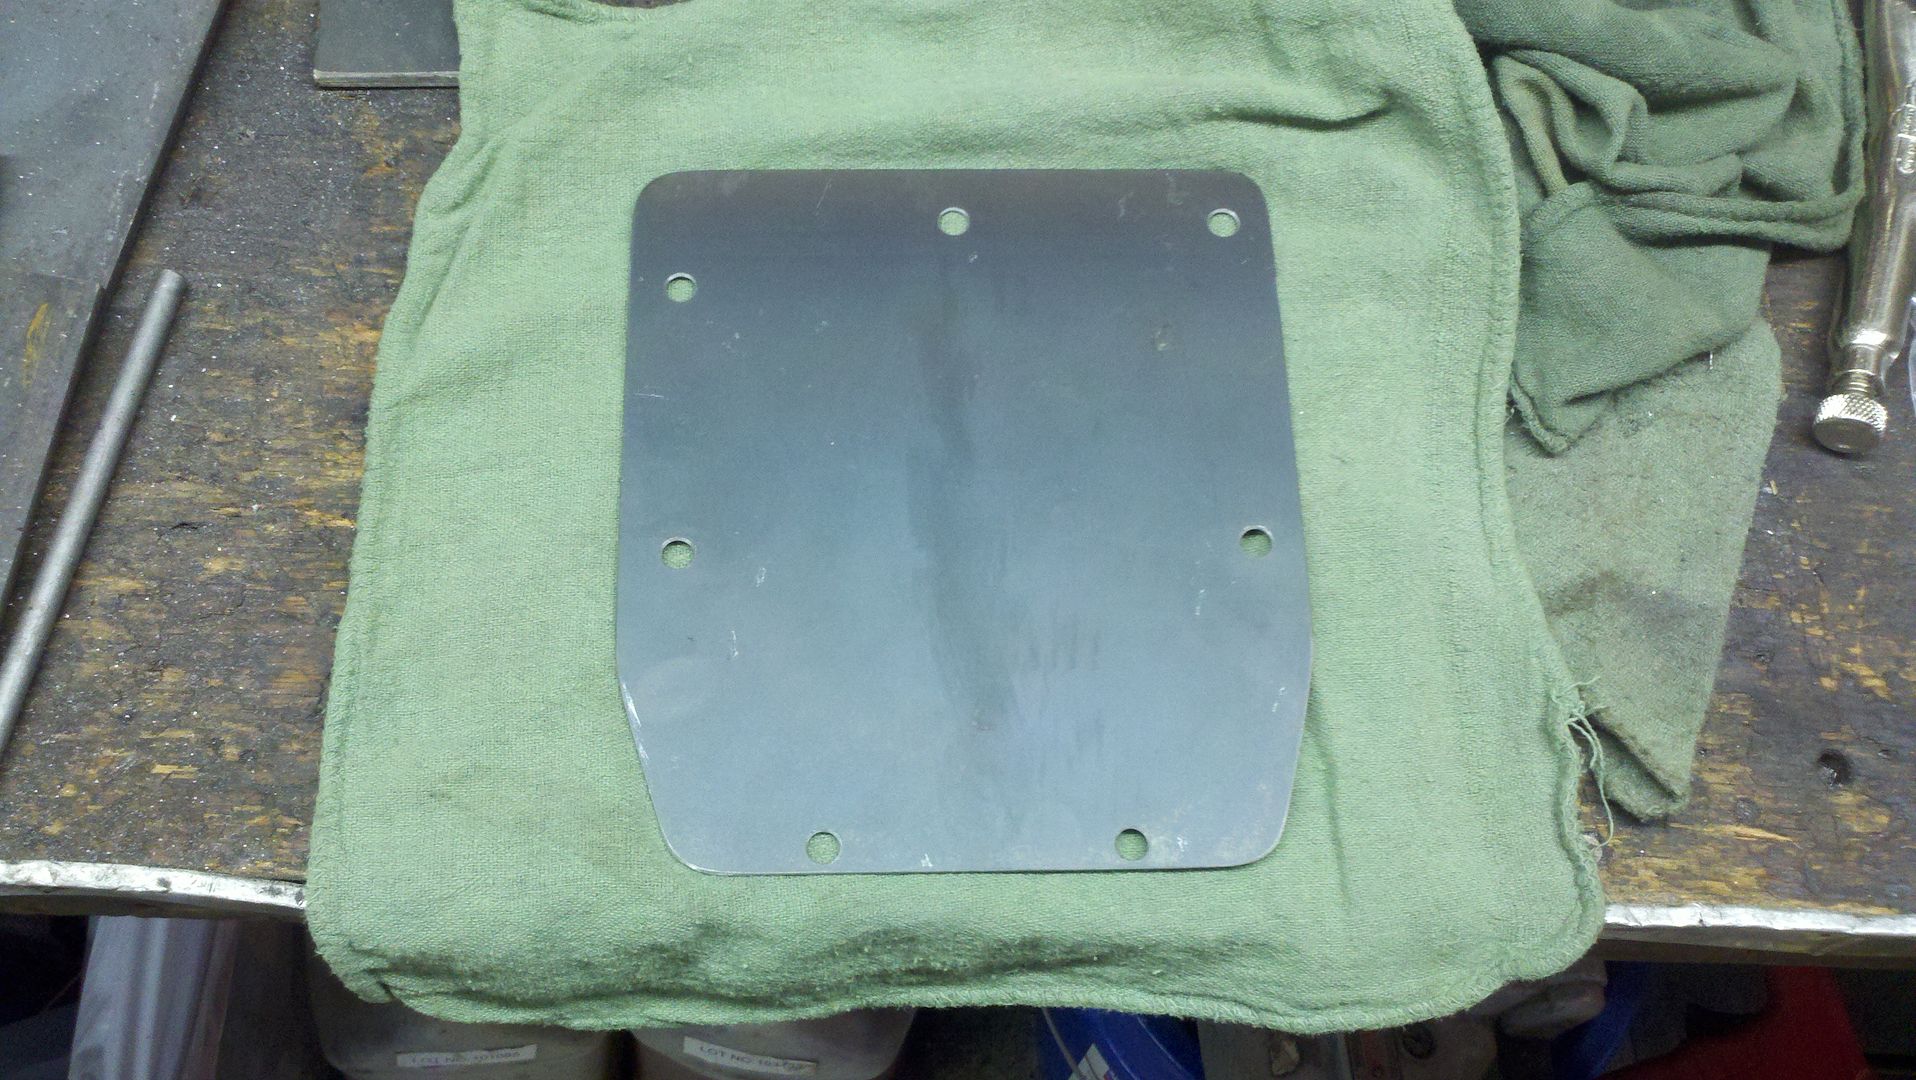
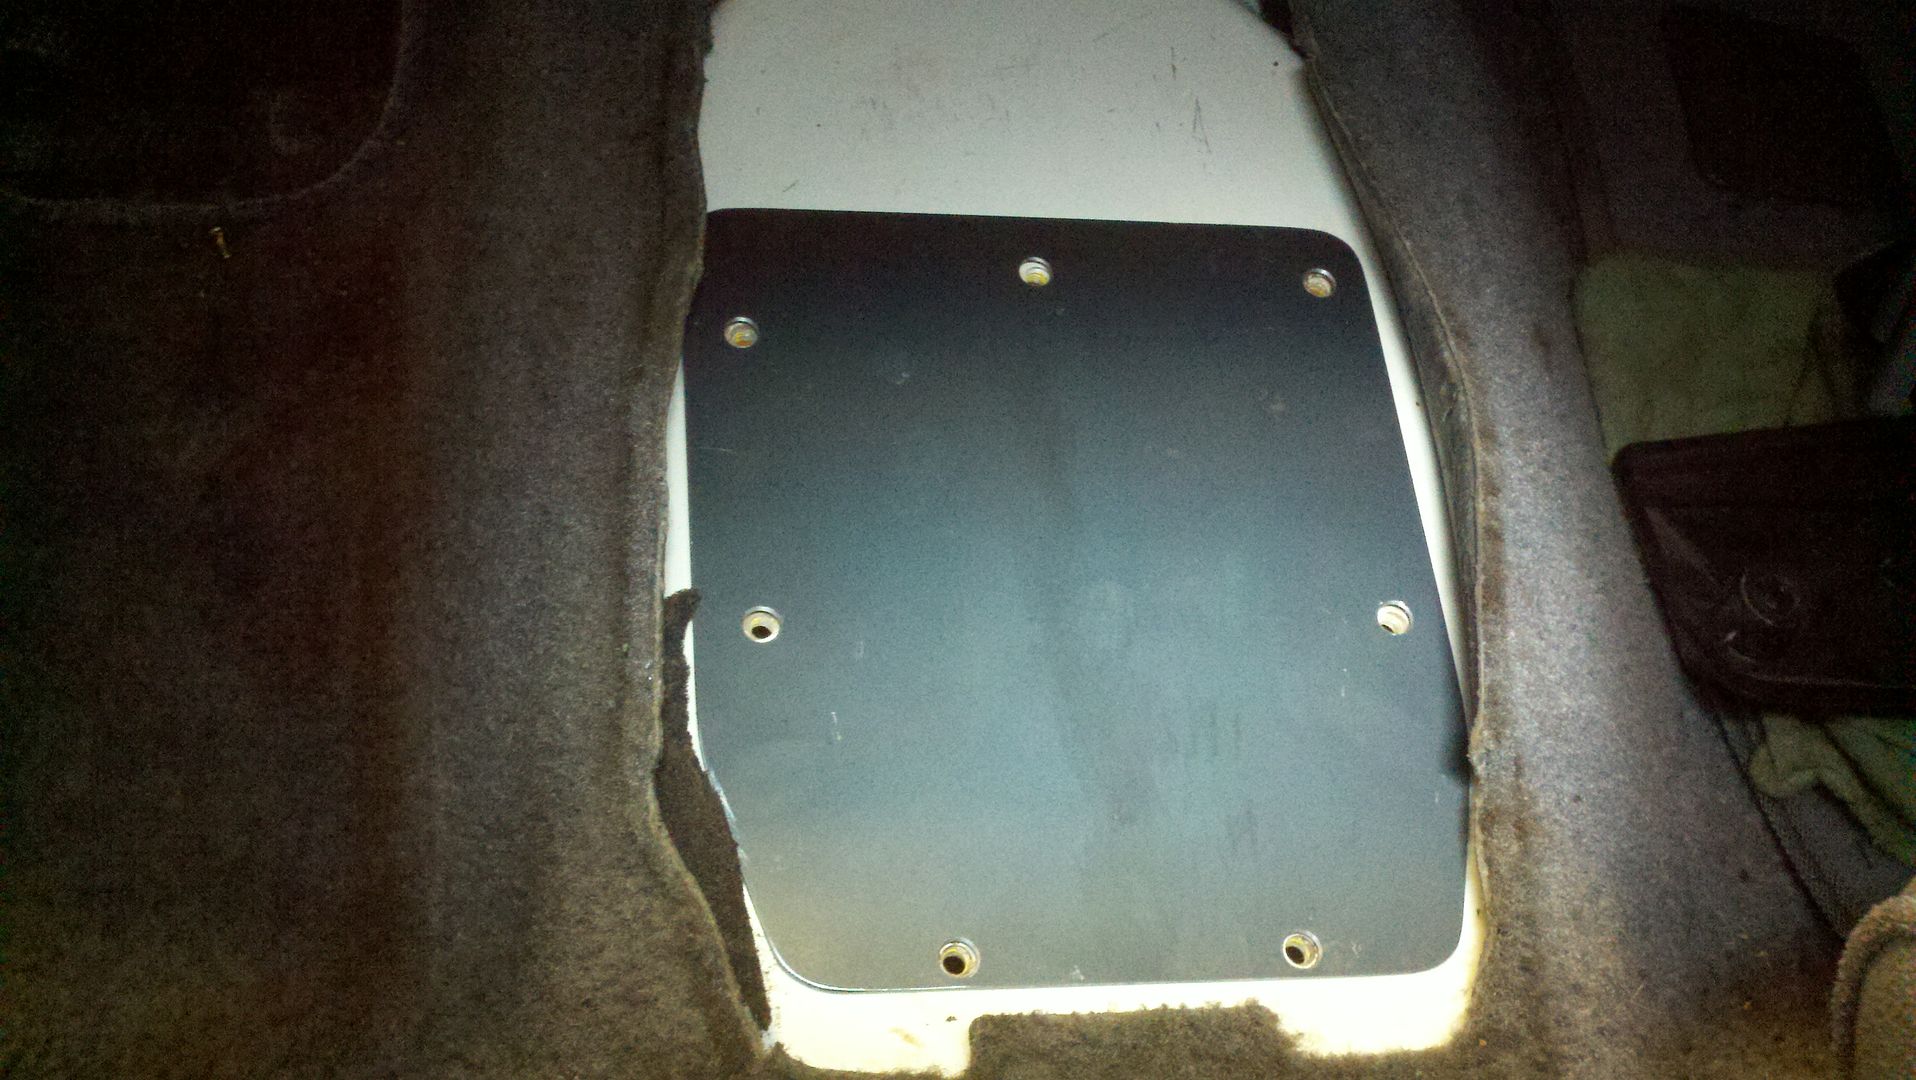
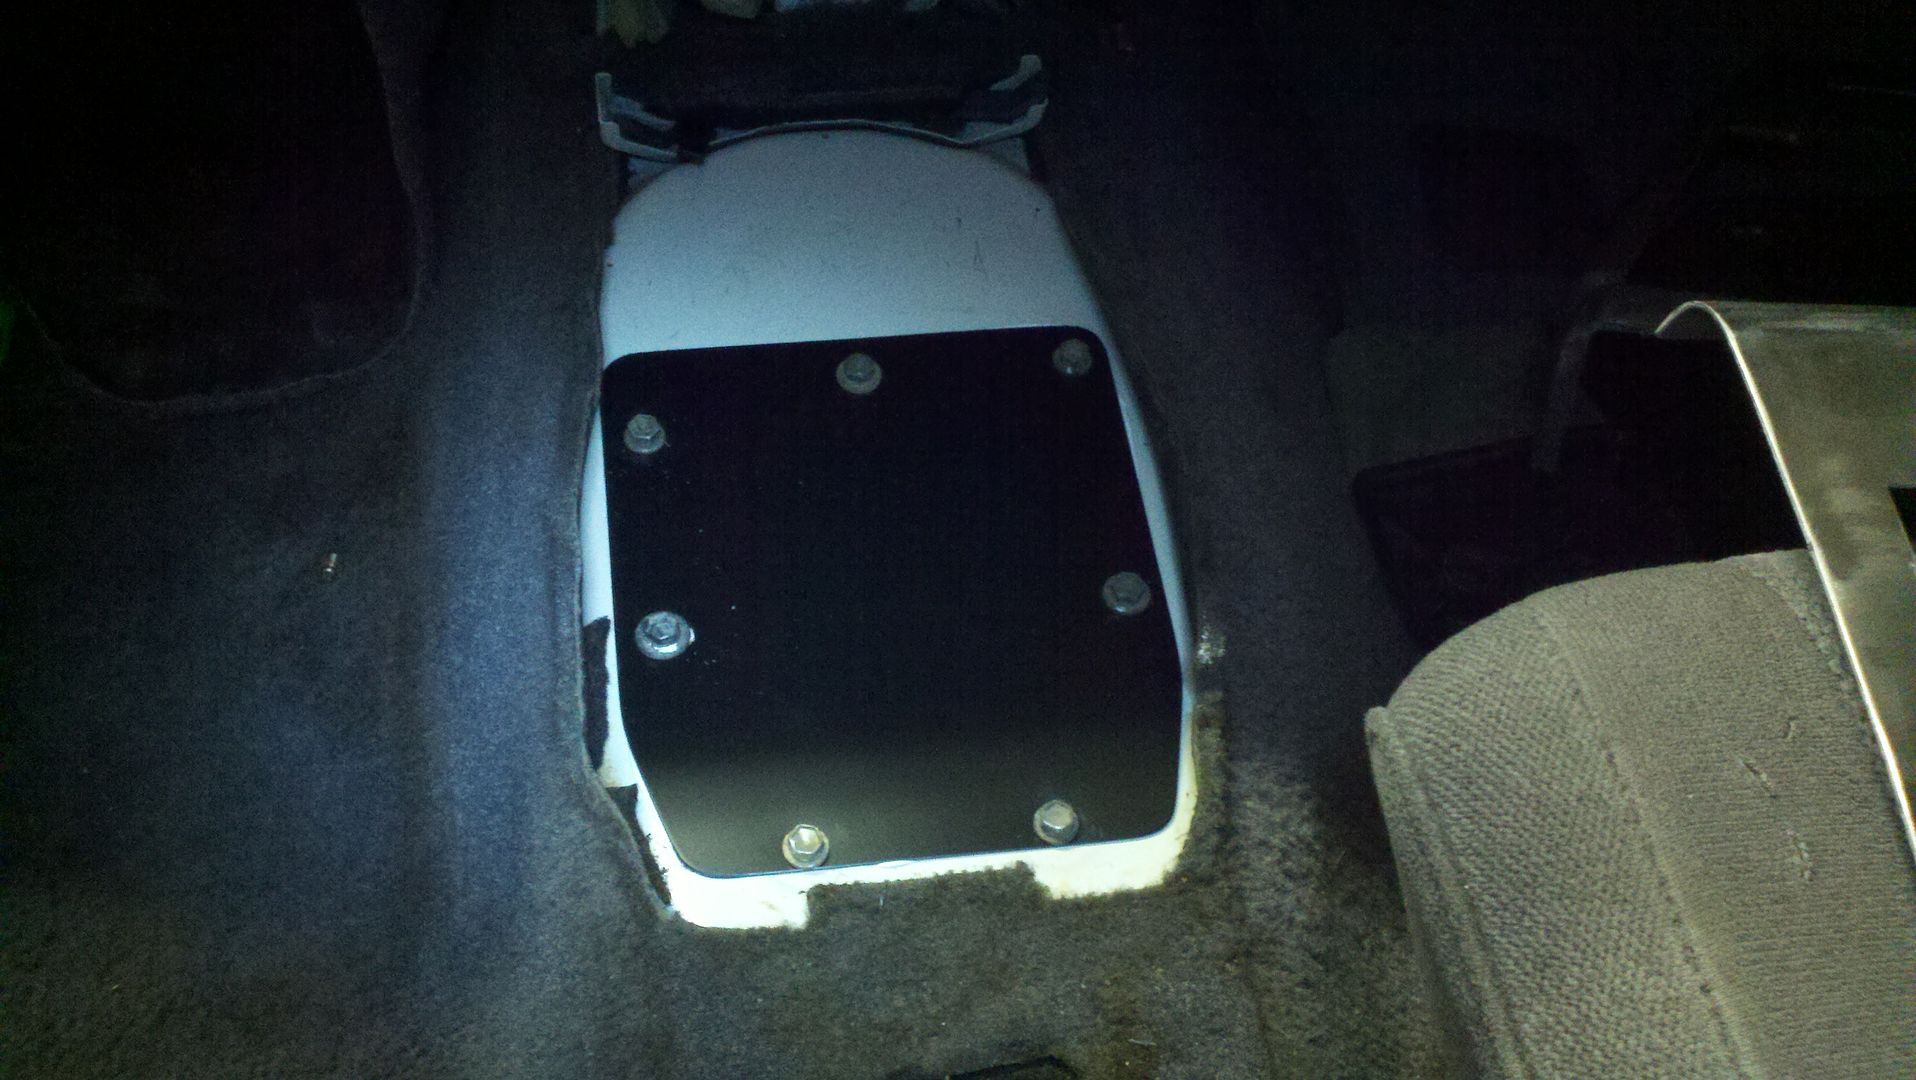
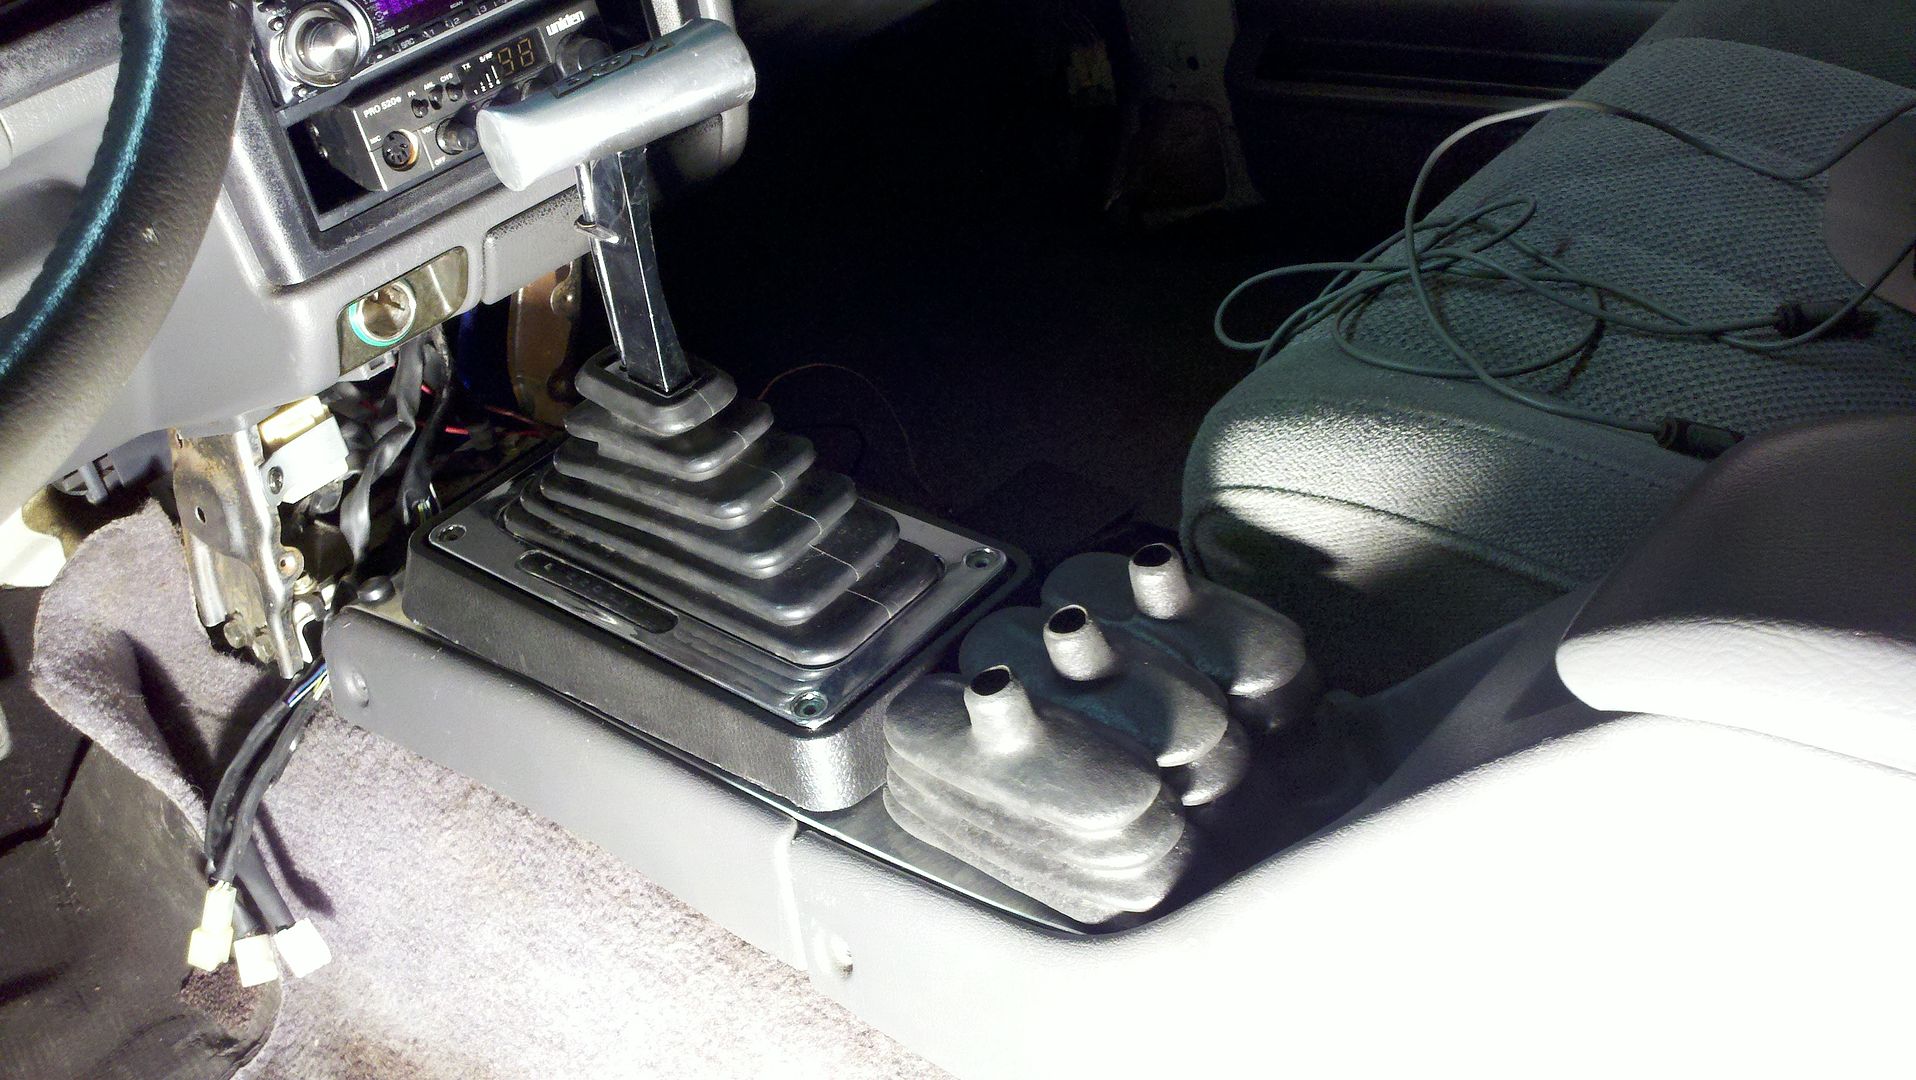
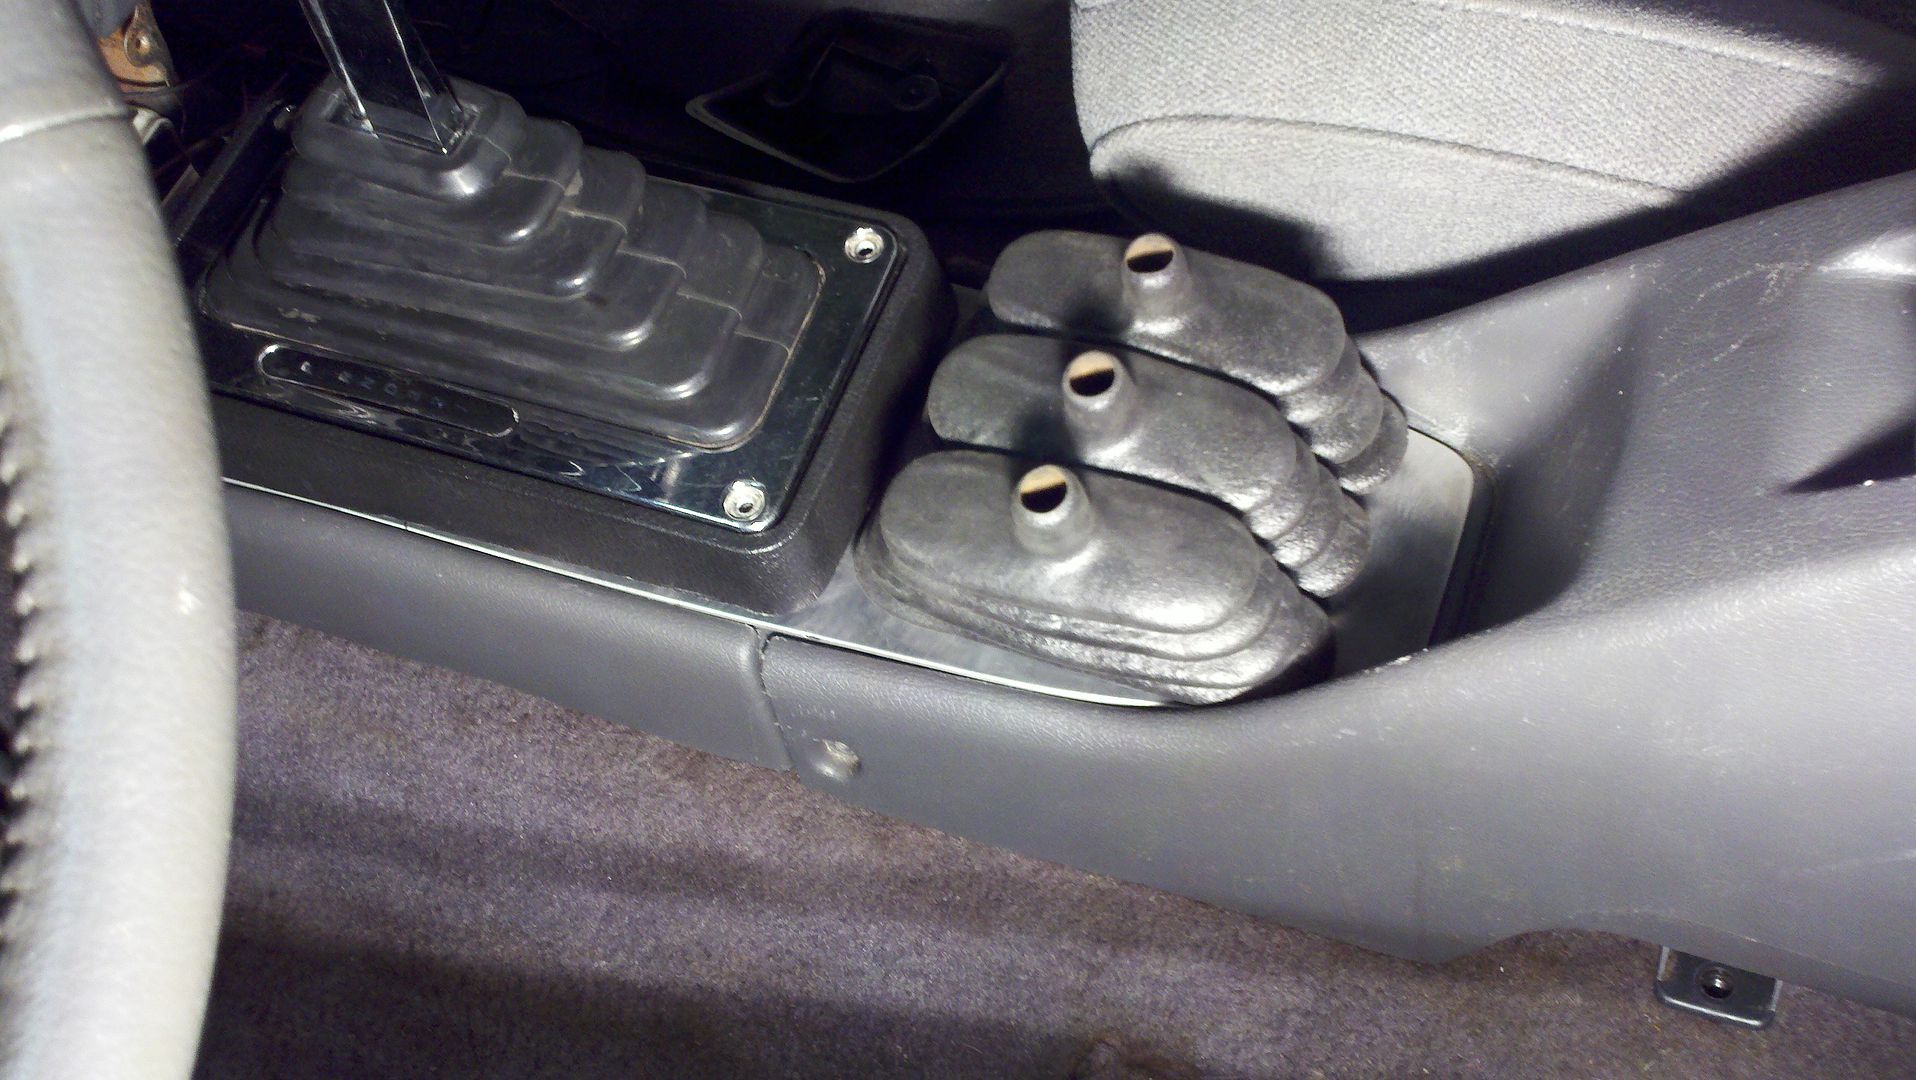
And made an aluminum cover for the console that holds the triple shifter boot and the megashifter cover
And then made a plate to cover the hole in the floor
And made an aluminum cover for the console that holds the triple shifter boot and the megashifter cover
Apr 8, 2012 | 05:50 PM
#43
Man the mega shifter and triple stick setup turned out nice. It fits in your console like it came stock that way! I saw your pickup forsale on CL awhile back, that thing looks pretty sweet too!
Apr 8, 2012 | 08:50 PM
#44
Thread Starter
Registered User
Joined: Sep 2010
Posts: 122
Likes: 0
From: Moscow Idaho
Thanks, I finally sold my pickup at the beginning of march. That's how I was able to have a shopping spree at the swap meet and my tires haha
Apr 8, 2012 | 09:22 PM
#45
Thread Starter
Registered User
Joined: Sep 2010
Posts: 122
Likes: 0
From: Moscow Idaho
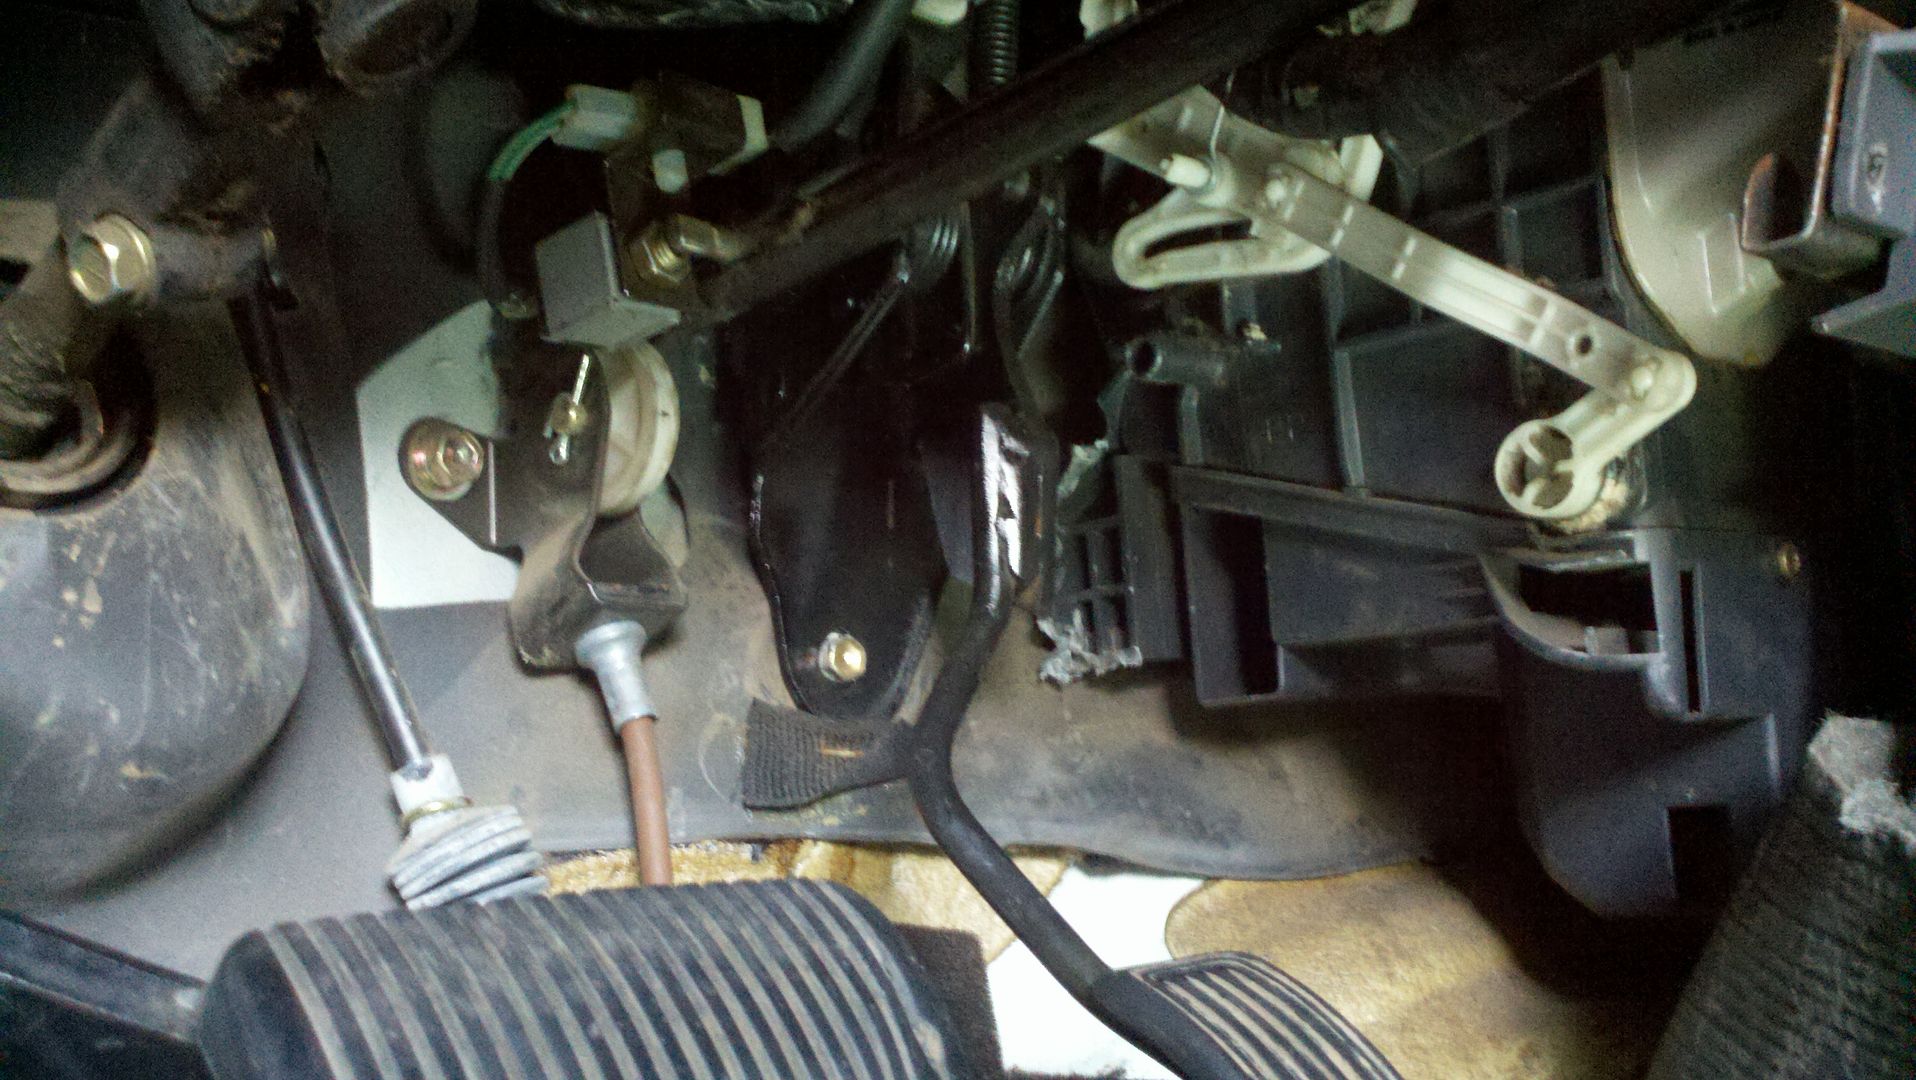
I got the chevy drive by wire gas pedal mounted. I cut most of the chevy arm off and then reshaped some of the toyota pedal arm and welded it on. The base of the pedal with the sensor is a REALLY tight fit.
I also got the TAC module mounted where the original toyota cruise control box was and I got the wiring between the two done.
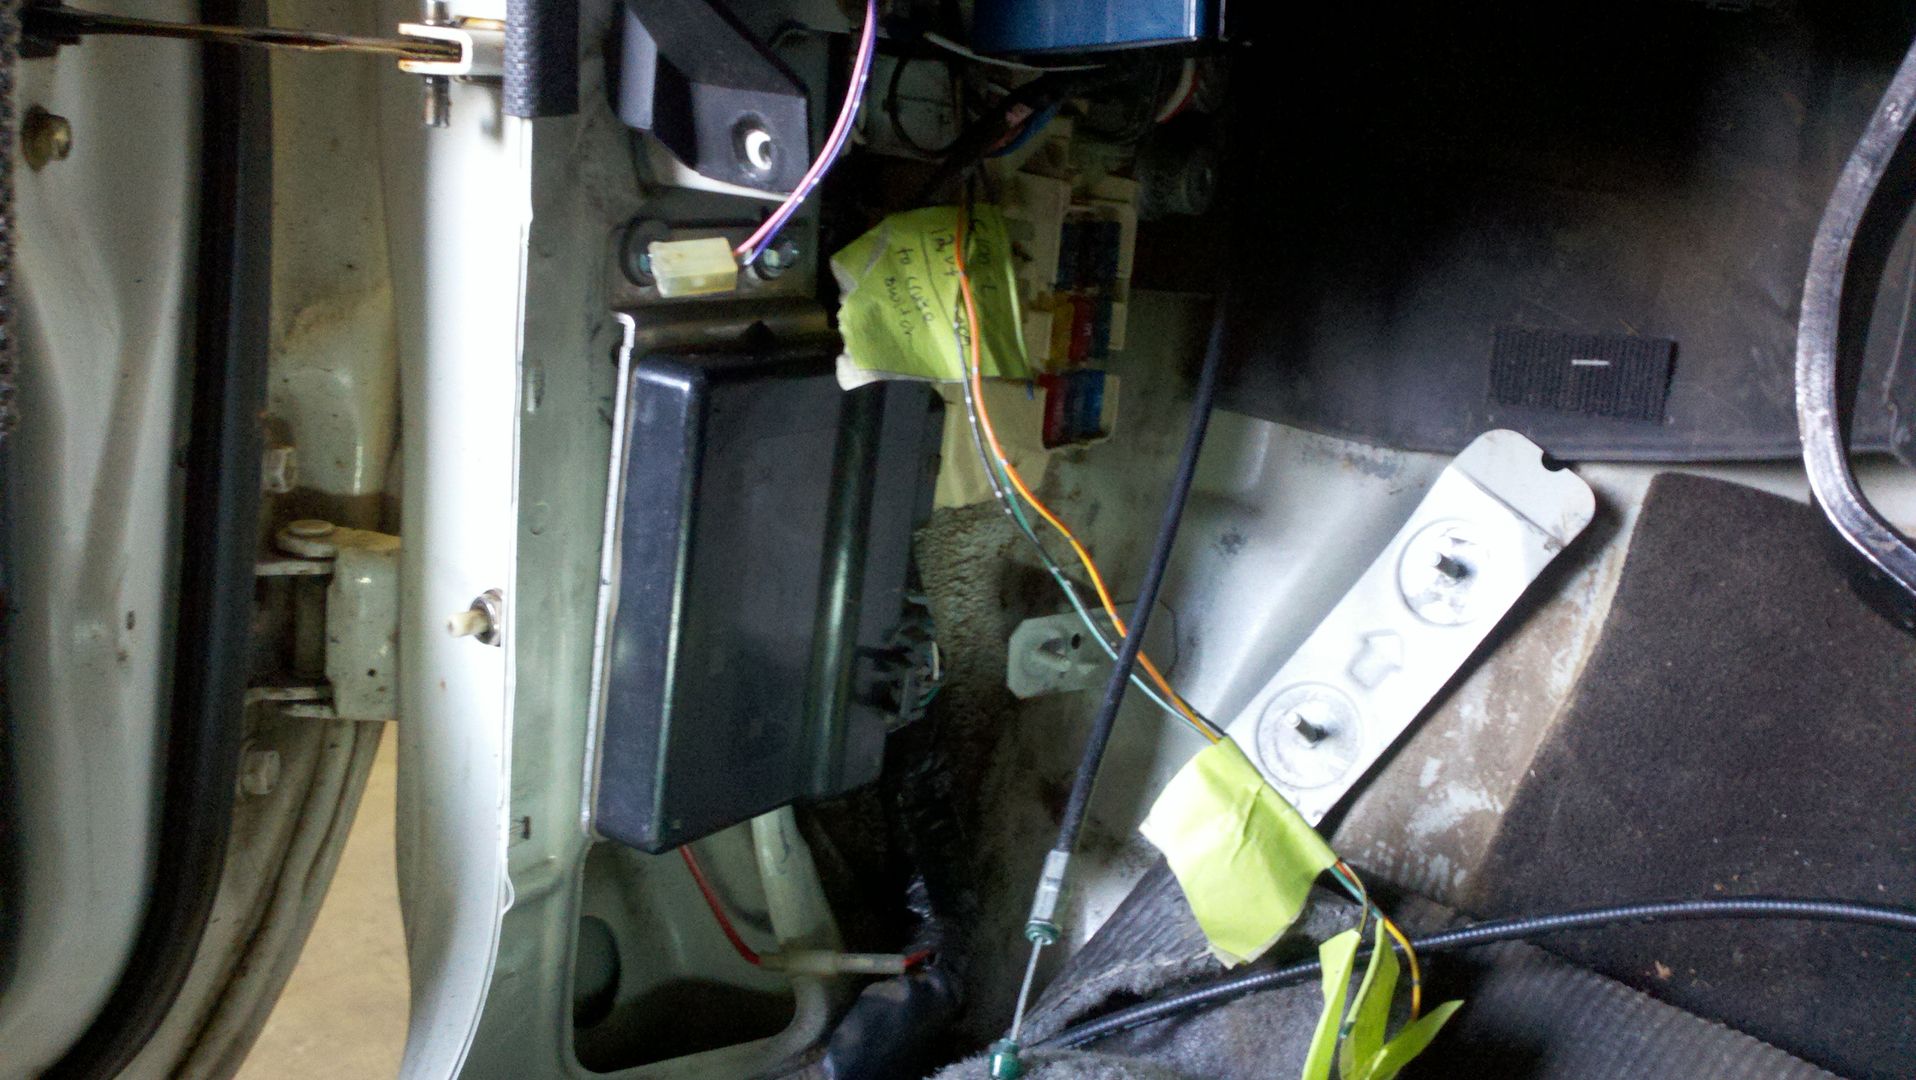
I also got the TAC module mounted where the original toyota cruise control box was and I got the wiring between the two done.
Jun 6, 2012 | 07:57 AM
#48
Thread Starter
Registered User
Joined: Sep 2010
Posts: 122
Likes: 0
From: Moscow Idaho
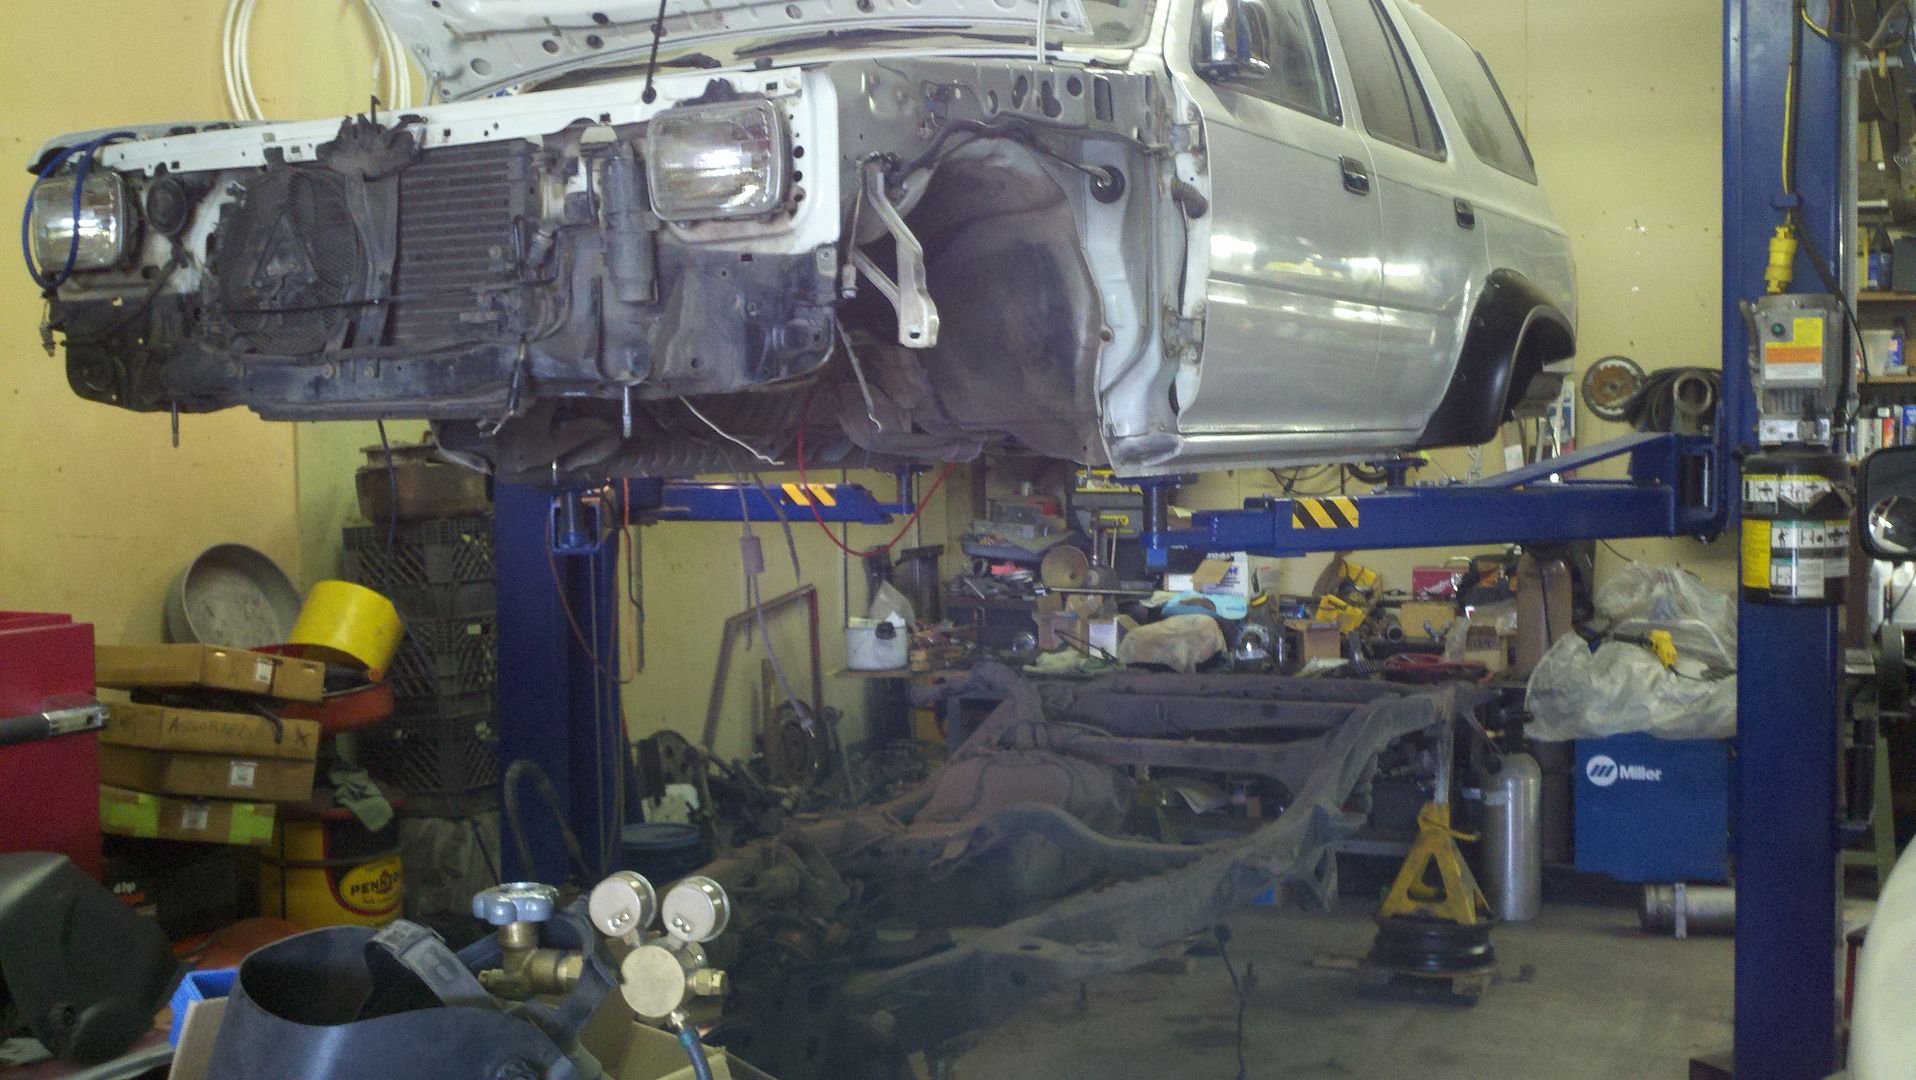
I FINALLY got the 4runner on the hoist! I got the rear axle out and all the IFS junk and took the body off the frame. That was a really messy job with all the dirt that has accumulated for 200K miles.
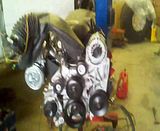
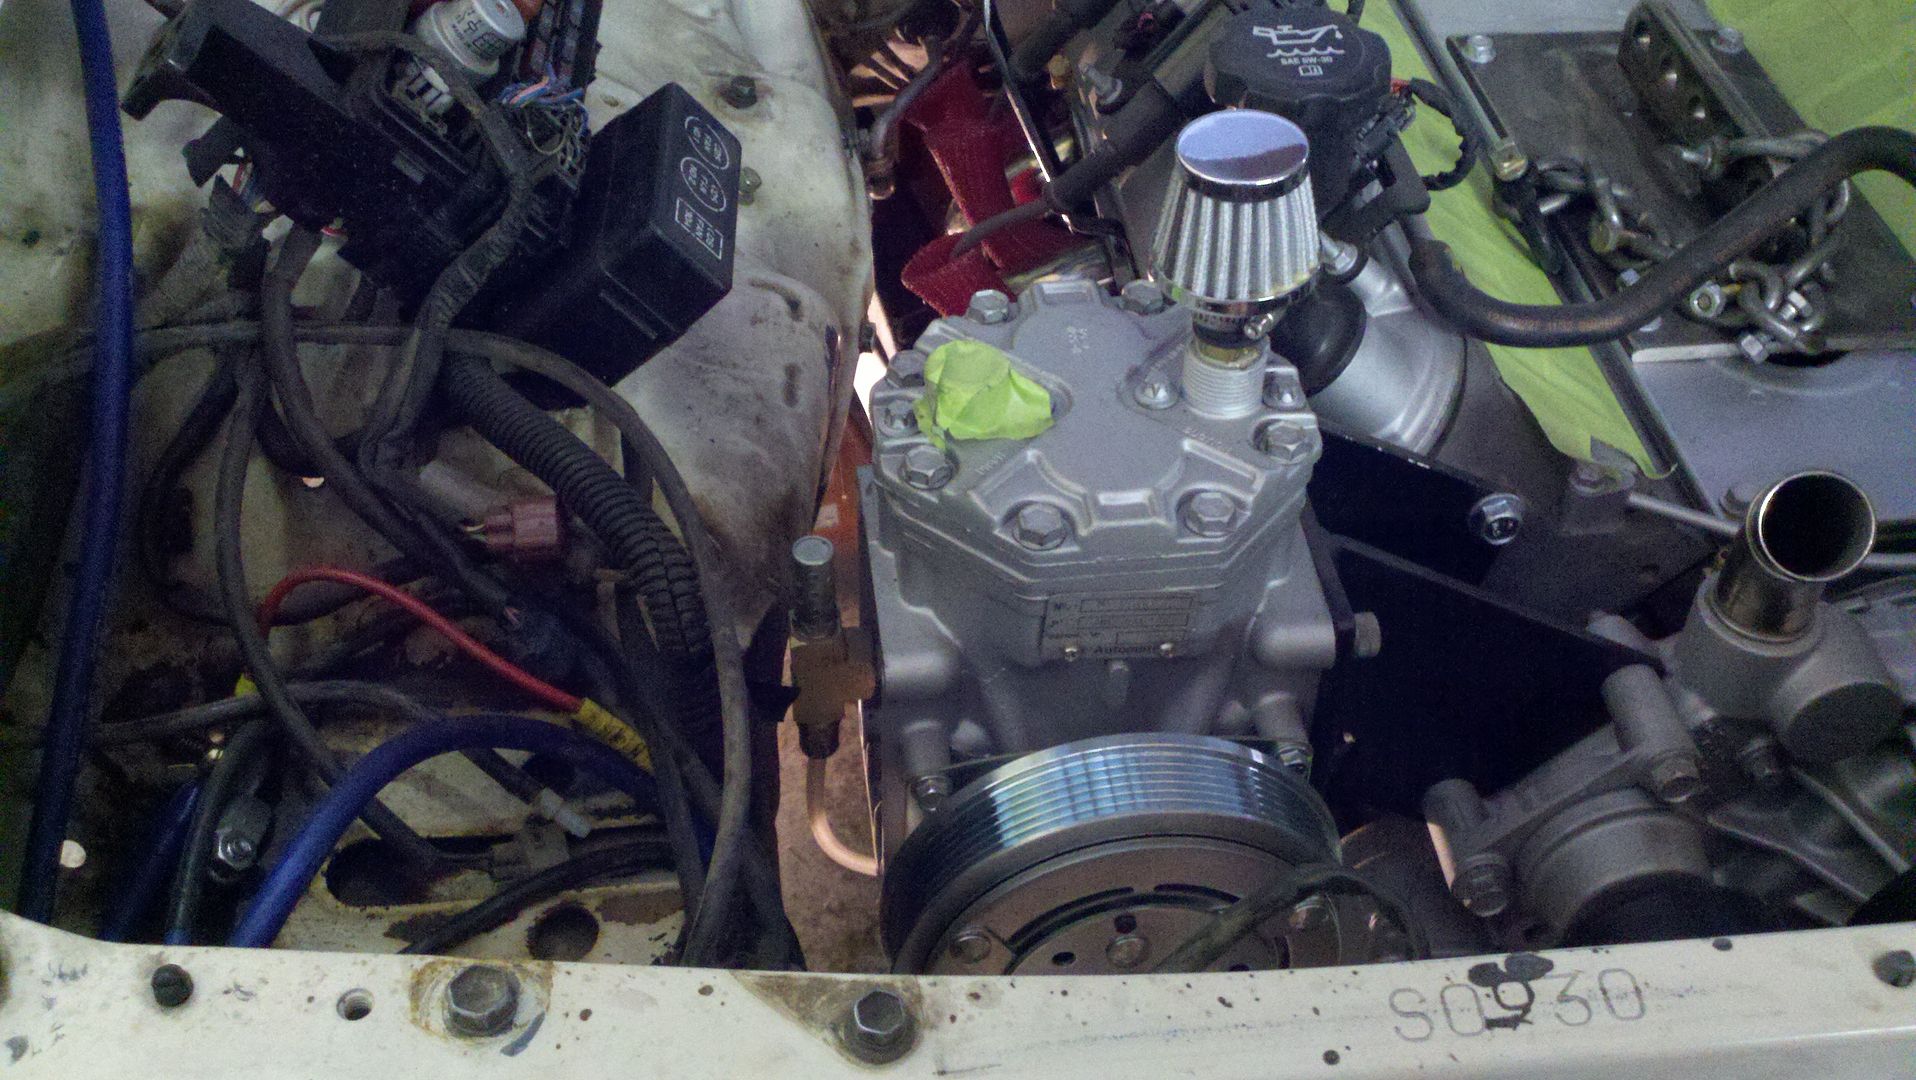
I also got the 5.3 started for the first time since it came the wrecking yard. It has either been on a pallet or on the engine stand for more than a year now and I put a new oil filter on and some oil. It was amazing how it just fires right up after sitting for so long
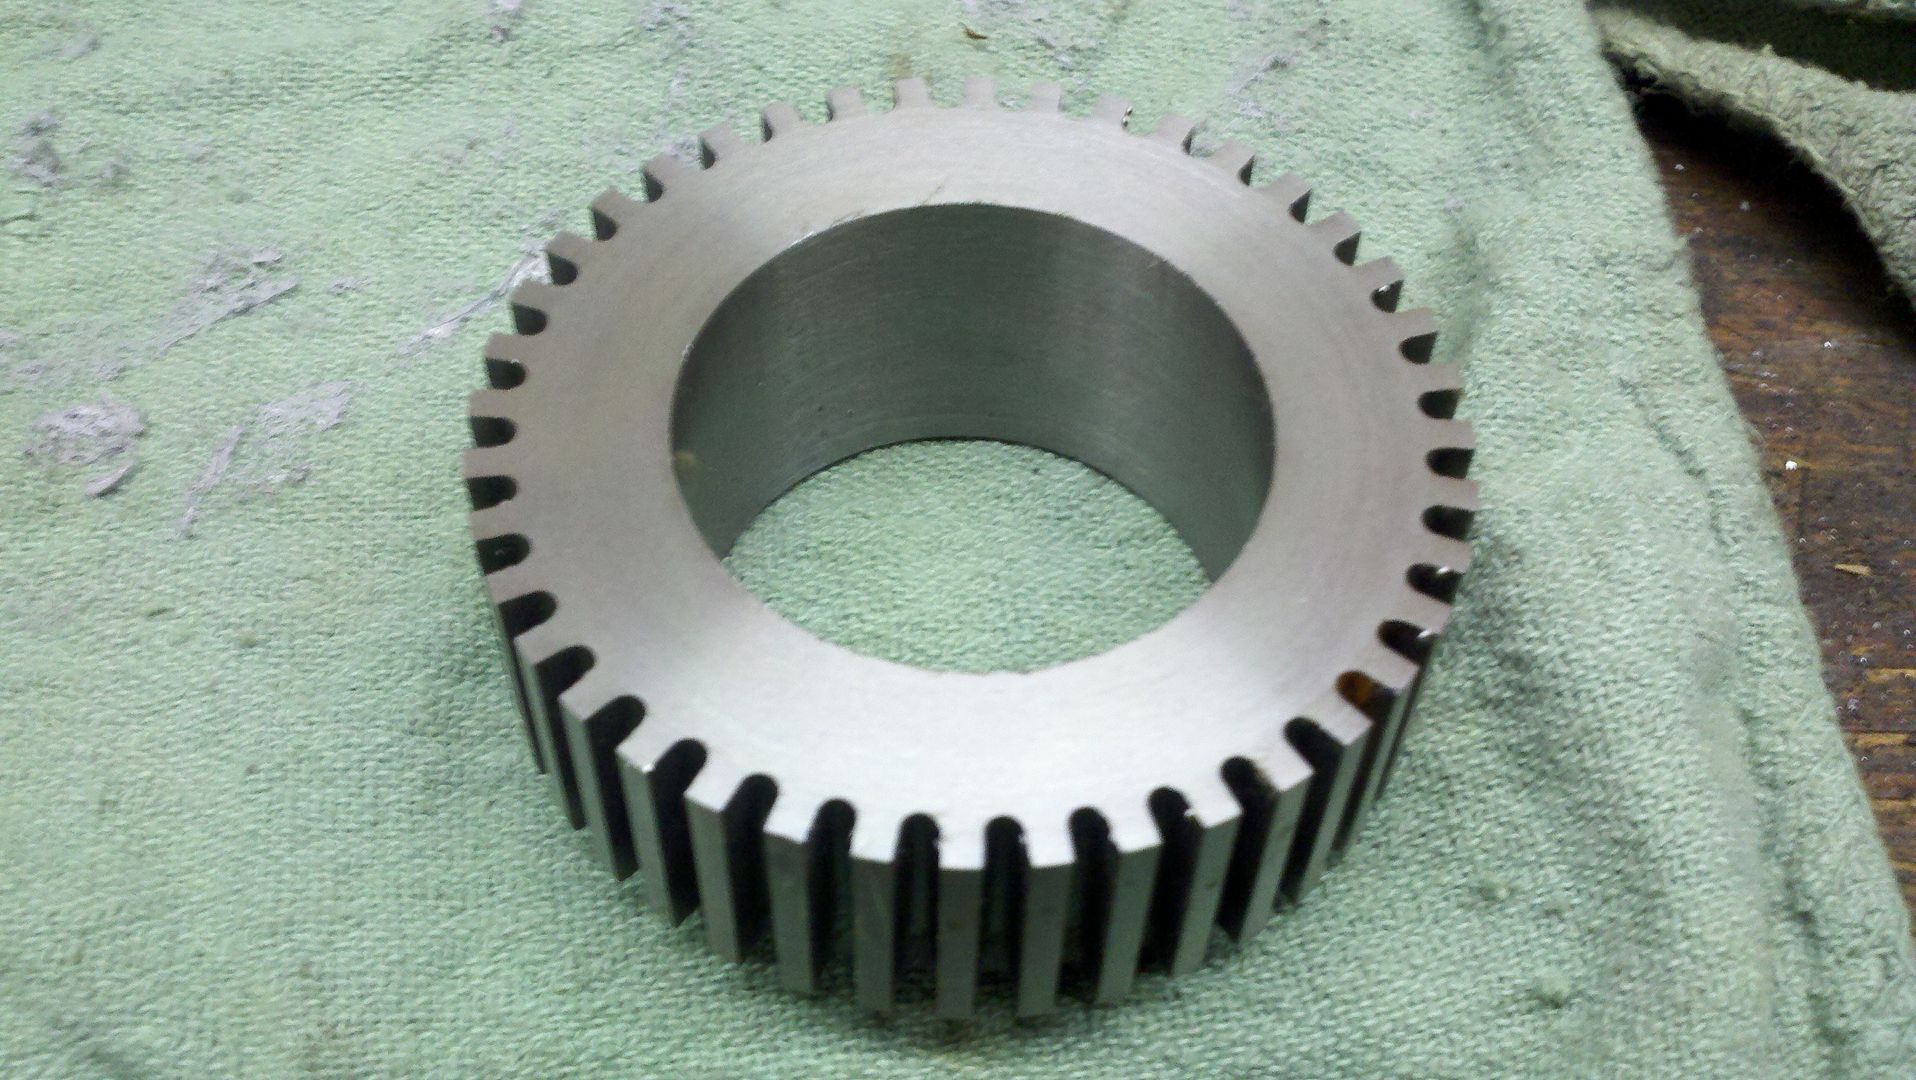
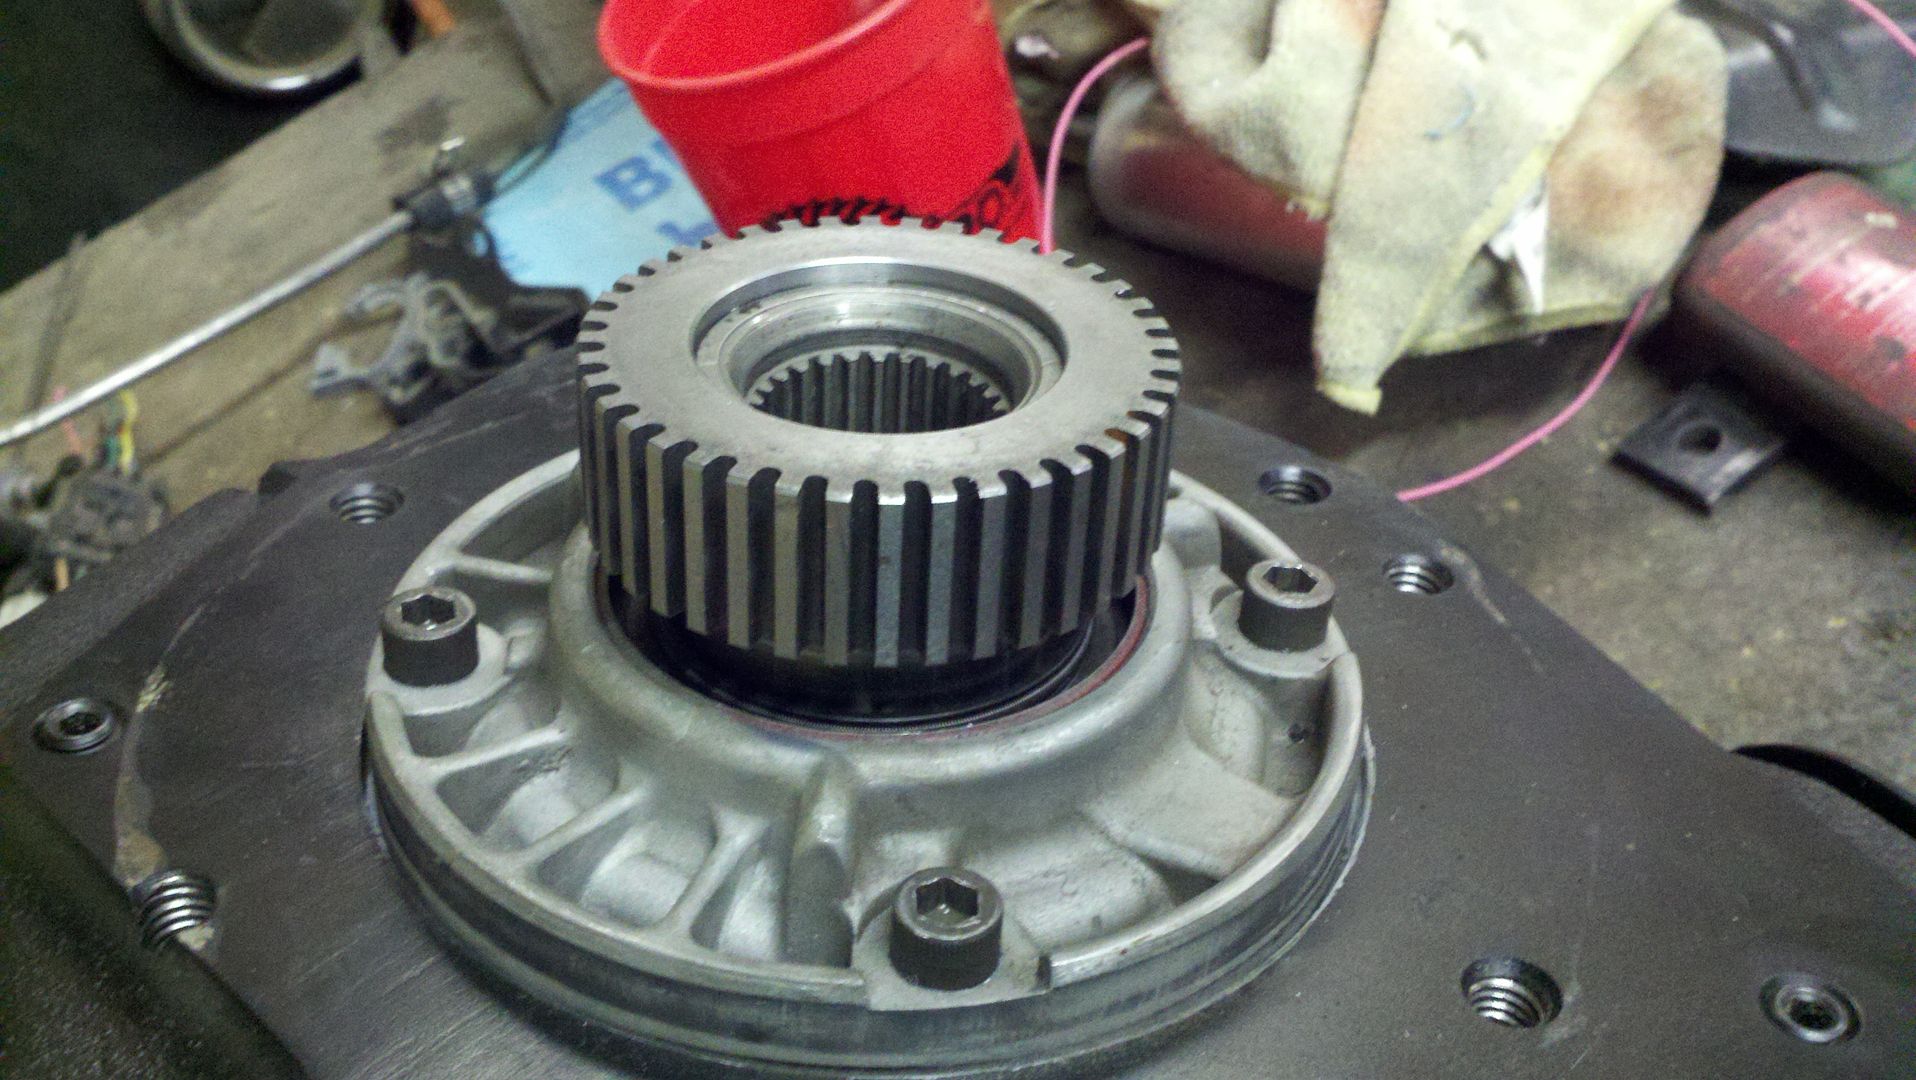
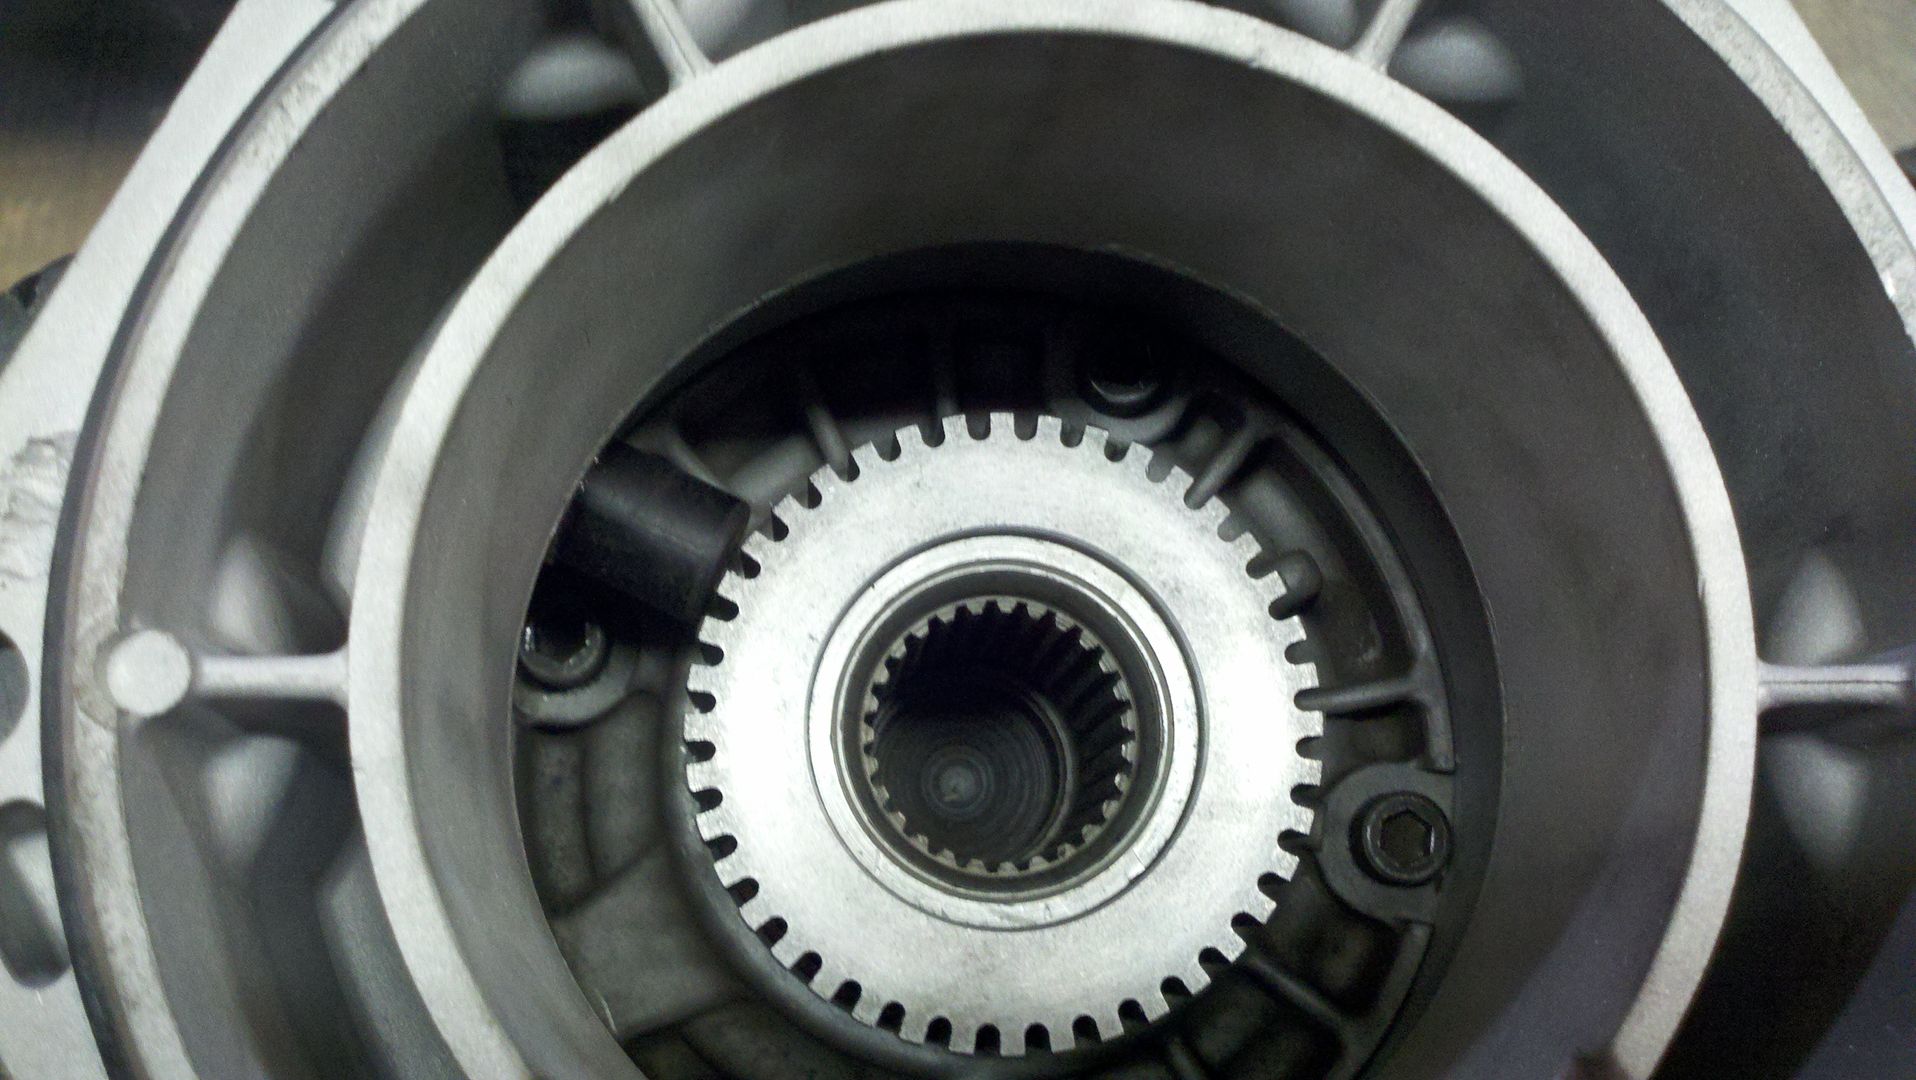
I also ended up getting a 4l60e and I am not going to use the 700r4. I just liked the idea of being able to control shift points and I didn't want to mess with the TV cable for the 700r4. So my dad and I started to work on getting the speed sensor to fit behind the tranny. We turned down the end of the 203 input gear on the lathe and bored the splines off the inside of the reluctor ring and made it to spec so that it would press on to the 203 input gear.
(Before)
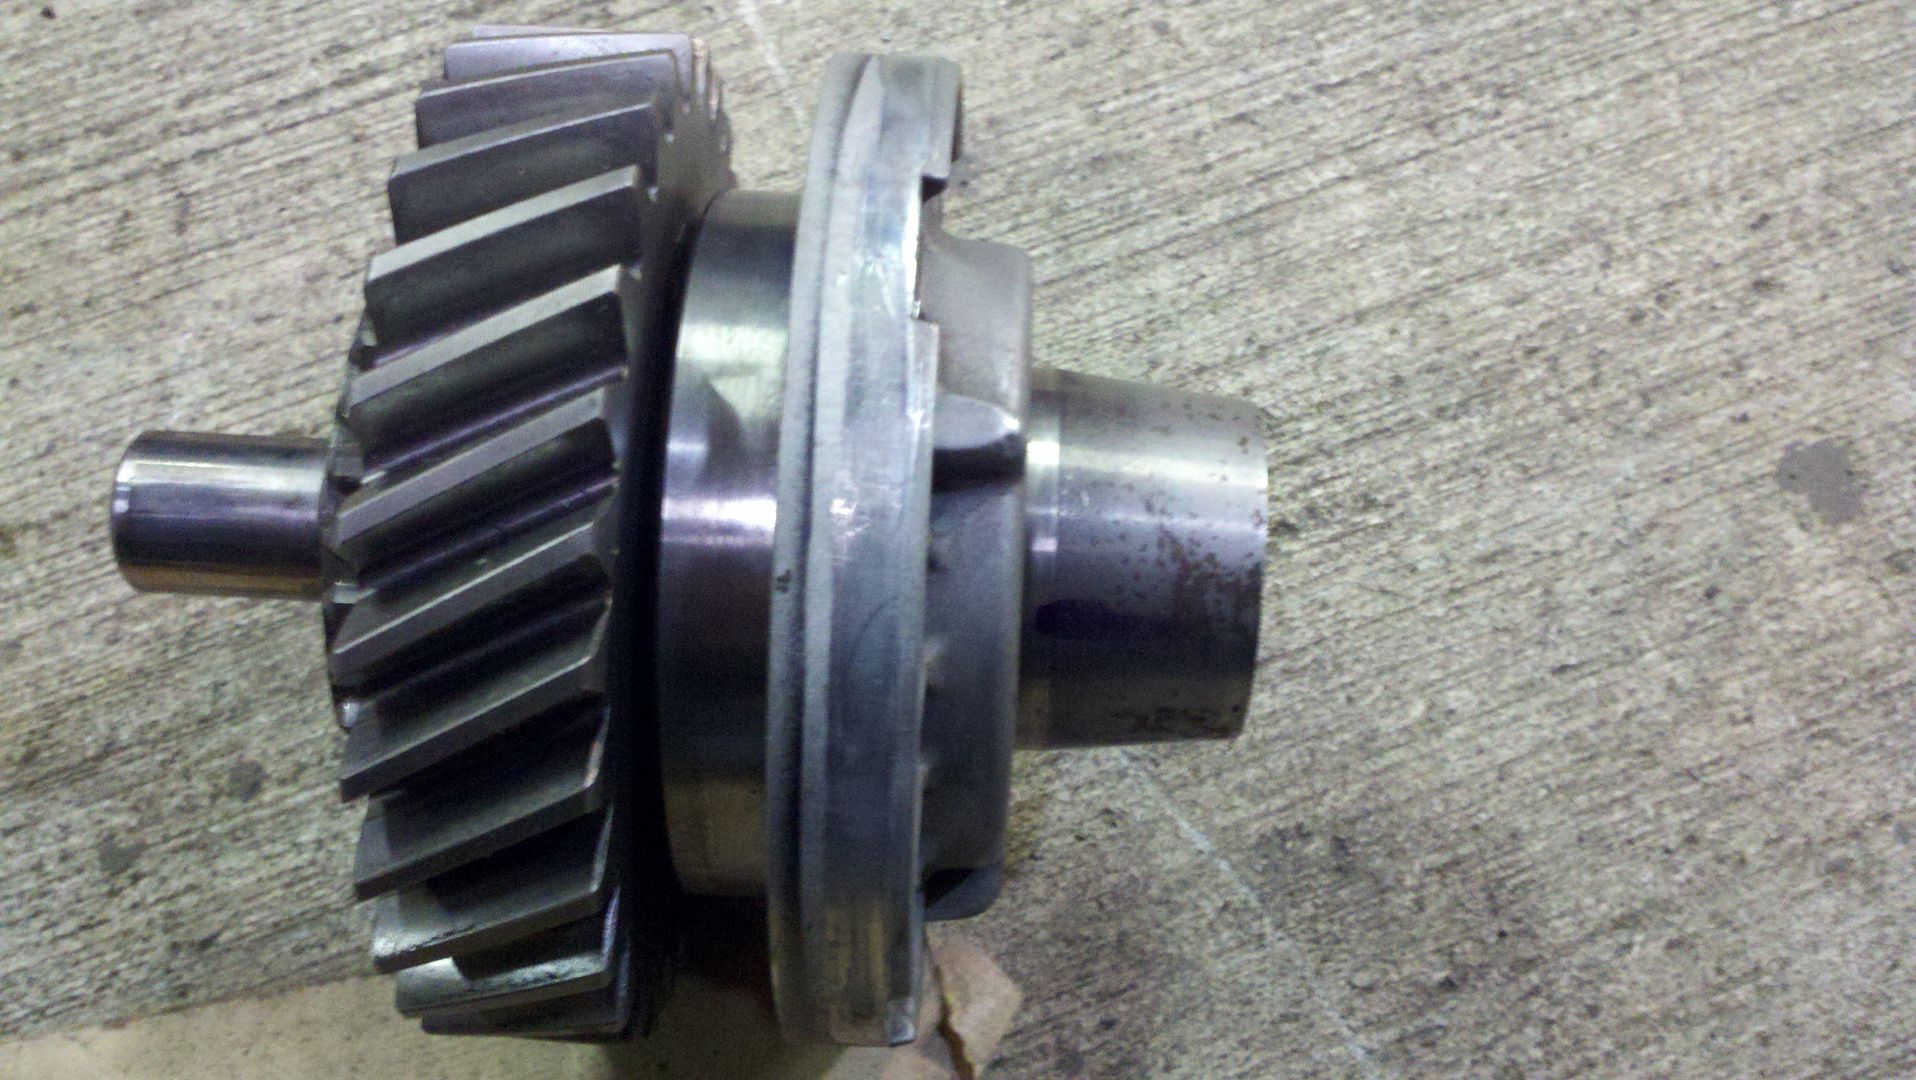
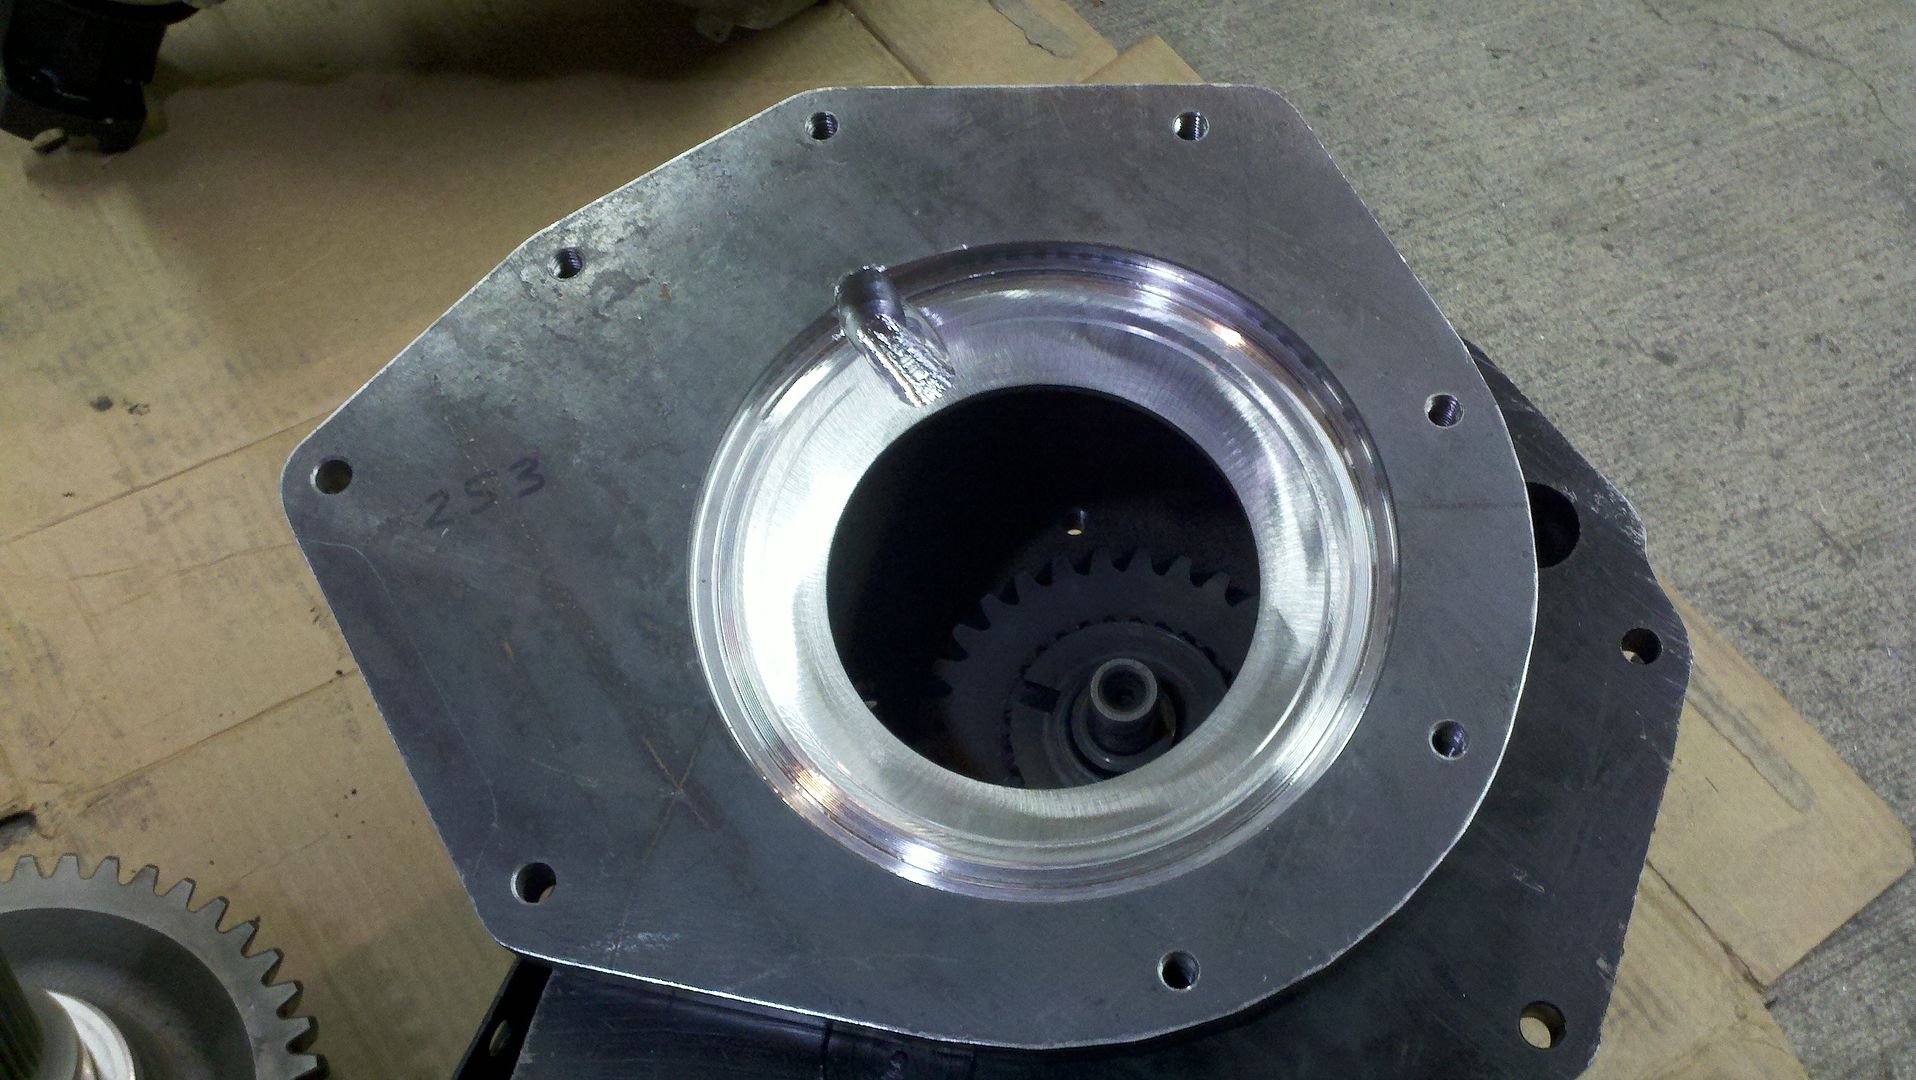
(After)

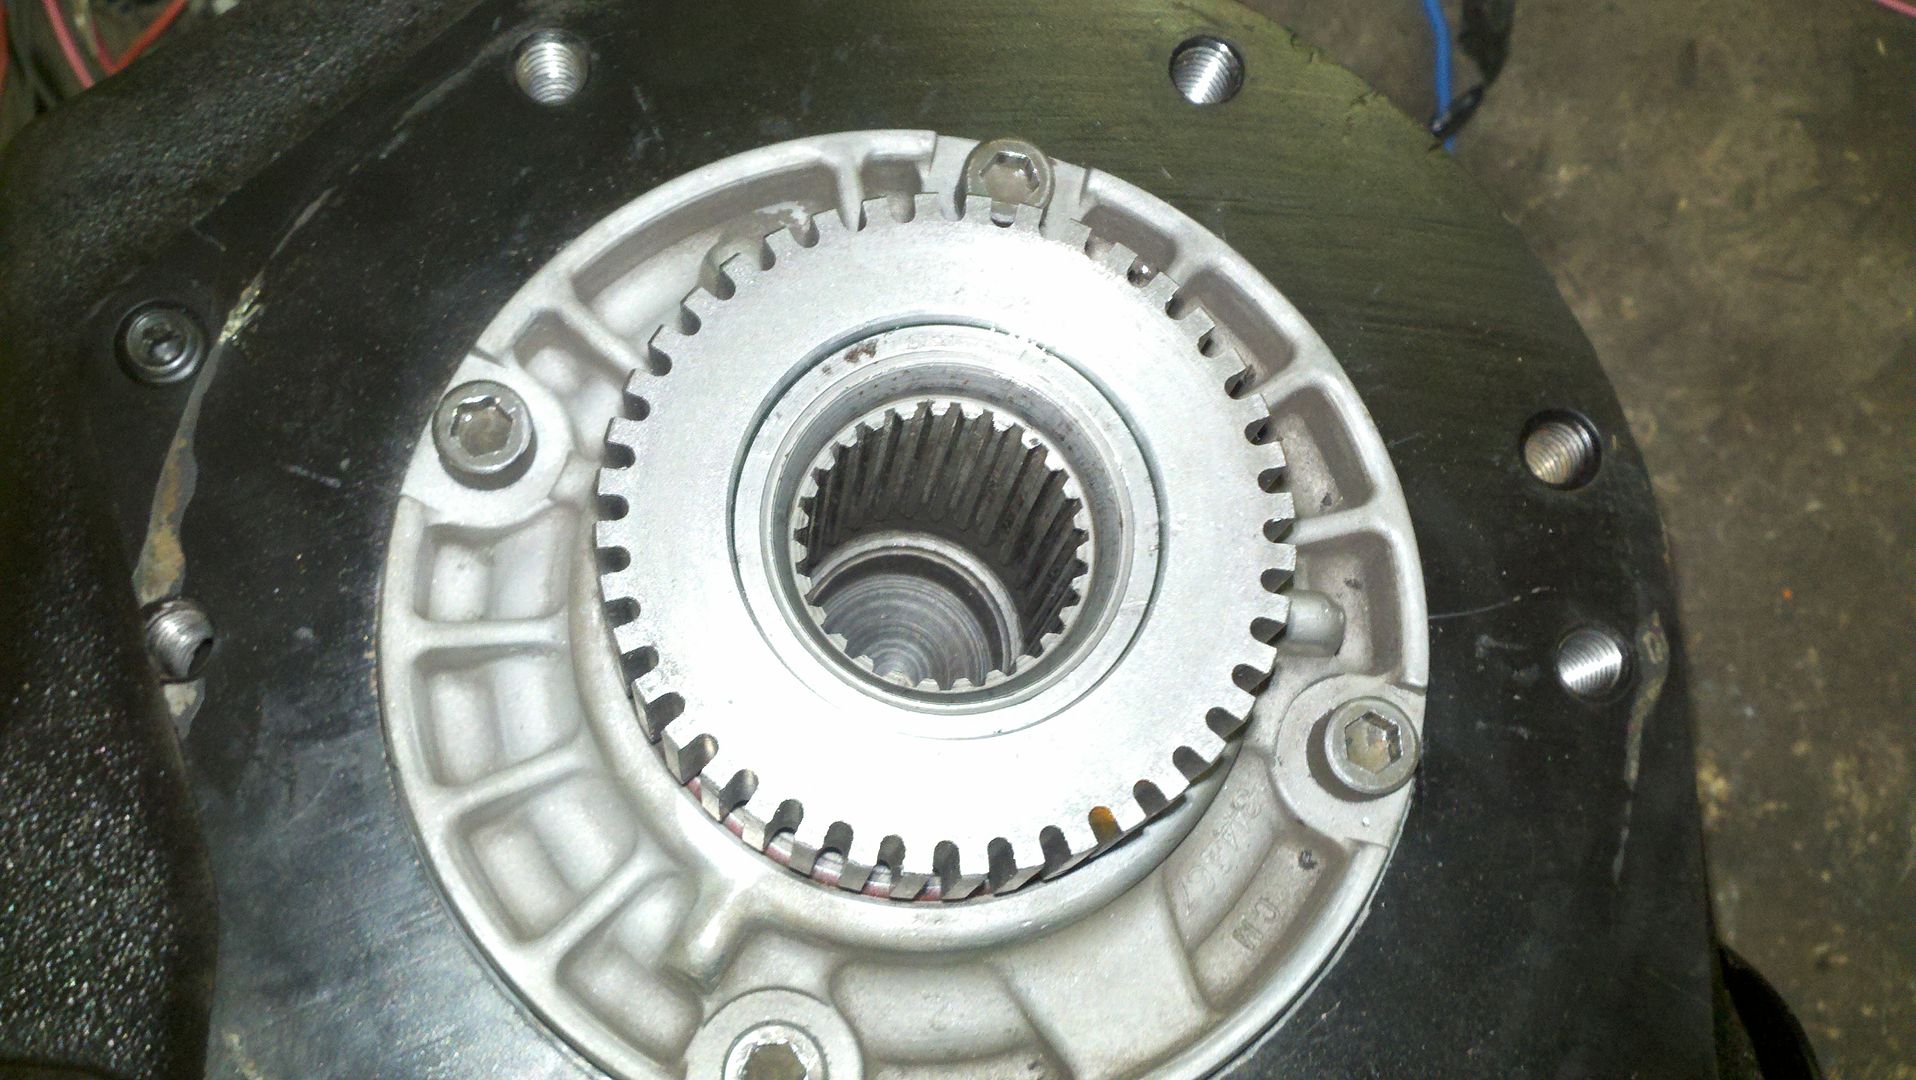
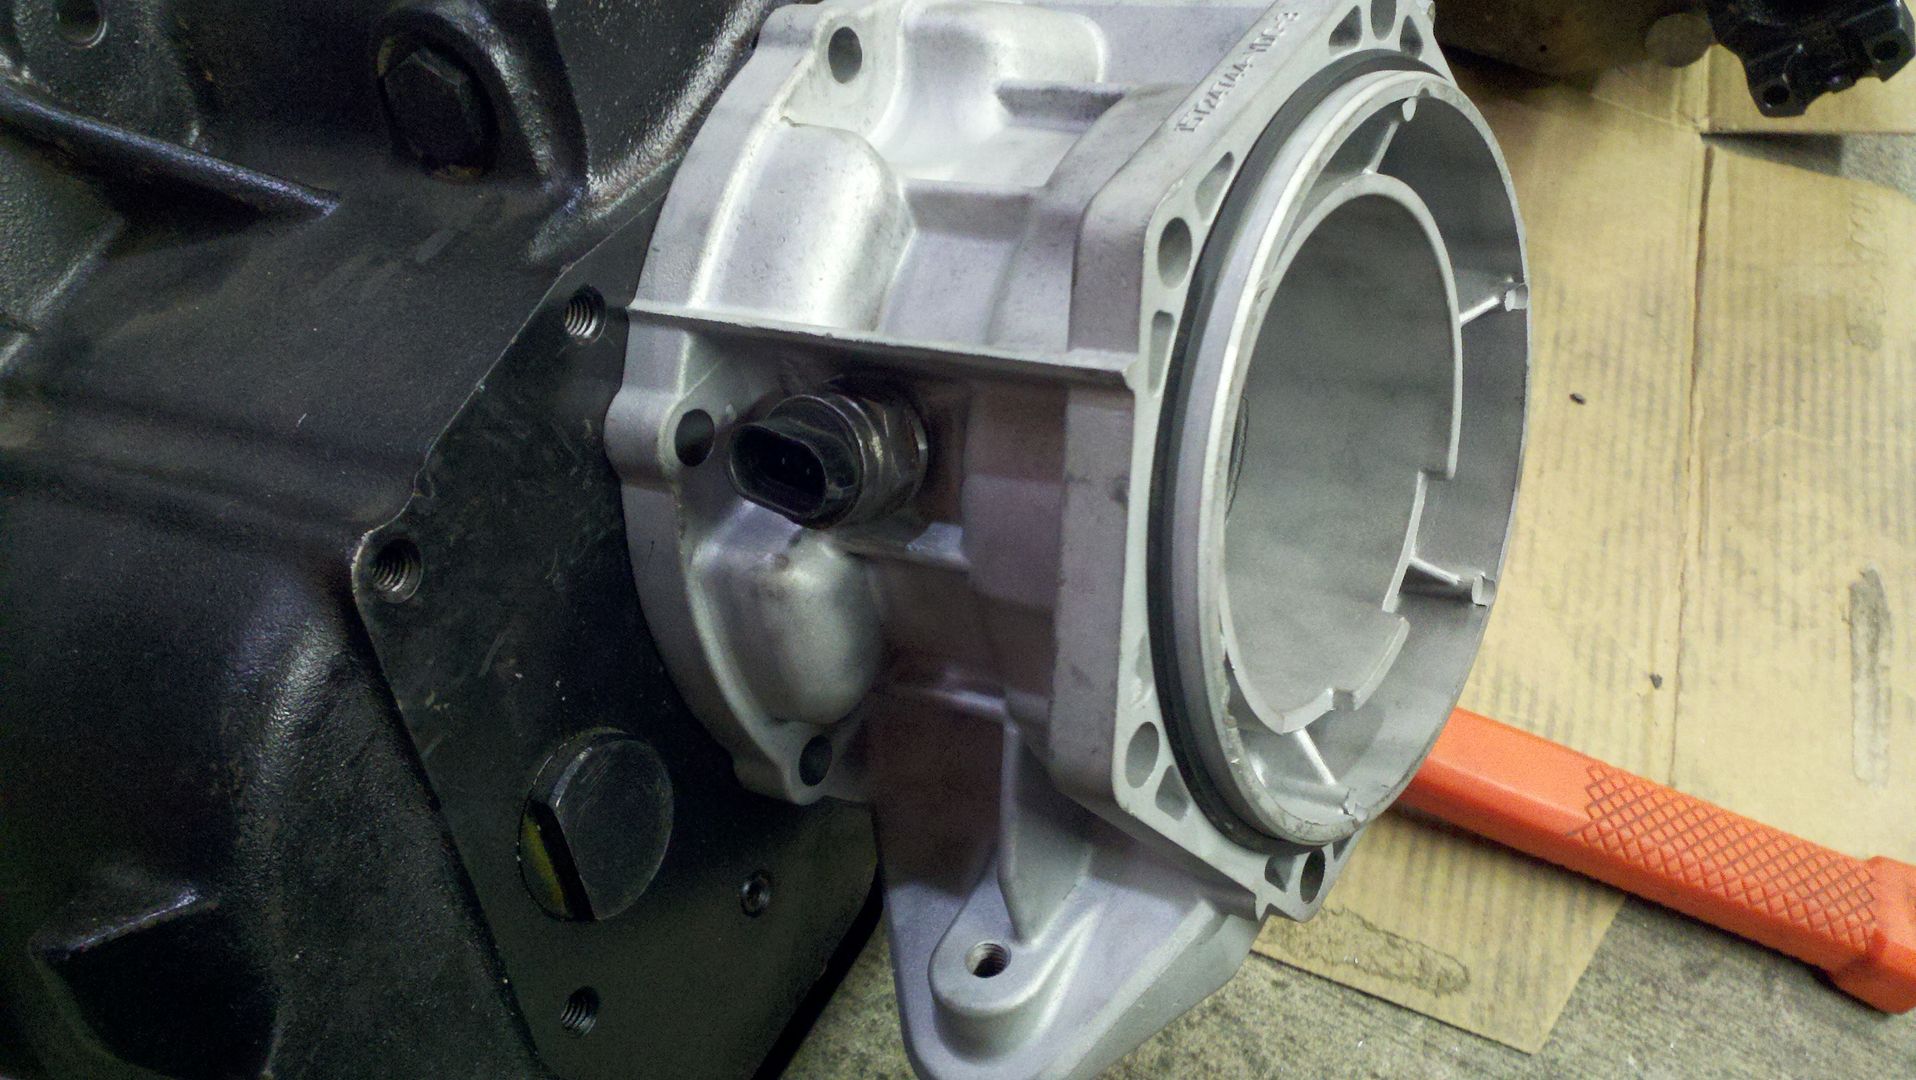
Then I drilled and tapped the 4l60e adapter for the VSS. I had to put one washer on to shim it out and then it was a perfect gap.
I also got the 5.3 started for the first time since it came the wrecking yard. It has either been on a pallet or on the engine stand for more than a year now and I put a new oil filter on and some oil. It was amazing how it just fires right up after sitting for so long
I also ended up getting a 4l60e and I am not going to use the 700r4. I just liked the idea of being able to control shift points and I didn't want to mess with the TV cable for the 700r4. So my dad and I started to work on getting the speed sensor to fit behind the tranny. We turned down the end of the 203 input gear on the lathe and bored the splines off the inside of the reluctor ring and made it to spec so that it would press on to the 203 input gear.
(Before)
(After)
Then I drilled and tapped the 4l60e adapter for the VSS. I had to put one washer on to shim it out and then it was a perfect gap.
Jun 6, 2012 | 07:57 AM
#49
Thread Starter
Registered User
Joined: Sep 2010
Posts: 122
Likes: 0
From: Moscow Idaho
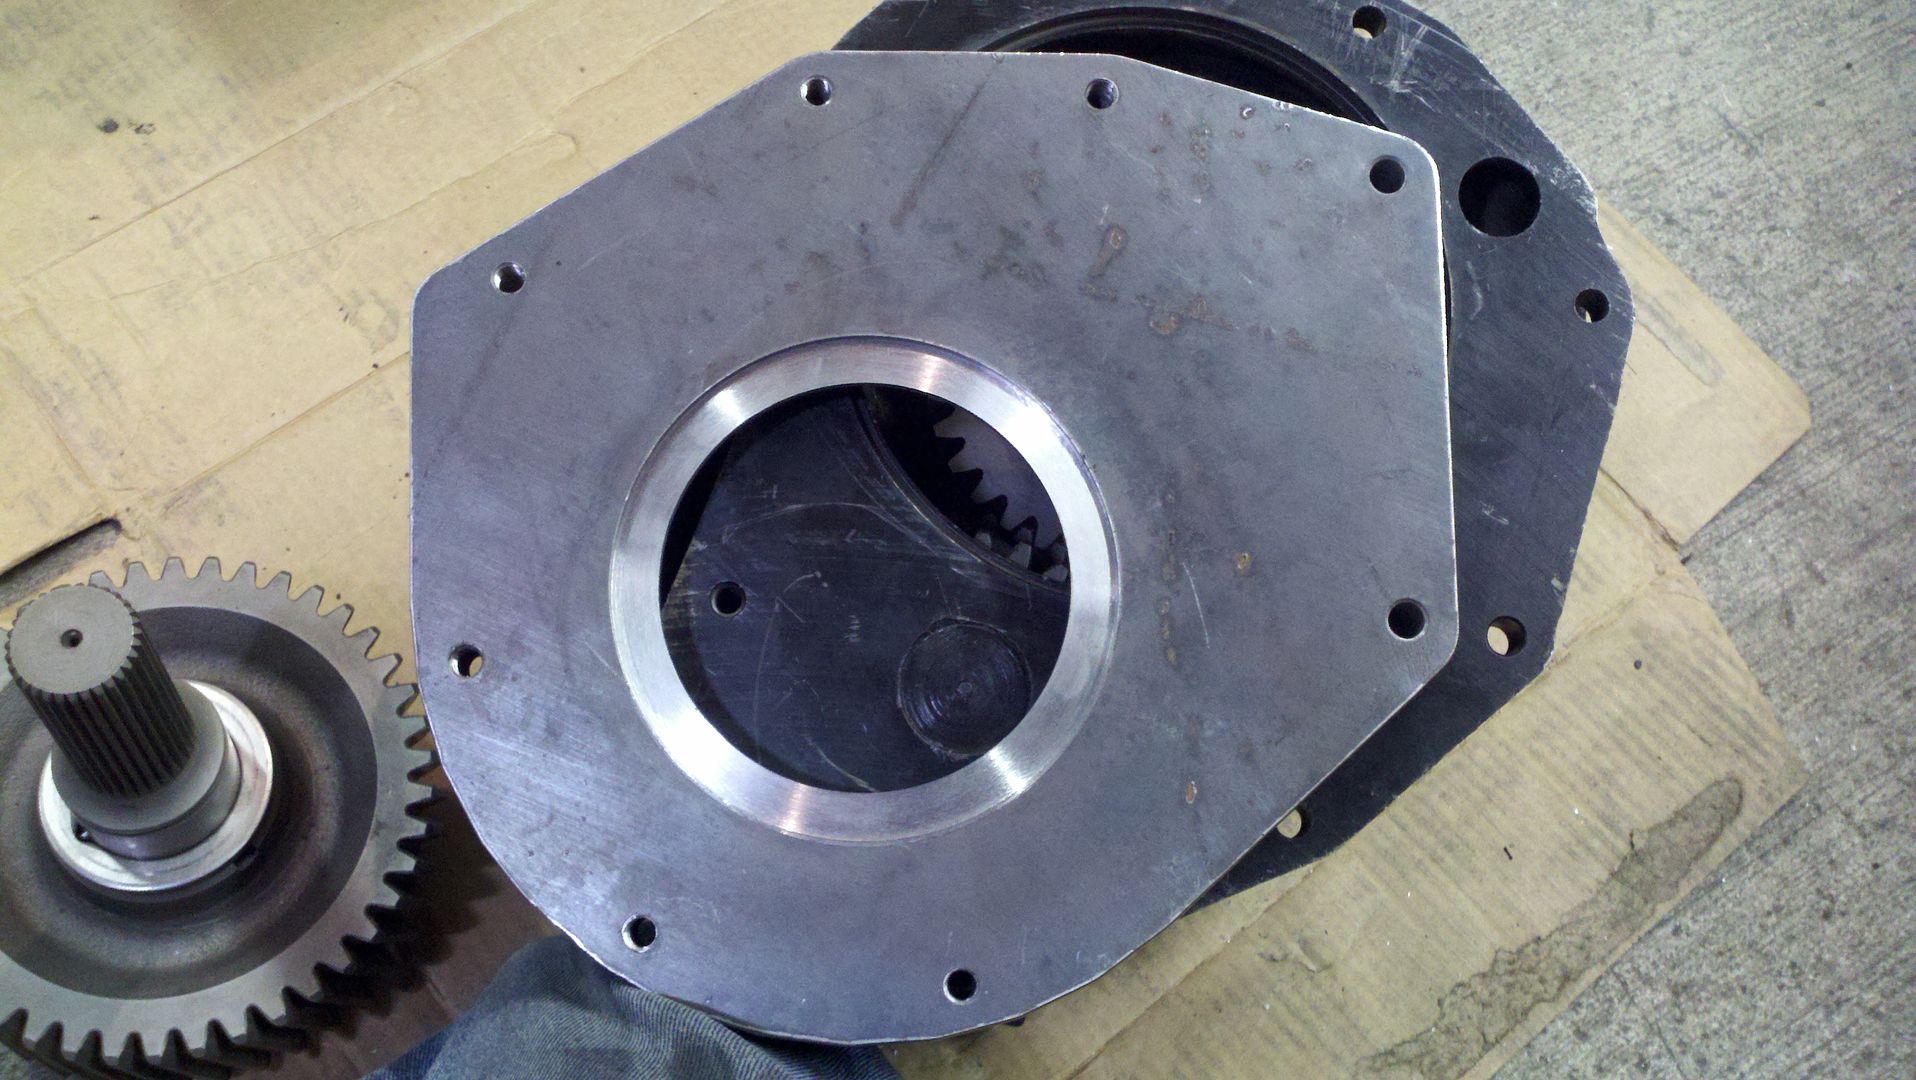
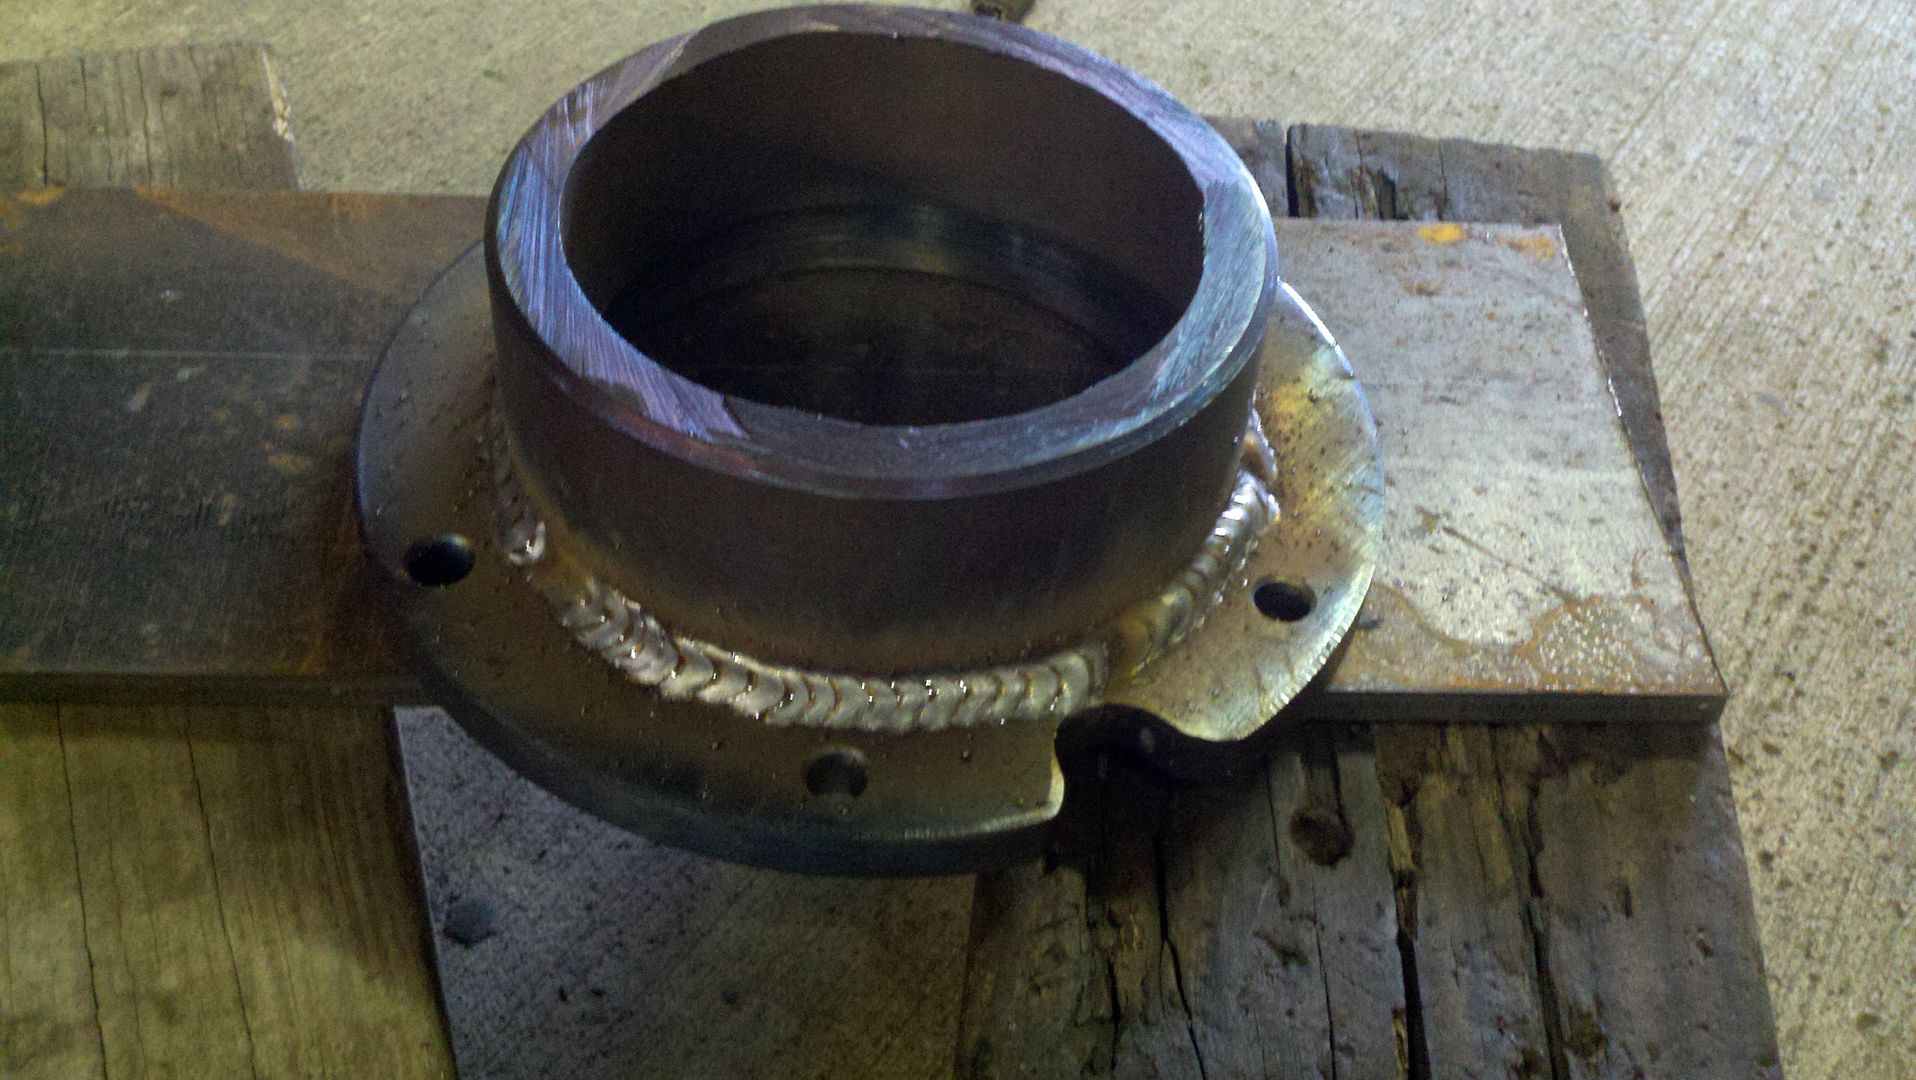
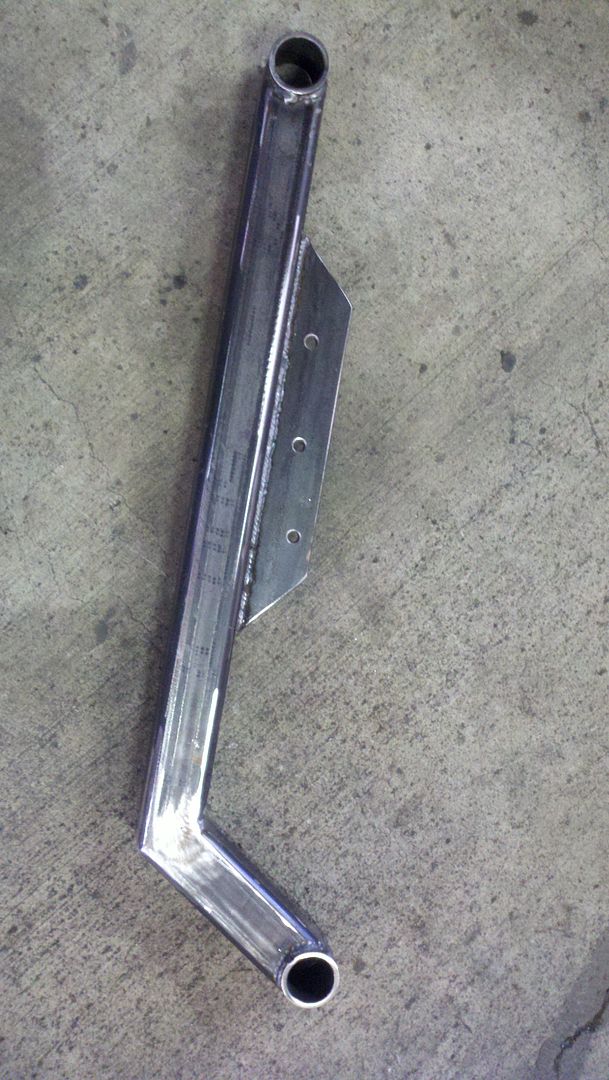
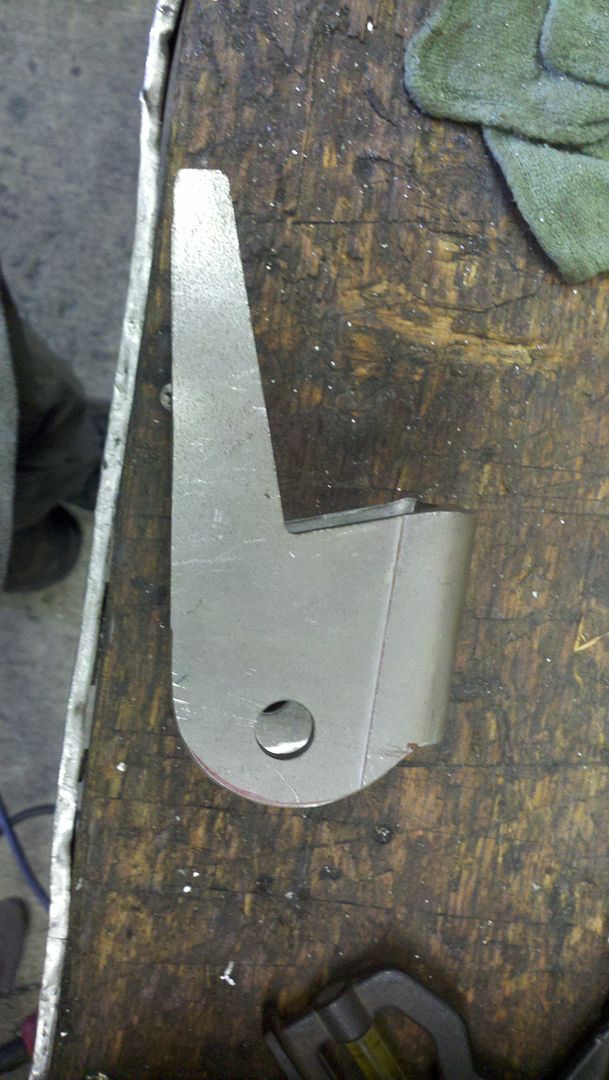
We also pretty much got the 203-205 adapter done. We just need to finish welding it when I figure out how much I want to clock the 205. I got a billet intermediate shaft from Jeds Machining.
203 plate (Facing 203 side)
203 plate (facing adapter side)
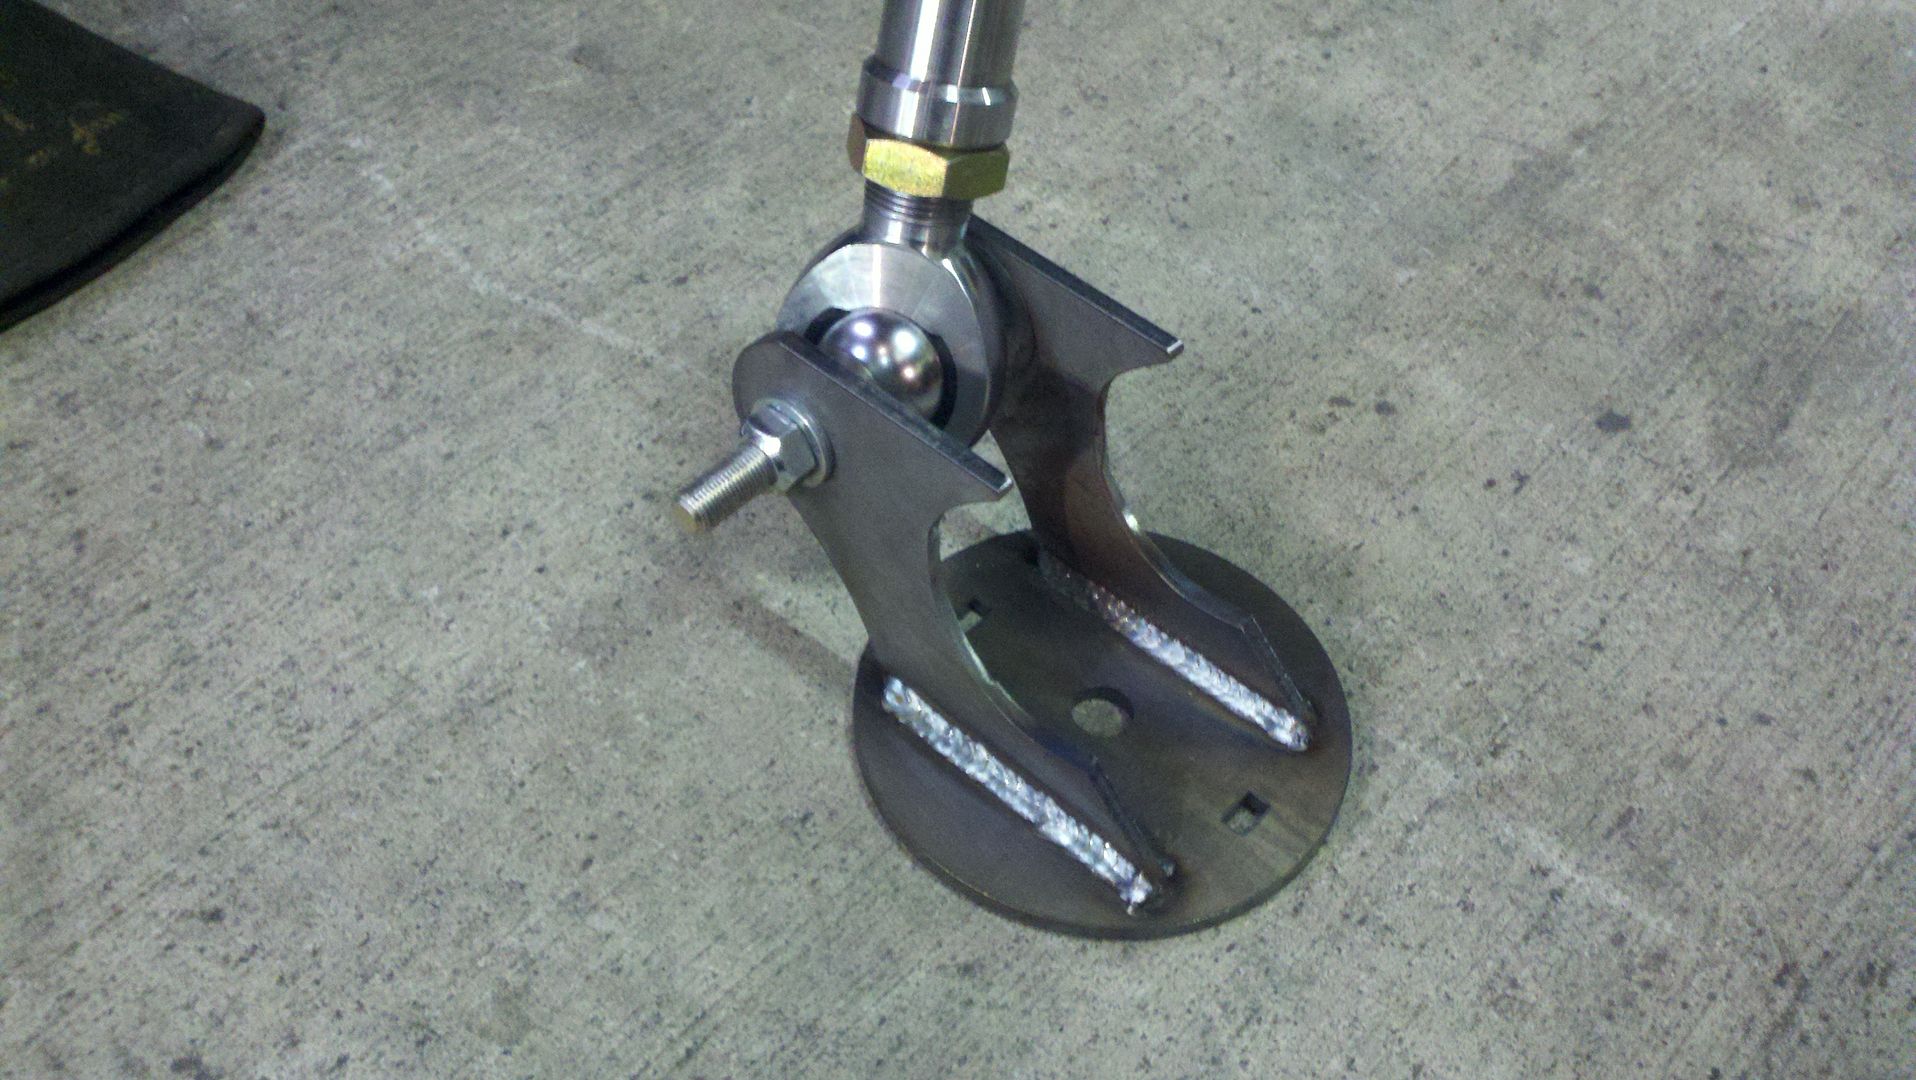
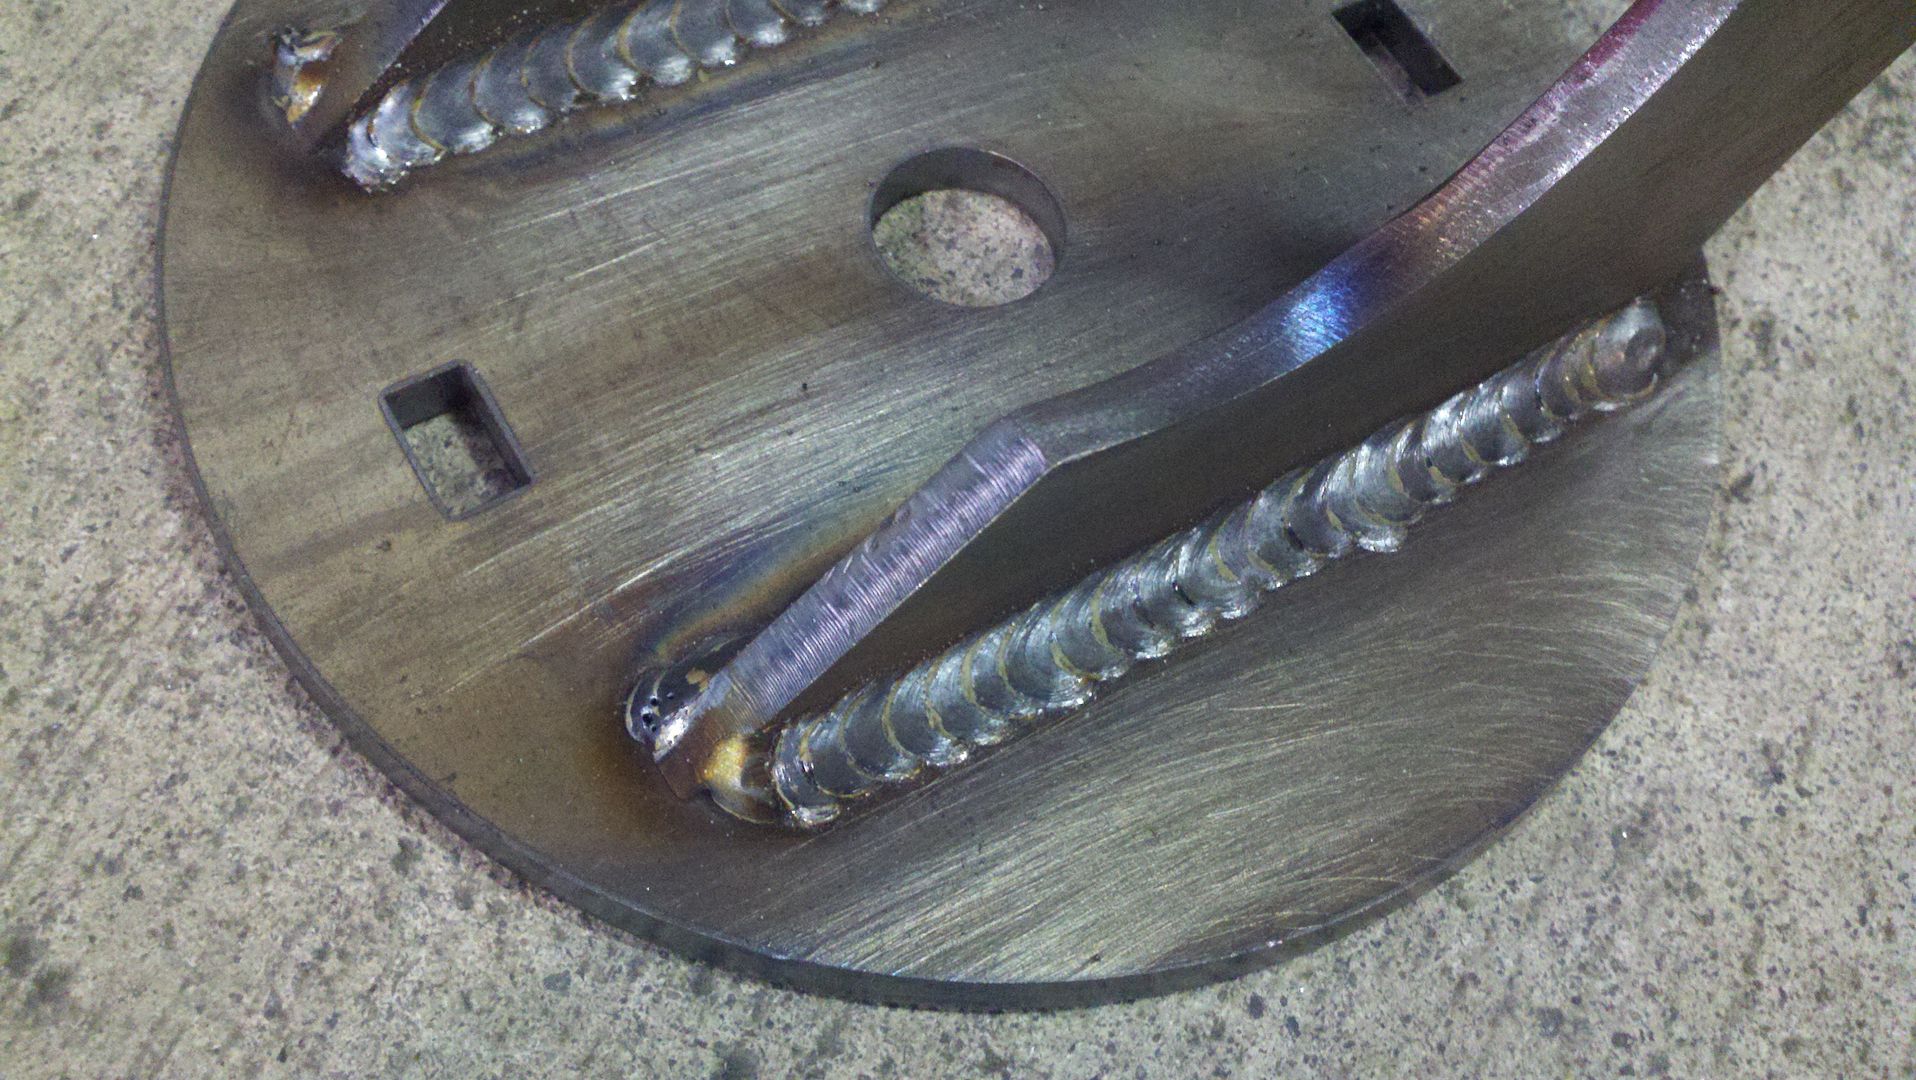
Here is the 205 plate
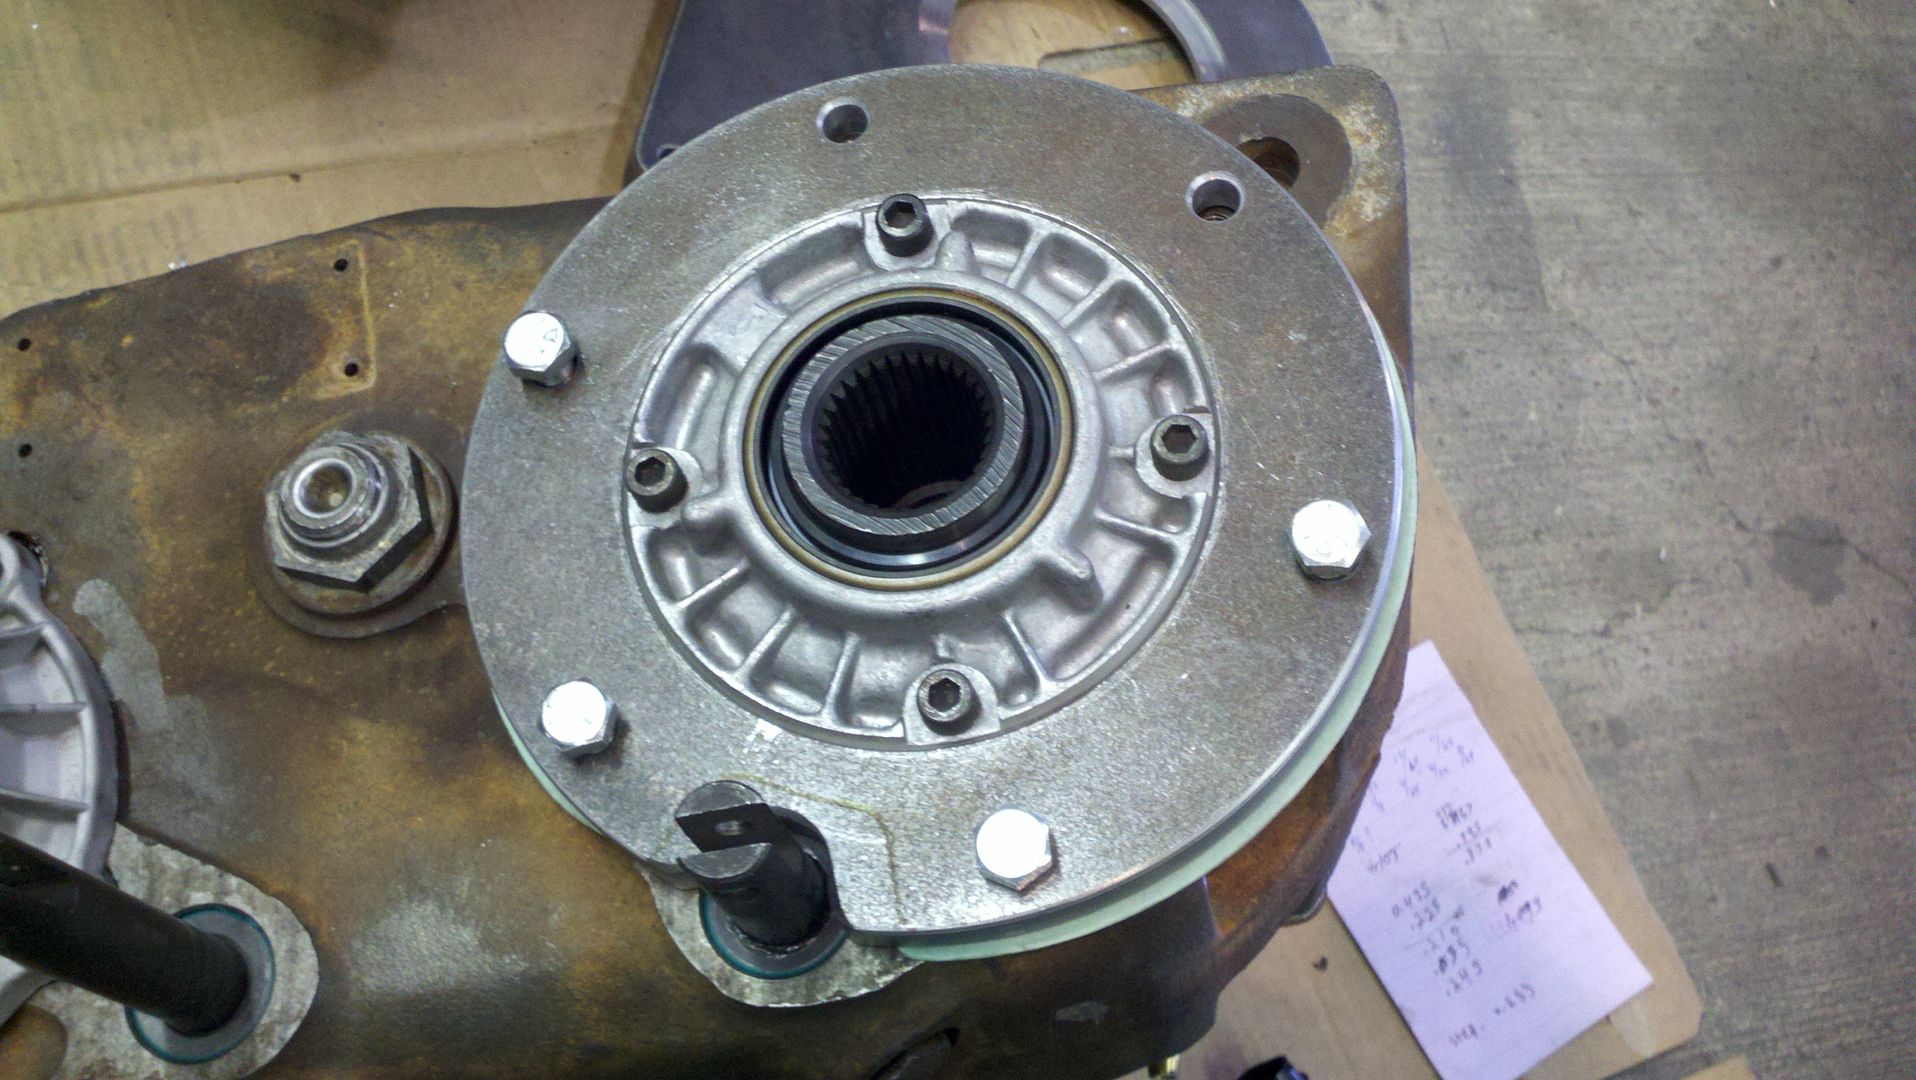
The 205 plate welded to the tube
203 plate (Facing 203 side)
203 plate (facing adapter side)
Here is the 205 plate
The 205 plate welded to the tube
Jun 6, 2012 | 07:58 AM
#50
Thread Starter
Registered User
Joined: Sep 2010
Posts: 122
Likes: 0
From: Moscow Idaho
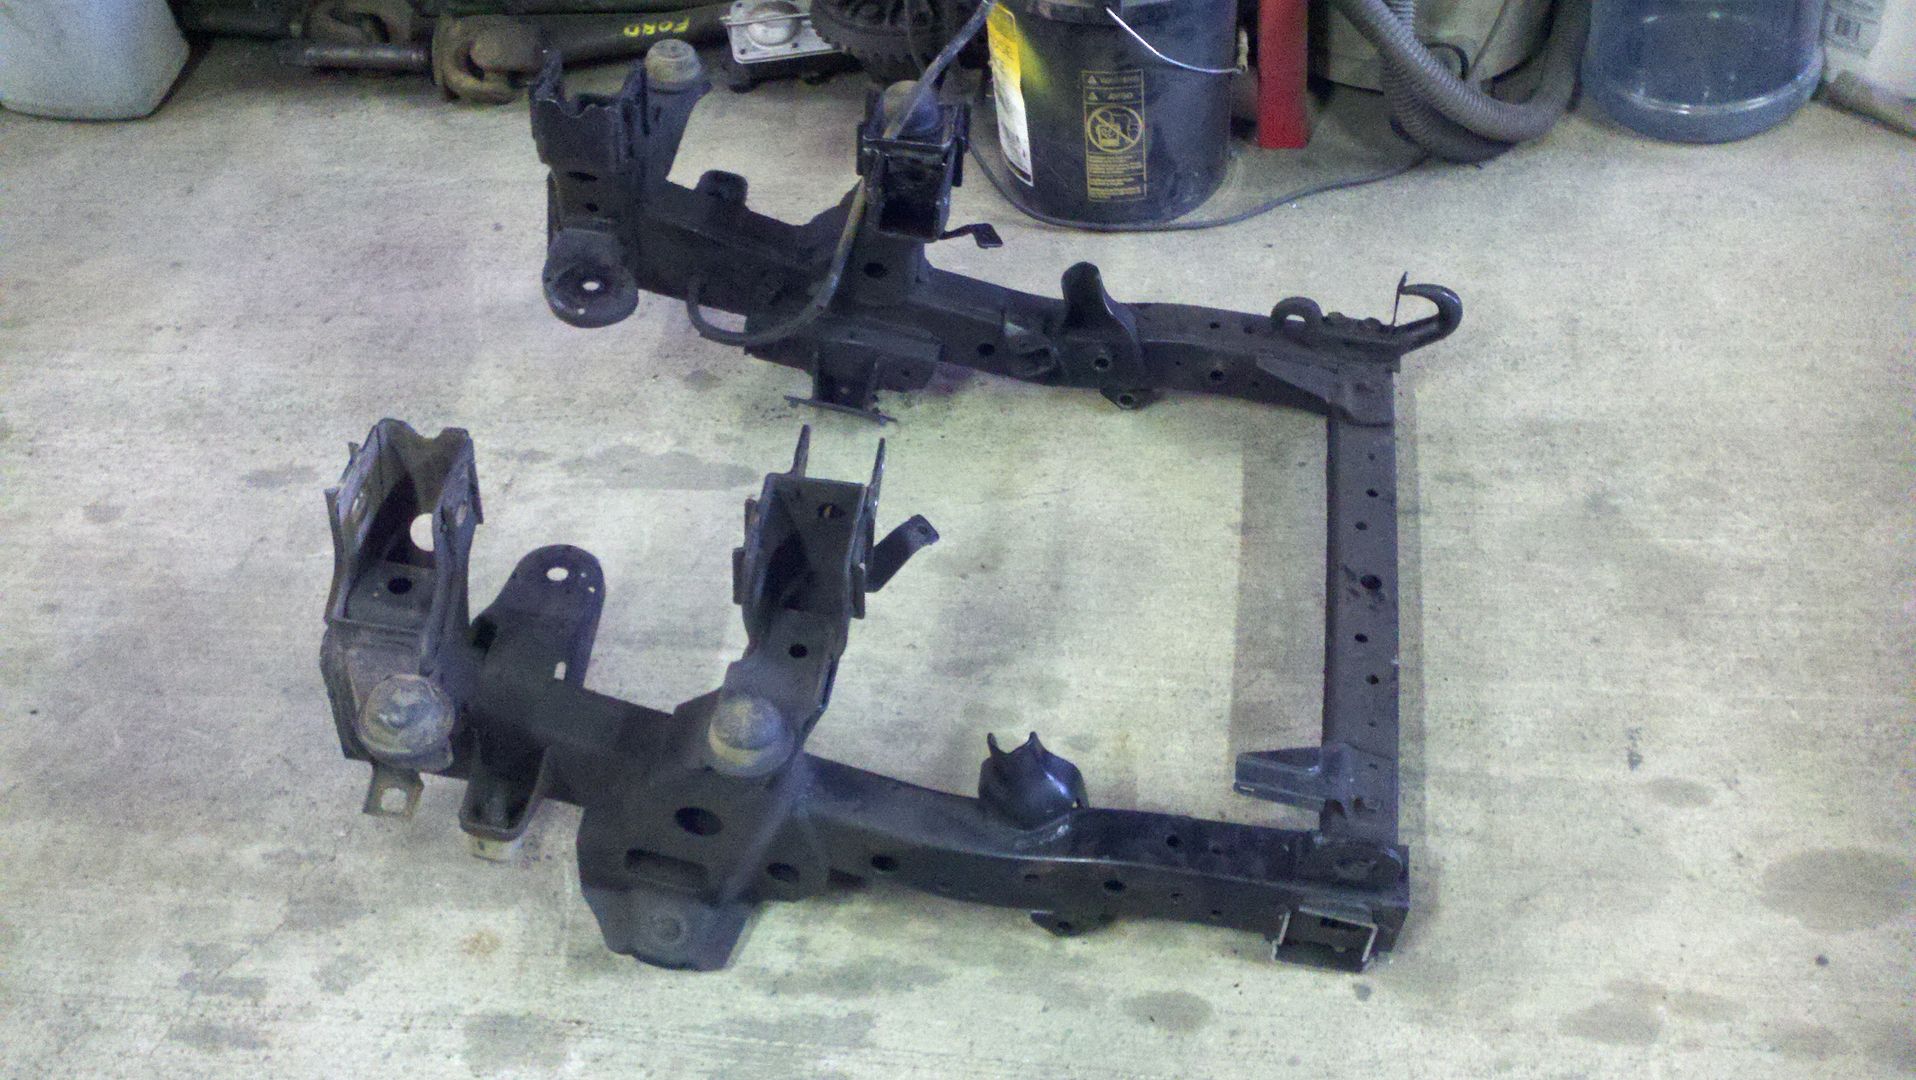
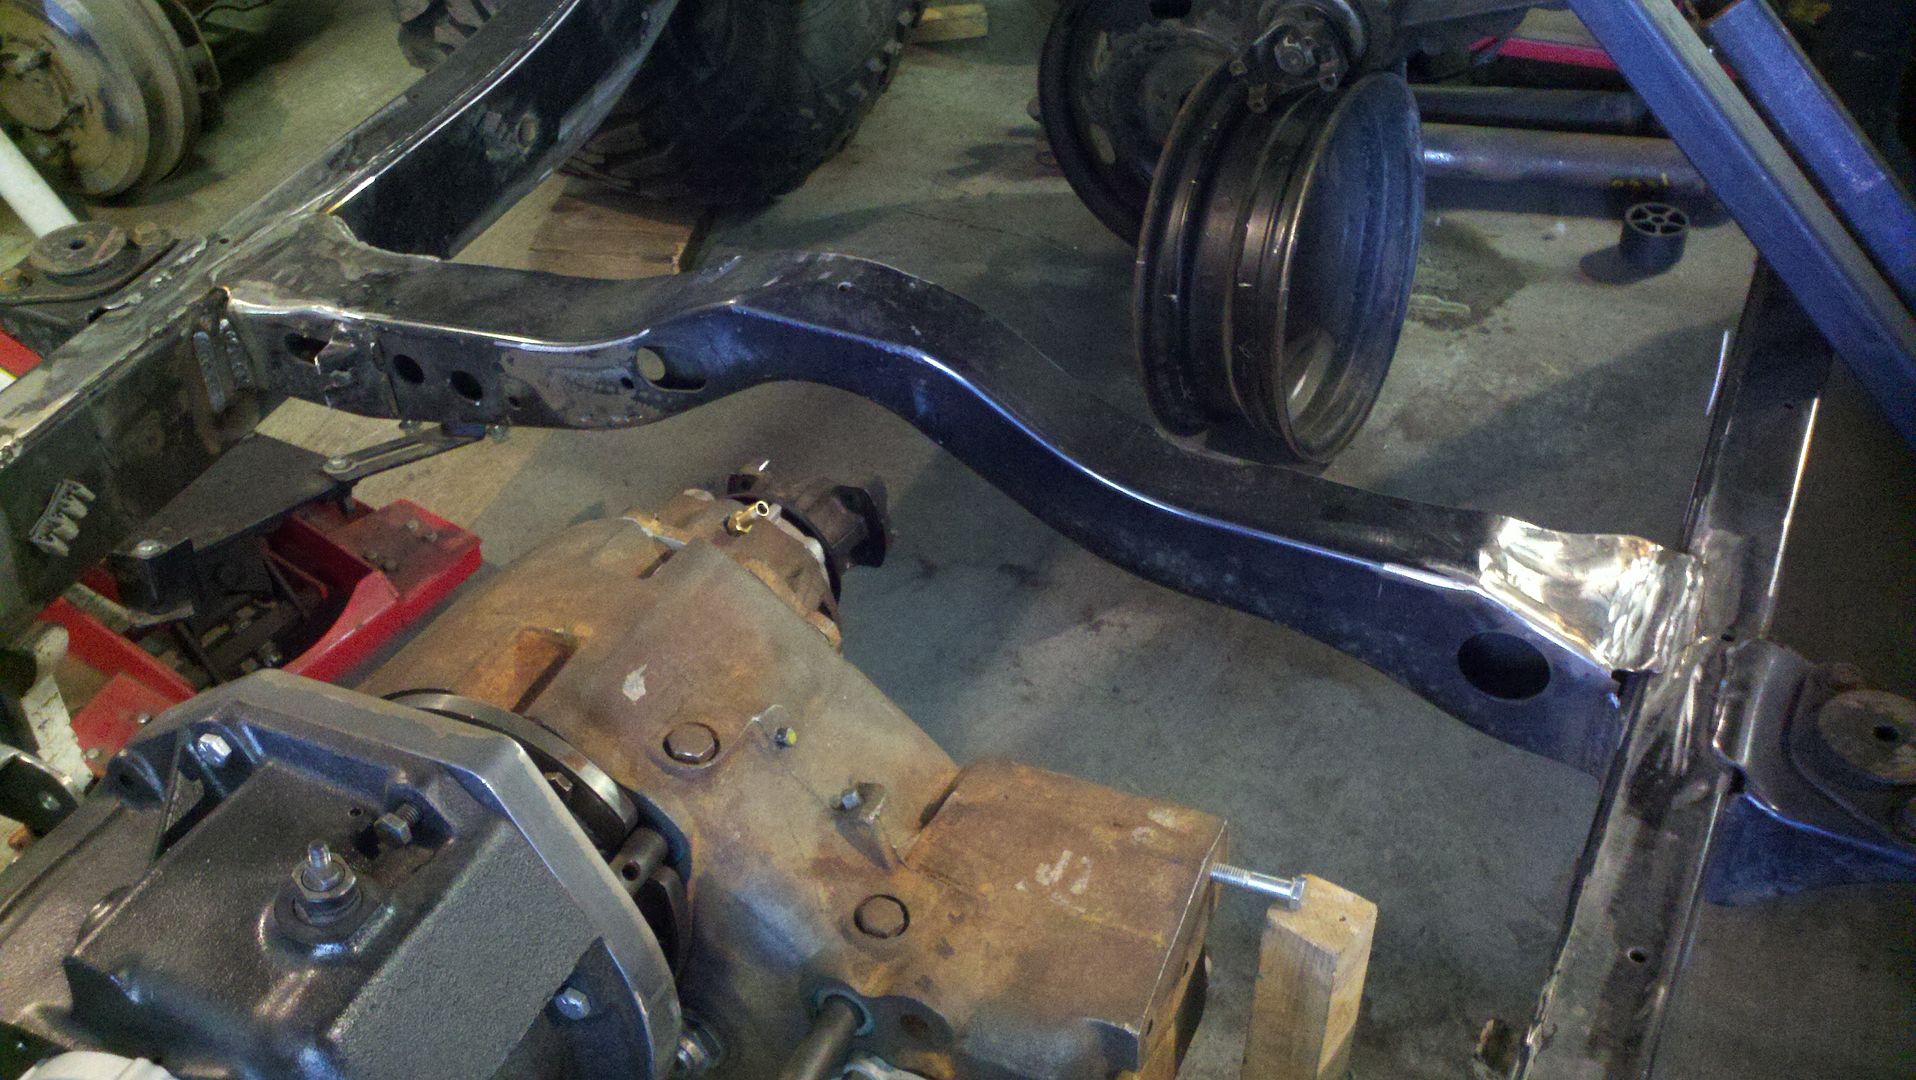
Here is a before shot of the front of the frame.
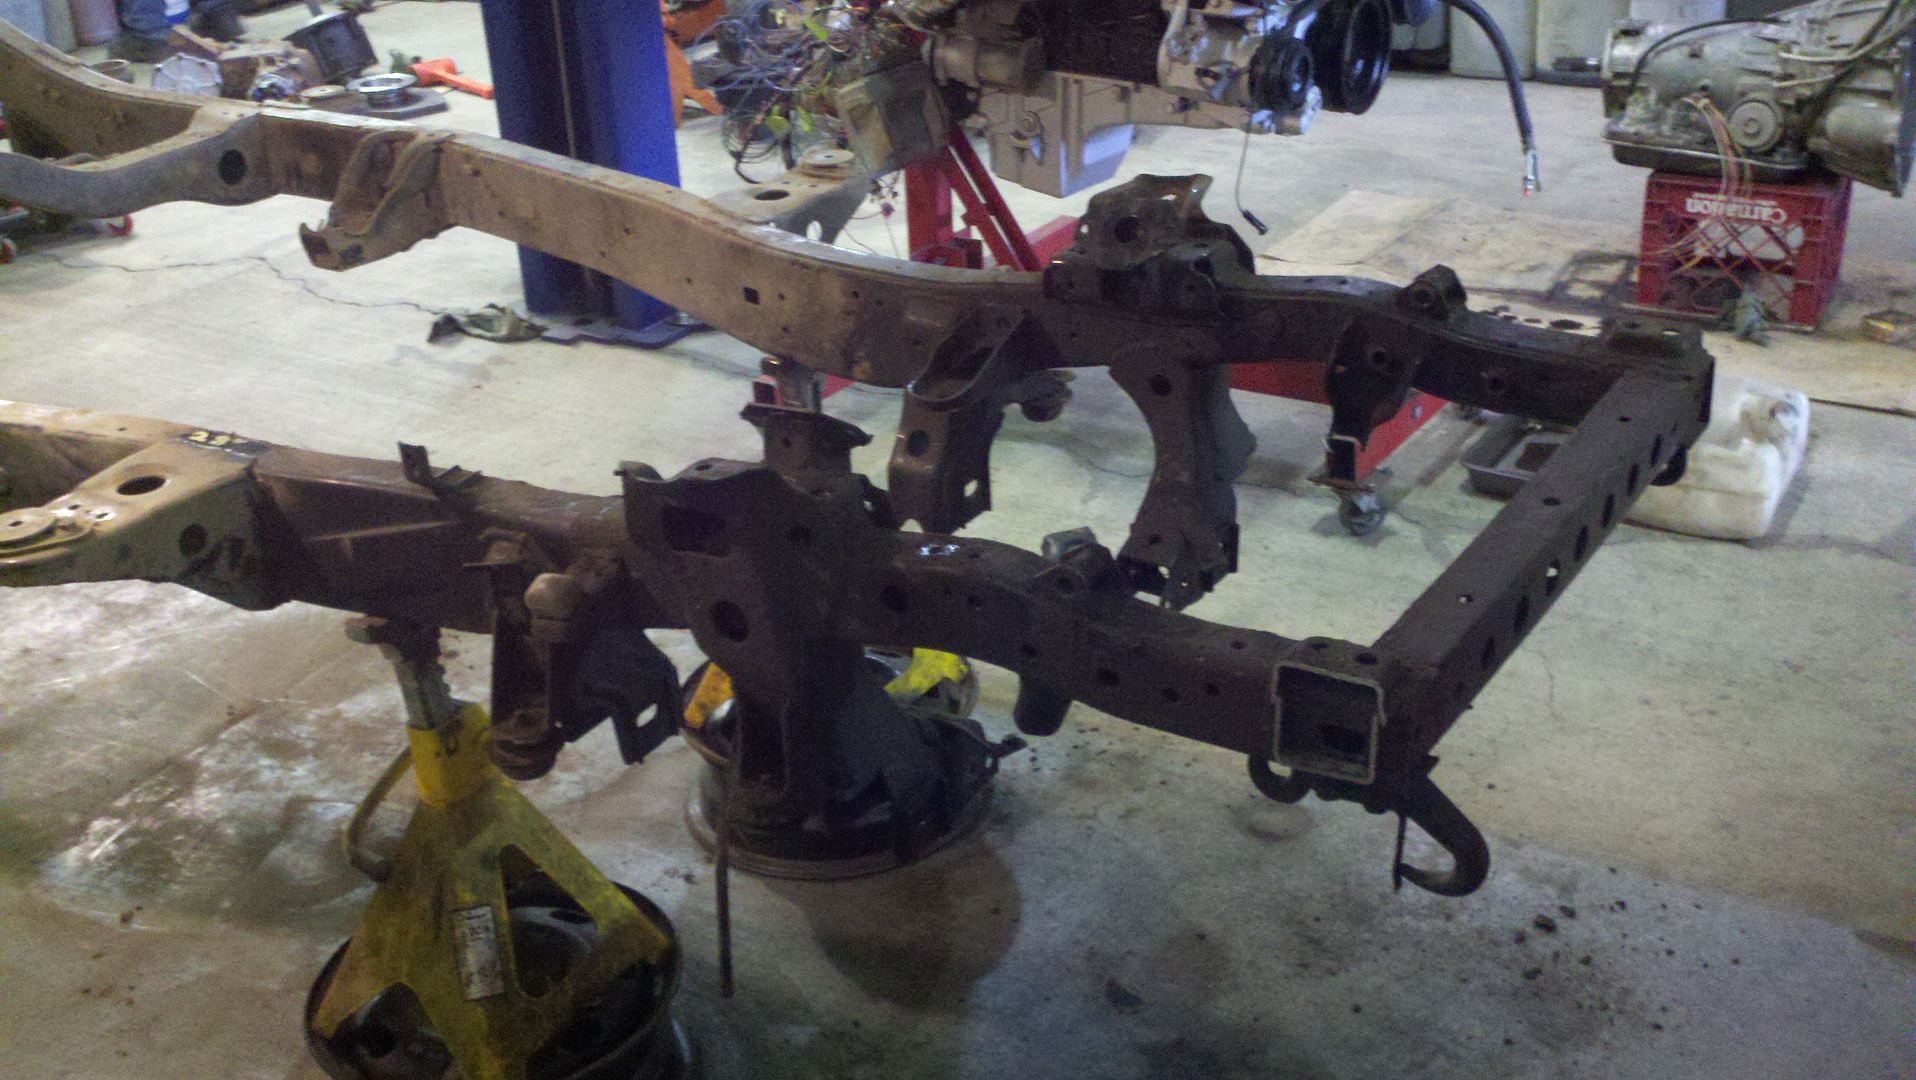
And this is what two simple cuts will get you
It saved a lot of time trying to deal with all the crap on the frame
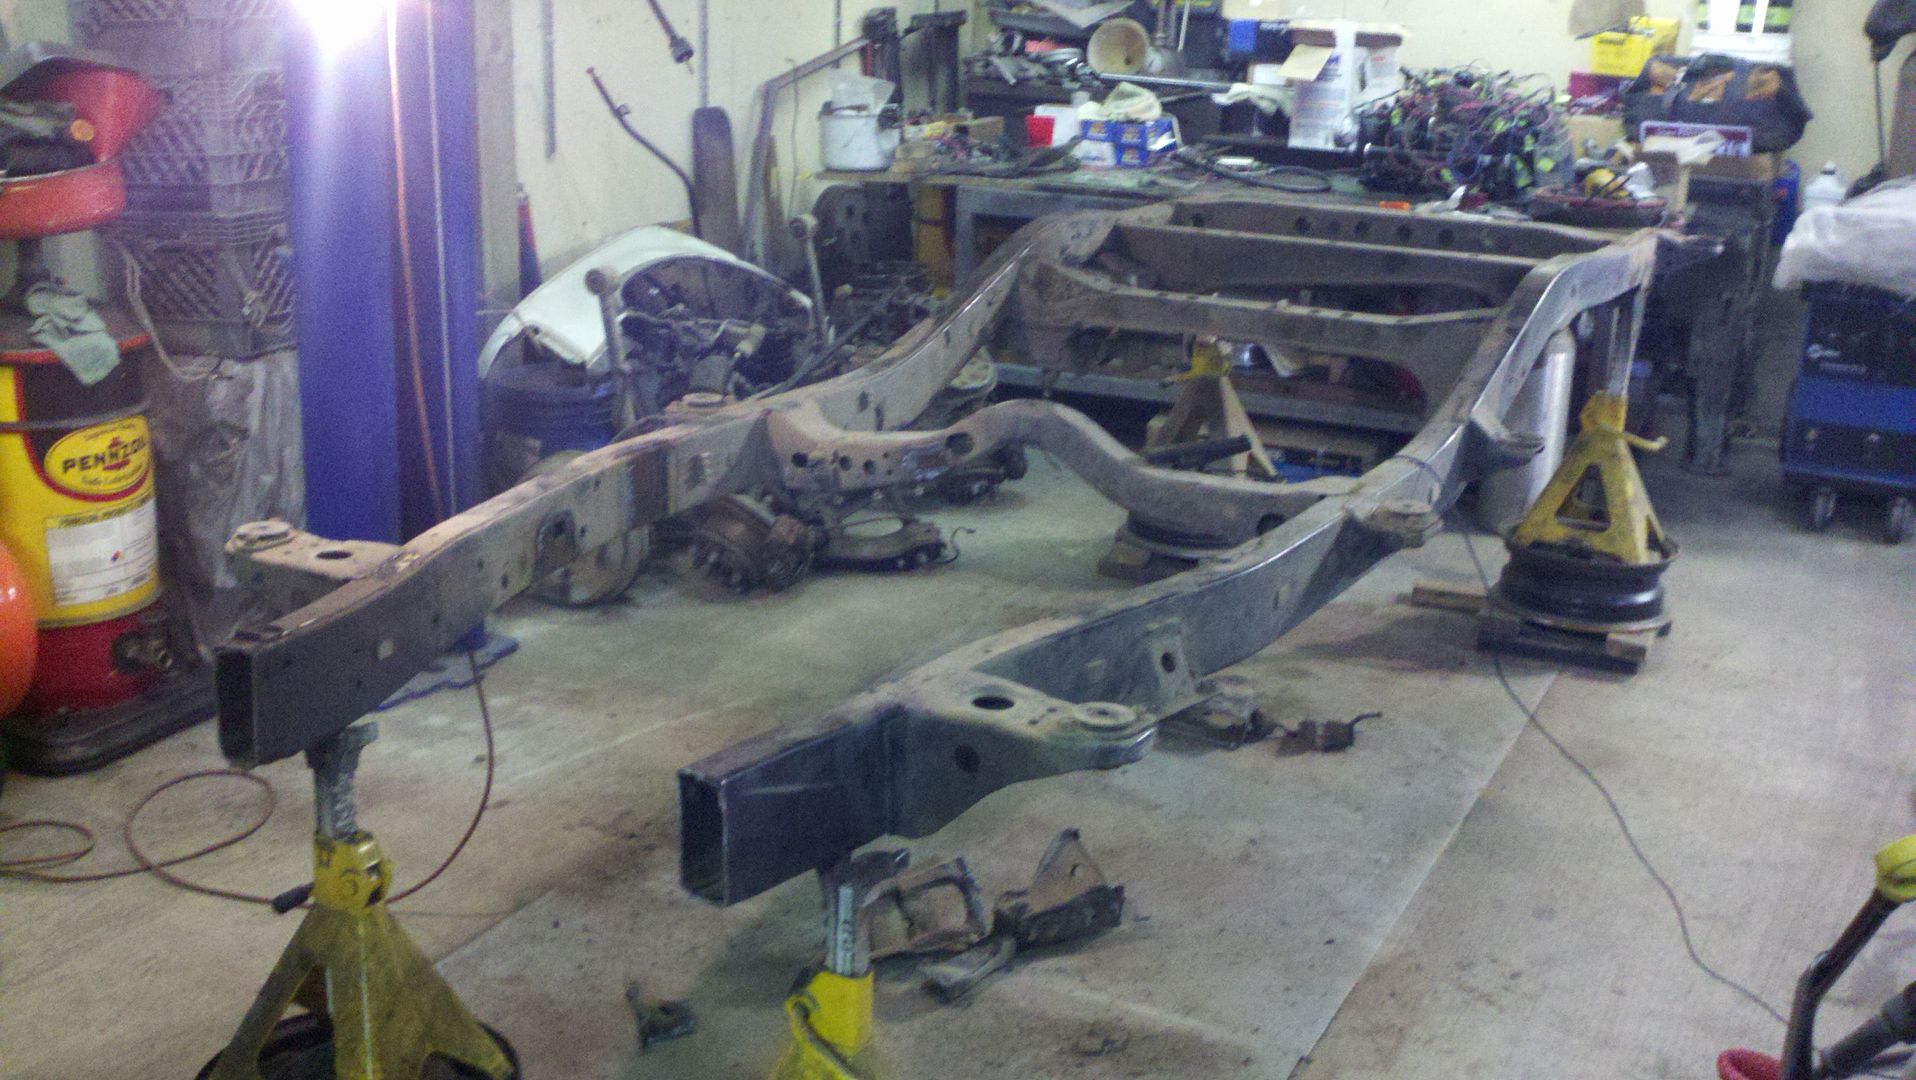
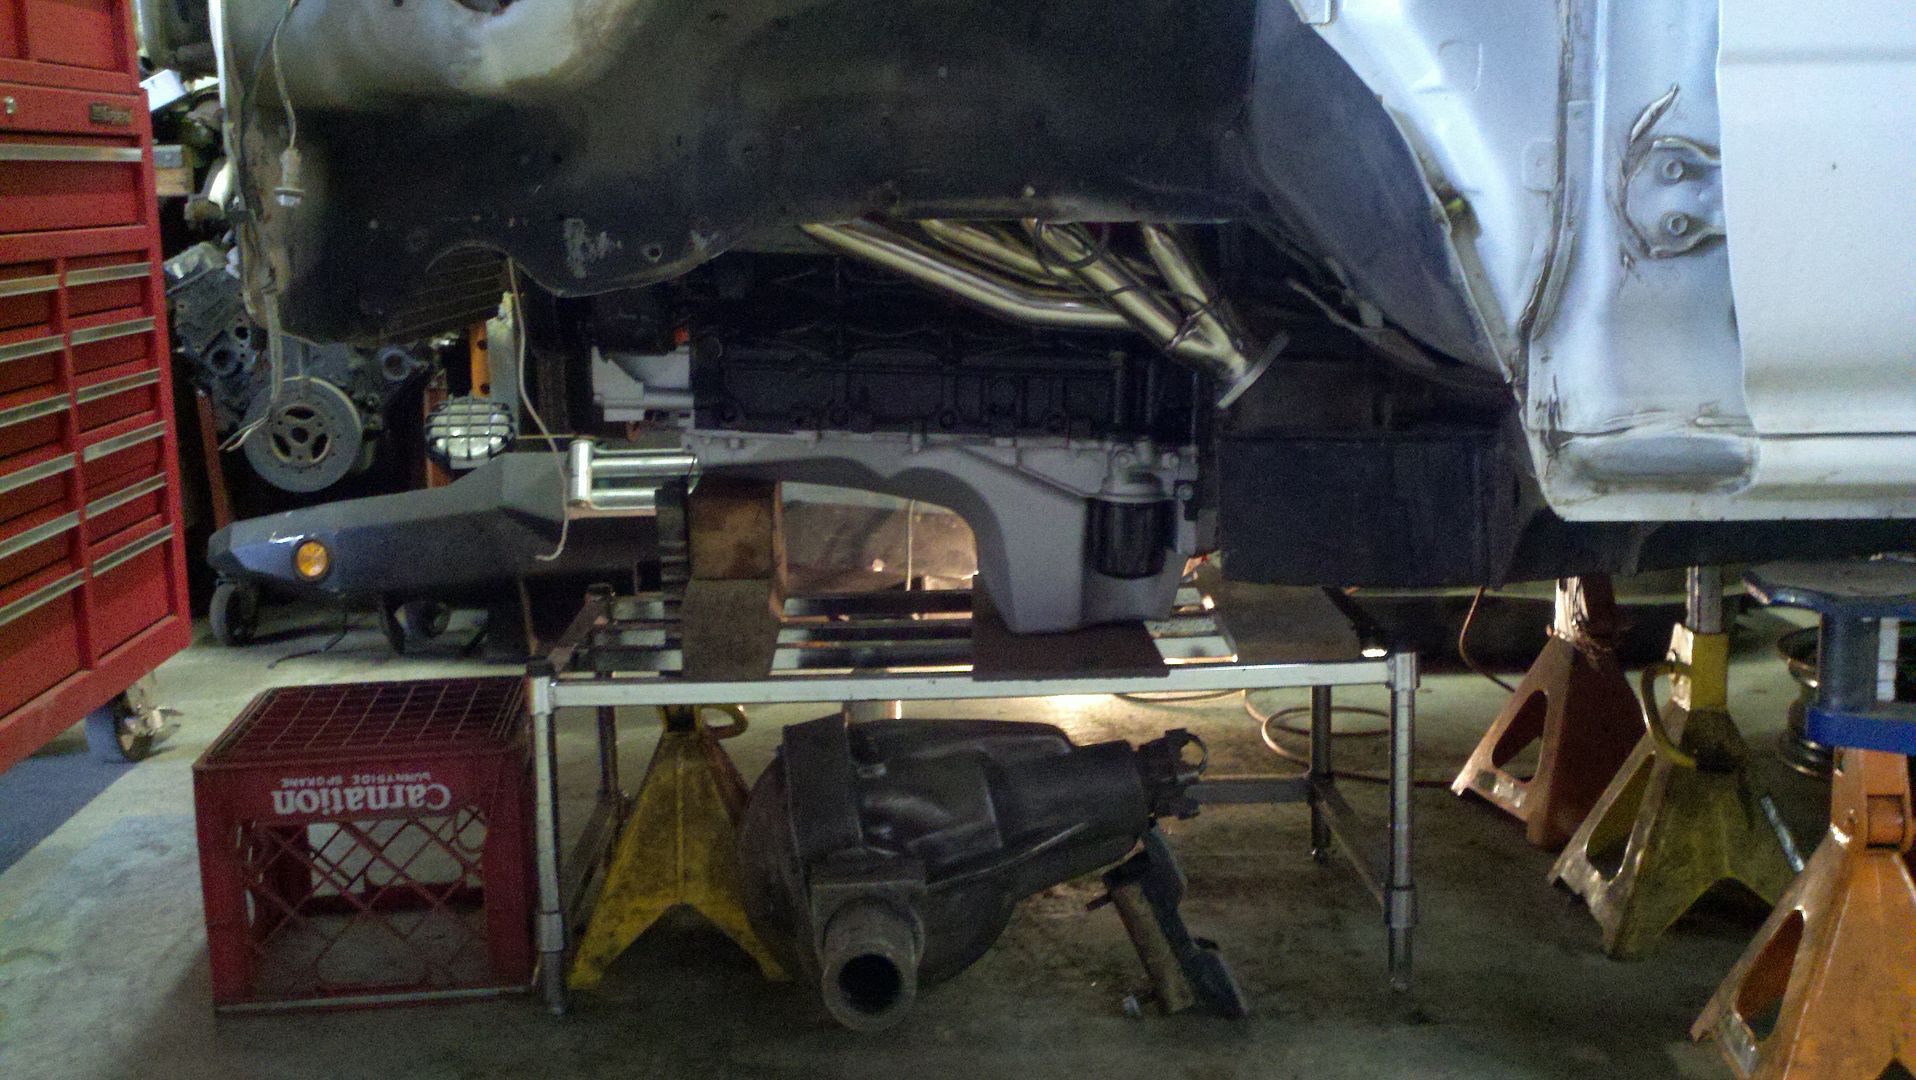
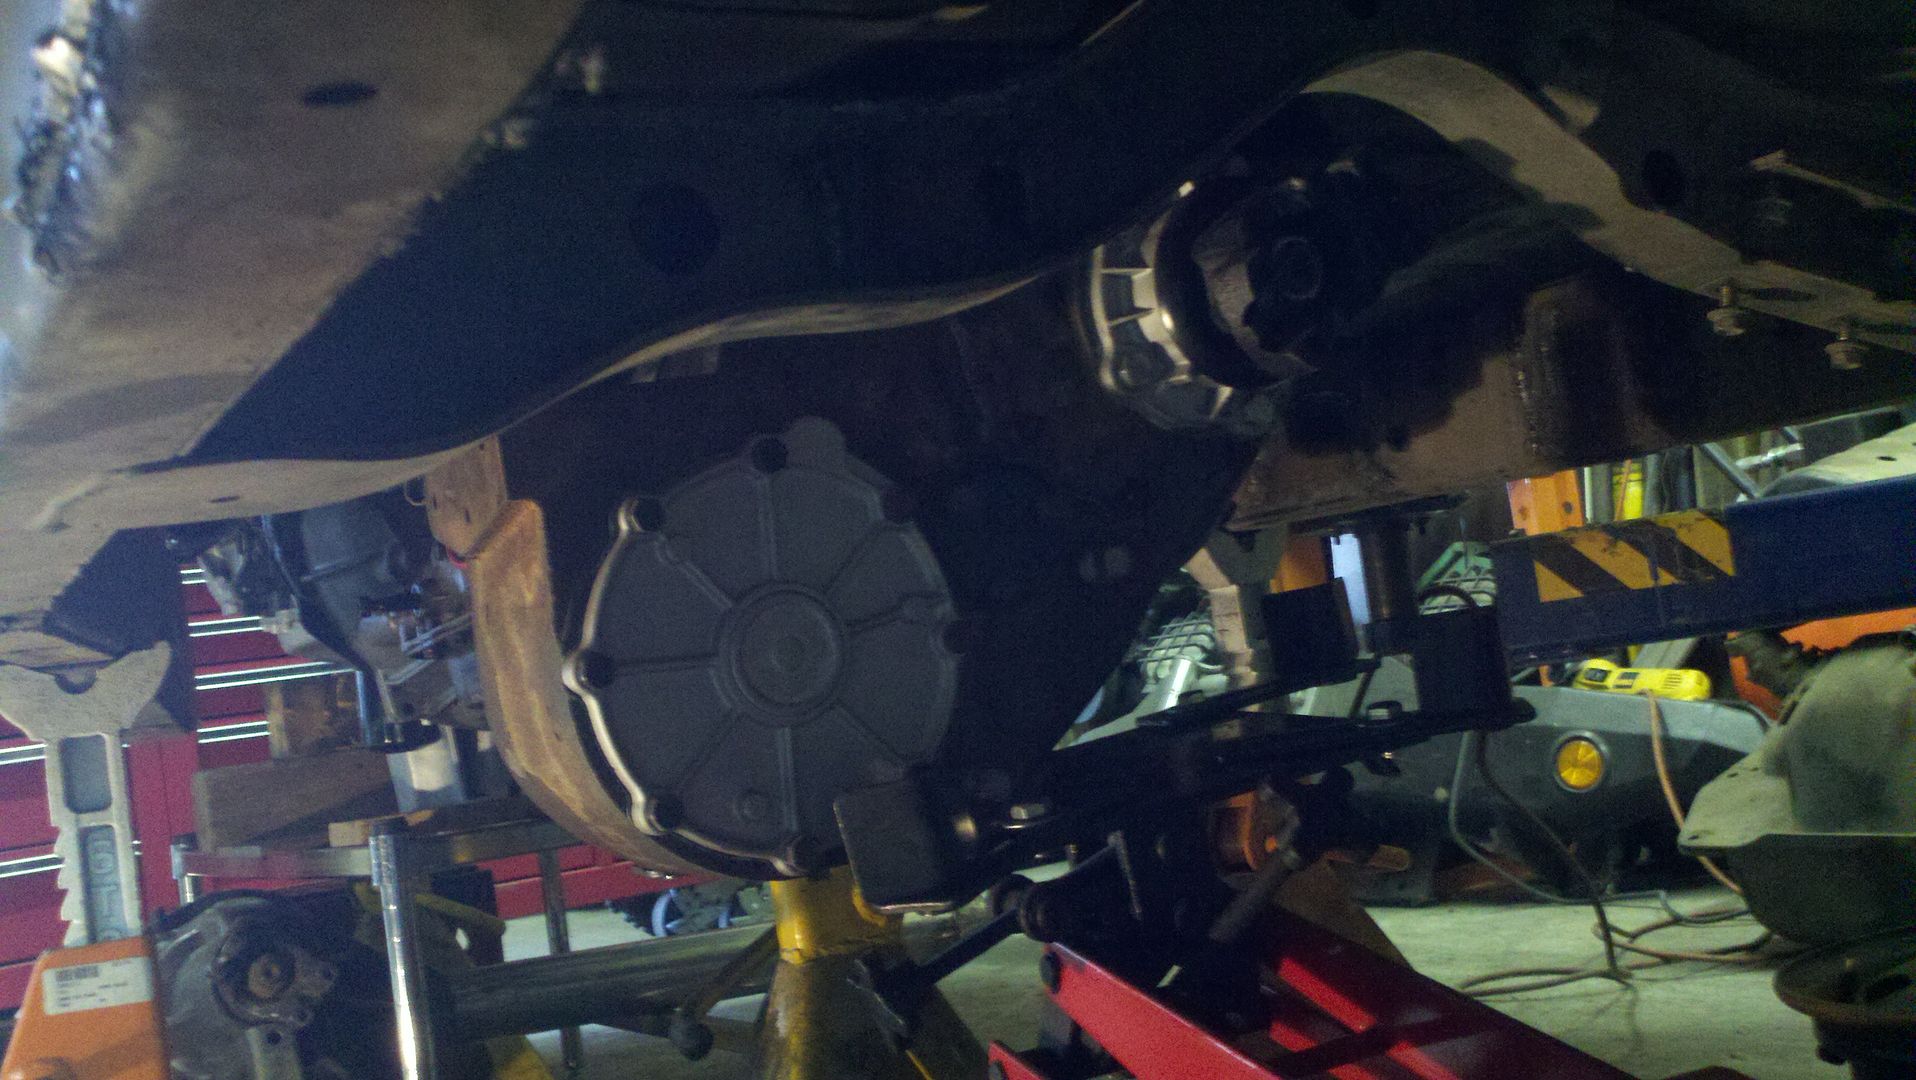
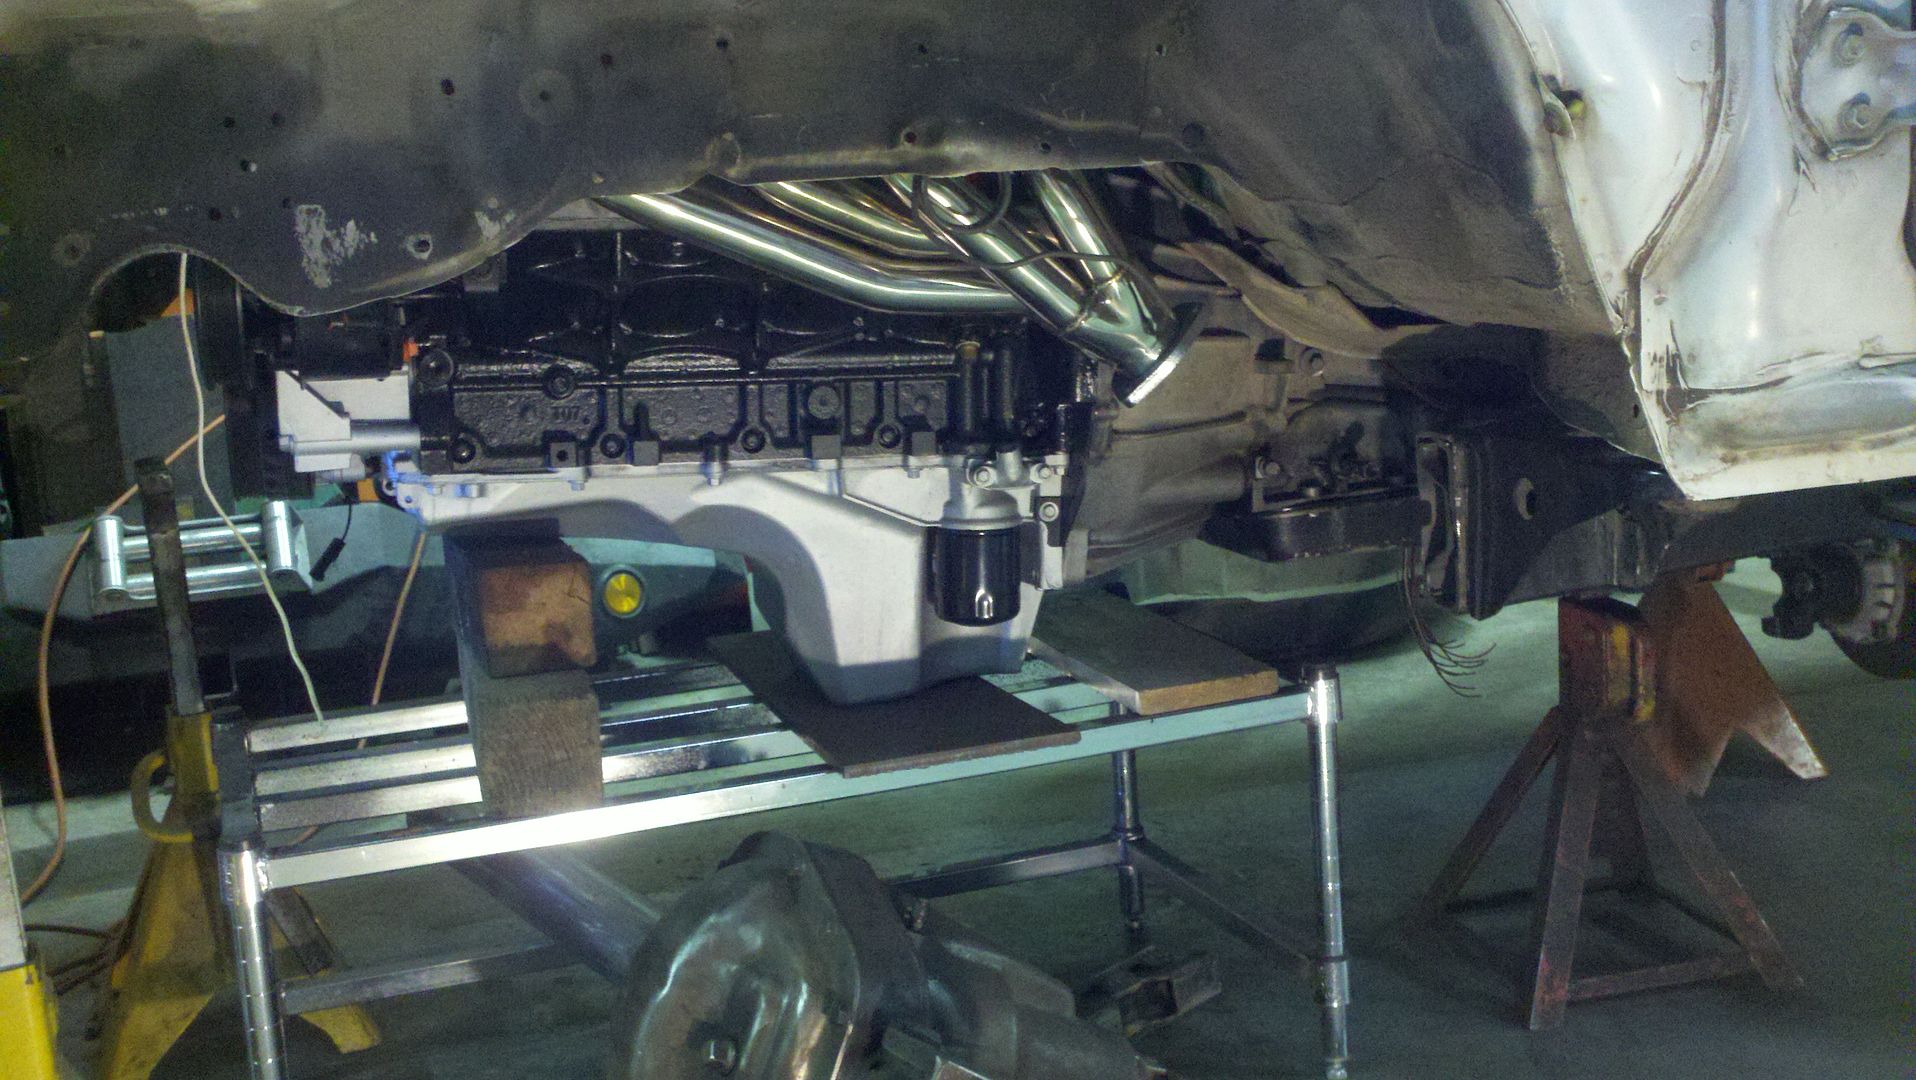
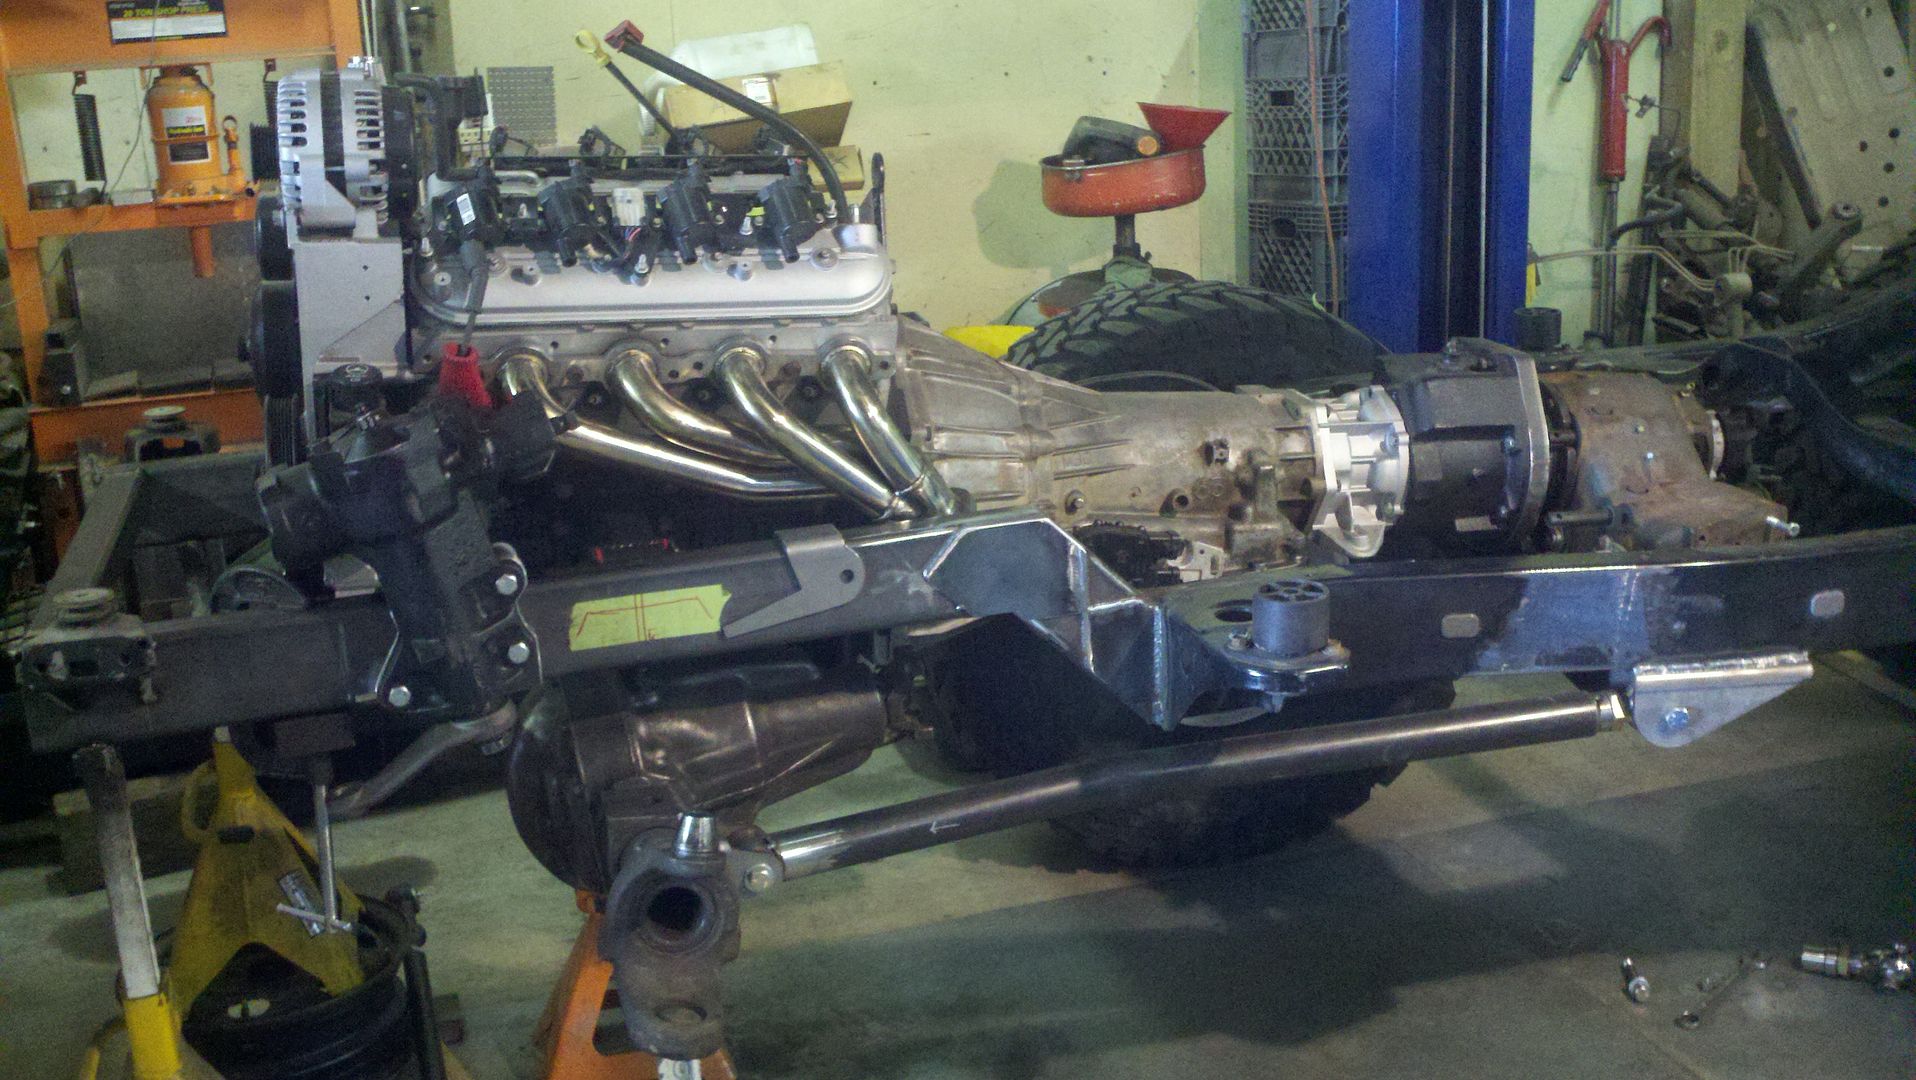
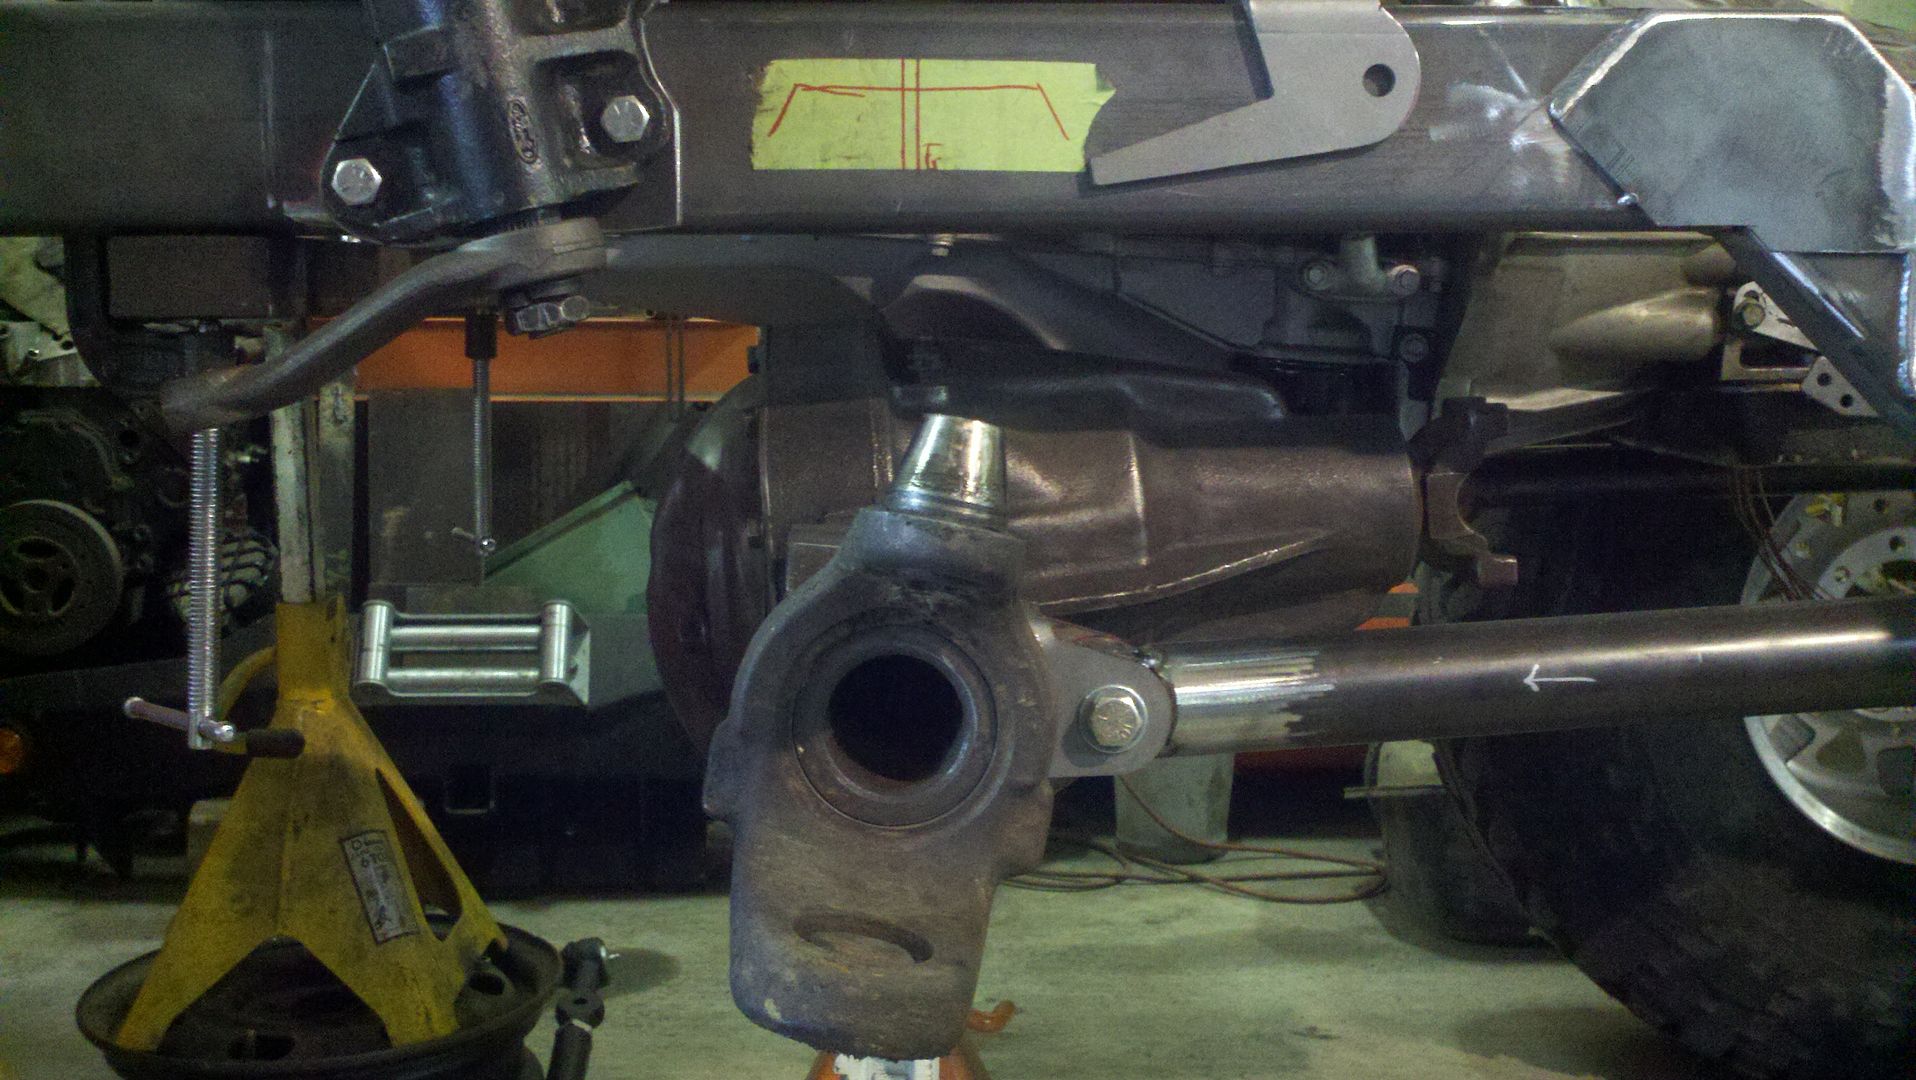
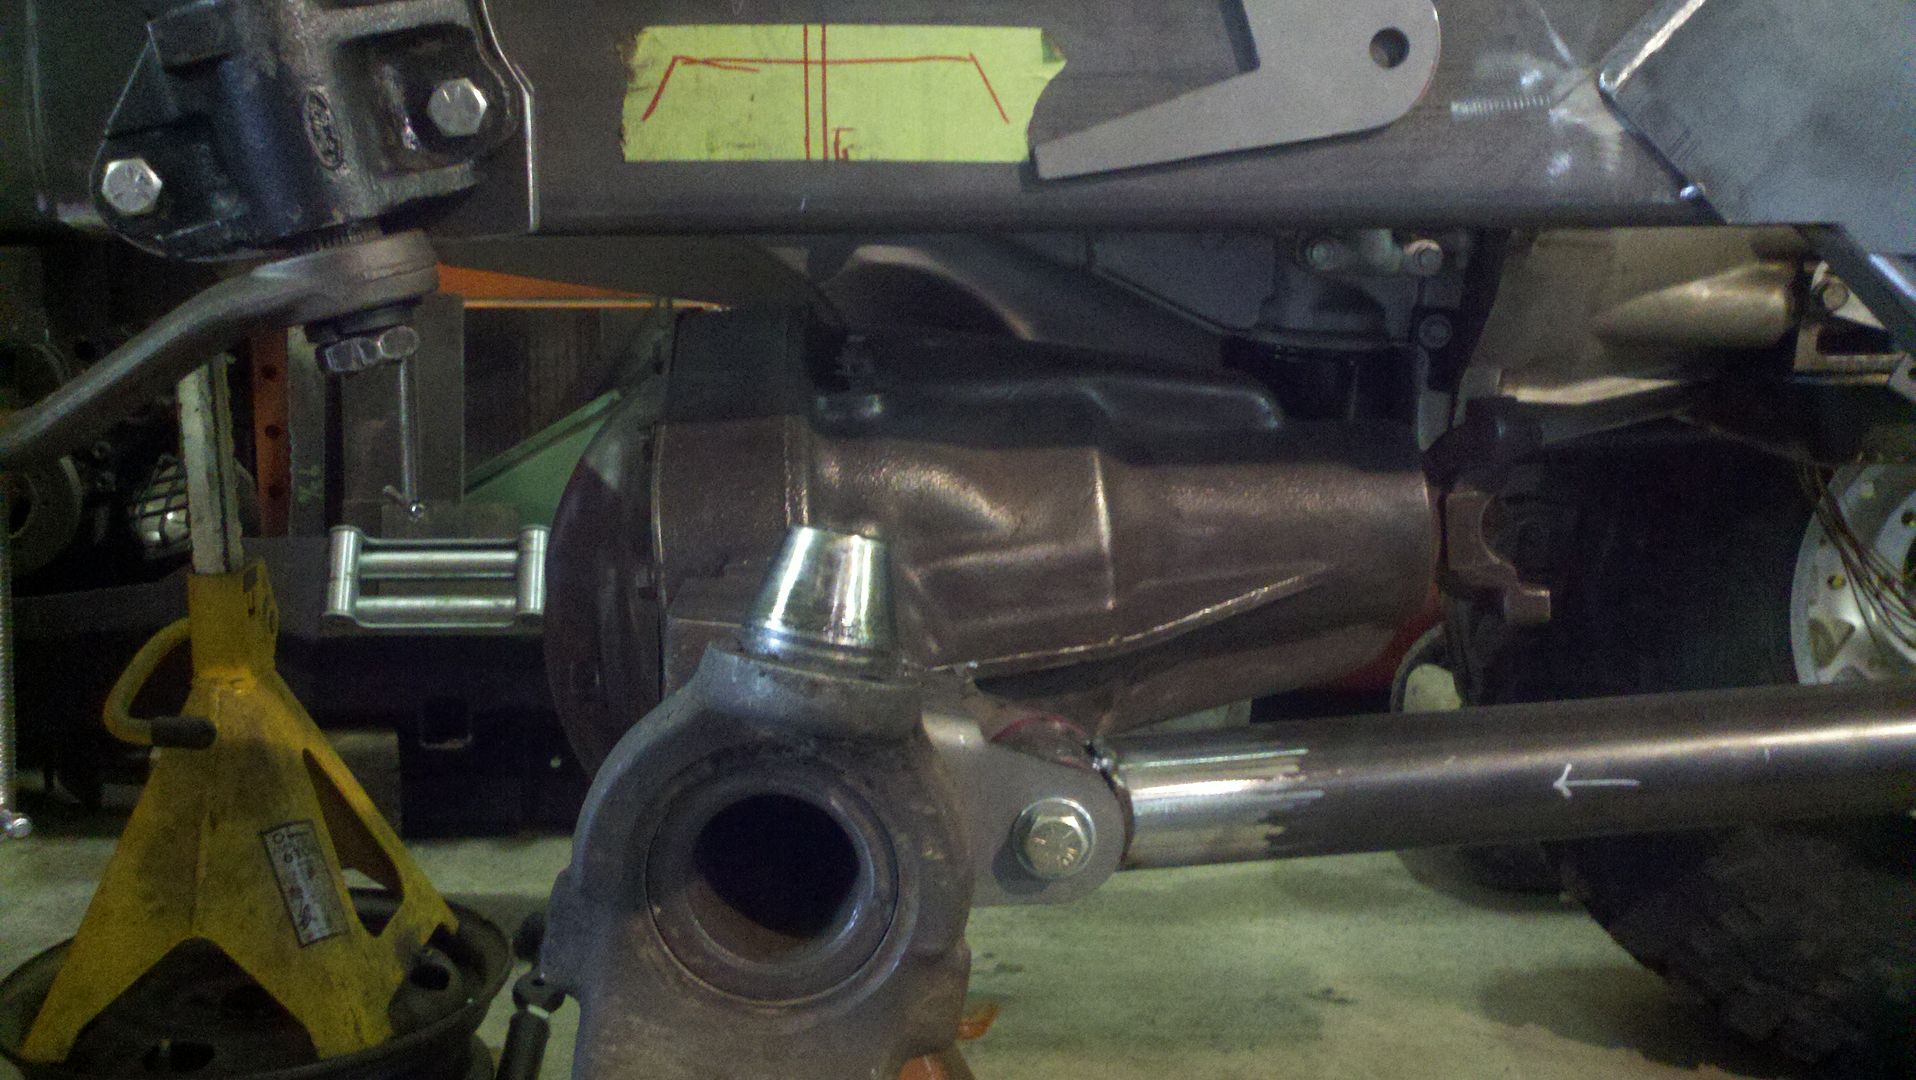
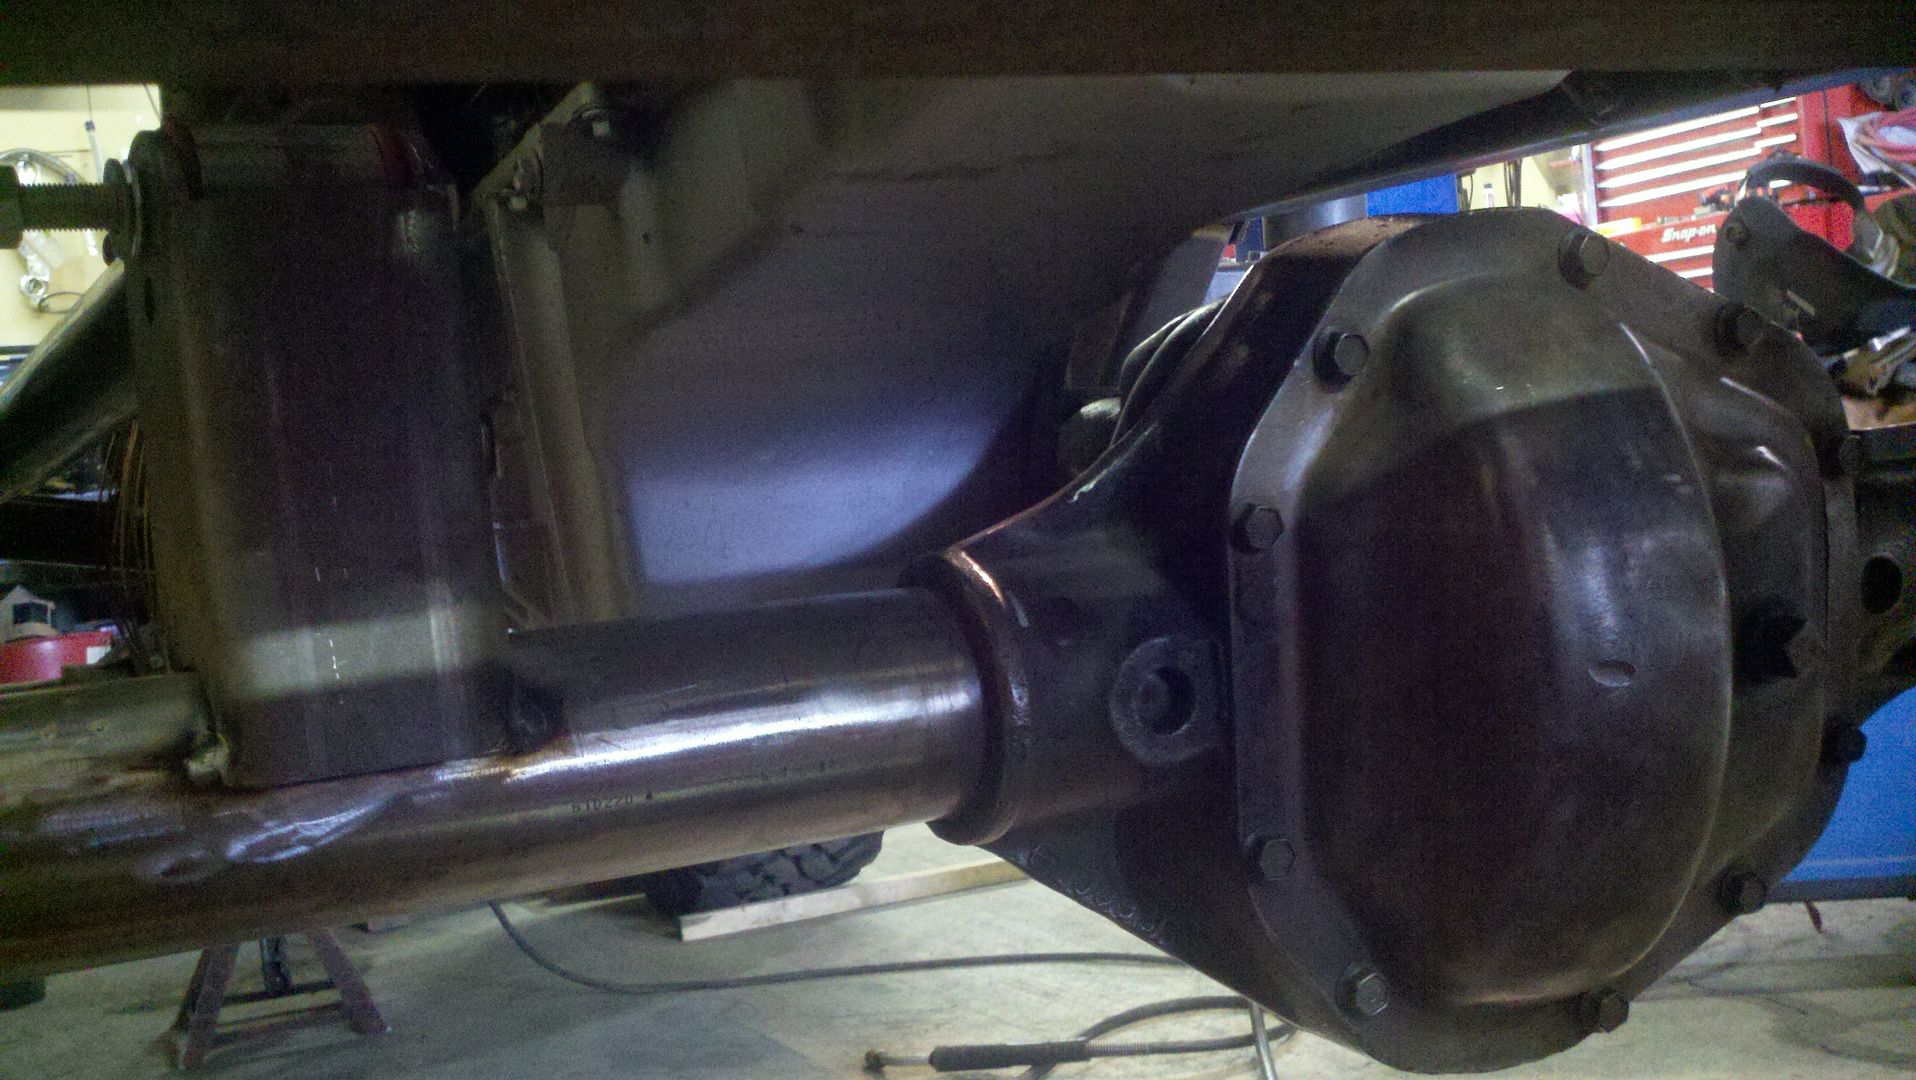
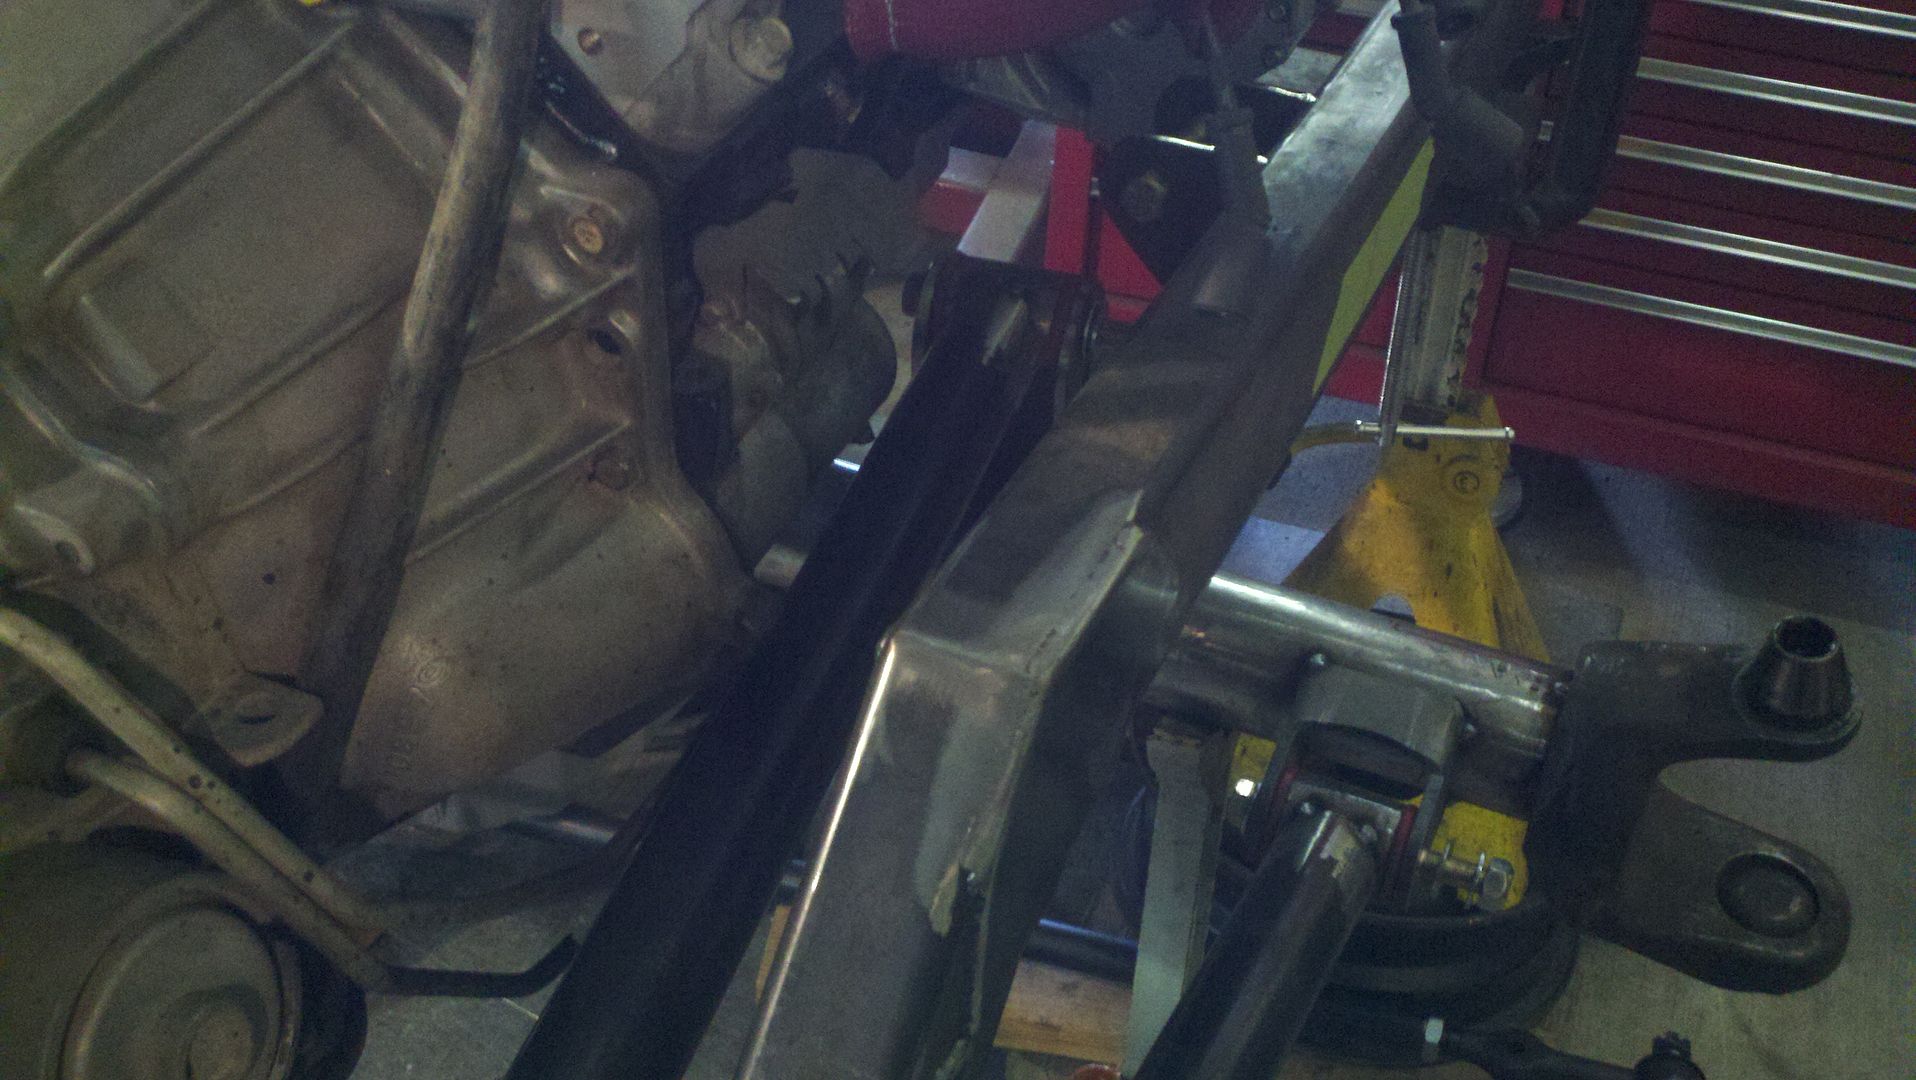
I put the drivetrain together for some mock-up.
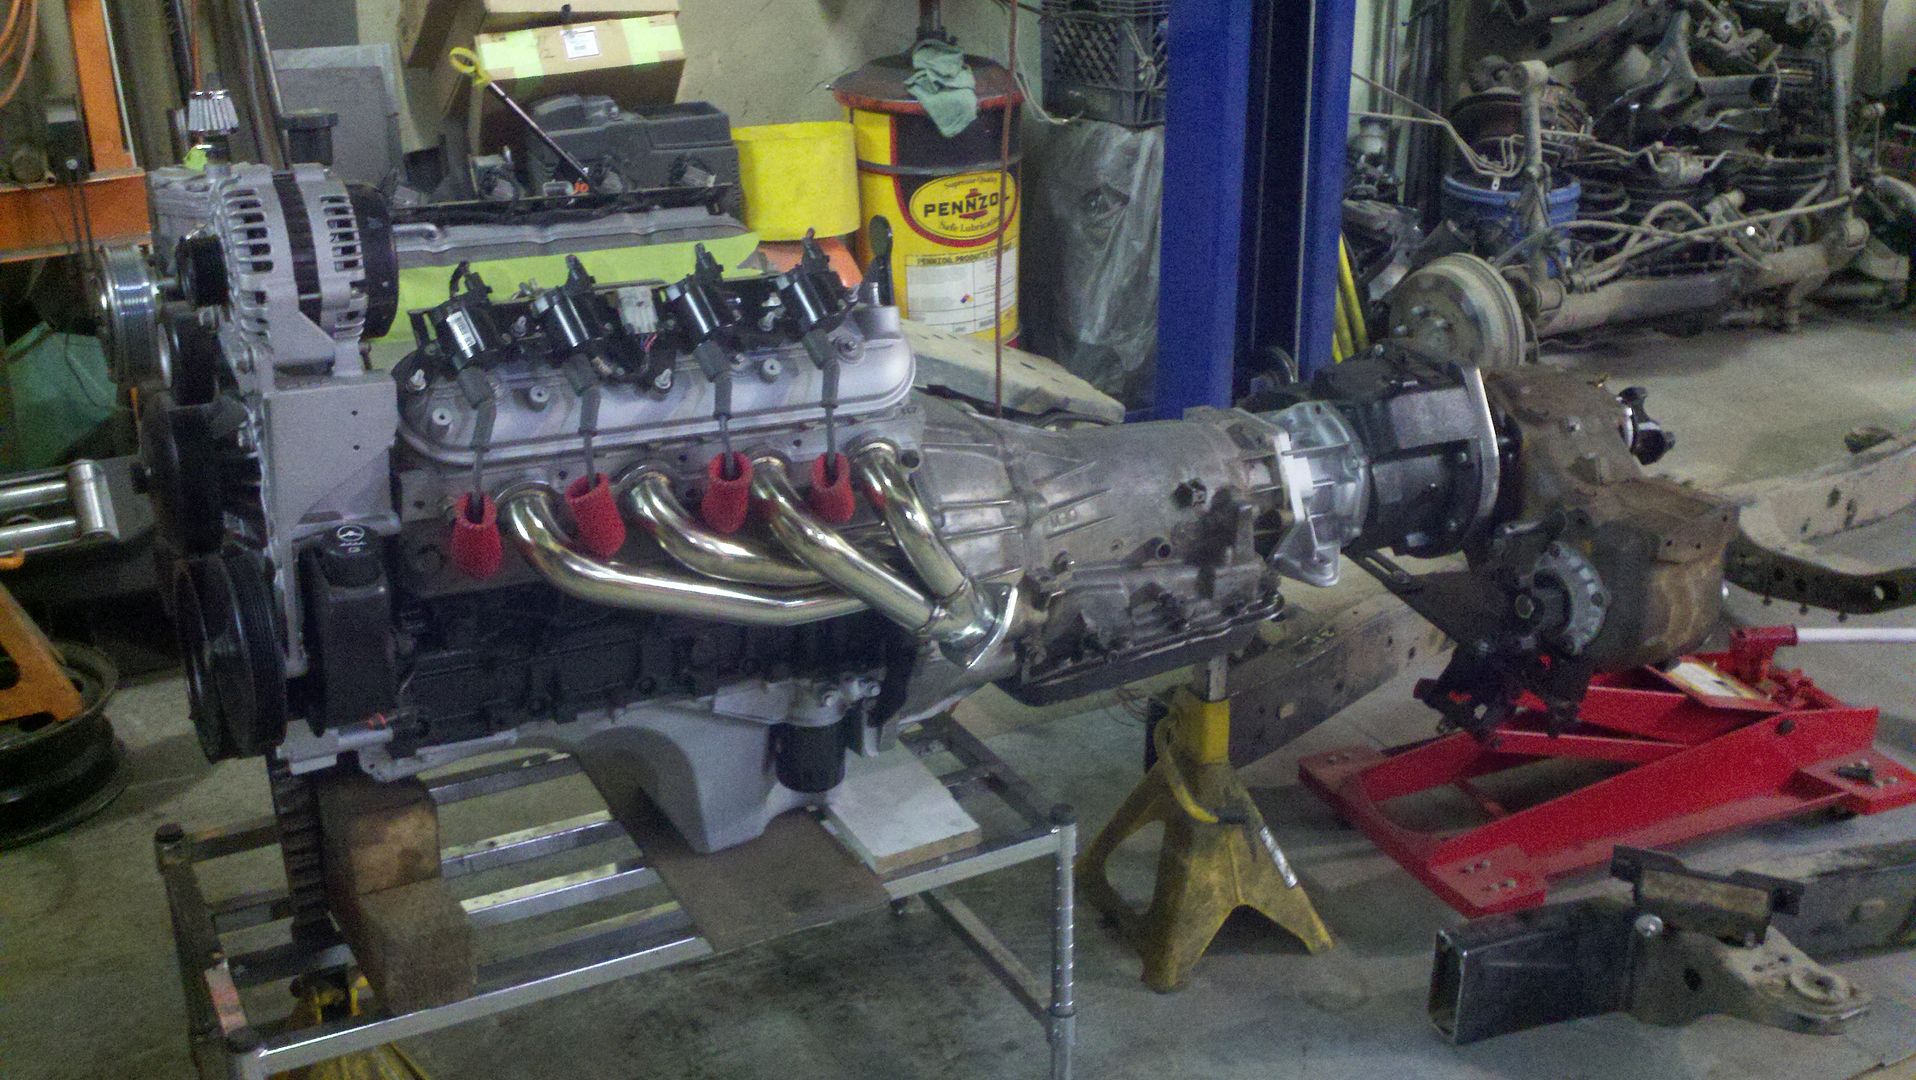
And set the body down as low as I could go. The transfercases are what actually limit it from going down as much as I would like. I will probably end up with a 1" body lift or maybe a 2" to give myself some room even though I hate body lifts.
And this is what two simple cuts will get you
It saved a lot of time trying to deal with all the crap on the frame
I put the drivetrain together for some mock-up.
And set the body down as low as I could go. The transfercases are what actually limit it from going down as much as I would like. I will probably end up with a 1" body lift or maybe a 2" to give myself some room even though I hate body lifts.
 Jun 14, 2012 | 12:11 AM
#53
Thread Starter
Registered User
Joined: Sep 2010
Posts: 122
Likes: 0
From: Moscow Idaho
Another update: I got some of my frame welded up and ground smooth
and I put some plates over the seams for extra strength.
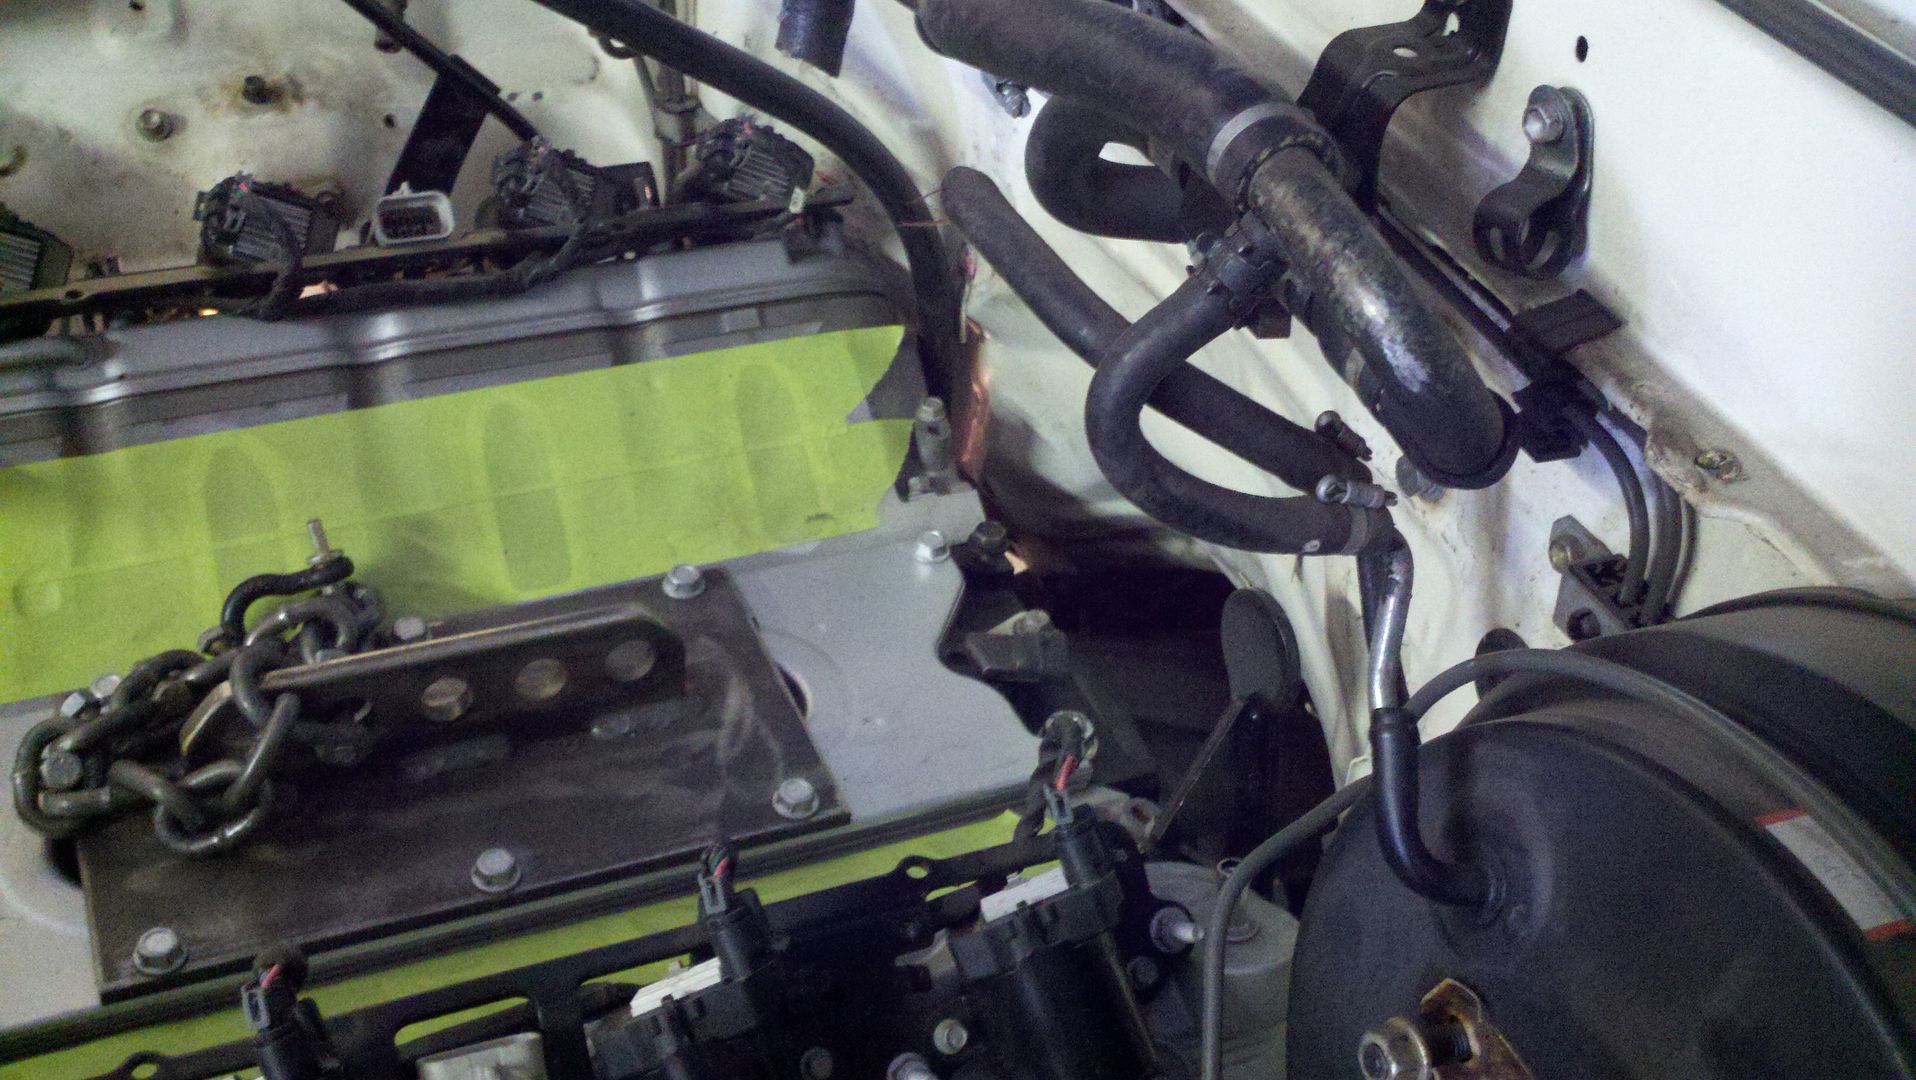
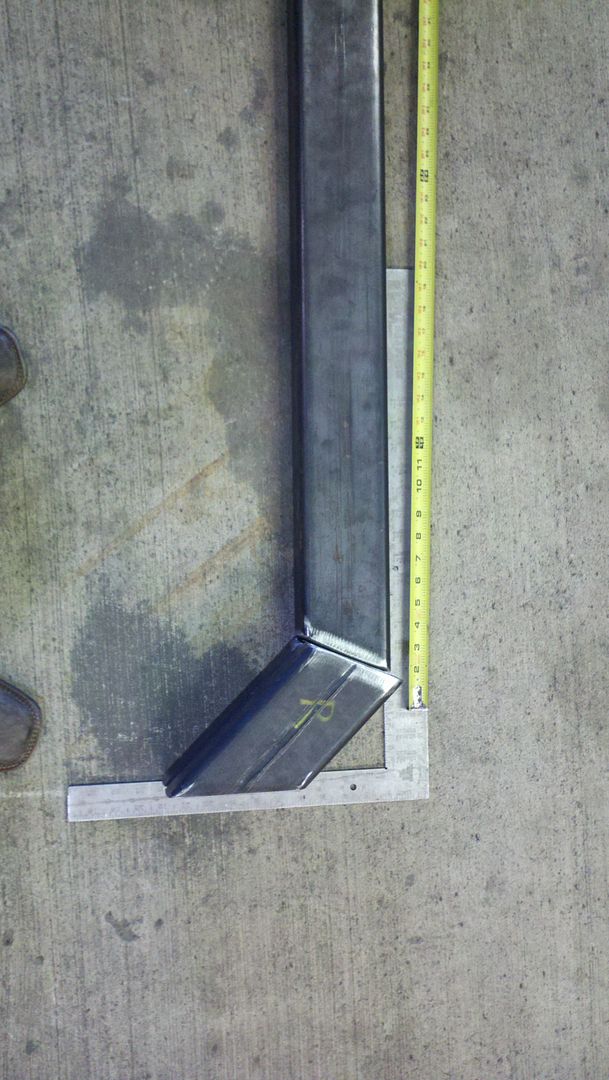
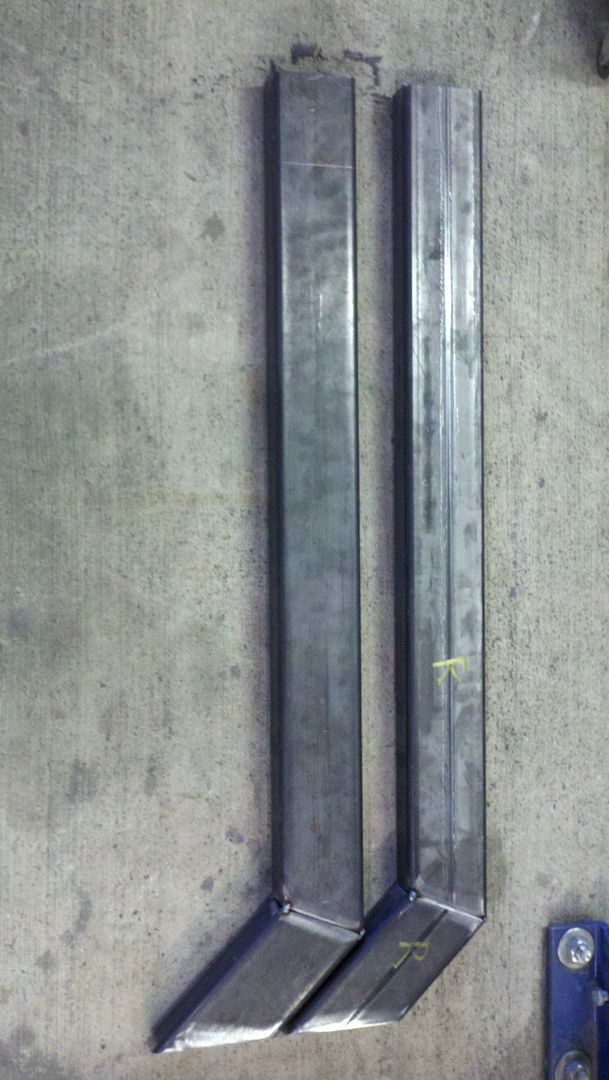
This picture was the start to my engine mounts. They are actually done now.
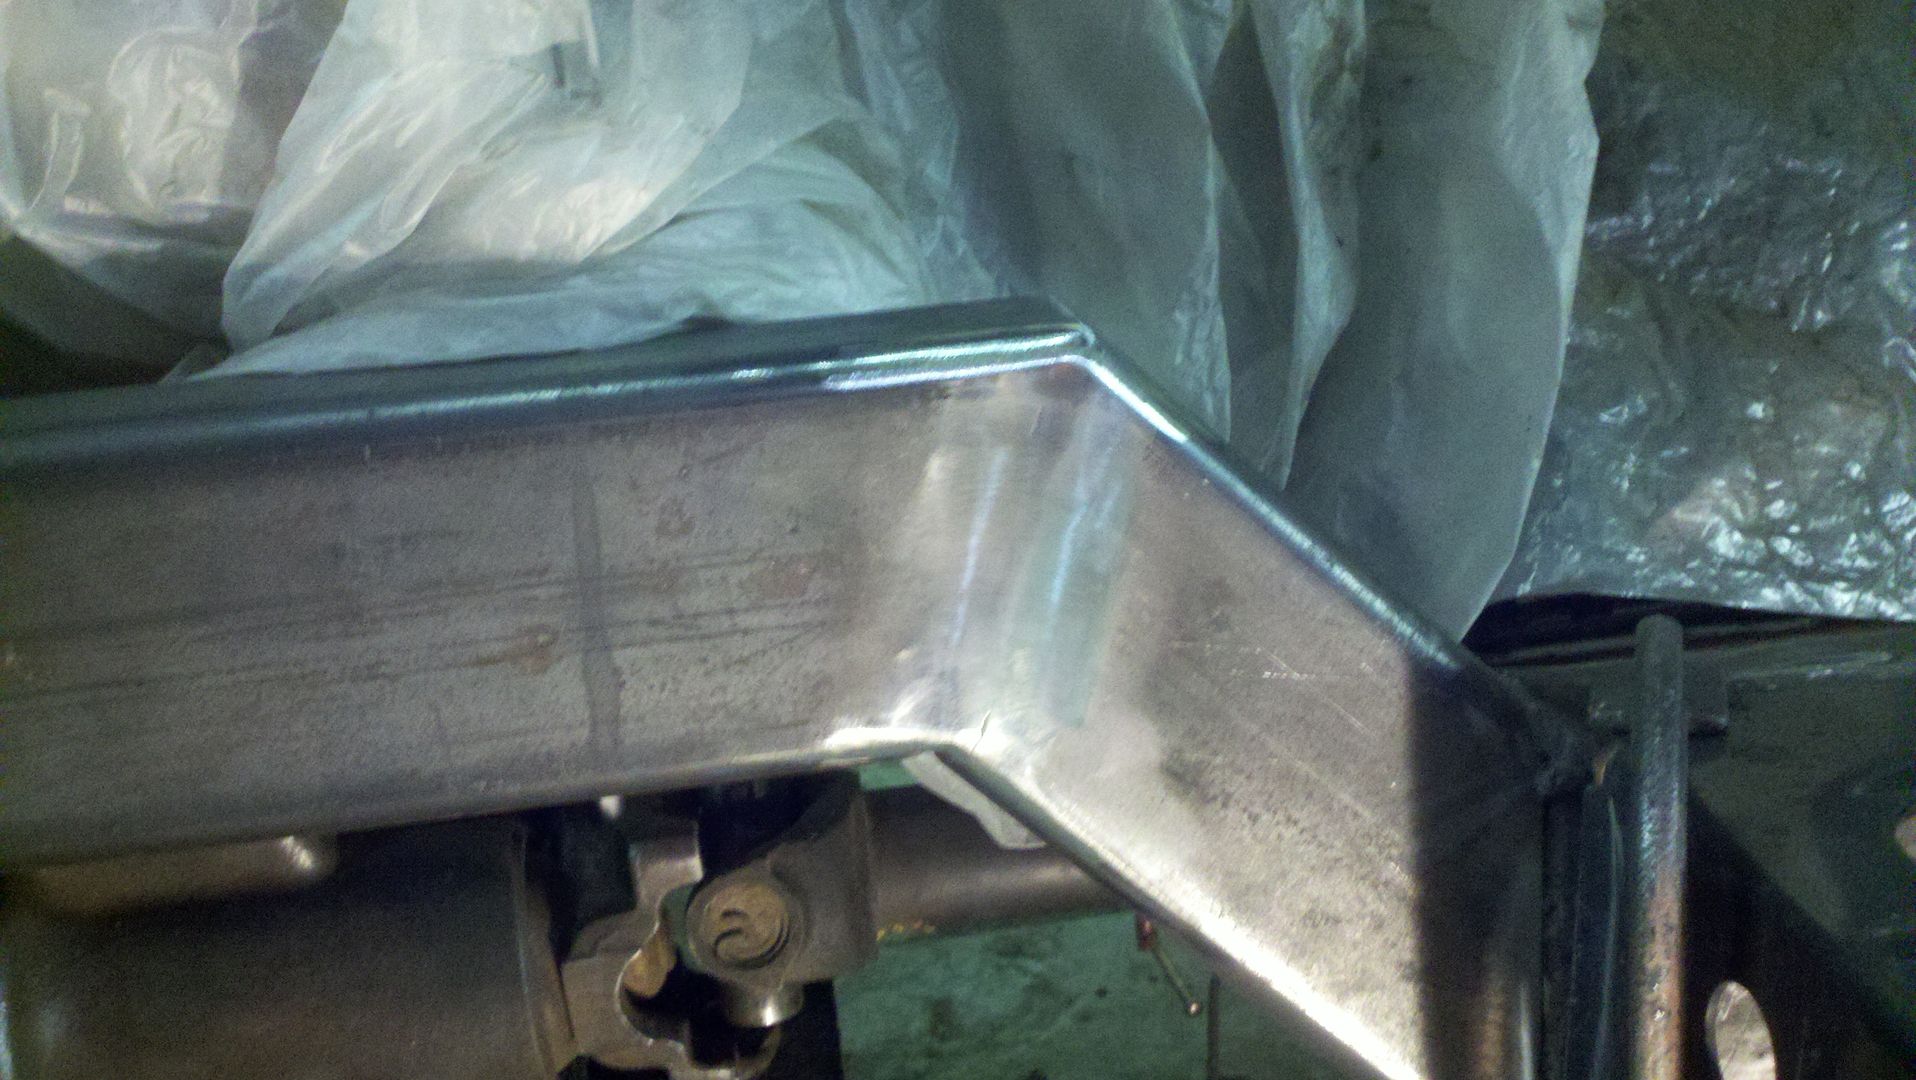
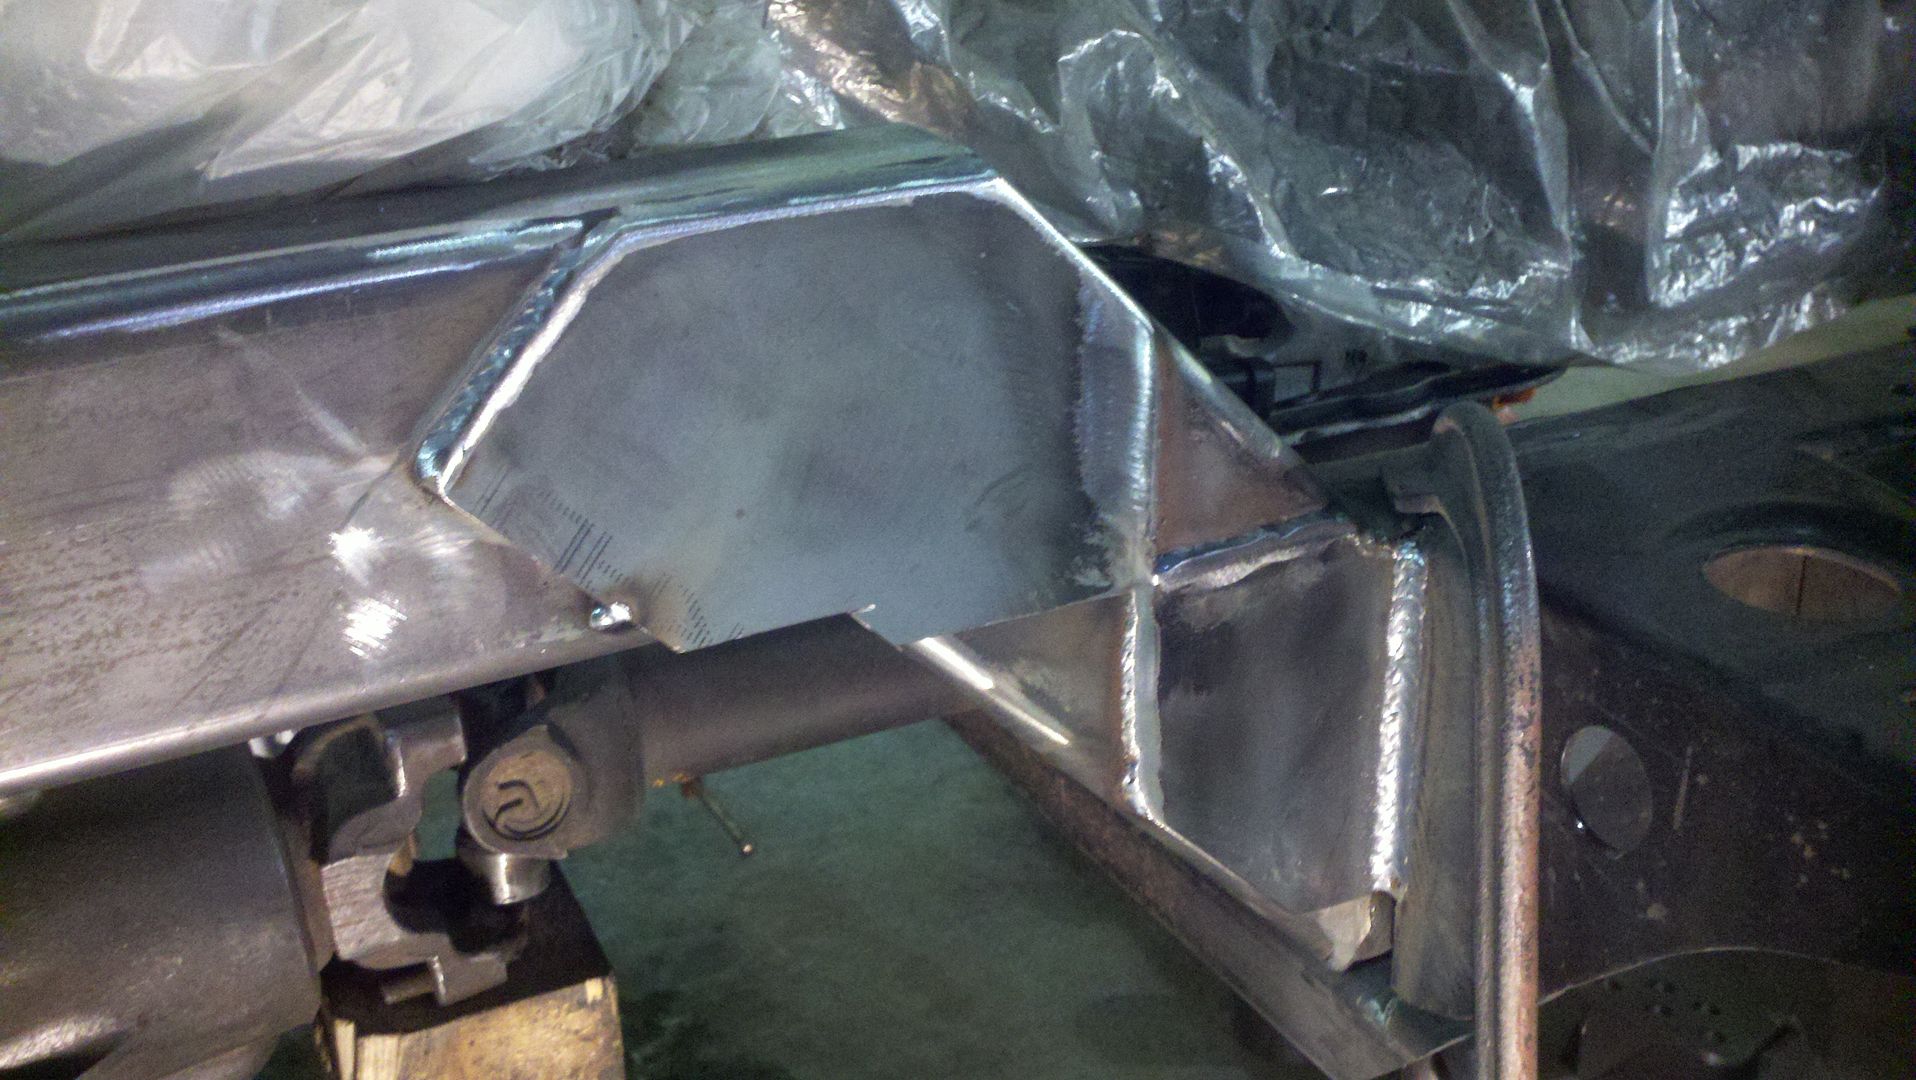
I also built the crossmember for my transfercases. I was going to have two crossmembers but this one should be pretty strong and it will bolt to the dual case adapter so It will be right in the middle of the two transfercases. Plus I will still add the np205 side support mount which will help some more with any twisting.
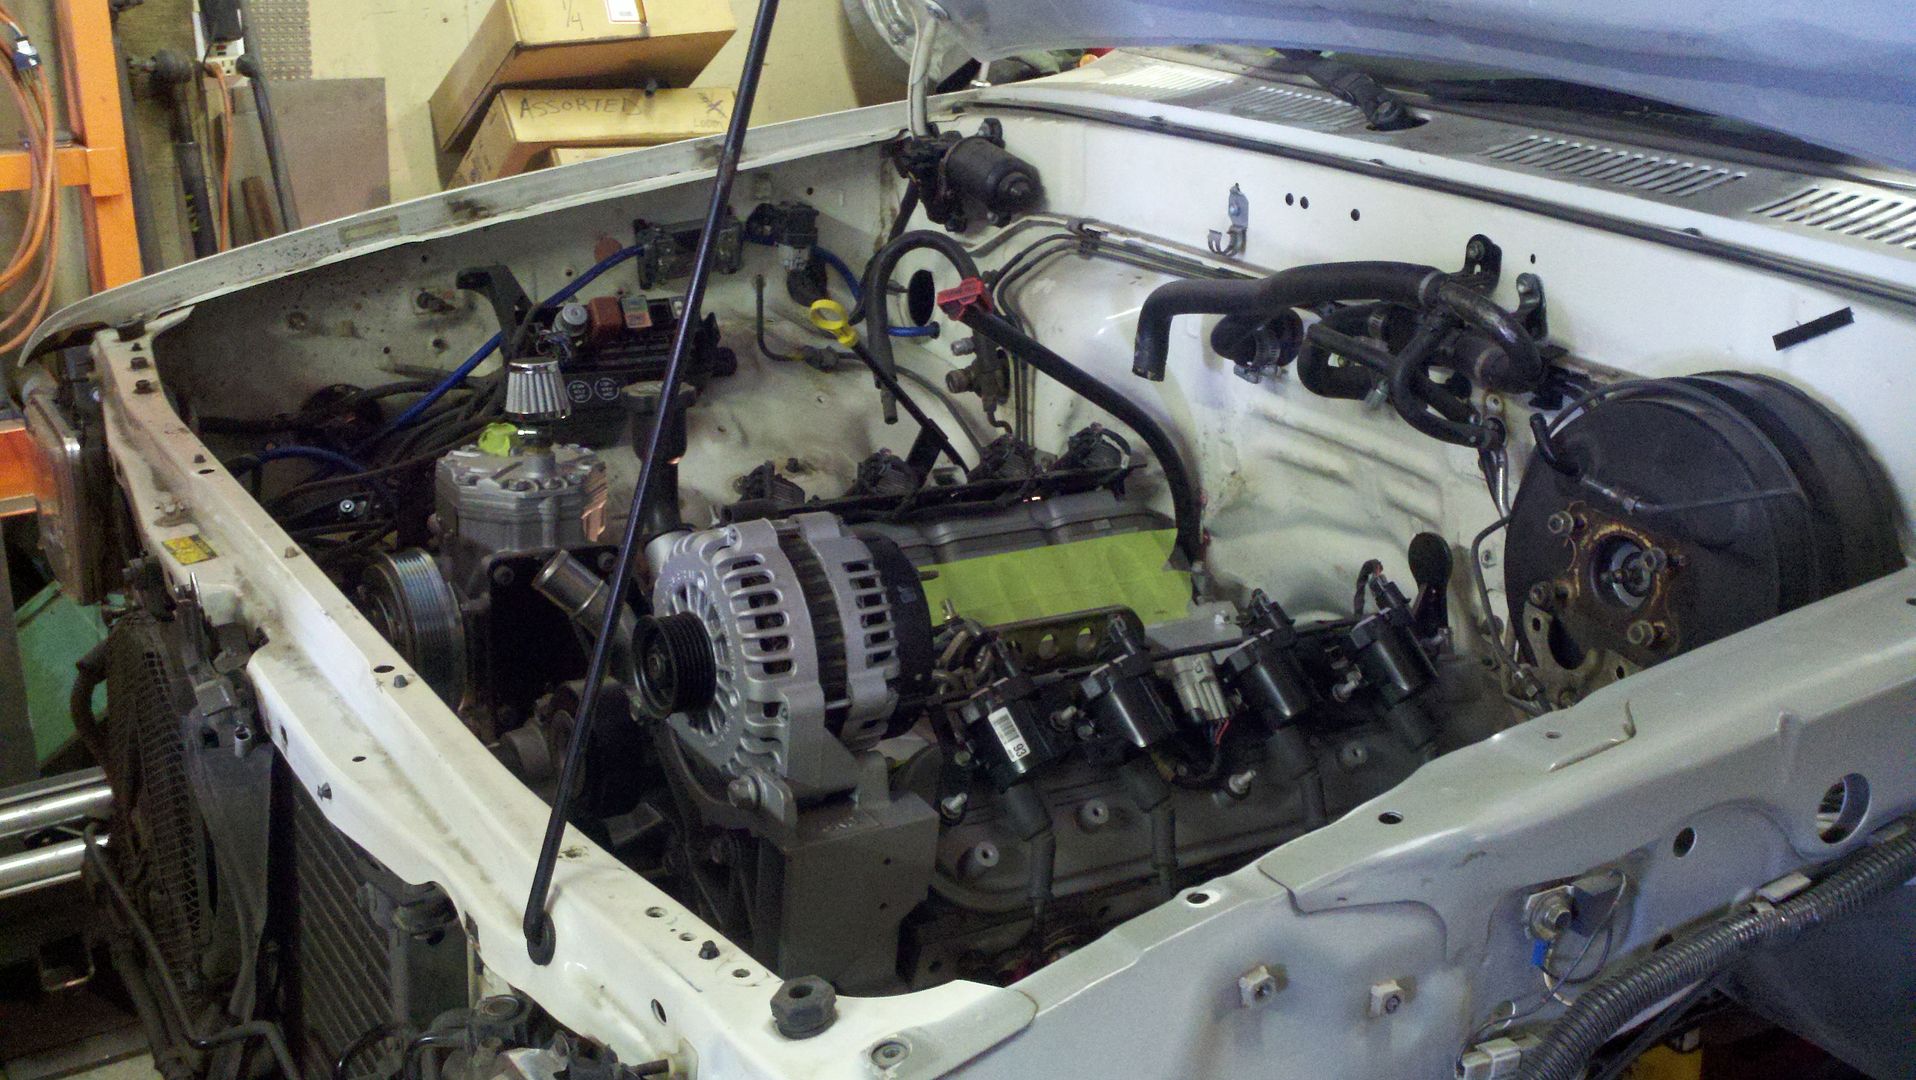
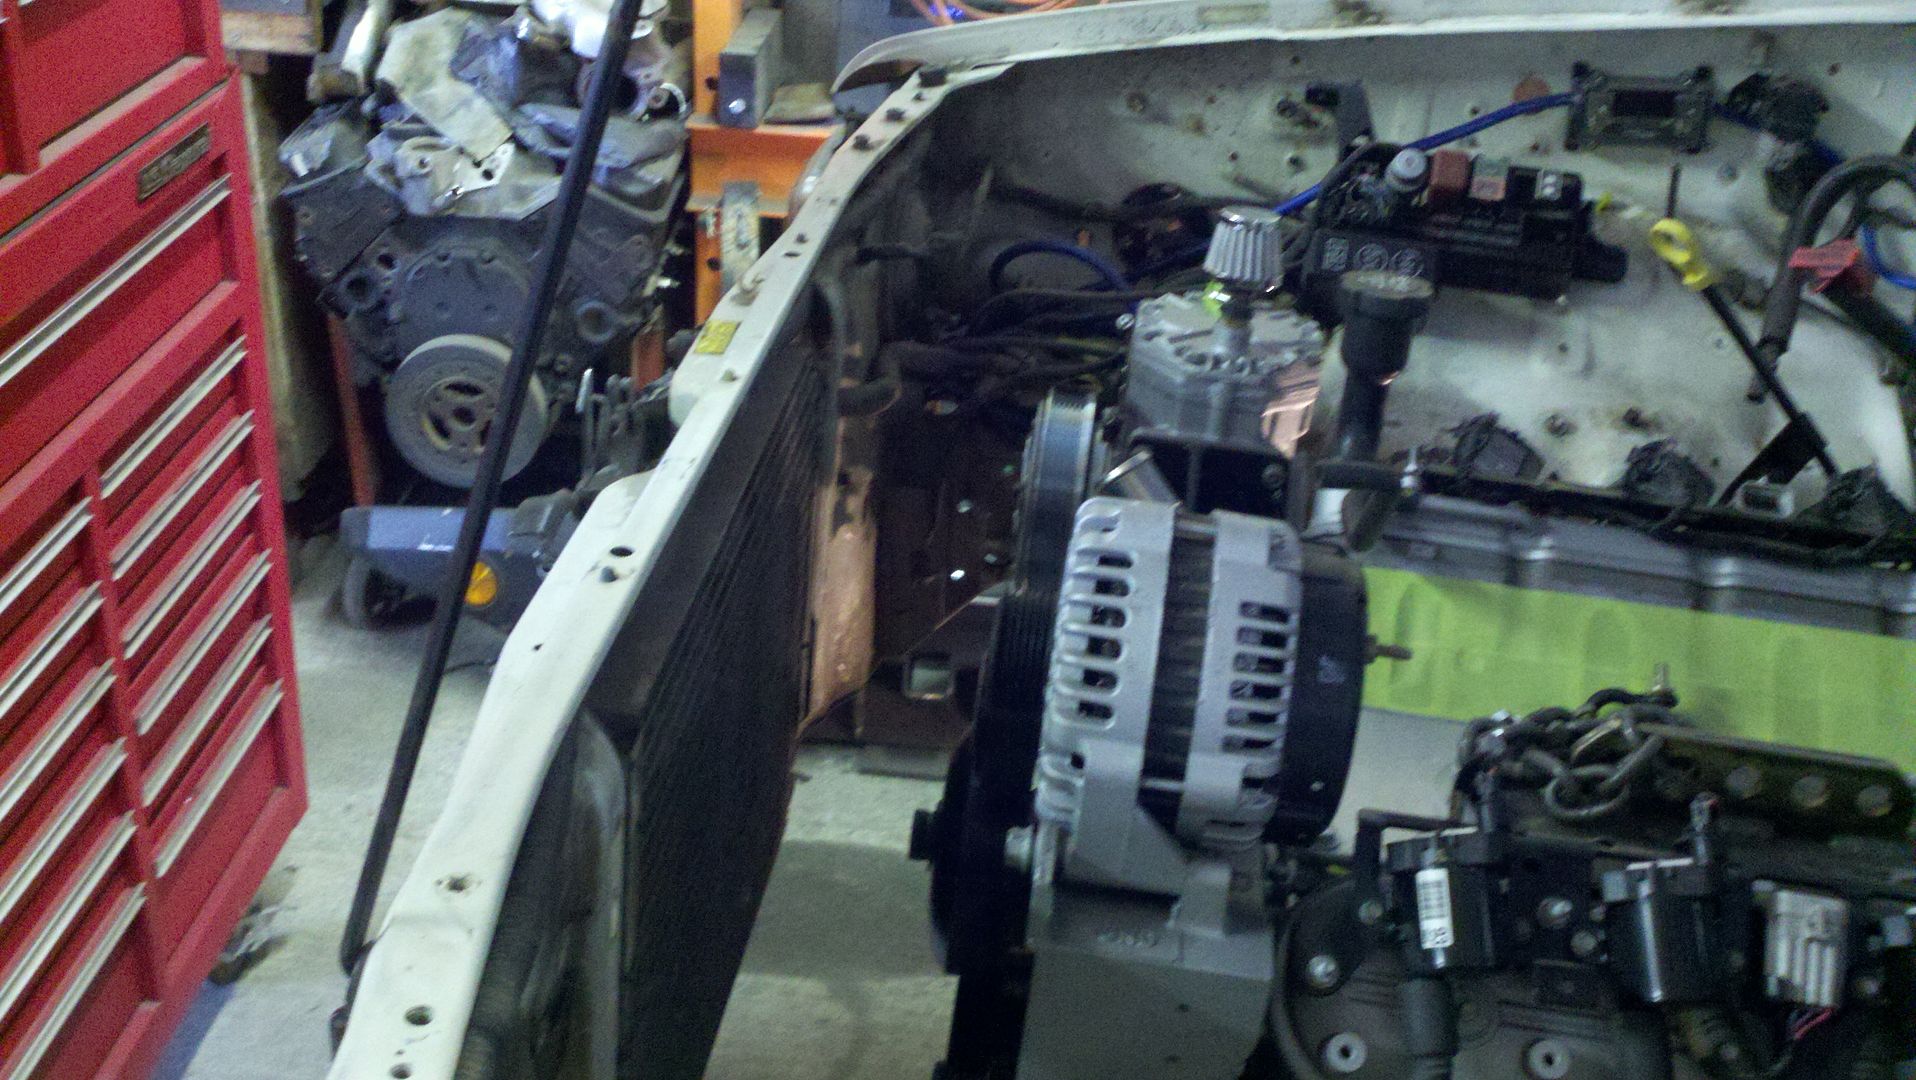
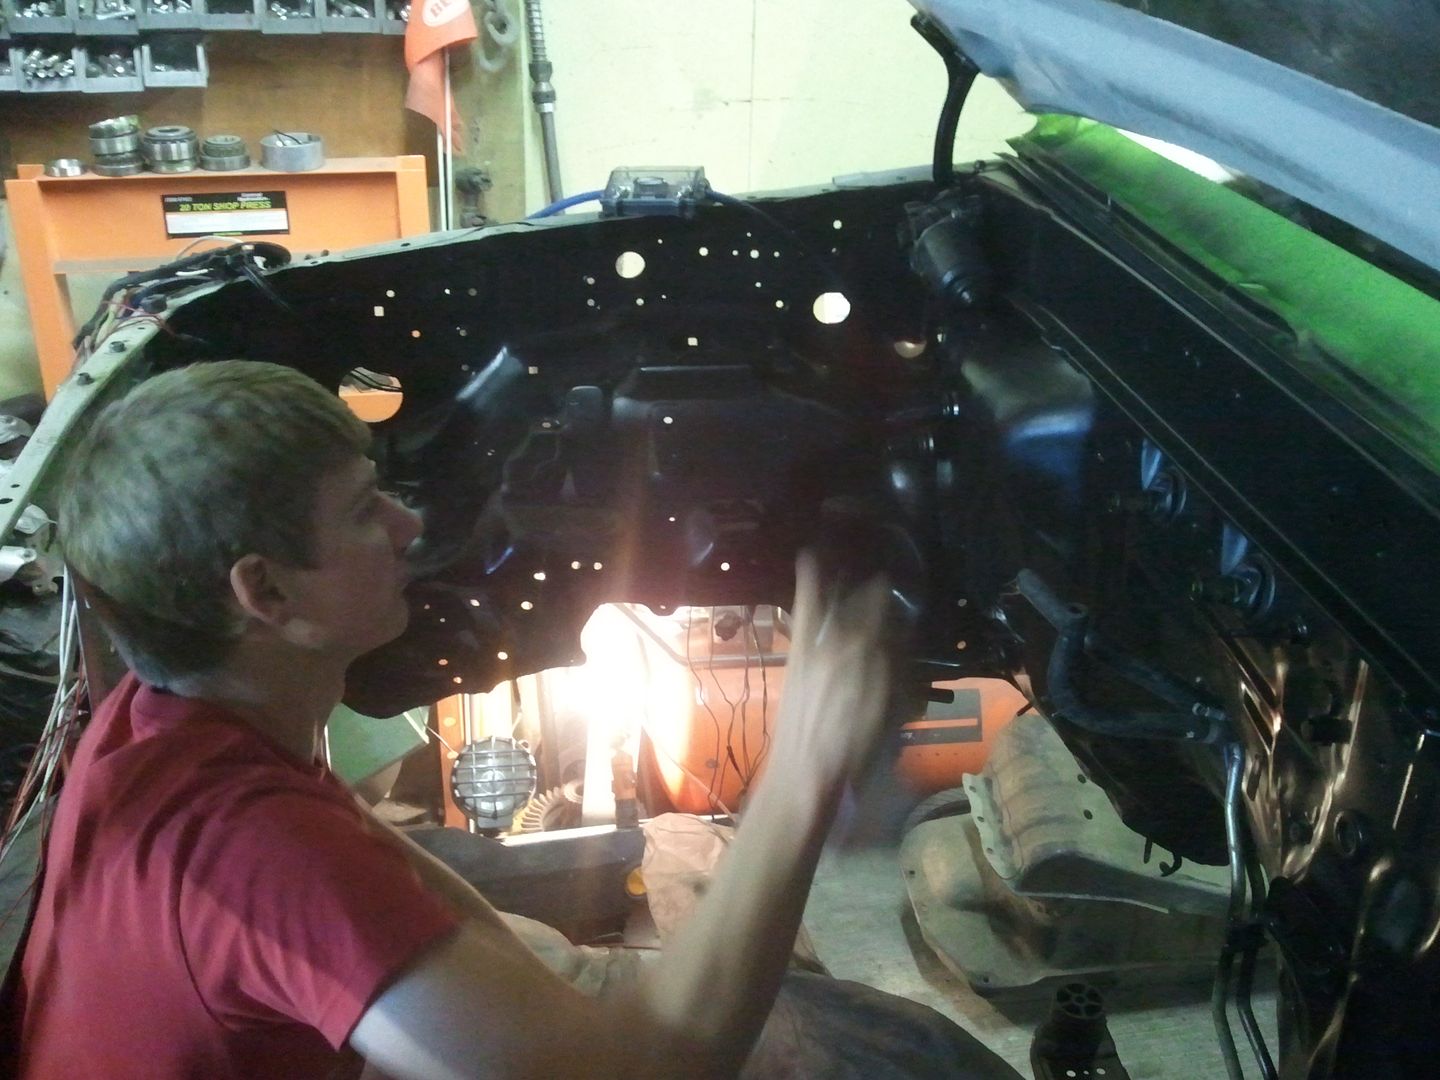
My friend and I cleaned up the engine bay thoroughly,
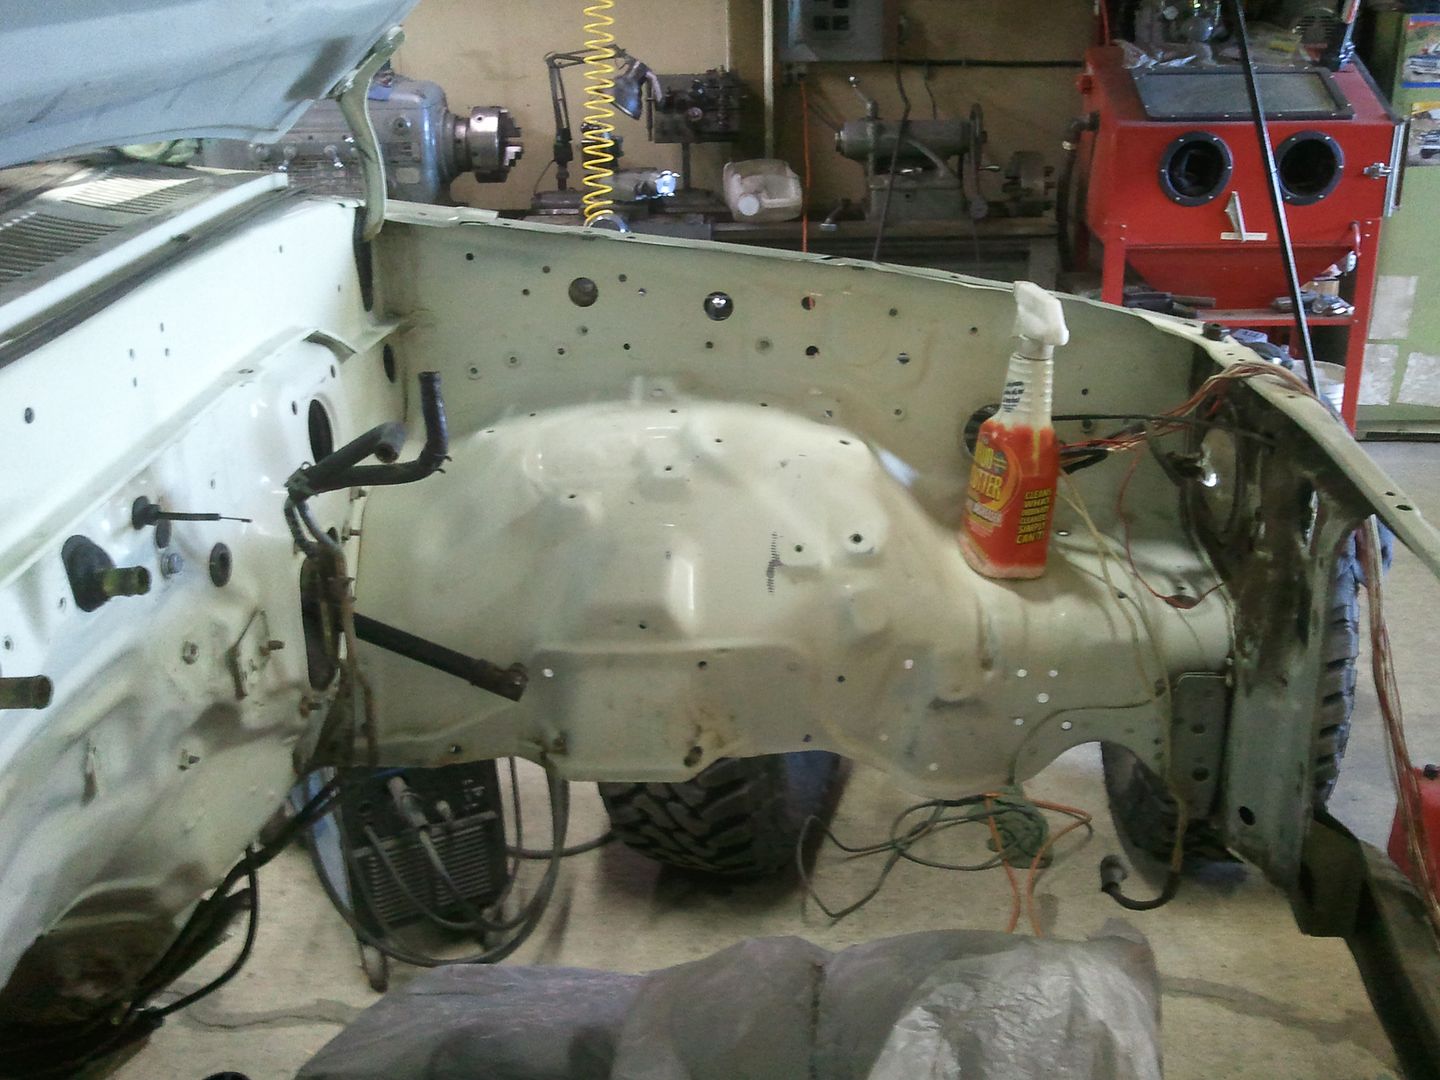
and then gave it a nice coat of black paint so that down the road when the 4runner gets a paint job, the black will match anything.
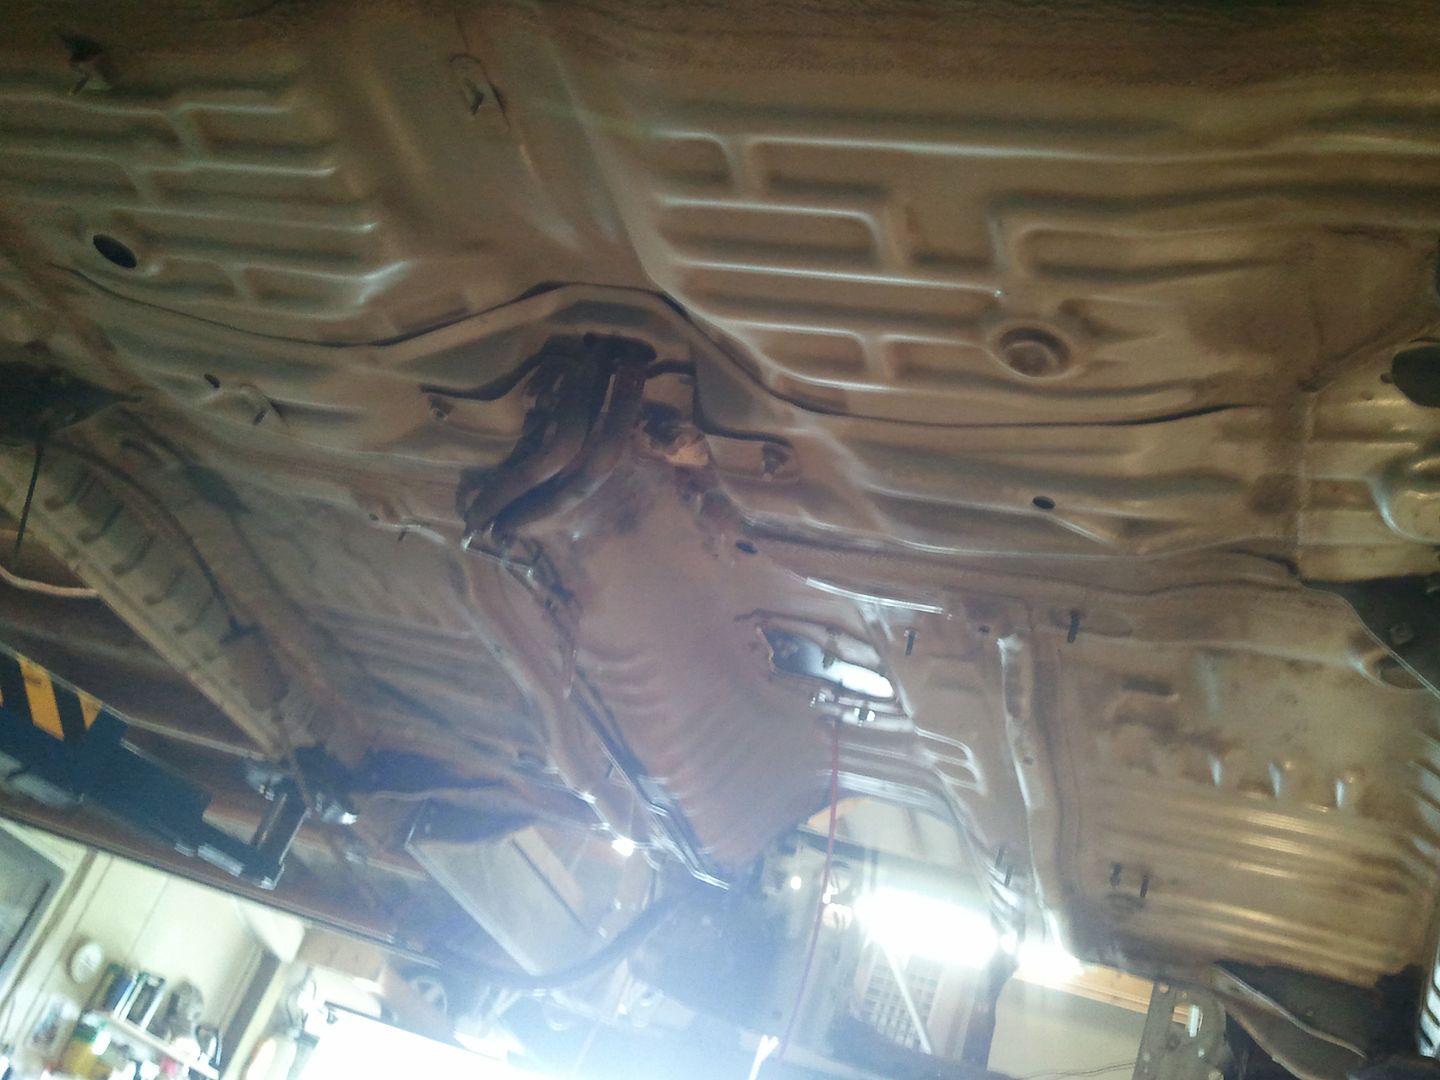
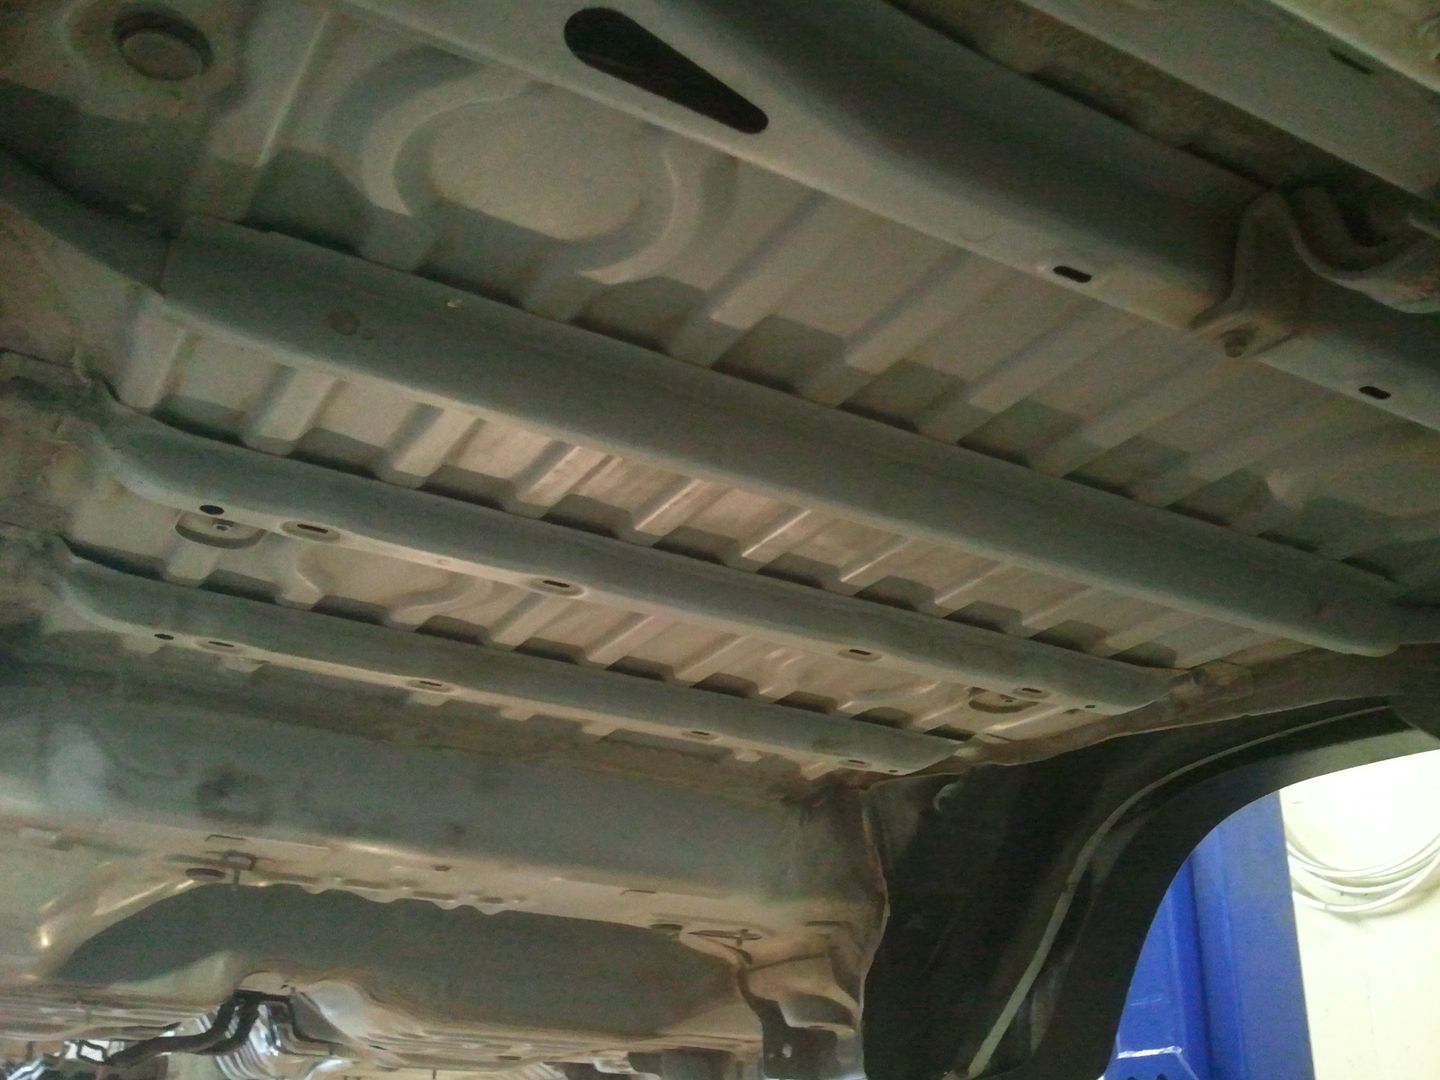
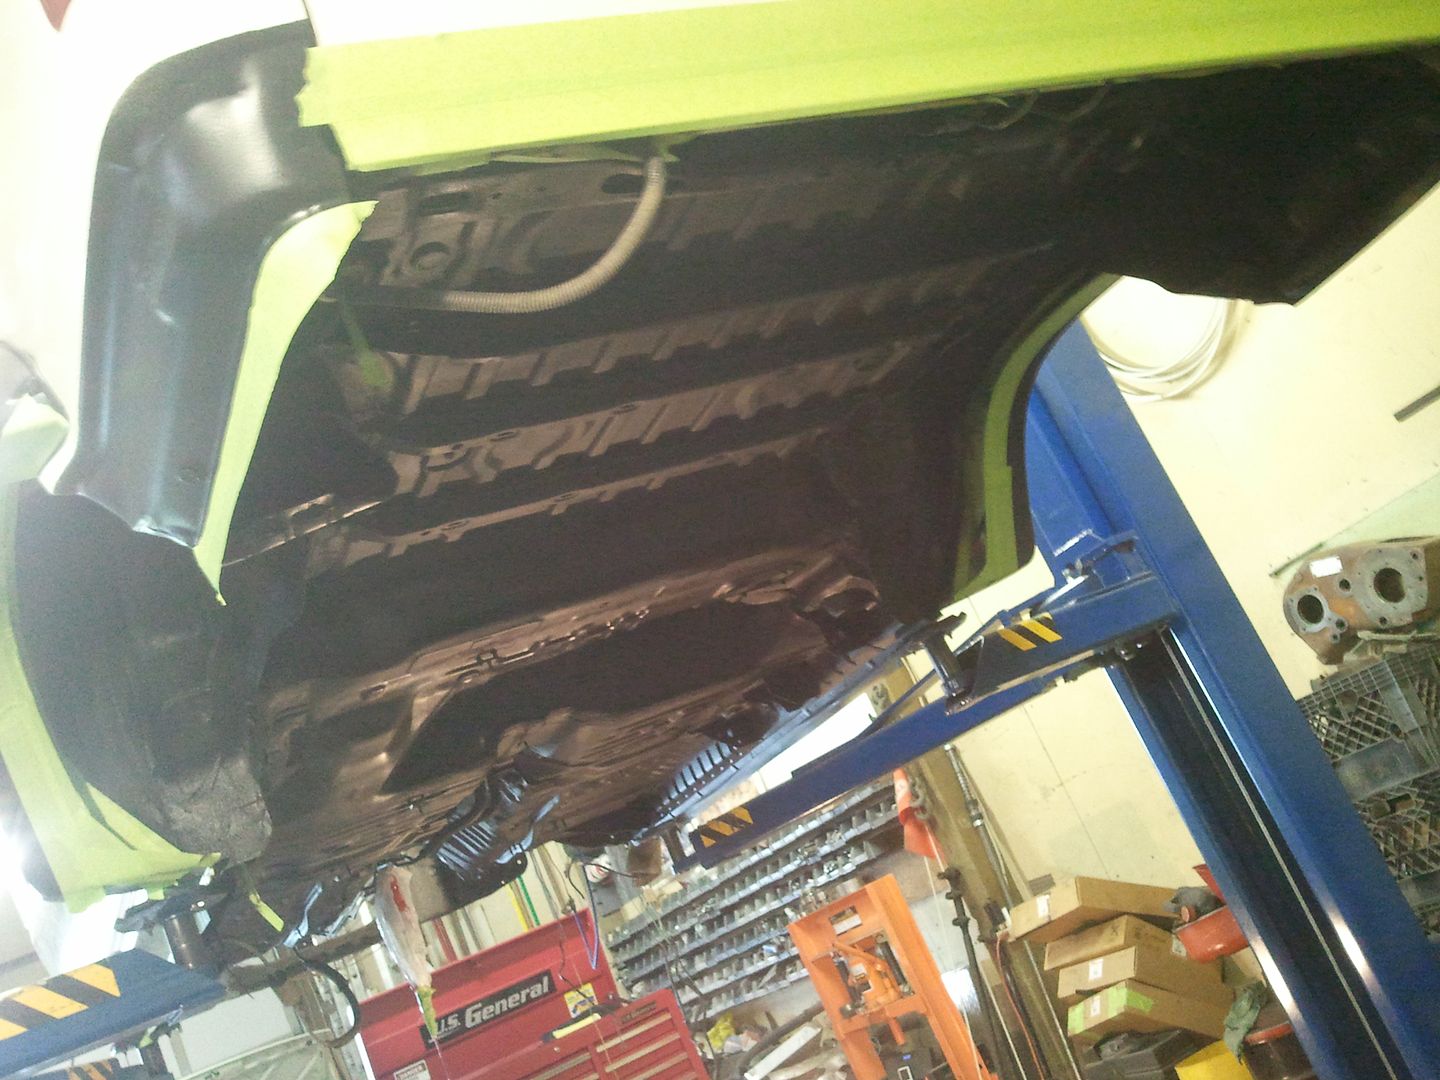
we also scrubbed 200,000 miles worth of dirt off the underside of the body and sprayed some rubberized undercoating on it.
and I put some plates over the seams for extra strength.
This picture was the start to my engine mounts. They are actually done now.
I also built the crossmember for my transfercases. I was going to have two crossmembers but this one should be pretty strong and it will bolt to the dual case adapter so It will be right in the middle of the two transfercases. Plus I will still add the np205 side support mount which will help some more with any twisting.
My friend and I cleaned up the engine bay thoroughly,
and then gave it a nice coat of black paint so that down the road when the 4runner gets a paint job, the black will match anything.
we also scrubbed 200,000 miles worth of dirt off the underside of the body and sprayed some rubberized undercoating on it.
 Jun 14, 2012 | 07:32 AM
#56
Dang, that's some nice work! I like your all buisness approach, (frame rails not working for you, cut em off and build new ones! LOL) Your rig is going to be sick when you get done! I look forward to seeing Your 3 link when it's finished!
Last edited by rustED; Jun 14, 2012 at 07:46 AM.
Jun 19, 2012 | 08:57 PM
#58
Thread Starter
Registered User
Joined: Sep 2010
Posts: 122
Likes: 0
From: Moscow Idaho
Another update:
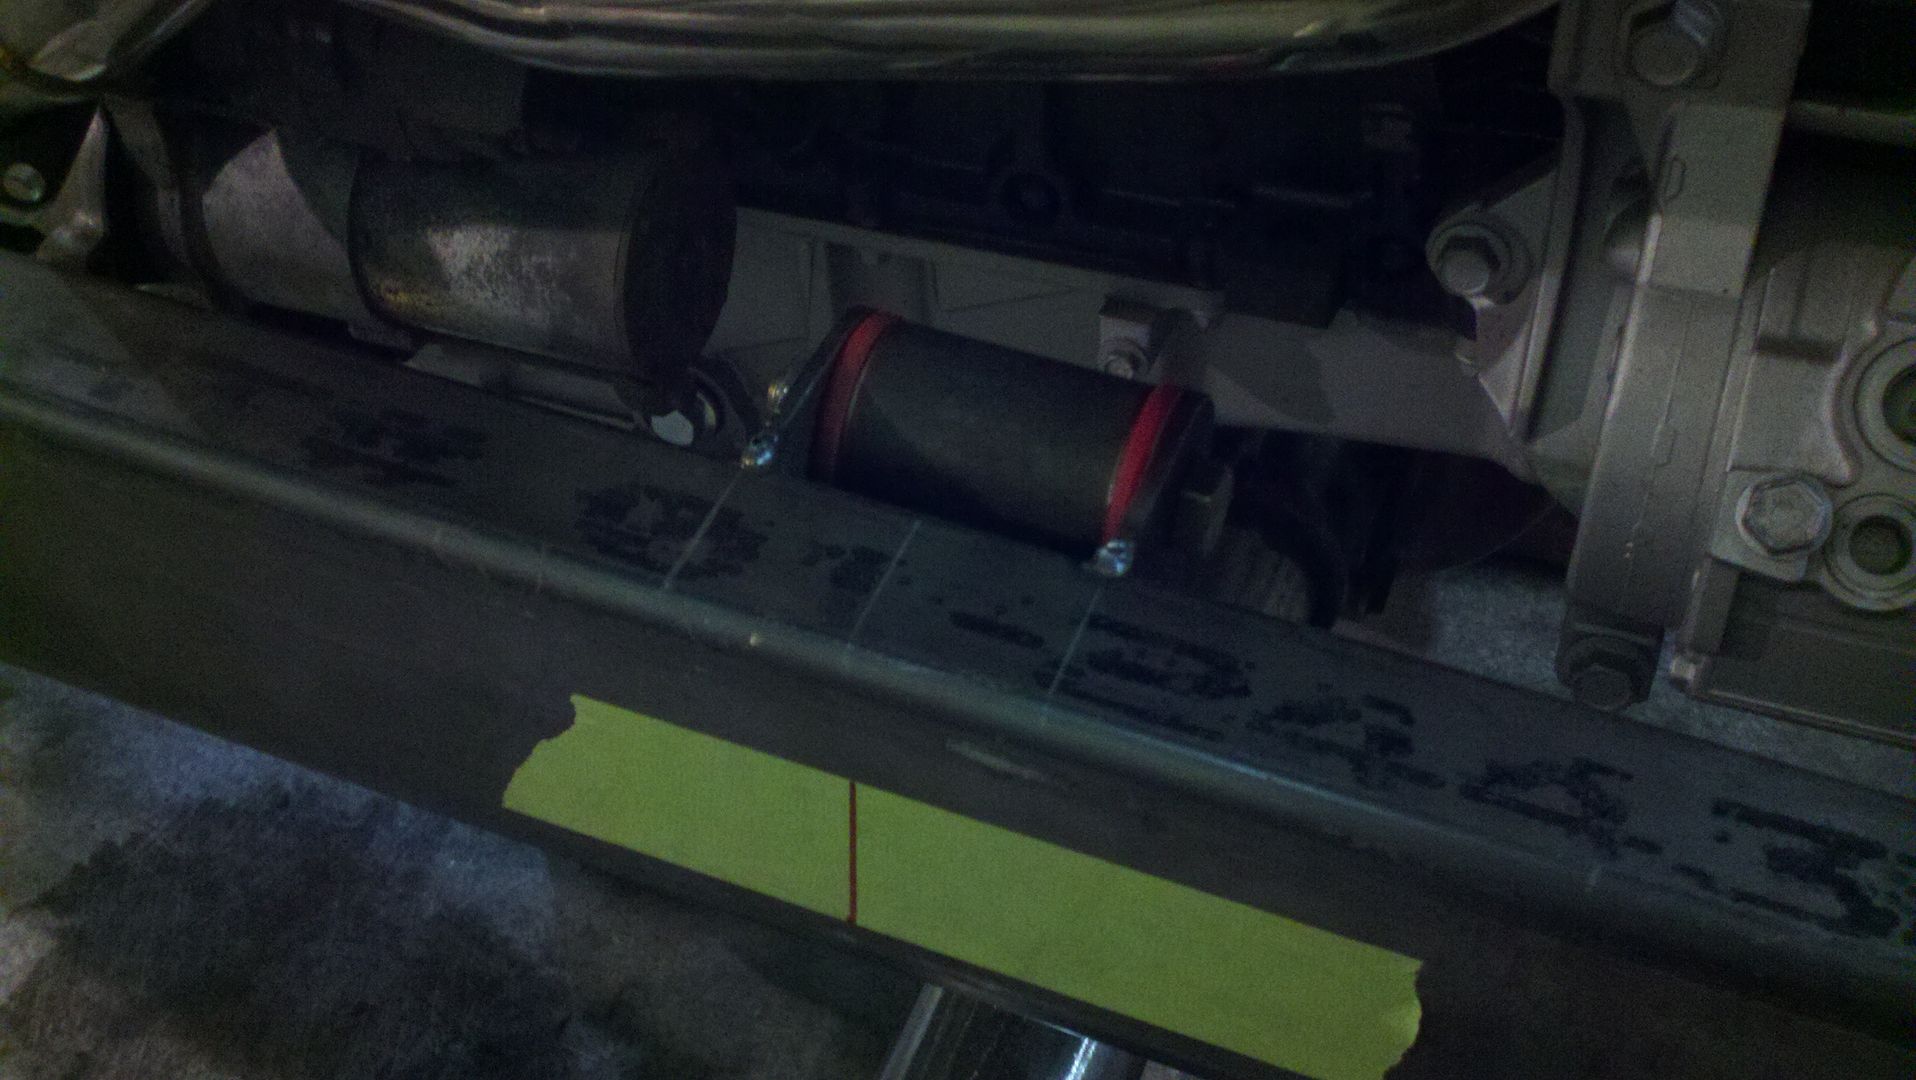
I got the front gas tank crossmember raised up and I completely replaced the rear gas tank crossmember with square tubing.
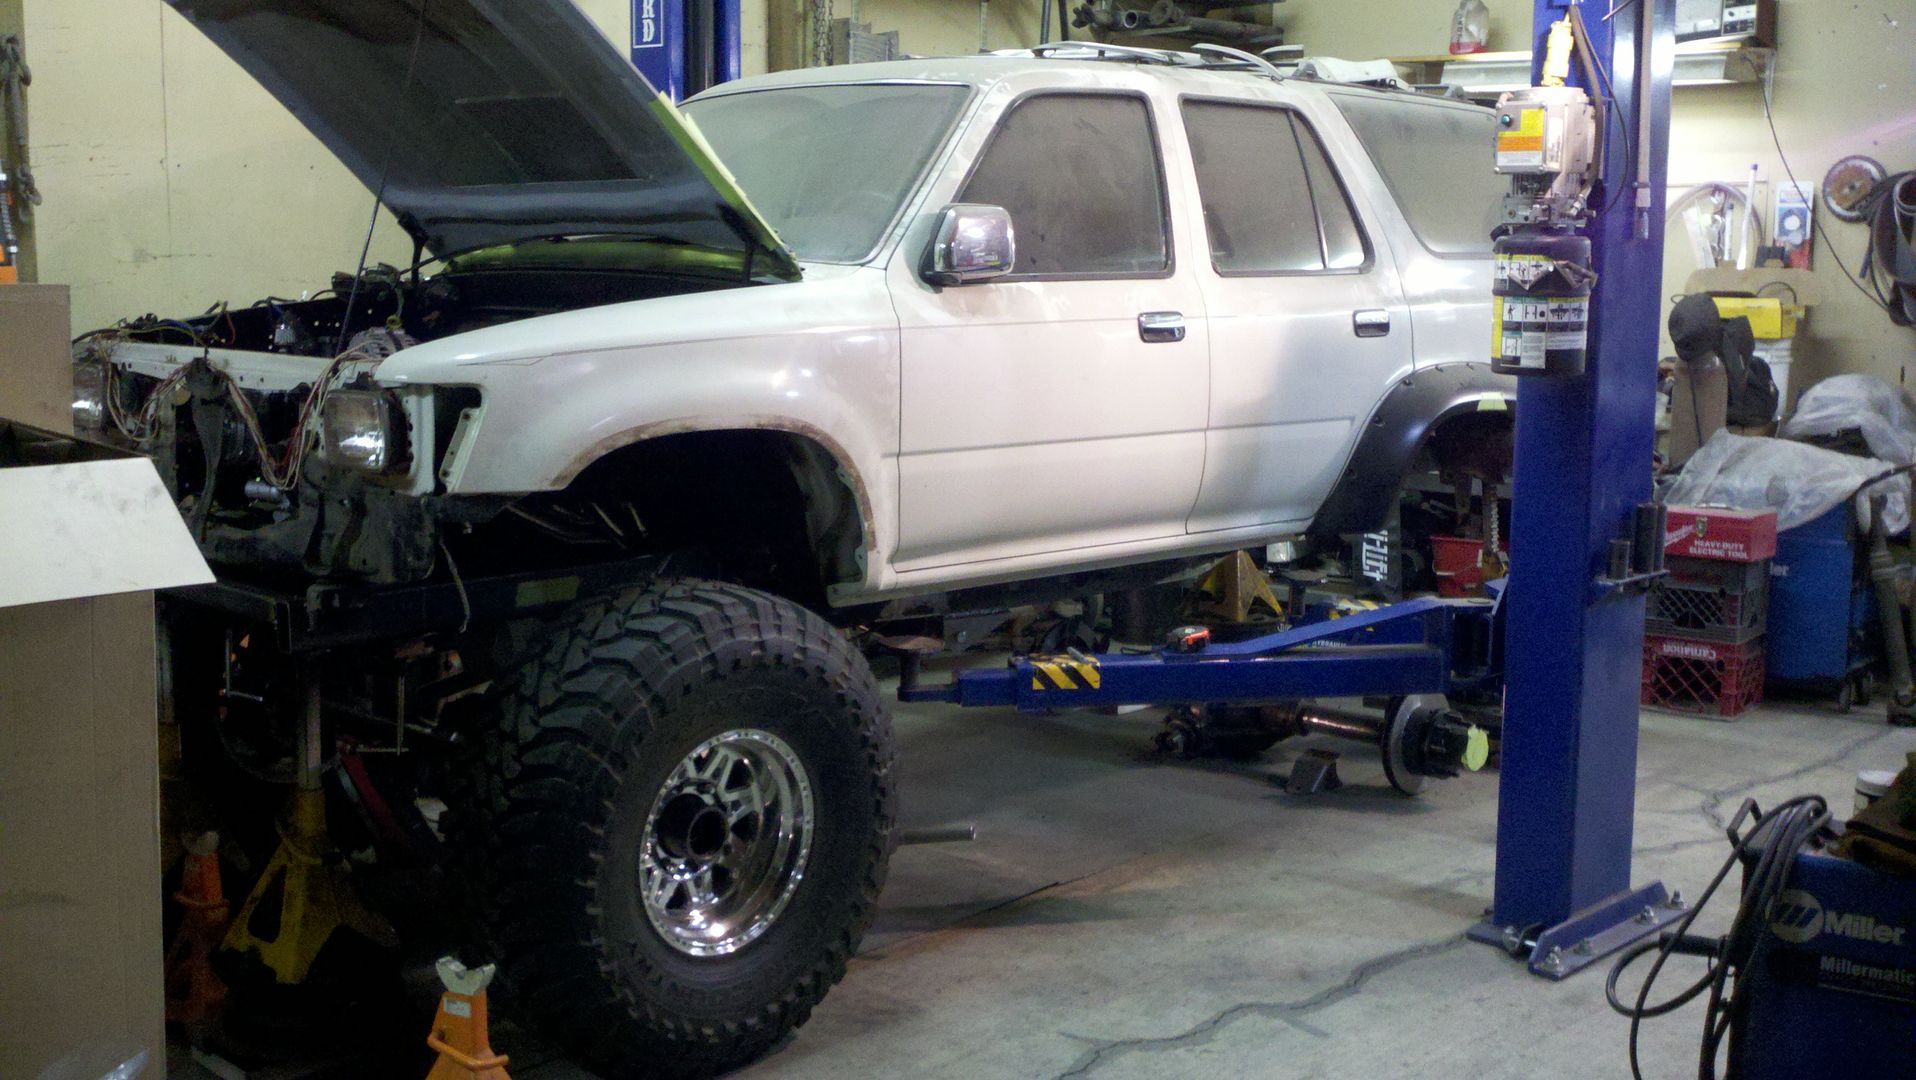
here's a poser shot of close to ride height sitting on the hoist.
I got my panhard bracket ready to be welded on.
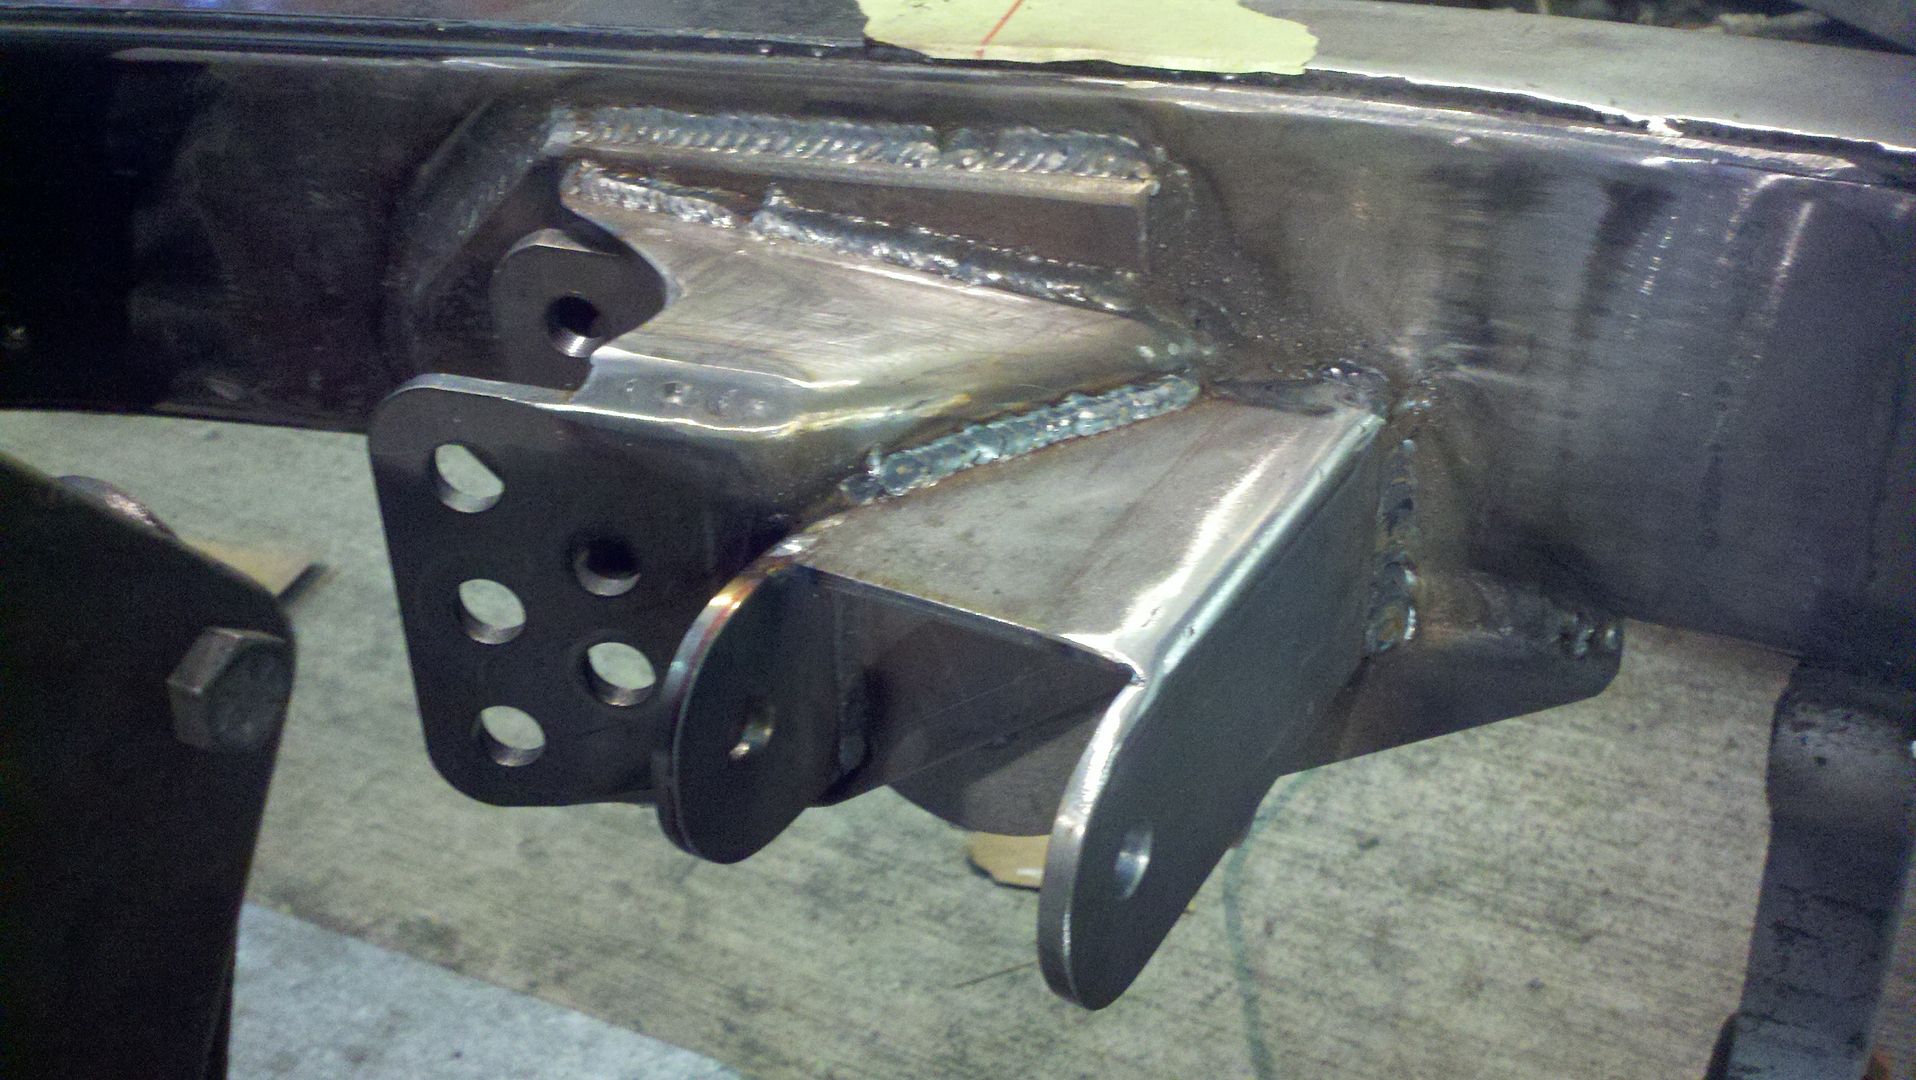
Also welded my rear link mounts/coil pads welded up and put on my rear axle.
here is the front axle at full bump.

I got the front gas tank crossmember raised up and I completely replaced the rear gas tank crossmember with square tubing.
here's a poser shot of close to ride height sitting on the hoist.
I got my panhard bracket ready to be welded on.
Also welded my rear link mounts/coil pads welded up and put on my rear axle.
here is the front axle at full bump.
Jun 19, 2012 | 09:09 PM
#59
Man that thing is looking good! You got some mad skills! I wish I had a shop like that to work in instead of my carport, lol. Did you get your link mounting brackets and coil pads from Ballistic Fab? Looks bad@$$, keep it up!


