
Fog lights in the grill?
 Mar 27, 2010 | 05:43 PM
#1
Thread Starter
Registered User
Joined: Dec 2006
Posts: 223
Likes: 0
From: Washington
Fog lights in the grill?
Has anyone abandon the 3rd gen factory fog lights for another location? I am thinking of some 4 inch round ones in the lower valance on the sides of my license plate, then cover them with some metal mesh for protection.
Anyone else try this with the factory bumper/valance?
Thanks!
Anyone else try this with the factory bumper/valance?
Thanks!


 Mar 28, 2010 | 11:42 AM
#5
Registered User
Joined: Sep 2005
Posts: 2,074
Likes: 1
From: Binghamton, NY
Mar 29, 2010 | 04:00 AM
#7

Contributing Member
Joined: Jan 2004
Posts: 1,757
Likes: 46
From: Ellicott City, MD
Here's my response in a recent, similar thread:
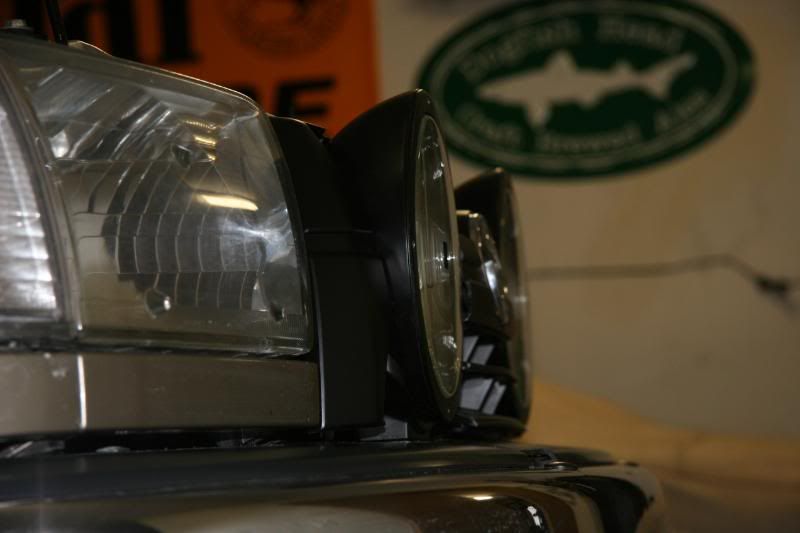
All done - for now. I'll re-install my original harness sometime this week and be able to once again enjoy 200W of proper light.
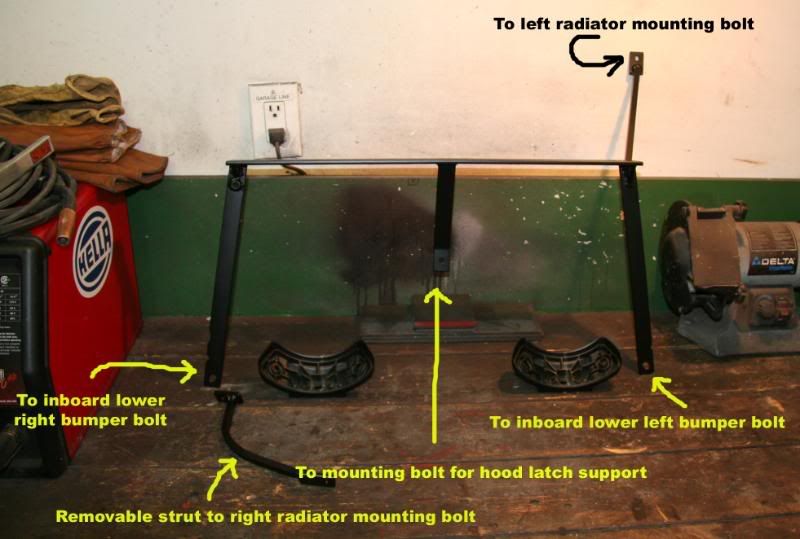
The pictures below should explain what I came up with. After using these lamps for 2 or 3 years, I just decided to remove them. The original mounting never appealed to me. So they've sat in a box for nearly 4 years.
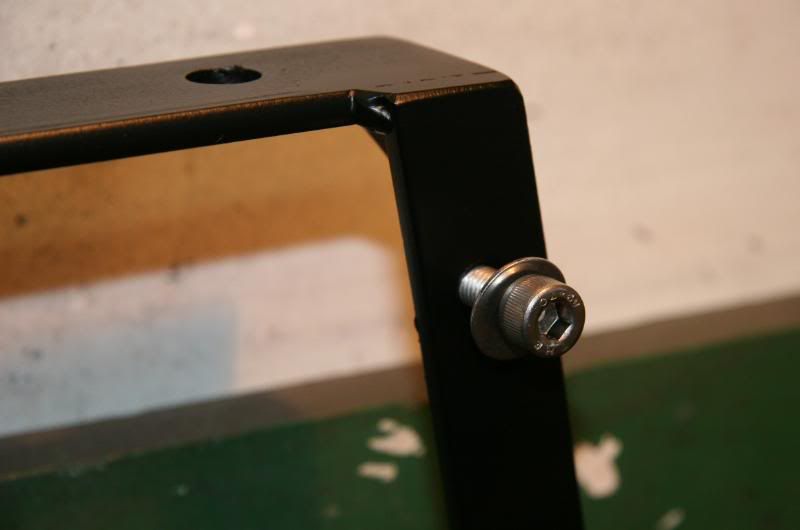
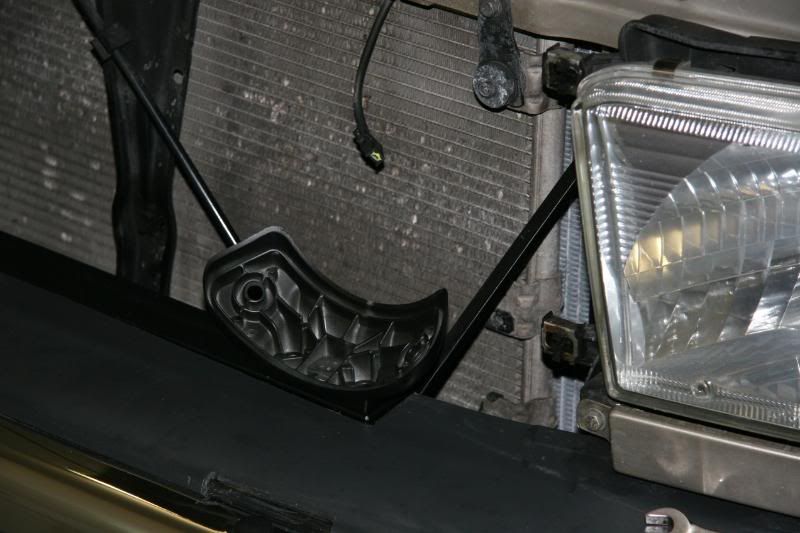
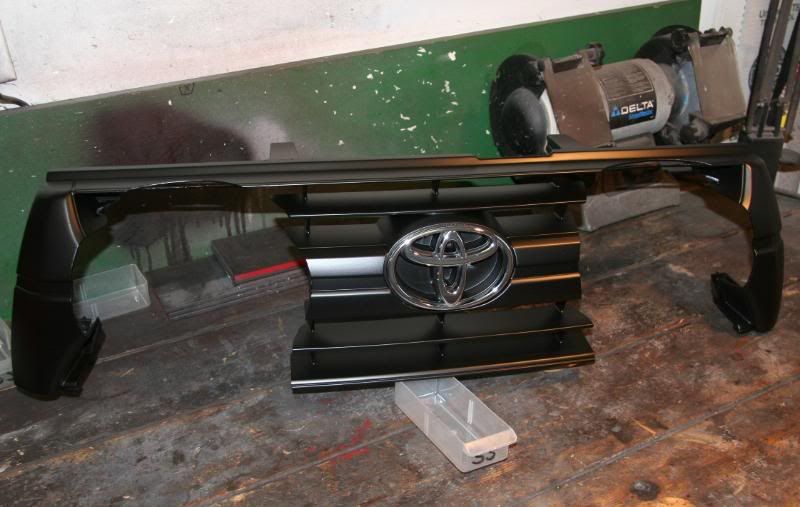
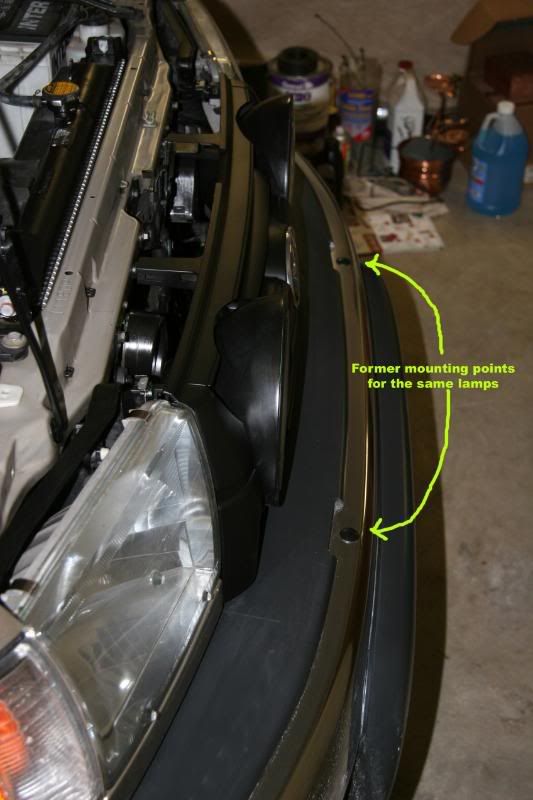
I have a new gray plastic top trim piece for the bumper, so I had no issue making my old one a bit lighter. My new solution does not rely on the flimsy bumper for support - rather, it attaches to the frame in 5 places. I did some initial placement tacking in place on the truck and all finish welding in my shop. Before painting (Dupli-Color self-etching primer & Dupli-Color High Temp low-gloss black), I cleaned the structure in my bead blasting cabinet. I'm very happy with the solution and look forward to using these again. They're too damn expensive to sit in a box.....
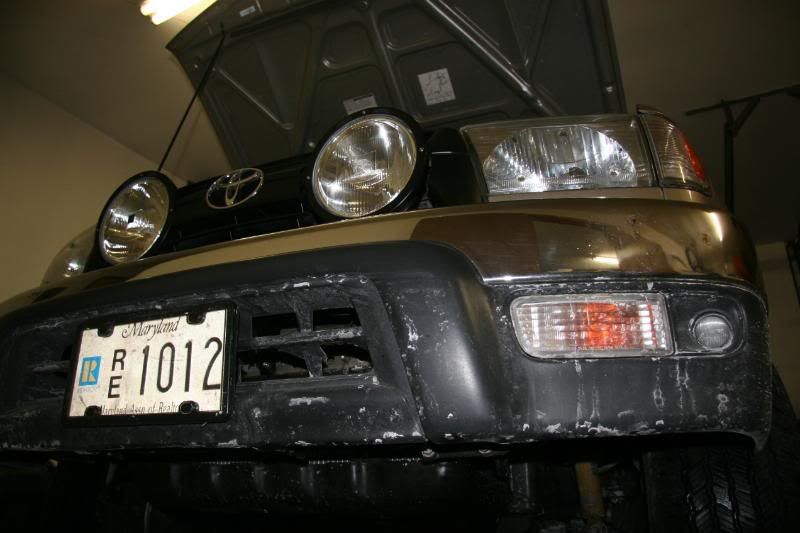
And this is how it looked 4 years ago:
Andreas
All done - for now. I'll re-install my original harness sometime this week and be able to once again enjoy 200W of proper light.
The pictures below should explain what I came up with. After using these lamps for 2 or 3 years, I just decided to remove them. The original mounting never appealed to me. So they've sat in a box for nearly 4 years.
I have a new gray plastic top trim piece for the bumper, so I had no issue making my old one a bit lighter. My new solution does not rely on the flimsy bumper for support - rather, it attaches to the frame in 5 places. I did some initial placement tacking in place on the truck and all finish welding in my shop. Before painting (Dupli-Color self-etching primer & Dupli-Color High Temp low-gloss black), I cleaned the structure in my bead blasting cabinet. I'm very happy with the solution and look forward to using these again. They're too damn expensive to sit in a box.....
And this is how it looked 4 years ago:
Andreas
Last edited by aowRS; Mar 29, 2010 at 04:04 AM.
Trending Topics
Mar 29, 2010 | 12:57 PM
#8
Registered User
Joined: Dec 2008
Posts: 344
Likes: 0
From: McLean, Virginia
Here's my response in a recent, similar thread:
All done - for now. I'll re-install my original harness sometime this week and be able to once again enjoy 200W of proper light.
The pictures below should explain what I came up with. After using these lamps for 2 or 3 years, I just decided to remove them. The original mounting never appealed to me. So they've sat in a box for nearly 4 years.
I have a new gray plastic top trim piece for the bumper, so I had no issue making my old one a bit lighter. My new solution does not rely on the flimsy bumper for support - rather, it attaches to the frame in 5 places. I did some initial placement tacking in place on the truck and all finish welding in my shop. Before painting (Dupli-Color self-etching primer & Dupli-Color High Temp low-gloss black), I cleaned the structure in my bead blasting cabinet. I'm very happy with the solution and look forward to using these again. They're too damn expensive to sit in a box.....
And this is how it looked 4 years ago:
Andreas

I want that. That looks freakin' awesome.
Mar 29, 2010 | 04:08 PM
#9

Registered User
Joined: Jan 2010
Posts: 30
Likes: 0
From: Baltimore
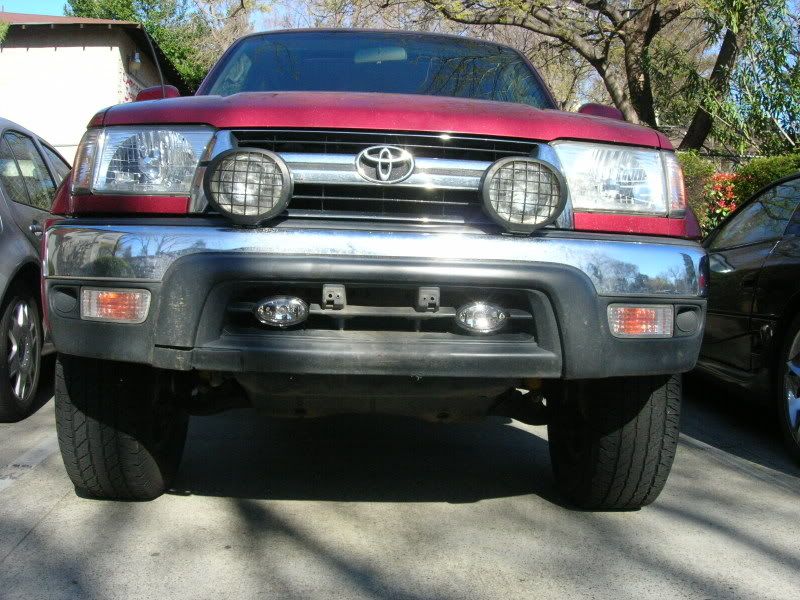
Or....
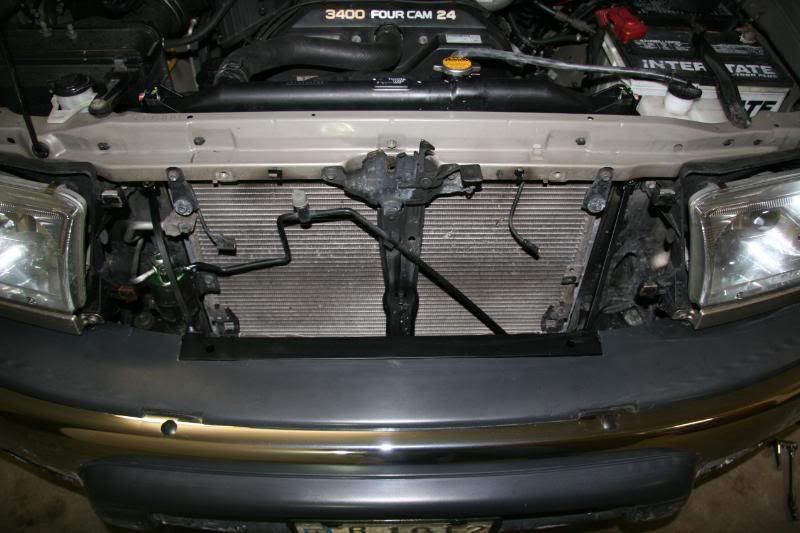
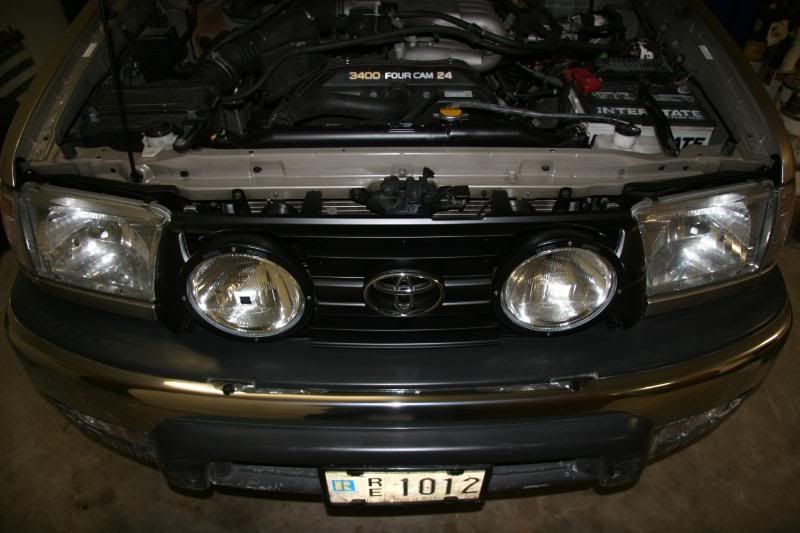
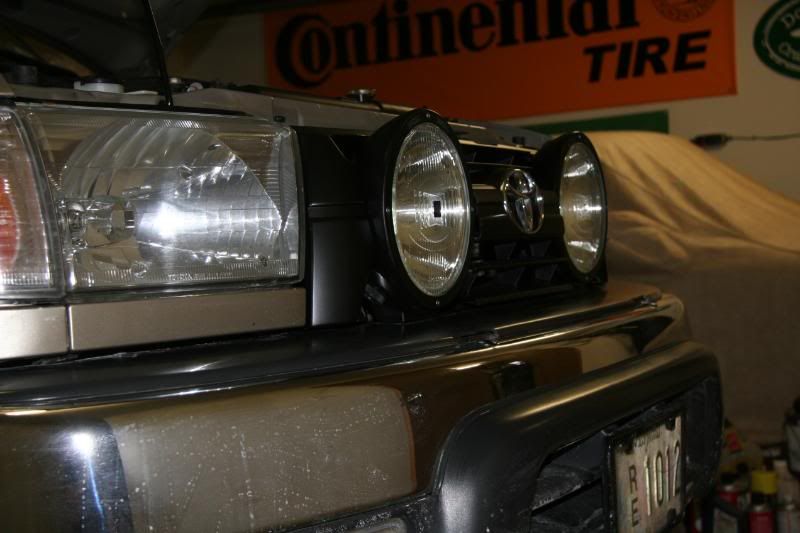
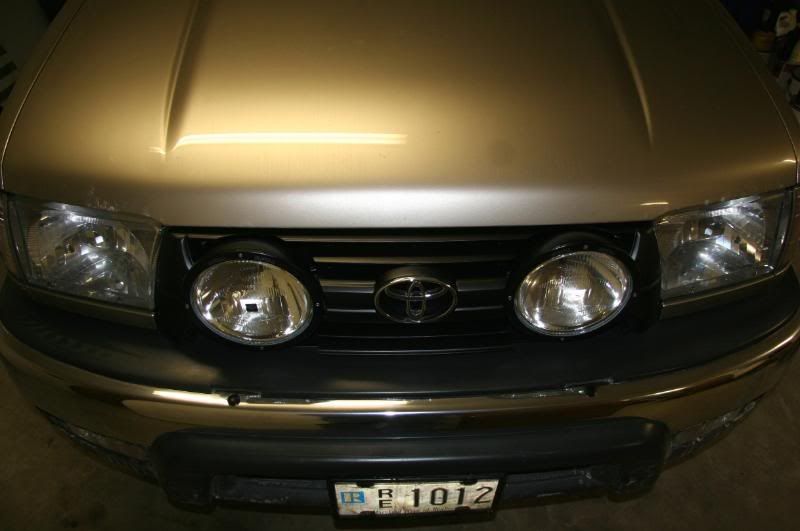
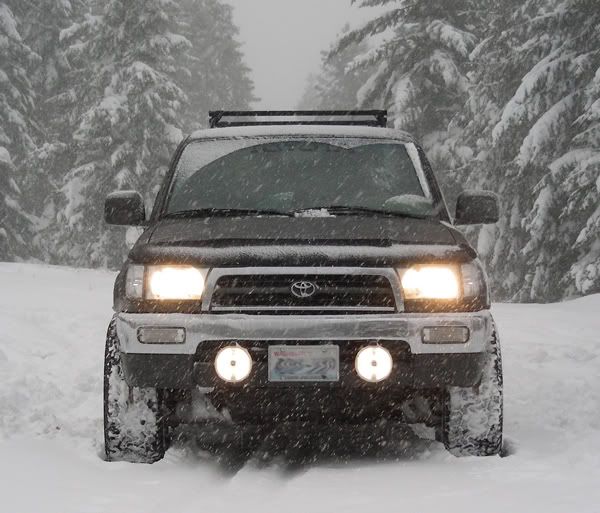
AOWRS and I did this to my '97 with much less hassle than his personal mount. We used two small, thick pieces of bent metal to secure the lights to the radiator frame.
I love the look of the lights down low next to the plate but I have to admit with the lights up on the grill it is really good for cooking the head of the person who cuts you off at night.
https://www.yotatech.com/forums/f2/b.../#post51359954
I love the look of the lights down low next to the plate but I have to admit with the lights up on the grill it is really good for cooking the head of the person who cuts you off at night.
https://www.yotatech.com/forums/f2/b.../#post51359954
Mar 29, 2010 | 04:29 PM
#10

Registered User
Joined: Jul 2009
Posts: 26
Likes: 0
From: Vancouver Island
https://www.yotatech.com/forums/f2/0...35/index2.html
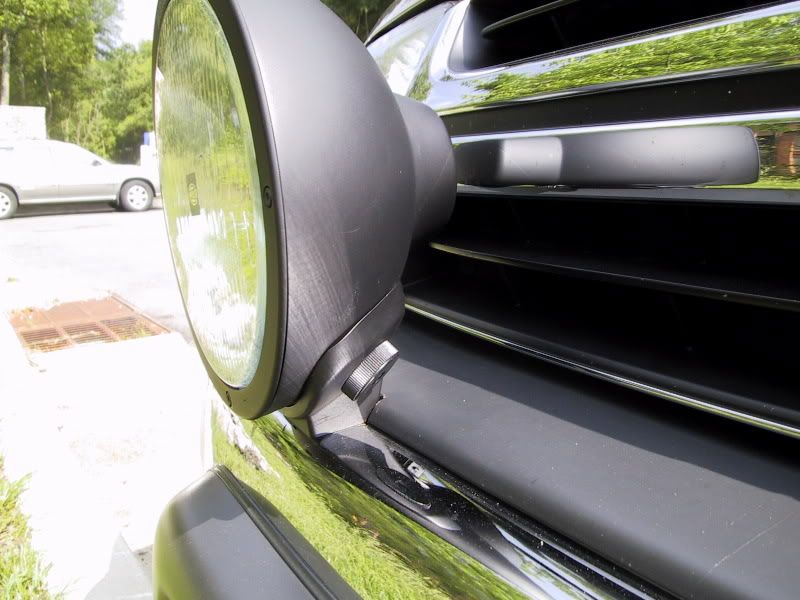
cvlighthouse has the best foglight grille setup IMO. I love the stealth look of it
cvlighthouse has the best foglight grille setup IMO. I love the stealth look of it
Mar 29, 2010 | 05:54 PM
#11
Contributing Member
Joined: Jan 2004
Posts: 1,757
Likes: 46
From: Ellicott City, MD
 Apr 3, 2010 | 08:42 PM
#14
Contributing Member
Joined: Nov 2006
Posts: 470
Likes: 1
From: Kenai, Alaska


 Apr 4, 2010 | 11:31 AM
#17
Registered User
Joined: Jul 2003
Posts: 405
Likes: 0
From: Clarkston, WA
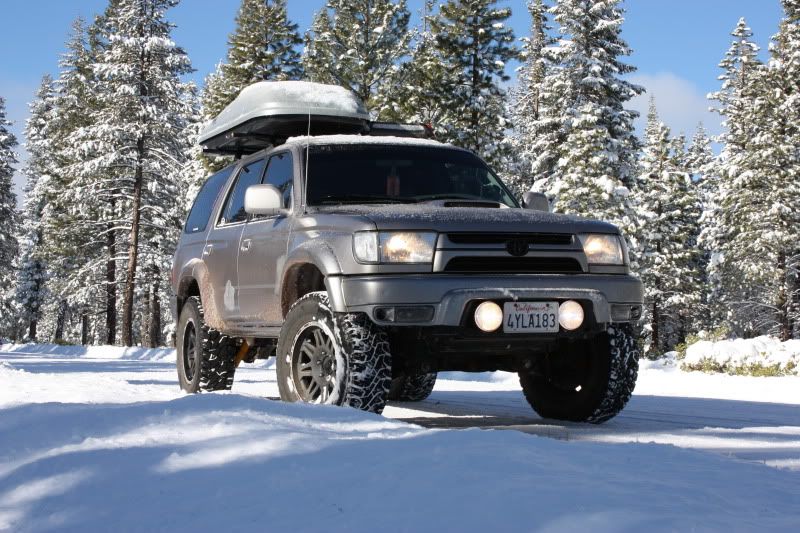
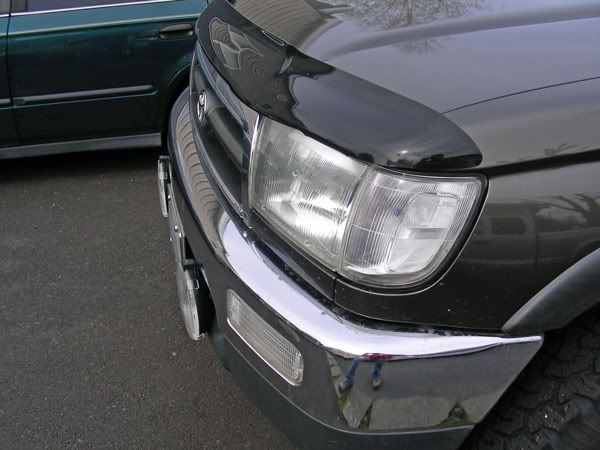
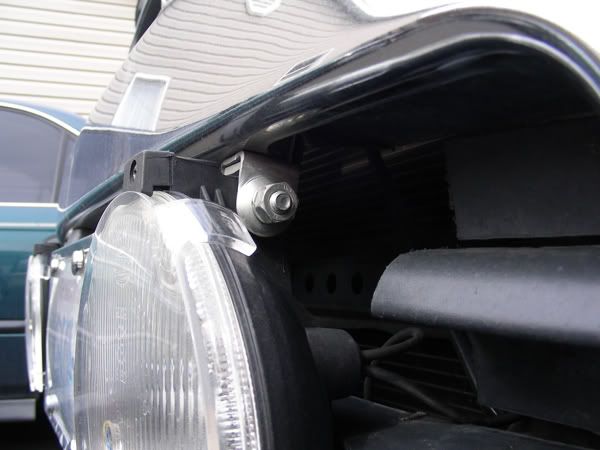
There are some factory mouning points on the metal bumper. Mine are mounted on those and I have the valance trimmed perfectly on the bottom to help support them for now. When I have some free time I'll build some bracktets to help beef up that mouning point. As they are now I have no vibrations even when on rutted out washboarded roads! You should have the same points on the bumper but they may be hidden by the different valance on your 99.
Apr 4, 2010 | 11:34 AM
#18
Thread Starter
Registered User
Joined: Dec 2006
Posts: 223
Likes: 0
From: Washington
I dont suppose you have a decent pic of where you bolted those down do you?
and holy cow! I found the Hella 500 FF kit for half of what the IPF cost! Just need the rock covers and Im good to go.
and holy cow! I found the Hella 500 FF kit for half of what the IPF cost! Just need the rock covers and Im good to go.
Apr 4, 2010 | 03:01 PM
#19
Registered User
Joined: Jul 2003
Posts: 405
Likes: 0
From: Clarkston, WA
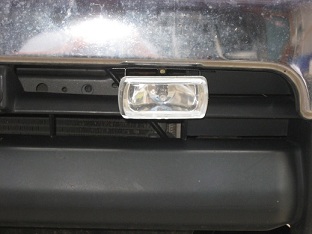
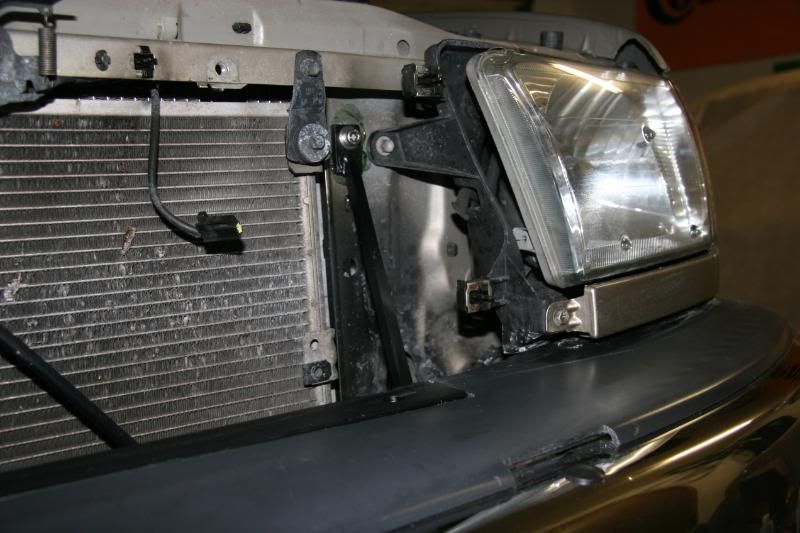
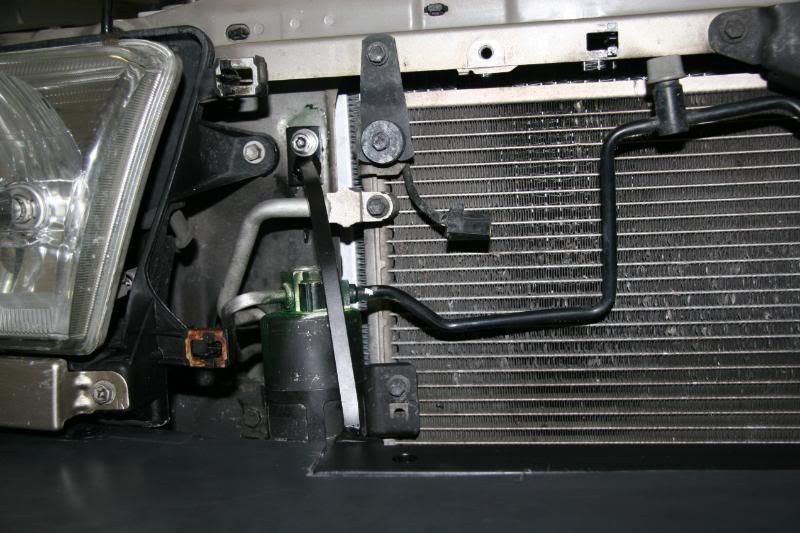
I snapped some pics for you. 
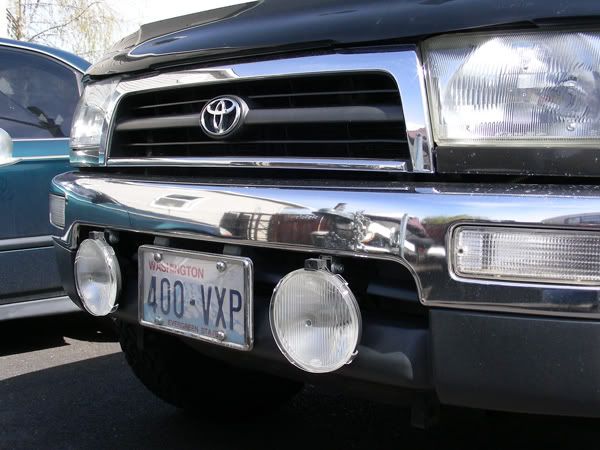
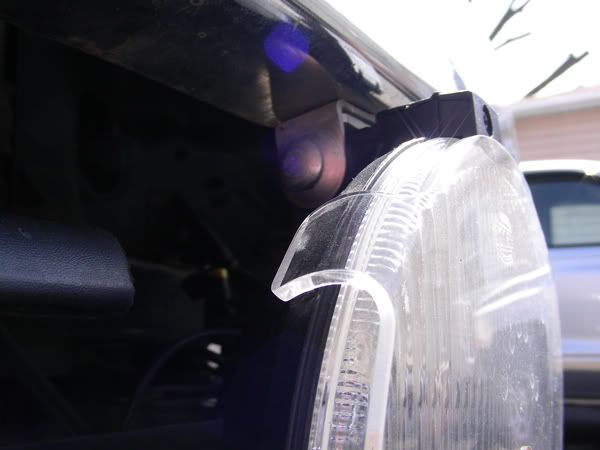
I also wanted to say that the hella 500's (at least mine) are not recomended for mounting upside down. I drilled a couple small moisture drains on the bottom of mine and have never had any problems with them getting moisture and fogging up ever. Oh yeah...100 watt bulbs work nicely too (just upgrade the wireing so you don't burn down your truck!)
I also wanted to say that the hella 500's (at least mine) are not recomended for mounting upside down. I drilled a couple small moisture drains on the bottom of mine and have never had any problems with them getting moisture and fogging up ever. Oh yeah...100 watt bulbs work nicely too (just upgrade the wireing so you don't burn down your truck!)
Apr 4, 2010 | 03:09 PM
#20
Contributing Member
Joined: Nov 2006
Posts: 470
Likes: 1
From: Kenai, Alaska
There are some factory mouning points on the metal bumper. Mine are mounted on those and I have the valance trimmed perfectly on the bottom to help support them for now. When I have some free time I'll build some bracktets to help beef up that mouning point. As they are now I have no vibrations even when on rutted out washboarded roads! You should have the same points on the bumper but they may be hidden by the different valance on your 99.
I've heard complaints about mounting to the bumper (like mine), but I have to say mine are very tight and don't bounce around what so ever. I just thought I was one of the lucky few.
Last edited by psraff; Apr 4, 2010 at 03:11 PM.


