
Twistedyota's '87 4Runner Build thread
 Mar 21, 2012 | 01:59 AM
#441
I was just catching up on your thread. You have been getting quite a bit done. On the 88 build I have it listed on the headlight switch about your high beams.
There is a little pointed contact about the size of a ball point pen. It just needs a quick filing with a fingernail board or something similar to knock of the corrosion. It is just under a littl piece of plastic. It is #199 on the link below.
On the cigarette lighter, I had the problem of it keeps blowing the fuses. I later found out that if you use a replacement other than a Toyota, that it use more current then a Toyota lighter does which will blow a fuse. A Toyota lighter is supposedly right at its limits of using to much current. That is the way I understand it.
I dont know much else as far as the other problems. I too am having door lock problems.
Sounds like you made out like a bandit on your latest scores.
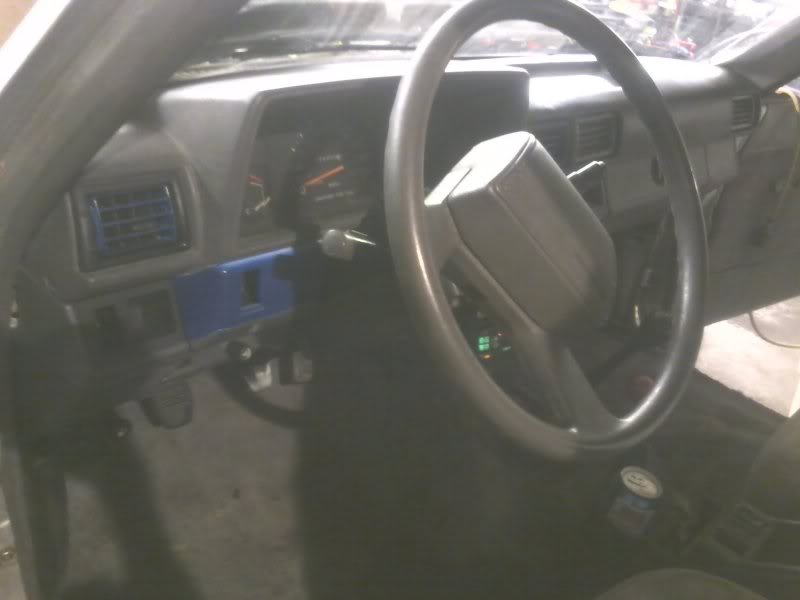
Headlight ink...https://www.yotatech.com/forums/f199...99/index8.html
There is a little pointed contact about the size of a ball point pen. It just needs a quick filing with a fingernail board or something similar to knock of the corrosion. It is just under a littl piece of plastic. It is #199 on the link below.
On the cigarette lighter, I had the problem of it keeps blowing the fuses. I later found out that if you use a replacement other than a Toyota, that it use more current then a Toyota lighter does which will blow a fuse. A Toyota lighter is supposedly right at its limits of using to much current. That is the way I understand it.
I dont know much else as far as the other problems. I too am having door lock problems.
Sounds like you made out like a bandit on your latest scores.
Headlight ink...https://www.yotatech.com/forums/f199...99/index8.html
Mar 24, 2012 | 05:14 PM
#442
I was just catching up on your thread. You have been getting quite a bit done. On the 88 build I have it listed on the headlight switch about your high beams.
There is a little pointed contact about the size of a ball point pen. It just needs a quick filing with a fingernail board or something similar to knock of the corrosion. It is just under a littl piece of plastic. It is #199 on the link below.
On the cigarette lighter, I had the problem of it keeps blowing the fuses. I later found out that if you use a replacement other than a Toyota, that it use more current then a Toyota lighter does which will blow a fuse. A Toyota lighter is supposedly right at its limits of using to much current. That is the way I understand it.
I dont know much else as far as the other problems. I too am having door lock problems.
Sounds like you made out like a bandit on your latest scores.
Headlight ink...https://www.yotatech.com/forums/f199...99/index8.html
as far as the cig lighter, i got one from a moving truck when i used to work at uhual and its working so far.
Jun 22, 2012 | 08:02 PM
#444
been super busy with the fam and work but i have been doing alot of work to the trucks, just been hard to post due to no internet. using a friends right now. next time i get the chance ill post pics and an update to what ive done.
Jan 20, 2013 | 12:35 PM
#445
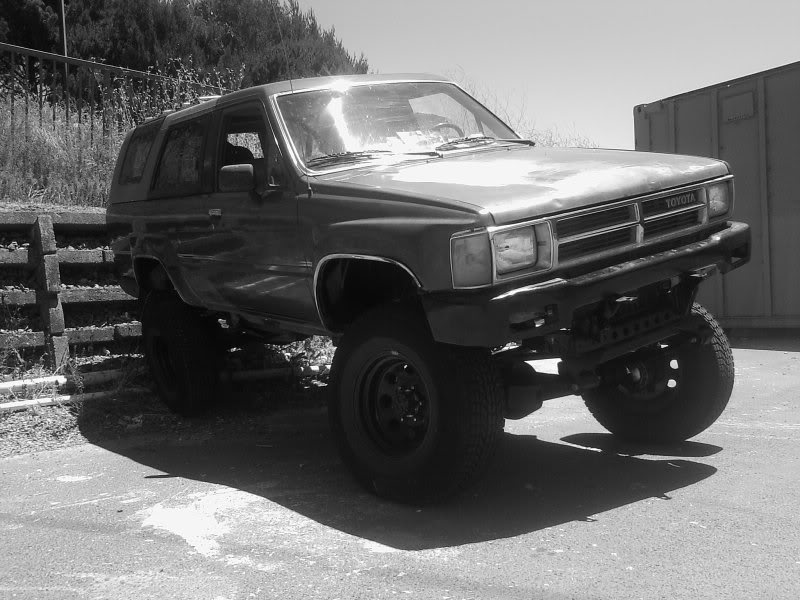
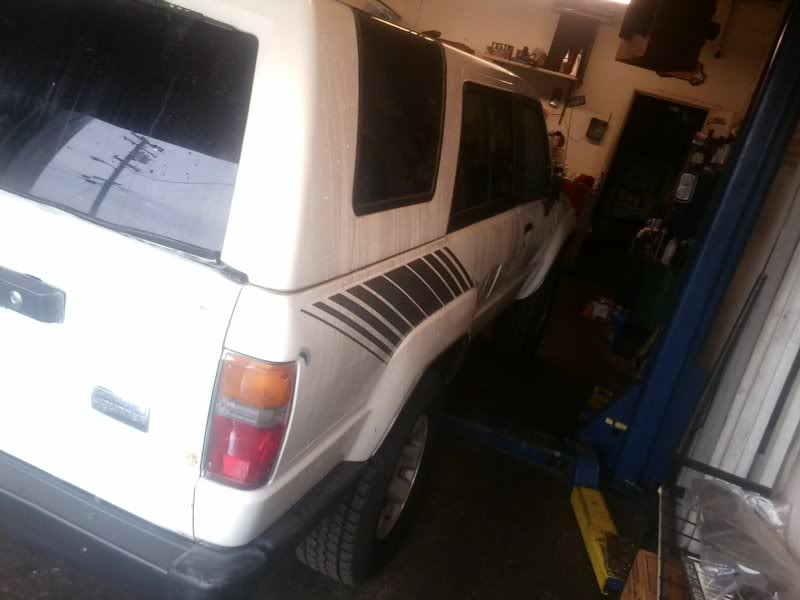
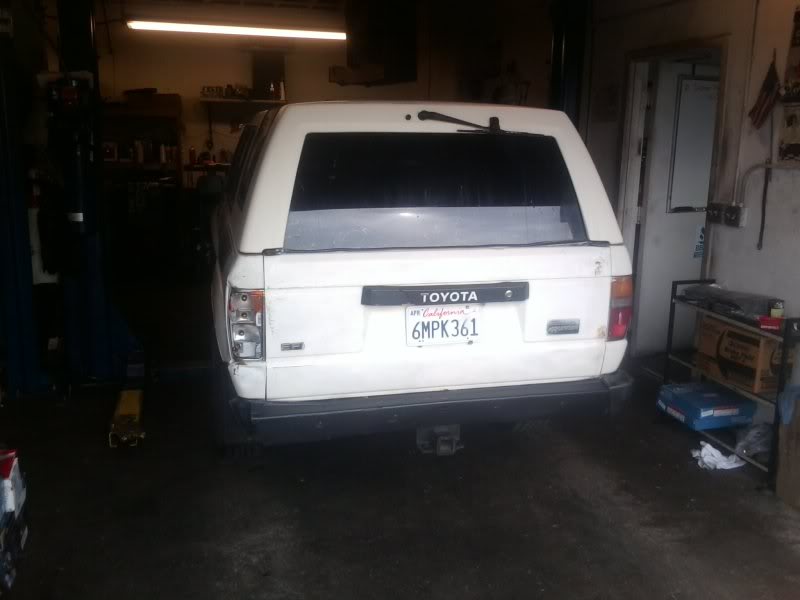
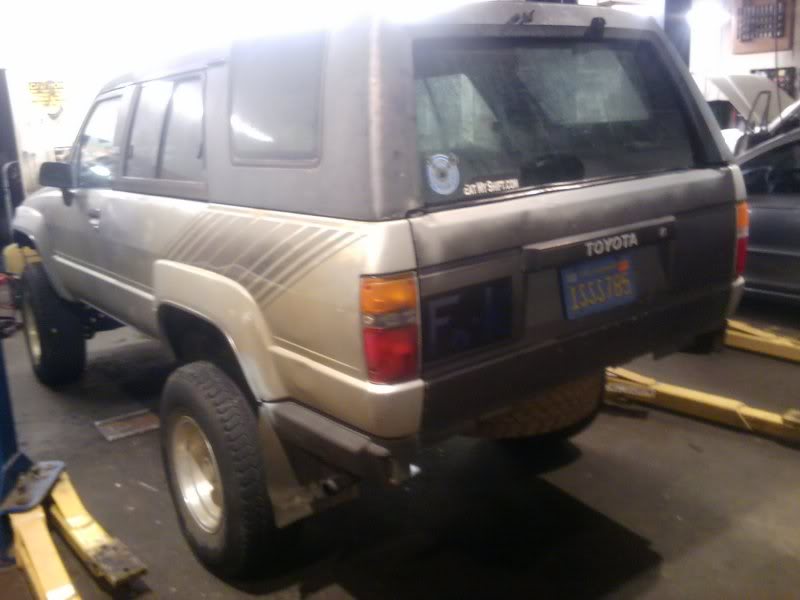
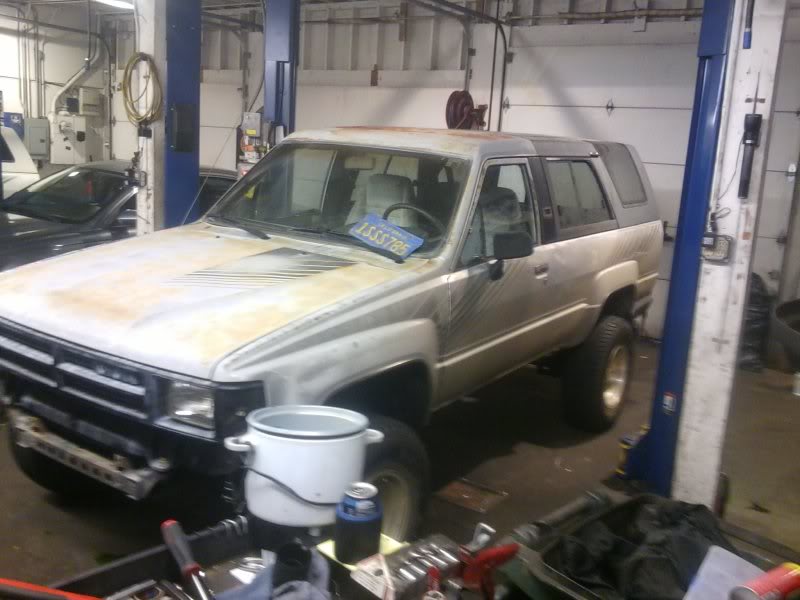
still no internet at home and busy playing with my fam, so no time to find a working comp, but im still working on yotas, i traded the scav for a Honda civic for a daily commuter but before i did tht i picked up an 88 4runner v6 auto with a sun roof. sadly enough the 88 has a blown head gasket so it will be on the back burner for quite some time. with trying to save to get a house.
right after the swap:

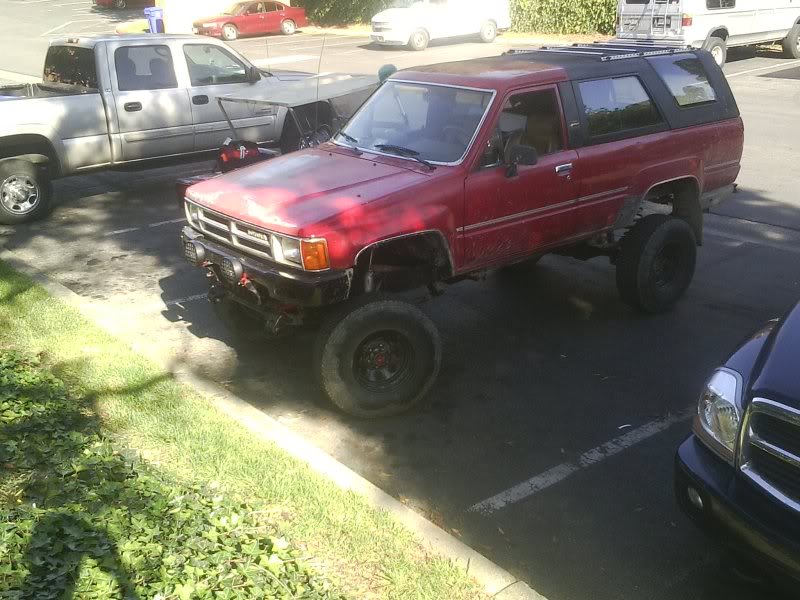
had to put 3in blocks in the rear to level it out, i plan on doing chevy 63's and seeing where it takes me.
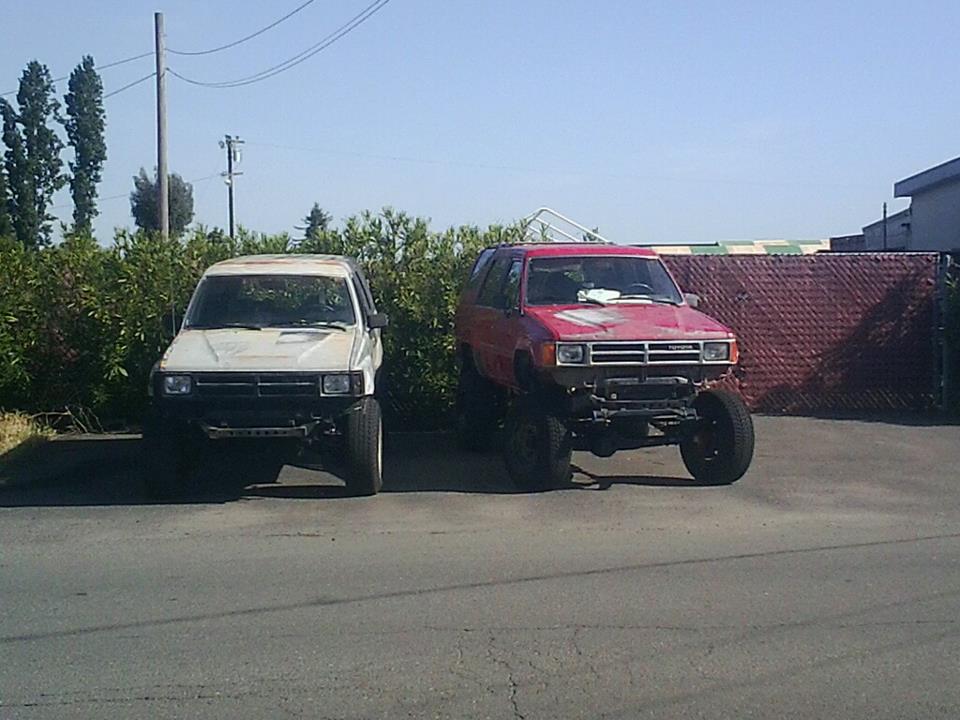
the berry and the scav side by side
some flex
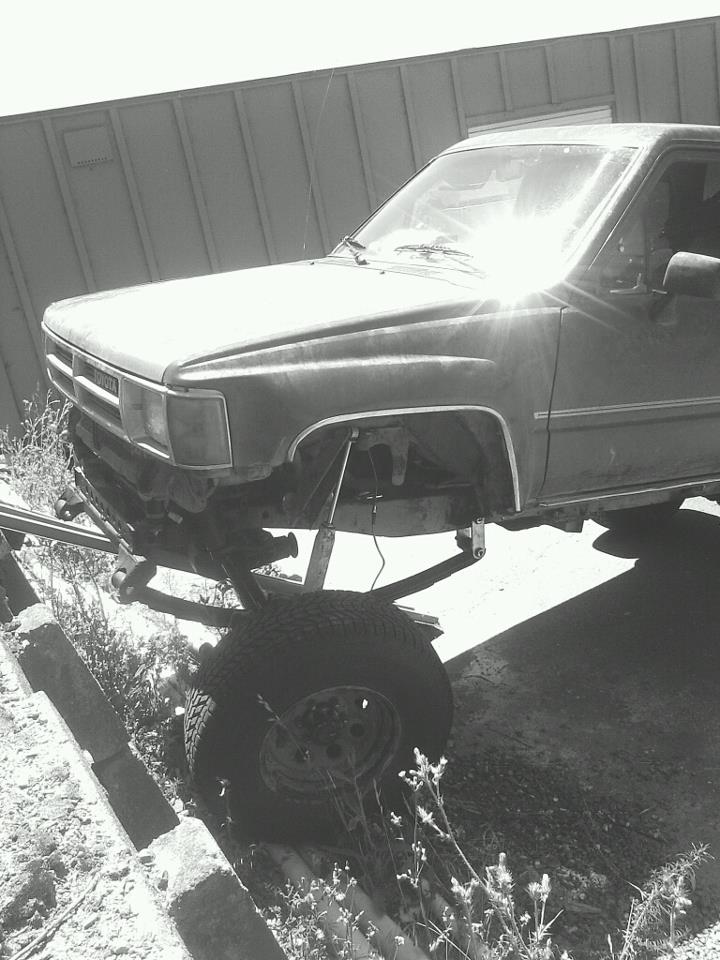

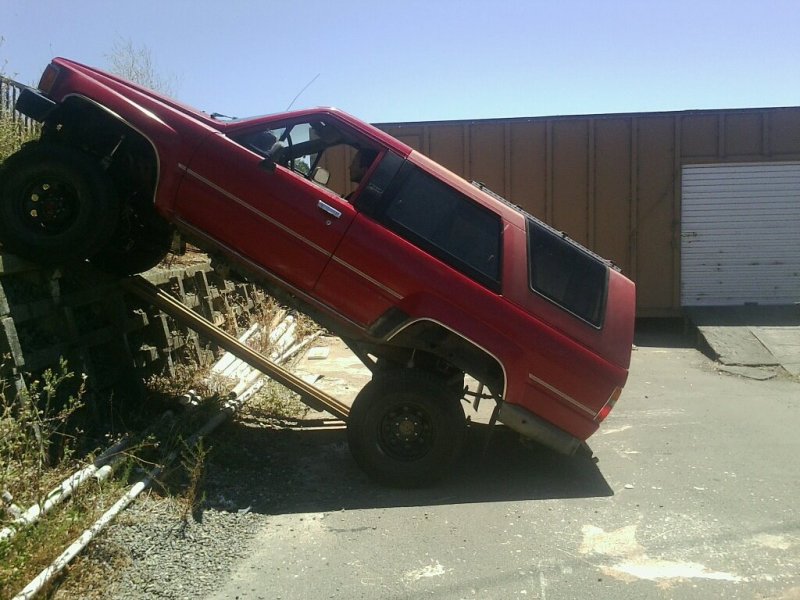
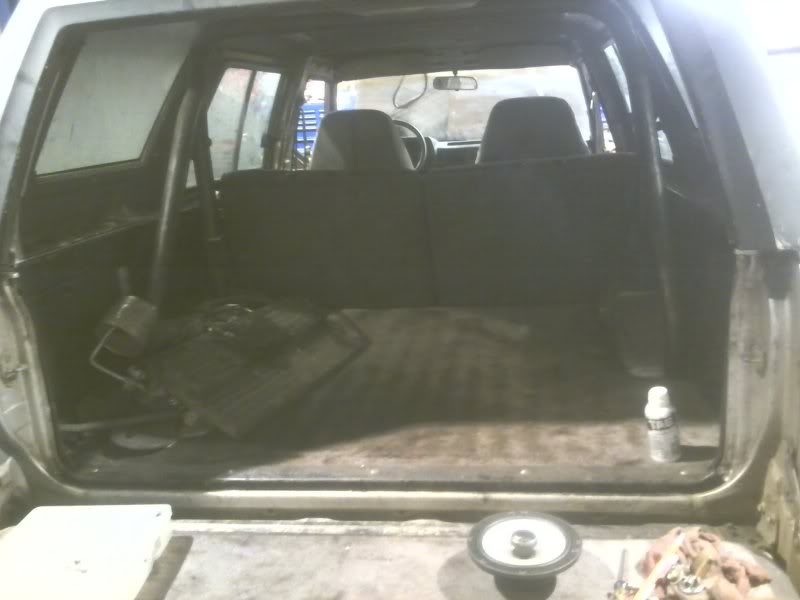
underneath

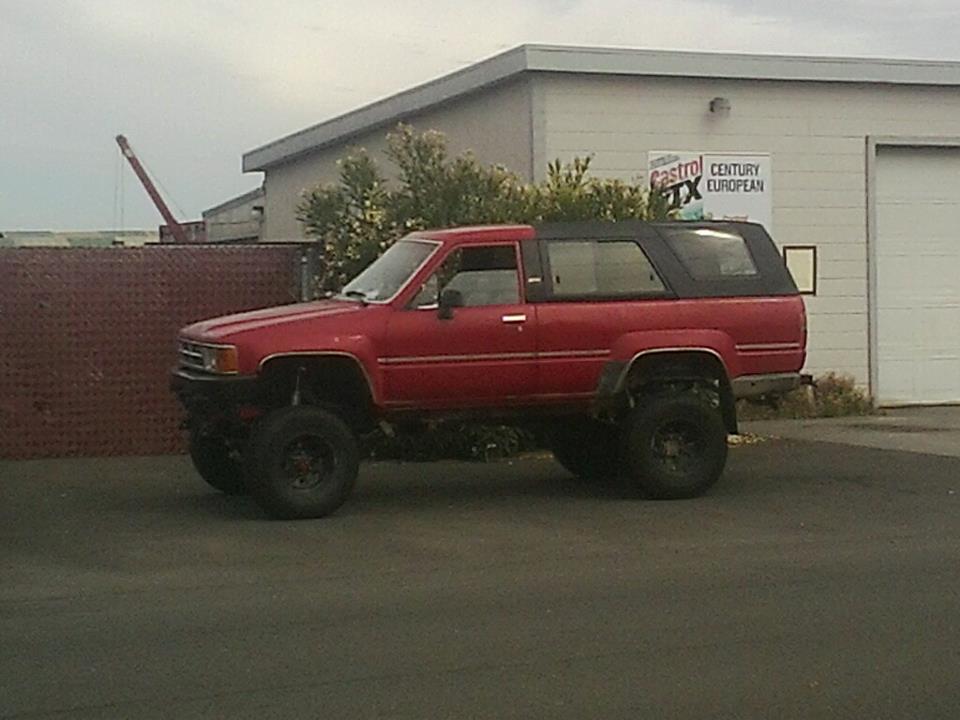
the berry's stance
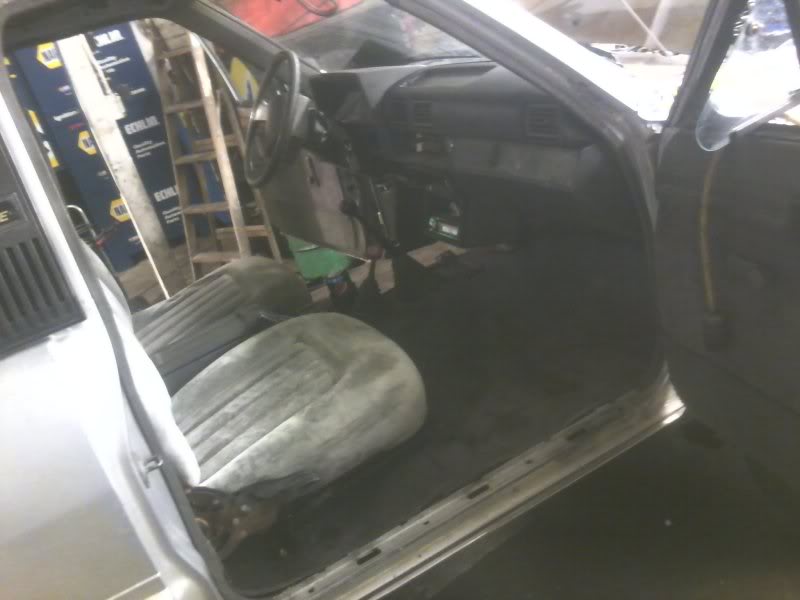
here u can see i painted the top, me and my brother did it in a couple hrs on a warm day, we removed the top and set it on some stands off the ground the took some scotch bright pads and scuffed it down then aired it off, masked off then rattled can it flat black took 4 1/2 cans to do and cam out great.
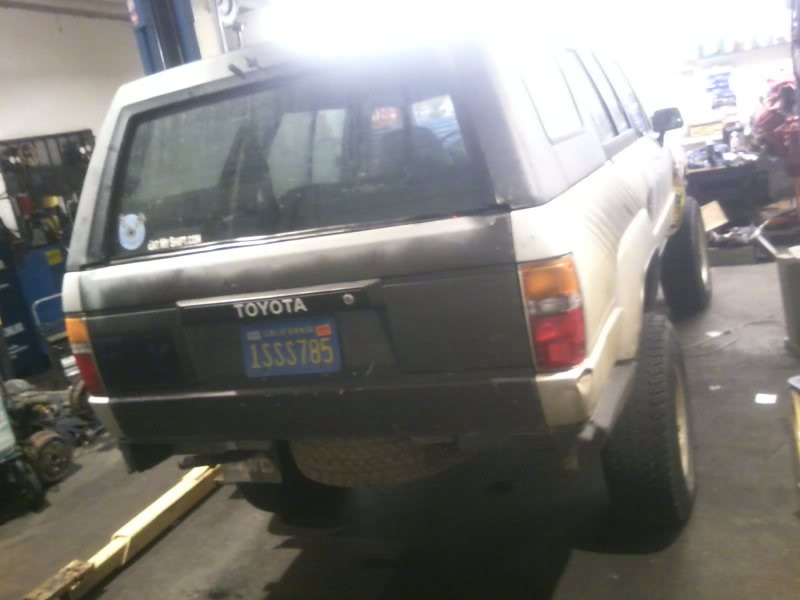
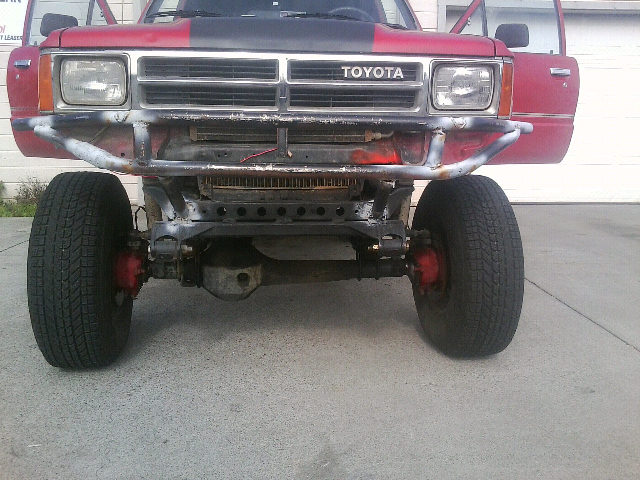
and my new 4runner

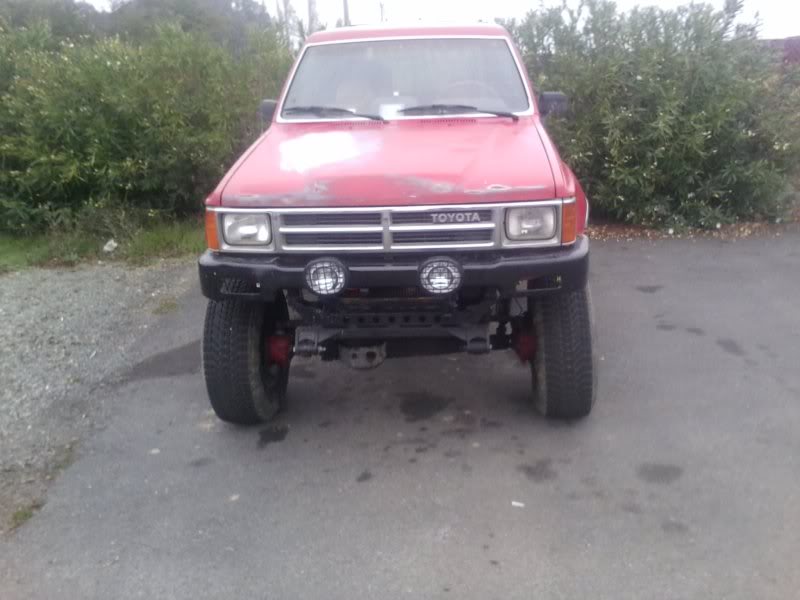
new-to-me bumper, just for looks
offroad lights on
elocker installed still have to wire it up
removed the altitude gauge but made it so i can install it if i ever want to make it back to factory

the scav right before i traded
right after the swap:
had to put 3in blocks in the rear to level it out, i plan on doing chevy 63's and seeing where it takes me.
the berry and the scav side by side
some flex
underneath
the berry's stance
here u can see i painted the top, me and my brother did it in a couple hrs on a warm day, we removed the top and set it on some stands off the ground the took some scotch bright pads and scuffed it down then aired it off, masked off then rattled can it flat black took 4 1/2 cans to do and cam out great.
and my new 4runner
new-to-me bumper, just for looks
offroad lights on
elocker installed still have to wire it up
removed the altitude gauge but made it so i can install it if i ever want to make it back to factory
the scav right before i traded
Last edited by twistedyota; Jan 20, 2013 at 01:45 PM.
Jan 20, 2013 | 01:42 PM
#446
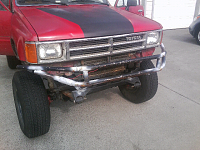
got rid of the show bumper and started building a tube bumper it doesnt look the greatest considering im using used tubing from a roll cage the was cut out but u cant complain when its free, also started paint the hood will try to get a pic soon.
Jan 21, 2013 | 12:14 PM
#448
Glad to see you back. Wondered where you had been. The SAS turned out great and I like the looks of your new runner. Will be looking forward to seeing you more now that they have the phone app.
Jan 21, 2013 | 09:06 PM
#449
Thanks. The white runner will be on the back burner for a while but with the money ill be saving driving the honda everyday I should be able to spend a lil more here and their
Feb 2, 2013 | 07:38 PM
#450
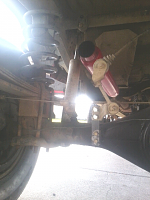
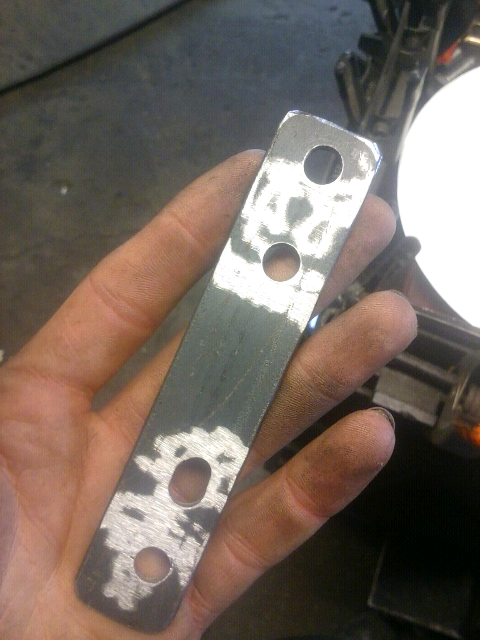
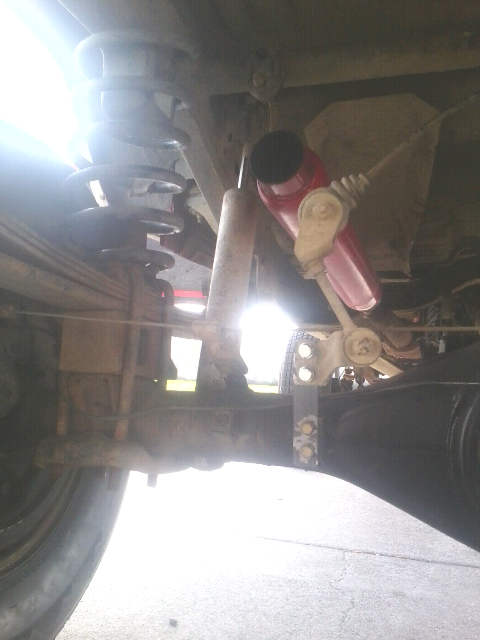
Decide to build a bracket for my rear brake poportioning valve

Here is the tube bumper I started on a lil bit ago, I know it doesn't look very good, thts because I was using used tubbing from a roll cage.

With my winch set in to give me an idea
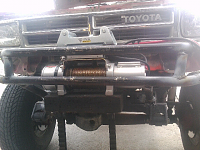
As u can see in my second pic of my bumper I welded it to the frame, but after some thinking I think I'm going to cut those bars off and move them inward and make it so it bolts on, I'm also planing on recessing my fairlead so the tubing is the farthest thing sticking out to still be a push bumber
Also gotta say I love this app
Feb 6, 2013 | 07:49 AM
#451
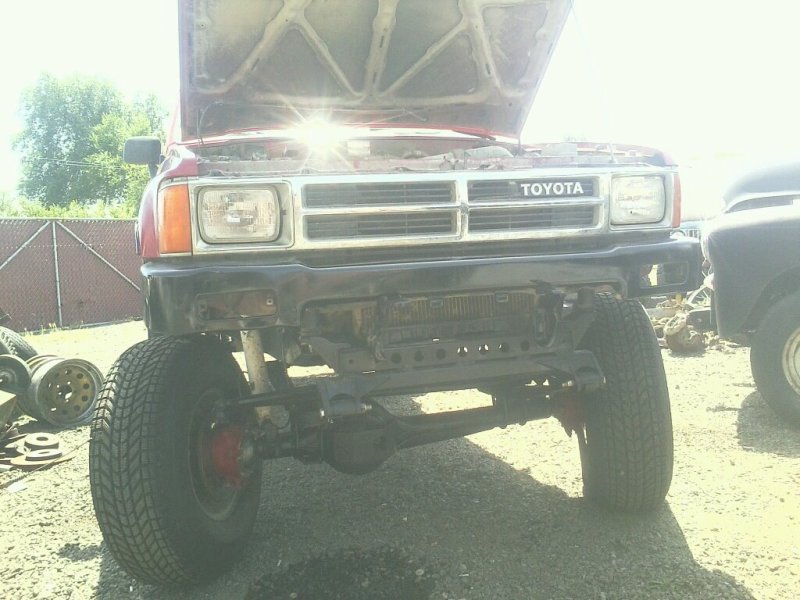
I picked up an 84 pickup with everything except the body
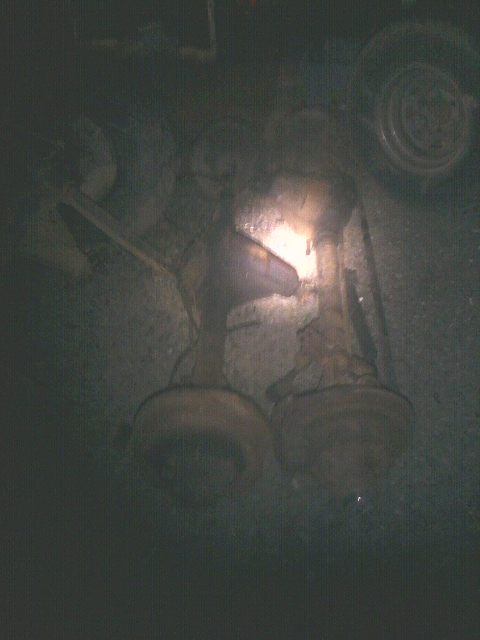
So now I have another toy axle
Hoping to tear it apart clean it up and rebuild it to replace the one under my truck now
And the rear one also
Will probably remove the third member and scrap the rear axle
So now I have another toy axle
Hoping to tear it apart clean it up and rebuild it to replace the one under my truck now
And the rear one also
Will probably remove the third member and scrap the rear axle
Feb 10, 2013 | 08:35 AM
#452
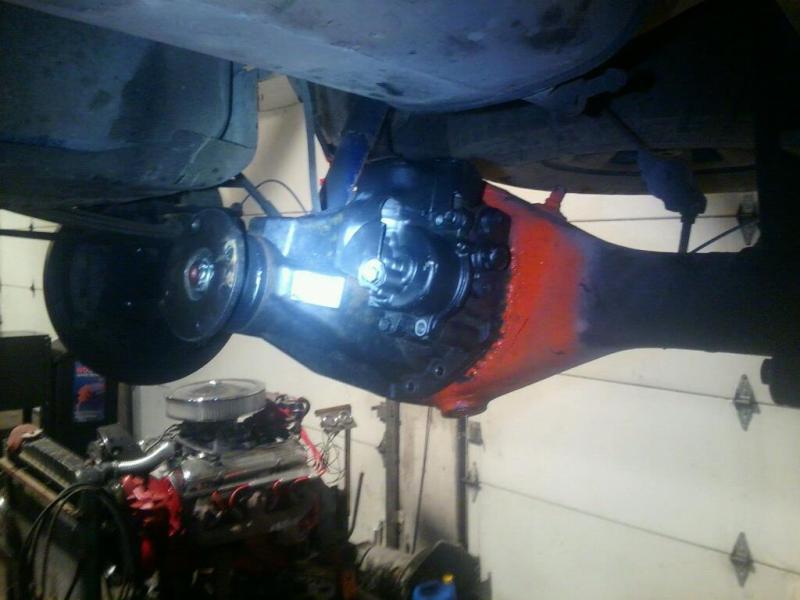
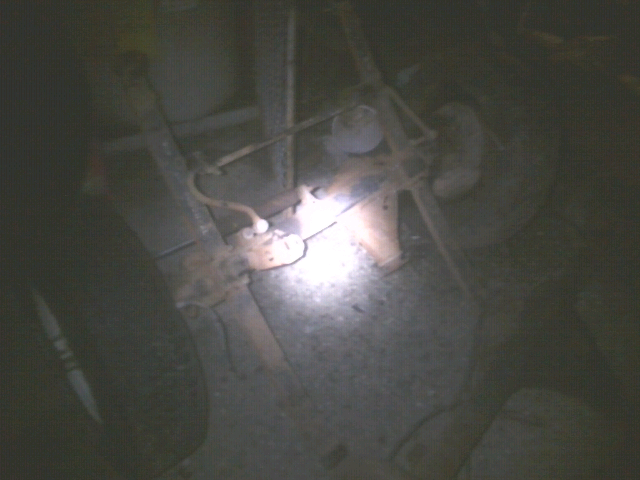
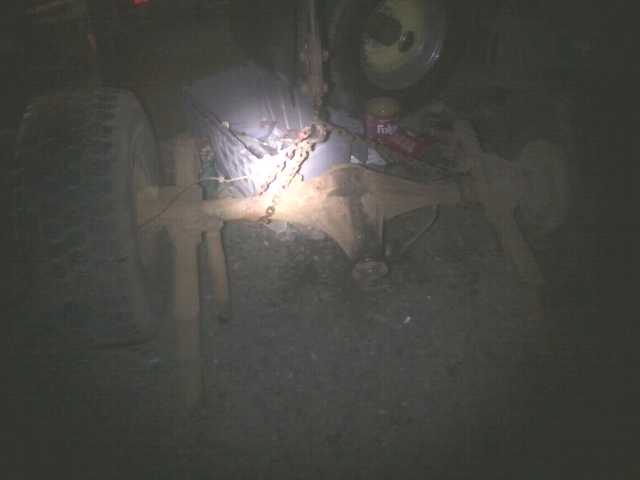
Dana 44 and full floating 60,
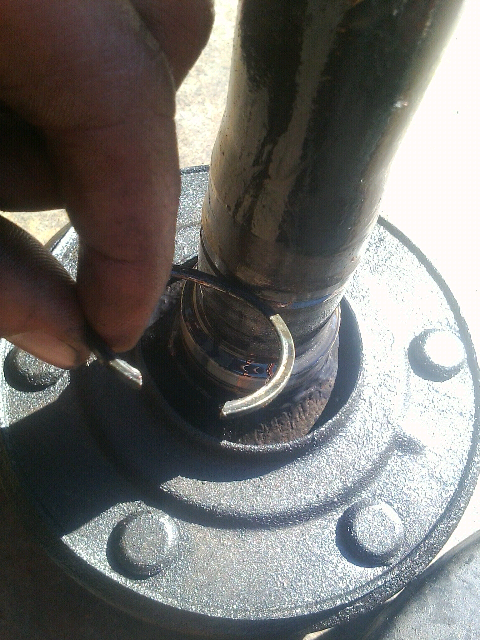
I thoughtg my wheel cylinder went bad so I ordered one but found out my axle seal wasbad, so I replaced all the seals and thhe bearing, right around$45

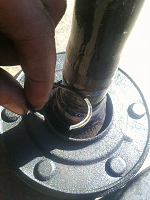
If any one replaces the bearing them self remove thiis snap ring, I almost didn't see it before I put everythiing on the press
Also had to get a new radiator earlier this week, the solder around the lower neck broke and it started leaking, so I got a new one, but was able to take the old one to work and solder it up so now I have a spare.
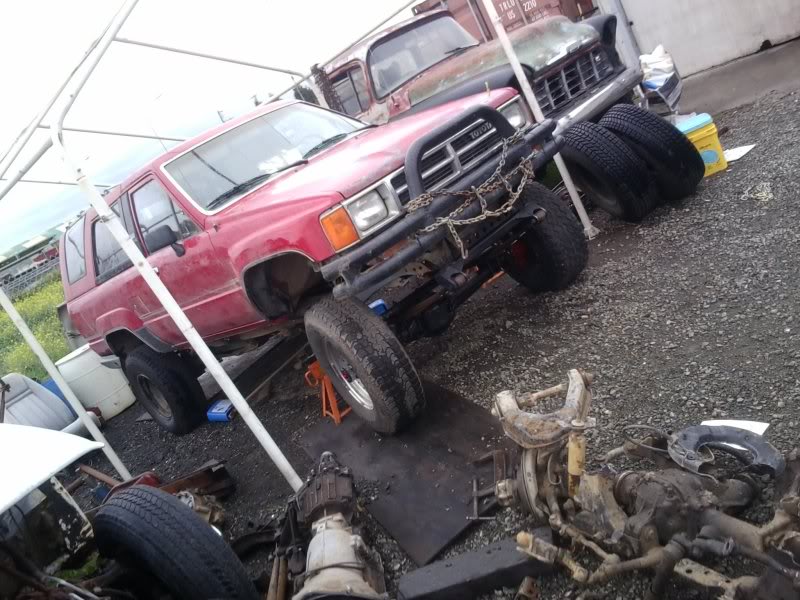
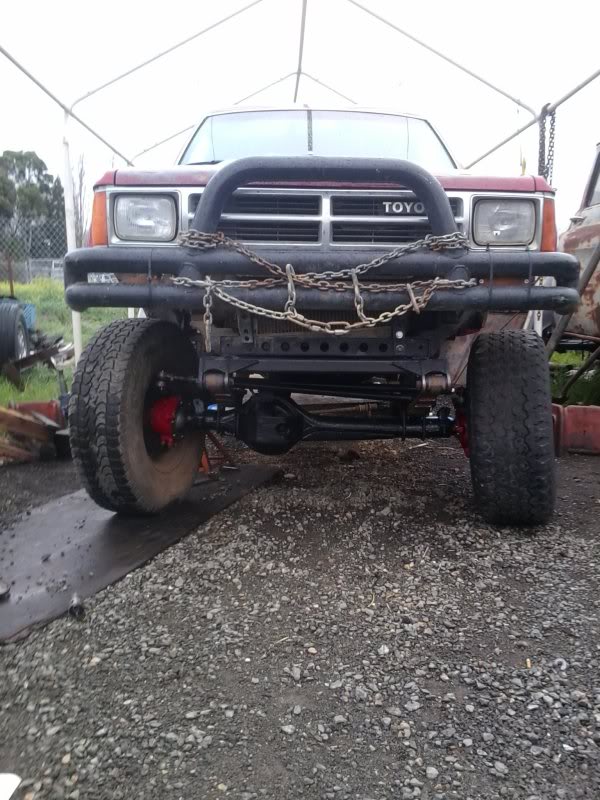
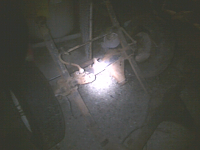
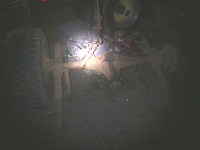
Me and my brother cut the front bumper off the truck, decided I didn't like it being welded on so I'm in the process of making it
Iff been noticing tht my truck has been real slugish ever since I swapped axles between the berry and the scav(scav had elocker installed) so I marked the tires and driveline and did 2 differant test and came up with the same results the ggear ratio in the elocker is 3.91.
Mybe next weekend ill take the third member out of tht 84 axle and remove the ring and pinion and try to swap it in to the elocker
I thoughtg my wheel cylinder went bad so I ordered one but found out my axle seal wasbad, so I replaced all the seals and thhe bearing, right around$45
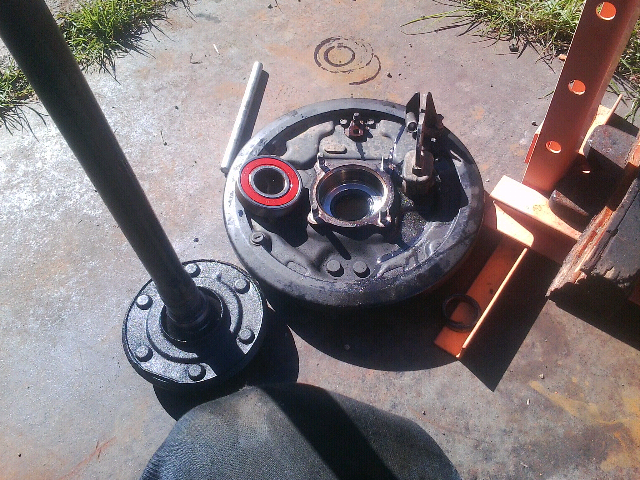
If any one replaces the bearing them self remove thiis snap ring, I almost didn't see it before I put everythiing on the press
Also had to get a new radiator earlier this week, the solder around the lower neck broke and it started leaking, so I got a new one, but was able to take the old one to work and solder it up so now I have a spare.
Me and my brother cut the front bumper off the truck, decided I didn't like it being welded on so I'm in the process of making it
Iff been noticing tht my truck has been real slugish ever since I swapped axles between the berry and the scav(scav had elocker installed) so I marked the tires and driveline and did 2 differant test and came up with the same results the ggear ratio in the elocker is 3.91.
Mybe next weekend ill take the third member out of tht 84 axle and remove the ring and pinion and try to swap it in to the elocker
Feb 11, 2013 | 12:34 AM
#453
How hard was it to add an elocker? That is one improvement that I would like to do sometime. Swapping out the one seal you need a press for is easy. I lucked out and didnt need to swap out the seal that needed pressed out. Glad you pointed out the c clip.
Feb 11, 2013 | 09:14 AM
#454
Cut the mounting tubes off my bumper and moved them outwards so tht they arnt over the outer small bolt hole, made a plate and welded it to the plate so now it bolts on, mybe next weekend ill take it off and finish welding it all up
I wanna say the 4 bolts tht hold a factory bumper on have a thread size of 12mmX1.25
And the 2 outer ones tht are smaller are 10mmX1.25
I wanna say the 4 bolts tht hold a factory bumper on have a thread size of 12mmX1.25
And the 2 outer ones tht are smaller are 10mmX1.25
Last edited by twistedyota; Feb 11, 2013 at 09:22 AM.
Feb 11, 2013 | 09:16 AM
#455
-u have to cut part of the mounting flange off then make a new flat area for the new flange
-remove 3 studs and install 4
-and notch the flange in 2 other spots to allow the ring gear to slid in the housing
-then I had to cut 1/8in off my driver side axxle shaft
Yea I had to press the old bearing and seal off and press the new one on, luckily we have a press at our shop
Feb 13, 2013 | 06:18 PM
#456
Driving to work today, tranny started making noise like a playing card hitting the spokes of a bike wheel.
Checked the fluid, they were good. While driving home found it makes the noise in every gear except 4th. After talkingg to my uncle I've concluded tht its probably a counter shaft bearing
Checked the fluid, they were good. While driving home found it makes the noise in every gear except 4th. After talkingg to my uncle I've concluded tht its probably a counter shaft bearing
Feb 14, 2013 | 07:45 AM
#458
Luckily for me I have another tranny, but the spare I have likes to pop out of first and the syncro for 3rd doesn't always work, ima try and see if I can take the 2 and make one good one
Feb 14, 2013 | 12:23 PM
#460


