
rustED's 86' V8-Runner Build-up Thread


 Aug 11, 2014 | 12:21 AM
#1043
I have always wondered if the flanges were the same, glad you mentioned it. Rotating it 180 couldn't hurt. I even mark where the flanges go to when I remove the driveshaft. Seems to help in eliminating vibrations. Seems like when things wear to each other and you get them in a different position, vibrations can occur. I think it would worth a shot and at least it wont cost anything to try.
 Aug 11, 2014 | 03:58 PM
#1045
Registered User


Joined: Oct 2009
Posts: 4,832
Likes: 332
From: Northfield, Vermont
As most of you probably already know the bolt pattern on the front t-case flange and the rear t-case output flange are different, so if you are going to put the DC joint on the rear driveline you either have to get a spare front flange and swap it to the rear, or TG sells a Triple Drilled Flange that has multiple bolt patterns on it that will work.

Neat video on driveline phasing
[youtube]DDmz0tibVGM[/youtube]
Aug 12, 2014 | 06:26 AM
#1046
Registered User
Joined: Mar 2008
Posts: 705
Likes: 19
From: Colorado
wow ed, well done! I tried building my own driveshaft a while back and it didn't go well, so i leave that to the pro's now but man do they like their $$$. I've had to have my rear re-balanced cuz i nick it once in a while on the trail, it seems to be very sensitive to those things above 65 mph
Aug 13, 2014 | 05:51 PM
#1047
Thread Starter
Registered User
iTrader: (2)
Joined: Sep 2010
Posts: 2,716
Likes: 7
From: Tri-Cities, Wa
Hi Teuf. When I put it back together I tried to make sure it was in phase, but to be honest it could be a spline or two off, I just eye balled it, lol.
I'll have to try watching the video again later, my Hughs Net won't let me right now, lol.
wow ed, well done! I tried building my own driveshaft a while back and it didn't go well, so i leave that to the pro's now but man do they like their $$$. I've had to have my rear re-balanced cuz i nick it once in a while on the trail, it seems to be very sensitive to those things above 65 mph
Last edited by rustED; Aug 13, 2014 at 05:55 PM.
Aug 13, 2014 | 06:47 PM
#1048
Thread Starter
Registered User
iTrader: (2)
Joined: Sep 2010
Posts: 2,716
Likes: 7
From: Tri-Cities, Wa
Well I haven't done anything with the driveline yet. It seems like the more Ive driven it this week, the less noticable the vibration has gotten.I'll probably go ahead and take a look at it tomorrow.
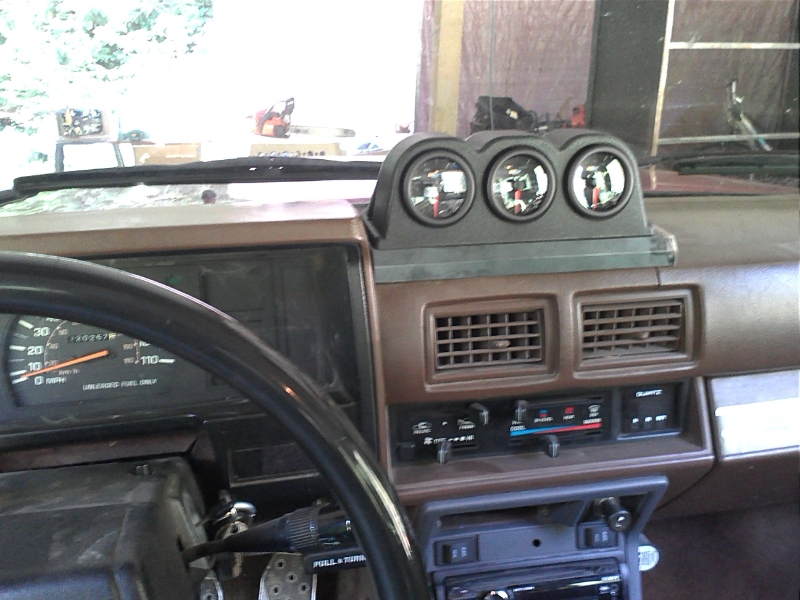
Today i took a break from the driveline and worked on my gauge pod instead. I was considering building one from scratch, I didn't really like the looks of the one I bought. It kinda looked like an old clock that should be sitting on a mantle above the fireplace, lol. So after messing around with cardboard templates and coming up with nothing, I decided to just modify the gauge pod I bought and modify the base I built.
Here's some before pics, to me it seemed too tall, too wide, and I also didn't like how the base overlapped the dash pad in the front.
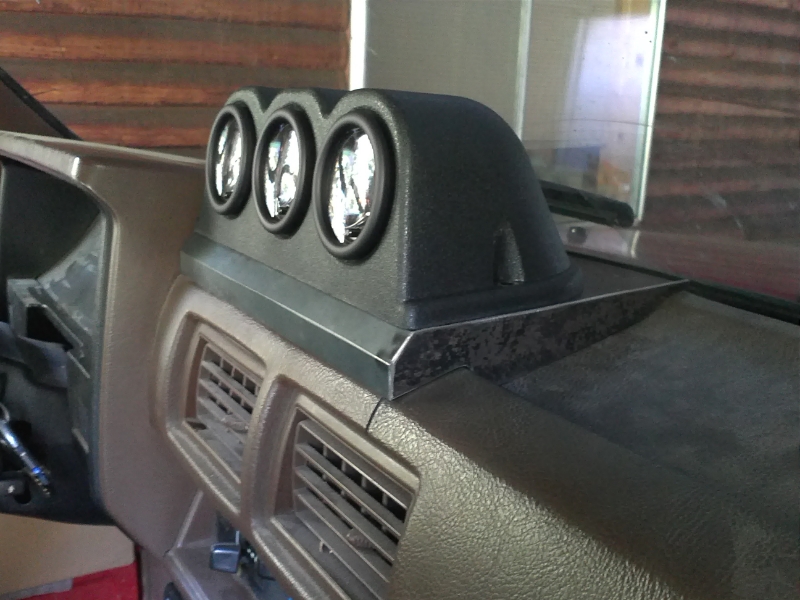
Here's some after pics, I cut about 5/16" off the bottom to of the plastic gauge pod.

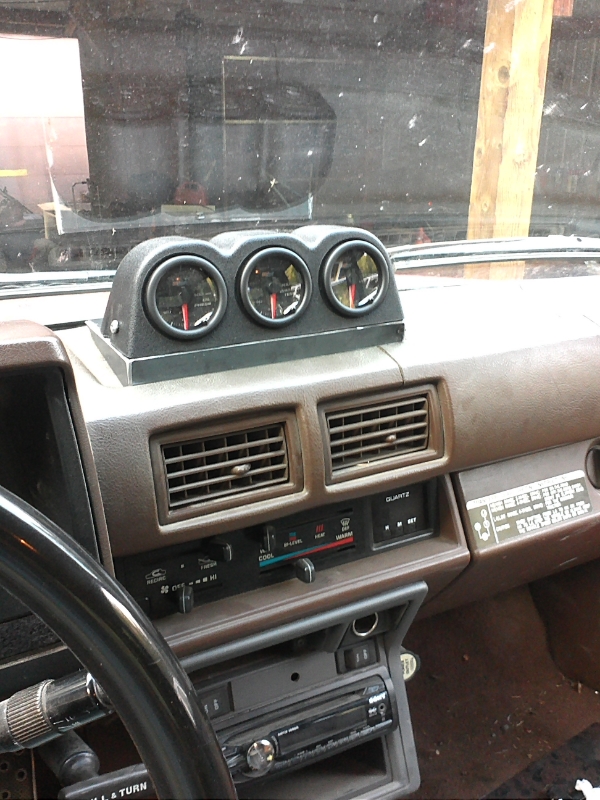
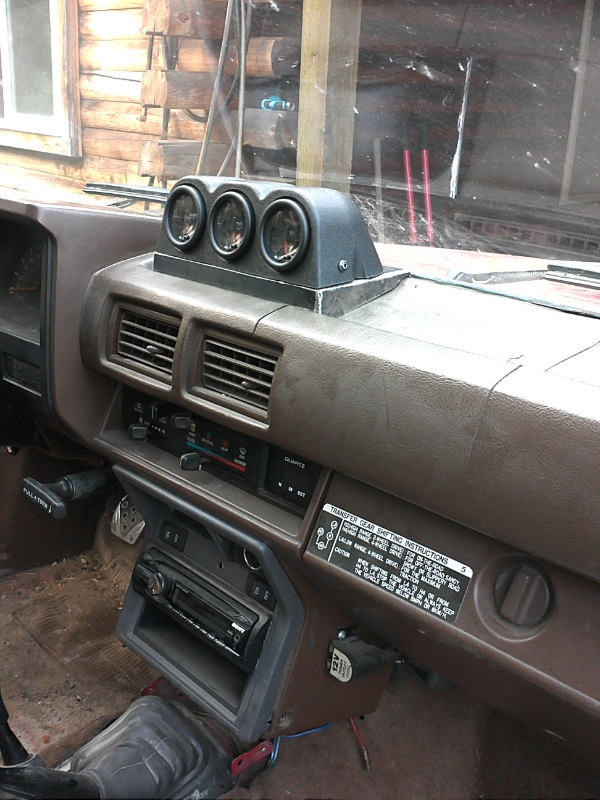
I shortened up the base and narrowed it a bit. Now it seems like it centers with and aligns with the vents and the stereo bezel better, has a little better flow. I think it will look good once I get the base cleaned up and painted, also going to paint the stereo bezel black to match.
Today i took a break from the driveline and worked on my gauge pod instead. I was considering building one from scratch, I didn't really like the looks of the one I bought. It kinda looked like an old clock that should be sitting on a mantle above the fireplace, lol. So after messing around with cardboard templates and coming up with nothing, I decided to just modify the gauge pod I bought and modify the base I built.
Here's some before pics, to me it seemed too tall, too wide, and I also didn't like how the base overlapped the dash pad in the front.


Here's some after pics, I cut about 5/16" off the bottom to of the plastic gauge pod.


I shortened up the base and narrowed it a bit. Now it seems like it centers with and aligns with the vents and the stereo bezel better, has a little better flow. I think it will look good once I get the base cleaned up and painted, also going to paint the stereo bezel black to match.
Last edited by rustED; Aug 13, 2014 at 08:08 PM.
Aug 20, 2014 | 05:10 PM
#1051
Thread Starter
Registered User
iTrader: (2)
Joined: Sep 2010
Posts: 2,716
Likes: 7
From: Tri-Cities, Wa
Thanks guys.
I've been busy with work lately, I'm going to try to get motivated to finish up the welding, grinding and painting of the metal base platefor the gauge pod tomorrow, also planning to pull the dash pad to mount the gauges and get the wiring mostly ran, still need some NPT fittings for the water and oil pressure senders.
Last Saturday my younger brother and his wife were over at my parents house visiting, so we went over to see them. He really likes my 4runner and used to have one of my 83' yotas that I had previously owned. So I had take some poser pics while he was down, lol.
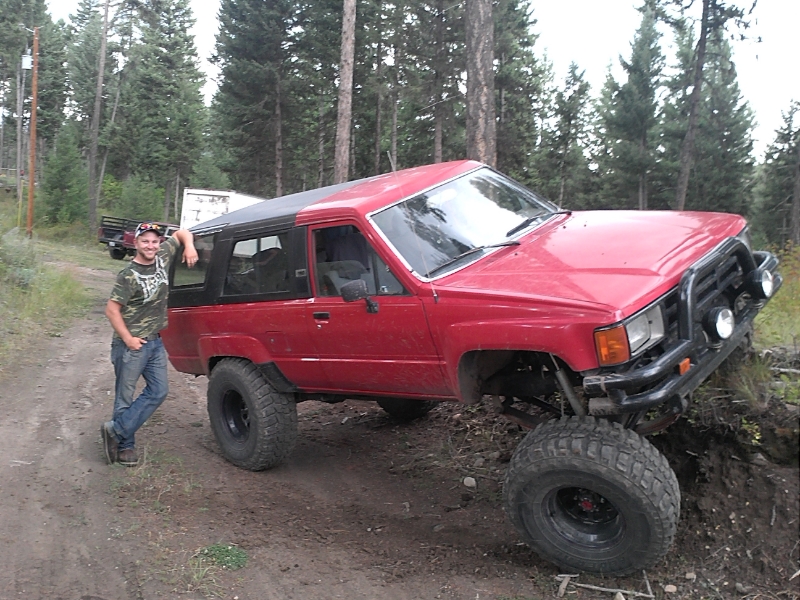
^^^ my bro next to "his" 4 runner, lol.

Last edited by rustED; Aug 20, 2014 at 05:19 PM.
Aug 22, 2014 | 10:05 AM
#1055
Thread Starter
Registered User
iTrader: (2)
Joined: Sep 2010
Posts: 2,716
Likes: 7
From: Tri-Cities, Wa
Thanks Chris, yeah he said if I ever sell it he's got first dibs, lol.
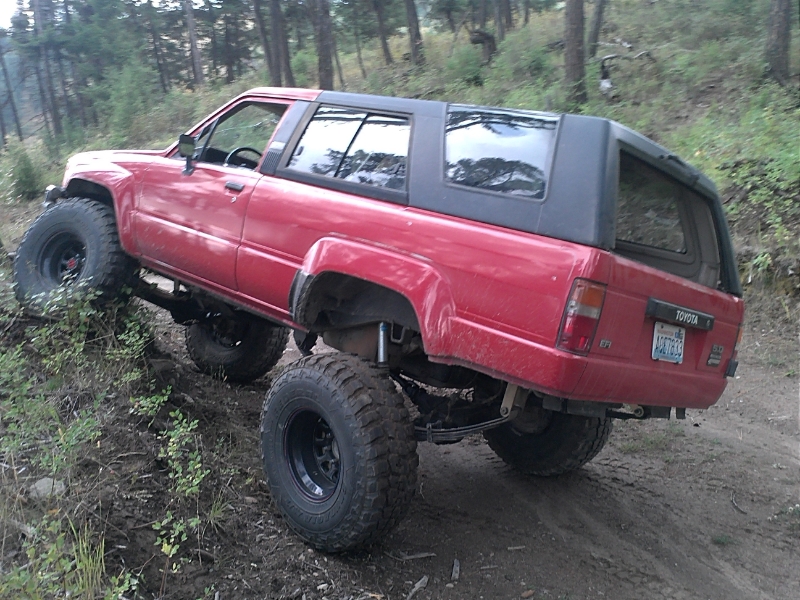
Thanks, I got a couple small rust spots I need to address before winter hits, one by the driverside mirror and one spot by the drivers rear wheelwell, also a few places with surface rust starting on the frame, but nothing too major yet.
Thanks, I got a couple small rust spots I need to address before winter hits, one by the driverside mirror and one spot by the drivers rear wheelwell, also a few places with surface rust starting on the frame, but nothing too major yet.
Last edited by rustED; Aug 22, 2014 at 10:25 AM.
Aug 22, 2014 | 04:46 PM
#1056
Thread Starter
Registered User
iTrader: (2)
Joined: Sep 2010
Posts: 2,716
Likes: 7
From: Tri-Cities, Wa
Never fails, when I don't have any money Craigslist is loaded with good deals on stuff I can use, lol. I found a TG rear tube bumper (make offer) 85' brown dashpad no cracks $30, complete dash bezel with ashtray( which I'm missing) $40...and a complete 86-88' parts truck, just missing motor, trans, t-case, grill...otherwise looks straight, $250!!!
Aug 22, 2014 | 06:00 PM
#1057
Never fails, when I don't have any money Craigslist is loaded with good deals on stuff I can use, lol. I found a TG rear tube bumper (make offer) 85' brown dashpad no cracks $30, complete dash bezel with ashtray( which I'm missing) $40...and a complete 86-88' parts truck, just missing motor, trans, t-case, grill...otherwise looks straight, $250!!!
Truck looks great in the pics!! As always!!!
Aug 22, 2014 | 06:54 PM
#1058
Thread Starter
Registered User
iTrader: (2)
Joined: Sep 2010
Posts: 2,716
Likes: 7
From: Tri-Cities, Wa


Last edited by rustED; Aug 23, 2014 at 07:29 PM.
Aug 23, 2014 | 07:48 PM
#1059
Thread Starter
Registered User
iTrader: (2)
Joined: Sep 2010
Posts: 2,716
Likes: 7
From: Tri-Cities, Wa
I worked on my gauge pod a little today. I got the welds on the metal base ground down and cleaned up and painted it black. I also painted the stereo bezel black, it looks a lot better. I also pulled out the dash pad, it wasn't as bad as I thought it was going to be (thanks Terry 87 for your informative thread and video, made it a lot easier, I wouldn't have found that hidden nut in the middle otherwise) https://www.yotatech.com/forums/f199...l#post51778558
So I got the dash pad off, drilled holes through to bolt the gauge pod base to it. Got the wires for my gauges ran down through the dash pad inside the dash. That's as far as I got today, I'll post up some pics of it on Monday when I work on it again.
So I got the dash pad off, drilled holes through to bolt the gauge pod base to it. Got the wires for my gauges ran down through the dash pad inside the dash. That's as far as I got today, I'll post up some pics of it on Monday when I work on it again.
Last edited by rustED; Aug 23, 2014 at 07:54 PM.


