
kornhusker wizards 89 4runner build thread
 Feb 11, 2013 | 04:25 AM
#121


Its crazy that you posted this pic. My buddy and I just put the same rims on his tacoma that we lifted with 33's on Friday. Ill post up a Pic later tonight.


 Feb 23, 2013 | 08:24 AM
#125
Thread Starter
Registered User
Joined: Dec 2008
Posts: 2,391
Likes: 1
From: tecumseh nebraska
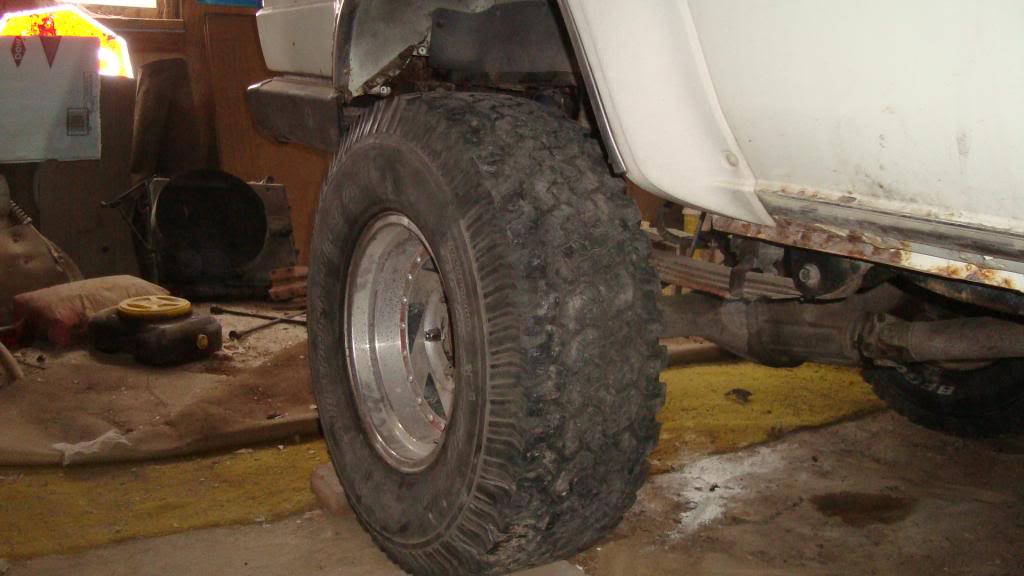
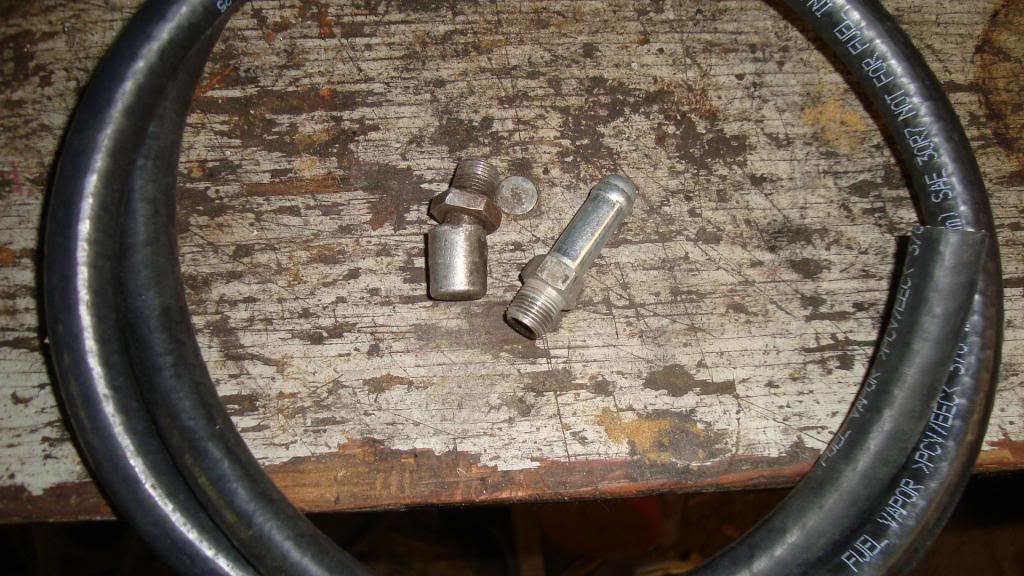
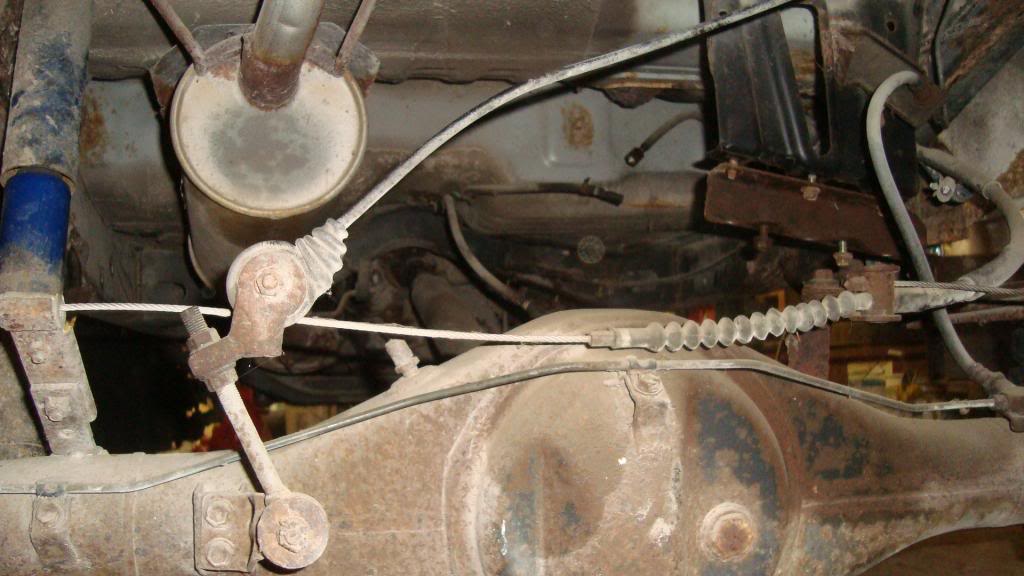
Put my 32s on these wheels, they need cleaned up but theyll look good i think. Also found a vacuum fitting on my celica parts engine that will work for the diff mod on the front. I also plan on doing the rear through the tailight housing. I wanna eliminate the crazy brake mechanism deal on the rear and bypass it. Anyone have any good idea to clean the rust off the frame?
Feb 23, 2013 | 04:12 PM
#126

Not alot of options for that rust. Best way to go would be remove the body, but thats easier said than done since it's a 4runner not just a pickup truck bed. Get a big enough BBQ going and you can manage 
Whatever treatment you choose you'll have to put some elbow grease into it. You have to remove the loose stuff, wire brush and/or drill attachment brushes. Once you have the loose stuff off you can choose a rust converter and sealer. POR15 or one of it's competitors are one step processes.
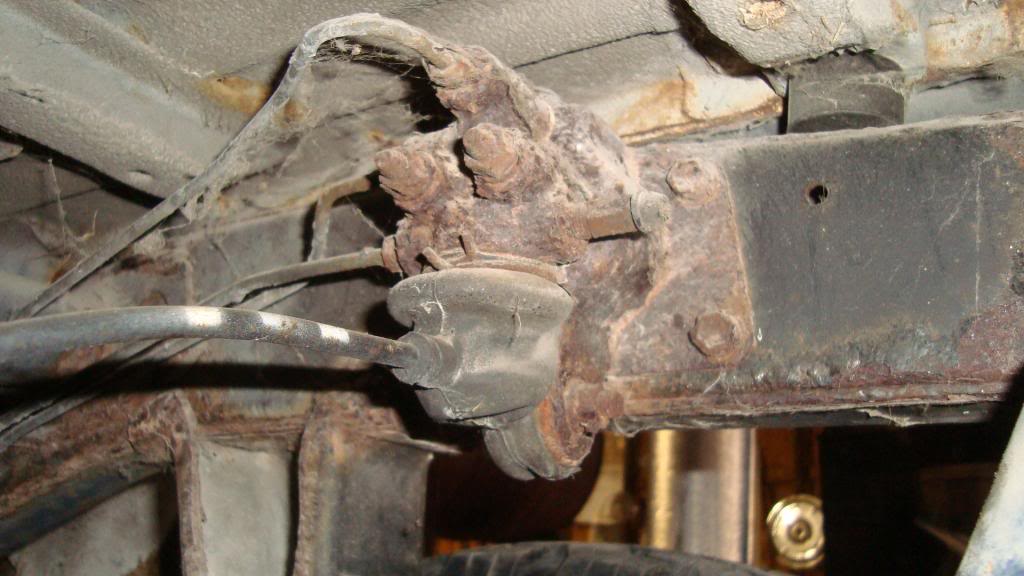
It looks like most of it is behind the axel?
Unmount the springs and take those to be tanked sand blasted and zinc dipped. You can clean and paint the rear diff and axel housings then also.
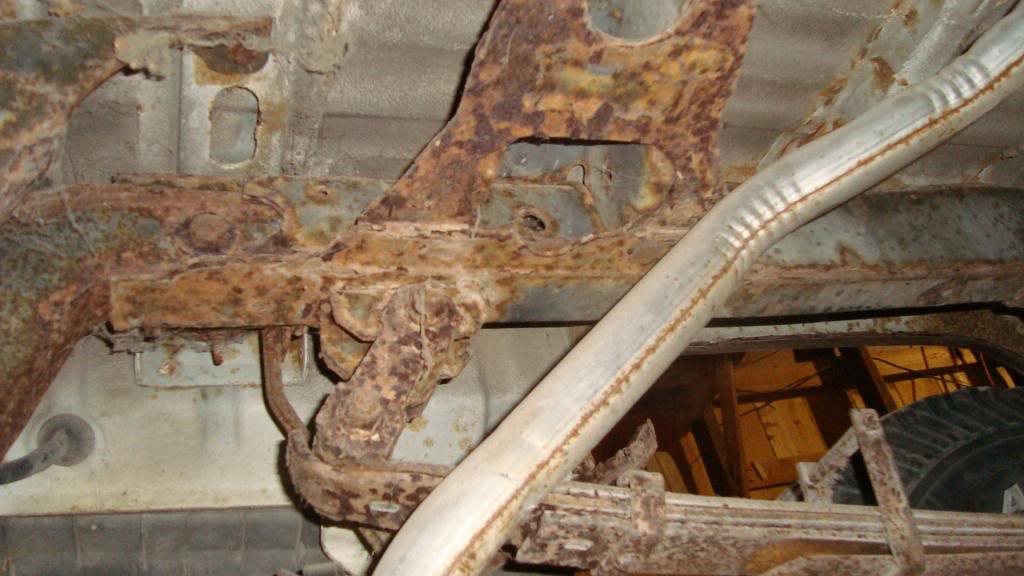
Your body is showing some rust along the mount/cross-support area thru the undercoat, or where the undercoat is damaged. This means you need to strip back the undercoat in those areas to see how far it's progressed under the coating. Might be best to strip all the wires and rubber so you can media blast then shoot with some por/converter and reapply an undercoat.
The rust along the body seams might just be surface rust, it's hard to say from the pictures. You can treat surface rust with a solution of acetic-acid(vinegar) and water. But it really depends how bad it has progressed up the inside of those body panels, they're open all the way up to the bed lip where the interior panels and top mounts, and opne protected by the factory metal dip.
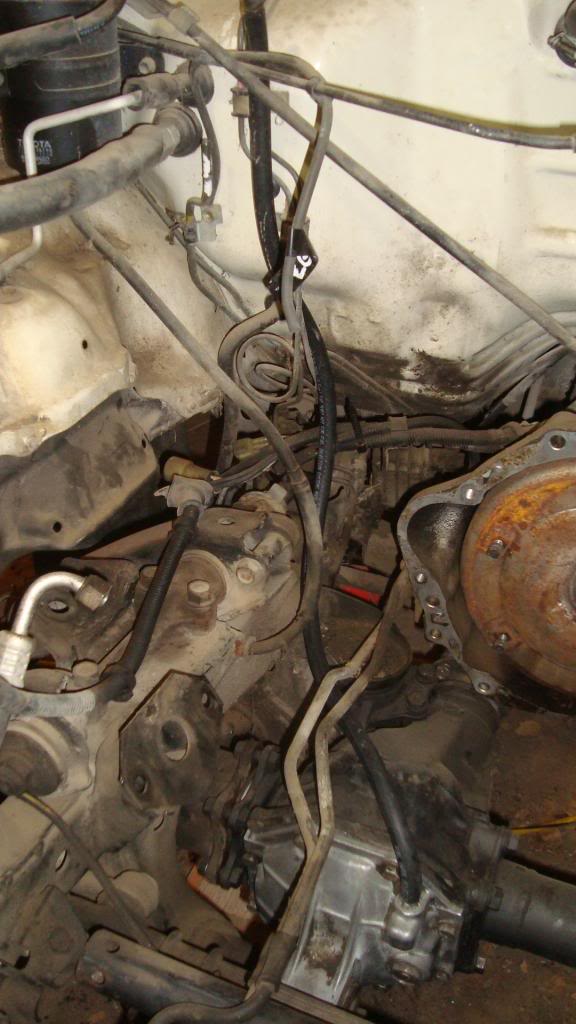
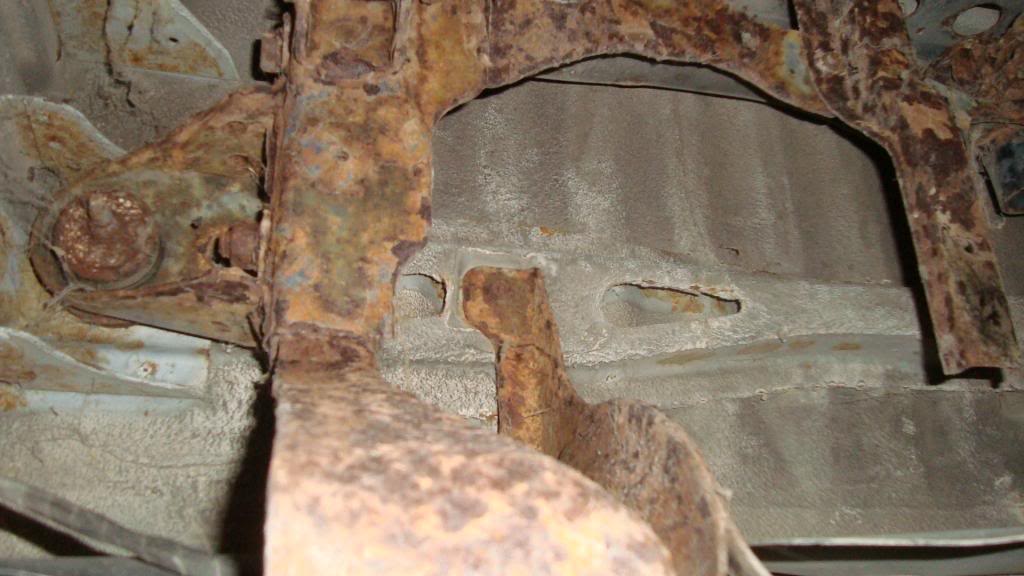
Of course I see your frame plugs are mising also(open hole in the frame cross member) in the 2nd to last picture. At the least you'll want to flush the inside of the frame out and blow it dry with some compressed air, and replace the plugs. You could easily use a whole quart of por15 on each side and might not get it all treated. It's really hard to say how bad it is in there. Anything you can do here is better than nothing.
Whatever treatment you choose you'll have to put some elbow grease into it. You have to remove the loose stuff, wire brush and/or drill attachment brushes. Once you have the loose stuff off you can choose a rust converter and sealer. POR15 or one of it's competitors are one step processes.
It looks like most of it is behind the axel?
Unmount the springs and take those to be tanked sand blasted and zinc dipped. You can clean and paint the rear diff and axel housings then also.
Your body is showing some rust along the mount/cross-support area thru the undercoat, or where the undercoat is damaged. This means you need to strip back the undercoat in those areas to see how far it's progressed under the coating. Might be best to strip all the wires and rubber so you can media blast then shoot with some por/converter and reapply an undercoat.
The rust along the body seams might just be surface rust, it's hard to say from the pictures. You can treat surface rust with a solution of acetic-acid(vinegar) and water. But it really depends how bad it has progressed up the inside of those body panels, they're open all the way up to the bed lip where the interior panels and top mounts, and opne protected by the factory metal dip.
Of course I see your frame plugs are mising also(open hole in the frame cross member) in the 2nd to last picture. At the least you'll want to flush the inside of the frame out and blow it dry with some compressed air, and replace the plugs. You could easily use a whole quart of por15 on each side and might not get it all treated. It's really hard to say how bad it is in there. Anything you can do here is better than nothing.
Feb 23, 2013 | 05:09 PM
#127
Thread Starter
Registered User
Joined: Dec 2008
Posts: 2,391
Likes: 1
From: tecumseh nebraska
Thanks alot for the input!! Ive heard of POR 15 from my freind whos a bodyman and he swears by it. I really dont want to pull the body off the frame, so ill have to go at it with my metabo aand a wire wheel and go from there. Thanks co 94!
Feb 24, 2013 | 05:25 AM
#130
Thread Starter
Registered User
Joined: Dec 2008
Posts: 2,391
Likes: 1
From: tecumseh nebraska
cool, always nice to have bodywork freinds! I dont mind bolting on a fender or bumper, but definetly dont trust myself with a can of bondo and a spraygun!
By the way anyone know a good source to find the little black peices in the tail light housings that separate your backup lights and tailights?
By the way anyone know a good source to find the little black peices in the tail light housings that separate your backup lights and tailights?
Feb 24, 2013 | 11:30 AM
#131
cool, always nice to have bodywork freinds! I dont mind bolting on a fender or bumper, but definetly dont trust myself with a can of bondo and a spraygun!
By the way anyone know a good source to find the little black peices in the tail light housings that separate your backup lights and tailights?
By the way anyone know a good source to find the little black peices in the tail light housings that separate your backup lights and tailights?
Practice builds confidence. Everyone has thier first piece they wished turned out better. A cheap hammer set from HF, a random fender from the salvage yard, a tub of bondo, and a bunch of sandpaper could maybe be had for 50$ definitly less than 100$. And I think a rattle can is a much better training device than a proper spray gun, you can only improve with better equipment.
 Anyways if your interested poke around at the body shops and see if they'll let you have a totaled fender for free. Worst case you poke your self in the eye or something silly.
Both of mine are moulded into the housing so they don't slide out. Not even sure where to try to source just a divider, I'd just make one. Cardboard, construction paper, foam, or wood coated with epoxy, and painted. Or even just some sheet metal epoxied into place.
Feb 26, 2013 | 12:46 AM
#132
Bodywork take time and patience. Only way to get better at as I have been told is "Time in the Shop" and all the reading in the world wont do much until you just start doing it. Some wont have the patience for it, but it is a rewarding experience if you can do it.
The black seperators is just something you have to find in the yards. I have it on my phones reminder page when I go to the yards. Having a parts list handy like that has helped me more then once. When you go to the yards, it is something you just never think of.
The black seperators is just something you have to find in the yards. I have it on my phones reminder page when I go to the yards. Having a parts list handy like that has helped me more then once. When you go to the yards, it is something you just never think of.
Feb 26, 2013 | 03:54 AM
#133
Thread Starter
Registered User
Joined: Dec 2008
Posts: 2,391
Likes: 1
From: tecumseh nebraska
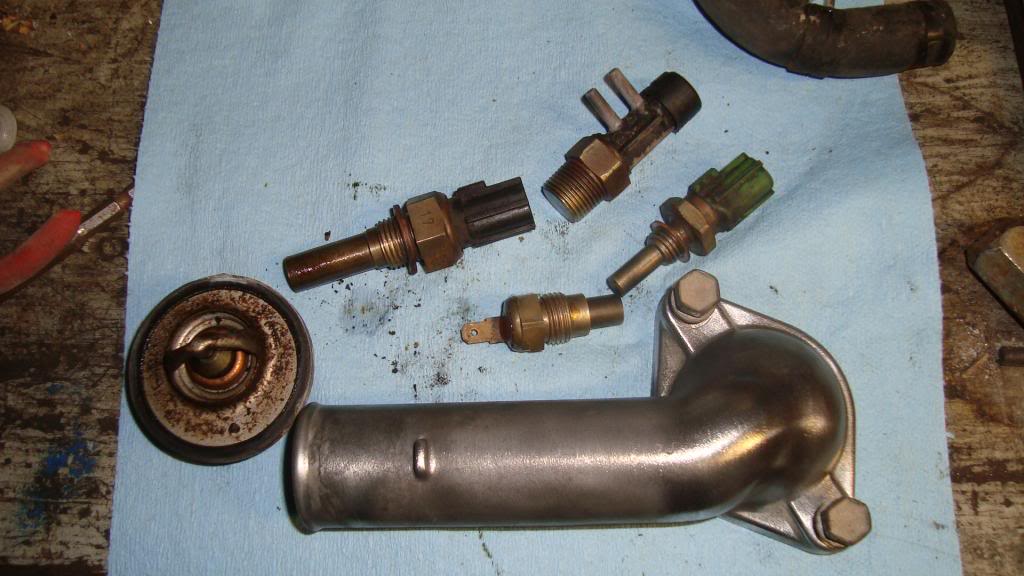
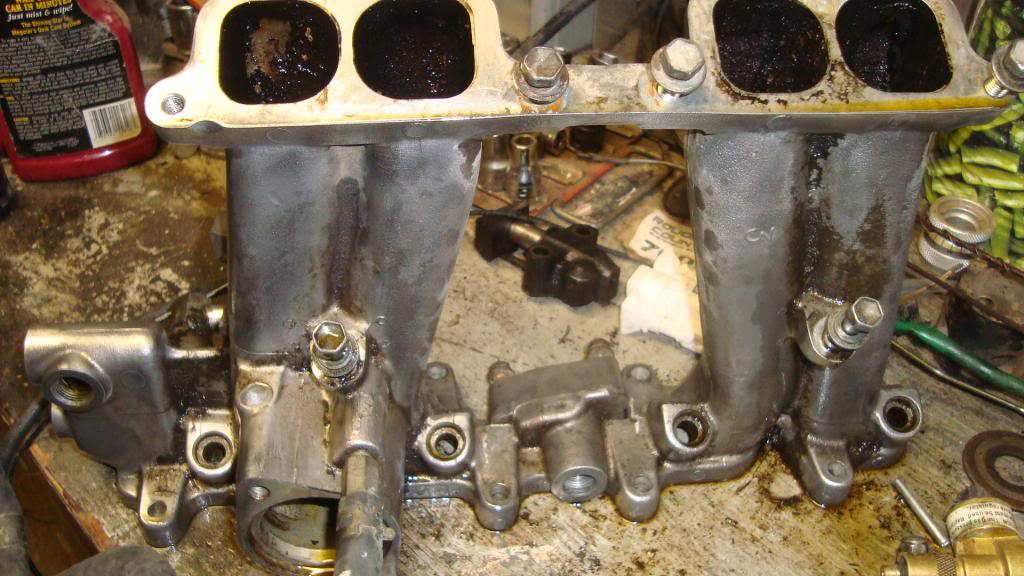
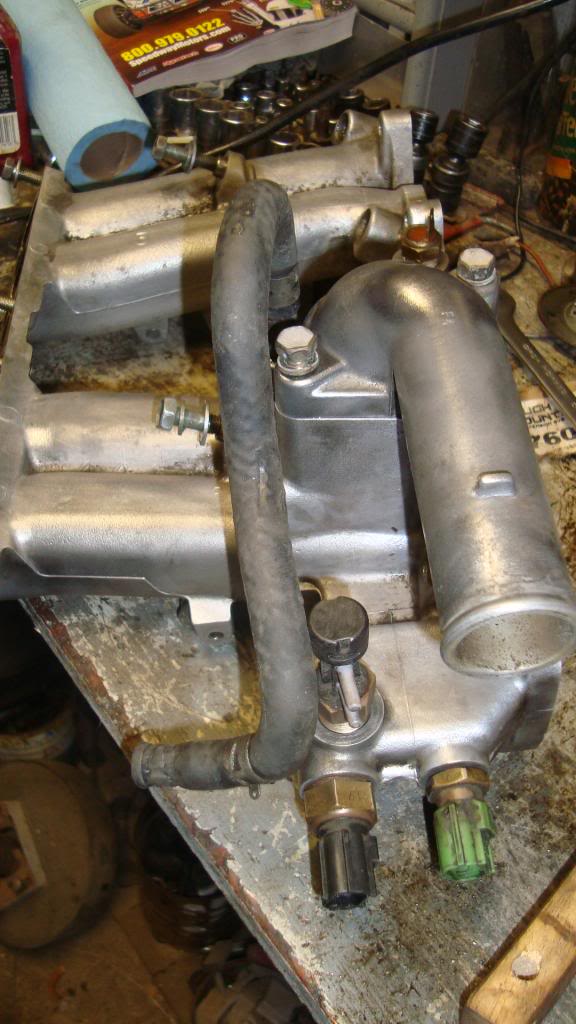
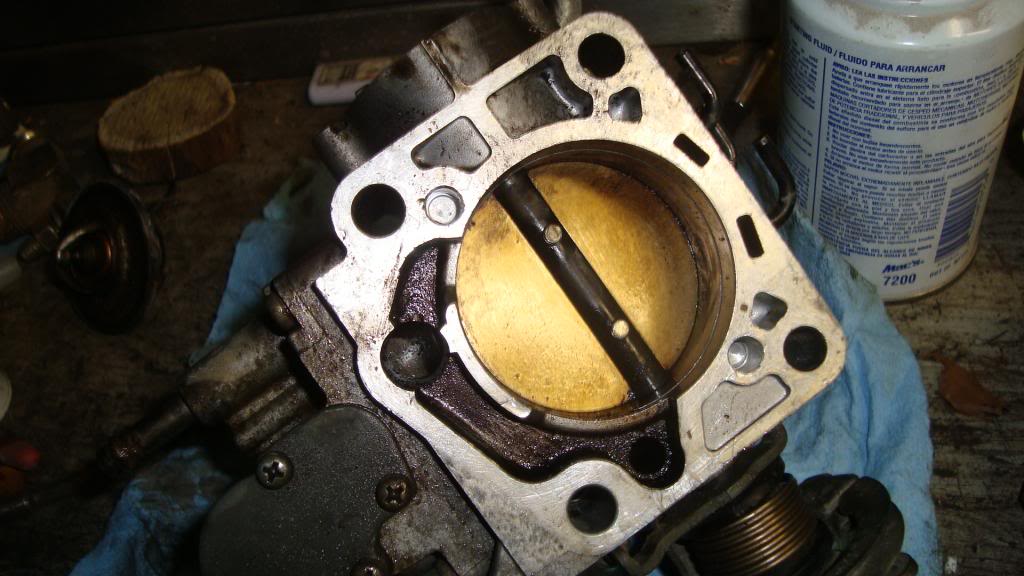
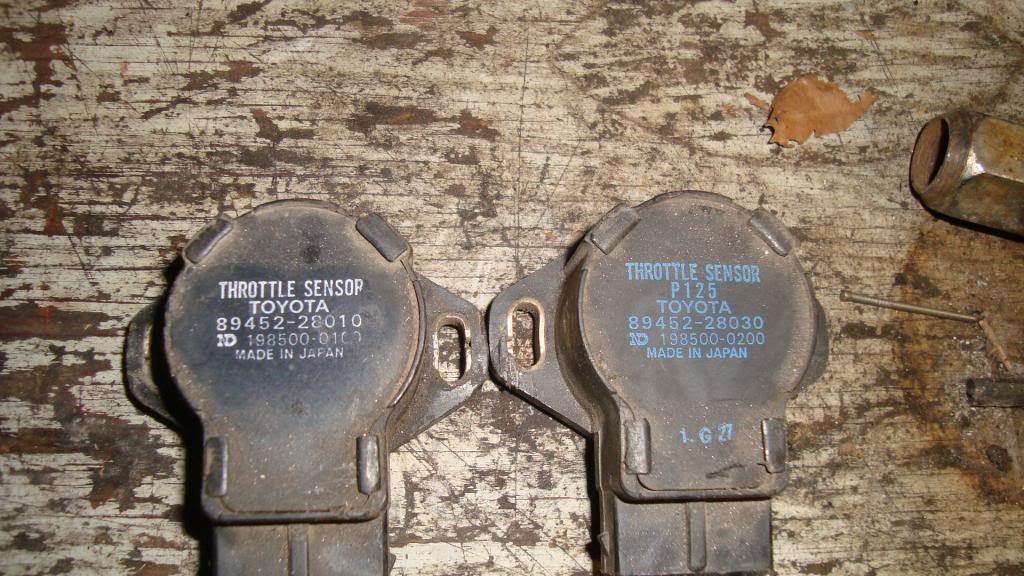
So i took the time to clean up my intake, throttle body, sensors, tested resistance on my injectors, just need to get some gaskets and figure out what tps i need, forgot which one on my bench is the one for the runner. Also think im going to need a afm. I used a combonation of pb blast, westleys bleach white, and a lot of scrubbing on the intake.
Feb 27, 2013 | 12:09 PM
#137
Thread Starter
Registered User
Joined: Dec 2008
Posts: 2,391
Likes: 1
From: tecumseh nebraska
yea they do have different part numbers but ive switched them before and never made a difference, but i have never messed with a auto 22re before this build so i didnt know if that made a difference but i dont think it does.
Feb 27, 2013 | 06:01 PM
#138
Thread Starter
Registered User
Joined: Dec 2008
Posts: 2,391
Likes: 1
From: tecumseh nebraska
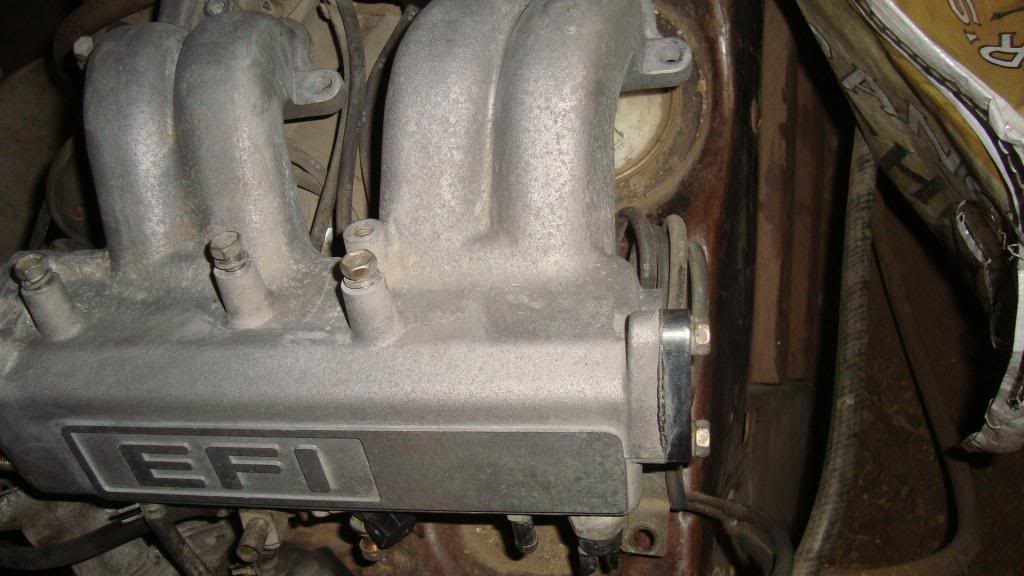
Finished my e brake cable tonight since i had to re route it under my rear springs after the lift, also did some more cleaning on the inside of the runners on the upper and lower intake. Intake gaskets should be here tomorrow.
Mar 1, 2013 | 09:59 PM
#139
Thread Starter
Registered User
Joined: Dec 2008
Posts: 2,391
Likes: 1
From: tecumseh nebraska
So i went to napa to get upper ball joints and i asked them for moog or a respectable brand and they told me theyre dusributor is some off beat crap that id never heard of. Anyone know of a good source?
Im also getting my bj spacers too and get my frontend finished. Im going with 1.5s and ome shocks.
Then drop the engine in and get it on the road.
If anyone knows if shift shafts are interchangeable from transfer cases let me know, im still trying to swap out the longs for the shorts in the previous pics to match up w the w56.


