86-95 Trucks & 4Runners (Build-Up Section) Post your build-ups here

Dropzone's 1994 4runner Build AKA: Project Recycle:

Thread Tools
 
Search this Thread
 
Old 03-30-2019, 08:55 AM
  #821  
Fossilized
Staff
Thread Starter
iTrader: (6)
 
dropzone's Avatar
 
Join Date: Oct 2005
Location: PNW
Posts: 19,771
Received 448 Likes on 293 Posts
Originally Posted by takethetruck
Never seen one of those removable Grant steering wheel kits. Been trying to figure out something security-wise for our rig, that may be the ticket!
they work pretty good, take a little while to get use to pulling the wheel but then it becomes a habit
Old 04-06-2019, 06:21 PM
  #822  
Fossilized
Staff
Thread Starter
iTrader: (6)
 
dropzone's Avatar
 
Join Date: Oct 2005
Location: PNW
Posts: 19,771
Received 448 Likes on 293 Posts
Hadn't touched the 4runner for awhile. Still not having any luck finding another valve body for the transmission. I may end up sucking it up and sending it some where to have it put together

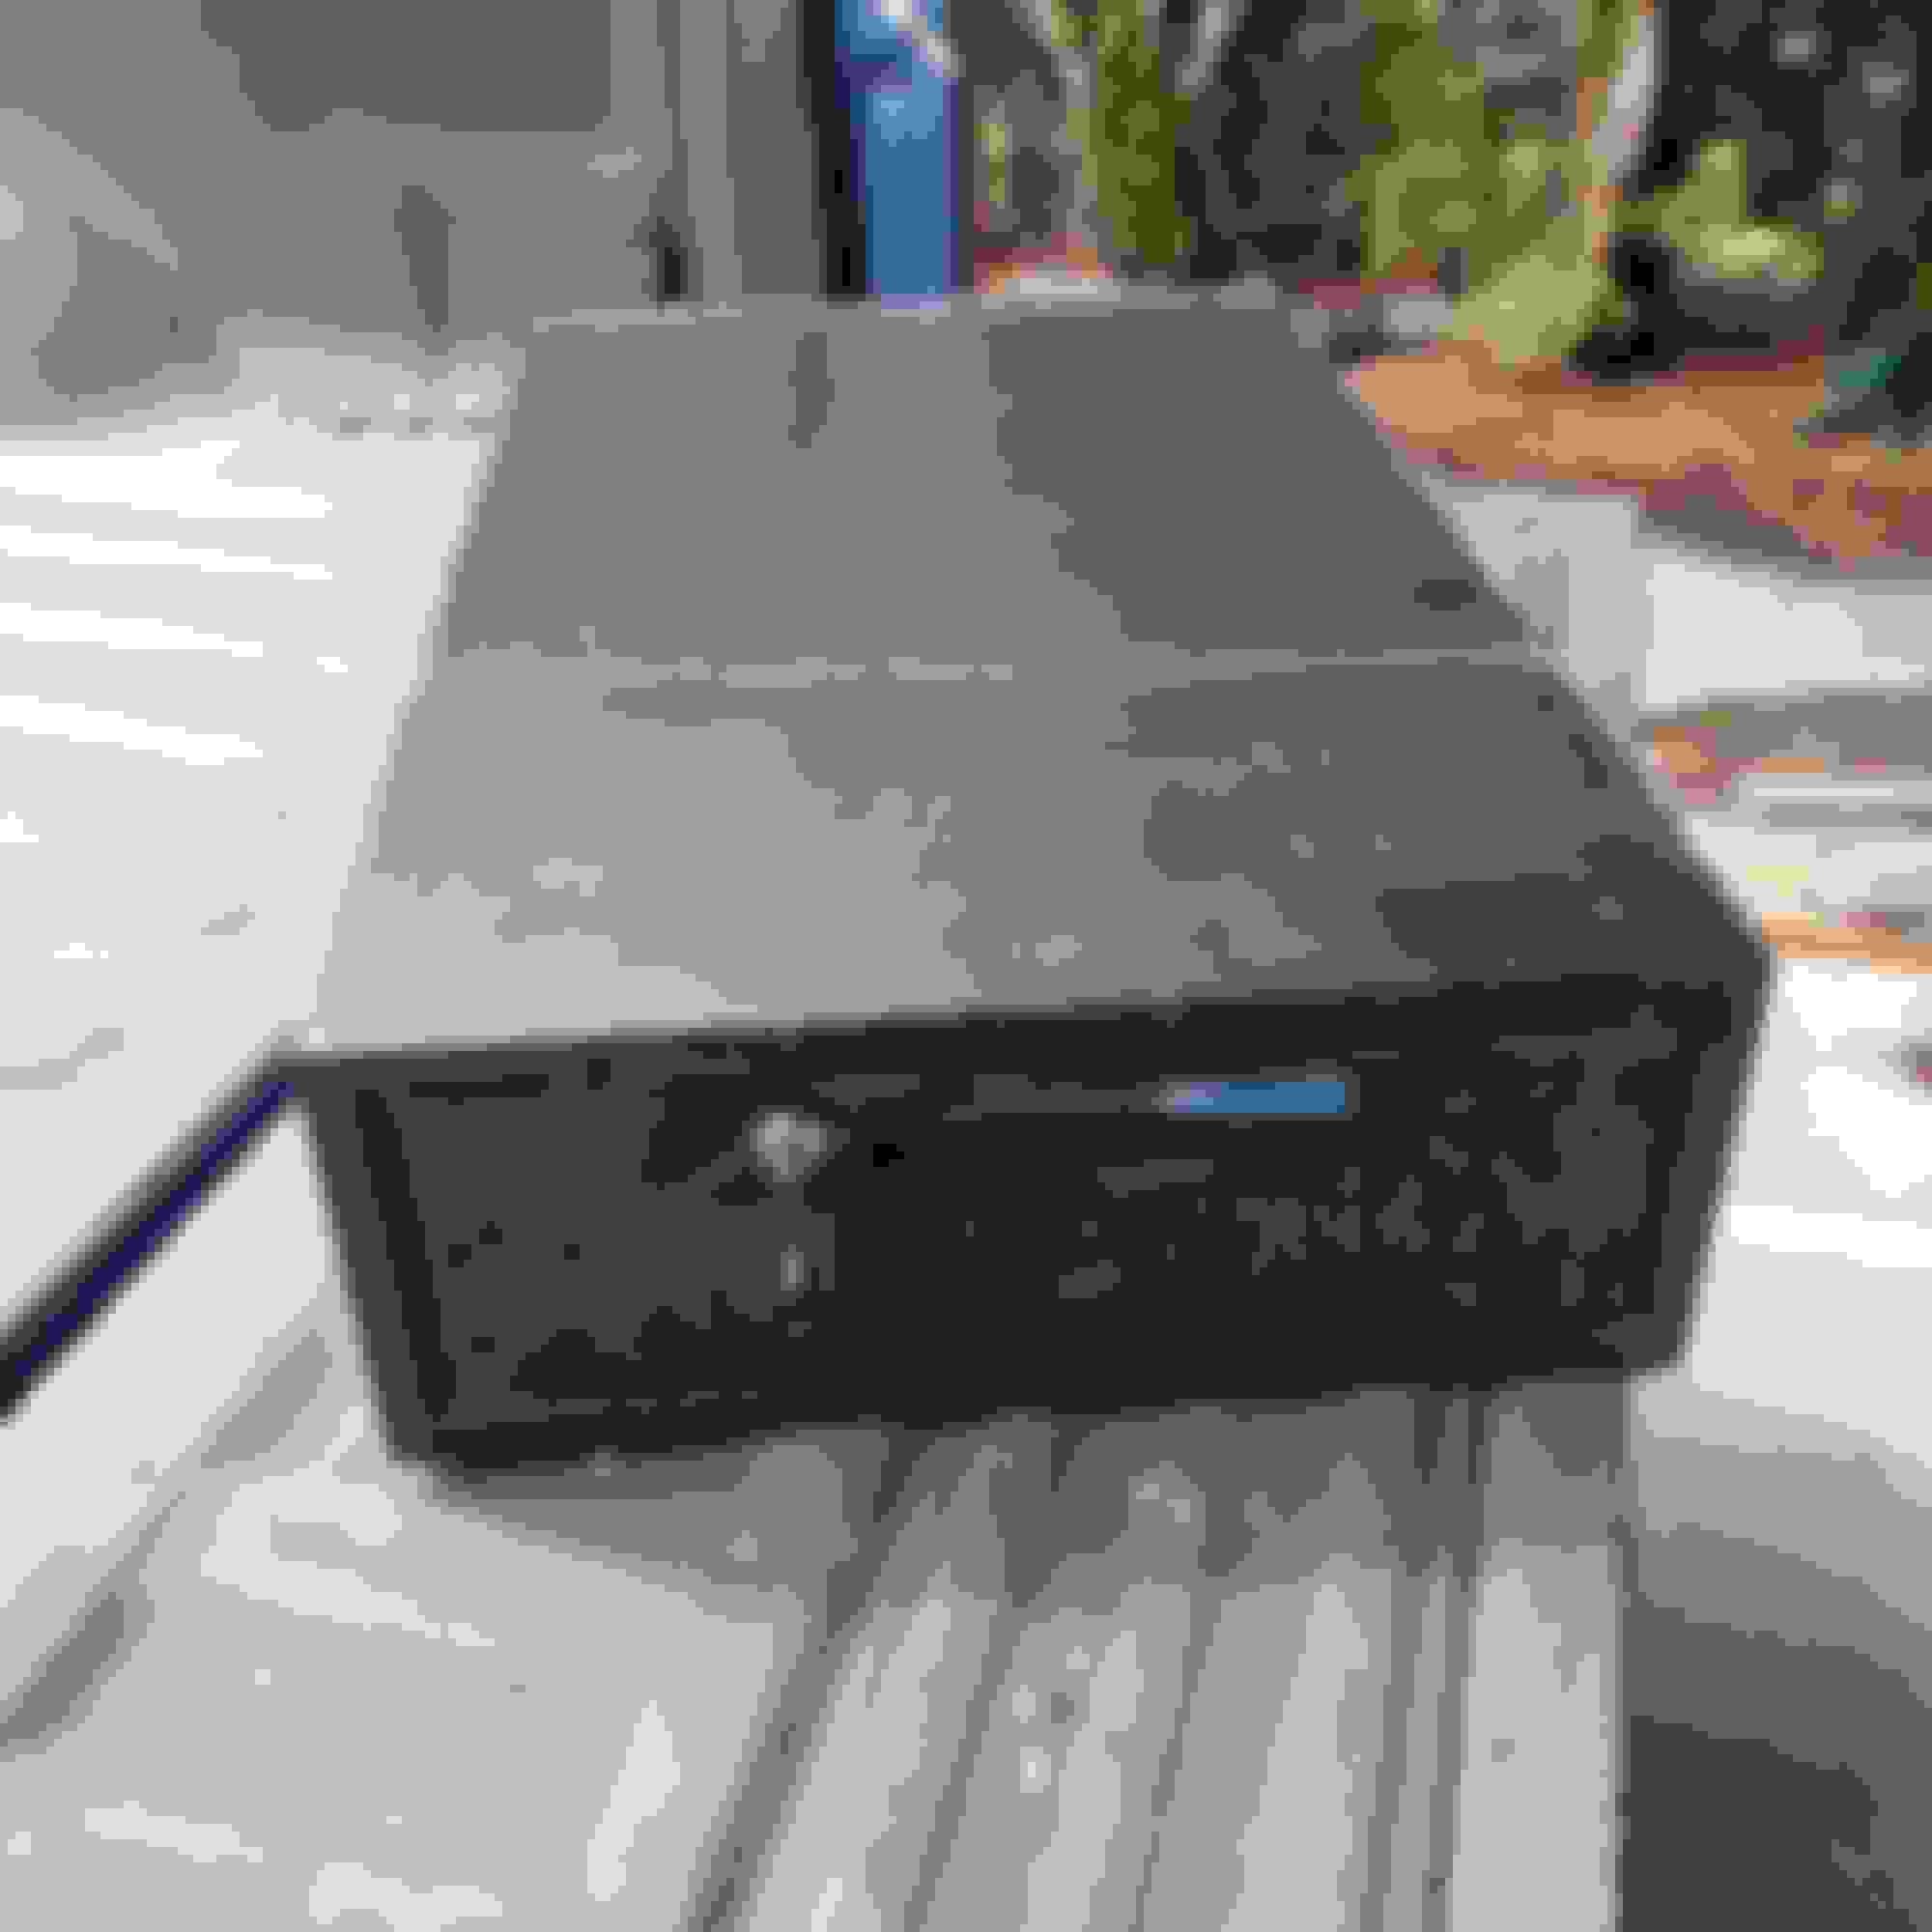
Anyway I have had a metal drawer floating around for a few years. Its 30x18x7.
Not the best quality but it is lockable and will support some weight on top of it


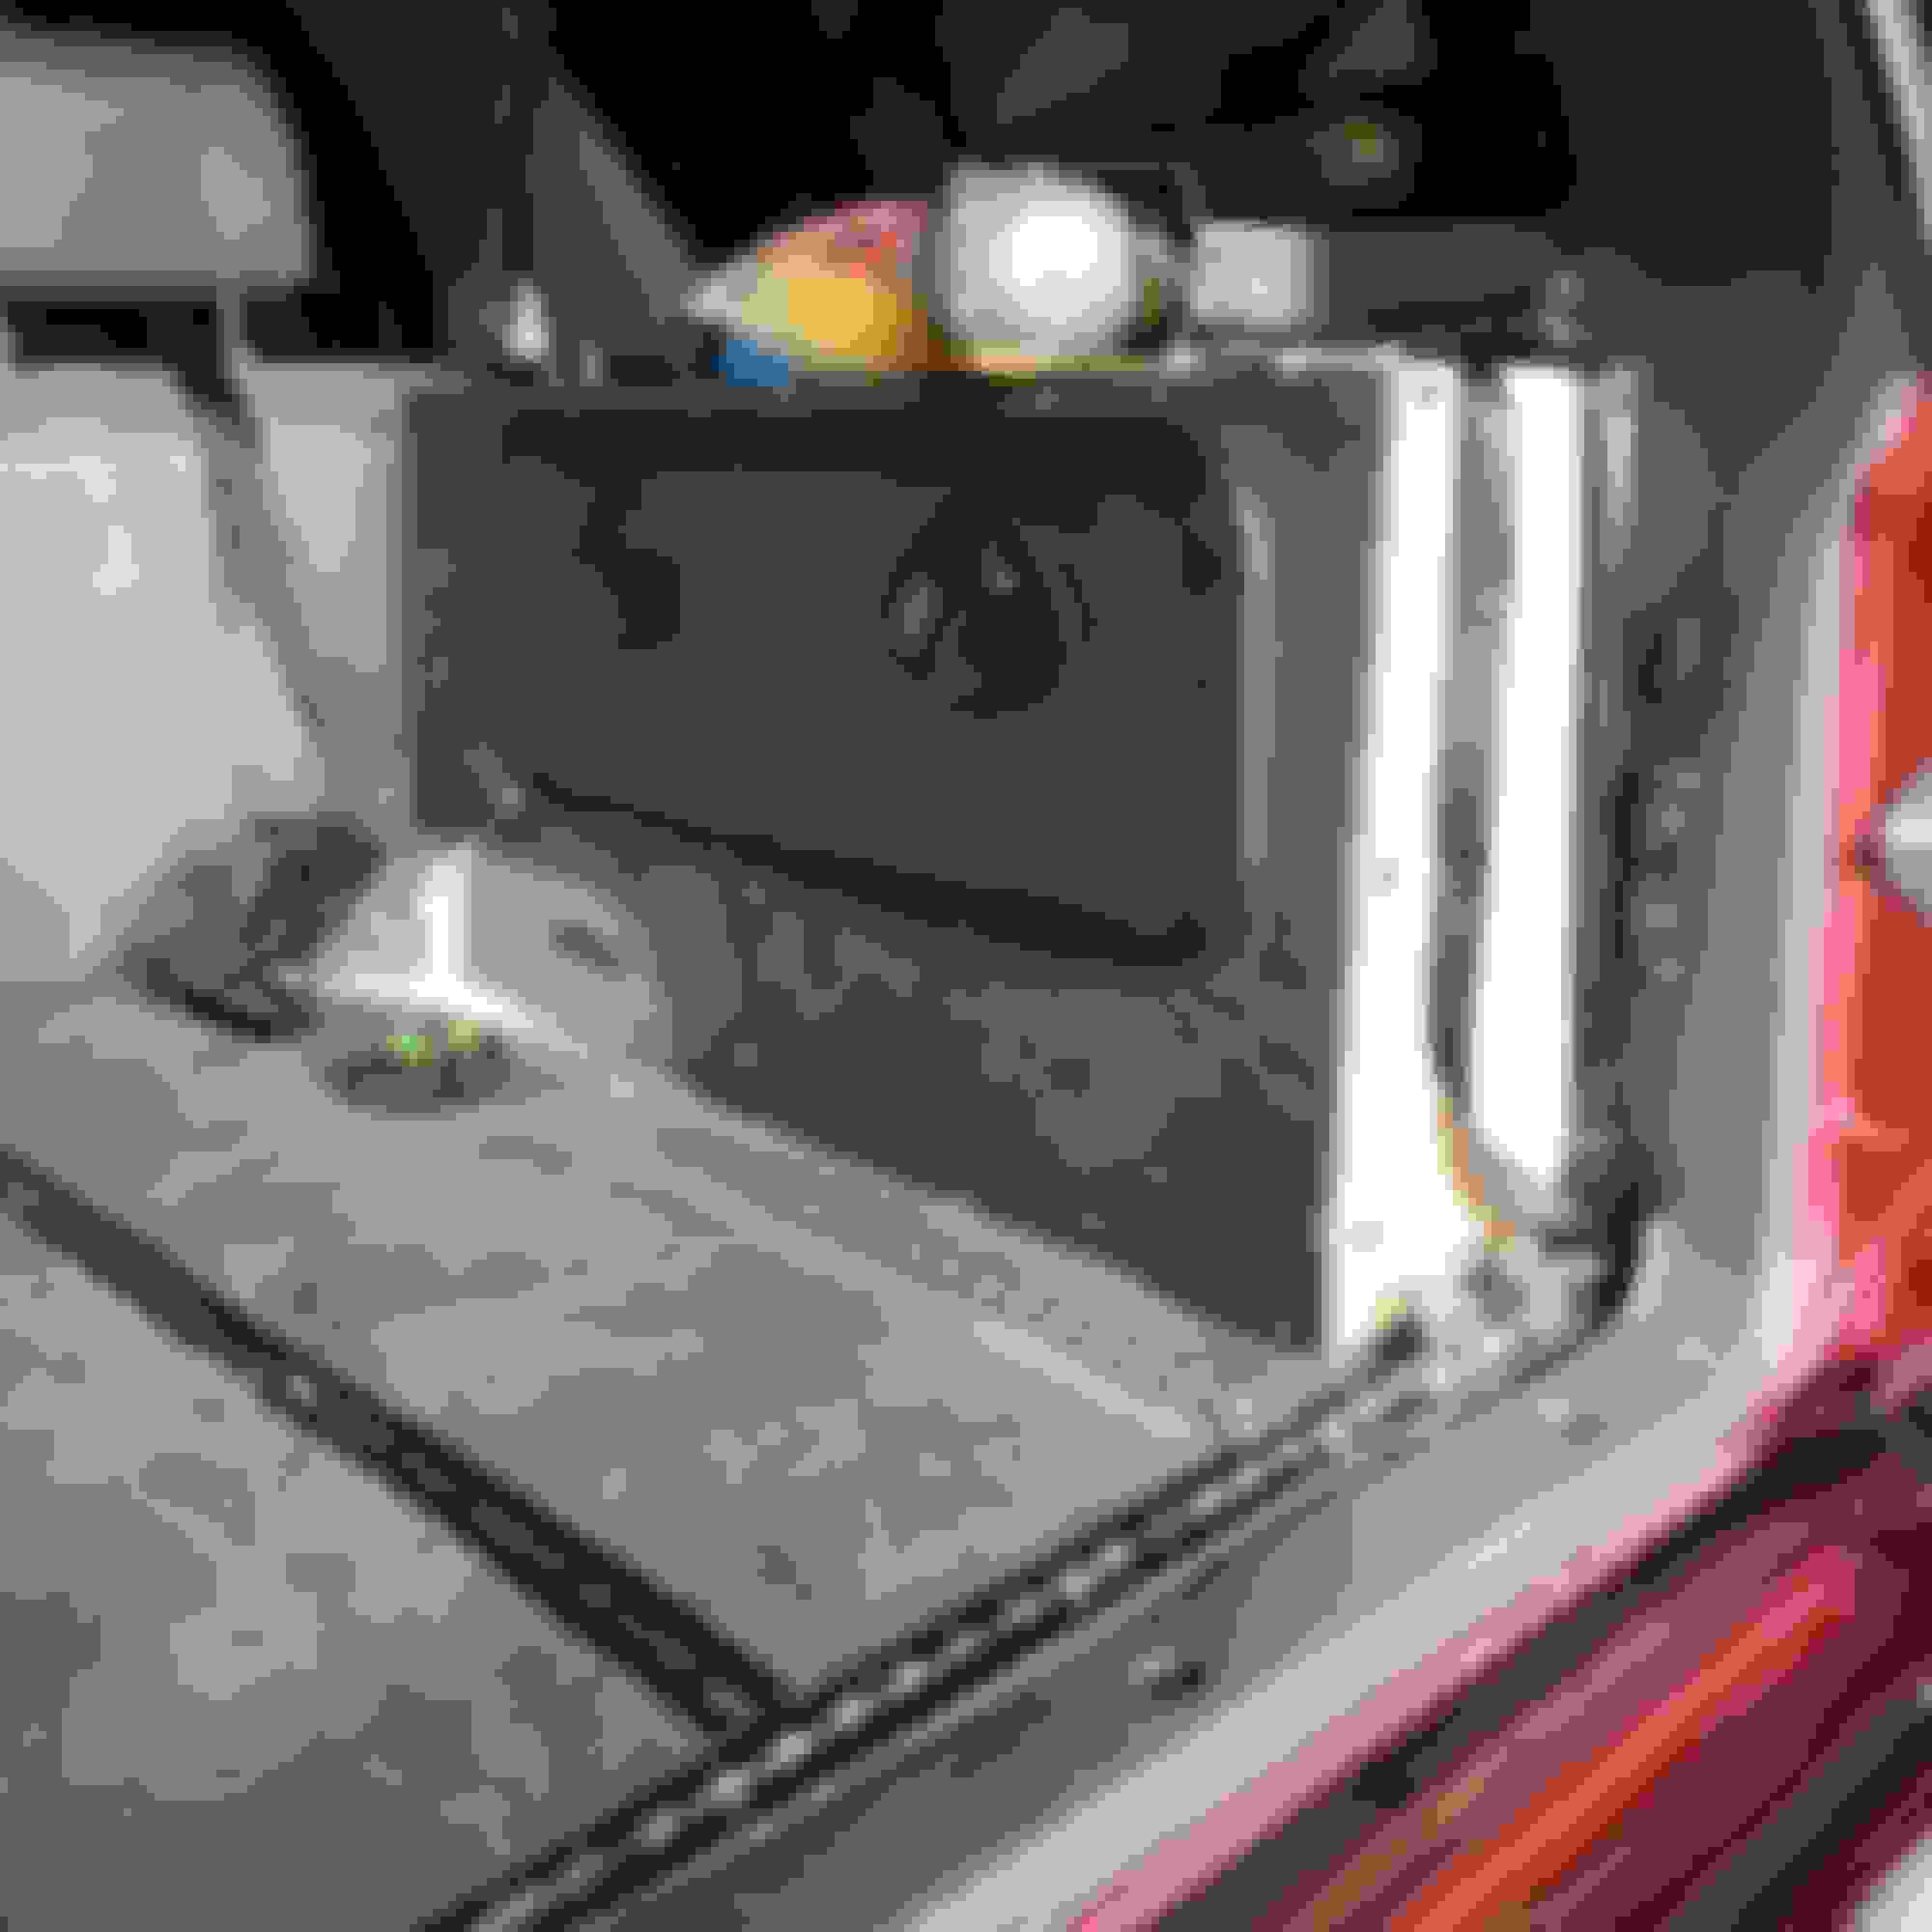
Took some measurements and it would snug up against my existing storage.
And it lines right up with the split in the back seats so I can still haul long junk on the one side.
I had to make a new side cover and flip the door for the right side storage.


I attached to the pre-existing cargo rails I had using some inverted carriage bolts. This will allow me to remove it in a few minutes. Added a set of cargo rails on top for additional tie down options.
When this thing finally gets on the trail most of the time it will just be me crashing in the back.
If the missus actually decides she likes it I will come up with a modified sleeping platform.

Last edited by dropzone; 04-06-2019 at 06:24 PM.
Old 04-09-2019, 05:08 AM
  #823  
Fossilized
Staff
Thread Starter
iTrader: (6)
 
dropzone's Avatar
 
Join Date: Oct 2005
Location: PNW
Posts: 19,771
Received 448 Likes on 293 Posts
New Auxbeam driving lights

Forgot to post this.
I was dogging through my too big of stash
Of misc crap and found an old school floor dimmer switch


My plan is to mount it in line with my driving lights so I can turn them off quickly for oncoming traffic.
I sold my light bars and ended up picking up a set of AuxBeam combo lights. Been toying around with the idea of getting them for a long time. @dirtco has some on his 3rd gen and seems to like them. The price on them dropped to a point ot was worth giving them a shot.


Still in search of an A340H valve body so I can finish the dual installs..
The following users liked this post:
SomedayJ (04-16-2019)
Old 05-05-2019, 05:20 PM
  #824  
Fossilized
Staff
Thread Starter
iTrader: (6)
 
dropzone's Avatar
 
Join Date: Oct 2005
Location: PNW
Posts: 19,771
Received 448 Likes on 293 Posts
been looking off and on for a few months for another valve body for my A340H so I can finish up my dual case install.
Pretty much been at a stand still since February. Made a comment about it on instagram and a guy said he had one up by Tacoma. It got delivered thursday and I finally had time to bust open the box on saturday afternoon.
It was like Christmas in May for me
I thought that I over packed stuff but this thing could have been dropped from a mile up and it would have survived

Opened it up and was happy to see that it looked to be what i need


for comparison my original casting is on top and the donor is on the bottom. casting looks to be the same, just slightly different date code (if my research is correct)
looks like I should just be able to swap solenoids and put this sucker in
The following users liked this post:
old87yota (05-05-2019)
Old 05-05-2019, 06:21 PM
  #825  
Contributing Member
 
habanero's Avatar
 
Join Date: Sep 2005
Location: mo
Posts: 8,189
Received 463 Likes on 309 Posts
Metal box looks handy and nice fit to boot. Awesome valve body find and soooooo many bubbles to pop!
Old 05-05-2019, 09:29 PM
  #826  
Registered User
 
old87yota's Avatar
 
Join Date: Jun 2013
Location: Portland, Oregon, USA
Posts: 3,082
Received 568 Likes on 448 Posts
Yay! I hope it works well!

It is very nice to see someone pack things well!

With my other hobby of restoring antique radios, I hear many stories of radios arriving completely destroyed due to poor packaging.

And like Habanero said, you now have a lot of bubbles to pop.

Old 05-05-2019, 09:29 PM
  #827  
Registered User
 
yota_terror's Avatar
 
Join Date: Jul 2011
Location: Fresno, CA
Posts: 69
Likes: 0
Received 4 Likes on 4 Posts
@dropzone Great build and gives me tons of inspiration for a 2nd gen I just picked up.
Old 05-08-2019, 09:15 AM
  #828  
Registered User
 
jakey poo's Avatar
 
Join Date: Jan 2015
Location: Gaston, OR
Posts: 960
Received 147 Likes on 105 Posts
Originally Posted by dropzone
looks like I should just be able to swap solenoids and put this sucker in
Well stop talking about it and do it
The following 2 users liked this post by jakey poo:
CreeperSleeper (05-08-2019), dropzone (05-24-2019)
Old 05-15-2019, 08:54 AM
  #829  
Registered User
 
coopster's Avatar
 
Join Date: Jan 2011
Location: exo-reality -wave if you see me; Front Range, CO
Posts: 650
Received 93 Likes on 73 Posts
Just catching up, and keeping current.

Awesome idea on the dimmer on/off switch BTW.
Old 05-24-2019, 02:50 PM
  #830  
Registered User
 
yota_terror's Avatar
 
Join Date: Jul 2011
Location: Fresno, CA
Posts: 69
Likes: 0
Received 4 Likes on 4 Posts
It looks like you're still running coil suspension on the rear right?

I just installed FJ80 coils on the rear of my 4runner. I will definitely need the panhard bar bracket and longer shocks like you mentioned at the beginning of your thread.

Did you have to get any "lift" brackets for the rear upper control arms? It looks like under flex the passenger side might hit the gas tank. Have you had any issues with that? (see how this guy has a lift bracket for the control arm?)

Last edited by yota_terror; 05-24-2019 at 02:51 PM.
Old 05-24-2019, 03:26 PM
  #831  
Fossilized
Staff
Thread Starter
iTrader: (6)
 
dropzone's Avatar
 
Join Date: Oct 2005
Location: PNW
Posts: 19,771
Received 448 Likes on 293 Posts
Originally Posted by jakey poo
Well stop talking about it and do it
I hear ya!

Originally Posted by coopster
Just catching up, and keeping current.

Awesome idea on the dimmer on/off switch BTW.
Thanks, I think the dimmer will work out

Originally Posted by yota_terror
It looks like you're still running coil suspension on the rear right?

I just installed FJ80 coils on the rear of my 4runner. I will definitely need the panhard bar bracket and longer shocks like you mentioned at the beginning of your thread.

Did you have to get any "lift" brackets for the rear upper control arms? It looks like under flex the passenger side might hit the gas tank. Have you had any issues with that? (see how this guy has a lift bracket for the control arm?)
Still running the FJ80 rear springs..no real issues with the gas tank. Stock arms.
My plan is to convert to rear leaf springs at some point . I have all the stuff to do it but just not the time.

So yes I know I need to get off my butt and finish the dual case install but have been working on house junk (painting and getting ready to fill in our inground pool)

Anyway been debating replacing the Prelude seats I have had in 2 different trucks. I was going to convert them to heated seats but the Amazon kit I bought a couple of years ago was dead when I finally went to use it.

Pick n Pull has a 50% off sale this weekend.
Decided to cruise through there today to see what I could find as far as seats.
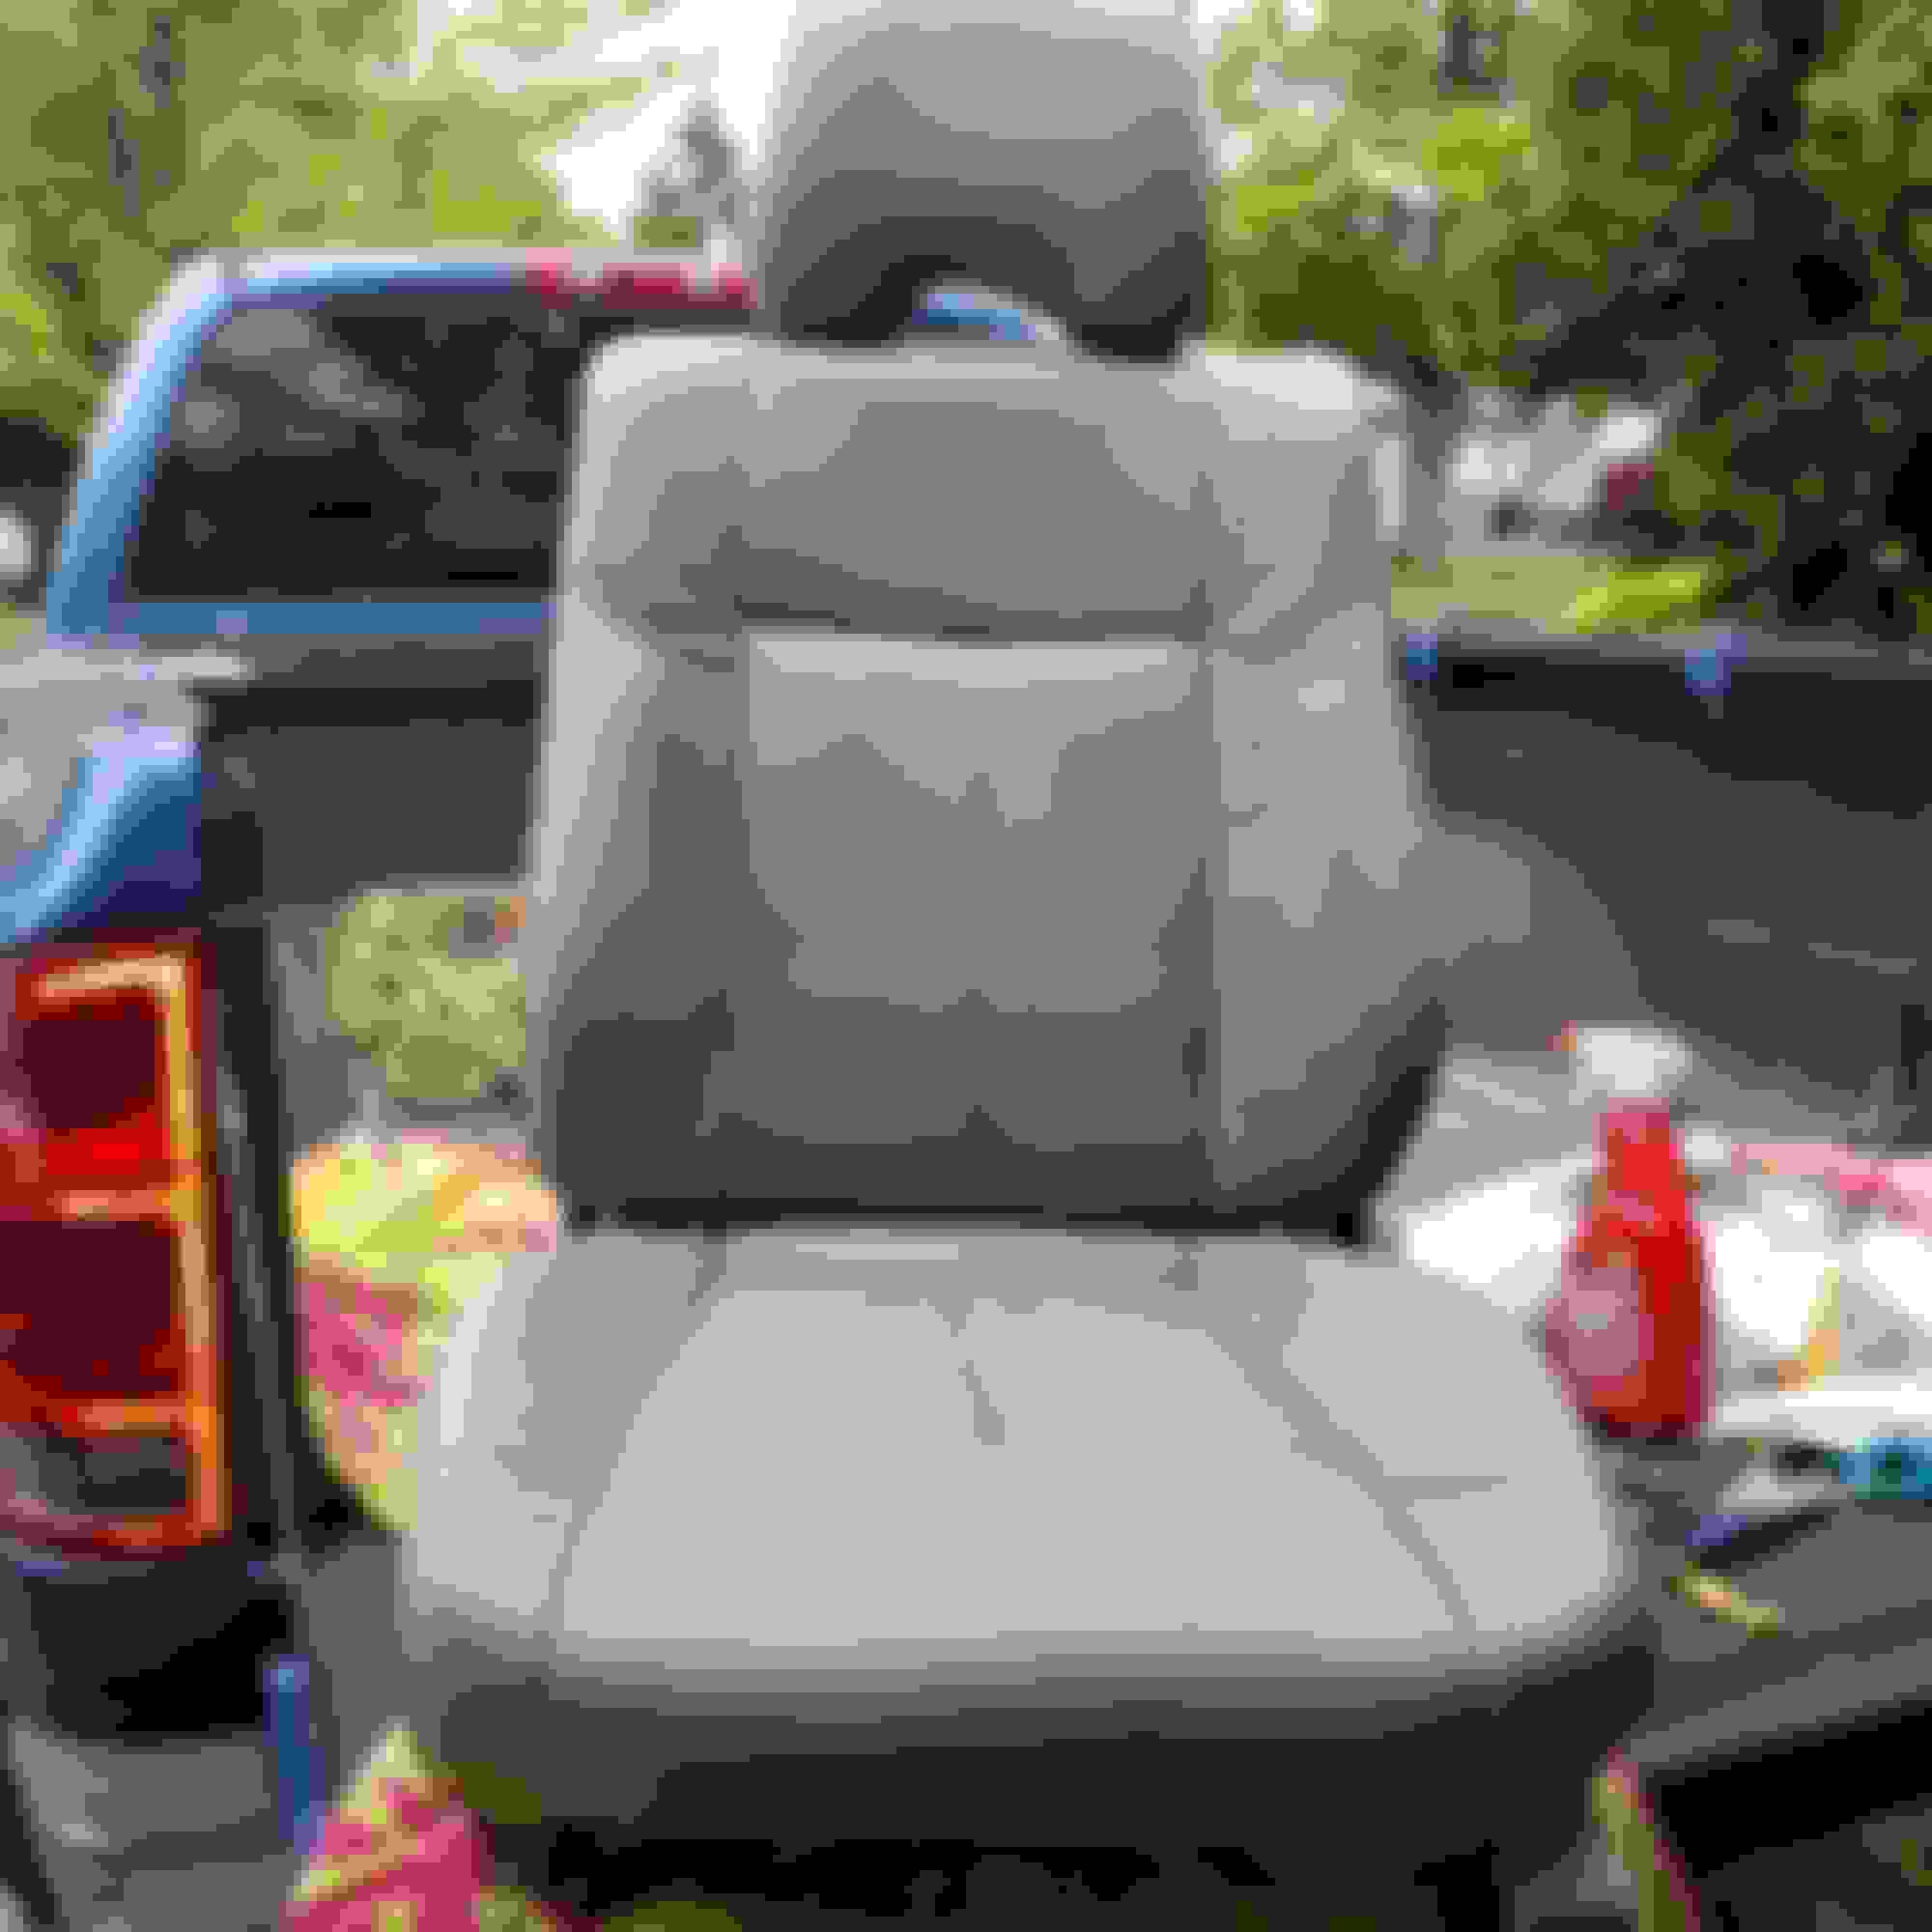
After looking through about 100 cars I ended up with a set of heated, power & leather seats out of a 2005 Subaru Outback. The front mounts measured about 16.5" center and center..same as the stock mounts.


Got them home, tested the motors, they worked great and powered up the heaters..got toasty warm which will be nice this fall.
Spent some time cleaning them up.


Jumpered the motor and heater controls using a drill battery.
It all worked as it should. Seats got nice and toasty
link to video on Instagram
View this post on Instagram


The passenger seat was already out of the 4runner for the dual case install. I was very happy to find that not only did the front two mounts line up but the outside rear mount was a dead ringer too!
I will have to cut the inside rear mount to make it work (as it is now it gives the seat a slight lean)


But for $45 for the seats and heated seats switches I am happy with them.
I will do a leather dye experiment on either a headrest or inside of the seat to see if I can get them gray.

The seats end up about 1" higher than the Prelude seats I have mounted into there now


Last edited by dropzone; 05-24-2019 at 03:29 PM.
The following users liked this post:
old87yota (05-24-2019)
Old 05-25-2019, 03:29 PM
  #832  
Fossilized
Staff
Thread Starter
iTrader: (6)
 
dropzone's Avatar
 
Join Date: Oct 2005
Location: PNW
Posts: 19,771
Received 448 Likes on 293 Posts

new family member arrived today.
Kenai the Husky
The following users liked this post:
SomedayJ (05-26-2019)
Old 05-25-2019, 03:35 PM
  #833  
Registered User
 
old87yota's Avatar
 
Join Date: Jun 2013
Location: Portland, Oregon, USA
Posts: 3,082
Received 568 Likes on 448 Posts
Awwwwe!

So adorable!

Old 05-25-2019, 05:32 PM
  #834  
Contributing Member
 
habanero's Avatar
 
Join Date: Sep 2005
Location: mo
Posts: 8,189
Received 463 Likes on 309 Posts
Trouble! Awwwww, trouble!

Also too cute to not get away with everything.
Old 05-26-2019, 03:38 PM
  #835  
Fossilized
Staff
Thread Starter
iTrader: (6)
 
dropzone's Avatar
 
Join Date: Oct 2005
Location: PNW
Posts: 19,771
Received 448 Likes on 293 Posts
Originally Posted by old87yota
Awwwwe!

So adorable!

Thanks!

Originally Posted by habanero
Trouble! Awwwww, trouble!

Also too cute to not get away with everything.
Yep she has the look, 5 pounds of I will get my way or else
The following users liked this post:
SomedayJ (05-26-2019)
Old 06-30-2019, 01:50 PM
  #836  
Fossilized
Staff
Thread Starter
iTrader: (6)
 
dropzone's Avatar
 
Join Date: Oct 2005
Location: PNW
Posts: 19,771
Received 448 Likes on 293 Posts
so between the new puppy, college and high school graduations and this back yard project I haven't touched the 4runner

I built swimming pools for a few years and should have never bought a house in the PNW with a pool. If I was in a hot place I would spend the $$$ to have it fixed but not worth it in Oregon.

We had bids ranging from $20-42K, so that wasn't gonna happen so tackling it myself on my days off...hopefully be done and have a back yard at the end of the summer.
I think the recycle guy is gonna hate me with all the rebar I put our recycle can


Slow going when my supervisor lays around most of the day
The following 3 users liked this post by dropzone:
old87yota (06-30-2019), RAD4Runner (06-30-2019), SomedayJ (06-30-2019)
Old 06-30-2019, 03:00 PM
  #837  
Contributing Member
 
habanero's Avatar
 
Join Date: Sep 2005
Location: mo
Posts: 8,189
Received 463 Likes on 309 Posts
Heck of a one-man-one-supervisor project, wow!
The following users liked this post:
old87yota (06-30-2019)
Old 06-30-2019, 07:45 PM
  #838  
Registered User
 
old87yota's Avatar
 
Join Date: Jun 2013
Location: Portland, Oregon, USA
Posts: 3,082
Received 568 Likes on 448 Posts
That looks like a lot of work!

And I thought digging out old fence post concrete was tough!

Old 07-01-2019, 08:13 AM
  #839  
Registered User
 
jakey poo's Avatar
 
Join Date: Jan 2015
Location: Gaston, OR
Posts: 960
Received 147 Likes on 105 Posts
I've never understood pools in Oregon either! Good job reclaiming some property back Robb
The following users liked this post:
RAD4Runner (07-02-2019)
Old 07-01-2019, 11:04 AM
  #840  
Registered User
 
warrpath4x4's Avatar
 
Join Date: Apr 2013
Location: Prosser, WA
Posts: 93
Received 23 Likes on 16 Posts
Originally Posted by jakey poo
I've never understood pools in Oregon either! Good job reclaiming some property back Robb
move to the east side of Oregon, you will understand the need for a pool lol


Quick Reply: Dropzone's 1994 4runner Build AKA: Project Recycle:


All times are GMT -8. The time now is 08:49 AM.