When you click on links to various merchants on this site and make a purchase, this can result in this site earning a commission. Affiliate programs and affiliations include, but are not limited to, the eBay Partner Network.
OK so I attempted to trace those blasted sensor wires.
The rear one with the round plug is part of the engine harness. Clipped on the probe, opened the kick panel and got to work probing the ECU plugs. Heard the tone while probing and got a result on multiple points, one was the tranny signal L1, and realized I forgot to disco the battery..
Disco the battery, ran thru all three ECU plugs and got nothing. Ran thru the cab plug nadda, went thru the AC amp and everything I could reach with out pulling dash parts and still nothing. Yank the shifter cover to get access to the ECT computer and realized the autoshut off on the meter kicked in. I'm not sure when it happened but I was starting to lose the sunlight and still needed to run into town and pick-up my idler bearing so reassembled everything laughing at myself..
The forward one with the replaced spade is part of the cab harness. It attaches to the body harness just aft of the engine bay fuse box.
On the up side. I got my flameproof paint and a new bearing for the idler. Entertained myself and #2 kiddo by parking on top of the snow pile at the autoparts store. Kind of felt like a carefree teenager ( butt head ) untill some idiot flew through the parking lot crossways speeding like it was a freeway! And realized it was juvenile maybe but SAFE!
Got sent some crappy cold weather, complete with the freezing rain I missed out on earlier. Uh thanks?
Got the idler bearing installed in the pully, and the pully back on the engine. Then ran back inside and hugged the heater..
Fastenal, millbal, and terry. Saving yodas, and giving warm fuzzies.
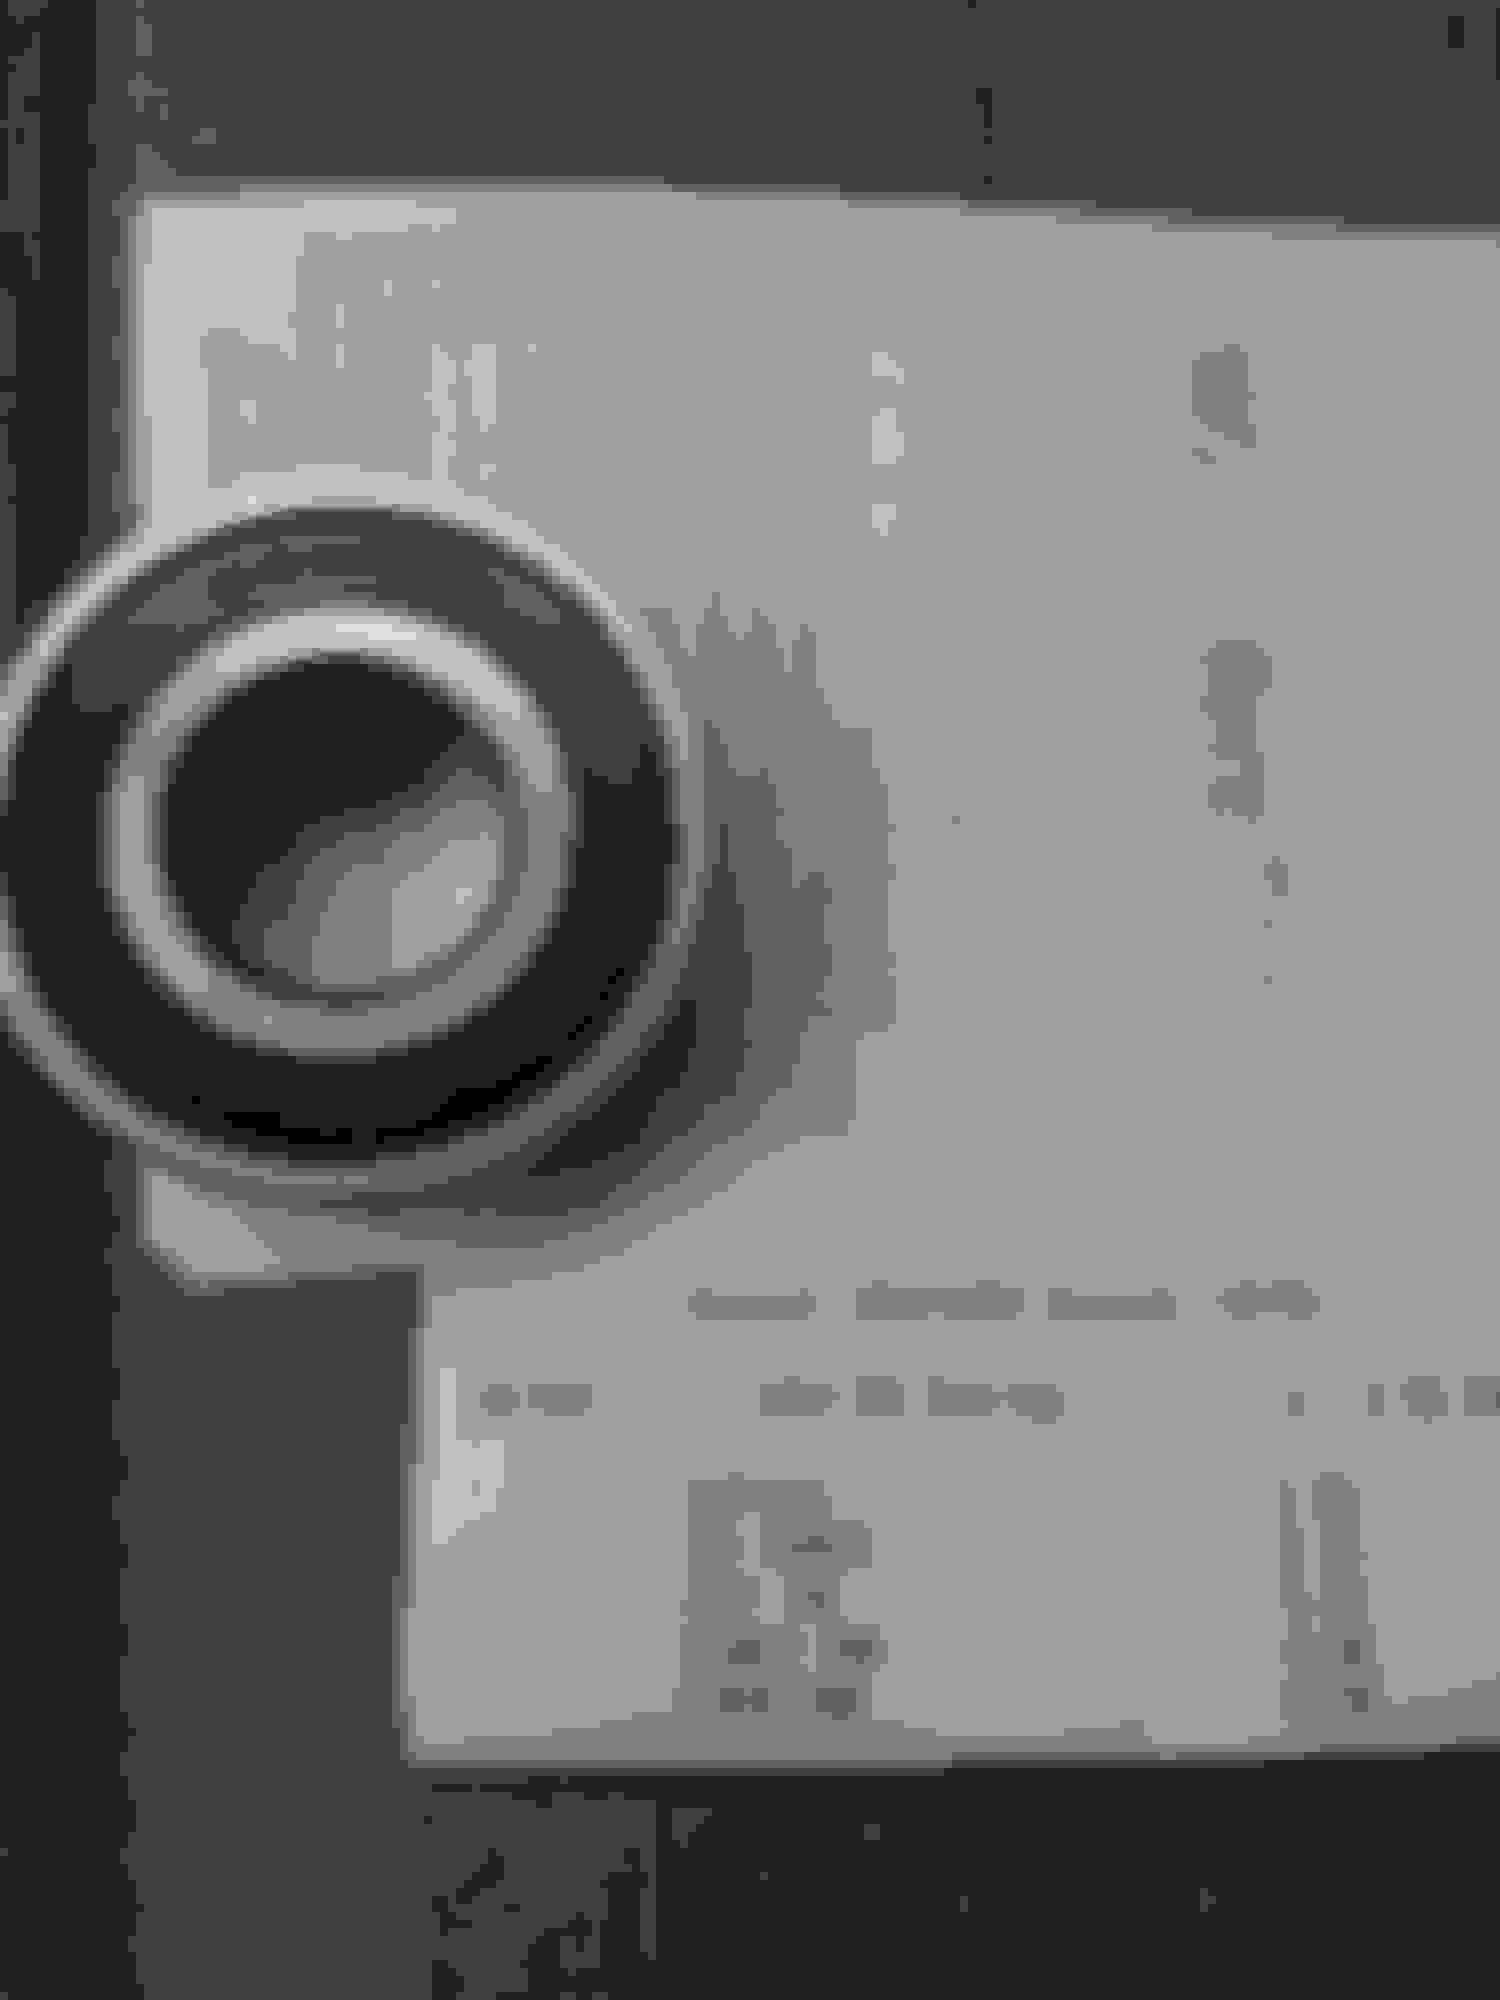
My new 6204-2rs, fastenal # 0474391, power steering idler bearing.Girl at the store helped me scower the shelves, then searched the computer, and finally had to go ransack the backroom but we finally won out. 3.21$ and now I see I payed s&h at 0.50 that's funny stuff. 30mm impact socket, didnt quite fit the outter bearing race.No vice in my tool box, had to tap it in got plenty of practice at that.. Tap tap tap! So use the washer to bridge the gap
Came up a mil or so short of the diameter but no worries, I sleep at holiday inns well I have slept at one once I think.
Wanted to get the starter out yesterday, got side tracked and ran out of time. It doesn't get warm here till noon or later, then I get to race sundown before it runs me back to the heat.
Wanted to get it off and bring it inside at least today but windchill and freezing rain said no way. Wind chill gets pretty bad, sun melts the ice and makes a puddle then the combo of wind and shade from standing there refreezes my boots to the ground. Really awesome to lay down in a puddle and then get froze to the ground.
...
My other unaccomplished task was pulling the cruise control daiphram. I think these might be "un-obtainium" so my plan is similar to the gasket i made for the broken off TPS.
Thoroughly soak a sheet of fabric in fipg, sandwich between two pieces of foil which makes a smooth patch panel, then glue it in place over the cracks on both sides. But untill it's in hand and eyes on, I won't know how bad it really is. The other option is a good bicycle patch kit, not the cheap rubber cement type but one with proper vulcanizing solution and uncured rubber, but that will only handle littler pin holes and not huge tears or degraded rubber.
When I was looking to add cruise control to the 94 I popped a few actuators open at the upull and found some had just dislodged from the seat and wouldn't need major repairs just cleaned and resandwiched between the two case halves. I actually repaired two onsite and left them sitting in a 4runner for the next hunter.
Still need eyes on to be certain. Once I know I can get the cable pulled reliably I'll run thru the rest of the system. I know I have switch issues at the column also from the other day running the diagnostics.
.... Transmission, traction, lack of power?
Yesterday when we parked on the giant snow pile.
Tried the first time just in 2wd high, thinking the large tires should be enough to get one wheel perched atleast since it was pretty closed to center line on the tire, and didn't even hear the back tires break loose. That doesn't for sure mean they didn't break traction, but I sure didn't hear it and it wasn't obvious there was a "burn out" mark.
It took 4wd low range and a bit of a rolling start to get up on it. I didn't try without the rolling start, just figured it would be a waste of time.
So that leads me to running the torque converter stall test. I had equal RPM for drive and reverse, around 1600rpm indicated on the dash gauge. The book spec in the 88 FSM is 1900 �150 22-RE, doesn't list the RTE seperate. Google pops up an "I get ~2200 at 4psi" post, I didn't watch the boost gauges so not sure what I have for boost when stalled at that low of an RPM maybe 2psi if I had one bar showing on the digital dash gauge.
Not being a transmission guy I asked over in the general section about line pressure and temperature and how those effect stall tests. Haven't had any responses from local transmission gurus as I started writing this.
I'm not sure where the problem lays, traction, transmission, torque converter, engine torque or just my expectations..
...
Was explaining the lift and tires installed by the previous owners and the short falls with the kids. Poor install on the rear damaged the parking brake system, which made the brakes sloppy. Poor install on the front causing the tire to rub. How the oversized tires required the larger brake master cylinder the previous installed, how it was done poorly using the smaller booster.
#2 asked if we were going to undo all that questionable upgrades, and put the stock sized tires back on it.
(s mechanics he phrased it, I chuckled to myself and explained maybe they didn't do the homework needed or just wanted to get out and have some fun, it was full of spend ammunition and came with a stack of targets and was full of mud after all)
Oh no!! we're fixing all that the right way and if anything it's getting bigger tires like the ones I think it had on it before it was put up for sale.
Originally Posted by RAD4Runner
..."Temp sensor on top of thermostat housing is for the temp gauge."
Unless this is a Turbo model thing, I don't believe that this is true.
On my '87 the temp gauge sender is near the center of the lower intake manifold.
The sender in the thermostat housing is a high temp cutout for the air conditioning compressor.
Thanks, Millball.
I may be wrong, then. I only see 3 electrical temp senders, that's why I assumed the one on top of thermostat is the temp gage sender. May we see pic of location of your temp gauge sender?
Originally Posted by Co_94_PU
Got the idler bearing installed in the pully, and the pully back on the engine. Then ran back inside and hugged the heater.....
Thanks for sharing this. I'm hearing bearing sounds on my power steering pump may need a replacement bering, too.
Thanks, Millball.
I may be wrong, then. I only see 3 electrical temp senders, that's why I assumed the one on top of thermostat is the temp gage sender. May we see pic of location of your temp gauge sender?
Thanks for sharing this. I'm hearing bearing sounds on my power steering pump may need a replacement bering, too.
ECU uses the two wire sensor, located on lower intake in the forward coolant passage..
Dash gauge uses a single wire sensor, located in the cylinder head middle coolant chamber..
I was only ever really sure of the dash gauge until I committed your photo diagram to memory and for it to stick. It finally stuck with me because it uses the two wire sensor that connects one wire to the ECU and the other wire to the sensor ground E2.
Fwiw, FYI or whatever acronym is right. Don't connect anything but ECU sensors / signals to E2.
.. idler bearings
Tracking that part number was giving me head aches. Lots of bearings will fit in there. Lots of part numbers floating around and two different ID given 15mm and 20mm some have a spacer I guess some use the smaller ID, some have two bearings sandwiched, sealed vs caged vs ayayaya..
I should of probably bought all she had in stock, still cheaper than the parts store can always use spares and it's the same one in the AC pulley.
And I'm suddenly reminded of another bit of kit missing. I meant to ask awhile back about the lamp/work light! I have never seen one, who has photos or has one...
Thanks, Millball.
I may be wrong, then. I only see 3 electrical temp senders, that's why I assumed the one on top of thermostat is the temp gage sender. May we see pic of location of your temp gauge sender?
Here is a couple images of the lower intake on the'88 i am working on now, my '87 is the same.
The one in the center of the intake is for the temp gauge.
While you're here! The thermostat housing one you said was the AC cut off, is that the round plug one on the engine harnesses, or the bare spade type that taps into the body harness
It's a single wire round plug on my '87 22re. Haven't examined where it goes into a harness, but I can look tomorrow if you'd like. I'll check the wire color code too.
Thanks, guys!
I'll have to look for that sender. I have never seen it before (1986, 22RE, manual transmission)
Originally Posted by Co_94_PU
ECU uses the two wire sensor, located on lower intake in the forward coolant passage...
Dash gauge uses a single wire sensor, located in the cylinder head middle coolant chamber..
Originally Posted by millball
Here is a couple images of the lower intake on the'88 i am working on now, my '87 is the same.
The one in the center of the intake is for the temp gauge.
It makes sense that the temp Guage one is not after the thermostat. If your thermostat sticks closed and the sensor is after that, then you wouldn't know you were over heating.
There are possibly a few connectors missing from above post. I know off hand there is at least one more plug in that area, it's a single place none sealed female spade type. And the ECT diagnostic DG1 isn't listed yet either.
Will continue to update that post with the others as I hunt them down, and eventually add the service info for each signal. (Y'all feel free to pester me if I slack off, and by feel free I mean please someone kick me in the buttocks when I do cause I will forget)
It makes sense that the temp Guage one is not after the thermostat. If your thermostat sticks closed and the sensor is after that, then you wouldn't know you were over heating.
That would be quite a concerning moment watching this temp gauge shoot up from near nil to near operating temperature then do it again when the second opening temperature is reached.
This a bit of a deviation from the build, but it's my thread and I'm not really concerned who is chatting about what most times..
OK so I got "corrected" about how the fuel injectors are wired and controlled awhile back in another thread. Which made me doubt my recollection enough I almost pulled my ECU, intake and injectors to find out , who what when where and why..
If I had done so...
I would have came back agreeing wirh the "correction" and been wrong. As you can see in the diagram above the ground/trigger wires for the injectors ARE spliced together in the loom, but not on the RTE.
There are some variations of TCCS ECU's that include this connection (injector banks wired into a single batch) internally also. So the RTE could still be operating in batch not banked mode with the internal "splice", also depending on how the ECU software is written it could be firing both banks simultaneously which gives a batch mode also.
Which is what I was recalling before being "corrected" and suddenly doubting myself.
In conclusion, yesmost of us are running batch not banked injector patterns.
So I got motivated early today, by a disagreement.. Link
(I'm right! And over second guessing myself for "the interwebs")
Then side tracked, to get the diagnostic plug photos.
Pulled the cruise control sub assembly. Need to replace the filters in the actuator.
Pulled one of the rear speakers because it hasn't been working. Need to replace a capacitor on the amplifier circuit board.
Found out radio shack filed chapter 11 again, stores in both nearby towns are gone.
I got a bunch of stuff to post, but have to clean up, and eat.
Thinking I'll hit the local thrift store maybe for a random power supply to source the capacitor I need. 16v 2200uf, got boxes of them at the house... down in CO.
Then the hobby lobby for some filter medium.
Long cold day outside, wasn't so bad I guess once I froze enough to go numb.
Last edited by Co_94_PU; Jan 21, 2017 at 02:19 PM.
Reason: Autocorrect typos
Verified the exception of 22R-TE for trigger wire splice from my schematic.
Originally Posted by Co_94_PU
Still need it, still want it, and not 100% sure the four pages I found are definitely the 86 model year. I'll take whatever version(s) I can get if for no other reasons but to add to my archive.
I have the print version of 86 22RE, and the pdf of 88. Unfortunately I do not have a scanner right now. If you only want to see specific section of the schematic, I may be able to take a sharp photo.
This is what I have:
Last edited by RAD4Runner; Jan 21, 2017 at 01:33 PM.

 Jan 19, 2017 | 07:53 PM