When you click on links to various merchants on this site and make a purchase, this can result in this site earning a commission. Affiliate programs and affiliations include, but are not limited to, the eBay Partner Network.
This project makes me jelly!! Gonna build a 22RE turbo some day. 4Runner is so slow!! For now keep it up, fun reading your work!
Hi'a Reluctanse, it's a .. hobby ? And been an interesting ride so far. I almost drove it farther with that cracked out turbo and toasted cam shaft than I have the new long block. Can't be more than ten mile difference.
There is a big difference riding in it when it's not billowing oil clouds, people are friendly for a start. Even my multiple colored rusty exterior gets lots of smiles. I think it kind of looks like a Christmas tree, but I am color blind, red blue and green that should be grey.
I can sort of imagine what it would have looked like on a dyno when it came apart. It has certainly got the factory torque and horsepower with the factory tune and then some. Thanks china, no sarcasm this time!
I can't imagine I pulled the kind of power out of mine that Jeff shows on This dyno. 250 at 15 psi on 91 pump gas. Apples to potatoes, his 57/63 fancy turbo and my speedyracer diesel ct20's clone ect. But if my gauges are anywhere near reliable, and I think they are, I had at least 15psi and probably a bunch more on 91 pump gas. Concervative buttocks dyno says 150 for sure, it would have kept pulling even on three cylinders. If I'd stayed in the throttle it would have came apart in spectacular fashion in excess of 100 mph
It's not in the first post which injectors he is running, post's February of 2006, but I'm sure it could be found he's documented very well. Think he has 30 to 100% more fuel capability than I do at that point, 400-700 ish CC maybe.
Here is one on CL, says it had a fender bender but there don't seem to be any pictures of it after. It's a looker for sure.. they are out there when you are ready.
I shouldn't do this math much less in public. Call me a masochist I guess, but nobody I get in trouble with reads yotatech and you could add it up if ya looked online. That's cheaper than I am into mine, but mine "comes with" a shop-shed full of engine swapping tools and most of a spare engine.
And honestly if you want that wild 20 psi ride I took, plan on a standalone EFI 'cause whoa! And some spare parts.
I was laying over the passenger tire today while I disconnected the ECU harness from the transmission and I figured out why my tire rubs on that side. My spacers were poorly installed or have shifted in the UCA. Looking down from the top there is a crescent of day light showing at the outer edge that isn't present on the other side. So the top of the spindle is moved inward and my frame isn't canted to the right, yay.
Looking at the stock UCA pictures you can see the inner bolt holes are slightly under the lower shell of the UCA. When the bolts are extended they will intersect it, so the modification is needed. Restoring the stiffener is a good step it will reduce the tearing, but I think that cut out is still leaving too much gap. If the spacers weren't made of AL and say steel they could be stitch welded to the UCA on all three sides. Then that lower plate of the UCA would need to find a new failure mode.
Not sure how I will address these problems. Don't know what mine looks like yet but I'd wager it's just a grind job. So problem one is the slop in the BJ placement since they lack a locating pin or positive keying of any type. Roll pins added thru the upper plate, or try and address it with the lower plate issues by giving it something one that inside lip to seat against. Roll pins might be OK for getting them located close to where they were in an r&r reliably, but they would tear if it shifts from impact. Having a backing plate only limits the in out placement.
I couldn't get the harness disconnected from the transmission yesterday or I could have prepared the intake for new gasket goo last night. So I spent (wasted) most of my daylight getting those three surfaces clean. About the time I was ready to start rehanging parts the clouds rolled in, just as I doused my hands in fuel putting the fuel line on. Not sure I could handle Alaska, I'd get the darwin award, I kept forgetting not to hold cold metal with soft fleshy bits like the socket extension in my mouth brrrrr.
Very cold brittle harness unplugged, intake runners regasketed, upper harness section reattached, plenum regasketed, vacuum lines restored, water lines plumbed, bolt back in the EGT cooler, exhaust manifold rehung, turbo waterline to block reconnect and turbo hung, PS brackets attached to head, ground wire restored, distributor installed.
To-do electrical under intake, intake pipes and AFM, electric across engine bay, and fluids! Oh and I guess I better figure out why the lower PS brackets aren't lining up, if it's that crazy puzzle stuff again where you loosen this that and another thing then tighten them up in yet another order I might run with out a belt and tough it out. And where my missing pliers are cause in the fan would be bad for sure.
Here is the photos you asked me for. Late as usual.
Interesting, unless I am missing something our part numbers should be the same but aren't. 35020 and 35040. Also the castings aren't identical, mine has casting marks where yours is flat. Yours has engravings and numbers stamped into the housing also that are not on mine.
Edit. I found the stamped numbers, well part of them ay least in one of the photos I took. Maybe a casting sequence they don't match either.
I forgot to tighten the lower radiator hose and started pouring in the coolant, it reminded me by spewing a few ounces down my shoe and up my arm pit as I raced to get it snugged up. I don't know how I lost a pair of vise grips with Bright Yellow handles, but they weren't in the engine bay suspension or laying on the ground. I really need peg boards, and to use them.
One gallon of fresh oil, one new over sized oil filter, roughly 1.25 gallons of coolant, and a dead battery. Jump boxed it and it spewed the expected water out of the turbo and exhaust and quickly cleared up. I used the flush cap to vent air when I filled the radiator initially and spilled coolant over the exhaust, got a great smoke show and had to soak up a few CC's of it off the top of the exhaust manifold were it collects water near the flange.
I neglected to cinch up the band clamp to the throttle body and it blew off at 4PSI, done that twice now it's an OEM 10mm hex head with a phillips center, as I was circling the alleyways.
Timing is a bit off something like 6.5-5.5, I didn't want to argue with it and insist on 5* since the distributor kept rotating back to there. ( Could be the trucks soul, or just the plug wires under tension )
Loaded up the jugs to be recycled and headed to the parts store. I am in the habit of popping the hood while it idles down and checking for leaks or anything rubbing or shifted ect, so I do that in the parking lot and everything looks great. I shut it off and forgot to roll the window down to get my jugs out of the back. When I tried to restart it I hardly get even a click and the speedo goes bonkers. I've decided at this point the speedometer is my voltage warning system. I jump box it again drop the window and shut it off thinking that little darn jump box was worth every penny. So I browse the store while they empty my mostly oil jug.
Pulling the cable off the battery its totally corroded on both sides. I wound up getting a shining clean spot about half way around on both with one of the few tools I have on hand, 10-14mm box ends. I neglected to run the brush over them when I hooked it back up and flud it with grease. Voltage limits to 14.60 when I checked across the battery and bring the rpm up over 2000.
The manuals list these as 13.9-15.1 at 77* and 13.5-14.3 at 250*. It doesn't say engine coolant temp or alternator housing, but since that area is extra cramped on the RTE it's probably all the same. It wasn't much above freezing out if any and I think closer to 20 I was afraid to look it would have sent me back inside.
I'll need to scrub the crud off the positive cable again and remember to coat it this time. I recall I got distracted looking for a brush to scrub the outside and make it pretty and forgot the goo!
Heater working great, doesn't seem to be any substantial air in the system, but it's only blowing high. I'm not sure if I have spare blower resistors for the 2wd or if the first and second gens share that plug I think they changed them.
Cold and 30 wire loom do not agree. I was manipulating the AC idle up wire and snapped the external sheath twice. I found the ignition wires (ECU-Ignitor) have butt splices approximately over the exhaust manifold, because the sheath cracked and shifted down more. I also have lovely exposed wire along that run also. I'll probably find a harness at the salvage yard and dissect out the wires I need full length and properly color coded. As long as I find a few pigtails missing I don't mind cutting a harness open, the guys that need or want harnesses want them intact and they reject the cut off ones. Sourcing full run wires has the benefit of just needing to push out the old pins and insert the new wires as a single loom, I can maybe tackle a harness build before I'm to old.
I have a little random pop type misfire at idle I suspect is they crappy plugs I put back in it
Interesting, unless I am missing something our part numbers should be the same but aren't. 35020 and 35040. Also the castings aren't identical, mine has casting marks where yours is flat. Yours has engravings and numbers stamped into the housing also that are not on mine.
Edit. I found the stamped numbers, well part of them ay least in one of the photos I took. Maybe a casting sequence they don't match either.
Just an FYI, this is a reman'd VAFM. Dont even know if its the correct one for the truck. It came on the truck and the truck ran and drove fine with it, so im assuming it is correct or at least works fine.
Sounds like you have the kind of luck I have. Now when I am working on a motor, I fill it with water and make sure I have no leaks. I have bought way to much antifreeze just to have it leak all over the floor. Always something like a loose clamp or some seal that did not take no matter how much I try to get it right the first time. Looking for tools is half the time involved in working on trucks from my experience. lol
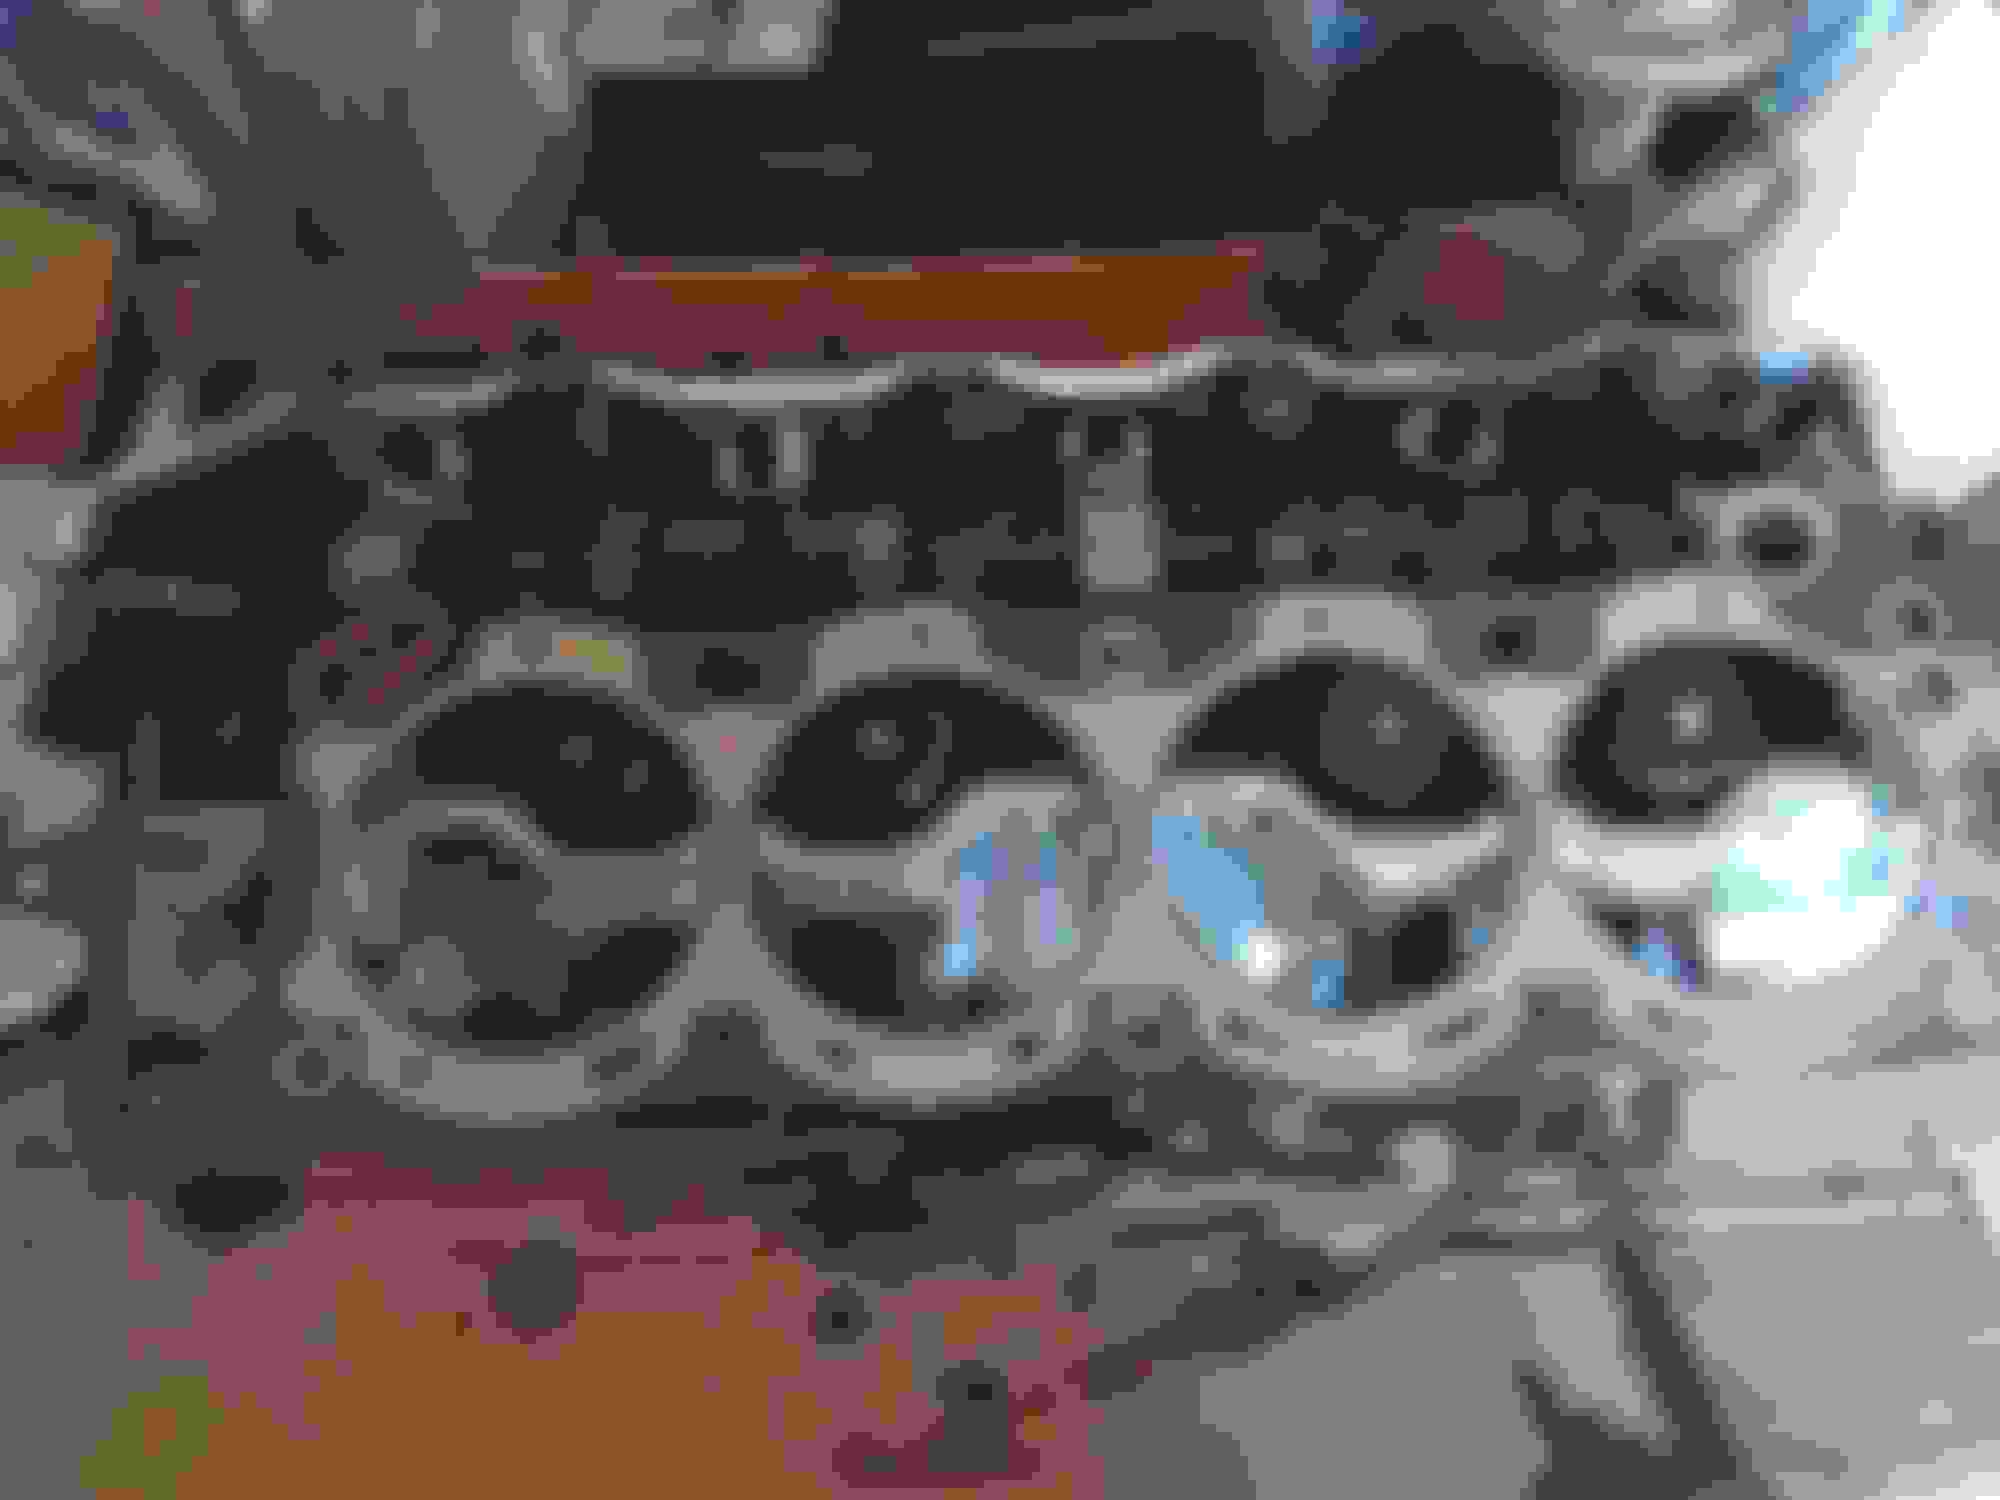
I might have pictures of them but I doubt it, I am not a polar bear I was rushing to not freeze.. None specifically targeting them but they photobombed my head gasket pictures, which is why we keep these build logs Yay!
Just an FYI, this is a reman'd VAFM. Dont even know if its the correct one for the truck. It came on the truck and the truck ran and drove fine with it, so im assuming it is correct or at least works fine.
Maybe they got new molds after they made mine or the remanufacturing did a sweet job cleaning up the housing on that one . Mine has some of the doohickeys from casting along the outlet top.
Originally Posted by Terrys87
Sounds like you have the kind of luck I have. Now when I am working on a motor, I fill it with water and make sure I have no leaks. I have bought way to much antifreeze just to have it leak all over the floor. Always something like a loose clamp or some seal that did not take no matter how much I try to get it right the first time. Looking for tools is half the time involved in working on trucks from my experience. lol
I like to do that water thing usually also, my local parts store doesn't take coolant for recycling either so I'm stuck with it. If it's just water or lightly contaminated water if can let it evaporate off, safely of course it's sealed inside the pickup bed and topper in a cement mixing tub. I know the upull in Denver sells recycled antifreeze maybe they'll take it.
I wondered about why a mentor takes on an apprentice, aside from love of the subject matter it has to be the tool thing. Nothing beats saying 10mm and a wrench appearing in your reach.
I've got a bit of a system for sockets if I keep the 10mm and 14mm in one pocket I can tell them apart from the 12mm in the other. But I still tend to "loose" them on the end of extensions.
DG - Located near the TE1 connection on the left inner fender. Is this a separate connector from the larger diagnostic plug? Y-w wire, in 88.
.
I intended just to make a note of where the DG wire was but there is interesting stuff here.
DG engine off, voltage corisponding to throttle angle. I can't find the connection between these three? TPS IDL connects to both the ECT and TCCS ECU, but I don't see Vta (throttle angle) at the ECT ECU.
TCCS and ECT interconnects are
IDL, L1, L2, L3 and OD1
oh there it is...
L1-L3 are Inputs to the ECT from the TCCS, the voltage sweeps from 5v closed to 0v open throttle.
This all sort of relates to the TPS tweaking I did trying to make sure the TCCS sees WOT. With max throttle angle we should see zero volts on the L# and eight volts on DG.
Now what I thought was interesting was the DG output while the engine is running. This gives the ability to have a electronic indicator of not only the current gear but TC lockup! TC lockup is a big factor on heat buildup.
Translation... If I use the late model RE regulator with the RTE injectors I can get about 10% more fuel with the same duty cycle ( injector open time ). And if I overload the fuel pump it'll flow upwards of 35-40% more.
I don't need more I realize this but I think I want it and a standalone EFI. Ha.
OK that entertained me for a little while. Back to wishing it was warm outside..
My power steering idler ate it's bearings and locked up.
Pulled the assembly off, removed the retaining clip, and removed the bearing. Almost half the balls are AWOL, there were several separators mashes into the ones that were there.
It appears to be the none sealed bearing type "204".
Not sure what to replace it with, consensus is it's a 6204-something but there are lots of letter subtypes. Timken website didn't have an easy to find description of the letter codes.
Can source the alternator bearing from Toyota, which seems the same open backed one I removed. Or the whole pulley from the local part store, the locals have the alternator bearing listed but it's only 2-3$ more for the pulley and bearing..
Still haven't gotten around to the downpipe fab, maybe tomorrow : eyes crossed :
Merci! I opened those off your thread for tonights reading materials. I started reading some of these the other day and realized even the plug and play stuff is probably going to be a little fiddling and tweaking.

 Jan 1, 2017 | 04:41 PM