When you click on links to various merchants on this site and make a purchase, this can result in this site earning a commission. Affiliate programs and affiliations include, but are not limited to, the eBay Partner Network.
Below are referencing photos. First is when the head gasket was changed. Second is from yesterday. I'll put new one in when the budget allows new everything else for consumable ignition parts.
I'm colorblind so really not to be trusted to read plug color, much less compare one color to another, so never really put much effort to learn it. Plus the first time I couldn't tell orange from green and told my mentor he said not to bother to analyze them just put the new ones on..
How do these look, mostly concerned with the current image? I can at least see the build up around #2 electrode, and thinking #3 shouldn't be grey so far up the ground lead.
I knocked all the crud off with my brush and put them back in for the mean time.. actually looking I think I swapped them around will have to check them, when I cleaned them one lost its mark completely and the other just had the upper bit of a loop that could have been a 2 or 3 but I see now they are marked on opposite sides (ground leads mirrored)
Originally Posted by Co_94_PU
Cap and rotor change every time you change wire, or don't know when it was last done.. The usual.. it's "good practice" but mine are way over due and it's starting to complain but I expected that reusing the plugs after the head gasket let loose I didn't even clean them off so I'm just happy it still starts and runs.
Cringe... yeah I put these back in.. #4 spun loose at one point and has/had carbon all along the threads I never cleaned. #2 is the one that was venting steam into the cylinder.
I pulled #2 and 3 yesterday for a health check, and cleaned them up before I put them back in.
You could weld a second o2 bung into the exhaust and wire up a wide band o2 sensor specifically for monitoring afr. I am not familiar with the turbo trucks, however i do know that their little ecus and vafm are not very tunable, and the specifics you are looking for would be fairly difficult to obtain without a good way to actually monitor the afr.
Thanks again for your time and input ehatch,
A wide band logging sensor is for sure on my list of must have tools, I would be happy with just a simple non logging dash gauge just for piece of mind. An exhaust gas temperature sensor would be another option just to keep an eye on it, some would argue it's even more beneficial than the oxygen sensor to ensure a safe operating temperature in the combustion chamber.
The VAFM works on a gram scale (which I haven't wrapped my head around yet, but the more I research the more I am learning) and while the cog width doesn't allow for very fine tuning it is still adjustable.
One of the latest things I've learned is that the VAFM is a using a gramscale. If I'm recalling correctly it's grams per second, which is easily converted to the pounds per minute scale the turbocharger maps use. A turbocharger map is the "island" diagrams you see when looking at different specifications.
Another thing I learned from the recently acquired Toyota training document, is why the voltage output of the newer VAFM is reversed and how it is a better design. I haven't fully digested that part either. In short it is a more stable design and not as succeptible to flutter when the throttle plate angle changes rapidly. The flutter induces a voltage spike and is one of the primary reasons the RTE is triggering the fuel cut off (code 14), also why it is possible to easy into the throttle an climb way above the 7.5psi soft limit.
My opinion is that swapping out the Supra circuit board for the 22rte one is the wrong approach, a better option would be a voltage inverter to condition the signal to the RTE ECU.
Here is another tidbit, or two, regarding the VAFM idle speed by-pass screw. The screw sets the idle mixture, a tighter screw gives a richer idle mixture, and the housings are stamped with the adjustment done by "grey beards" at the factory. (Greybeards is a code word for Electrical engineer, specifically the older guys that show up the younger folk with thier wider experience, Ray is probably a Greybeard)
As a practical example. Earlier in the thread where I was questioning if mine had been altered. I could locate the stamped mark and reset it to the factory tuning. Locate the stamp, if it says "30" I would add it with 100, and know the top of the screw should be 13.0mm from the surface of the housing. Or 26, 126, 12.6mm from the housing face.
We/I talked about the VAFM cog wheel earlier, which effects the mid range. I need to wrap my head around that some more and reconcile it with the Wot mix which is I think a hardware/mechanical adjustment..
It's way past bed time and I need to finish laundry and clean up the flood, the darn washer decided to blow out it's discharge pipe when the drain froze up.
...
It's way past bed time and I need to finish laundry and clean up the flood, the darn washer decided to blow out it's discharge pipe when the drain froze up.
Good night!
Originally Posted by 92ehatch
I stated in not a turbo expert but i am an appliance expert! So if that thing gives you trouble i got answers there
well when worlds collide, hmpf!
My oldest kiddo installed it without the "specialist servicing tool"/SST
Bwahaha.. He didn't see any practicle use for the zip tie. It's a new fangled stubby accordion hose in an 80 year old house with two inch ID steel pipe rusted so much it's swelled down to about an inch. It just drains into the yard and ouside end was a little packed up from the snow, he says it's happened a few times. I jammed it in and nailed the ziptie to the wall. Will hunt for some scrap pvc and give it a downpipe extension so it will have to push it a lot harder if it wants to throw the pipe out.
Can't believe I'm so awake this soon took till about 2 to get the water all sucked up and had to wash the extra load of towels.
Make sure you fix that drain. If it likes to back up then it can create a nice syphon action causing your washer to fill forever and run out. If it's a newer washer it will fall with a long fill code.
Make sure you fix that drain. If it likes to back up then it can create a nice syphon action causing your washer to fill forever and run out. If it's a newer washer it will fall with a long fill code.
yes that sst is important
thank you sir!
Will get that discharge fixed. And make sure it vents properly also.
It's an lg wt4801cw, and I couldn't get it to run just "drain and spin" with the manuals instructions to " press power, press spin, press start".
If you've got input on that let me know cause Google was zero help, just people quoting the manual which I already tried.
Doing my daily inspection, ignition wire shredded, tips for seperating 30 year old pl
I'm still doing daily prestart checks of the coolant and oil levels, and found an issue in the ignition wiring.
I cracked/shattered another section of loom casing while checking fluids. This exposed a new section of the ignition sub harness, found three butt splices, on IGT(trigger), IGF(feedback) and NE(engine speed/crank position) as well as a small section of exposed and frayed wire. I think it's on the NE signal black red wire, but it's blowing steady at 15mph and under 30� out and might have been one of the others. I just closed it up and took #2's Jeep to run to the store instead.
I would like to rebuild the engine harness from end to end, but it's a big and expensive task. Inventory wire colors, wire gauges, source connectors some of which would be hard to find new or new old stock, new coil loom cover, new sheathing (the grey yakuzi stuff that keeps disentigrating), then cut open and use the old harness to fabricate a looming board.
Tip for disconnecting plugs..
The round sealed connectors with the o-ring tend to get stuck and bind due to dust/dirt. This makes it more likely to break the locking tab, or worse loose your grip ans slip off which then can snag the wires and pull them from the terminals or damage the rear seal.
Take a pair of locking pliers. In the locked position cinch them to the plug on the flat grip area just finger tight on the adjustment screw one on each side(make, female) of the plug. You can use a slight back and forth twisting motion to free them up. If they are really cruddy looking I will spray some silicone into the gap and wedge the locking tab open with a screwdriver, then torque them back and forth untill the lube runs most of the gunk out. They should come apart much easier now if not add more lube and repeat until it's not dripping mud.
Just got back from picking up parts from the Toyota parts counter.
Two days early!
New blower resistor and PCV valve.
Resistor coils are much different from the parts store junk I pulled out. Different metal which is thinner in the OEM one.
PCV valve, soo much better. Metal housing, vs injection molded junk with flashing to cause leaks(I sanded it down but it still leaked without a super tight clamp) and the best part it actually seals to reverse pressure, no more boost leak shoving oil out the vent line into the intake!
Now just need to get them installed when the sun comes back.
Your plugs look like they are good and clean and is what I would want to see. I have never really gotten to work on a turbo truck and have only seen a couple for a few moments so not sure about what all is on them. Never thought about a drain freezing on a washer but that would cause a nice flood. For as cold as it has gotten around here I am surprised we have not had the same issue. The OEM resistors are much better quality. I have had the original resistors so worn that they turn to dust in your hands. Not sure what kept them working at times.
I was going thru some threads and Admin is working on the posting issues that was brought up a few days ago. Not sure what the results are at this time.
Last edited by Terrys87; Jan 26, 2017 at 02:25 AM.
Your plugs look like they are good and clean and is what I would want to see. I have never really gotten to work on a turbo truck and have only seen a couple for a few moments so not sure about what all is on them. Never thought about a drain freezing on a washer but that would cause a nice flood. For as cold as it has gotten around here I am surprised we have not had the same issue. The OEM resistors are much better quality. I have had the original resistors so worn that they turn to dust in your hands. Not sure what kept them working at times.
I was going thru some threads and Admin is working on the posting issues that was brought up a few days ago. Not sure what the results are at this time.
Hi Terry, thanks for the update and extra set of eyes on the spark plugs. I was browsing for images of some things yesterday and got to watch you paint some of Misty's toy again, it looks so great and makes me want to get on to making mine look pretty again very much. Have you done any metallic ones I might have not seen or recall, either a color change or respray. It is a daunting task it seems and has me a bit trepid. Mine is supposed to be the metallic grey, and I go back and forth over staying with it.
The turbocharger isn't as complicated, I think, as it seems at first. Of course it adds some complications the others don't have, it's one more system to go over obviously and you need to be more vigilant for leaks like that hose clamp on the throttle body I almost always forget to cinch up. If I am not paying attention it will remind me by pushing off and I've learned to always carry a basic tool kit of ratchets and screwdrivers even for just going around the block. It has been a great foray into new things.. I probably never would have spent so much time looking into the electronics and how the ECU does it's thing. For example of some interesting things, I've commonly thought all 22r-e were the same EFI and learned there are subtle difference between the "EFI" the pre 86 and a "TCCS EFI". They continued to produce both types side by side through the years.
PS it is fixed! Will try to get these photos sorted and put in the correct posts. Thanks all.
Wow, it took me two days to read all eight pages and look at all the pics...
It was very informative and enlightening! I recently picked up an 87' 4runner with a 22ret\5spd\dual cases\sas with all the tube bumpers and rock rails, rolling on some very rock rashed 35 Swampers. The PO had removed the rear case and started disassembling it for a re-seal. Then just lost interest...
I will definitely be in this thread from time to time utilizing as much of the info you have painstakingly posted.
Thank you!
most welcome, sorry I ramble so much about random stuff that piques my interest.
About your new toy, do you know what turbo it has and is it still using the Toyota computers?
Ok so the tech data in the last image, there is another image that goes with that showing the years of production. For the tccs and efi versions and where they overlap.. Which motors and such, currently only interested in the 22r variations but all engines were listed, as the above image.
Interesting bits are the "simultaneously" injected, so I was correct and that is just one place it's confirmed from many... Neener neener who ever wanted to argue with me (lol its usually scope and he is usually right when he catches my mistakes, hence the neener)
The RTE CPU will have separate drivers for each channel, and no splice tie in the harness. Based on the enrichment programing and greater fuel needs, separate drivers are required. I'll need to dig into and out exactly how those work and interact and I'll try to post a summary.
In short it's relative to my "smells like a lawn mower" problem and I think I'm going to have to clean or replace my engine coolant sensor and run a ground strap from the cylinder head to firewall since I was missing that one. Maybe just to be safe and "belt and suspenders" run another to the hot side ground also. I was thinking to run a third to the sensor ground(intake strap) and put them all together on the firewall but I don't want anything tied to the sensor earth especially the ignition ground.
On the color change, it is just as easy as doing a paint job with the same color on the exterior. When I paint a truck or 4Runner, I paint the door jams at the same time without removing the doors. On a 4Runner I completely strip the interior up to the front seats and mask off behind the rear seats. I paint the top seperately. The only real pain in the rear is painting the engine bay. I remove all of the components in the engine bay and the engine itself.
What is so difficult about the engine bay besides removing everything is that you spend alot of time sanding all of the odd ball shapes from the fire wall to the core support. Then when it comes to painting inside the engine bay, I have to get inside the engine bay and get as much as I can without bumping into anything and then you still have to paint by reaching over the fenders or reaching over the core support.
You could leave it the same color or paint it black, but I like to hide all evidence that it was any other color. Without removing all of the components, it is really hard not to get everything covered and just by moving a wire loom or hard line, you will be able to see a different color. As far as the exterior, it is the same as any other paint job. I can post how I do a paint job with pics if you need me too.
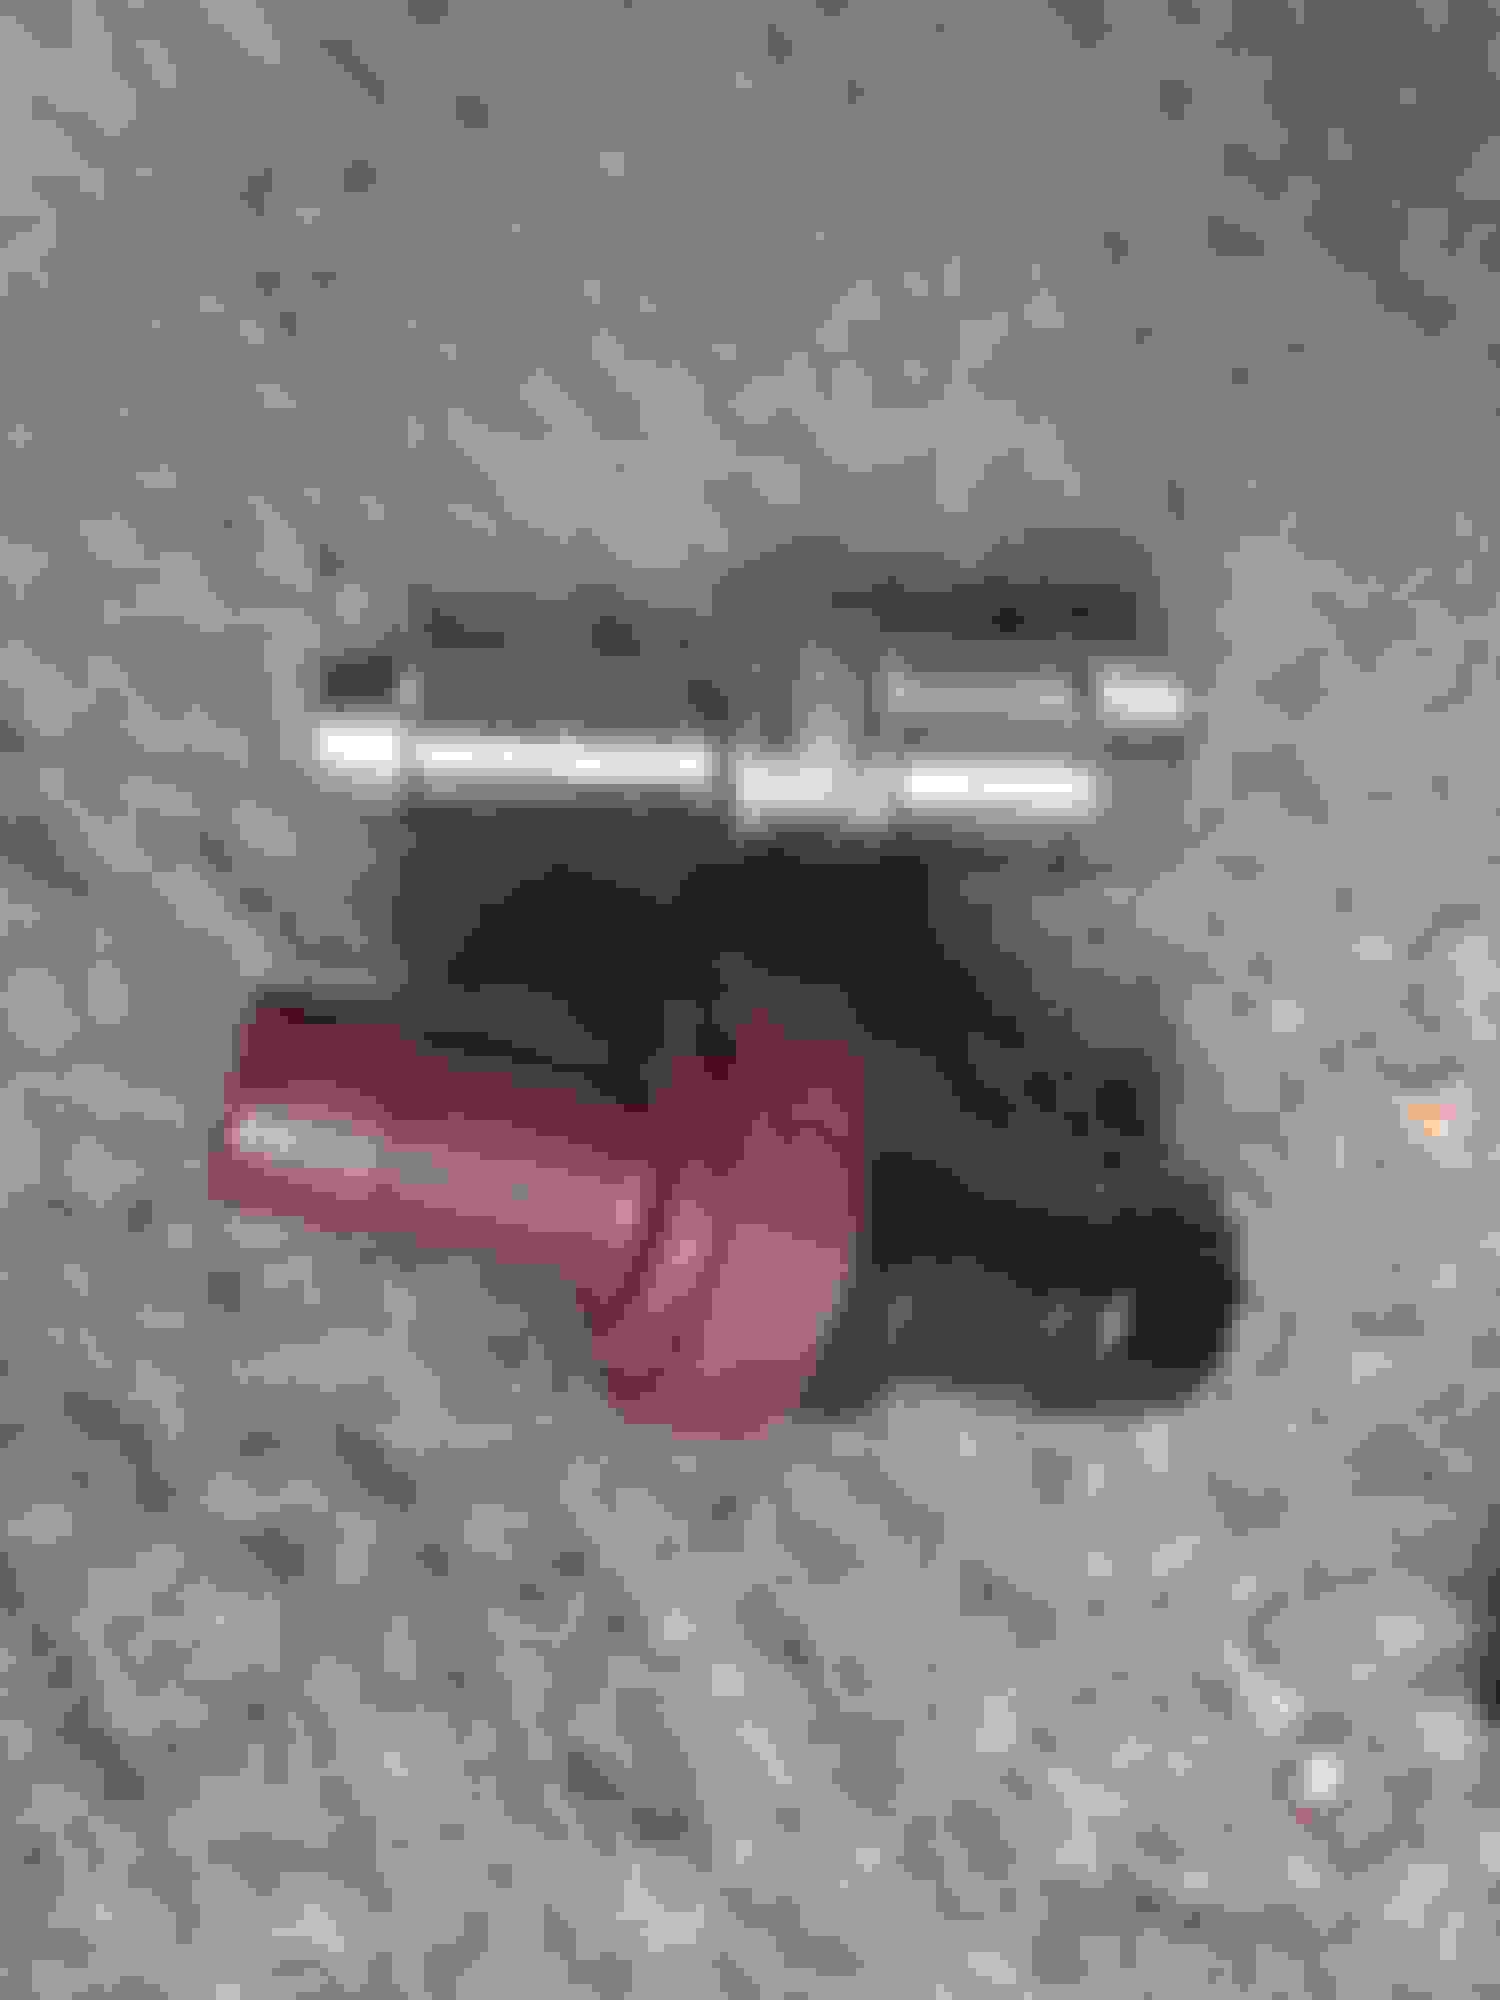
Here is an image of the thermostat housing mounted sensor on my '87 22re, mt, SR5 4Runner with AC.
Note that there is only 1 sensor there, I guess some models have 2, and of course, some have none.
The single wire appears to be green with black stripe. It is my understanding that this is the AC hi temp cutoff.
thanks.
That's what I expected to see, the weather sealed round plug and routes from the engine harness between the plenum and head.
Still confused by its usage however. Maybe they changed that up some. The 88 book says it's only on 4wd automatics equipped with AC if I read that right..
Looking now I see the green-black from a thermal switch, TSW signal in the diagram note #7 on that ECU pin map. Earlier in the book it says it's E�� and a sensor ground. Clear as mud like normal.
That IS the plug I was probing when I thought I had battery interference at least and seems about where I was over next to the tranny signals.
Will wait and see what RAD finds in his print book for 86, but I'm pretty confident we can call that the TSW for 4wd models.
And it looks like I am going to have to source me a printed book for my sanity's sake if nothing else. I like print books butnhaye getting them dirty. At least gorrila glass I can wash. Ha
..clipped and edit
I paint the top seperately.
The only real pain in the rear is painting the engine bay. I remove all of the components in the engine bay and the engine itself.
What is so difficult about the engine bay besides removing everything is that you spend alot of time sanding all of the odd ball shapes from the fire wall to the core support. Then when it comes to painting inside the engine bay, I have to get inside the engine bay and get as much as I can without bumping into anything and then you still have to paint by reaching over the fenders or reaching over the core support.
You could leave it the same color or paint it black, but I like to hide all evidence that it was any other color. Without removing all of the components, it is really hard not to get everything covered and just by moving a wire loom or hard line, you will be able to see a different color.
As far as the exterior, it is the same as any other paint job. I can post how I do a paint job with pics if you need me too.
I will probably take you up on those photos and a walk through, go a head and hold off till I'm sure it's getting more than rattle canned, and not sent to a body shop but if it goes to a body shop it'll probably just be for the spray and will get most of the preparations at home to save labor costs. So we'll need pointers and advise.
You need one of those fancy rotisserie rigs, rather you deserve one for all the toys you save.
Oh my poor top, its not evident in the photos but it's a really bad spray job of somekind of bedliner or other textured goop. I noticed the original black somewhere the other day and flakes off some of the silver stuff with a finger nail to confirm its junk.
A friend of mine says I should cut a proper sin roof in the rear(lol typo intended she wants to be able to hang out of it), and I've been wondering how a 2nd gen or later retractable one would fit up. Of course I feel a little bad doing so but with all the crawler stubby conversions there seem to be quite a few spares around and at some point mine had a rack that was just screwed into it with self tappers it has holes on the outside and none on the inside.

 Jan 24, 2017 | 09:29 AM


 who ever wanted to argue with me (lol its usually scope and he is usually right when he catches my mistakes, hence the neener)


