
Liveoffroad's '84 4runner build
 Aug 20, 2014 | 06:38 AM
#301
Thread Starter
Registered User
Joined: Mar 2008
Posts: 705
Likes: 19
From: Colorado
haha good to see you in this kneck of the woods. i'll be sure to do a detailed writeup once i get everything together
Aug 20, 2014 | 06:48 AM
#302
Thread Starter
Registered User
Joined: Mar 2008
Posts: 705
Likes: 19
From: Colorado
thanks man, i try to keep this updated as much as i can so people don't make the same mistakes haha. the budbuilt took almost 2 months to get to my door. i'm not sure what their deal was, but i suspect they don't have a lot of demand for the single case crossmembers so i bet that had something to do with it. either way, i was disappointed in their service. product seems well built though
Aug 21, 2014 | 06:20 AM
#303
Thread Starter
Registered User
Joined: Mar 2008
Posts: 705
Likes: 19
From: Colorado
Progress
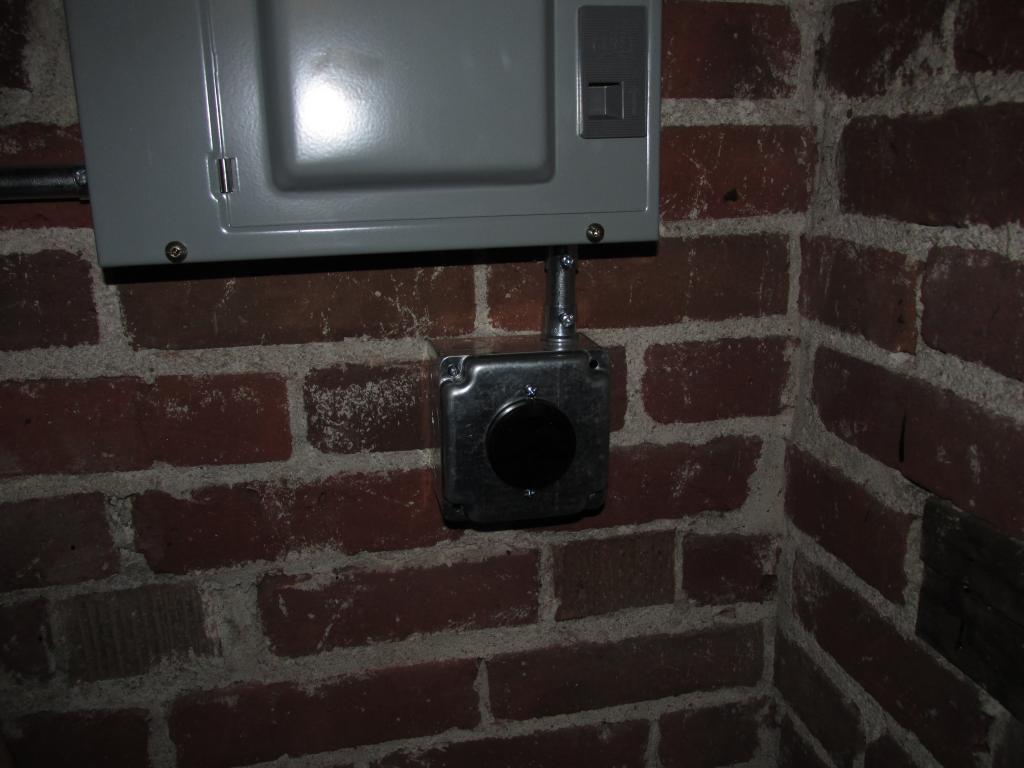
over the weekend the electrician finished up my garage. i asked the landlord for a 20 amp plug to run my tools and she ended up having to run all new wiring from the house, so i got 3 plugs, a 240V plug for my welder, and even put a light over my workbench!
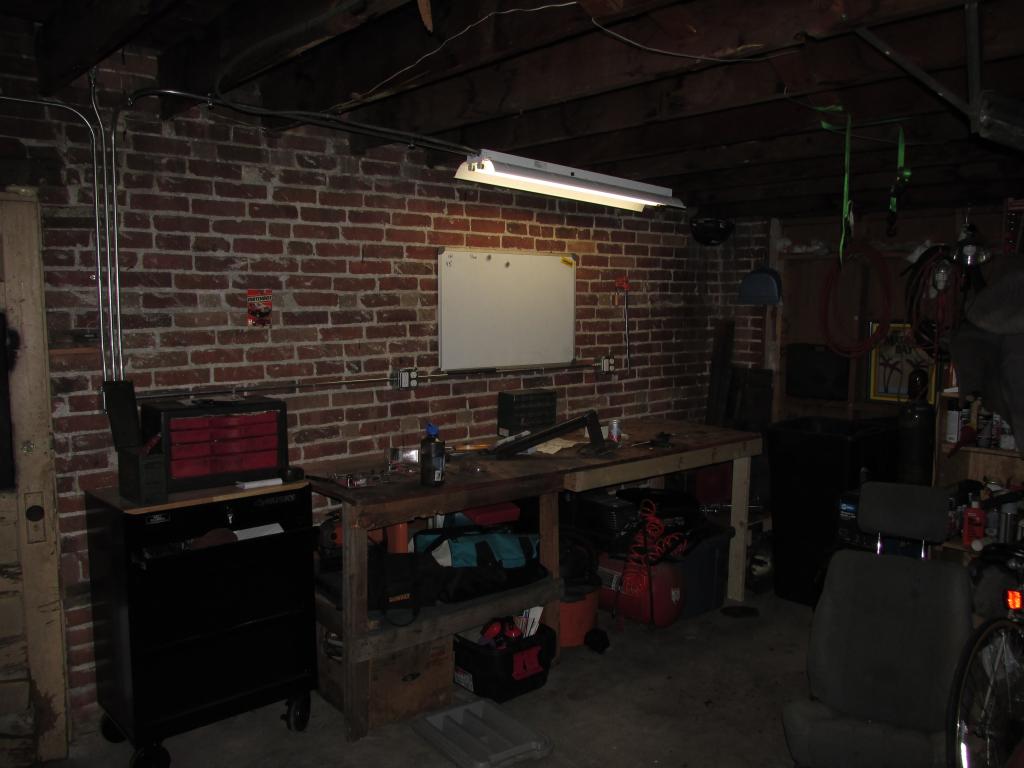
so i finally organized all my junk and got to work
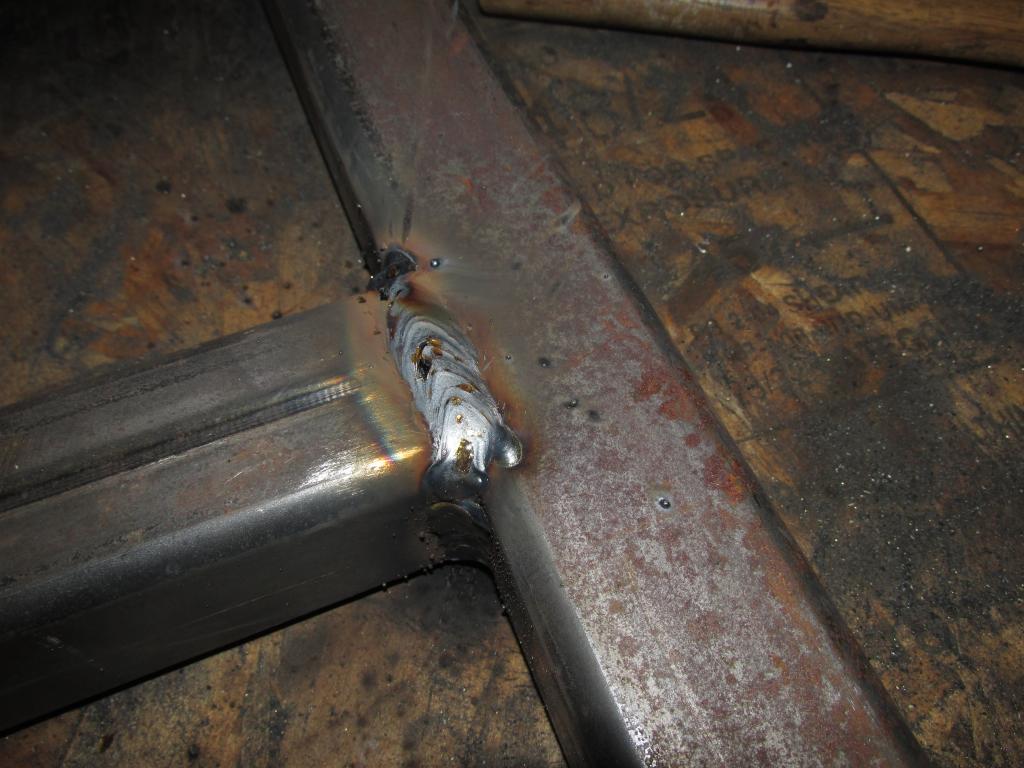
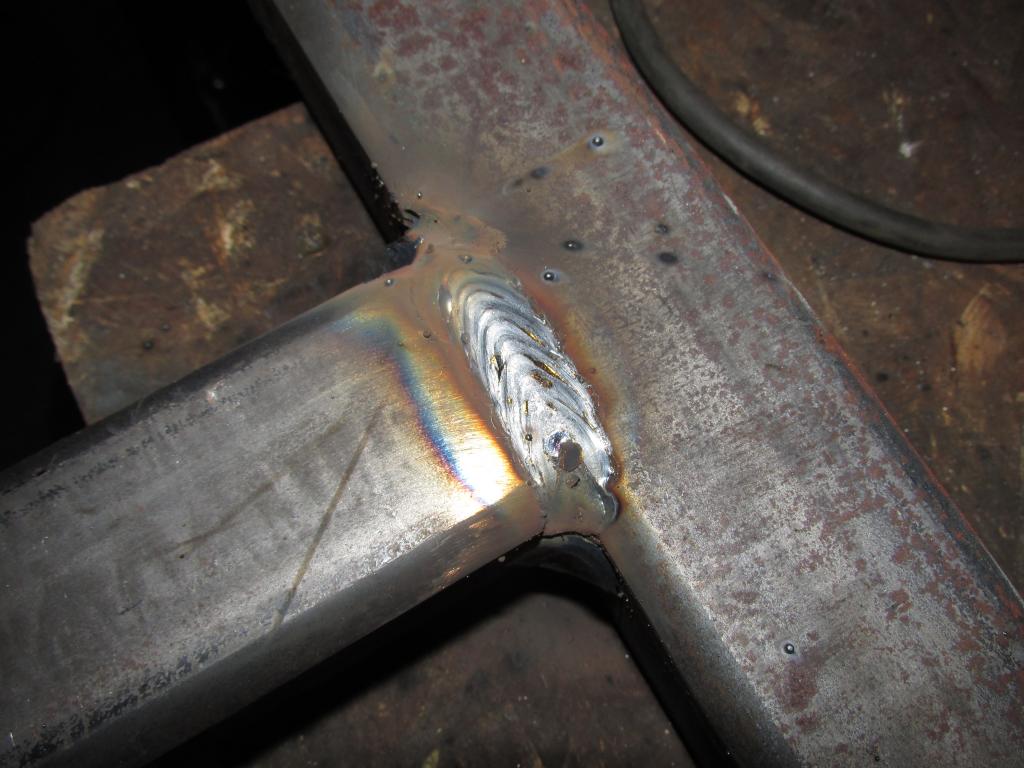
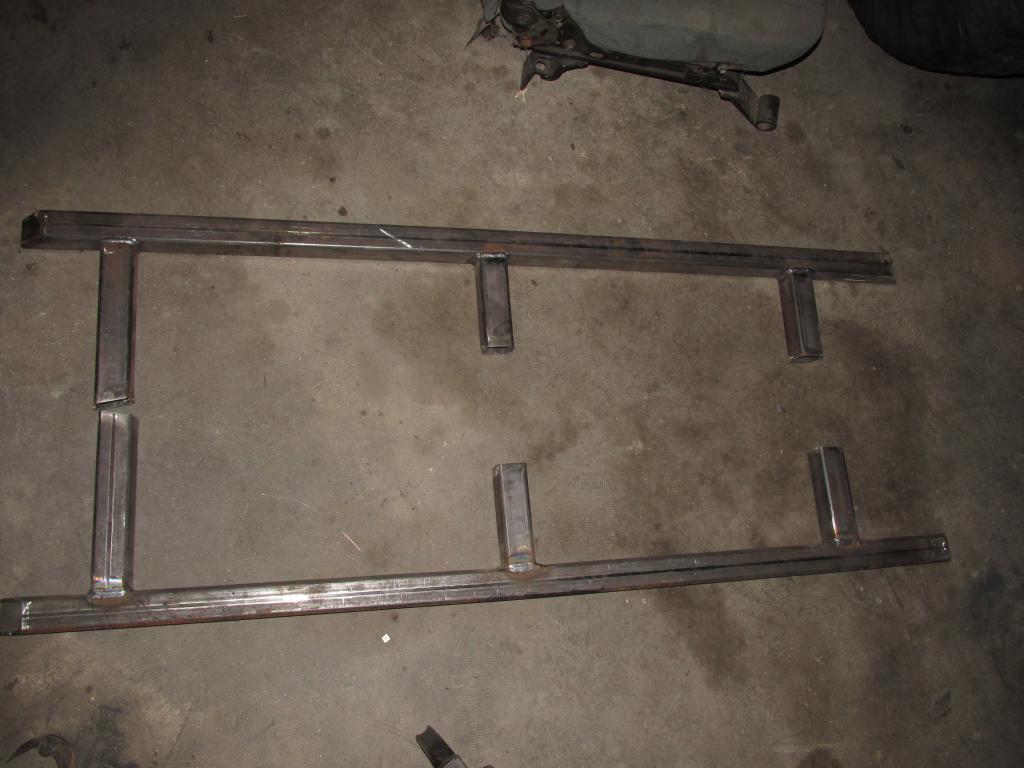
sliders are 90% done, still need to sand and paint them.


so i finally organized all my junk and got to work


sliders are 90% done, still need to sand and paint them.
Last edited by liveoffroad; Aug 21, 2014 at 11:05 AM.
Aug 21, 2014 | 06:32 AM
#304
Registered User
Joined: Aug 2014
Posts: 143
Likes: 0
From: Reno/Elko, Nevada
over the weekend the electrician finished up my garage. i asked the landlord for a 20 amp plug to run my tools and she ended up paying for all new wiring from the house, and even put a light over my workbench!


so i finally organized all my junk and got to work


sliders are 90% done, still need to sand and paint them.
so i finally organized all my junk and got to work
sliders are 90% done, still need to sand and paint them.
Do you plan on notching your rockers or do you have a body lift so the 2" square tubing will clear it?
Aug 21, 2014 | 06:42 AM
#305
Thread Starter
Registered User
Joined: Mar 2008
Posts: 705
Likes: 19
From: Colorado
Aug 21, 2014 | 07:52 AM
#306
Registered User
Joined: Aug 2014
Posts: 143
Likes: 0
From: Reno/Elko, Nevada
Looks like I'll be doing the same with mine, thought about notching the supports but don't wanna weaken them any I suppose. But I don't have a body lift so I'll be hacking more away than I really want to.
The brick wall in your shop looks awesome, like there should be a bar there.
The brick wall in your shop looks awesome, like there should be a bar there.
Aug 21, 2014 | 10:02 AM
#307
That's cool that you got your garage all wired up! Having those extra outlets and good lighting over your work bench will make things a lot easier. That's something I need to do in my carport. My uncle gave me a 240V stick welder, I need to repurpose an old hot tub circuit that's not being used anymore for a welding outlet, and add more lighting and at least one 20A outlet for my tools. I really need to build a work bench too, lol, been working off the back of my trailer project for too long now, lol
Can't wait to see the sliders finished!
Can't wait to see the sliders finished!
Last edited by rustED; Aug 21, 2014 at 10:05 AM.
Aug 22, 2014 | 07:10 AM
#308
Thread Starter
Registered User
Joined: Mar 2008
Posts: 705
Likes: 19
From: Colorado


 Aug 22, 2014 | 07:11 AM
#309
Thread Starter
Registered User
Joined: Mar 2008
Posts: 705
Likes: 19
From: Colorado
That's cool that you got your garage all wired up! Having those extra outlets and good lighting over your work bench will make things a lot easier. That's something I need to do in my carport. My uncle gave me a 240V stick welder, I need to repurpose an old hot tub circuit that's not being used anymore for a welding outlet, and add more lighting and at least one 20A outlet for my tools. I really need to build a work bench too, lol, been working off the back of my trailer project for too long now, lol
Can't wait to see the sliders finished!
Can't wait to see the sliders finished!

 Aug 25, 2014 | 08:23 AM
#312
Thread Starter
Registered User
Joined: Mar 2008
Posts: 705
Likes: 19
From: Colorado
Aug 26, 2014 | 07:21 AM
#313
Thread Starter
Registered User
Joined: Mar 2008
Posts: 705
Likes: 19
From: Colorado
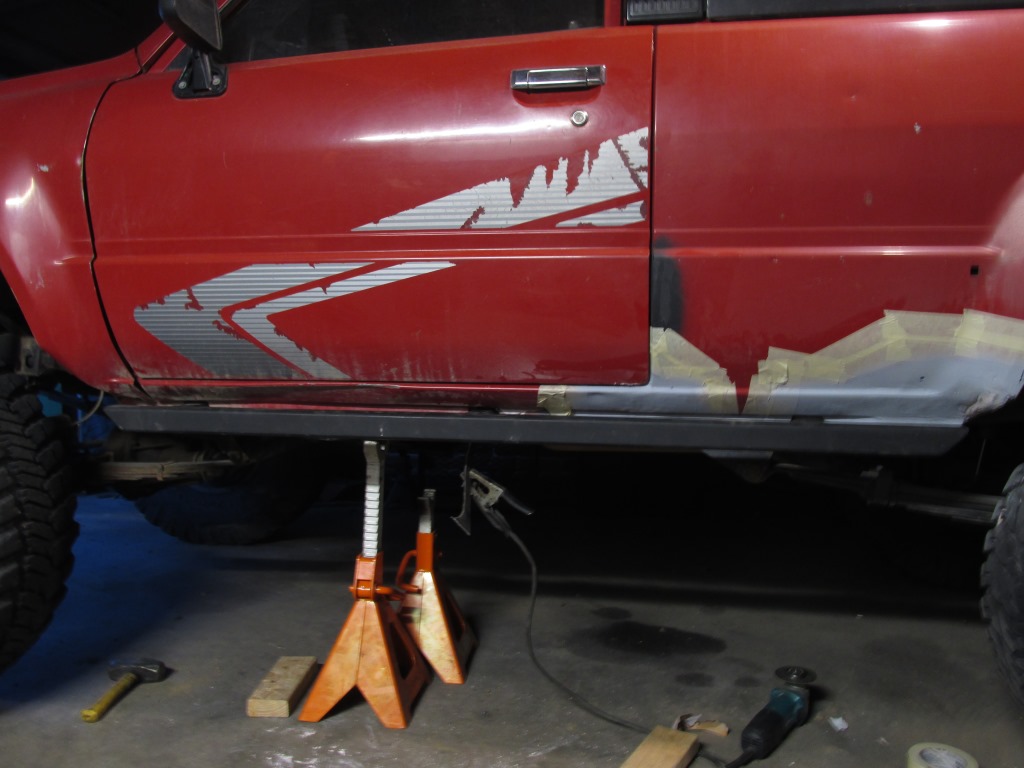
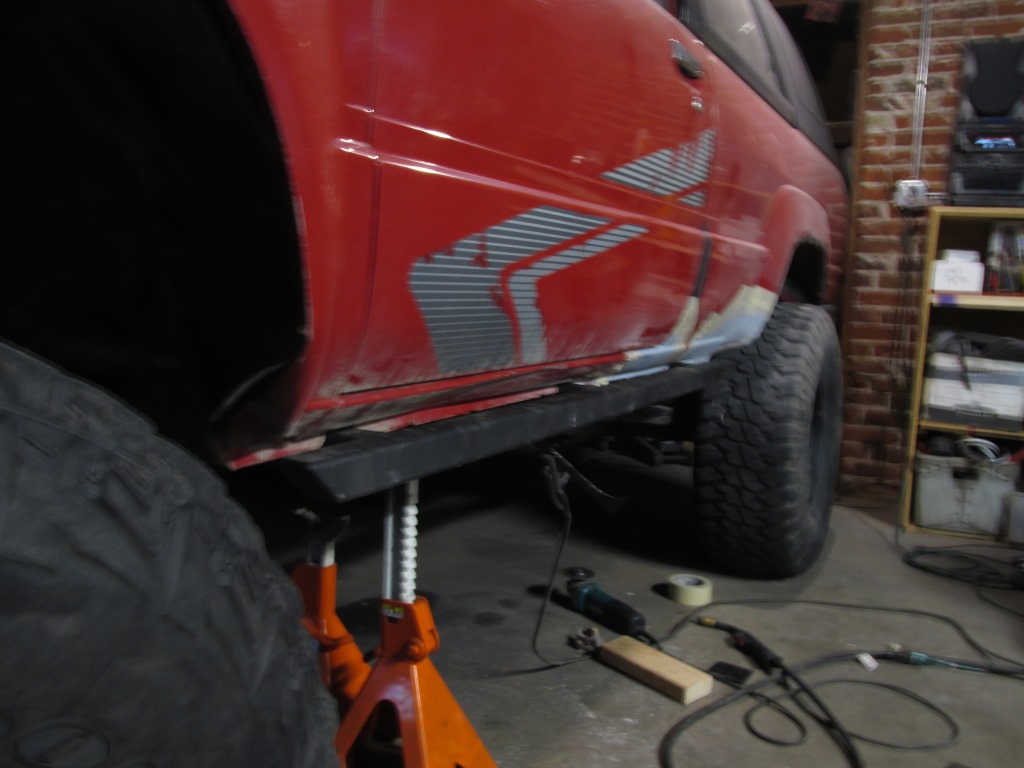
well i was expecting to get my sliders on last night but i ran into a snag, i couldn't bring myself to weld them on with this under the trim cap
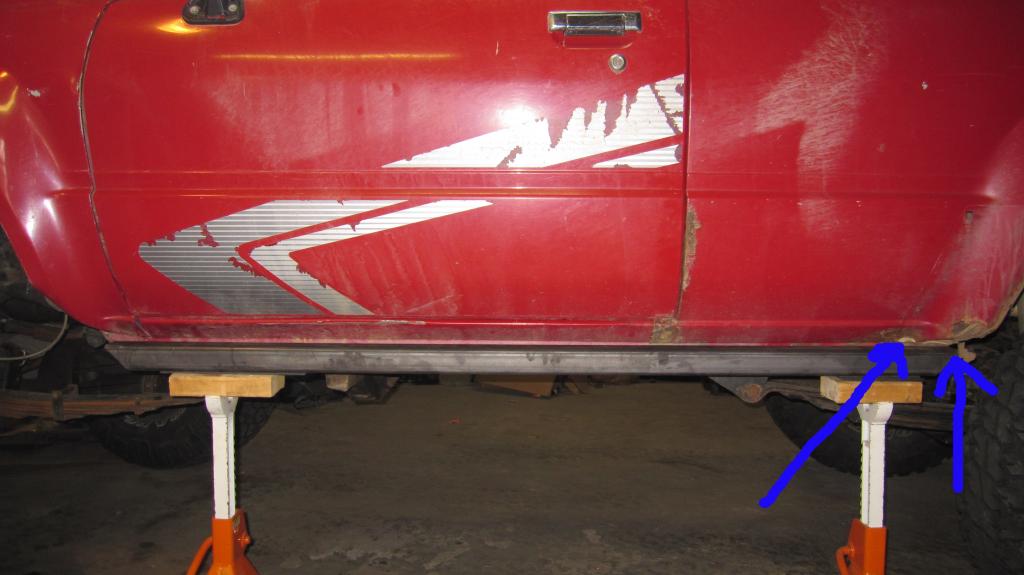
It will be nearly impossible to access this area after the sliders are welded on, so i figured i need to do it right and ended up spending most of the evening cutting out rust and welding in new metal. its amazing how bad these things rust right in this area, i ran across some speaker wire poking out of the hole haha

It will be nearly impossible to access this area after the sliders are welded on, so i figured i need to do it right and ended up spending most of the evening cutting out rust and welding in new metal. its amazing how bad these things rust right in this area, i ran across some speaker wire poking out of the hole haha
Last edited by liveoffroad; Aug 26, 2014 at 07:24 AM.
Aug 26, 2014 | 09:31 AM
#314
I'm scared of what I might find if i take those trim prices off, its either gonna be nice shiny paint under a thin film of dirt, or a giant rust hole, lol. I've been contemplating doing a DIY bed liner on the lower half following the body lines up around the fender wells. I have a few color sample chips from Monsta-liner, they have a shade of red that looks like it would match pretty close, can't decide on whether to go with the red or just use black
That sucks that you have to do body work before you can finish up your sliders, but i look forward to seeing how it all turns out!
That sucks that you have to do body work before you can finish up your sliders, but i look forward to seeing how it all turns out!
Last edited by rustED; Aug 26, 2014 at 09:32 AM.
Aug 26, 2014 | 11:35 AM
#315
Registered User
Joined: Aug 2014
Posts: 143
Likes: 0
From: Reno/Elko, Nevada
That's no fun, my 85 doesn't have those caps anymore and doesn't look to have rust there, only areas I have found it is in the front of the drivers side wheel well in the cargo area and in the front fender well area. If I decide to fix the front rust I'm just going to go ahead and push that section of the body back so there will be no rubbing issues. Should probably get the thing running before I worry about that stuff though haha.
Aug 28, 2014 | 06:48 AM
#316
Thread Starter
Registered User
Joined: Mar 2008
Posts: 705
Likes: 19
From: Colorado
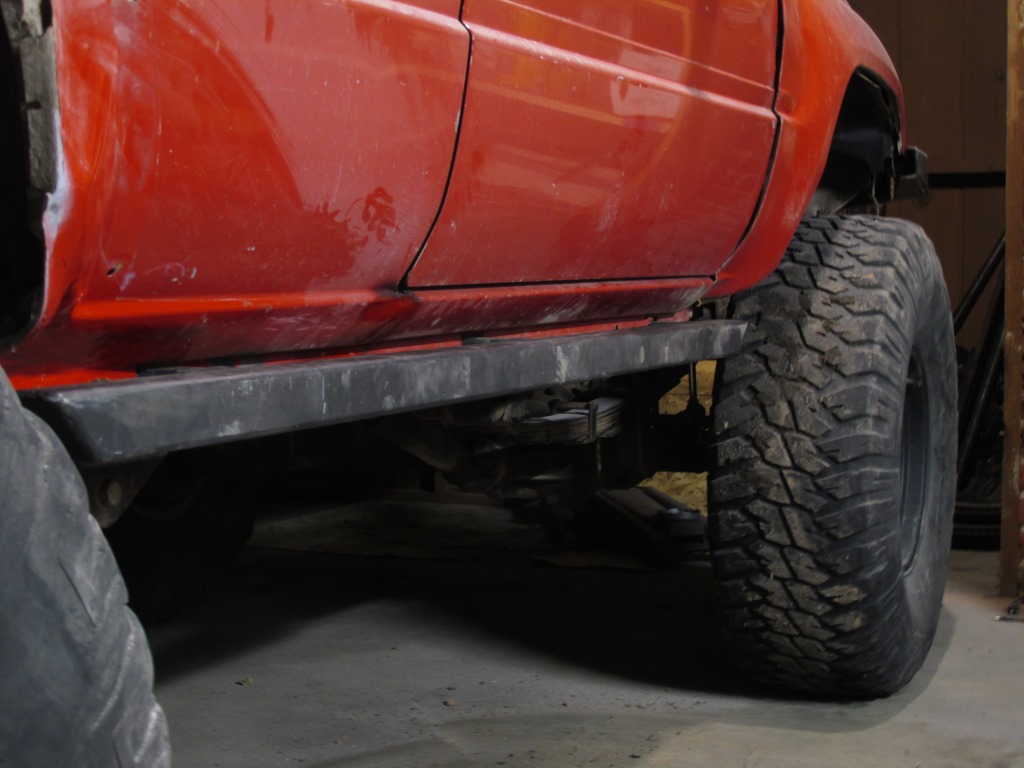
done!
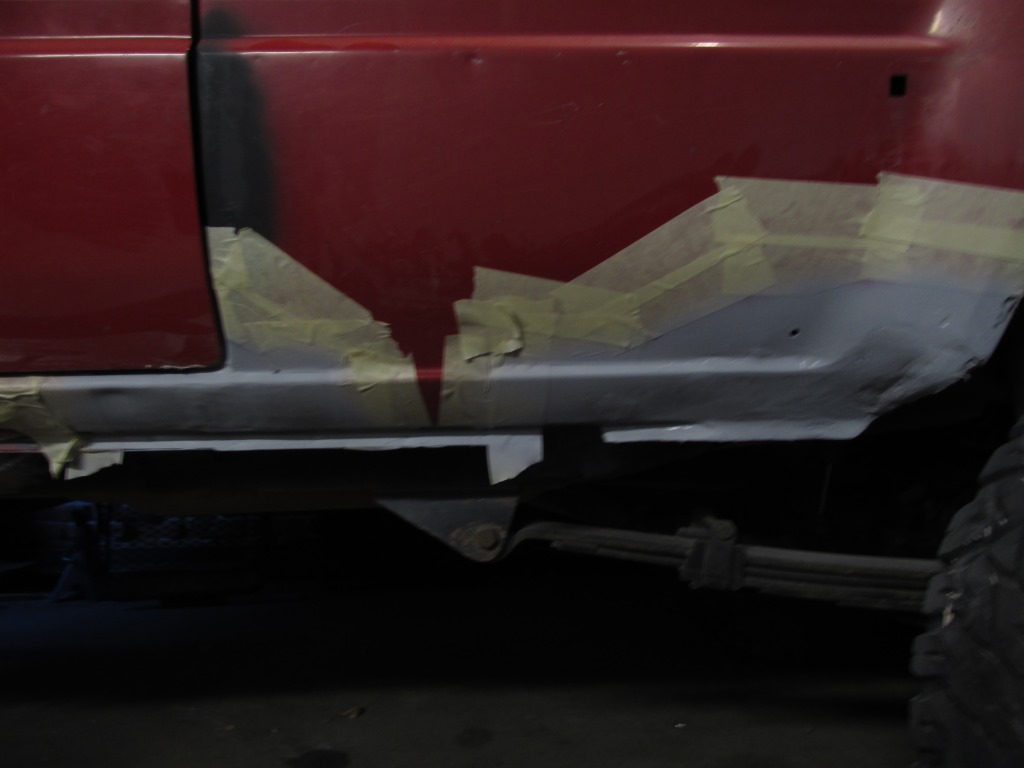
finished up the sliders last night. man i hate body work! spent most of my time repairing rust, and finally got to welding on the sliders at about 9 pm. the body work actually turned out ok though...keep in mind i'm not a body guy and i'm not building a show truck, just want it to look decent. I cut out all the rust i could get to, then tacked in sheetmetal and bondo'd over it all. i wasnt too concerned with the body lines as they meet the rear fender since that area will be covered with the trim piece. pics:

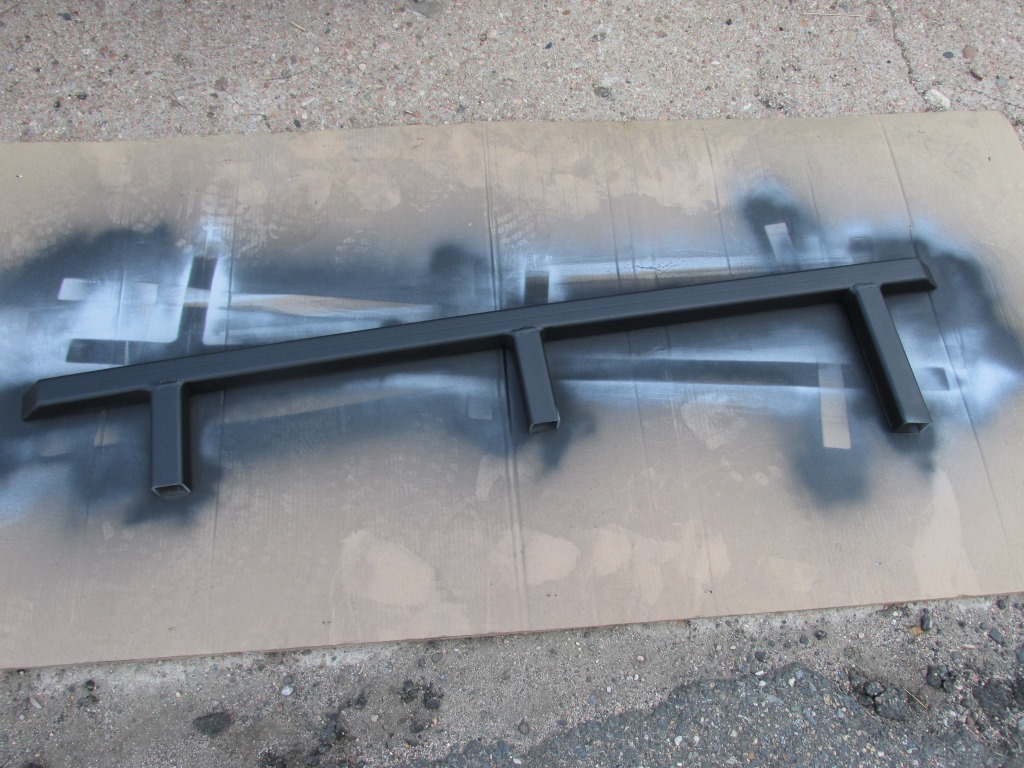
and the other side, all finished and painted:
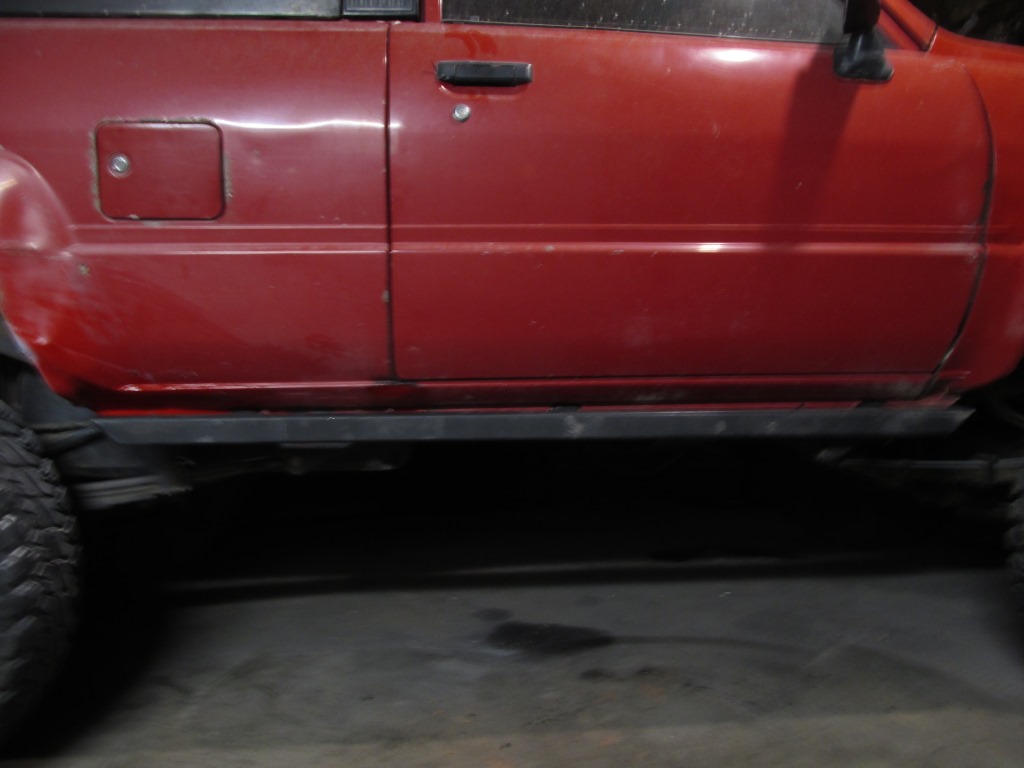
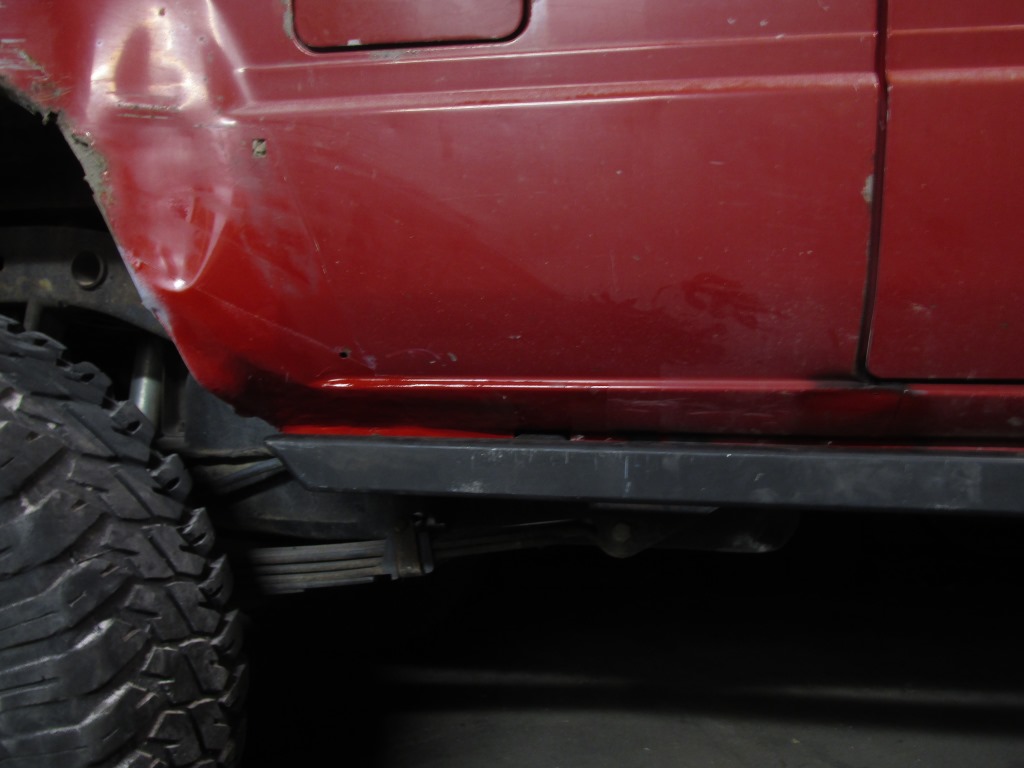


and the other side, all finished and painted:


Last edited by liveoffroad; Aug 28, 2014 at 06:50 AM.
Aug 28, 2014 | 08:38 AM
#317
Registered User


Joined: May 2005
Posts: 1,979
Likes: 233
From: S. FL
I'd say that's a pretty good job on the bodywork! What color spray paint did you use? I need to do a little body work on mine under the fiberglass topper on pass side and I'm pretty sure our trucks are same color.


