84-85 Trucks & 4Runners (Build-Up Section) Post your build-ups here

85sr5excab's 85 sr5 ex cab build

Thread Tools
 
Search this Thread
 
Old Jun 21, 2013 | 06:56 AM
  #1  
85sr5excab's Avatar
Thread Starter
Registered User
 
Joined: Sep 2012
Posts: 618
Likes: 0
From: iowa
Talking 85sr5excab's 85 sr5 ex cab build

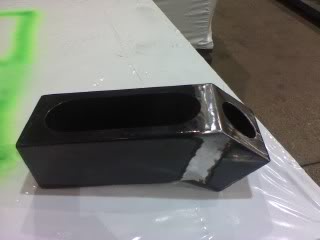
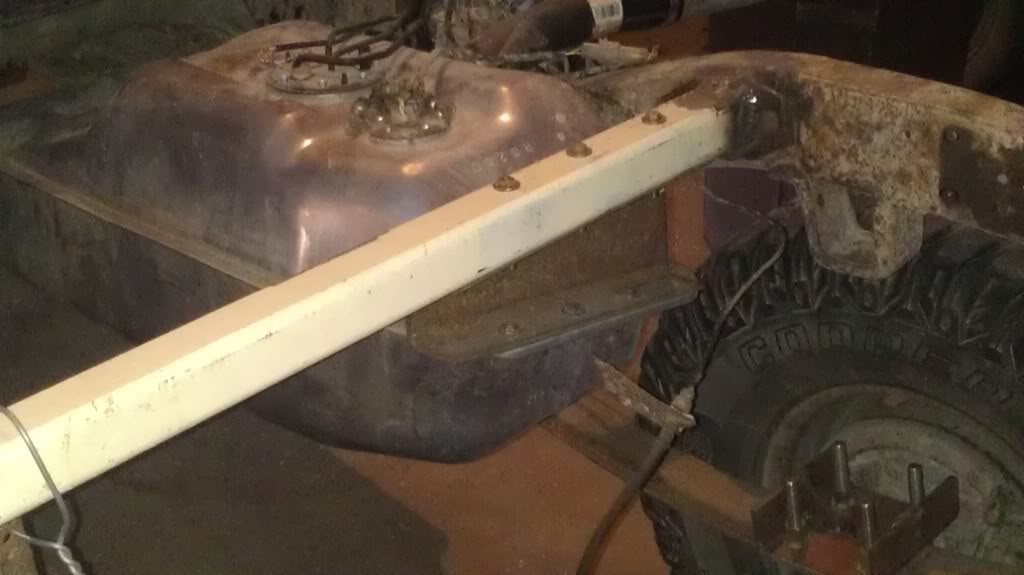
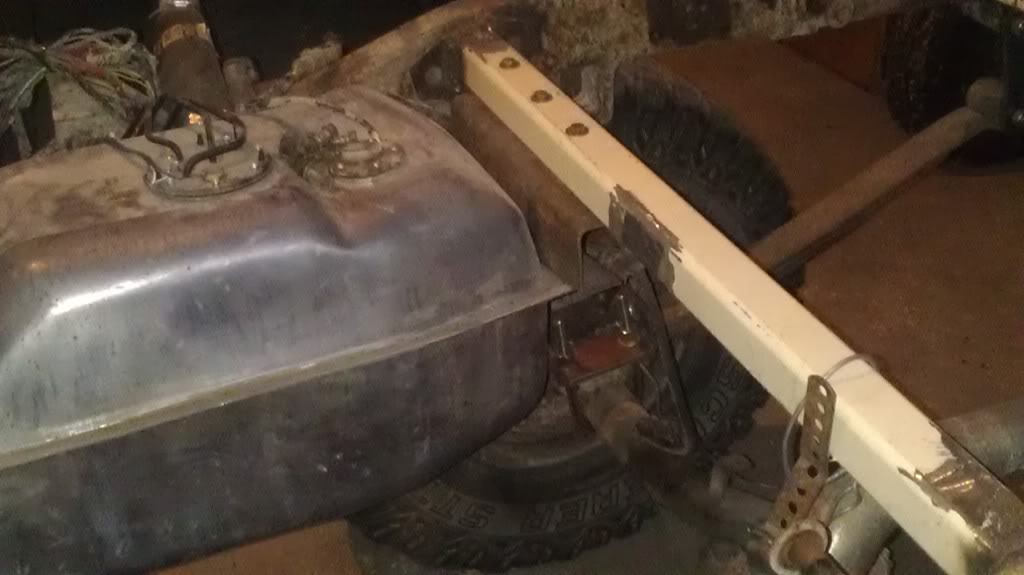
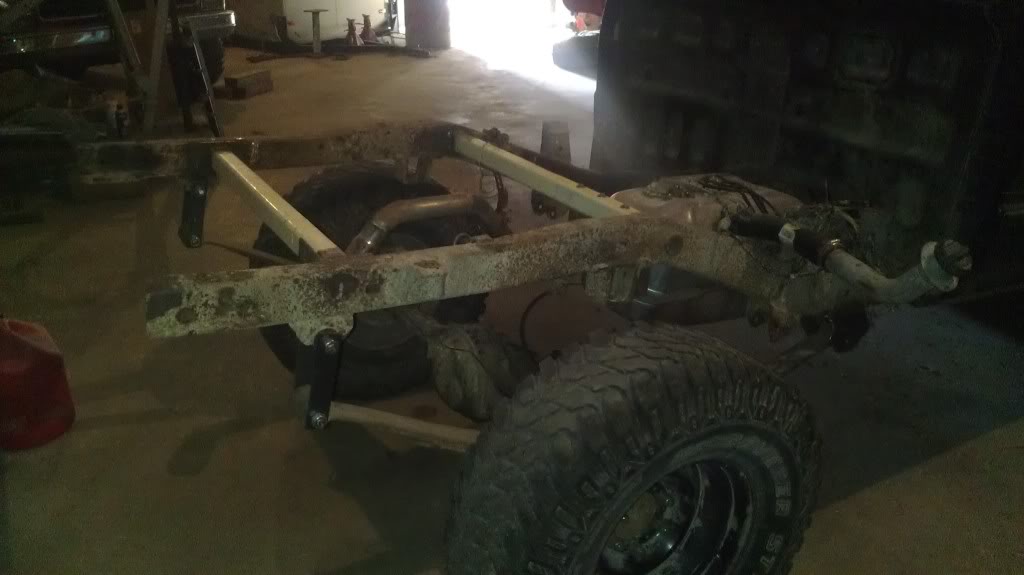
Well I've been putting this off for too long. As the title says, I have an 85 sr5 ex cab Yota that I bought approx. 7 years ago then sold a year or so later and re-acquired 2 years ago. Unfortunately the buddy I bought it back from didn't treat it so well. He dd it for a year and then it became his mudder/wood hauler/dumpster. Luckily when he was ready to get rid of it he gave me first dibs (which he promised to do when I sold it to him). And I picked it back up for next to nothing. I've been trying to work on it as much as time and money allow which isn't much. I also have an 88 Yota that was originally going to be my project truck but became my parts truck when I got my 85 back. So far I have patched the rear frame at the front spring mounts, swapped the new gas tank from the 88, put some 56" ford springs in the rear, and I have assembled my ruf packs for the front. For now I want to get my ruf packs installed, get the flatbed I made for it bolted on, figure out what I need for shocks (front and rear), high steer, rebuild the front knuckles, and a few other things but for now i'll just post some pics.
Reply
Old Jun 21, 2013 | 07:01 AM
  #2  
85sr5excab's Avatar
Thread Starter
Registered User
 
Joined: Sep 2012
Posts: 618
Likes: 0
From: iowa
Name:  0402011209_zps4aaf1ece.jpg
Views: 113
Size:  145.7 KB
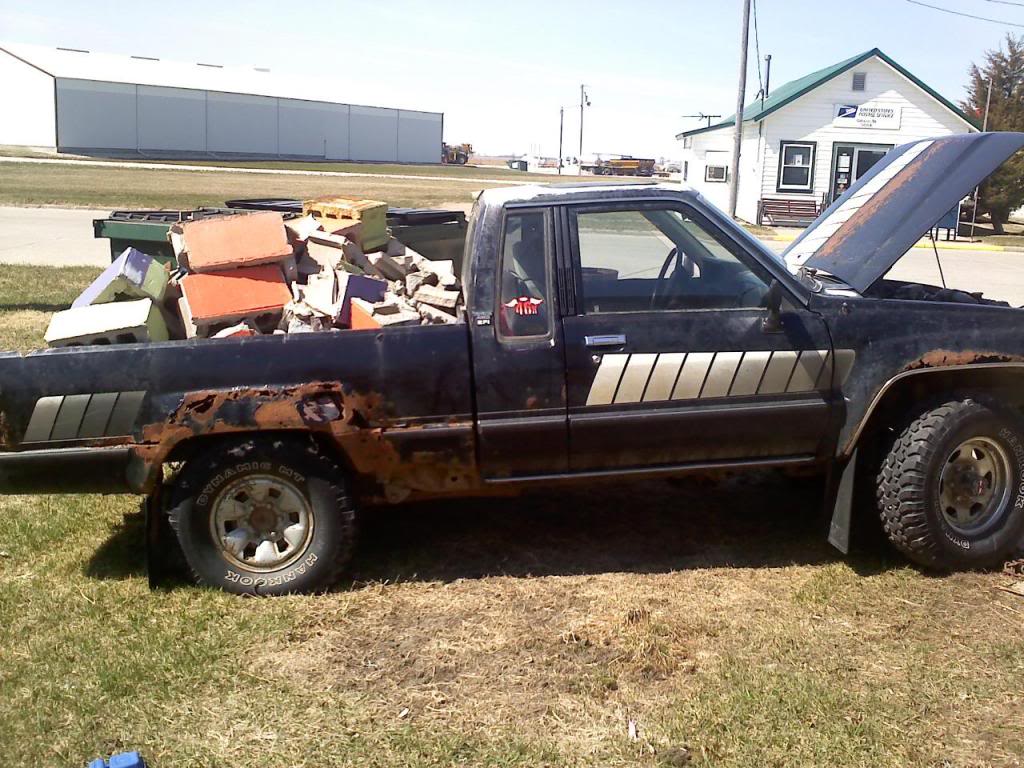
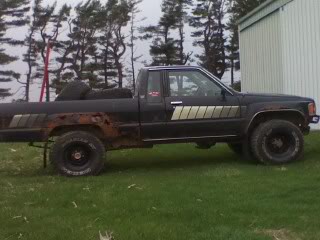
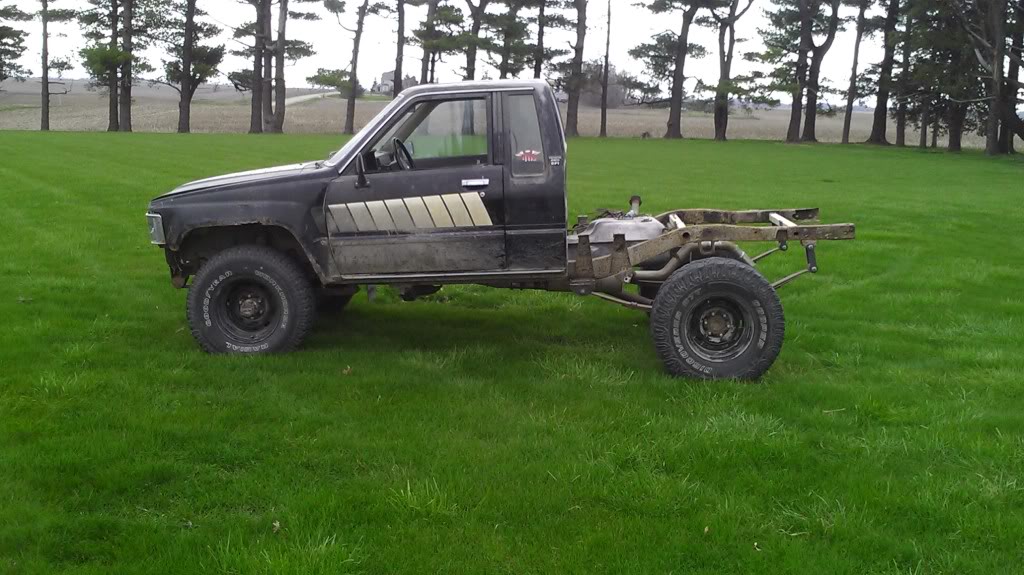
This is what I saw when I went to pick it up 
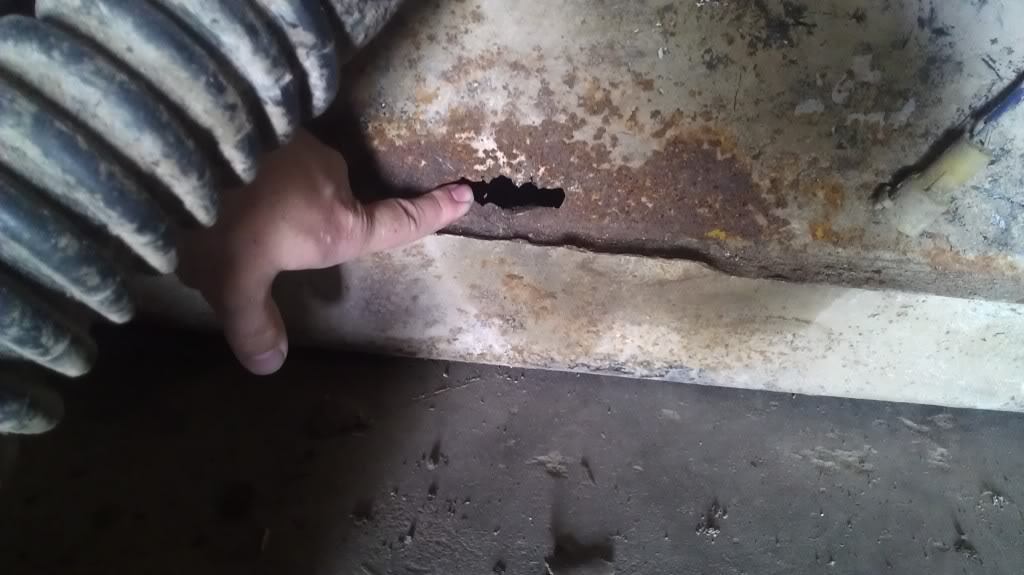
I had to unload all the junk in the back into another truck b4 I could drive it home. And let me tell ya it was an interesting drive. It would spit and sputter intermittently. Later I found out that the gas tank had a hole in it, the pass front brake line was leaking, and the e-brake was stuck on.
Reply
Old Jun 21, 2013 | 07:04 AM
  #3  
85sr5excab's Avatar
Thread Starter
Registered User
 
Joined: Sep 2012
Posts: 618
Likes: 0
From: iowa
Here's a few pics of my parts truck. Also these are the only pics I have of the flatbed I built. Sorry bout the pics, all of them are from my cell phone.
Name:  IMAG0155_zps02d0c92c.jpg
Views: 90
Size:  79.1 KB
Reply
Old Jun 21, 2013 | 07:06 AM
  #4  
85sr5excab's Avatar
Thread Starter
Registered User
 
Joined: Sep 2012
Posts: 618
Likes: 0
From: iowa
Name:  IMAG0156_zps8c5ddc49.jpg
Views: 90
Size:  100.6 KB
Reply
Old Jun 21, 2013 | 07:06 AM
  #5  
85sr5excab's Avatar
Thread Starter
Registered User
 
Joined: Sep 2012
Posts: 618
Likes: 0
From: iowa
Name:  0106111445a_zps407bfe69.jpg
Views: 110
Size:  20.9 KB
Reply
Old Jun 21, 2013 | 07:07 AM
  #6  
85sr5excab's Avatar
Thread Starter
Registered User
 
Joined: Sep 2012
Posts: 618
Likes: 0
From: iowa
Name:  0106111446a_zps719dcd7e.jpg
Views: 79
Size:  17.1 KB
Reply
Old Jun 21, 2013 | 07:08 AM
  #7  
85sr5excab's Avatar
Thread Starter
Registered User
 
Joined: Sep 2012
Posts: 618
Likes: 0
From: iowa
Name:  0108111700a_zpsaa0da639.jpg
Views: 81
Size:  15.7 KB
Reply
Old Jun 21, 2013 | 07:10 AM
  #8  
85sr5excab's Avatar
Thread Starter
Registered User
 
Joined: Sep 2012
Posts: 618
Likes: 0
From: iowa
Here's a pic of the taillight housings I made
Name:  0113112034a_zpsc05a9a86.jpg
Views: 80
Size:  9.4 KB
Reply
Old Jun 21, 2013 | 07:12 AM
  #9  
85sr5excab's Avatar
Thread Starter
Registered User
 
Joined: Sep 2012
Posts: 618
Likes: 0
From: iowa
Here's a shot of the hole in the old gas tank.
Name:  IMAG0083_zpsfe41b4d5.jpg
Views: 83
Size:  76.7 KB
Reply
Old Jun 21, 2013 | 07:14 AM
  #10  
85sr5excab's Avatar
Thread Starter
Registered User
 
Joined: Sep 2012
Posts: 618
Likes: 0
From: iowa
This is where I patched the frame on the driver's side, it didn't have any holes thru yet but the pass side did and I figured I would make them match.
Name:  IMAG0086_zps6b165860.jpg
Views: 79
Size:  52.5 KB
Reply
Old Jun 21, 2013 | 07:16 AM
  #11  
85sr5excab's Avatar
Thread Starter
Registered User
 
Joined: Sep 2012
Posts: 618
Likes: 0
From: iowa
Here's the new tank installed and u can kinda see the bracket I fabbed up to mount it to the new crossmember I welded in.
Name:  IMAG0084_zpsee4efecc.jpg
Views: 86
Size:  58.4 KB
Reply
Old Jun 21, 2013 | 07:17 AM
  #12  
85sr5excab's Avatar
Thread Starter
Registered User
 
Joined: Sep 2012
Posts: 618
Likes: 0
From: iowa
Another shot of the tank and mount.
Name:  IMAG0085_zpsdf893b9d.jpg
Views: 82
Size:  58.5 KB
Reply
Old Jun 21, 2013 | 07:19 AM
  #13  
85sr5excab's Avatar
Thread Starter
Registered User
 
Joined: Sep 2012
Posts: 618
Likes: 0
From: iowa
This is a pic of the rear frame. You can see I replaced both crossmembers and I have the ford springs installed here.
Name:  IMAG0087_zps49ce13d3.jpg
Views: 85
Size:  53.3 KB
Reply
Old Jun 21, 2013 | 07:22 AM
  #14  
85sr5excab's Avatar
Thread Starter
Registered User
 
Joined: Sep 2012
Posts: 618
Likes: 0
From: iowa
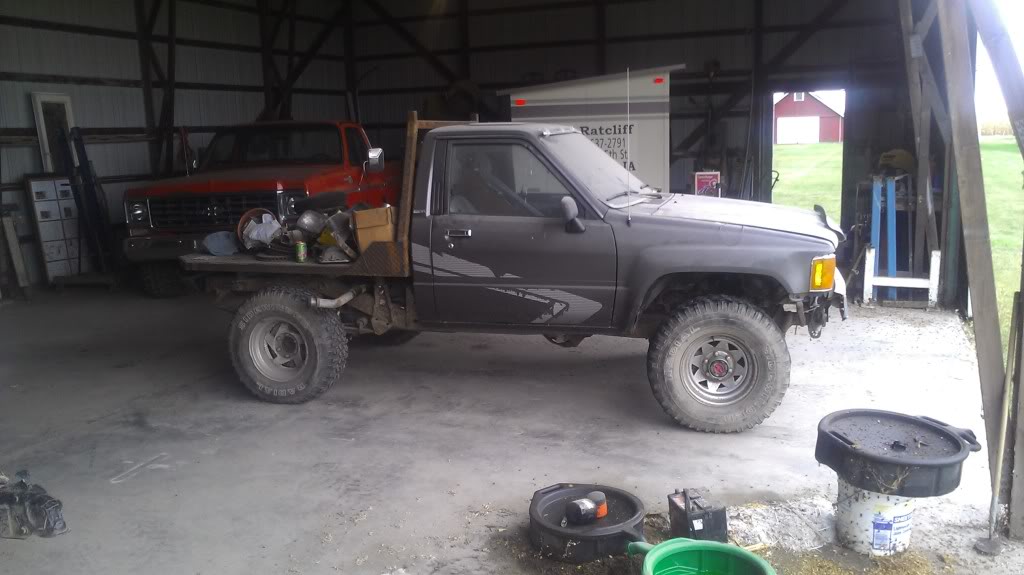
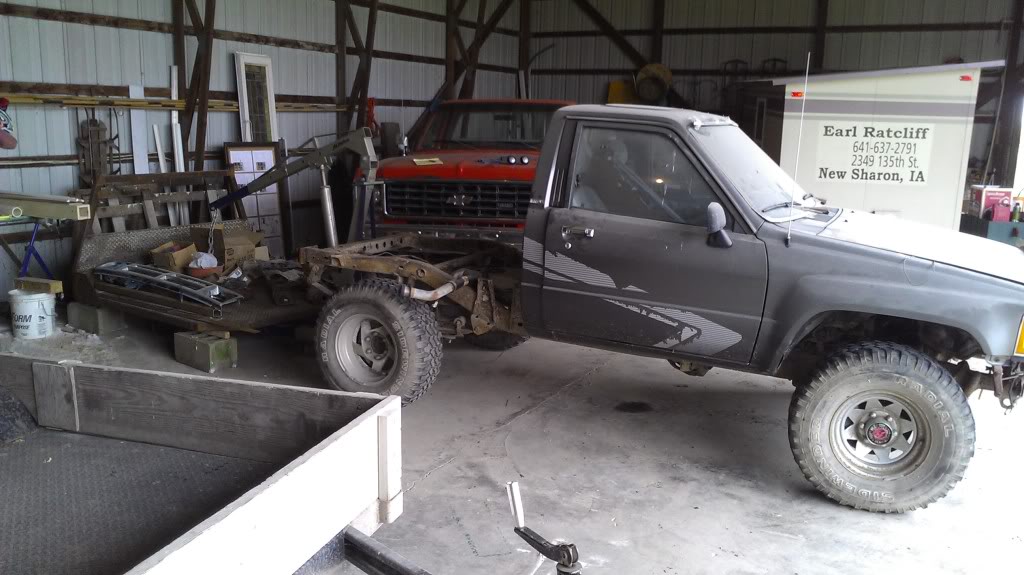
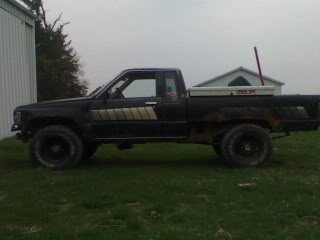
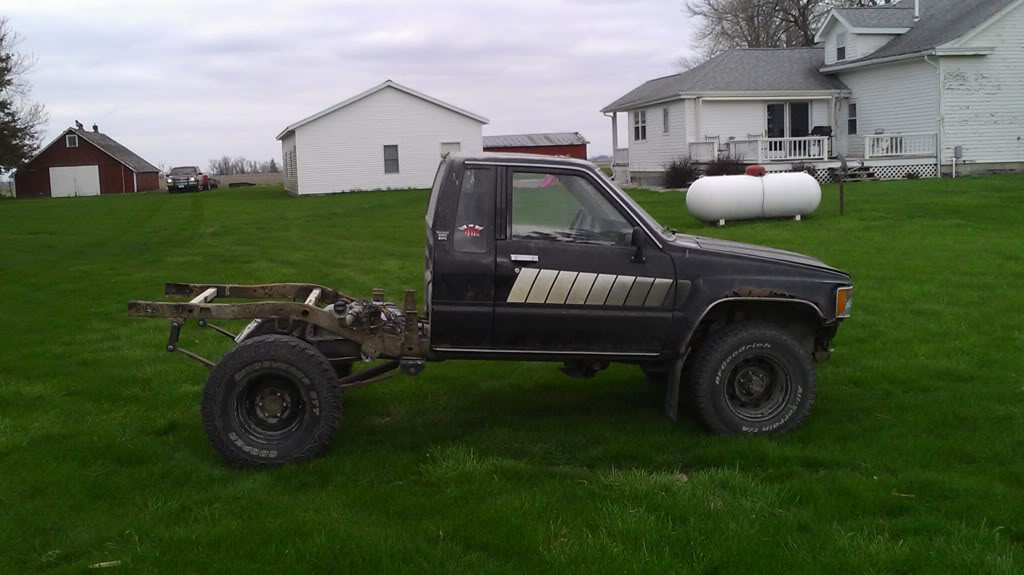
This is the truck a couple weeks after I got it home. The wheels are Chevy rally wheels painted black. The center hole wasn't big enuf to fit over the front hubs so I cut them out bigger with the plasma torch. Fit perfectly now and I like the look.
Name:  0414111042a_zpse66356ba.jpg
Views: 149
Size:  18.7 KB
Reply
Old Jun 21, 2013 | 07:23 AM
  #15  
85sr5excab's Avatar
Thread Starter
Registered User
 
Joined: Sep 2012
Posts: 618
Likes: 0
From: iowa
The other side.
Name:  0414111042b_zps3a9a80d8.jpg
Views: 130
Size:  9.8 KB
Reply
Old Jun 21, 2013 | 07:25 AM
  #16  
85sr5excab's Avatar
Thread Starter
Registered User
 
Joined: Sep 2012
Posts: 618
Likes: 0
From: iowa
This is how the truck currently sits with the ford springs on the back.
Name:  IMAG0049_zpse11851bd.jpg
Views: 120
Size:  78.6 KB
Reply
Old Jun 21, 2013 | 07:27 AM
  #17  
85sr5excab's Avatar
Thread Starter
Registered User
 
Joined: Sep 2012
Posts: 618
Likes: 0
From: iowa
The driver's side. If the tires look odd it's because there are 31's on the front and 33's on the back.
Name:  IMAG0047_zpsce17bcd5.jpg
Views: 83
Size:  125.2 KB
Reply
Old Jun 21, 2013 | 07:39 AM
  #18  
85sr5excab's Avatar
Thread Starter
Registered User
 
Joined: Sep 2012
Posts: 618
Likes: 0
From: iowa
Here's my ruf packs. I cleaned them up with a wire brush on my grinder and gave them a coat of rust converting paint. Name:  IMAG0141_zps7e670274.jpg
Views: 87
Size:  59.6 KB
Reply
Old Jun 21, 2013 | 07:45 AM
  #19  
85sr5excab's Avatar
Thread Starter
Registered User
 
Joined: Sep 2012
Posts: 618
Likes: 0
From: iowa
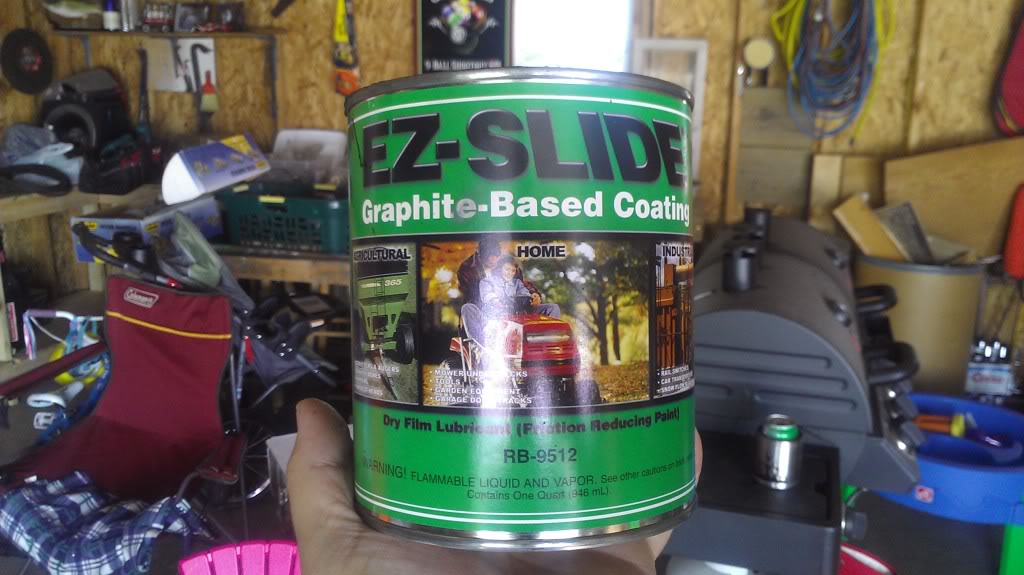
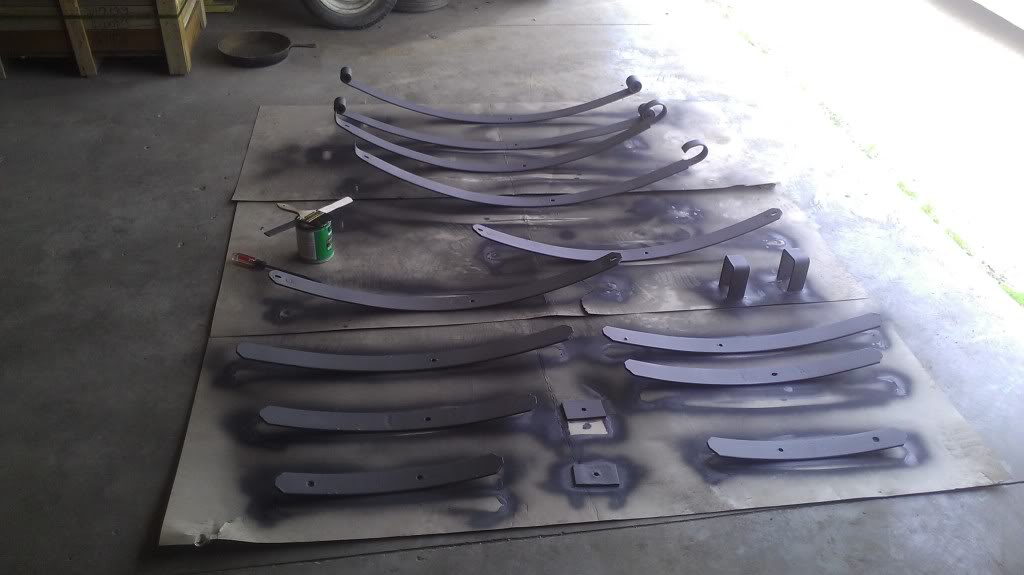
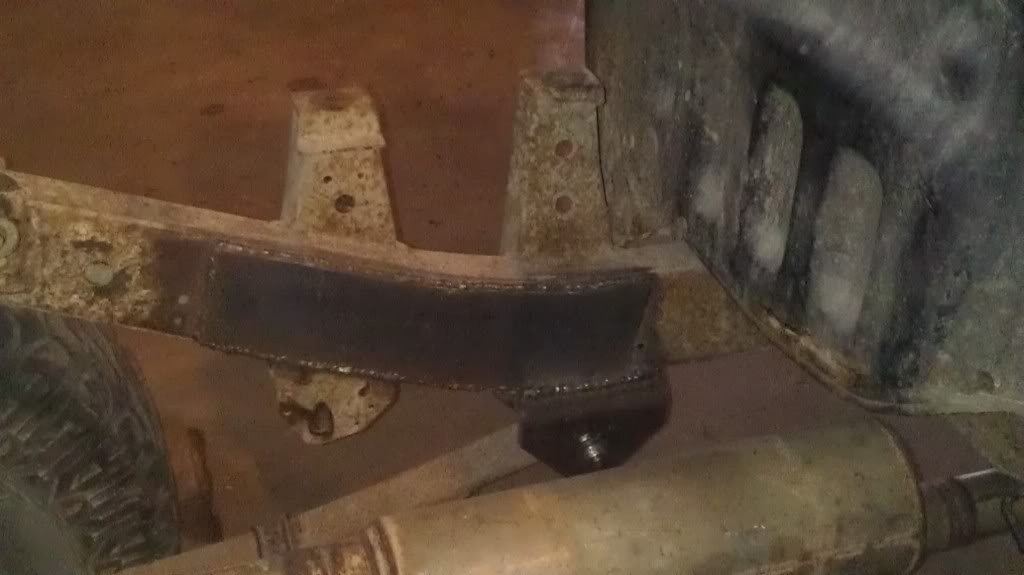
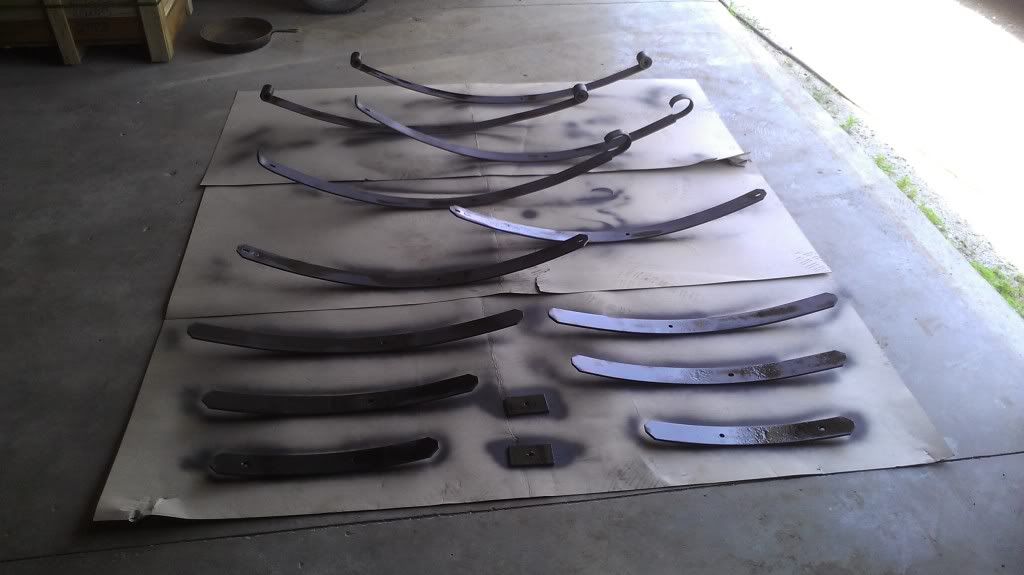
Here's where things get a lil interesting, I thought I would try painting the leaves with EZ-SLIDE. Its a graphite based paint that is used for painting the inside of gravity wagons and other agricultural equipment. My hope is that it will help the springs flex a lil easier and keep them from squeaking.
Name:  IMAG0143_zpsdb15b95f.jpg
Views: 88
Size:  93.7 KB
Reply
Old Jun 21, 2013 | 07:46 AM
  #20  
85sr5excab's Avatar
Thread Starter
Registered User
 
Joined: Sep 2012
Posts: 618
Likes: 0
From: iowa
Got em all painted
Name:  IMAG0142_zpsed756636.jpg
Views: 86
Size:  58.3 KB
Reply


All times are GMT -8. The time now is 10:01 PM.