
KawaZX636's 1983 Toyota Pickup Restoration
 Oct 5, 2015 | 05:20 PM
#1321

I don't recall specifically, but I can check for you when I get home. I have it written on my garage wall along with ever other note and spec from my truck while I was building it - my garage walls are like a massive notebook! I would write parts lists, measurements and just random ideas on my walls because I knew that if I wrote them on paper that I would eventually lose it! Only way I lose them now is if my garage burns down or I paint the walls.... LOL
Oct 5, 2015 | 05:25 PM
#1322


don't see a decal on there yet 
I like the bumper .. as I told you , I ran one for years on my "white knight" 20 + years ago , and it worked out great ..
have you looked at the black one ? .. you have a lot more black on your truck , so might just "fit" the theme better + it's cheaper then the chrome # C0328-35912-01
.
I like the bumper .. as I told you , I ran one for years on my "white knight" 20 + years ago , and it worked out great ..
have you looked at the black one ? .. you have a lot more black on your truck , so might just "fit" the theme better + it's cheaper then the chrome # C0328-35912-01
.
Oct 6, 2015 | 07:51 AM
#1323
Thread Starter
Super Moderator
iTrader: (3)
Joined: Jan 2012
Posts: 3,218
Likes: 26
From: Salisbury, MD
Thanks, I have lost the sheet that came with the carb, and there is much conflicting info. You made me realise I never checked the float level on my carb, I checked it yesterday and it was 38mm, I read somewhere it should be 40mm so I adjusted it there and it seemed to run a little bit worse. Today I downloaded a weber manual and it says 34.3mm to 40.3mm, 10mm travel with the plastic float..? Some sites say to check with gasket on, others without. It is confusing, I am about to adjust it again, I think I'll try closer to 36mm without gasket.
don't see a decal on there yet
I like the bumper .. as I told you , I ran one for years on my "white knight" 20 + years ago , and it worked out great ..
have you looked at the black one ? .. you have a lot more black on your truck , so might just "fit" the theme better + it's cheaper then the chrome # C0328-35912-01
I like the bumper .. as I told you , I ran one for years on my "white knight" 20 + years ago , and it worked out great ..
have you looked at the black one ? .. you have a lot more black on your truck , so might just "fit" the theme better + it's cheaper then the chrome # C0328-35912-01
I haven't gotten a chance to slap the decals on yet. I been meaning to pull it out for a good cleaning before I put them on, but I think I may have some issues that I need to attend to first....
The last time I was driving my truck, which was about two weeks ago thanks to this damn nor easter and hurricane that just passed through, I was getting a vibration and a slight "ringing" noise from somewhere between my tranny and rear end. I drained the gear oil out of my transfer case and tranny last night. The oil out of the transfer case was perfectly clean, but the oil in my tranny looked a little contaminated. There was a little bit of what appeared to be very fine metal shavings on the magnetic plug but the oil also looked a little goopy when I initially pulled the plug. It almost looked like grease which got me thinking... When I originally pulled the tranny, I stuffed a glob of grease in each shifter hole before I sealed it off the a rubber glove and rubber band. I did this to help keep the moisture from seeping into the tranny while it was in storage for a couple years sitting on concrete. When I went to install the tranny, I scooped out most of the grease, but likely didn't get it all which shouldn't be a big deal. When I installed the shifters, I also greased them up good. I know I used a moly fortified grease and molybdenum is paramagnetic so in theory over time the gear oil would have thinned the grease and the magnetic would have picked up what little moly would have been in the grease. I am PRAYING that this is the case for the tranny because I really don't feel like having it rebuilt. It stays in gear and shifts fine with the exception of quick shifting into second - doesn't have to be granny shifted into second, but you aren't winning any drag races that require a quick shift into second. I strained the oil through a coffee filter over night (talk about a slow process!!) to see what was in the oil. I didn't have any considerable additional shavings left in the filter and the little bit of "goop" couldn't be picked up with a strong magnet so I supposed that is good.
HOPEFULLY, the likely culprit for the vibration is my rear pinion angle, but the slight "ringing" sound has me worried. I measured the pinion angle last night and my pinion needs to be rotated about 6* to be parallel with the transfer output. I previously measured my pinion angle before I ever drove it and it was only off about 1.5* which wouldn't have cause much vibration, if any. I did the geometry math and shortening my shackles should have only changed my pinion angle by 1.59* so I suppose the other 3* that I am off may be from my suspension simply settling. I ordered the shims last night so I really really really REALLY hope this is the case and the ringing is just a loose or rubbing pinion dust shield or something; however, this vibration seems to have gotten worse so I'm not so sure yet.
The other problem that I have is that the tranny is a L52 - Toyota's one hit wonder... or perhaps more like a one hit blunder.... The tranny can be rebuilt and would do fine for what I use it for, but if I decide to go with any of the other, more reliable, transmissions then I would have to modify my drive shaft lengths, crossmember location and possibly the shifter hole locations in the tranny tunnel I spent so much time fabricating during the restoration. May just be stuck with getting the L52 rebuilt, but Fingers crossed... we shall see!
Oct 6, 2015 | 06:29 PM
#1324
Thread Starter
Super Moderator
iTrader: (3)
Joined: Jan 2012
Posts: 3,218
Likes: 26
From: Salisbury, MD
Gillesdetrail, here's what I adjusted my float level to (plastic floats):
*40mm & 48mm measured to the lower most corner of the float furthest away from the float hinge (Weber recommends 40mm & 52.5mm)
*OR 16mm & 27mm measured to the upper most corner of the float furthest away from the float hinge (Weber recommends 18mm & 28mm)
You can use either measurement to yield the same float level, but I find it easier to measure to the lower side of the float. Keep in mind that my measurements are without the gasket and Weber's measurements are with the gasket. Make sure you maintain 2mm of needle travel.
Oct 6, 2015 | 06:35 PM
#1325
Thread Starter
Super Moderator
iTrader: (3)
Joined: Jan 2012
Posts: 3,218
Likes: 26
From: Salisbury, MD
I want to have a bumper primarily for protection reasons due to all the idiot drivers around here. I'm terrified of a read end fender bender causing more damage than it should. I've thought about a mild tube bumper, but I just don't think it would fit the look of my truck. Plus I have chrome trim and polished wheels so I feel obligated to go with chrome. I also don't want one of those universal bumpers that look goofy - my goal is go make it look like it belongs on the truck. If it takes some modifications and re-chroming to make it fit the contour of the rear end well then that is what I'll have to do.
Oct 7, 2015 | 06:11 AM
#1326
Thread Starter
Super Moderator
iTrader: (3)
Joined: Jan 2012
Posts: 3,218
Likes: 26
From: Salisbury, MD
Well, so far it is good news. Last night I refilled my transmission with fresh gear oil, took it for about a 20 mile drive, came home and drained it again to try to flush out any remaining contaminants. Everything seemed to come out like it went in so I refilled it again with some more fresh gear oil. I gave the old girl a quick wipe down to shine her up and get ready for the weekend before I called it a night. This morning I took the kids to daycare and called in late to work. I took another good 20 mile drive before heading into work - things seem to be running better. The "ringing" noise hasn't come back, but I still have a slight vibration in the rear end. The axle shims that I ordered should be in tomorrow so I'll get them installed and with a little bit of luck, everything should be good to go. So far so good - good meaning that I can likely put off a tranny rebuild.
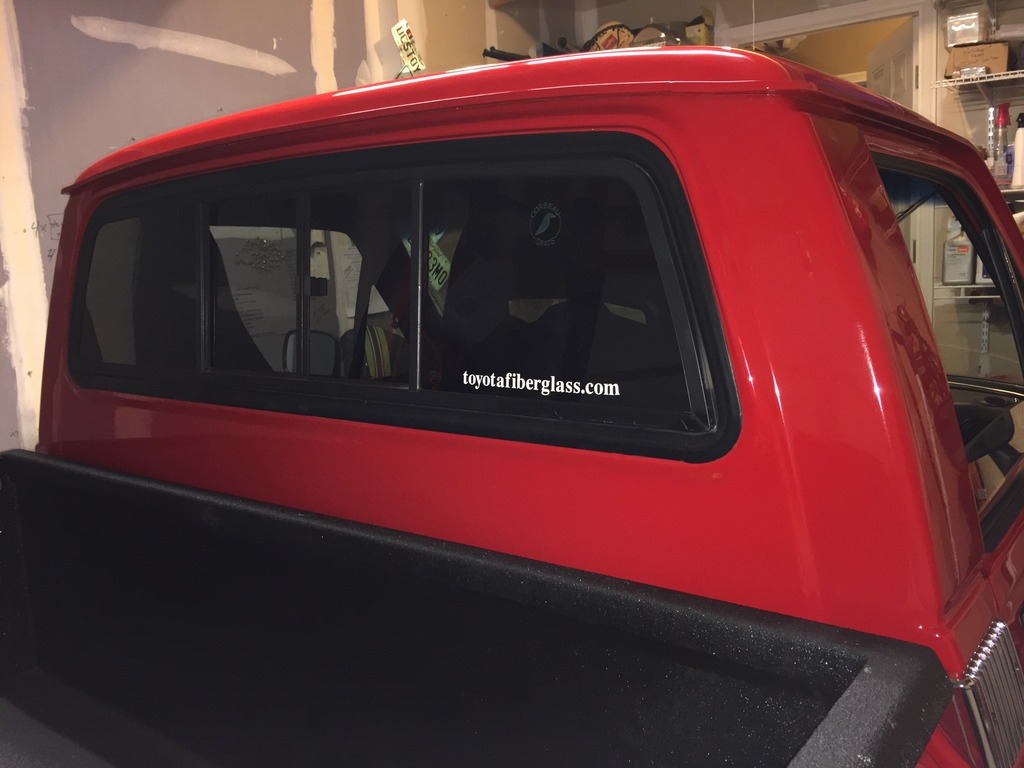
Corey, I finally got around to installing your decal. My truck is officially a moving advertisement for you! I'll send you an invoice for my insertion fees... LOL Not many places to put a decal on the truck where a window doesn't roll down or wipers don't wipe over, but it'll do!
Corey, I finally got around to installing your decal. My truck is officially a moving advertisement for you! I'll send you an invoice for my insertion fees... LOL Not many places to put a decal on the truck where a window doesn't roll down or wipers don't wipe over, but it'll do!
 Oct 7, 2015 | 04:31 PM
#1327
Gillesdetrail, here's what I adjusted my float level to (plastic floats):
*40mm & 48mm measured to the lower most corner of the float furthest away from the float hinge (Weber recommends 40mm & 52.5mm)
*OR 16mm & 27mm measured to the upper most corner of the float furthest away from the float hinge (Weber recommends 18mm & 28mm)
You can use either measurement to yield the same float level, but I find it easier to measure to the lower side of the float. Keep in mind that my measurements are without the gasket and Weber's measurements are with the gasket. Make sure you maintain 2mm of needle travel.
*40mm & 48mm measured to the lower most corner of the float furthest away from the float hinge (Weber recommends 40mm & 52.5mm)
*OR 16mm & 27mm measured to the upper most corner of the float furthest away from the float hinge (Weber recommends 18mm & 28mm)
You can use either measurement to yield the same float level, but I find it easier to measure to the lower side of the float. Keep in mind that my measurements are without the gasket and Weber's measurements are with the gasket. Make sure you maintain 2mm of needle travel.
Last edited by gillesdetrail; Oct 7, 2015 at 04:33 PM.
Oct 7, 2015 | 06:55 PM
#1328
Corey, I finally got around to installing your decal. My truck is officially a moving advertisement for you! I'll send you an invoice for my insertion fees... LOL Not many places to put a decal on the truck where a window doesn't roll down or wipers don't wipe over, but it'll do!
... hope you find the other decal package I originally sent though .. there were some in there I think you would have rather liked .
Oct 8, 2015 | 07:13 AM
#1329
Thread Starter
Super Moderator
iTrader: (3)
Joined: Jan 2012
Posts: 3,218
Likes: 26
From: Salisbury, MD
Thanks for taking the time, I apreciate it, I adjusted it to 18 and 28 at the top with gasket, (which gave me 38.5 and 50mm at the tip bottom of the float, I should check again) and it runs better than it ever has at low rpm full throttle, but I had to adjust the mixture screws out 1.5 turns for best idle condition compared to 3/4 -1 turn out. However when it gets too bumpy or after a sharp left turn it stumbles. When they recomend setting the float 2mm lower for off-road or road racing, that would be 16 and 26mm? I also didn't check needle travel, I will check it this week-end. I made sure the ball and spring were not depressed when checking and checked many times. I am going on an off-road trip this week-end, I'll make sure to try adjustments if it stumbles and missfires. I'll also try your settings.
Now when Weber say to "lower the float 2mm for off road use" that means you are adding 2mm to the measurement, not subtracting. Remember, you are technically adjusting the floats up-side-down relative to the way they sit on the carb. So if Weber recommends 18mm and 28mm, you would adjust it to 20mm and 28mm (You only need to lower the upper level of the float). Be sure to maintain your 2mm of needle travel after the adjustment (needle travel ONLY - don't account for the ball bearing travel as well). Since you are experiencing stumbling in turns (particularly left turns) and bumpy roads, it is likely caused by fuel spilling out of the bowl because the float level is too high. One way to double check if it is a floating issue is to park facing up hill on a fairly steep slope - it should start to flood and stumble. Facing down hill on the same slope likely won't have any affect since the bowl overflows to the rear of the carb. Lowing the floats should help eliminate this, but before you lower the floats, check to make sure that you don't have excess fuel pressure. Set your fuel pressure to 2.5 PSI. If that doesn't help, lower it to 2, then 1.5 to see if there are any changes. Lower PSI doesn't necessarily equate to lower volume; however, if your problem is solved by lowing the fuel pressure, go give it hell at higher RPM to test to make sure that the fuel supply can keep up. If it starts stumbling at higher RPM you may need to bring your fuel pressure back up a little and lower the floats. Again, fuel pressure and fuel volume are directly correlated, but fuel pressure can affect volume so in this case it could be part of the problem.
Pay no mind to the measurements in the picture below, they are for a 32/36. What I am trying to show is how you take the measurement. Make sure that you when you take the measurement on the upper level of the float that the needle is completely depressed BUT the ball bearing is NOT. The easiest way to do this is to hold the assembly vertical like in the picture so that minimal weight is on the ball bearing so as not to depress it, but the needle valve is closed. If you had that ball bearing depressed when taking your previous measurements then your float levels may be too low and may be causing you the opposite problem; you may be starving the engine.

Hope that helps, let me know if you have any more questions.
Oct 8, 2015 | 07:16 AM
#1330
Thread Starter
Super Moderator
iTrader: (3)
Joined: Jan 2012
Posts: 3,218
Likes: 26
From: Salisbury, MD
I'm sure they floating around here somewhere. Fortunately, those decals are the only things I lost throughout this entire project so I would consider that an unfortunately success!
Oct 8, 2015 | 09:00 PM
#1331
Thread Starter
Super Moderator
iTrader: (3)
Joined: Jan 2012
Posts: 3,218
Likes: 26
From: Salisbury, MD
Got the axle shims in today and bolted them onto the springs tonight. Everything went really smooth on the install and the pinion angle is within a 1/4* of the output flange angle. I imagine that as soon as I sit in the driver seat it is dead on! Took it for a test drive and it ran smooth as butter! I couldn't believe the difference - perhaps the vibration was worse than I thought. The cab noise was reduced as well and I could actually hear my carb better now.
Given the fact that the vibration seems to be worse than I initially thought, I decided to check out rest of the driveline to make sure everything was still good. I added about a 1/4 quart of gear oil to the rear end since the new angle "lowered" the level when more oil was tilted towards the pinion. I also examined the u-joints. The front one looked find but the rear one had some heat marks on it. It almost looked like somebody put some spot welds on the inside of the caps. They were also rather hot to the touch. They moved freely when I installed them, but the poor pinion angle may have caused a problem. I'm just going to go ahead and drop the driveshaft and replace the u-joints next week just to be safe.
Given the fact that the vibration seems to be worse than I initially thought, I decided to check out rest of the driveline to make sure everything was still good. I added about a 1/4 quart of gear oil to the rear end since the new angle "lowered" the level when more oil was tilted towards the pinion. I also examined the u-joints. The front one looked find but the rear one had some heat marks on it. It almost looked like somebody put some spot welds on the inside of the caps. They were also rather hot to the touch. They moved freely when I installed them, but the poor pinion angle may have caused a problem. I'm just going to go ahead and drop the driveshaft and replace the u-joints next week just to be safe.

 Oct 11, 2015 | 04:40 PM
#1334
You would think that since the difference in upper and lower float levels is 11mm on the upper side that it would be the same difference on the lower side, but that is not the case simply due to the geometry of the float. That is why I like to record both measurements in the event that I need to make further adjustments later. Gasket or no gasket - it doesn't matter so long as you're taking all future adjustments in the same manner.
Now when Weber say to "lower the float 2mm for off road use" that means you are adding 2mm to the measurement, not subtracting. Remember, you are technically adjusting the floats up-side-down relative to the way they sit on the carb. So if Weber recommends 18mm and 28mm, you would adjust it to 20mm and 28mm (You only need to lower the upper level of the float). Be sure to maintain your 2mm of needle travel after the adjustment (needle travel ONLY - don't account for the ball bearing travel as well). Since you are experiencing stumbling in turns (particularly left turns) and bumpy roads, it is likely caused by fuel spilling out of the bowl because the float level is too high. One way to double check if it is a floating issue is to park facing up hill on a fairly steep slope - it should start to flood and stumble. Facing down hill on the same slope likely won't have any affect since the bowl overflows to the rear of the carb. Lowing the floats should help eliminate this, but before you lower the floats, check to make sure that you don't have excess fuel pressure. Set your fuel pressure to 2.5 PSI. If that doesn't help, lower it to 2, then 1.5 to see if there are any changes. Lower PSI doesn't necessarily equate to lower volume; however, if your problem is solved by lowing the fuel pressure, go give it hell at higher RPM to test to make sure that the fuel supply can keep up. If it starts stumbling at higher RPM you may need to bring your fuel pressure back up a little and lower the floats. Again, fuel pressure and fuel volume are directly correlated, but fuel pressure can affect volume so in this case it could be part of the problem.
Pay no mind to the measurements in the picture below, they are for a 32/36. What I am trying to show is how you take the measurement. Make sure that you when you take the measurement on the upper level of the float that the needle is completely depressed BUT the ball bearing is NOT. The easiest way to do this is to hold the assembly vertical like in the picture so that minimal weight is on the ball bearing so as not to depress it, but the needle valve is closed. If you had that ball bearing depressed when taking your previous measurements then your float levels may be too low and may be causing you the opposite problem; you may be starving the engine.

Hope that helps, let me know if you have any more questions.
Now when Weber say to "lower the float 2mm for off road use" that means you are adding 2mm to the measurement, not subtracting. Remember, you are technically adjusting the floats up-side-down relative to the way they sit on the carb. So if Weber recommends 18mm and 28mm, you would adjust it to 20mm and 28mm (You only need to lower the upper level of the float). Be sure to maintain your 2mm of needle travel after the adjustment (needle travel ONLY - don't account for the ball bearing travel as well). Since you are experiencing stumbling in turns (particularly left turns) and bumpy roads, it is likely caused by fuel spilling out of the bowl because the float level is too high. One way to double check if it is a floating issue is to park facing up hill on a fairly steep slope - it should start to flood and stumble. Facing down hill on the same slope likely won't have any affect since the bowl overflows to the rear of the carb. Lowing the floats should help eliminate this, but before you lower the floats, check to make sure that you don't have excess fuel pressure. Set your fuel pressure to 2.5 PSI. If that doesn't help, lower it to 2, then 1.5 to see if there are any changes. Lower PSI doesn't necessarily equate to lower volume; however, if your problem is solved by lowing the fuel pressure, go give it hell at higher RPM to test to make sure that the fuel supply can keep up. If it starts stumbling at higher RPM you may need to bring your fuel pressure back up a little and lower the floats. Again, fuel pressure and fuel volume are directly correlated, but fuel pressure can affect volume so in this case it could be part of the problem.
Pay no mind to the measurements in the picture below, they are for a 32/36. What I am trying to show is how you take the measurement. Make sure that you when you take the measurement on the upper level of the float that the needle is completely depressed BUT the ball bearing is NOT. The easiest way to do this is to hold the assembly vertical like in the picture so that minimal weight is on the ball bearing so as not to depress it, but the needle valve is closed. If you had that ball bearing depressed when taking your previous measurements then your float levels may be too low and may be causing you the opposite problem; you may be starving the engine.
Hope that helps, let me know if you have any more questions.
 Oct 12, 2015 | 08:59 AM
#1335
Thread Starter
Super Moderator
iTrader: (3)
Joined: Jan 2012
Posts: 3,218
Likes: 26
From: Salisbury, MD
It answers my questions thanks, I was confused of the float height for off-roading because of checking it upside down, I went in to the trails on saturday, on the first big hill climb it flooded so I kept it floored for it to clear and just to get up the hill, once I got up I heard rod knock, engine is dead! I was going to adjust it right there but it was too late!
Oct 12, 2015 | 10:37 AM
#1336
Thread Starter
Super Moderator
iTrader: (3)
Joined: Jan 2012
Posts: 3,218
Likes: 26
From: Salisbury, MD
The Ocean City Cruisin this weekend was pretty good! I like this show better than the mid-summer show because the quality of vehicles seems to be much better. Plus there is a lot less traffic than during the summer. My son had a blast too. He hung in there well with me all day so I took him to the Arcades on the Boardwalk to play for a bit and then out for some late night ice cream.
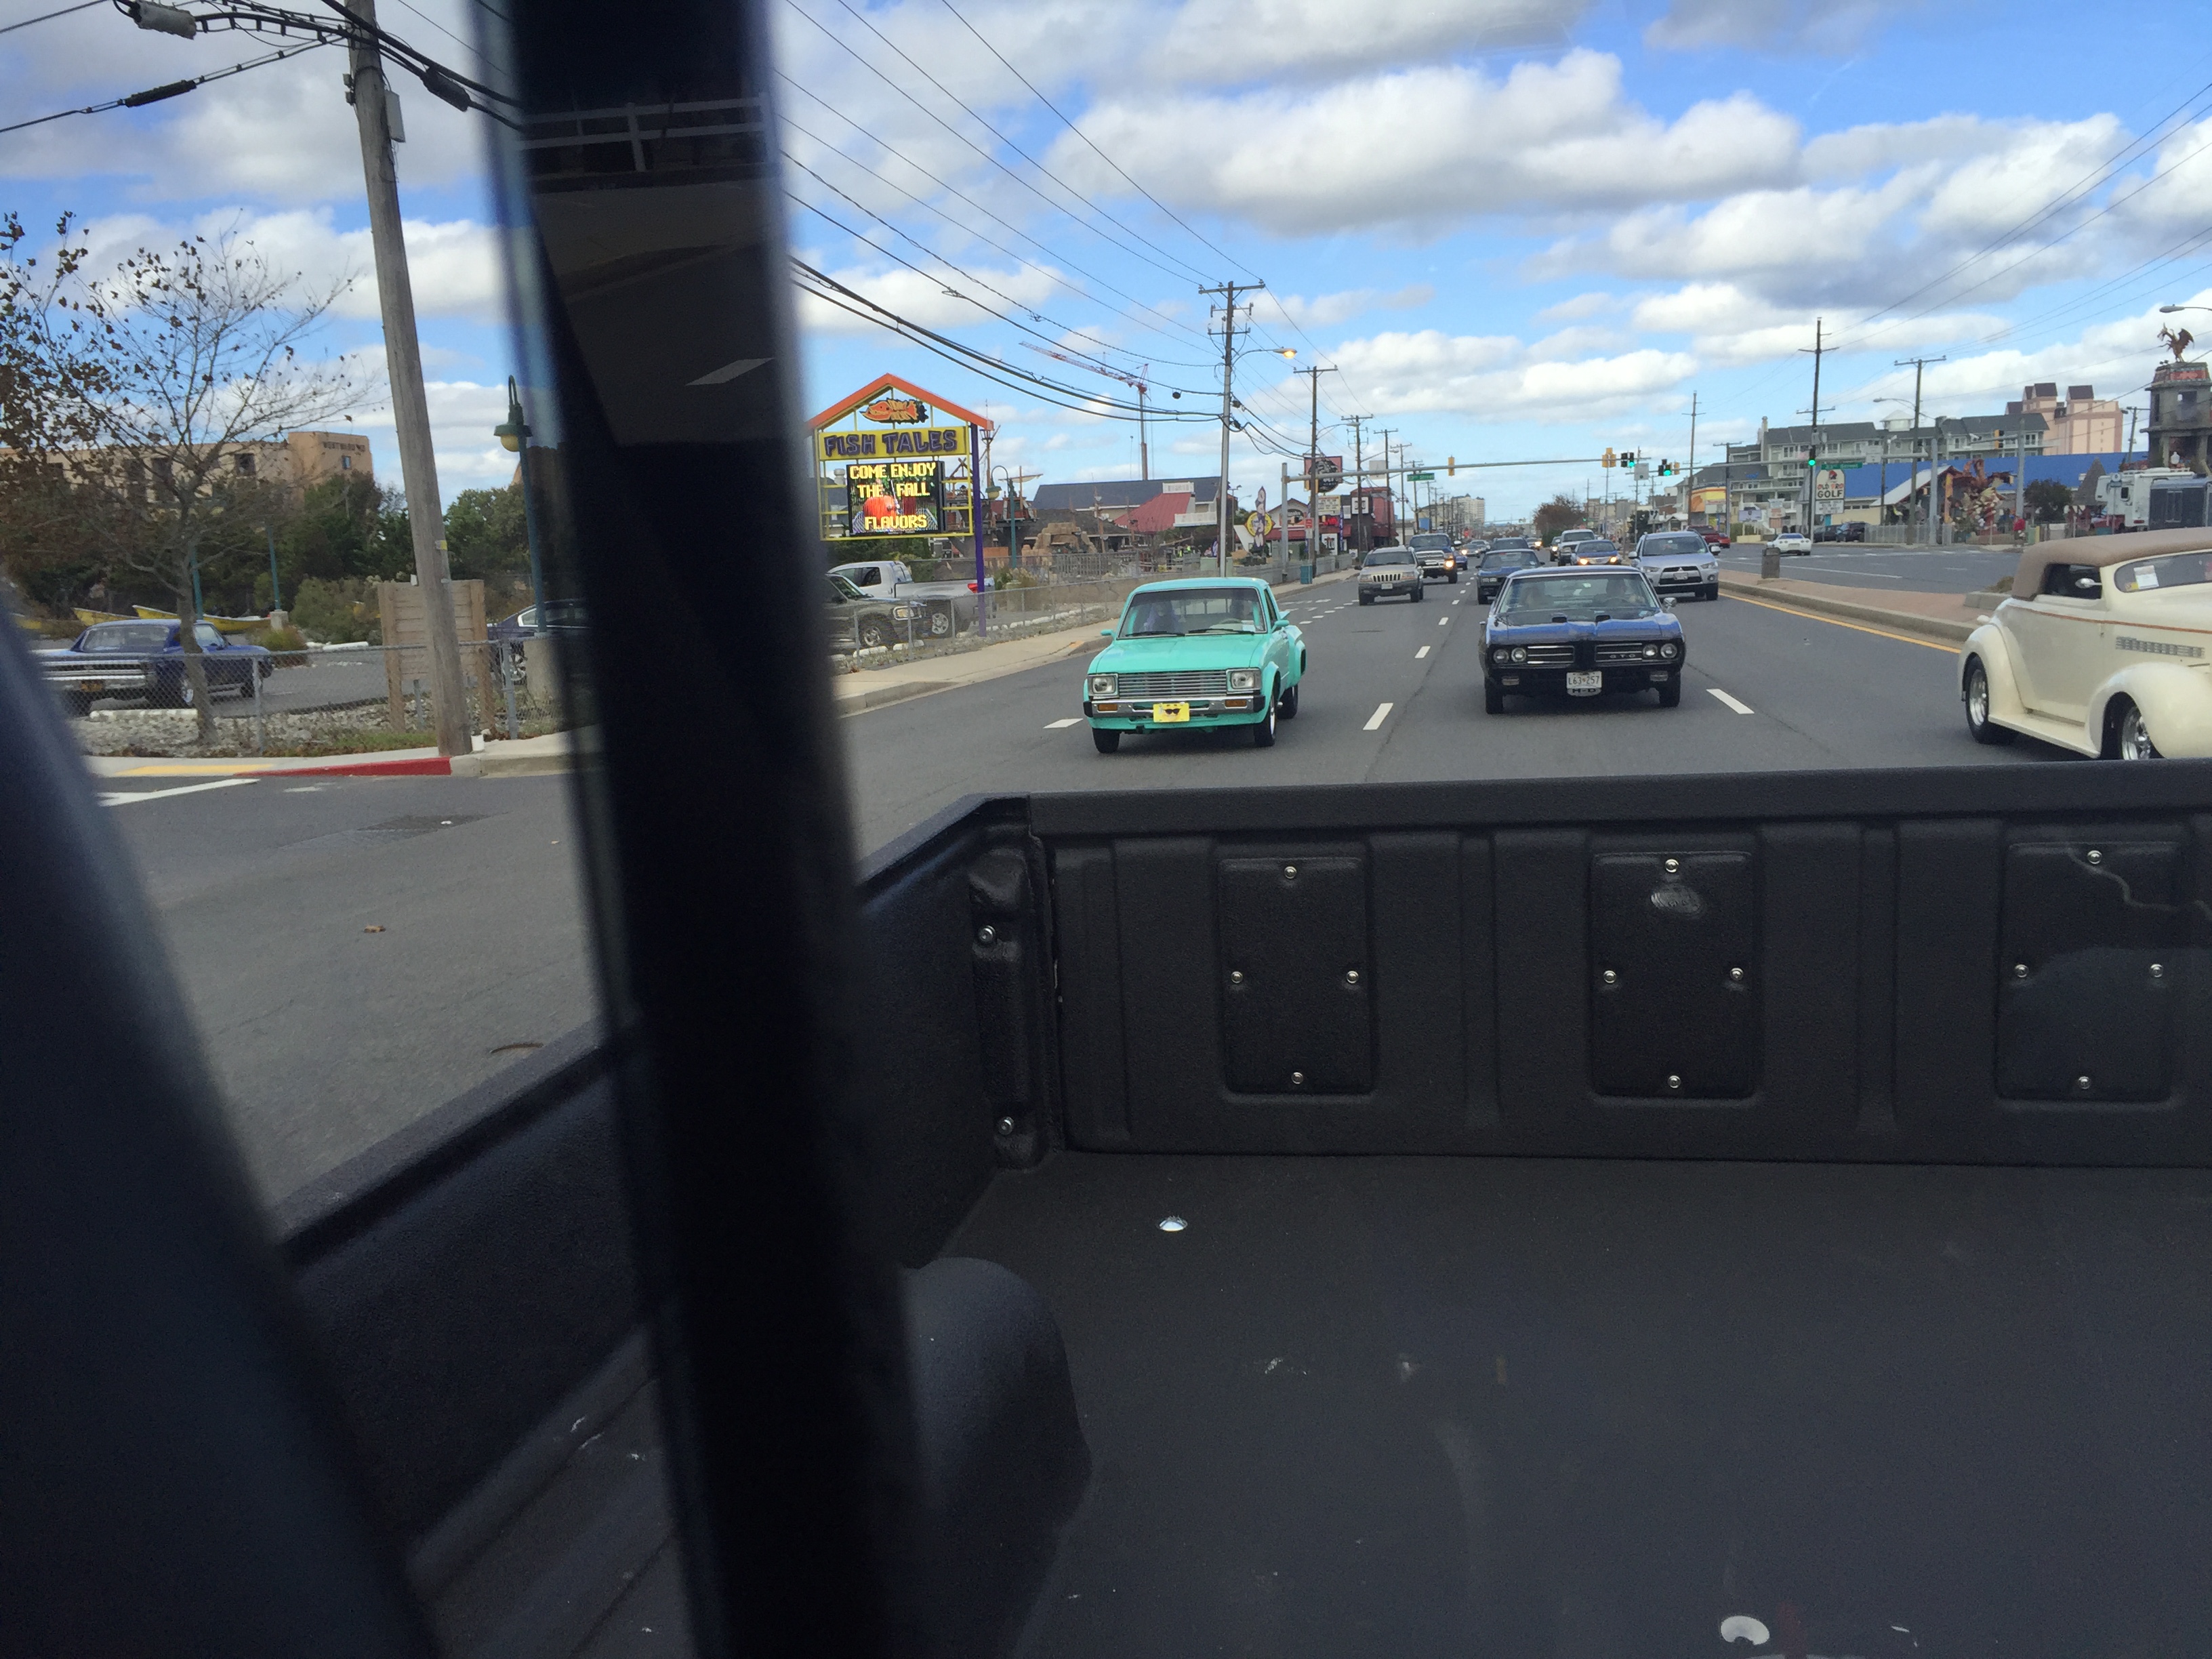
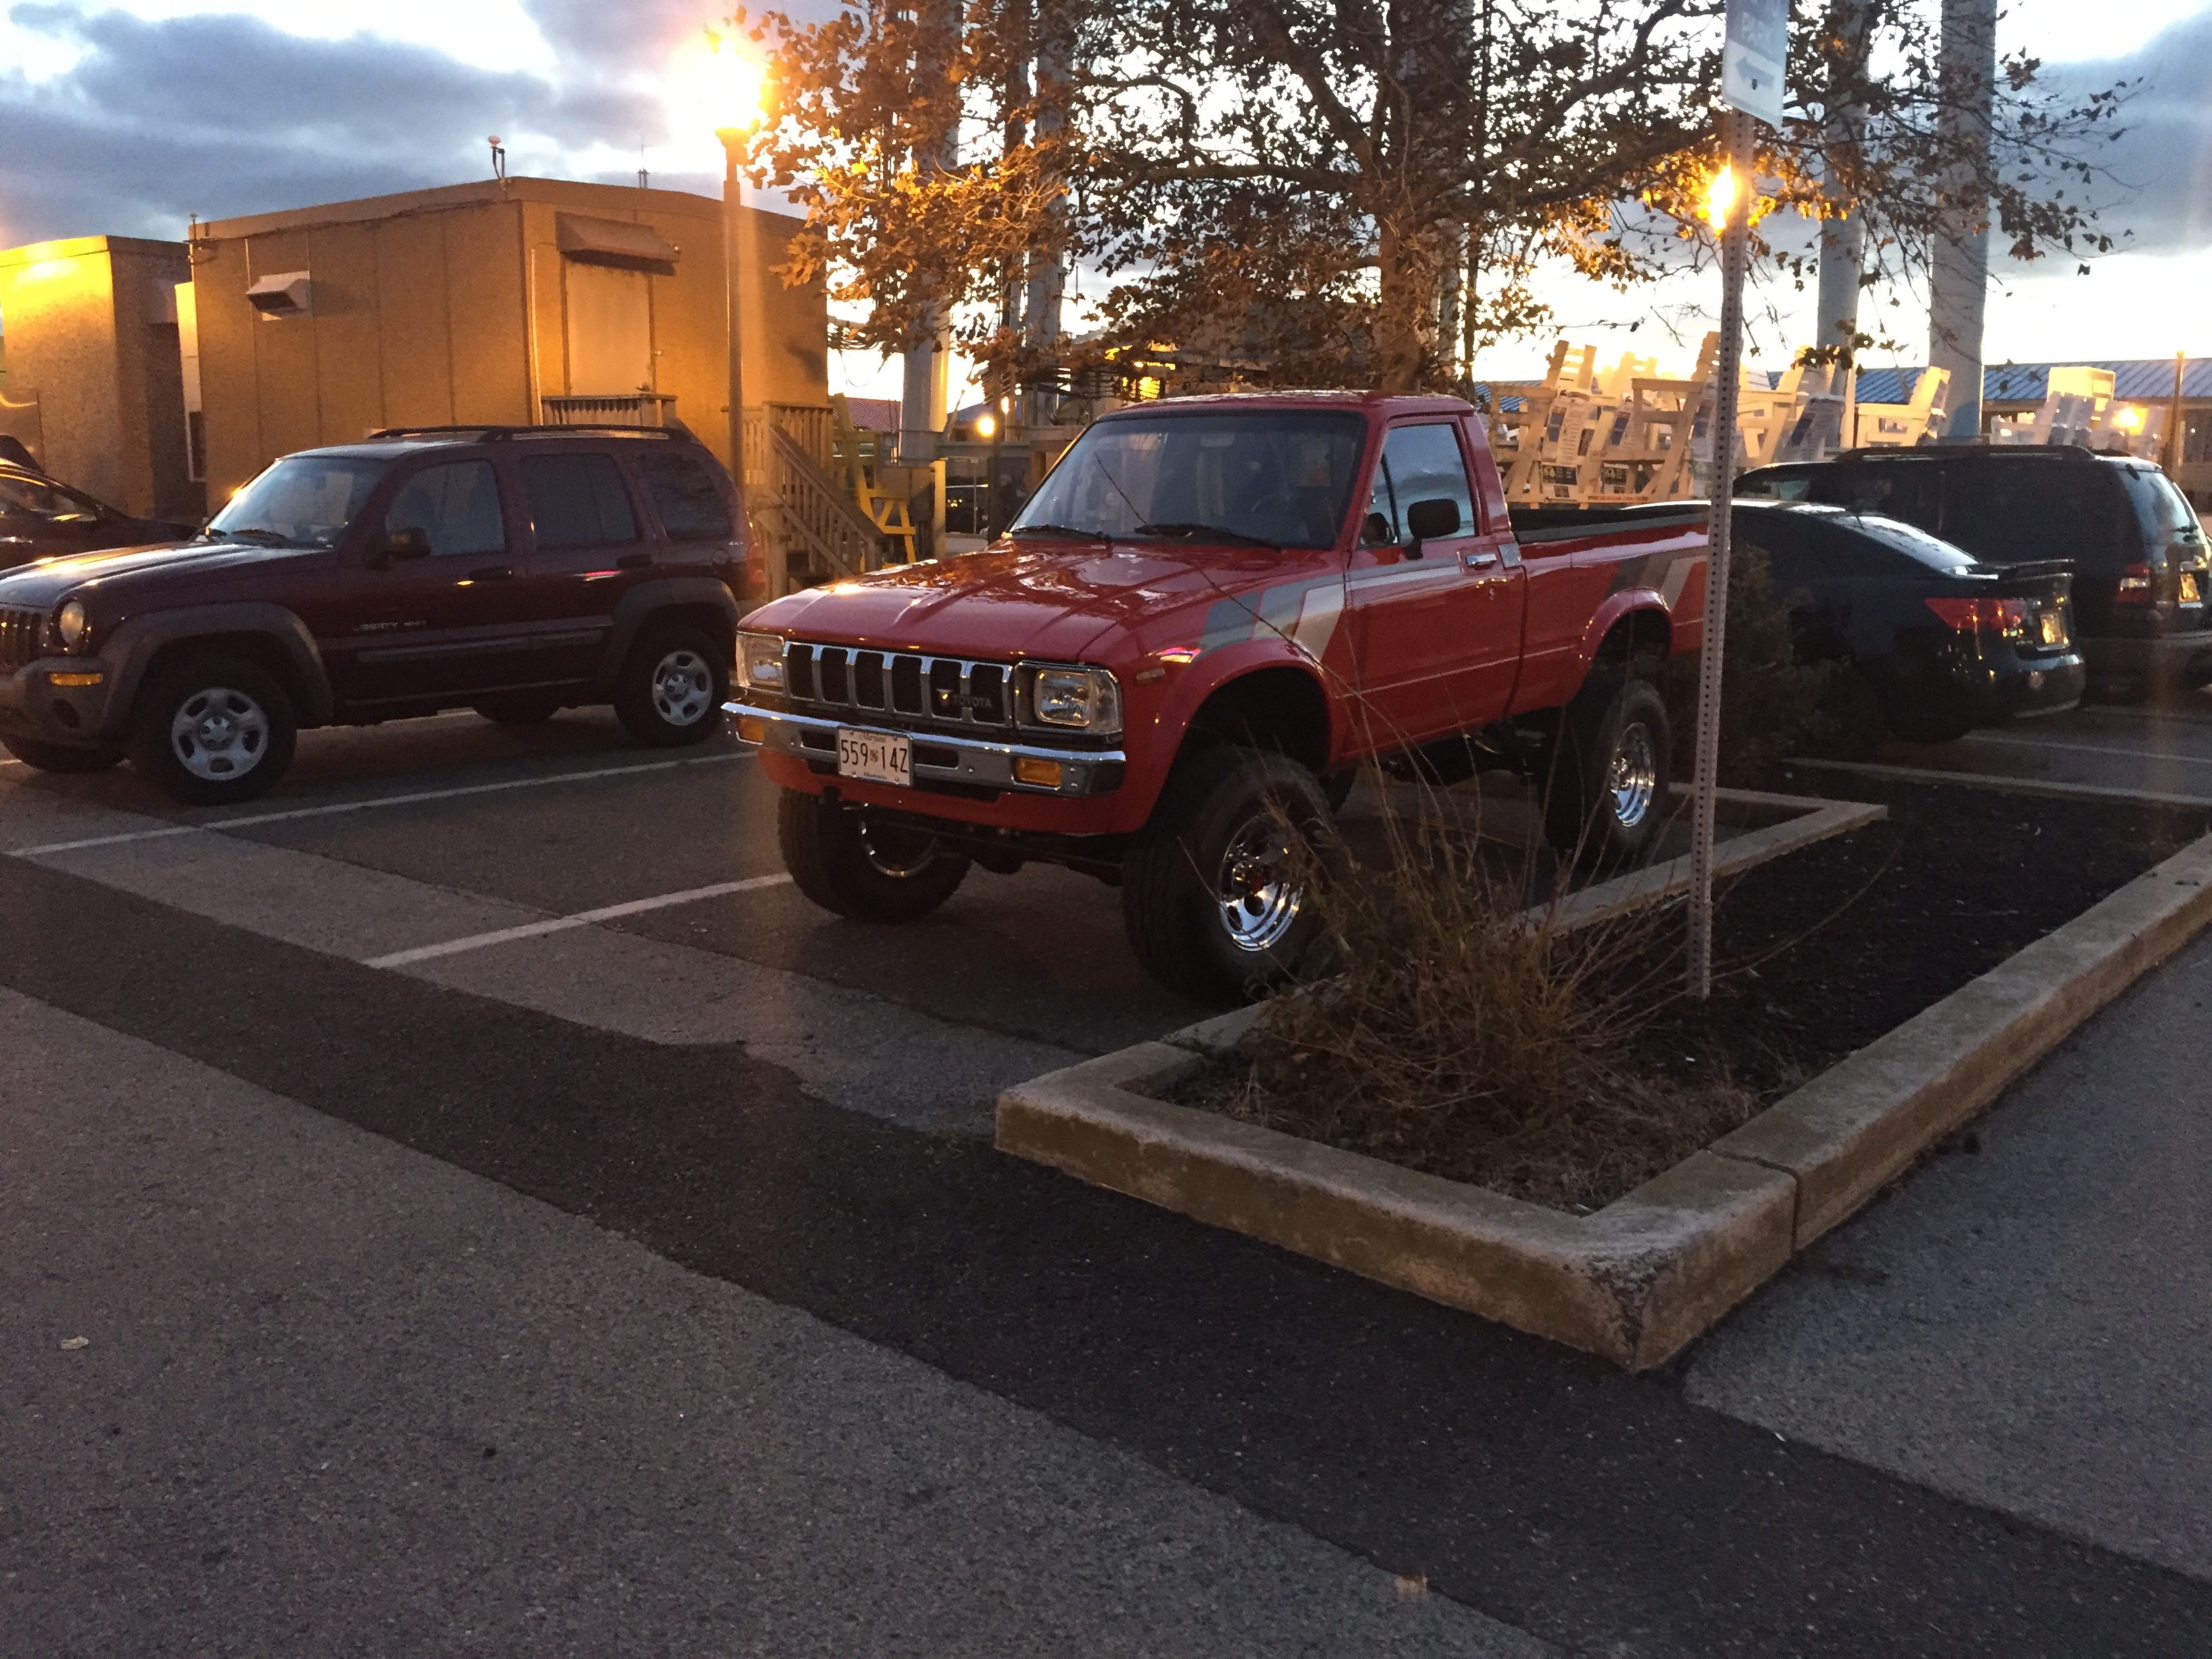
FINALLY, I wasn't lone Toyota!! I drive about 15 streets (about a mile) behind this guy before I realized that it was a first gen pickup. Sort of an embarrassing moment given my Toyota knowledge and background. I pulled up next to him a stop light to chat for a bit. He wasn't a "Toyota guy," he just wanted something light to stuff the a fully built 405 with Ford rear end into for drag racing. And let me tell you...this thing was FAST!!! Look at the meat on those rear wheels...
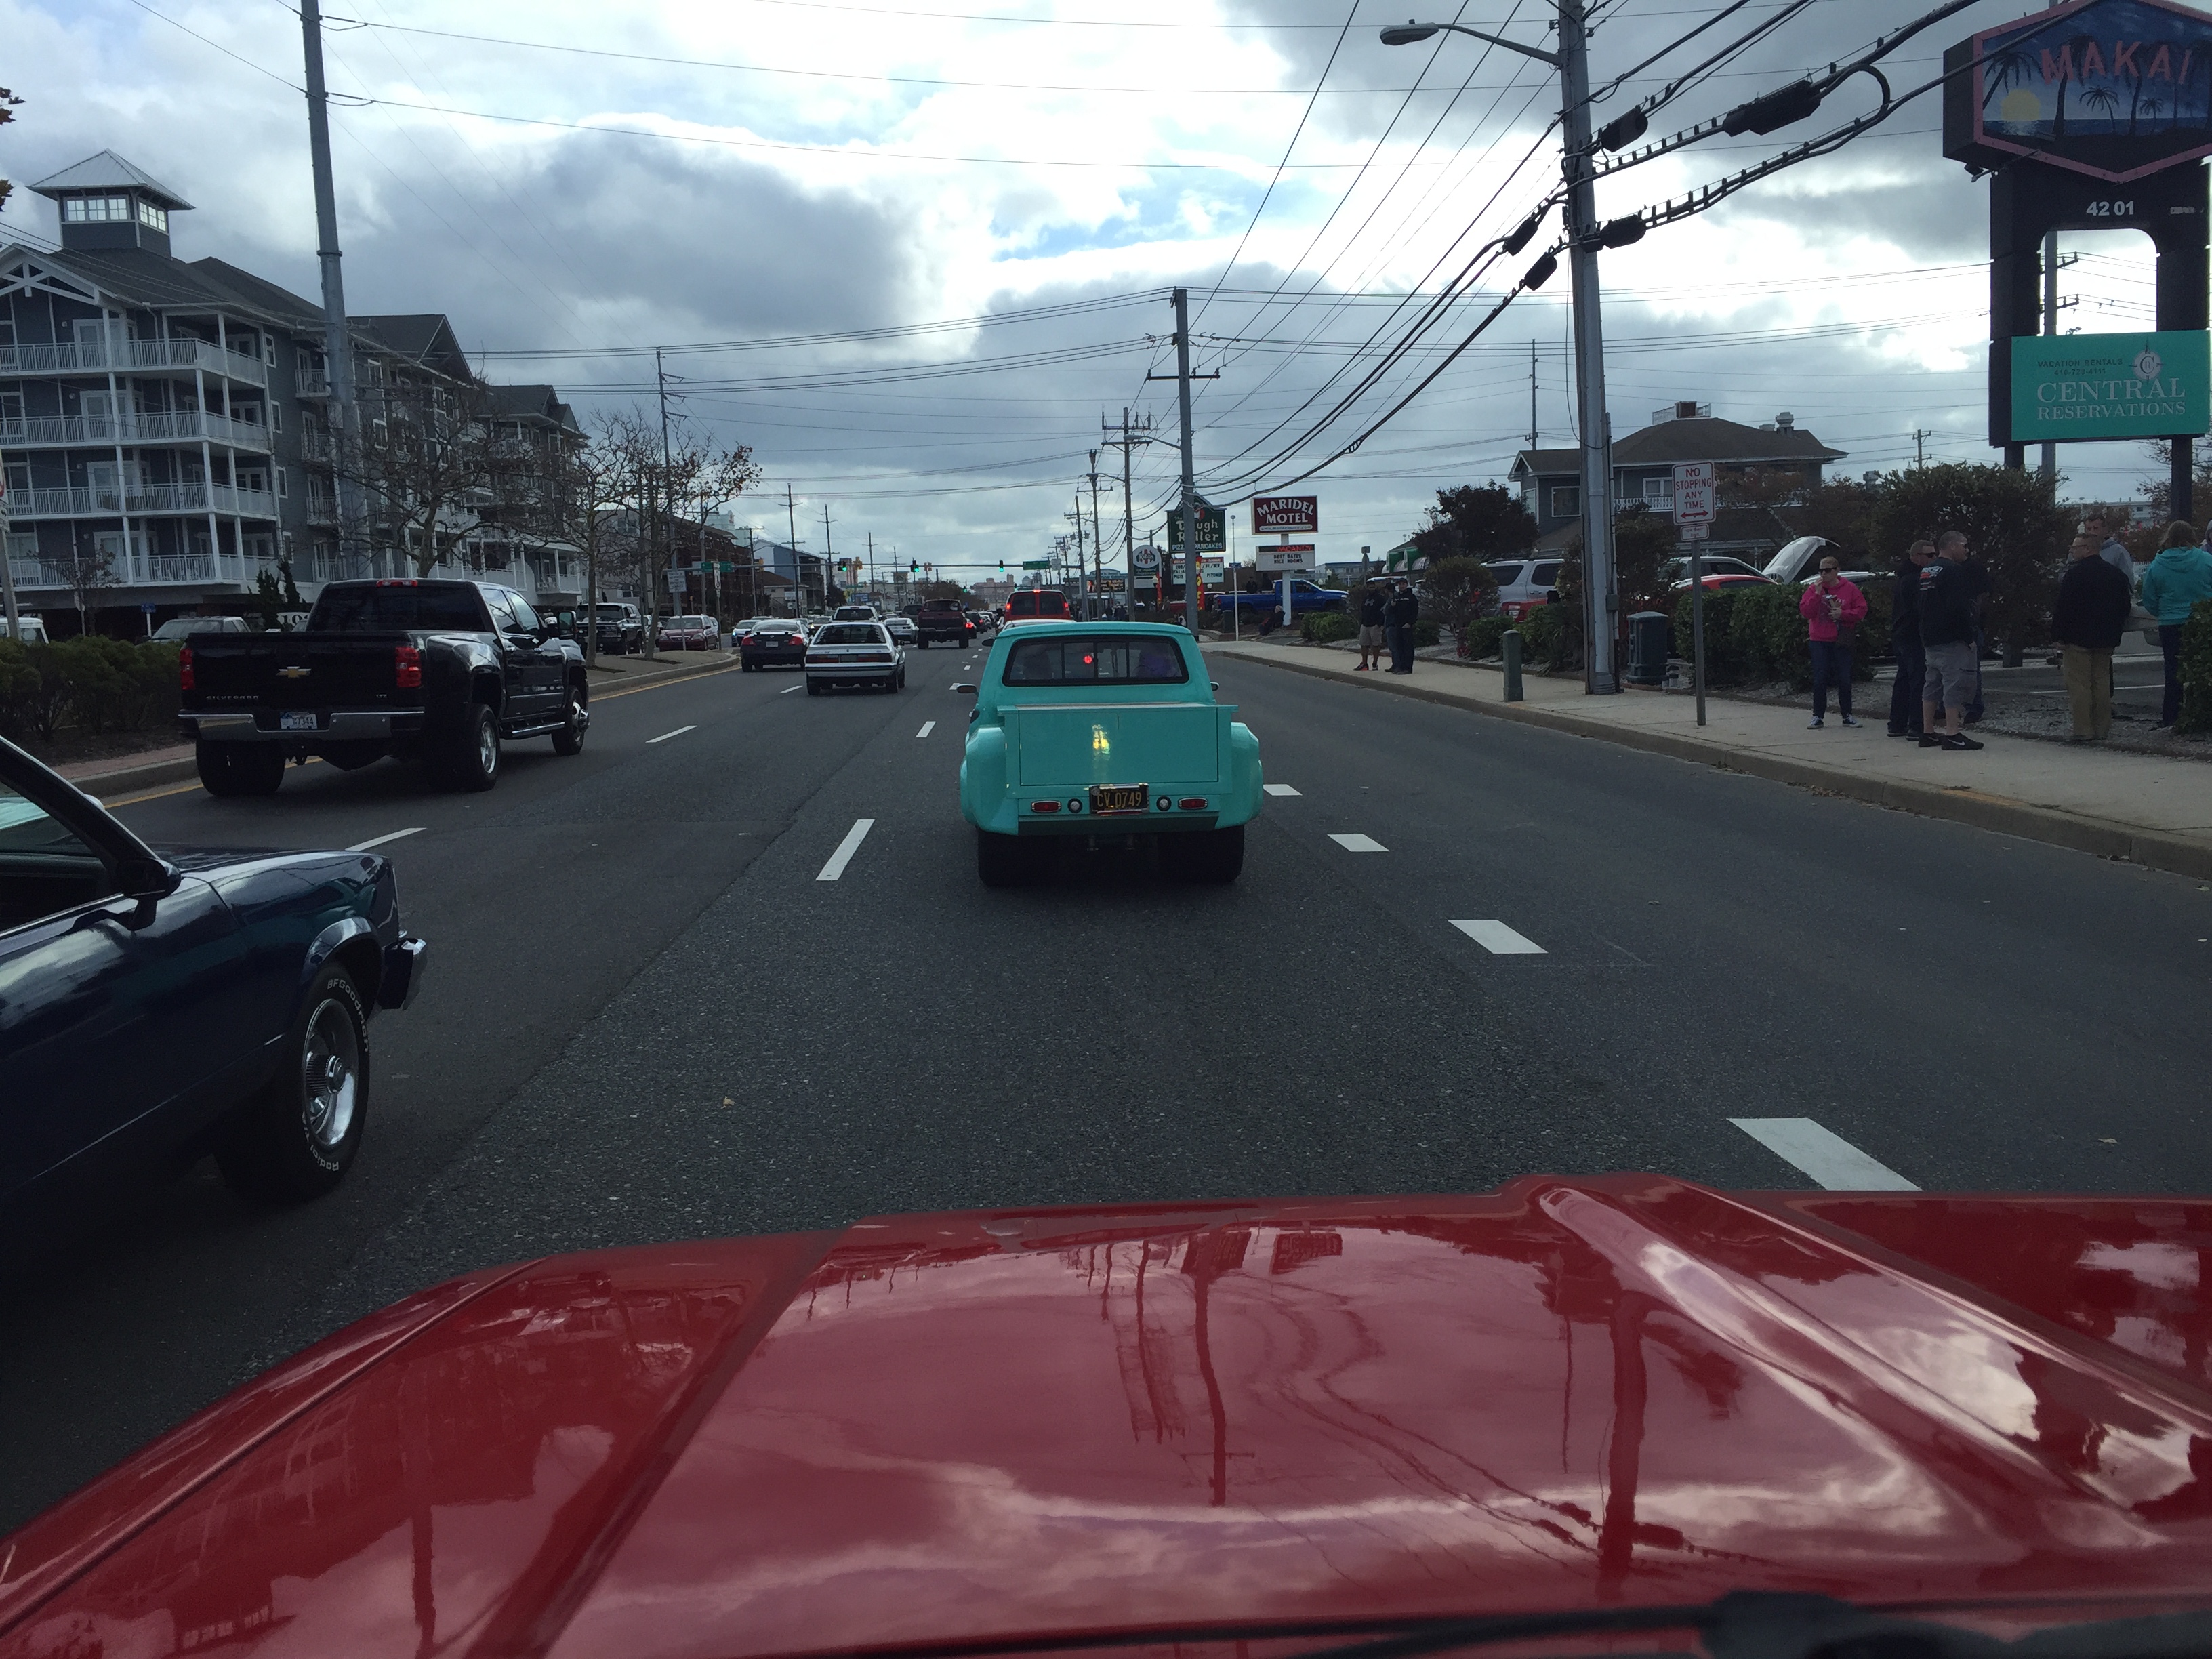
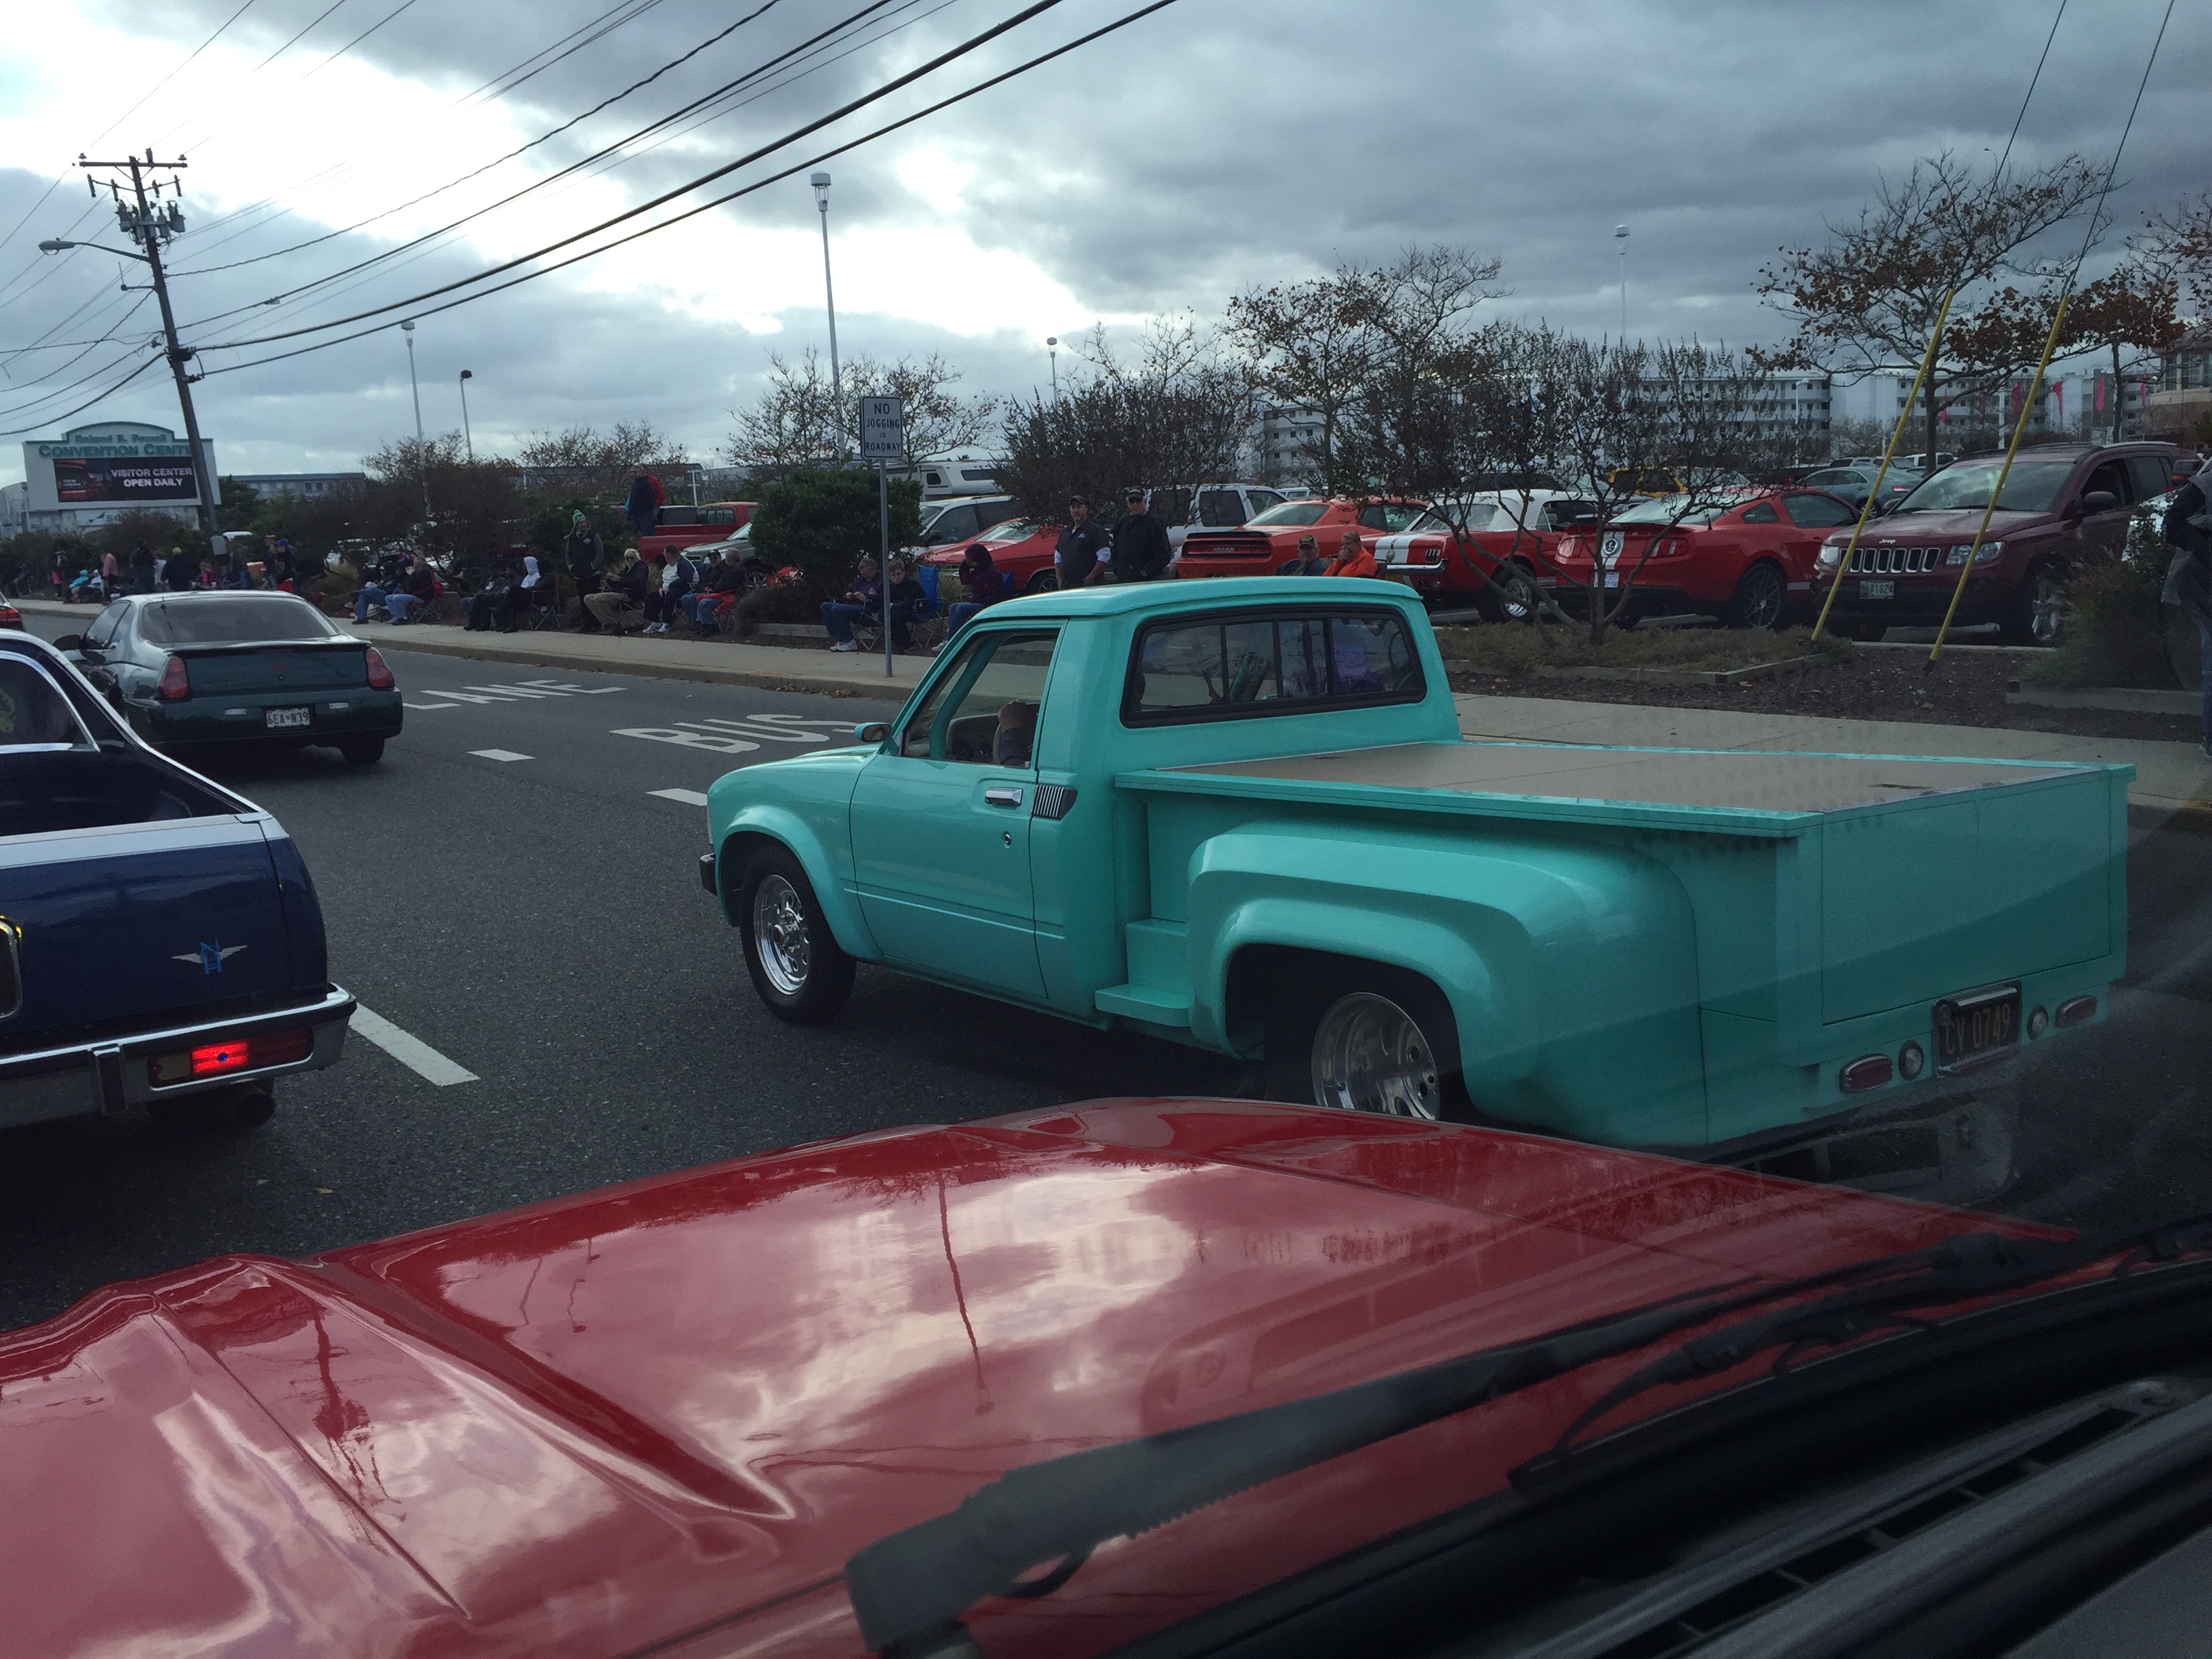
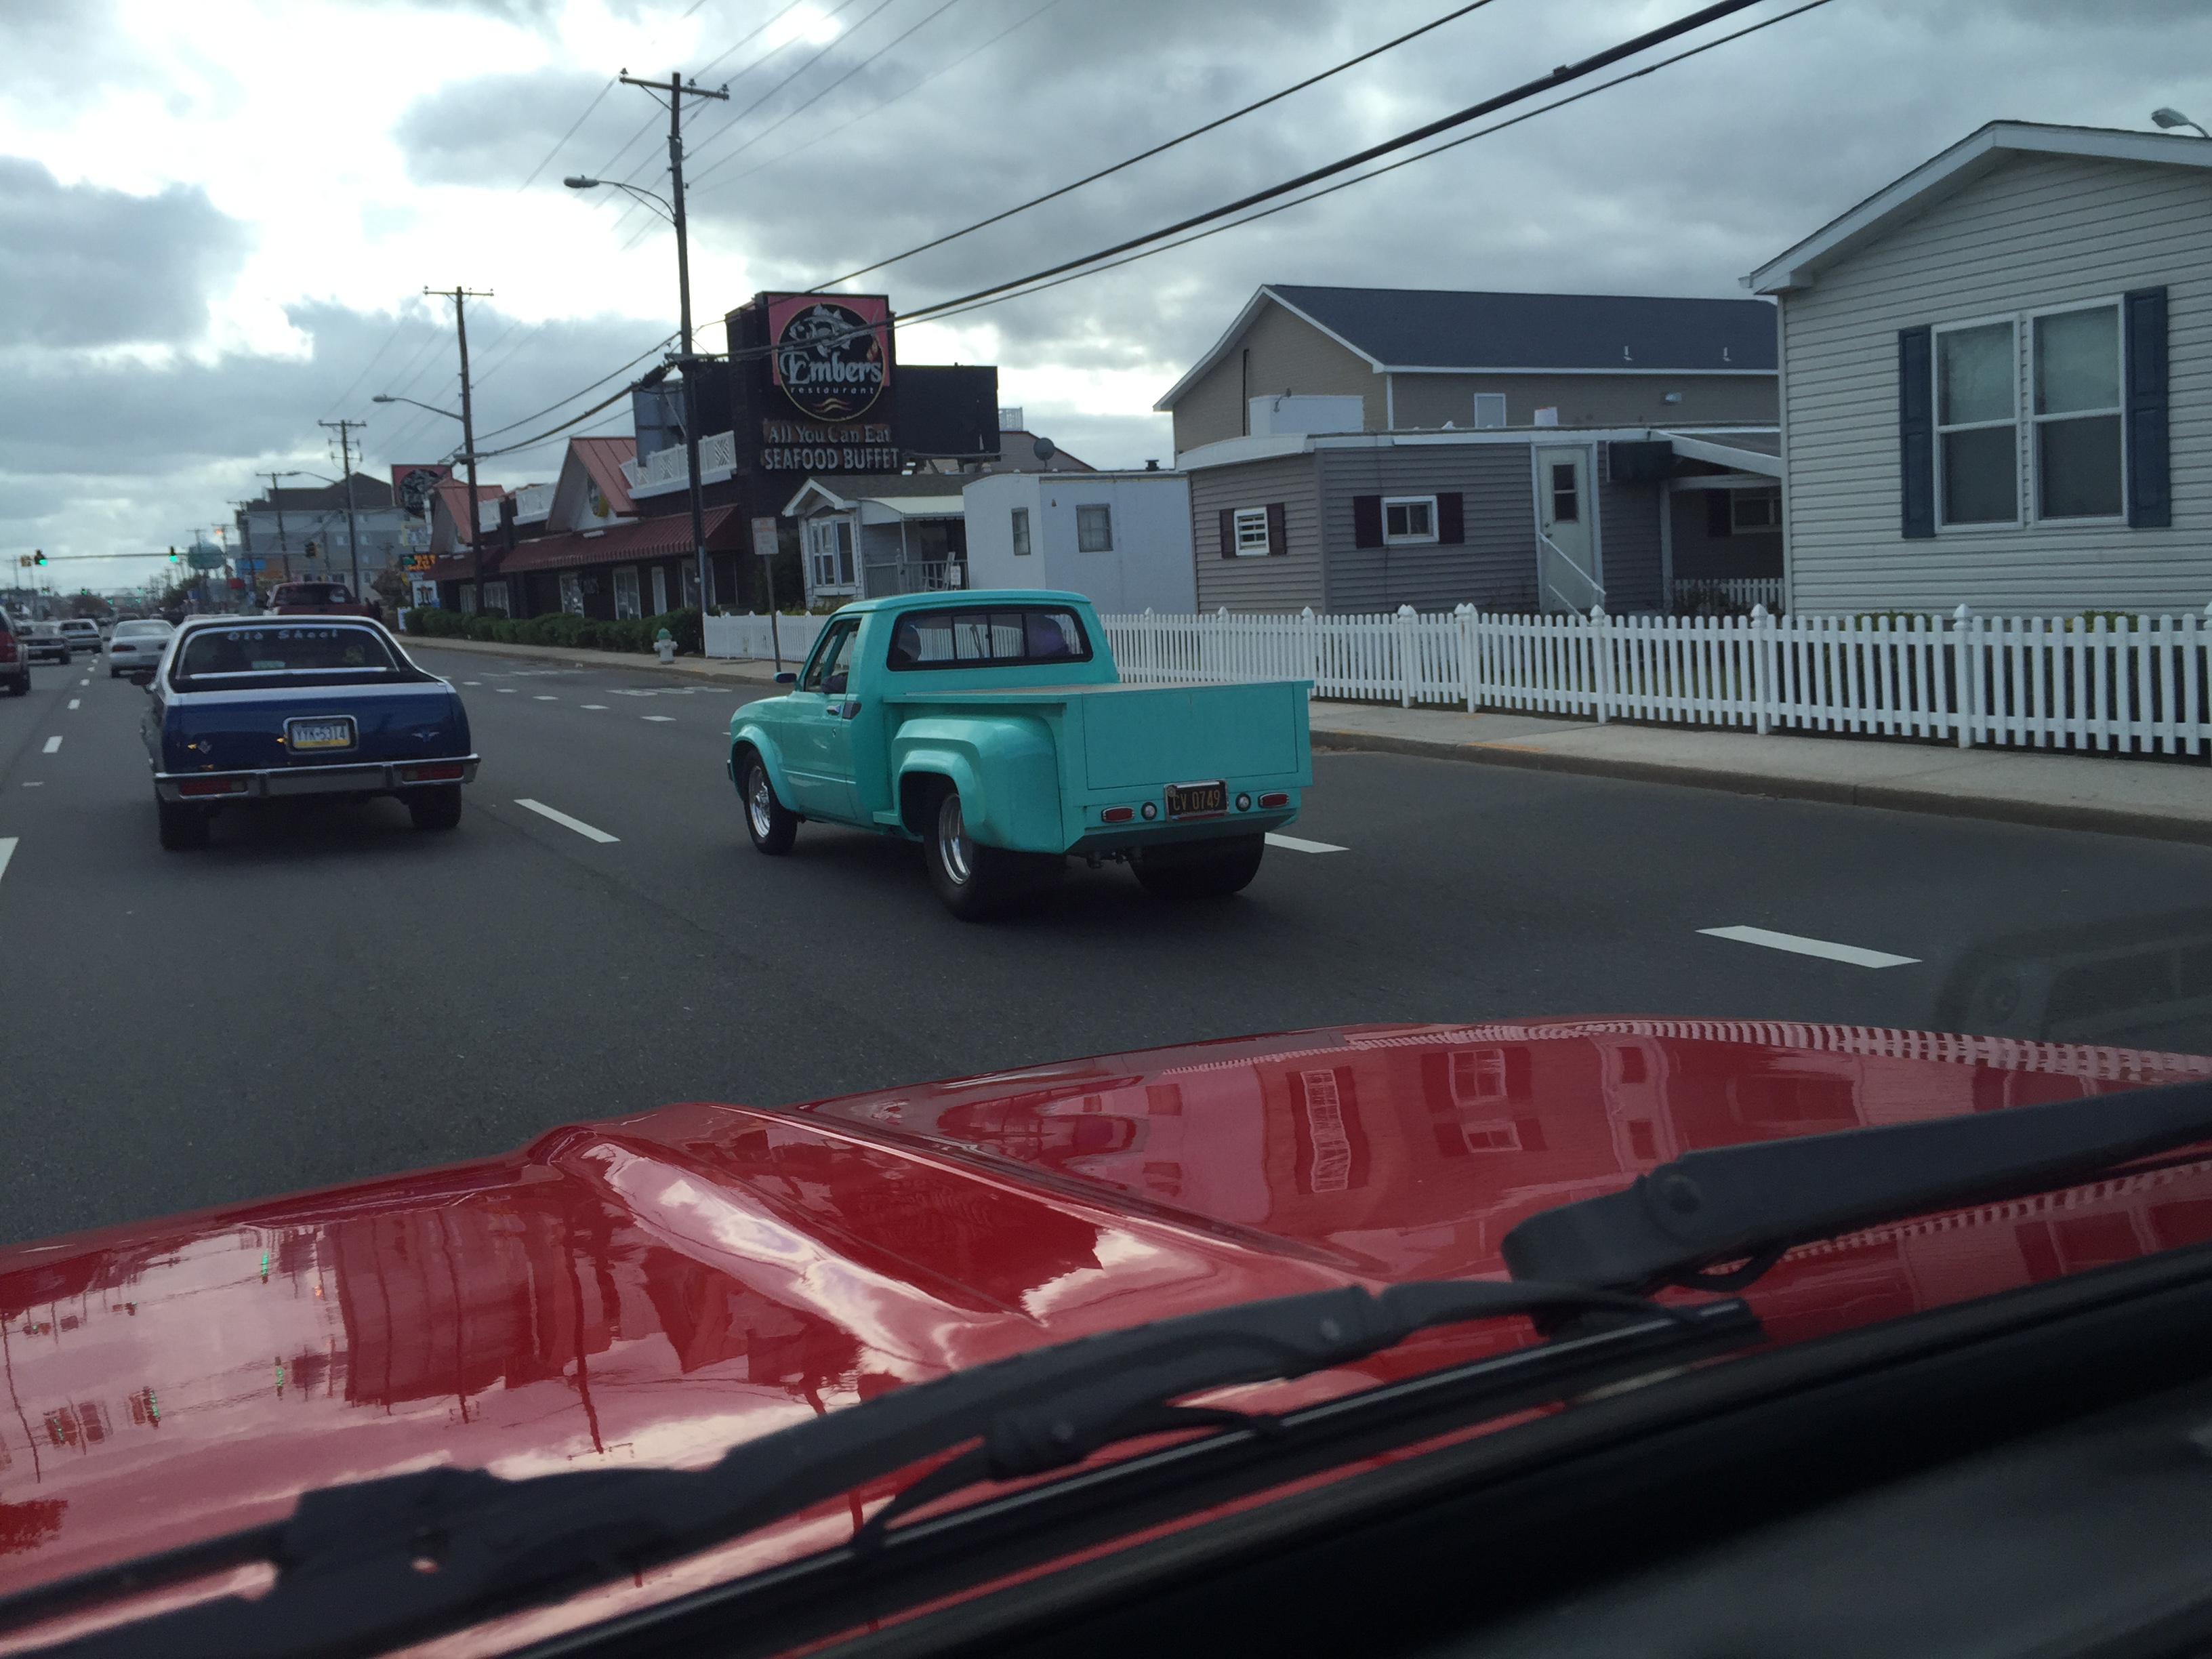

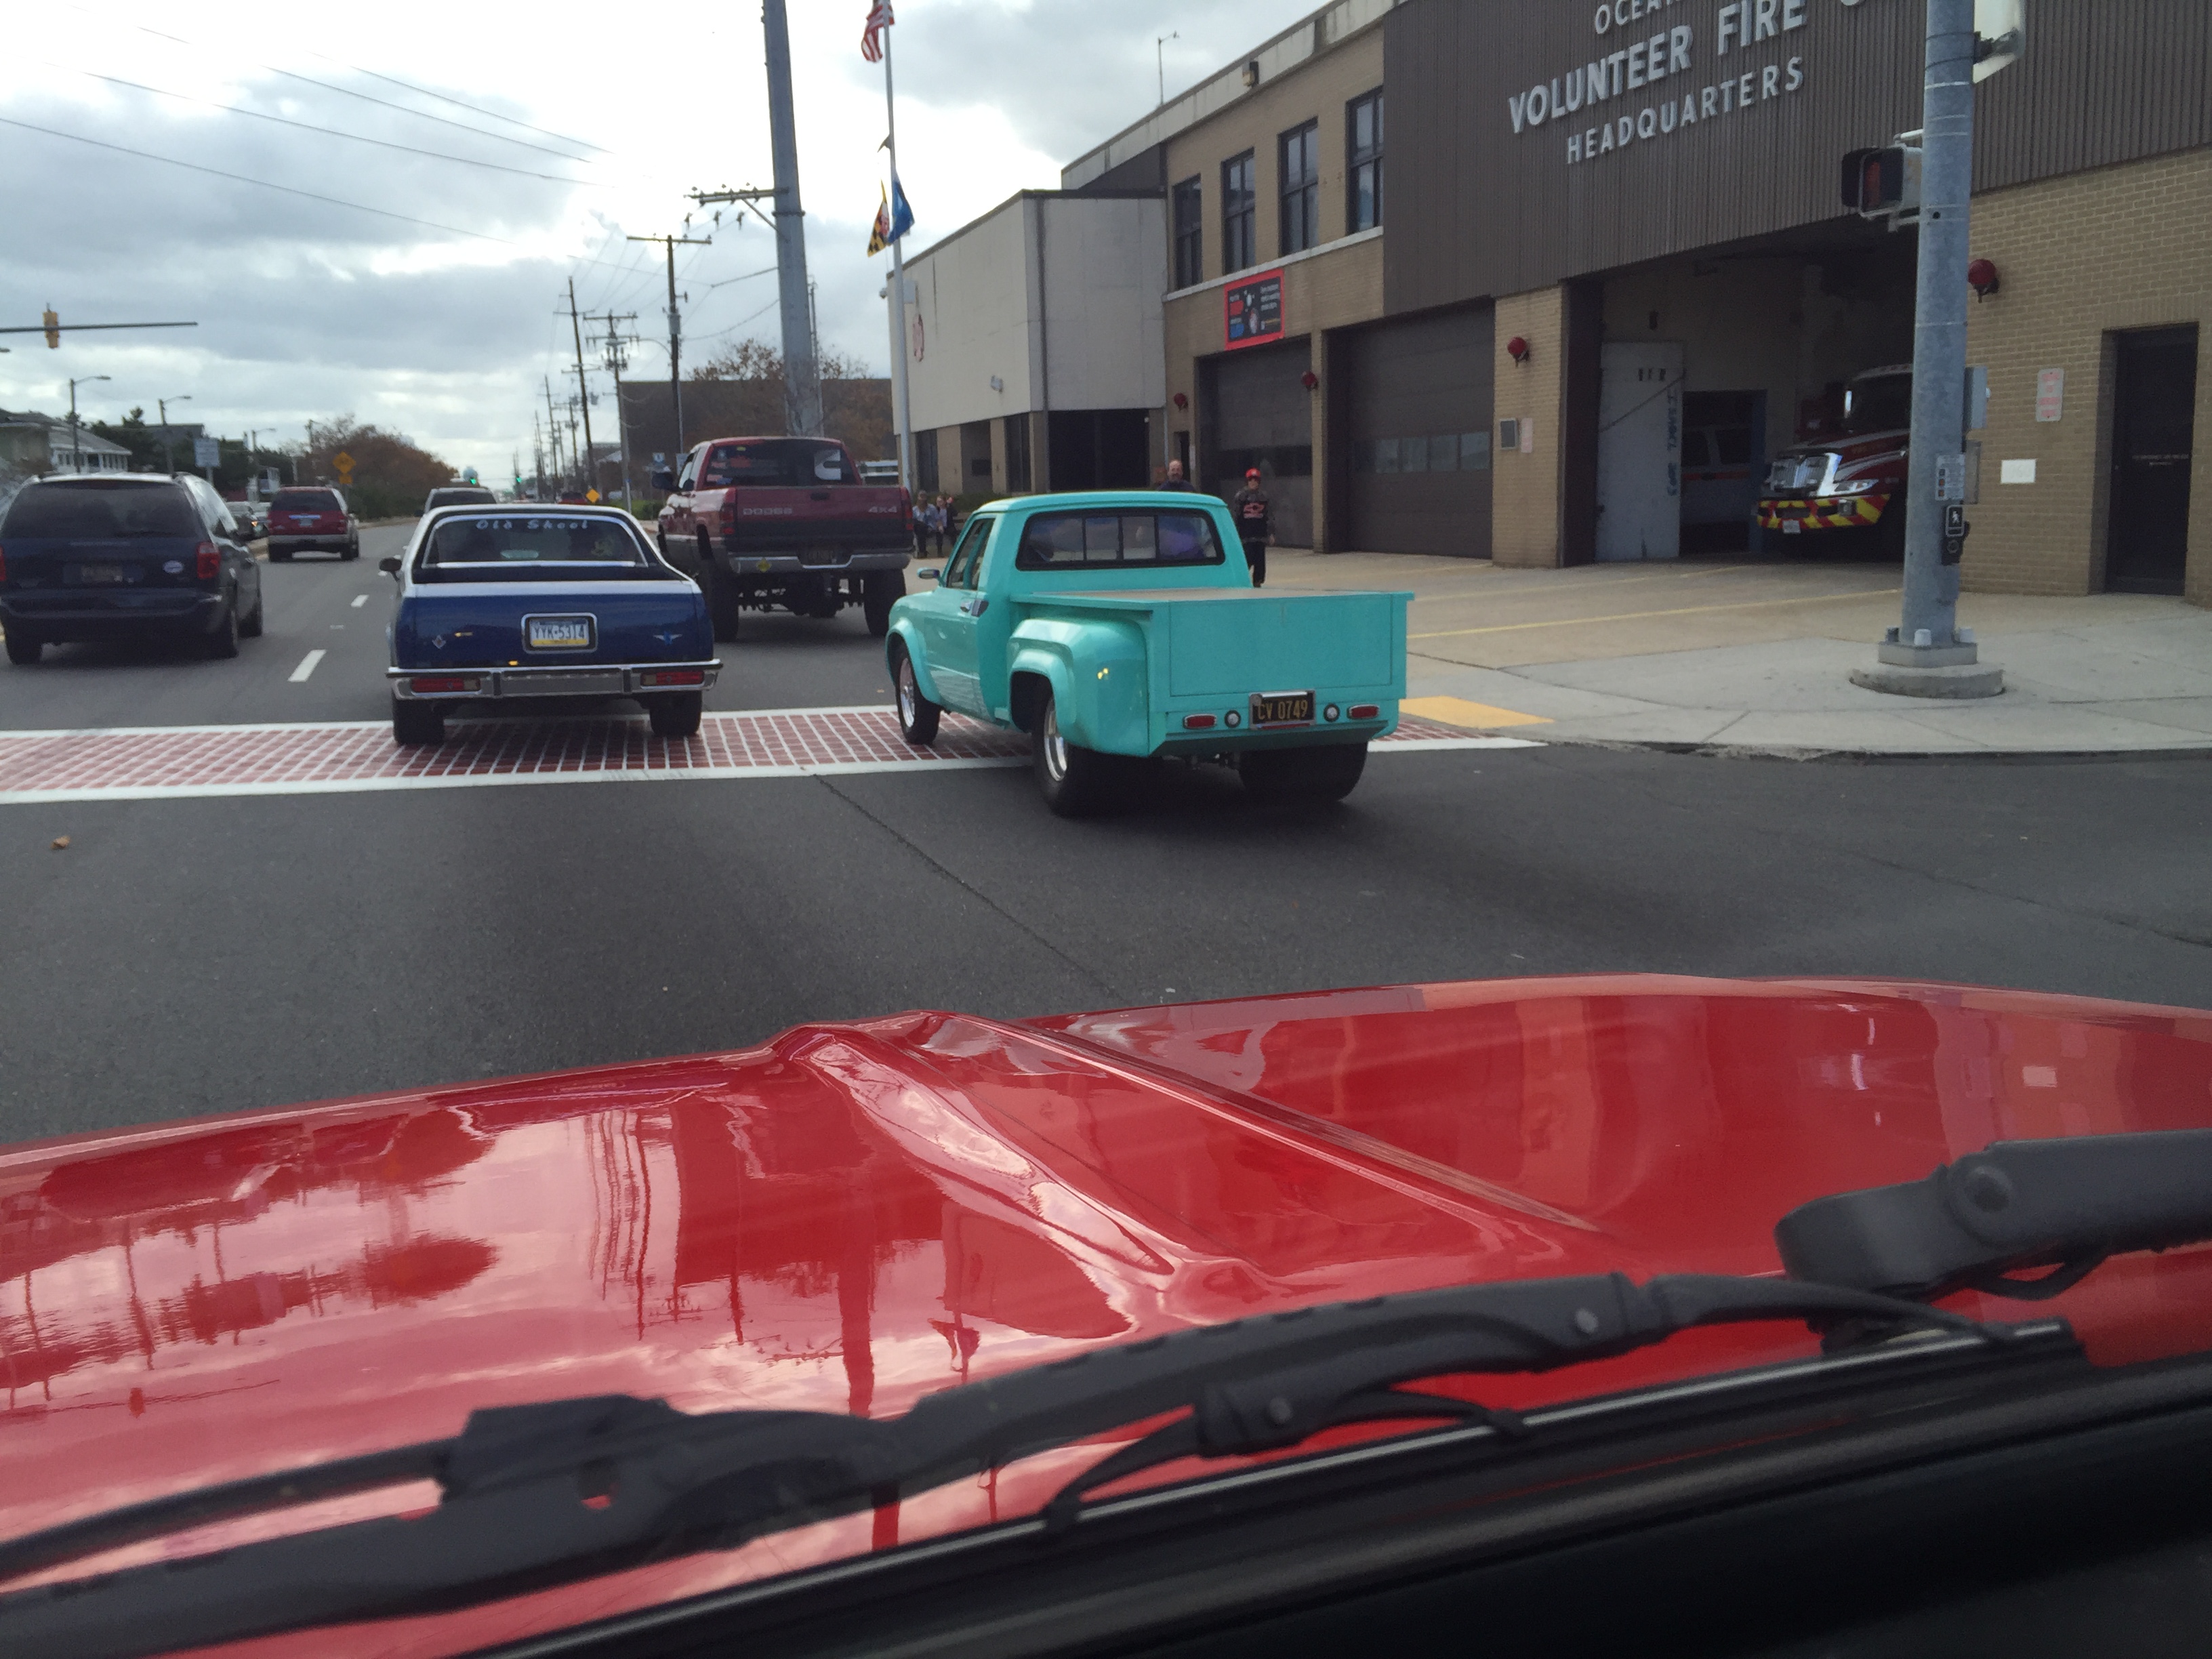
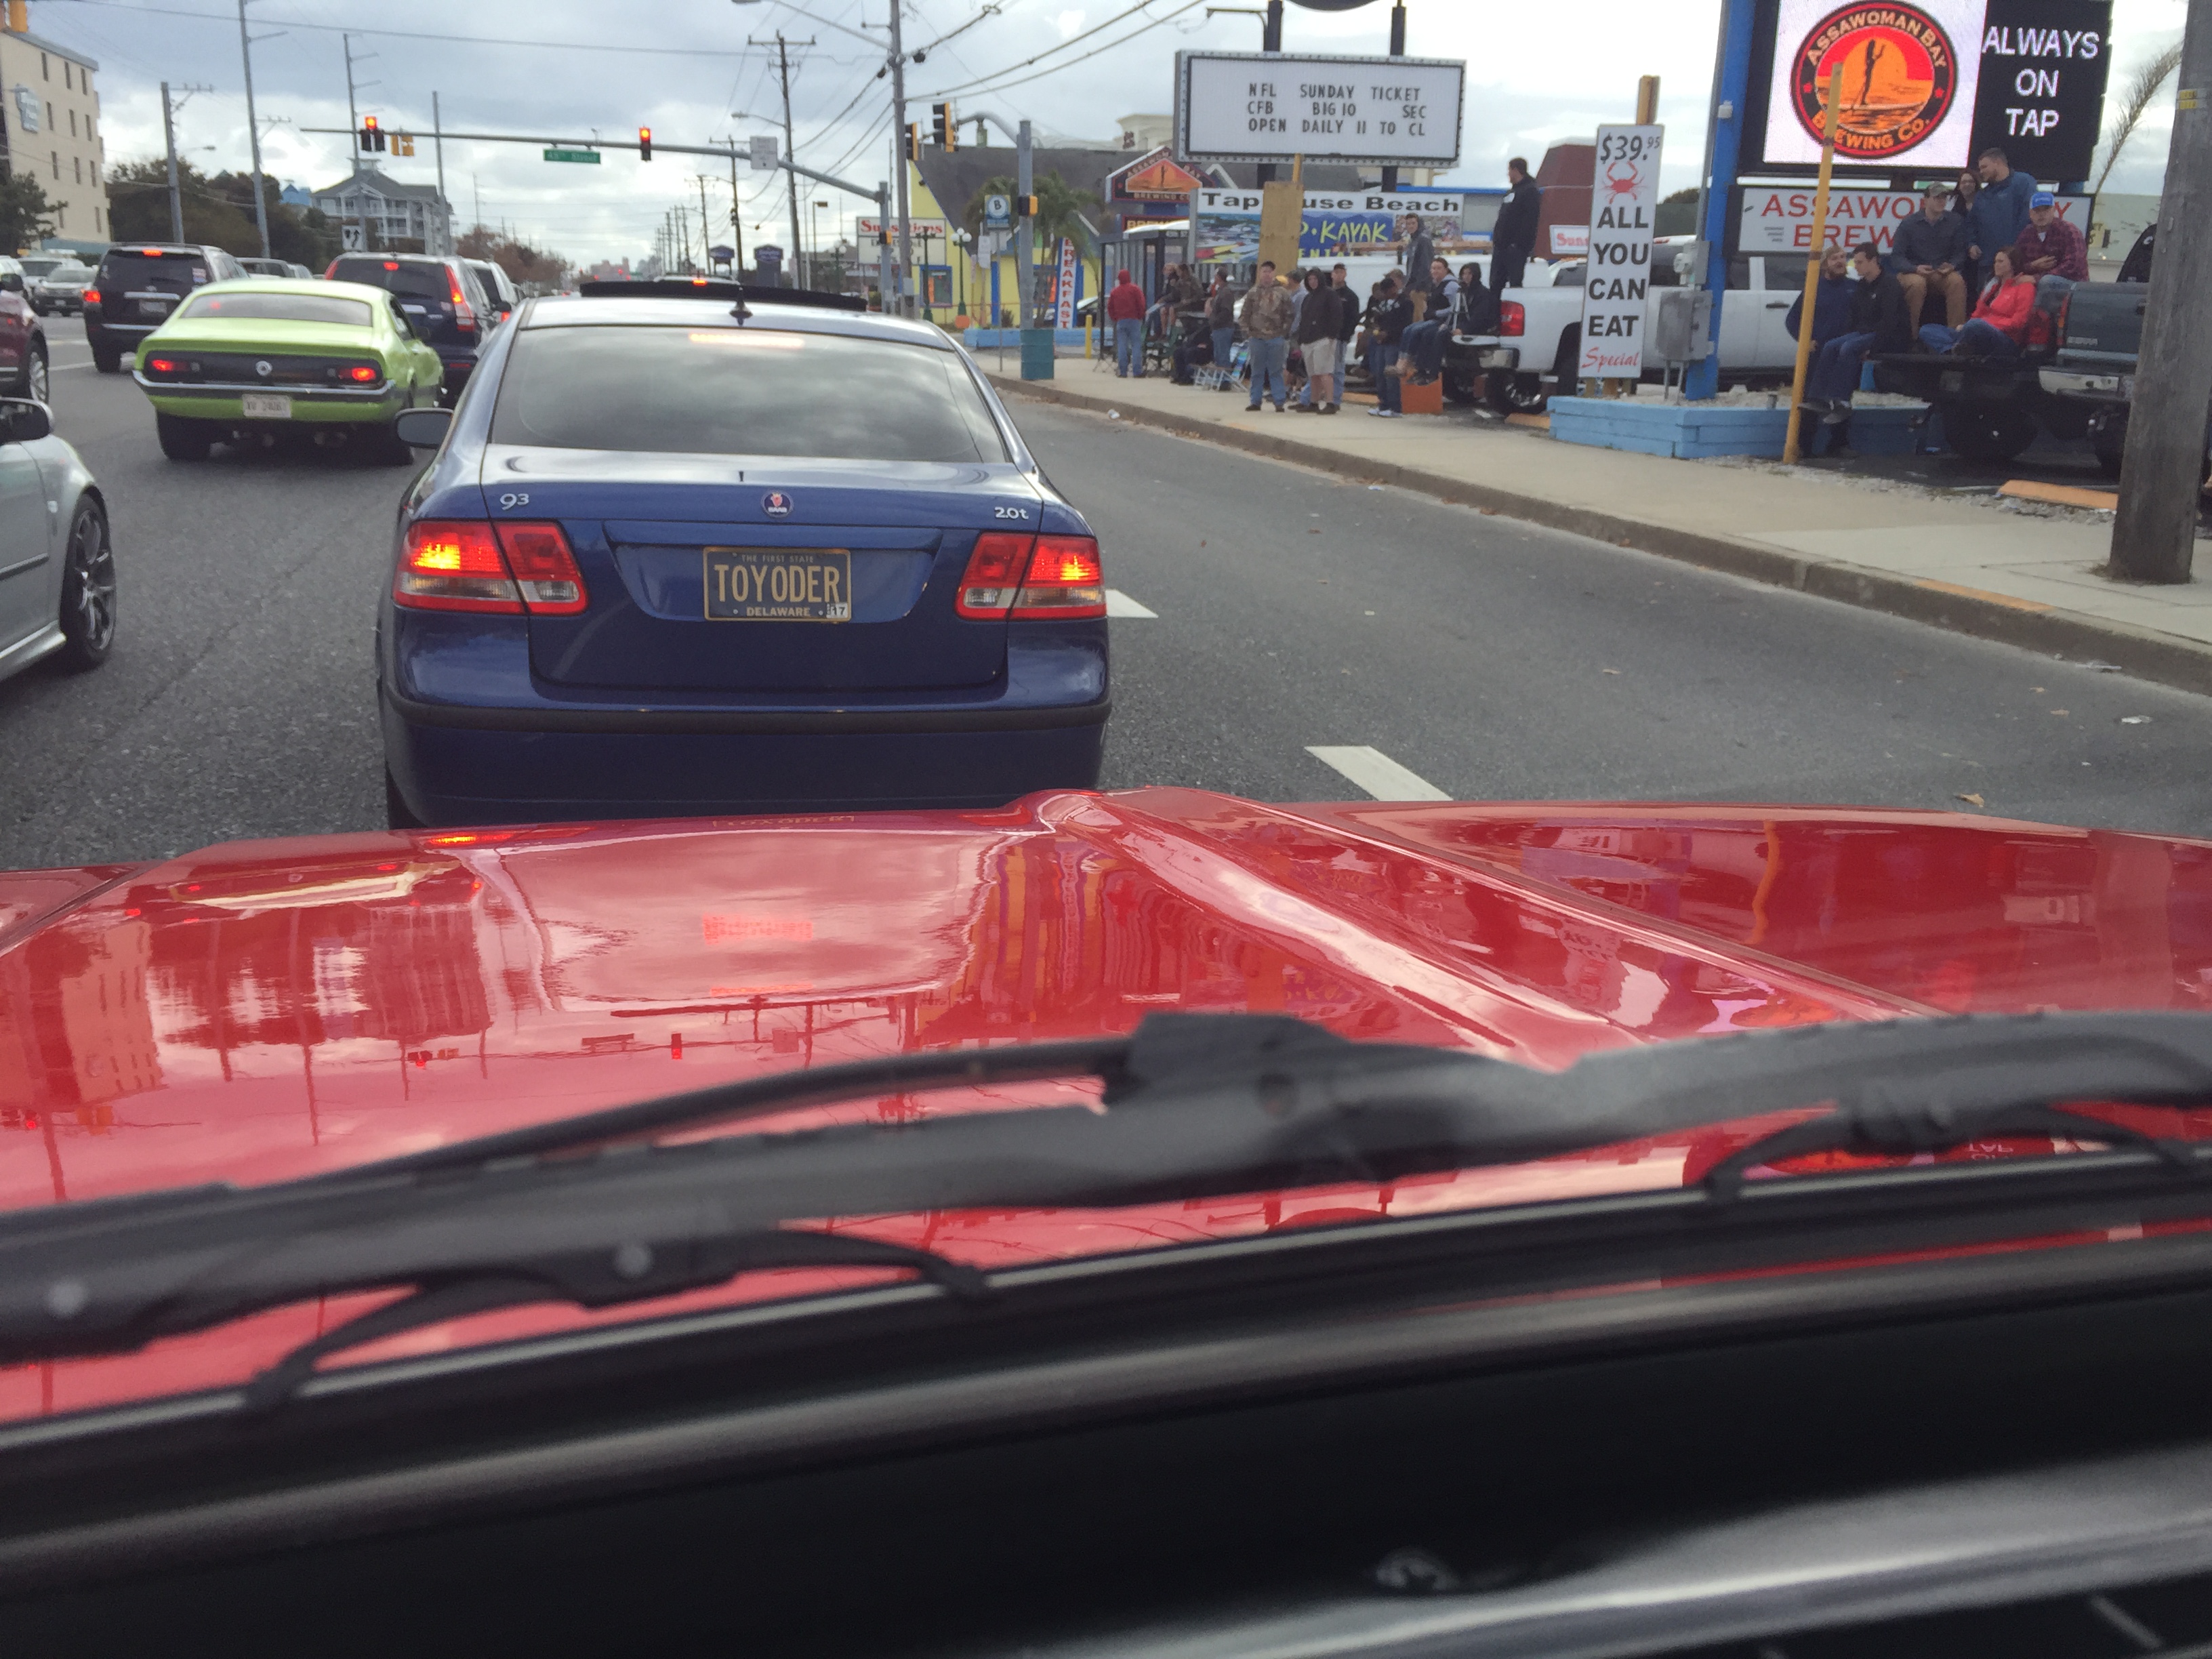
It wasn't a "real" Toyota, but still pretty neat! Then there was this confused driver....
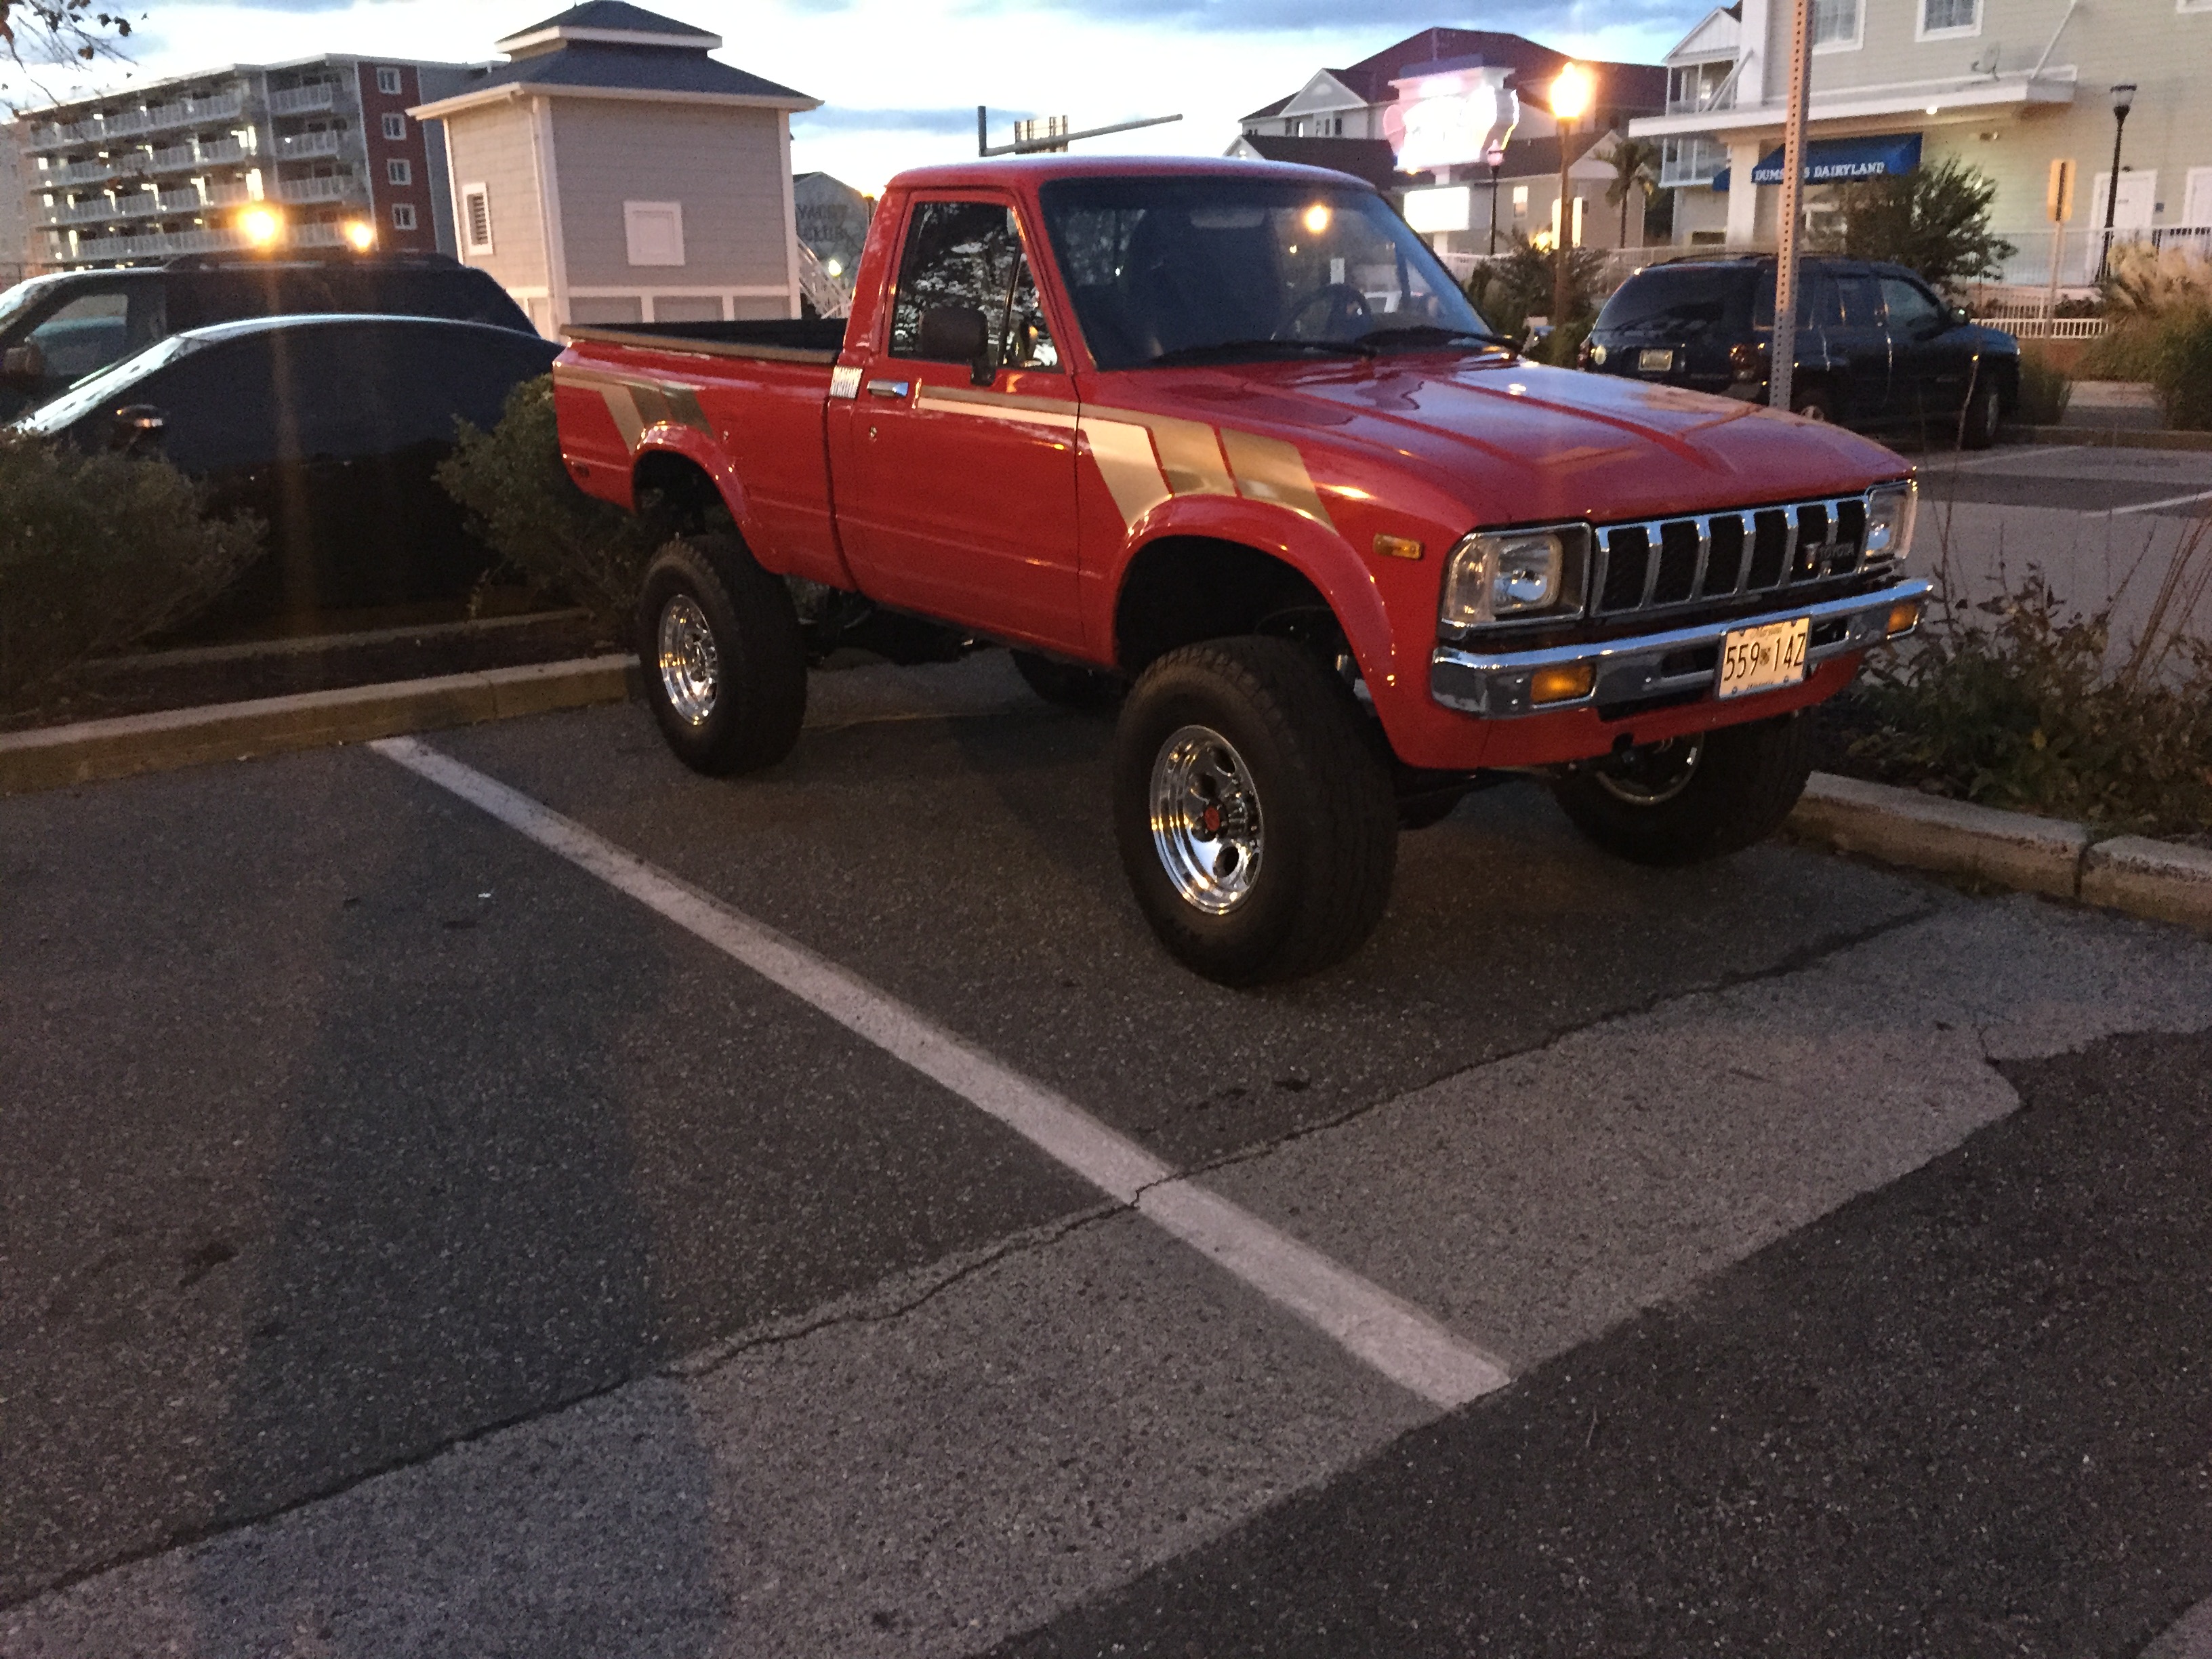
Before we went to the arcade, I snap a couple of twilight pics of my truck:
My son had an absolute ball in the arcade:

And ate a copious amount of ice cream:

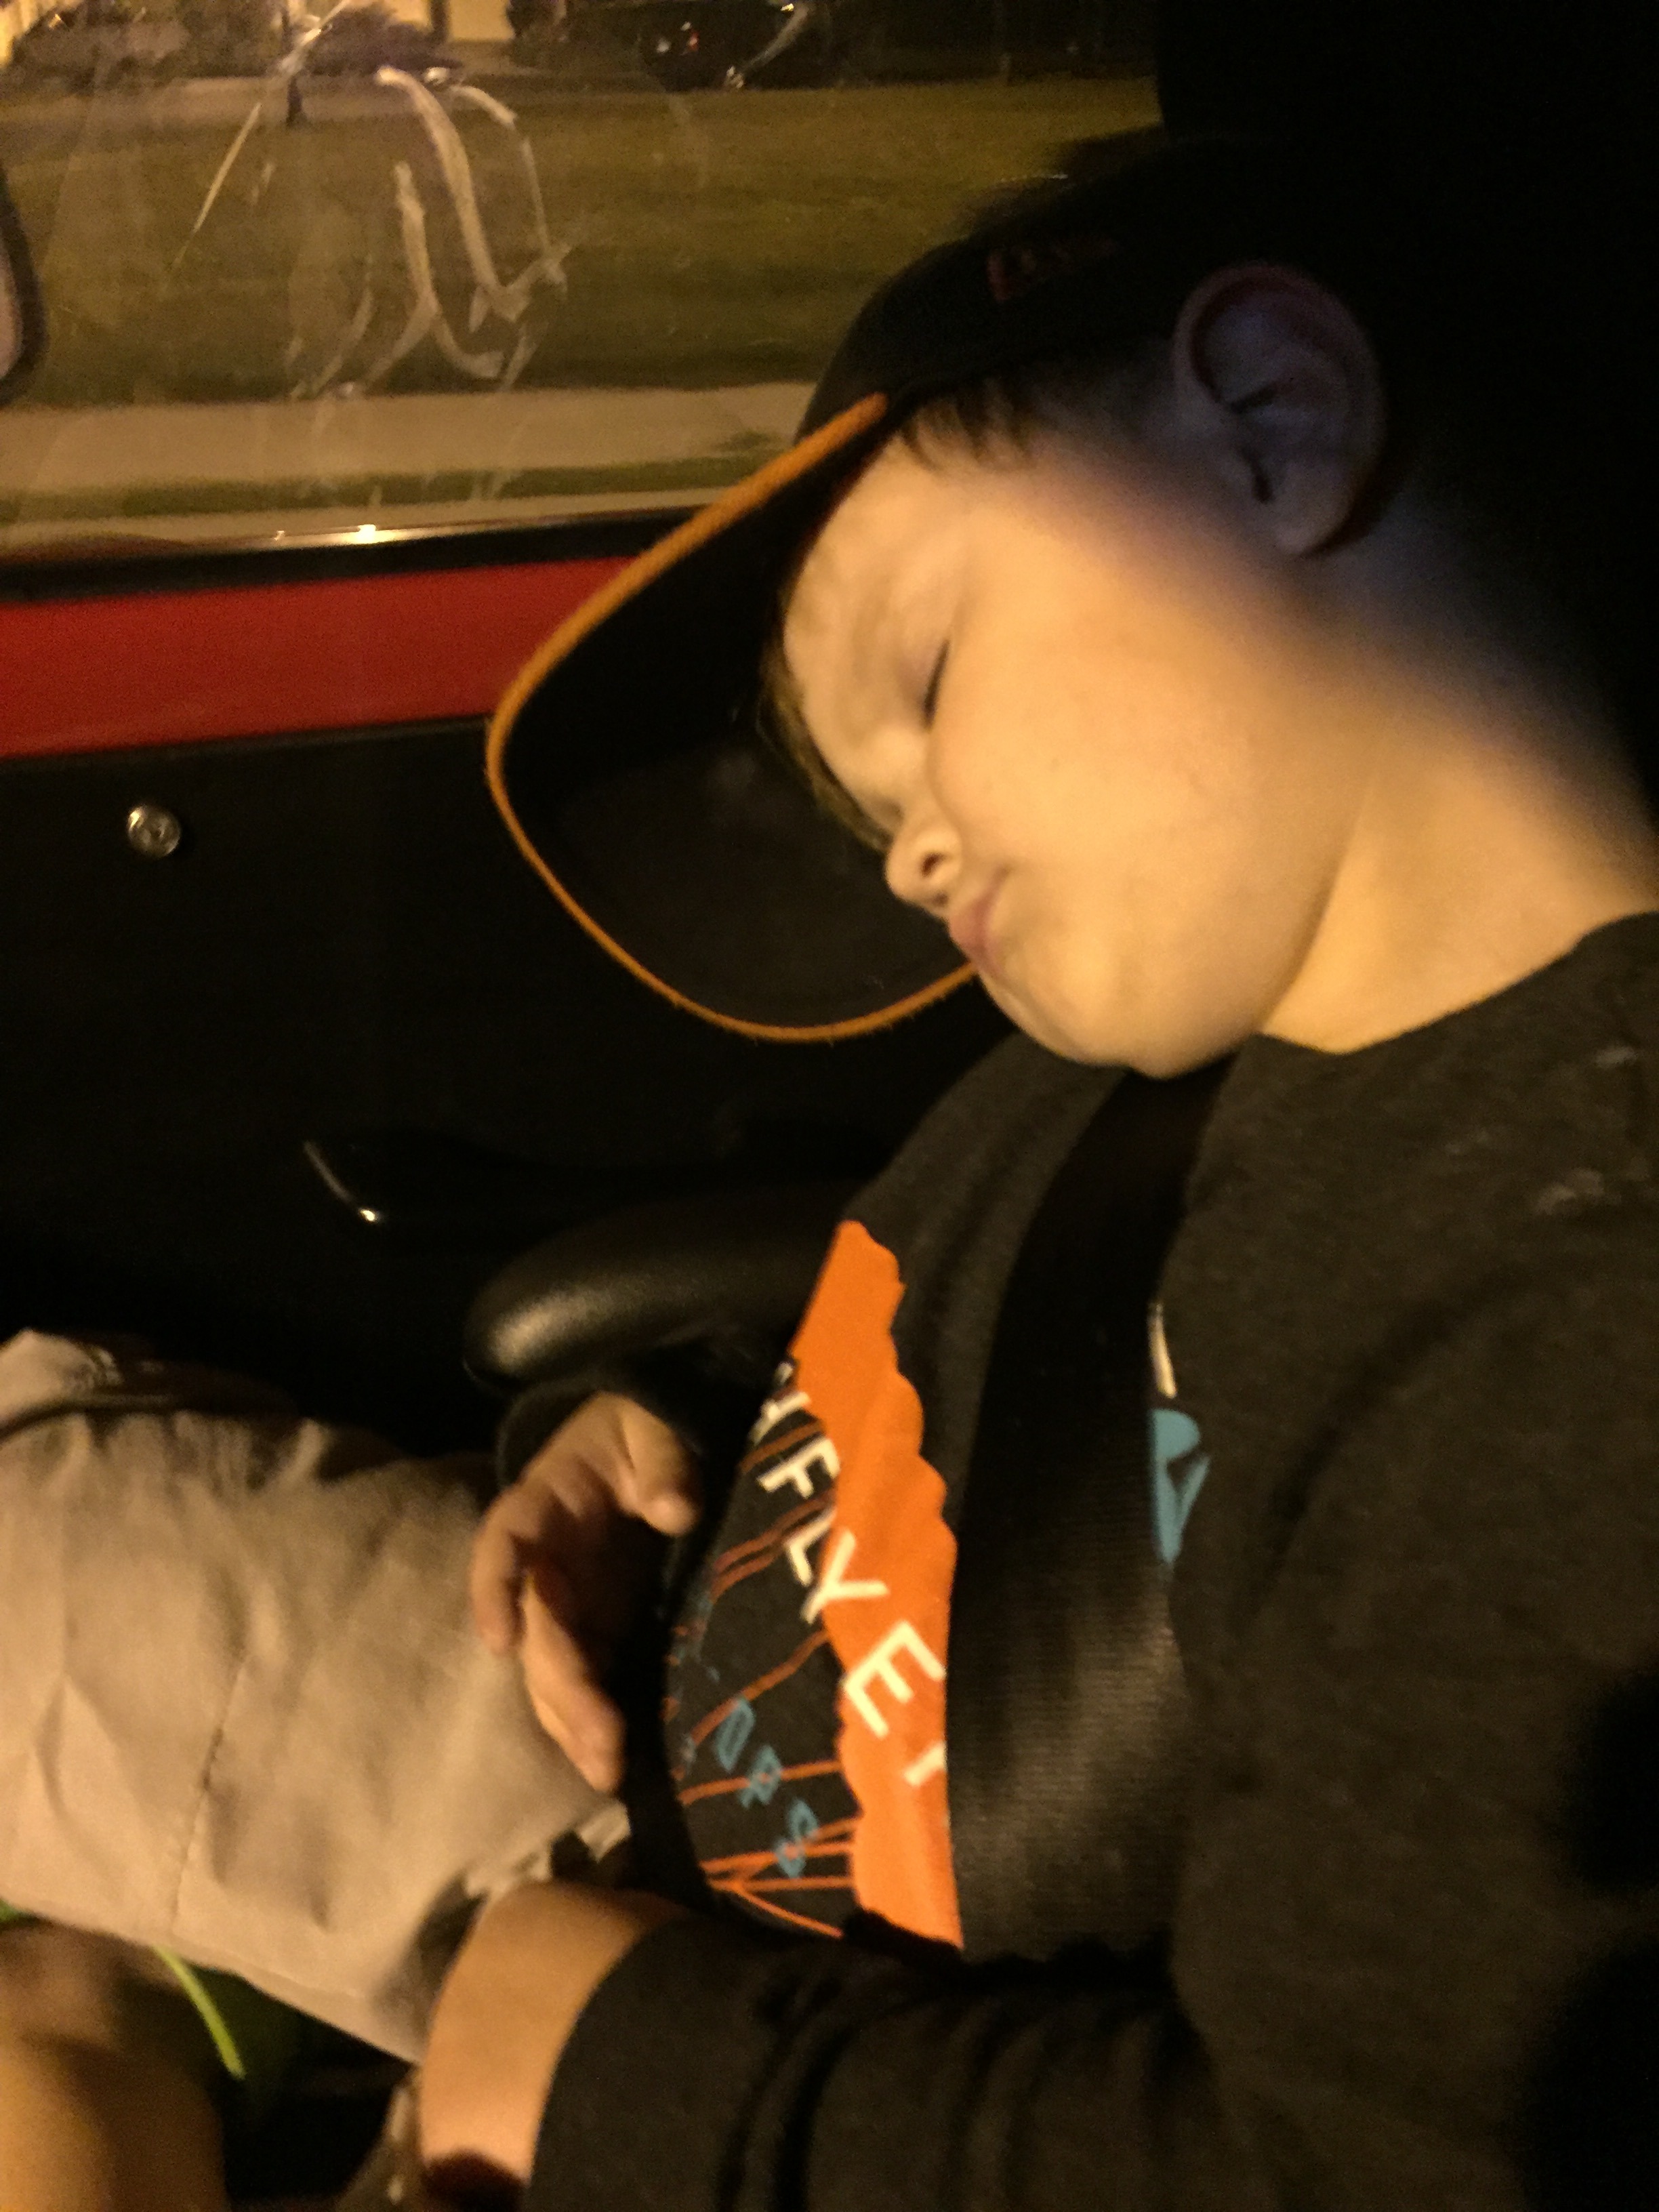
And as always, my shotgun rider is zonked out on the 30 minute ride home. These are the moments I live for as a father! It's great to know that she wants to share the same enthusiasms that I have.
This weekend pretty much marks the official end of the summer tourist season around here but in all, a great weekend!
FINALLY, I wasn't lone Toyota!! I drive about 15 streets (about a mile) behind this guy before I realized that it was a first gen pickup. Sort of an embarrassing moment given my Toyota knowledge and background. I pulled up next to him a stop light to chat for a bit. He wasn't a "Toyota guy," he just wanted something light to stuff the a fully built 405 with Ford rear end into for drag racing. And let me tell you...this thing was FAST!!! Look at the meat on those rear wheels...


It wasn't a "real" Toyota, but still pretty neat! Then there was this confused driver....

Before we went to the arcade, I snap a couple of twilight pics of my truck:


My son had an absolute ball in the arcade:

And ate a copious amount of ice cream:

And as always, my shotgun rider is zonked out on the 30 minute ride home. These are the moments I live for as a father! It's great to know that she wants to share the same enthusiasms that I have.

This weekend pretty much marks the official end of the summer tourist season around here but in all, a great weekend!
Oct 12, 2015 | 02:22 PM
#1337
The carb flooded the engine, I kept it floored to cleart he gas in the engine as the rpms climbed, then I started hearing rod knock and laid off the throttle, I think I was being too hard under the adrenaline to climb the pass, I can now hear rod knock after 2000 rpms. I'm still undecided wether I rebuild doing the strict minimum or swap to a known good block. I live in an appartment with no garage and I am trying to save money for house/garage so no full rebuild with all my good parts yet.
Oct 20, 2015 | 11:47 AM
#1338
Thread Starter
Super Moderator
iTrader: (3)
Joined: Jan 2012
Posts: 3,218
Likes: 26
From: Salisbury, MD
Last week I refueled after the first full tank with the Weber 38. I ended up getting 20.35 mpg (after correction for tire size) on that tank. The driving was about a 50/50 mix of highway and city driving. So far, I am pretty impress with the power gains AS WELL AS the fuel economy with the Weber 38. I still may be able to suck a little more MPG out of it as I have not quite got the carb leaned out to where it needs to be.
This past weekend, I also started working on fabricating some new seat brackets. The ones I originally made for my Corbeau seats didn't have enough angle to them so my butt was falling asleep while I was driving and they were just overall sitting at an uncomfortable angle. I measured the angle of my Tundra seats and designed some new seat brackets that tilted the seat up about 8* from level. Cut out some steel and welded it up!
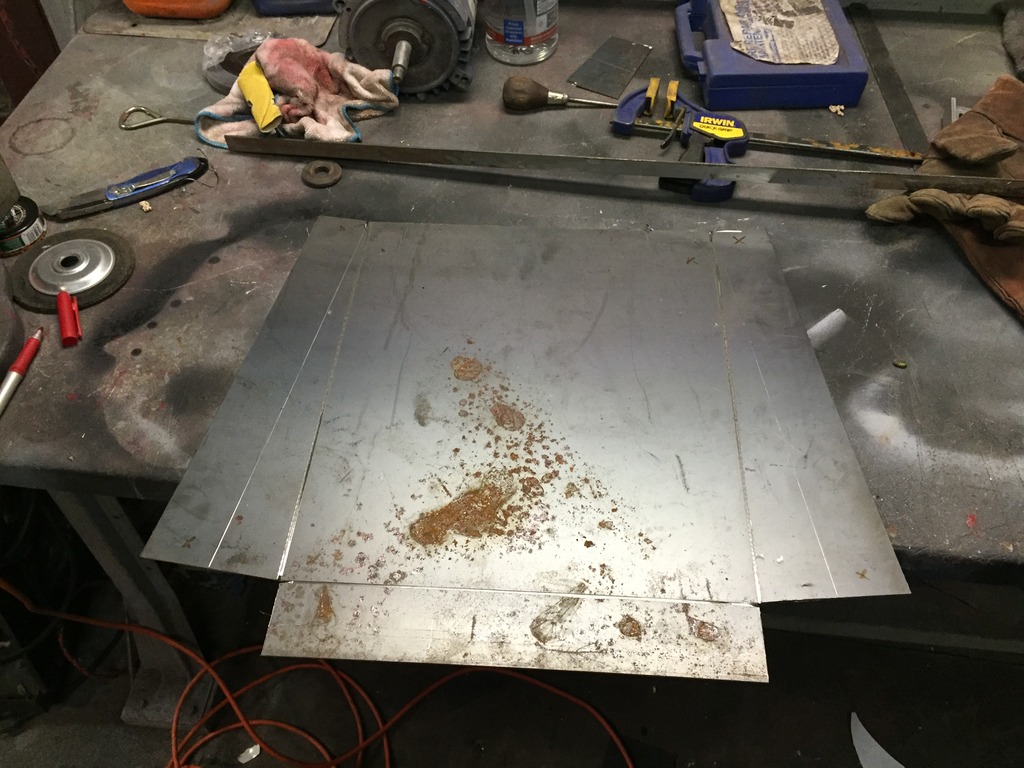
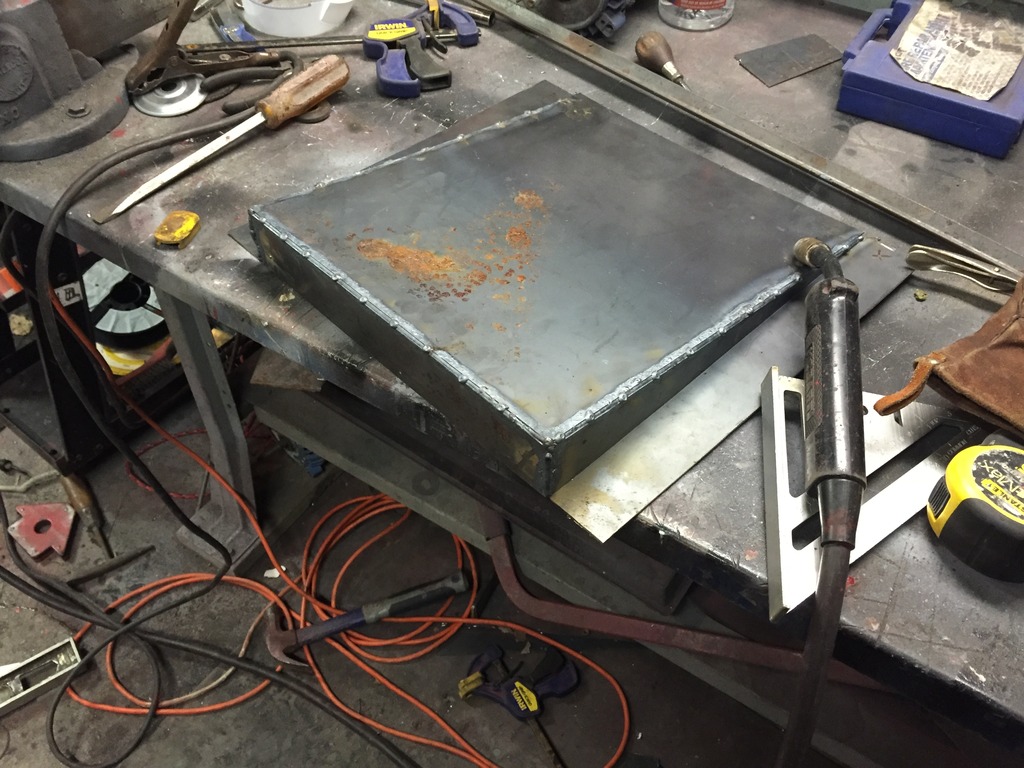
I ended up running out of argon gas while I was working on the brackets, but I did get enough done to do a little test fit on the driver side. They are SOOOO much more comfortable now! The design is much better now too. Just have to cut out the passeneger side, do some final welding, some powdercoat and we're good to go!
Oct 21, 2015 | 07:35 PM
#1339
Thread Starter
Super Moderator
iTrader: (3)
Joined: Jan 2012
Posts: 3,218
Likes: 26
From: Salisbury, MD
Finally found a 89-95 rear bumper!!! Should be here next week. I'll have to fabricate some custom brackets to mount it, but I'm super stoked about getting it done. Not having a rear bumper and seeing the old brackets hanging off the rear of my truck has really bothered me for a while. Soon I will have the completed look I have wanted
Oct 22, 2015 | 02:11 PM
#1340
Registered User
Joined: Sep 2014
Posts: 2
Likes: 0
When I bought my 82 SR5 4x4 I remember drooling over a dealer add-on step-bumper that was oval shaped. I didn't get it and ended up with a Smitty-Built dual tube bumper (3 inch tube) a couple years later.
I was inspired by your build, you did a great job documenting it. I plan to start on mine next year. I've been gathering parts. What really excited me was when I located a brand new OEM dash pad same color as my interior. I didn't think there were any to be had. Your truck looks Great!! You haven't seen replacement fuel tanks by chance in your searching have you??
I was inspired by your build, you did a great job documenting it. I plan to start on mine next year. I've been gathering parts. What really excited me was when I located a brand new OEM dash pad same color as my interior. I didn't think there were any to be had. Your truck looks Great!! You haven't seen replacement fuel tanks by chance in your searching have you??


