
Project: 86 p/u sas/om617 diesel swap
 Mar 27, 2012 | 06:11 AM
#182
Contributing Member
Joined: Mar 2003
Posts: 11,334
Likes: 0
From: COTKU,Ontario,Canada
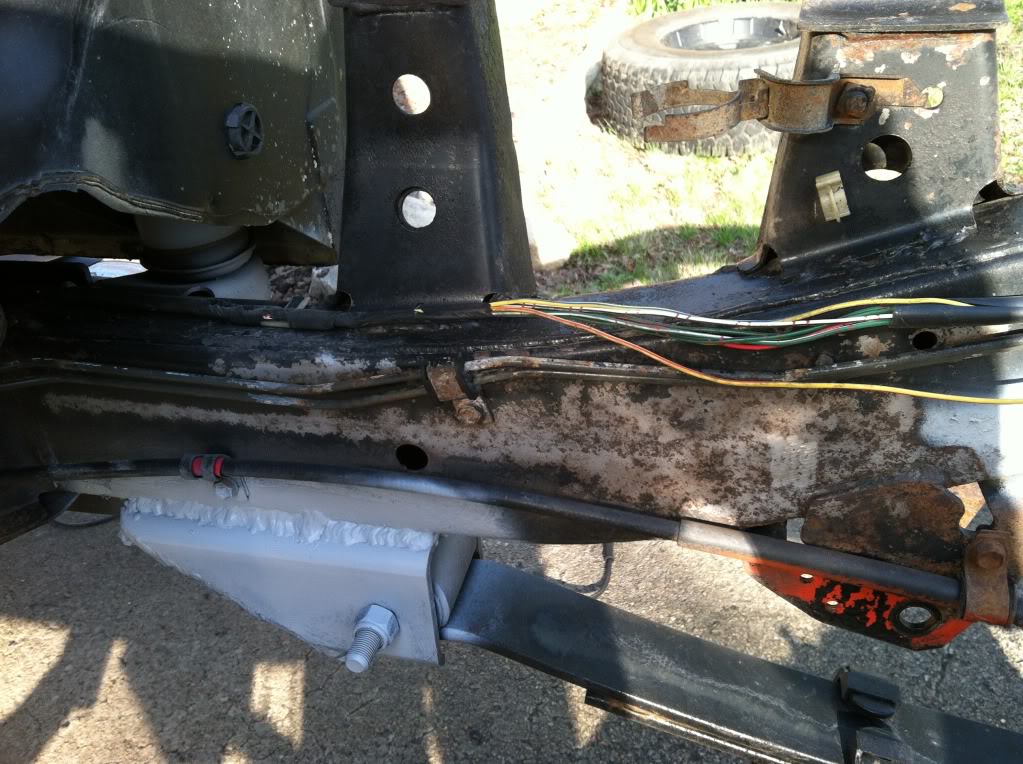
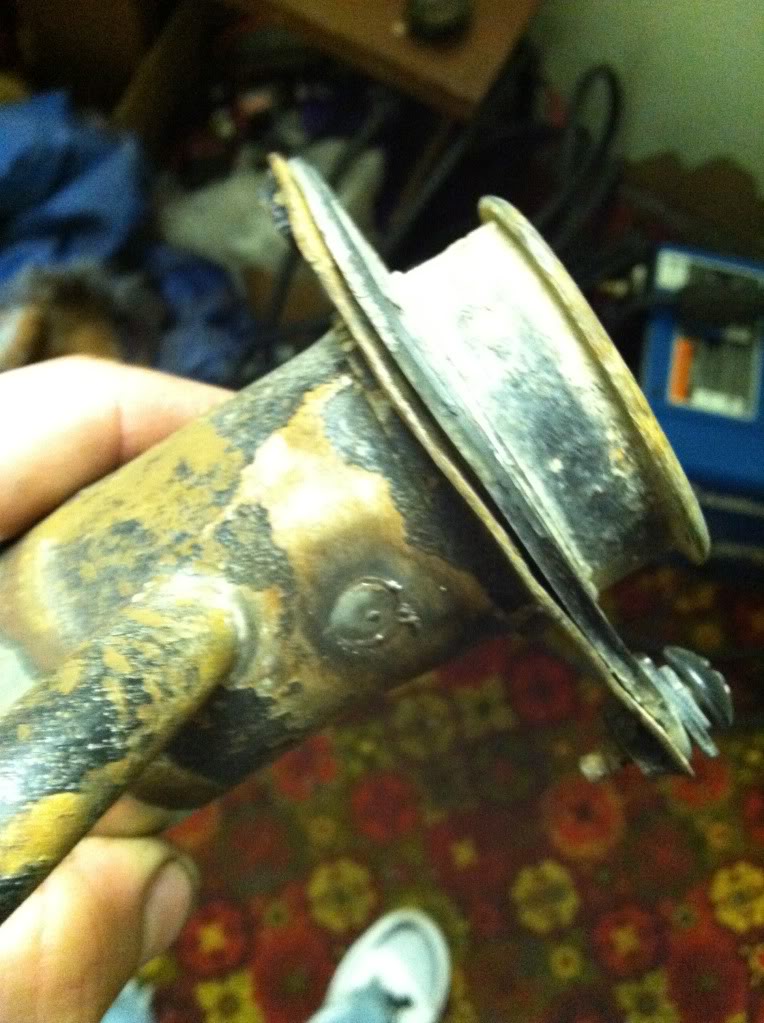
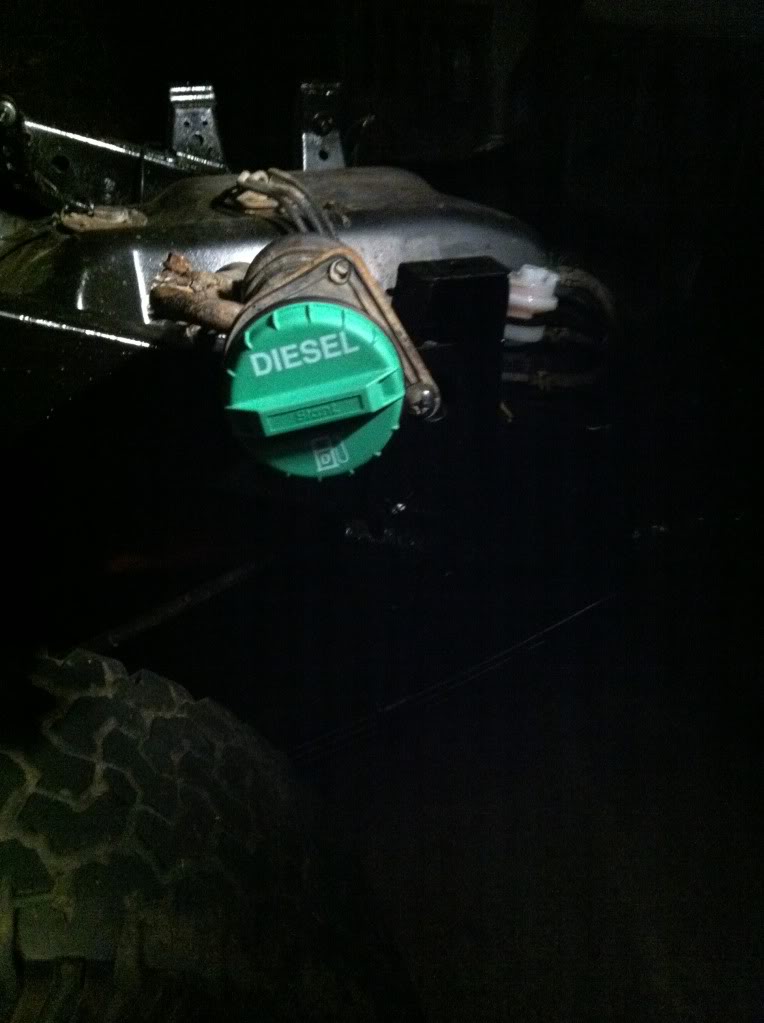
3rd wire might be the one for the low fuel idiot light [that never seems to work on half the trucks these days for some reason... I have one and it's never worked... on 89-95 trucks w/tach it is a little red led type thing just to the right of E (nuff) (lol) in the fuel gauge... you can see it [rectangle] if you look closely at the cluster.
or it could be for the fuel pump... if you have fuel injection you've got a pump... carb no pump... the tank may not be original and may have a pump even if you are running carb the doofus who was PO may have mistakenly done something thinking all the wires on the thing had to be hooked up... you're darn lucky you did'nt blow up buddy...
or it could be for the fuel pump... if you have fuel injection you've got a pump... carb no pump... the tank may not be original and may have a pump even if you are running carb the doofus who was PO may have mistakenly done something thinking all the wires on the thing had to be hooked up... you're darn lucky you did'nt blow up buddy...
Mar 27, 2012 | 09:01 PM
#184
Thread Starter
Registered User

Joined: Jan 2010
Posts: 610
Likes: 0
From: Nebraska
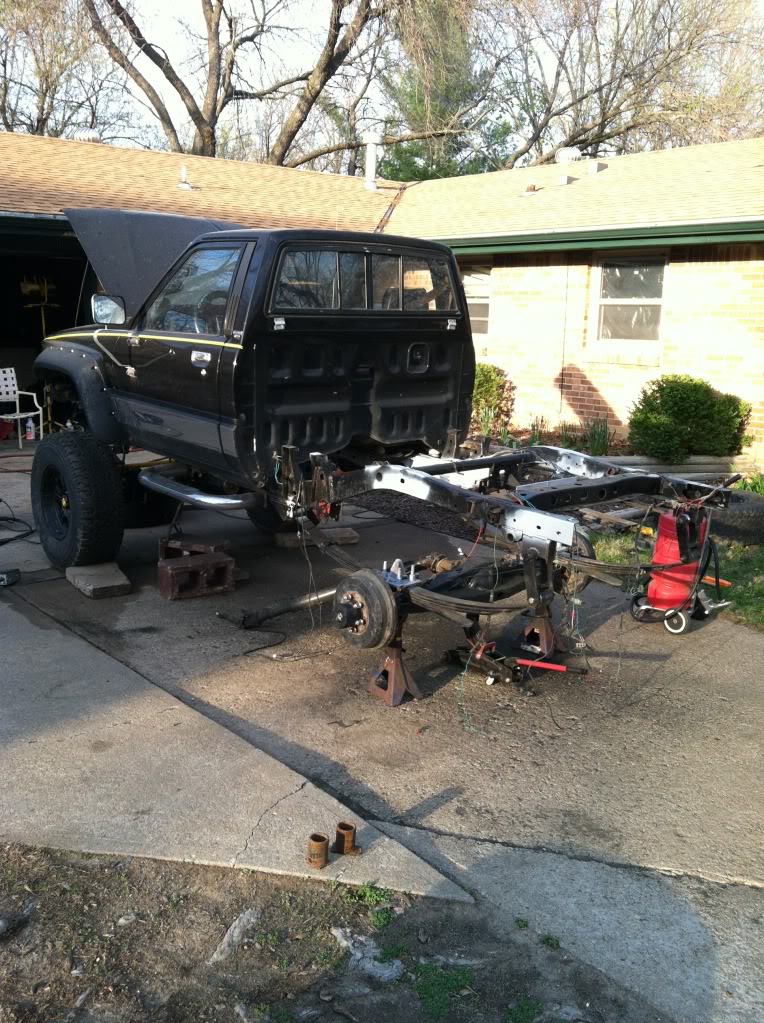
Back from spring break and hittin this sucker hard so I can hopefully have a running truck by April 14th!!! I can figure out the power steering and A/C later. I might just use the stock merc alternator for now, and now I'm thinking I'm pry gonna use a GM alt instead of the yota one.
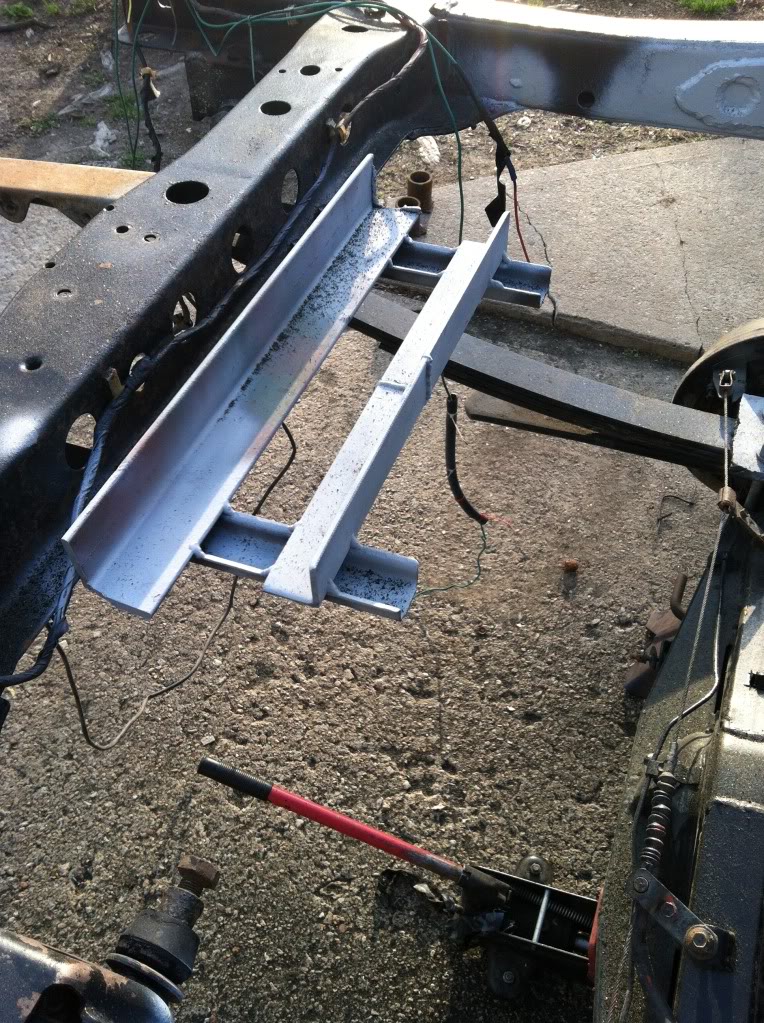
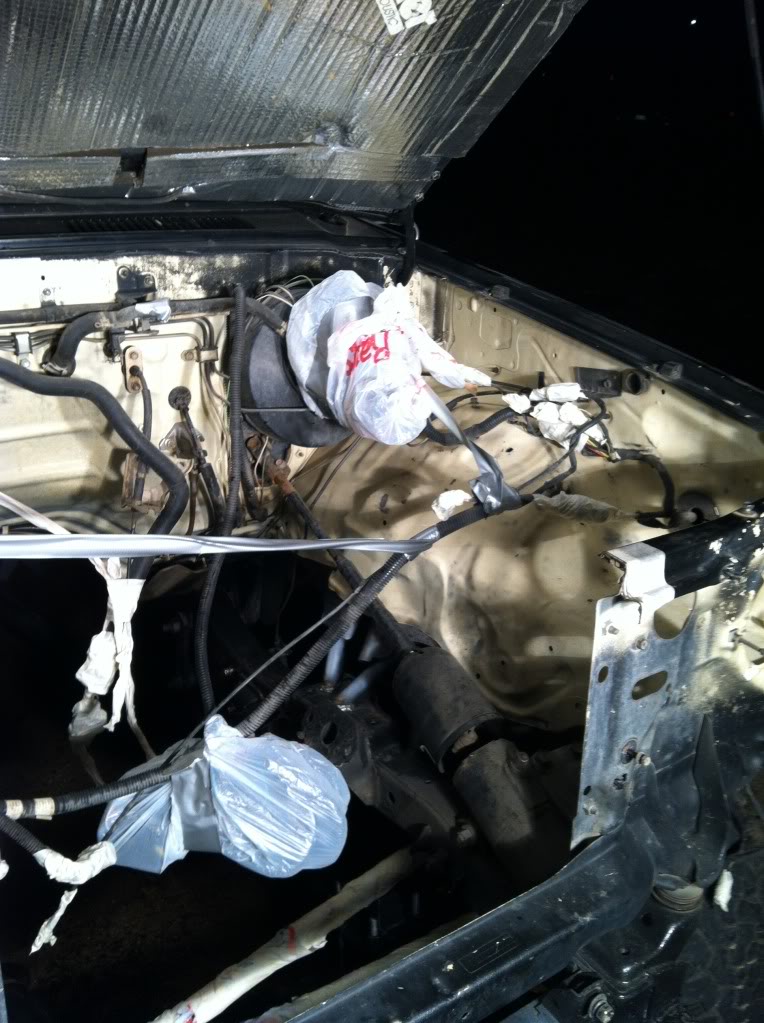
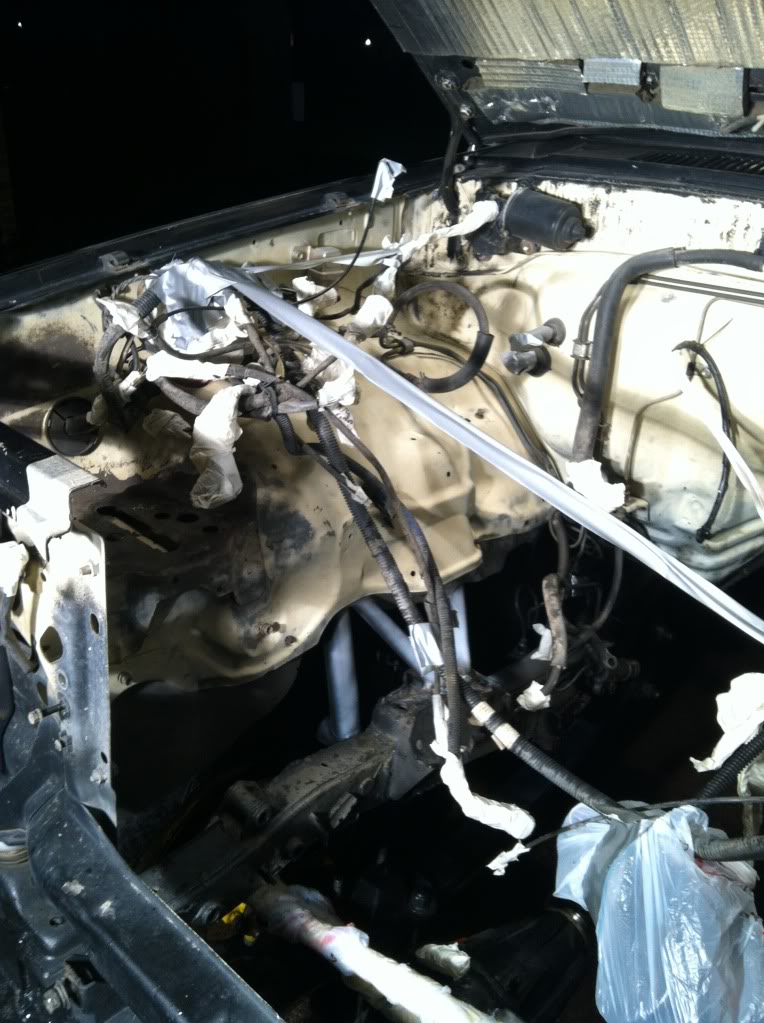
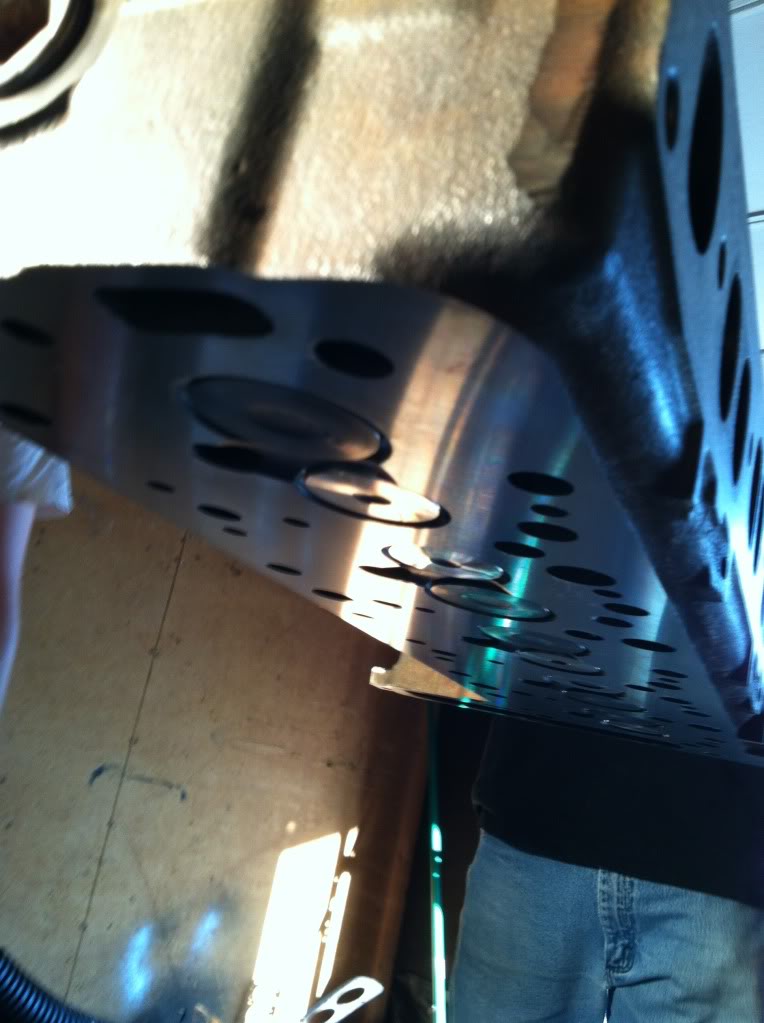
I didn't really throw a lot of updates up because stuff wasn't progressing very fast, but I took the bed off before break and today I filled in a bunch of unnecessary holes with the welder and ground them down, then sand blasted all rusty spots, finished welding my chevy spring hangers (SOOOO much better with the bed and gas tank off!), removed my ZUK mod hangers and old bump stop remnants and started my rear shock tower. Also sand blasted some of the engine bay, removed the LSPV from the brakes but left that extra line there in case I want it back. Self-etch primered everything. Now to give this stuff it's due, I was sand blasting my spring perches so I could finish welding them, and the rustoleum came right off but I could barely get that primer off. GOOD STUFF!! Also finished welding my shock towers. Helluva lot easier with no engine in there
The to do list this week assuming all my parts get here and the machine shop has my head done finally is:
POR-15 engine bay and rear frame
Install bed
Assemble engine
Fire engine then change fluids
Install engine with tranny hooked up
Make motor mounts
Route lines and figure out cooling and throttle and wiring
DONE!
Later I'll make the front drive shaft, do the interior etc.
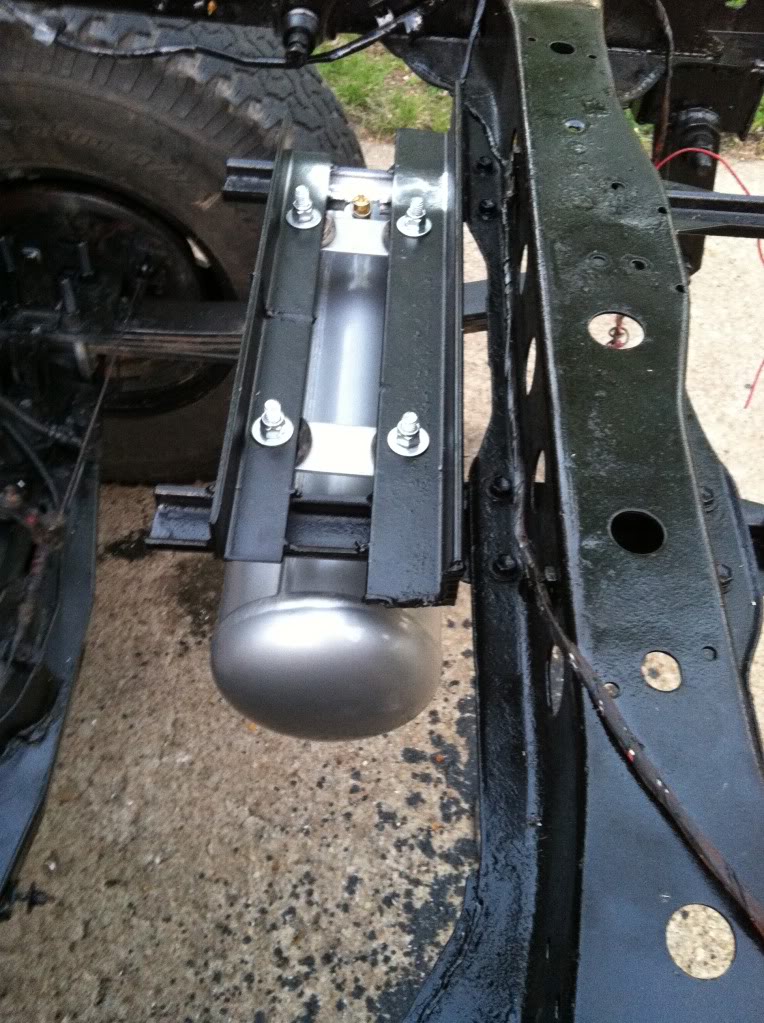
One more fun thing that came today was my On Board Air kit. Looks friggin sweet. I removed my spare tire carrier and put some mounts for the air tank there. Should fit real snug, and I can put another 2 gal tank behind it if I ever want to. Could actually probably go 5 gal.
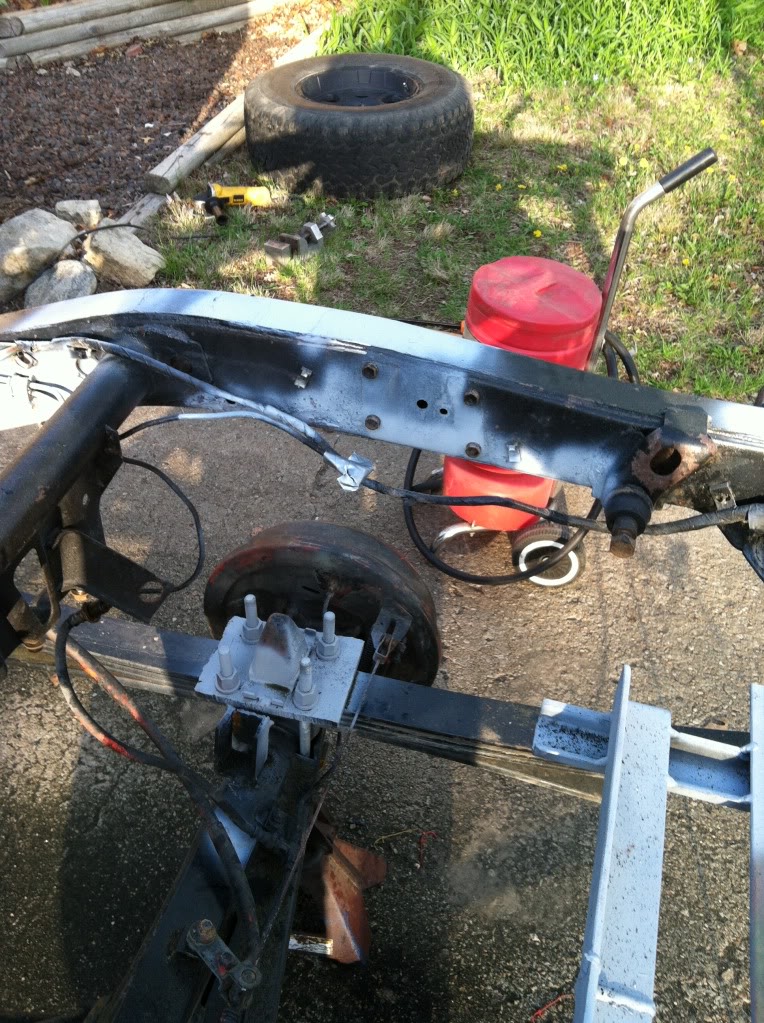
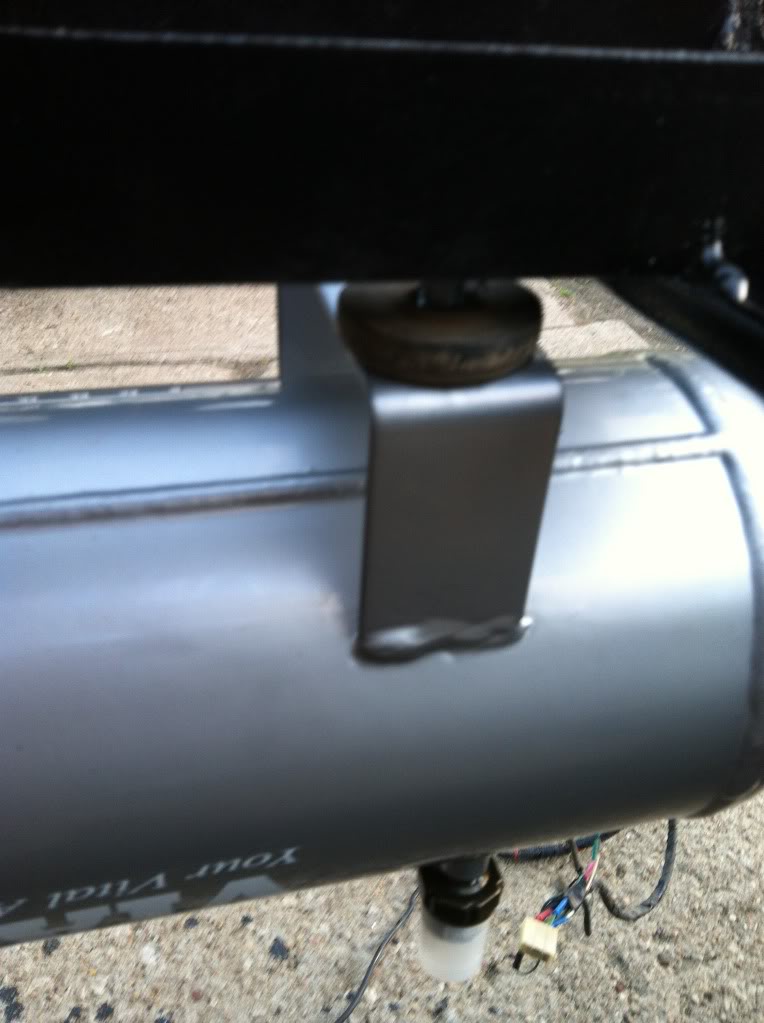
Frame by gas tank. Not bad, caught it just in time. Moving gas tank over 2" approx. to avoid this from rusting thru
Used a spare brake line to block the LSPV line. Just hit it with about 8 tack welds. Also made an EGR blocker for the exh manifold. Welded a washer then ground down.
OBA
LSPV FINALLY GONE!
I'm not gonna miss seeing it like this for a looooooong time
Funny thing is next year I'm living RIGHT across the street from K-State. Can you imagine me doing this in the driveway with 20,000 people walking by each day? lol
I didn't really throw a lot of updates up because stuff wasn't progressing very fast, but I took the bed off before break and today I filled in a bunch of unnecessary holes with the welder and ground them down, then sand blasted all rusty spots, finished welding my chevy spring hangers (SOOOO much better with the bed and gas tank off!), removed my ZUK mod hangers and old bump stop remnants and started my rear shock tower. Also sand blasted some of the engine bay, removed the LSPV from the brakes but left that extra line there in case I want it back. Self-etch primered everything. Now to give this stuff it's due, I was sand blasting my spring perches so I could finish welding them, and the rustoleum came right off but I could barely get that primer off. GOOD STUFF!! Also finished welding my shock towers. Helluva lot easier with no engine in there
The to do list this week assuming all my parts get here and the machine shop has my head done finally is:
POR-15 engine bay and rear frame
Install bed
Assemble engine
Fire engine then change fluids
Install engine with tranny hooked up
Make motor mounts
Route lines and figure out cooling and throttle and wiring
DONE!
Later I'll make the front drive shaft, do the interior etc.
One more fun thing that came today was my On Board Air kit. Looks friggin sweet. I removed my spare tire carrier and put some mounts for the air tank there. Should fit real snug, and I can put another 2 gal tank behind it if I ever want to. Could actually probably go 5 gal.
Frame by gas tank. Not bad, caught it just in time. Moving gas tank over 2" approx. to avoid this from rusting thru
Used a spare brake line to block the LSPV line. Just hit it with about 8 tack welds. Also made an EGR blocker for the exh manifold. Welded a washer then ground down.
OBA
LSPV FINALLY GONE!
I'm not gonna miss seeing it like this for a looooooong time
Funny thing is next year I'm living RIGHT across the street from K-State. Can you imagine me doing this in the driveway with 20,000 people walking by each day? lol
Mar 28, 2012 | 07:32 PM
#185
Thread Starter
Registered User
Joined: Jan 2010
Posts: 610
Likes: 0
From: Nebraska
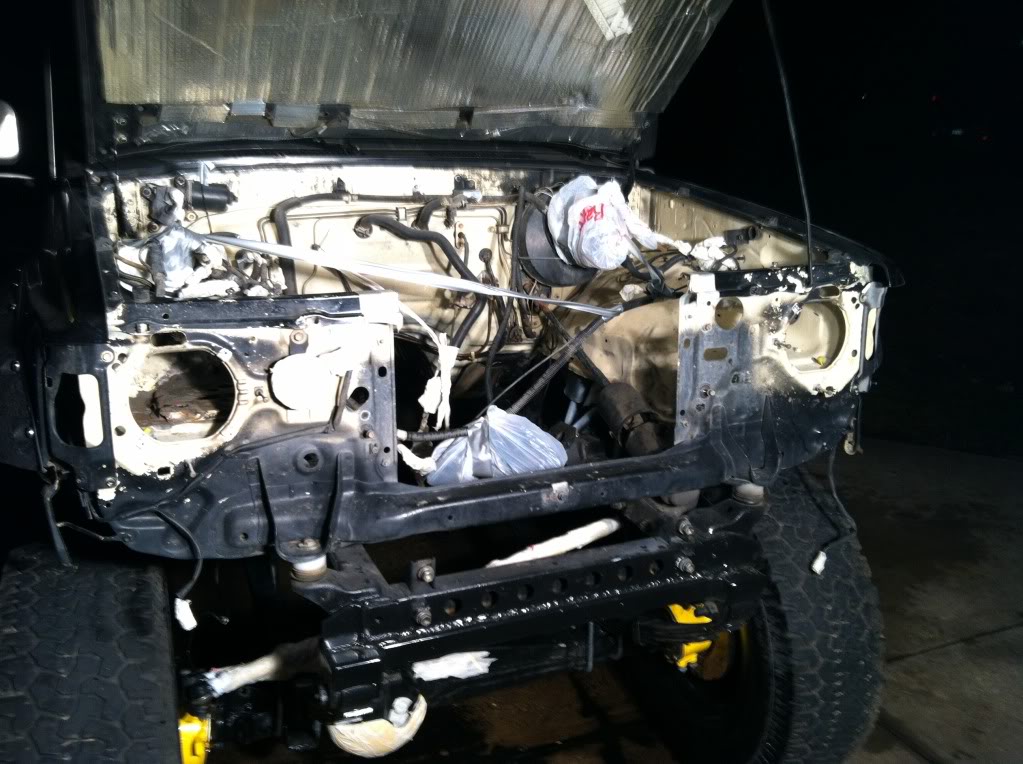
Got the engine bay sand blasted today. Worked like a charm. Then got everything taped up and pulled off the fenders as much as possible. Don't have enough money for new toyota zip tie things. Plan to get the POR-15 shot on tomorrow. The head is done at the shop as of today, just need to install prechambers and valve stem seals and it should get put on the block on Friday. Motor should go in the truck sometime shortly after Saturday if all goes right 
Mar 28, 2012 | 09:59 PM
#186
Contributing Member
Joined: Mar 2003
Posts: 11,334
Likes: 0
From: COTKU,Ontario,Canada
Wow Wee That is a clean engine bay... if I were you when you get it POR'd I'd try for the same colour... the bright engine bay would be easier to work in and any leaks would show up right away...
Mar 28, 2012 | 10:10 PM
#187
Thread Starter
Registered User
Joined: Jan 2010
Posts: 610
Likes: 0
From: Nebraska
Aviator, I have a funny story about having E (nuff) to get home one night in high school after a party and ended up running dry 2 miles from my house.... not a happy phone call. Lol. And I'm definitely goin gloss black to match the rest of the truck. I've been wanting the engine bay done since the day I painted the body, but I knew to do it right I'd have to pull the engine. I'm being secretive with my engine till it's done but I can say there's no black on it (minus the manifold) and it's to make spotting leaks easy, just like you said.
Mar 29, 2012 | 06:04 AM
#188

Registered User
Joined: Oct 2008
Posts: 201
Likes: 0
From: White River JCT, VT
Aviator, I have a funny story about having E (nuff) to get home one night in high school after a party and ended up running dry 2 miles from my house.... not a happy phone call. Lol. And I'm definitely goin gloss black to match the rest of the truck. I've been wanting the engine bay done since the day I painted the body, but I knew to do it right I'd have to pull the engine. I'm being secretive with my engine till it's done but I can say there's no black on it (minus the manifold) and it's to make spotting leaks easy, just like you said.
I doing a lot of rust repair because of por15. If the metal you are painting is not rusted you should not be using it. I started using it about three years ago on some rusted parts and it worked awesome but i got a little paint happy and started painting a lot of stuff on my truck with it. now most of the areas that i painted that were not rusted have major rot. what happened was the paint "stuck" when i painted it but it seprated and trapped moisture behind the paint so i have had to do a lot of body work and i now have verry rotted A pillars. I found rustolem to work much better on non rusted metal just my .02 Cents
 Mar 29, 2012 | 05:03 PM
#190
Thread Starter
Registered User
Joined: Jan 2010
Posts: 610
Likes: 0
From: Nebraska
On a side note, I got the POR-15 shot today. Looks great! RiddaRunner, did you by chance paint stuff that's out in the direct sunlight most of the time? They specifically state that you have to top coat any POR-15 that'll be left in the sun light. And I'm not worried about it either way, because I didn't sand blast down to metal, just enough to remove all the dirt and grime and scuff up the paint. I did a '69 camaro engine bay back in high school and that took me 2 or 3 days to hand scuff. Not doin that again lol
Also gotta give a shout out to Peach Parts for AMAZING service. Roy is probably sick of listening to me but has answered every question I've had, and my order from Tuesday was at my door before 11am this morning, so my head got finished at the shop today! Now I just have to find a darned Merc-Dealer that will answer their phone to send me some stealer-only parts.

Last edited by pyrojoe22; Mar 29, 2012 at 05:10 PM.
Apr 1, 2012 | 03:32 AM
#193
Thread Starter
Registered User
Joined: Jan 2010
Posts: 610
Likes: 0
From: Nebraska
Well I'm pry gonna sleep all day now but I got er runnin! I'm pretty sure the injection pump timings way off so I'll have to get that corrected before I can do a compression test, but I have plenty to keep me busy till then.
http://youtu.be/Uh88iUexjgA
http://youtu.be/Uh88iUexjgA
Apr 1, 2012 | 07:30 PM
#194
Contributing Member
Joined: Mar 2003
Posts: 11,334
Likes: 0
From: COTKU,Ontario,Canada
Congrats on getting her started... that timing sounds way off... sounds like every other cylinder is firing late... not at all like the coffee can full of pea gravel you should have with an MB...
Apr 1, 2012 | 08:20 PM
#195
Thread Starter
Registered User
Joined: Jan 2010
Posts: 610
Likes: 0
From: Nebraska
Here's everything I did this weekend:
Bead blasted the prechambers. They went in very easily.
Cleaned block with a plastic rotary tool attachment for removing gasket material. It's oil-soluble which is a major plus. $10 at NAPA.


Blew out the cylinders with compressed air, vacuumed everything from the block that I could, then filled the cylinders with a little Marvel.
Head surfaced .010"

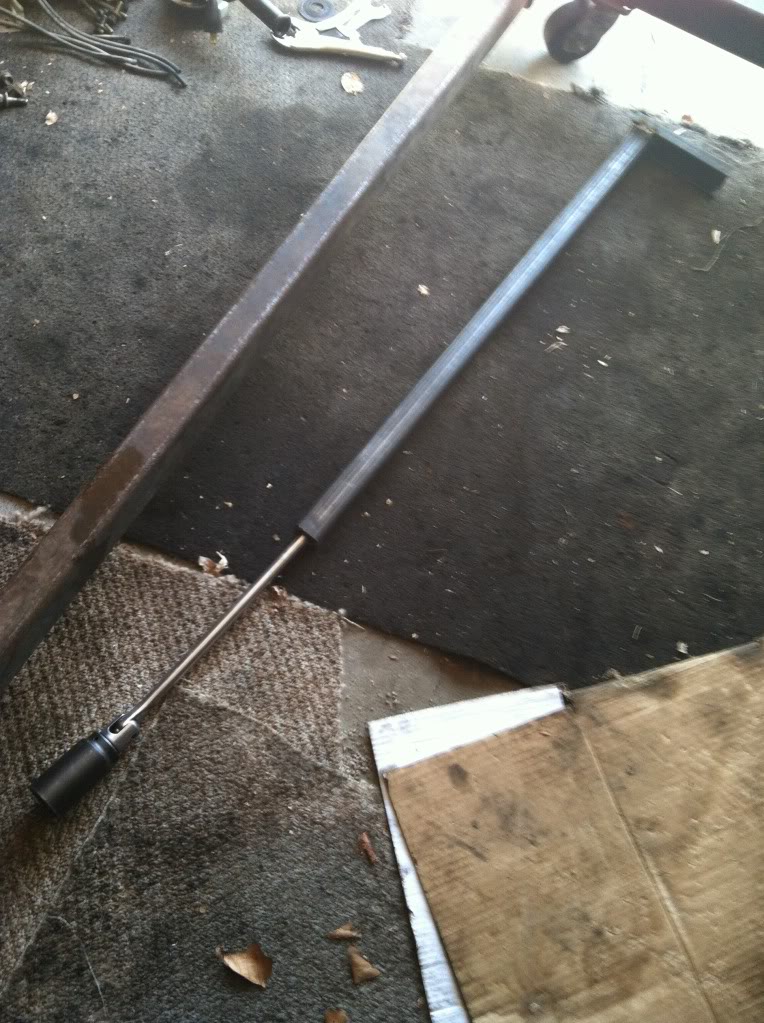
Used a 1' breaker bar with a 3' cheater bar to get the block heater out! The new one didn't go in much easier despite the fact I cleaned the threads and applied anti-sieze.
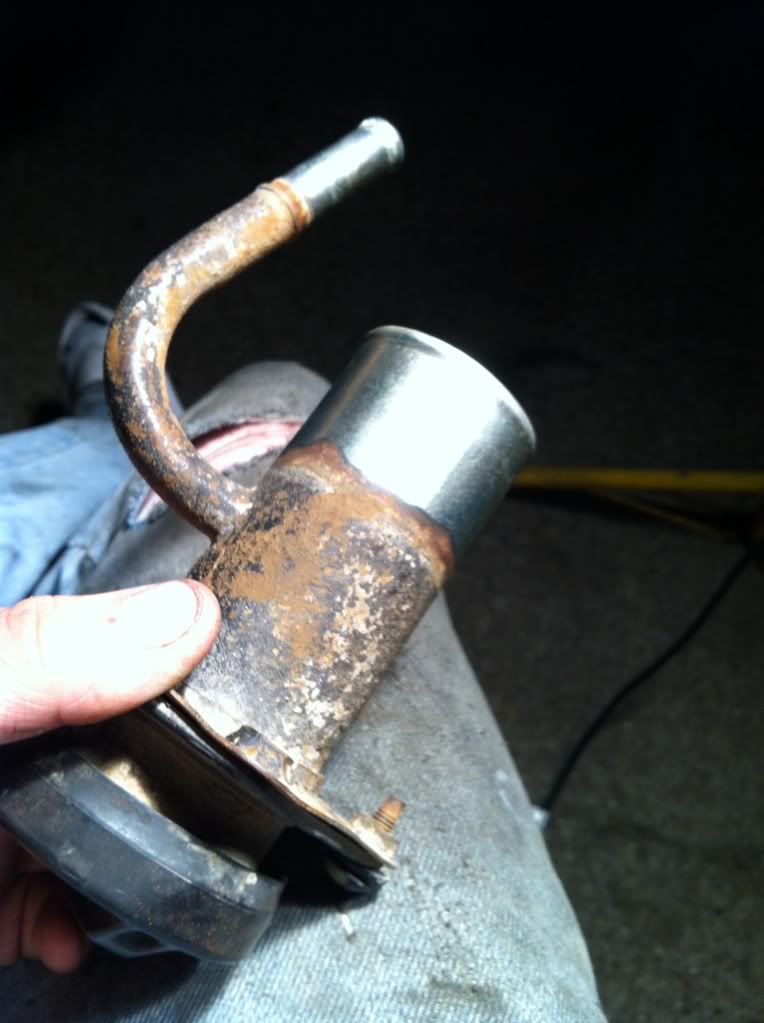
Removed the gas nozzle spring. Hit it out with a pry bar and hammer. Ripped a hole out where one of the spot welds was, so I just welded it back shut. It's amazing how clean the tube is where it was in the rubber filler neck!!
The reason I believe that wire melted was because when I first got the truck, didn't know much about electricity, and replaced the brake light fuse with a much higher amperage fuse. The lights shorted out, and they shared the ground with the fuel level sender, so that ground wire got extremely hot before the fuse blew again. I put the correct fuse back in, and soldered a new ground wire on that attaches directly to the frame to avoid this happening again.
Used my stock body mount bushings for my OBA tank. The bolts and rubber isolators that came with the VIAIR kit were pathetic.
Used 3/8" bolts and lock nuts
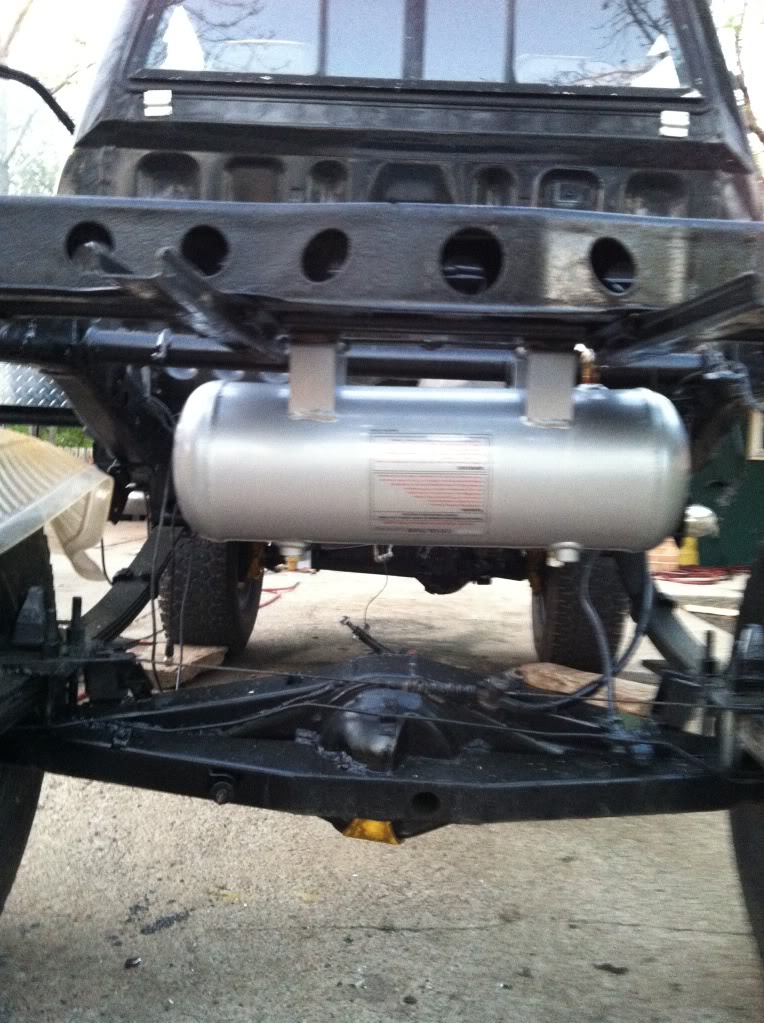
I'll be routing all the air lines tomorrow. The compressor is getting mounted behind the seat next to the jack holder. I'll be running 2 air lockers, an air horn, and 1 or 2 access hoses for filling up tires. If I don't like this 2 gallon tank, I can just copy my tank mount on the back side of the tire holder and put a nice big 5 gal tank there for a total of 7 gal. It just depends if the air lockers work with this set up or not.
The machine shop forgot to put a plug back in the head in between the power steering pump bracket and the valve cover, on the top of the head. Oil came out when I started it. Hopefully it's a very simple fix.
Stay tuned this week for a compression test and mounting of the engine in the truck. We'll see if I meet my April 13th deadline.
Bead blasted the prechambers. They went in very easily.
Cleaned block with a plastic rotary tool attachment for removing gasket material. It's oil-soluble which is a major plus. $10 at NAPA.
Blew out the cylinders with compressed air, vacuumed everything from the block that I could, then filled the cylinders with a little Marvel.
Head surfaced .010"
Used a 1' breaker bar with a 3' cheater bar to get the block heater out! The new one didn't go in much easier despite the fact I cleaned the threads and applied anti-sieze.
Removed the gas nozzle spring. Hit it out with a pry bar and hammer. Ripped a hole out where one of the spot welds was, so I just welded it back shut. It's amazing how clean the tube is where it was in the rubber filler neck!!
The reason I believe that wire melted was because when I first got the truck, didn't know much about electricity, and replaced the brake light fuse with a much higher amperage fuse. The lights shorted out, and they shared the ground with the fuel level sender, so that ground wire got extremely hot before the fuse blew again. I put the correct fuse back in, and soldered a new ground wire on that attaches directly to the frame to avoid this happening again.
Used my stock body mount bushings for my OBA tank. The bolts and rubber isolators that came with the VIAIR kit were pathetic.
Used 3/8" bolts and lock nuts
I'll be routing all the air lines tomorrow. The compressor is getting mounted behind the seat next to the jack holder. I'll be running 2 air lockers, an air horn, and 1 or 2 access hoses for filling up tires. If I don't like this 2 gallon tank, I can just copy my tank mount on the back side of the tire holder and put a nice big 5 gal tank there for a total of 7 gal. It just depends if the air lockers work with this set up or not.
The machine shop forgot to put a plug back in the head in between the power steering pump bracket and the valve cover, on the top of the head. Oil came out when I started it. Hopefully it's a very simple fix.
Stay tuned this week for a compression test and mounting of the engine in the truck. We'll see if I meet my April 13th deadline.
Last edited by pyrojoe22; Apr 1, 2012 at 08:46 PM.
Apr 1, 2012 | 09:11 PM
#196
Registered User
Joined: Apr 2011
Posts: 317
Likes: 0
From: Sedalia, MO
It sounds like you may actually have the pump a tooth or so off. It should run smoother than that even without the fine timing. Just a thought. It isn't that hard to get it one tooth off. Congrats on getting it running the engine looks great!
Apr 3, 2012 | 06:53 PM
#200
Thread Starter
Registered User
Joined: Jan 2010
Posts: 610
Likes: 0
From: Nebraska
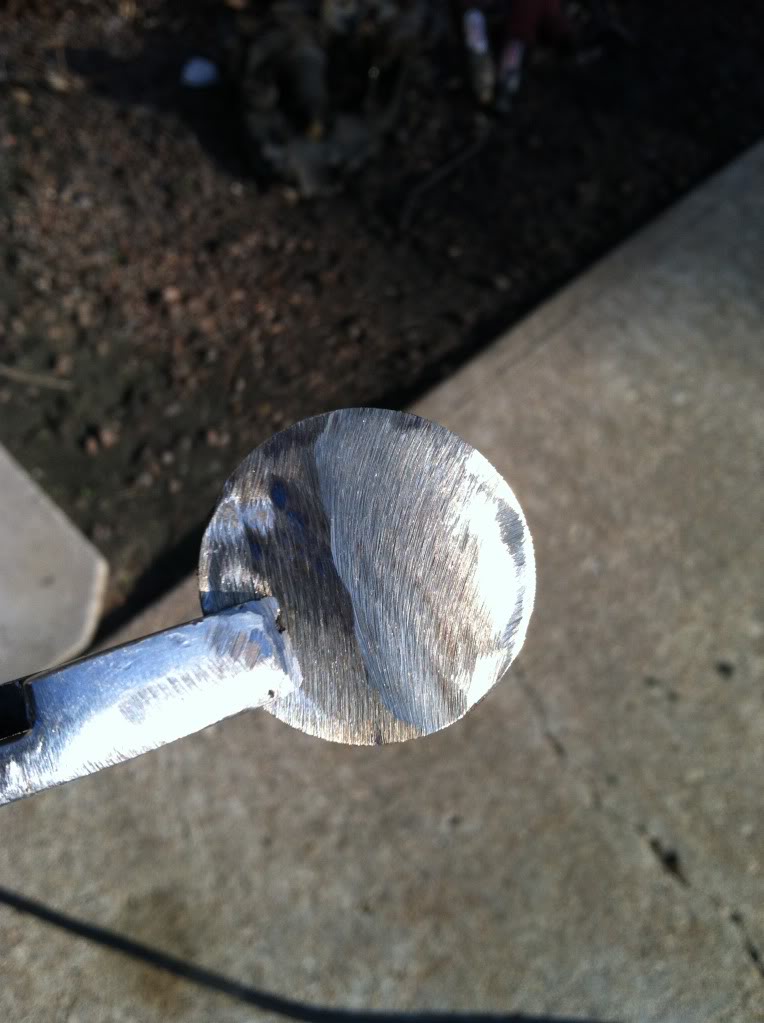
First I ordered a 1986 22R 4x4 Manual Tranny mount from Rock Auto and got this dinky little thing (I'll get a picture later and edit this post). It was wrong. Then I ordered a 1986 Toyota Pickup Diesel 4x4 Manual Tranny mount and here's what I got
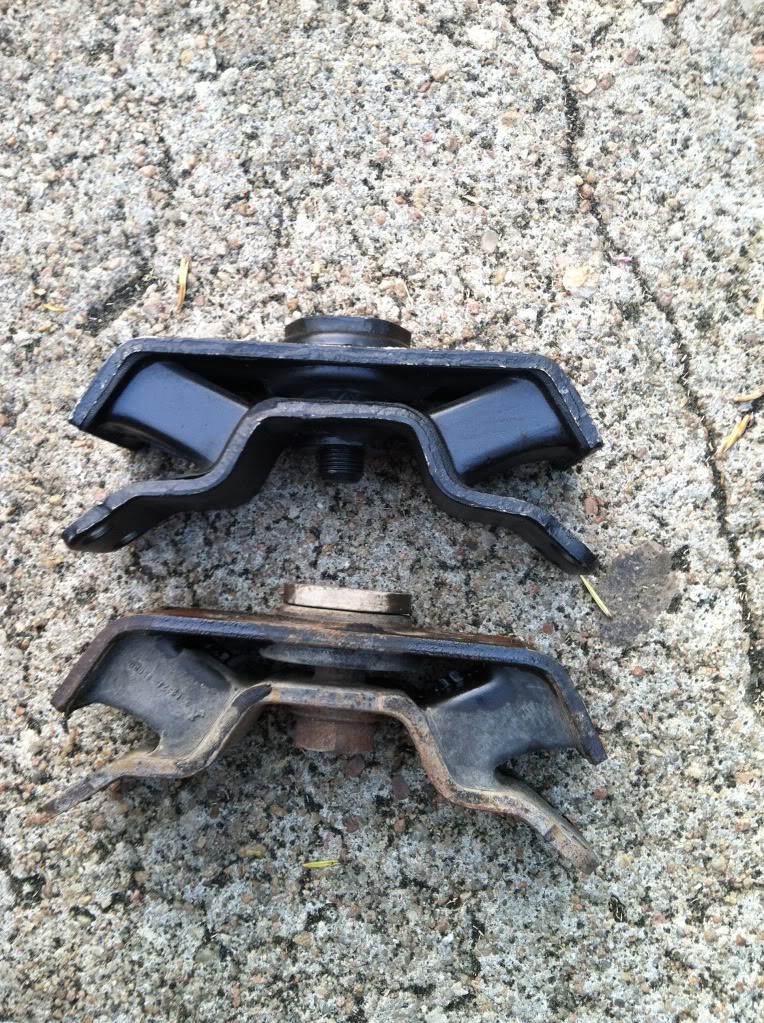
Bolted it up and looks identical. Now I got a DIESEL tranny mount!
Just an FYI for you guys ordering new tranny mounts. Look at the pics on Rock Auto before you buy. Their pics ARE accurate, I just didn't look.
On another note, the machine shop didn't really lose my plug out of my head, they destroyed it in the hot tank because the plug was aluminum. So I'm on a man hunt for a new one. Drip timer should be here tomorrow and I should be able to get the engine compression test done after that and get the tranny attached. Engine will go in the truck Friday after my last test. Then motor mounts will get built Saturday. HOPE TO DRIVE IT SATURDAY!!!
Last edited by pyrojoe22; Apr 3, 2012 at 06:58 PM.


