
irab88 adds another liter: 22R-EC to 5VZ-FE
 Jul 22, 2014 | 04:52 AM
#161

i'm trying to just pull out the engine-support plugs, but everything seems to be connected to everything else. i'll have to go about this wire-by-wire for the ~4 plugs i need, and find where to splice them into the 93's circuits (brake switch, ignition switch, clutch cancel, 4wd, vss)
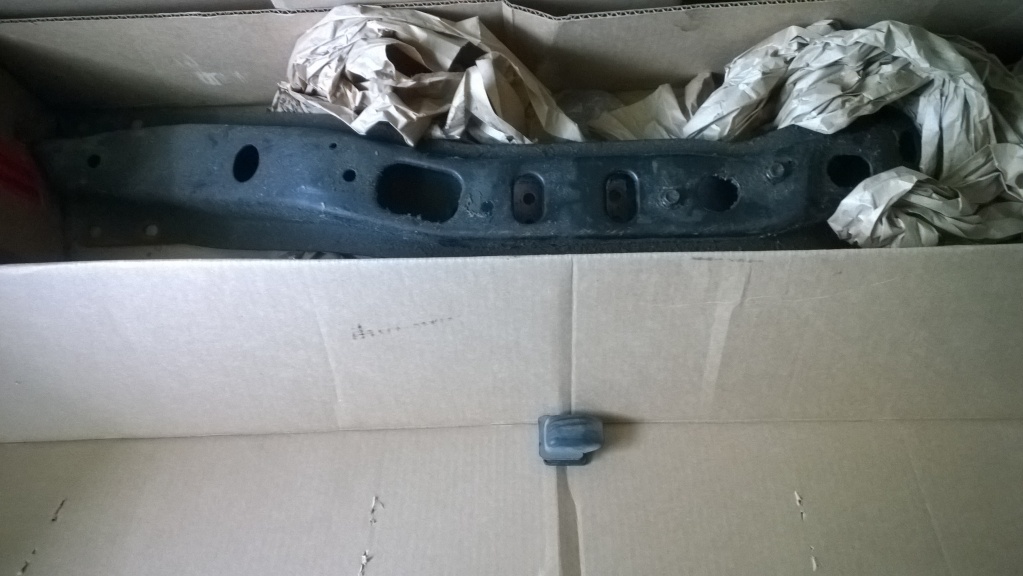
i also got my "new" crossmember and top bellhousing plug yesterday
i also got my "new" crossmember and top bellhousing plug yesterday
 Jul 22, 2014 | 05:28 AM
#163
Registered User

Joined: Jan 2010
Posts: 3,795
Likes: 33
From: Bloodymore
Nice progress, be happy you have a vehicle that has a vetted wire diagram to go by(the 22re of the 90's).
the 88 3vze electrical wire diagram on the other hand, is unique to all other model years for some reason.
the 88 3vze electrical wire diagram on the other hand, is unique to all other model years for some reason.
Jul 22, 2014 | 04:23 PM
#165
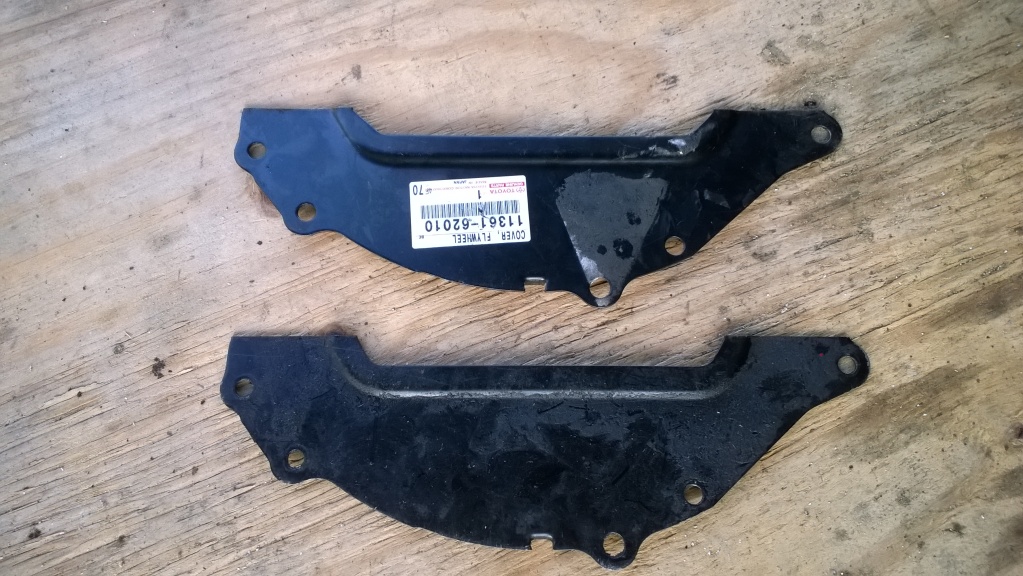
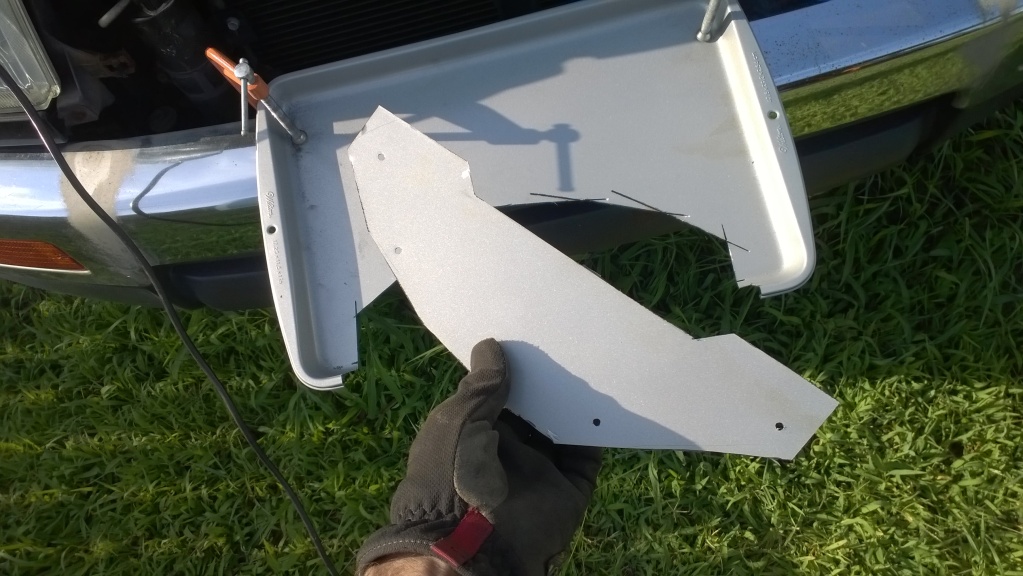
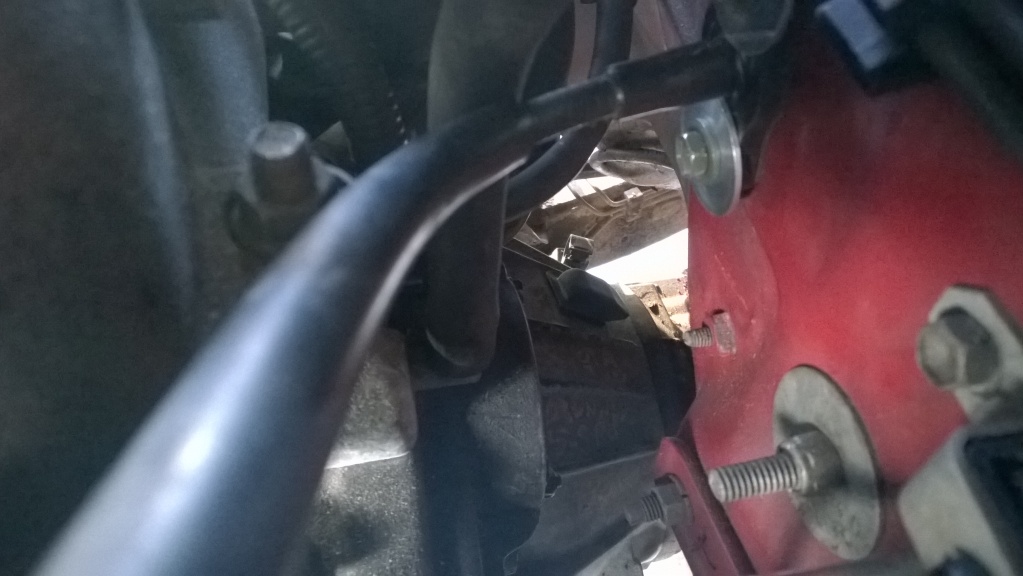
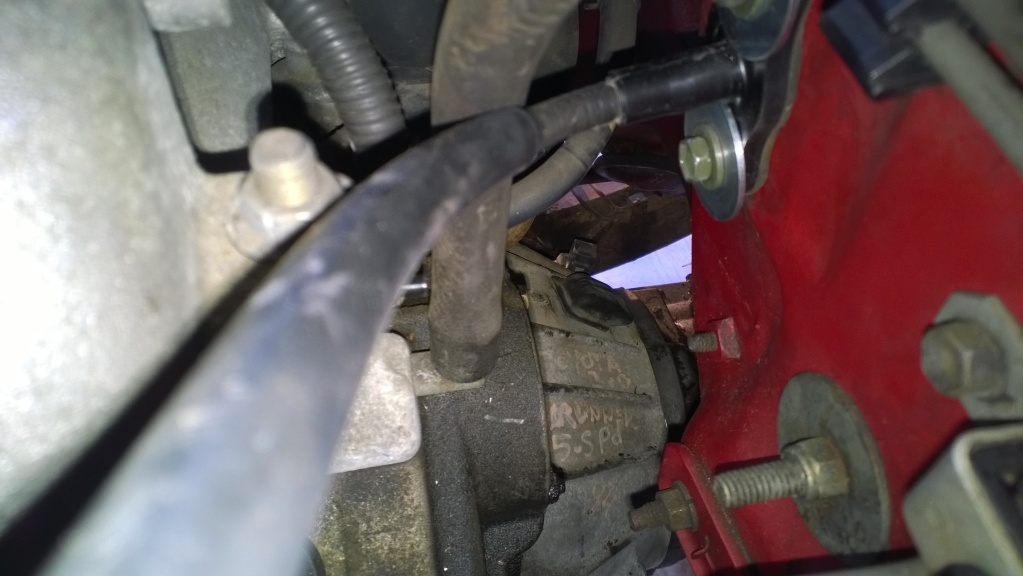
got the stiffening brackets and flywheel cover on this evening. i had to make my own plate, as the new one was basically the same as the old one with larger bolt holes. foo.
the cookie sheet was too big for my oven, so sacrificial sheet metal it is!
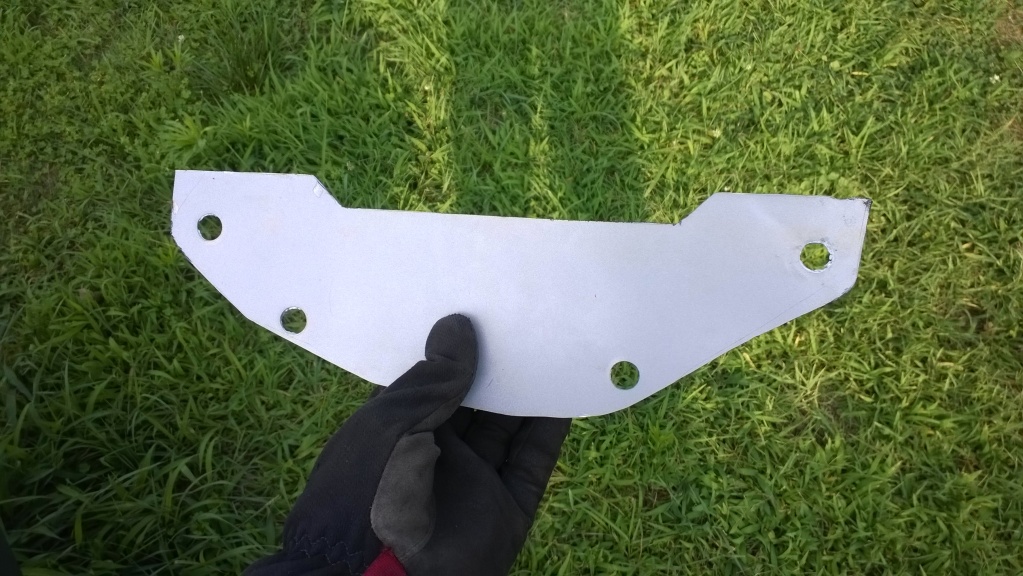
i didn't bother trimming it, don't see a need right now
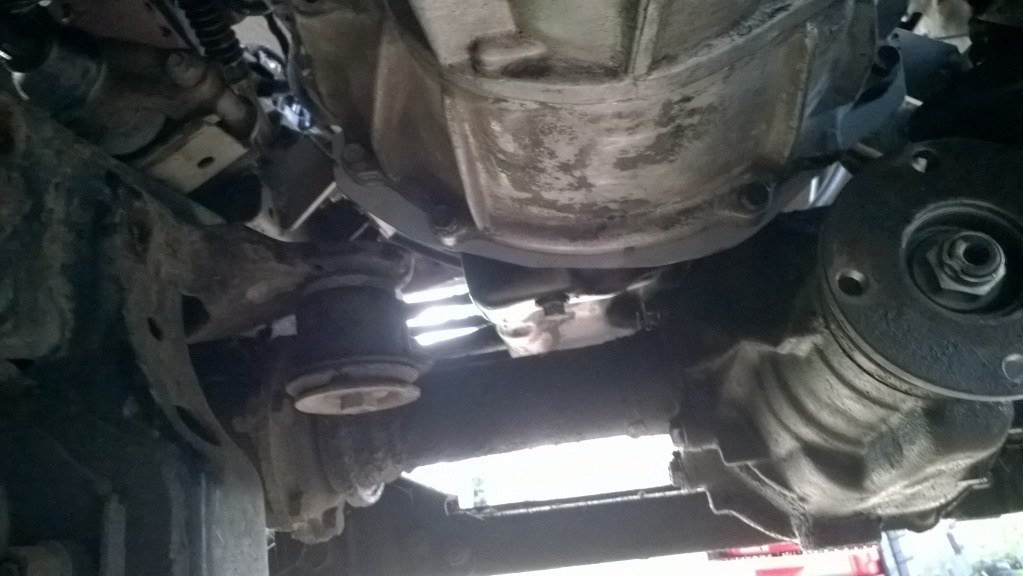
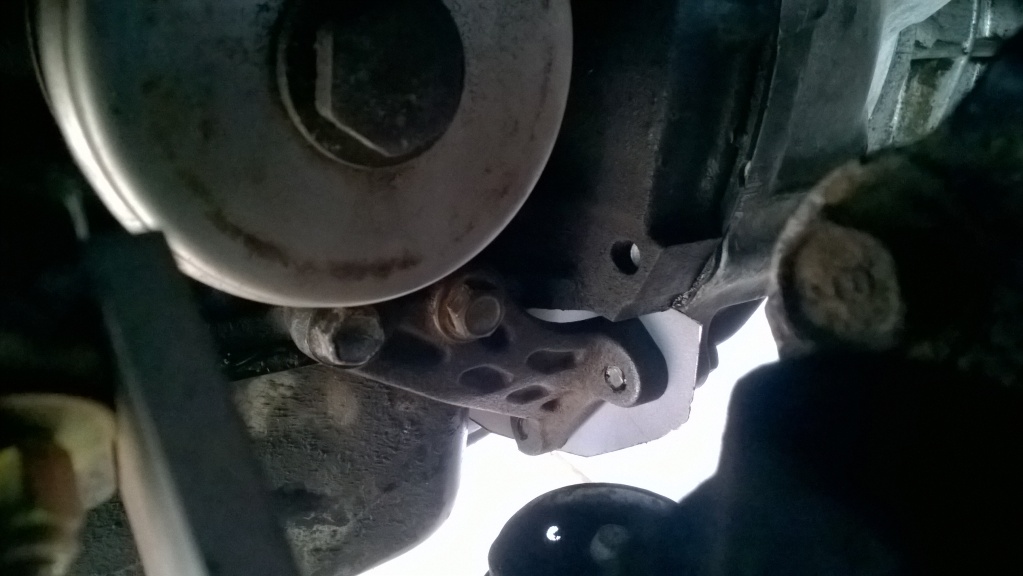
and with the brackets
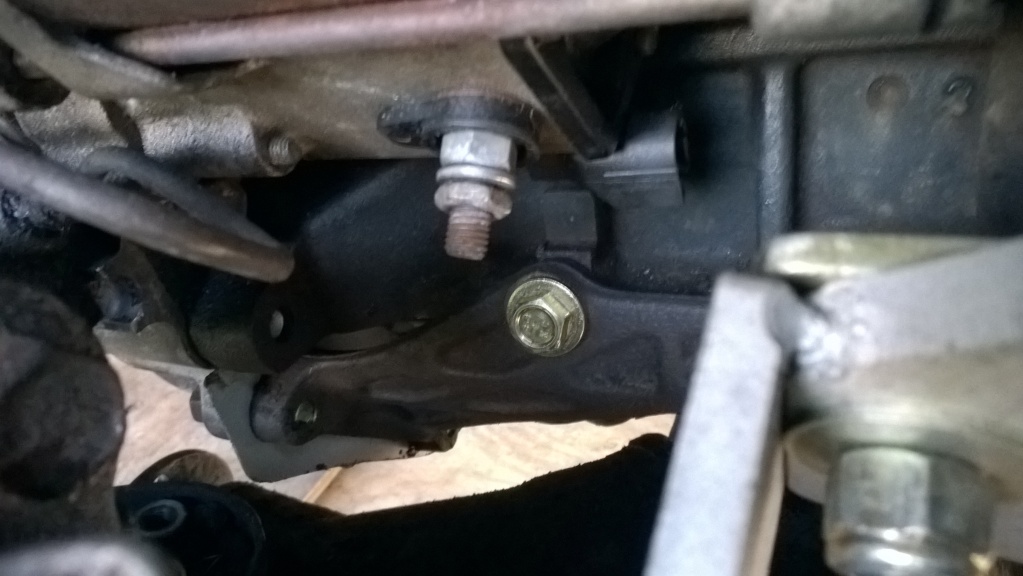
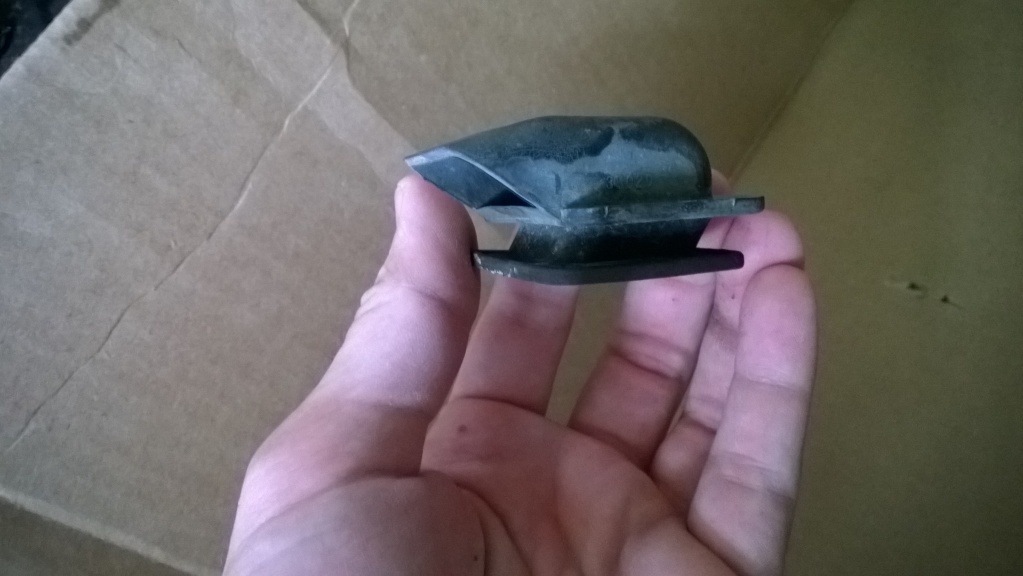
and i got the top plug in. "plug" is a loose term, it's more of a vent
the cookie sheet was too big for my oven, so sacrificial sheet metal it is!
i didn't bother trimming it, don't see a need right now
and with the brackets
and i got the top plug in. "plug" is a loose term, it's more of a vent
Jul 28, 2014 | 06:56 AM
#166
yotatech seems to be blocked at the moment, so i'll try posting this from my phone
got a lot of little things done this past weekend, including vacuum routing, cleaning up my custom rat's nest wiring, figuring out the new engine's wiring, lengthening a few cables, installing and bleeding a new clutch line, and a few other small things.
first up, vacuum wiring
since i sold off my old engine, i needed to find another small-line vsv. i used the blue one from the add system on the 4runner. i hope it works, and if not, i have the original one (that i'll need to adapt to the right size)
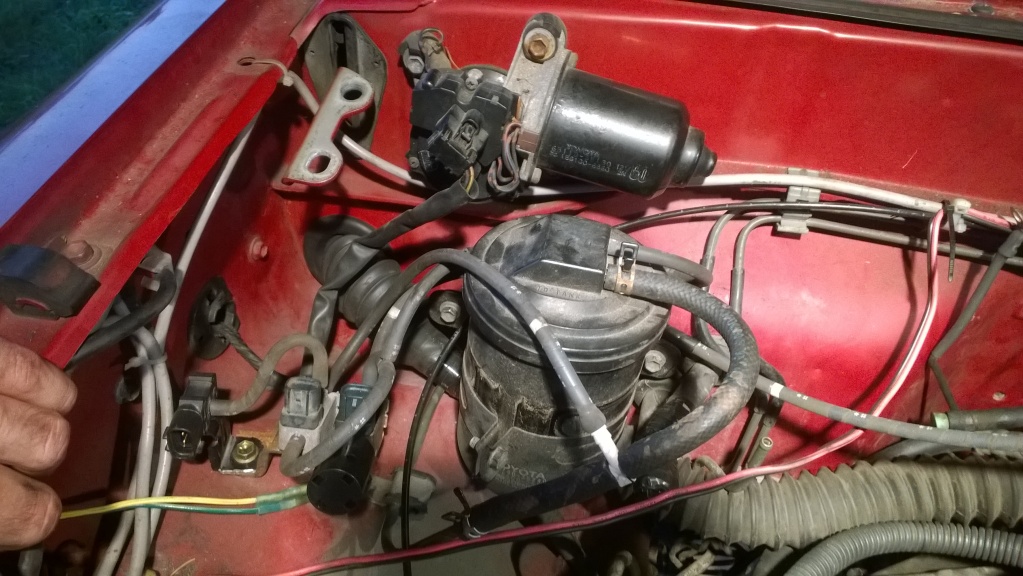
everything fits nicely in the corner here
and the lines i extended
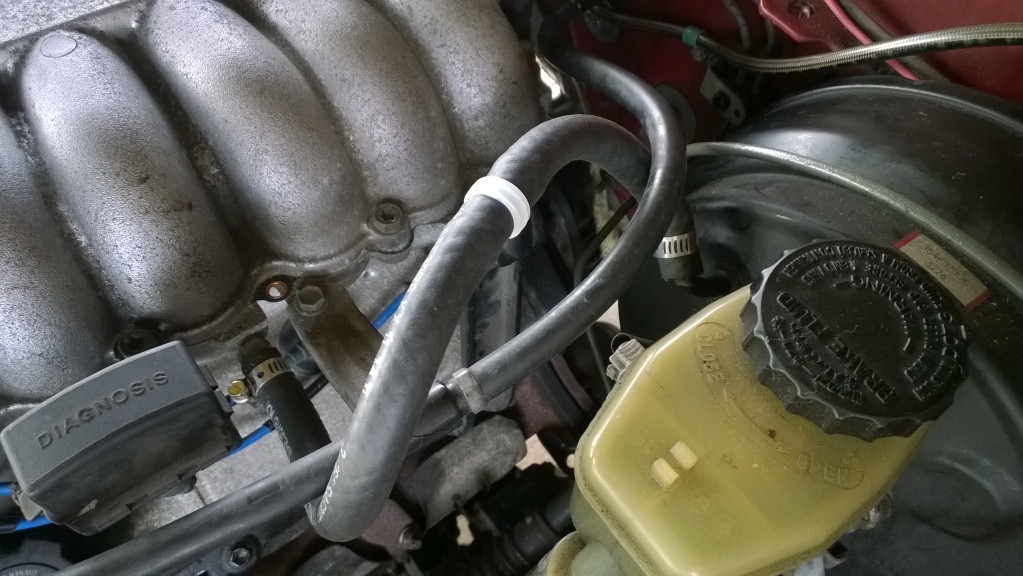
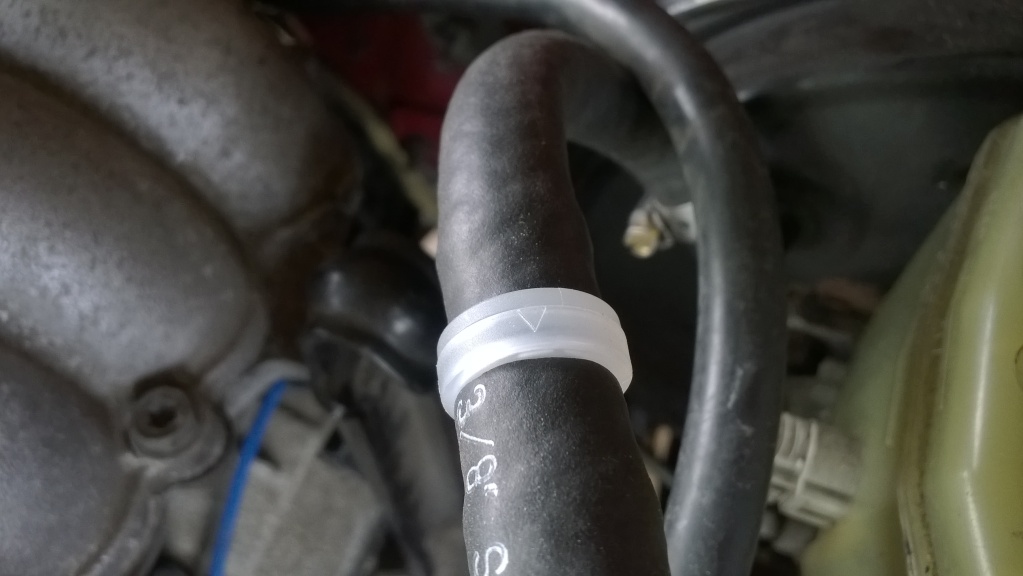
vacuum line for the brake booster. i've used that 3/8 fuel line for so much stuff on this build.
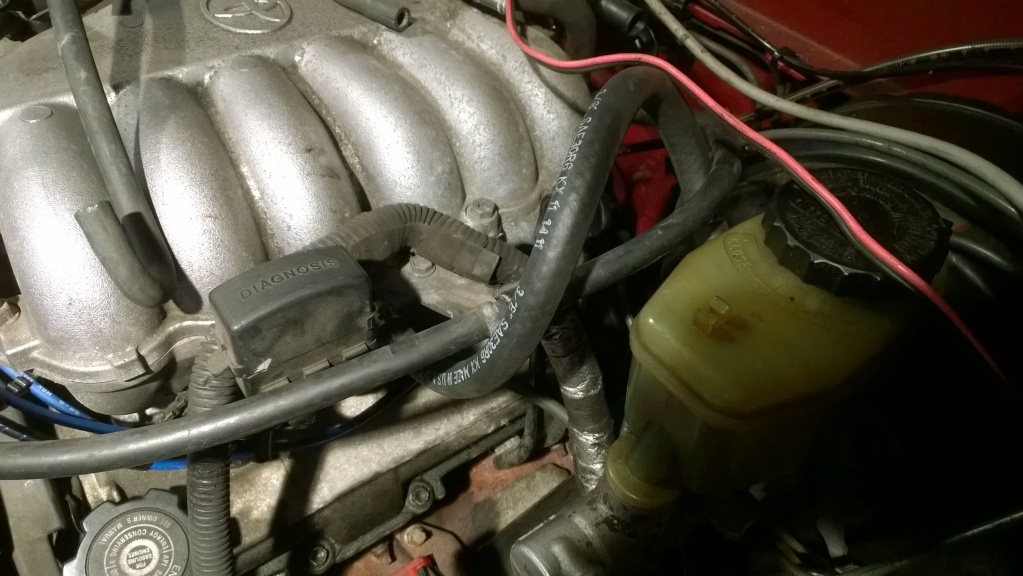
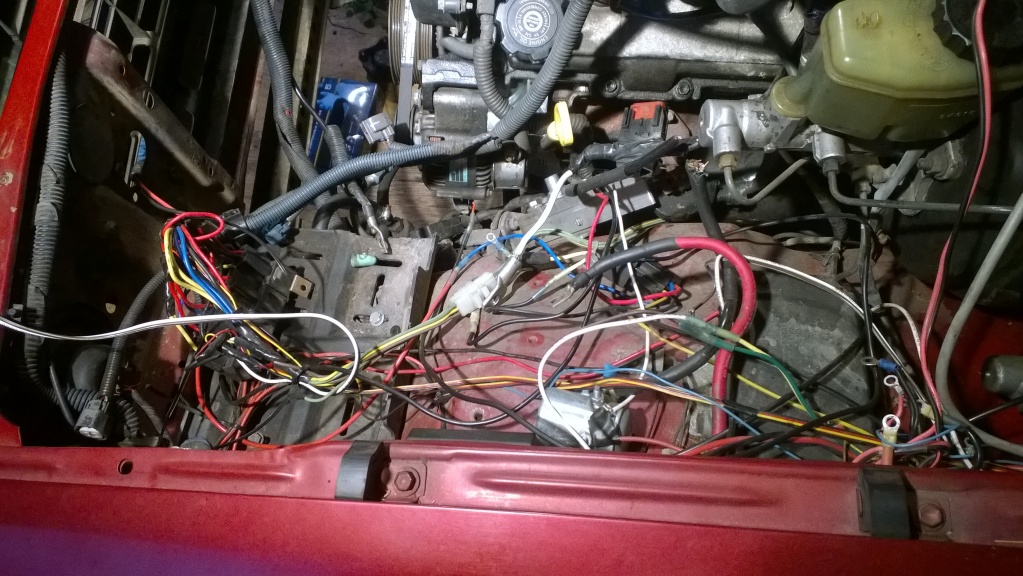
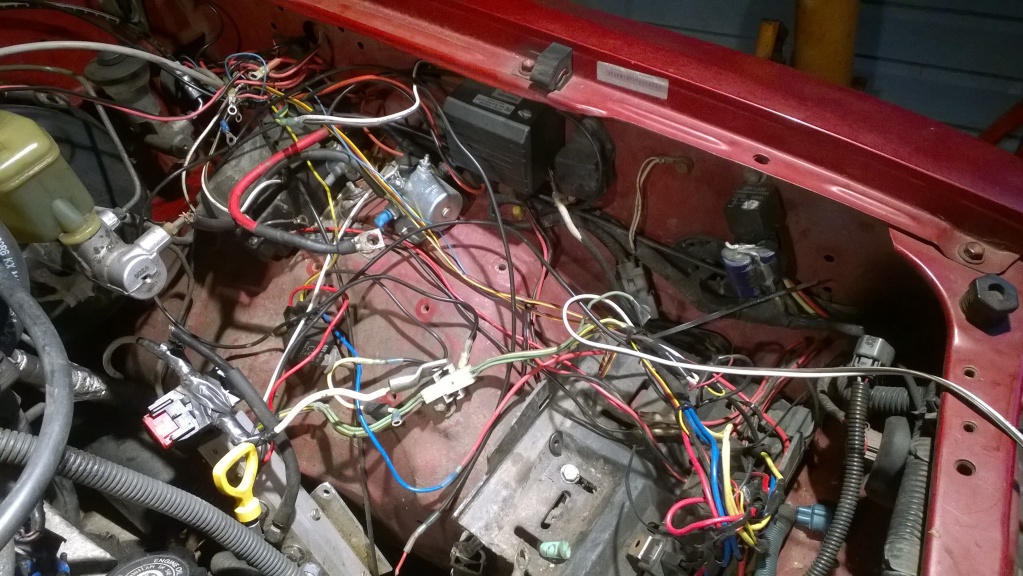
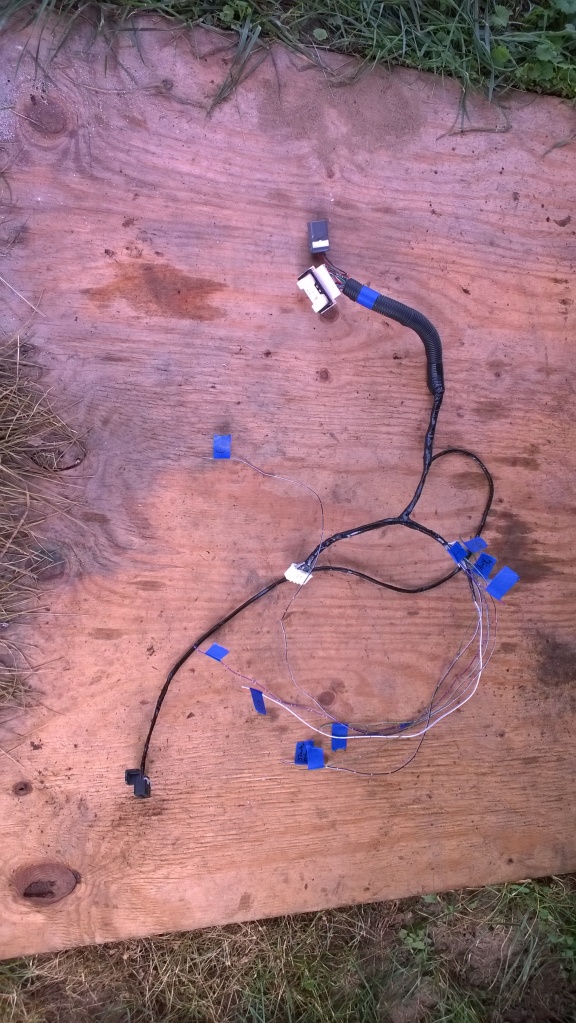
then i pulled out all the custom wiring. it was easy to add new things to my setup, but there was no cable organization at all. back to the drawing board.
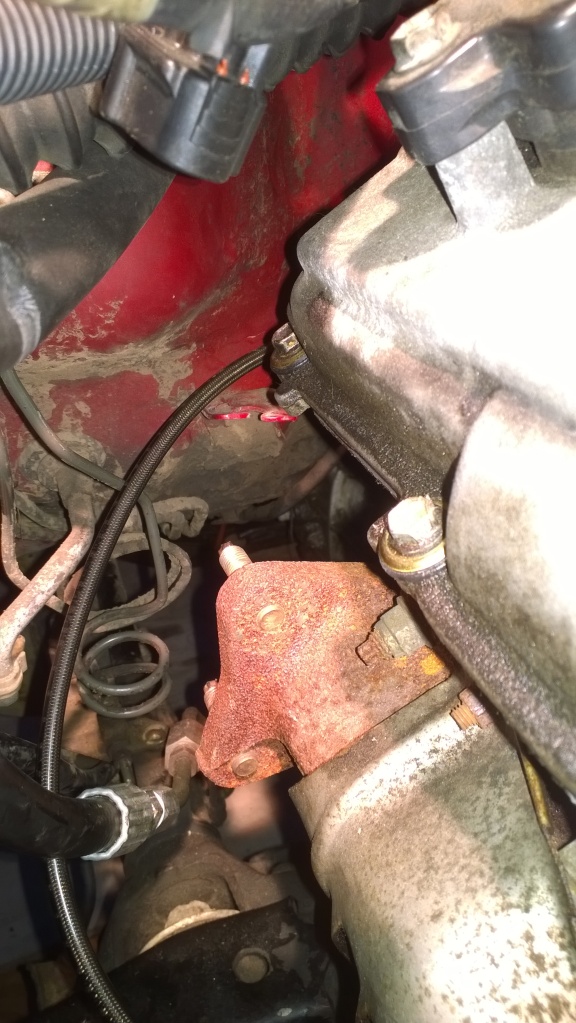
since the old clutch line was in the way of my crossover pipe, i got a new braided line from ebay. the pedal is much firmer now
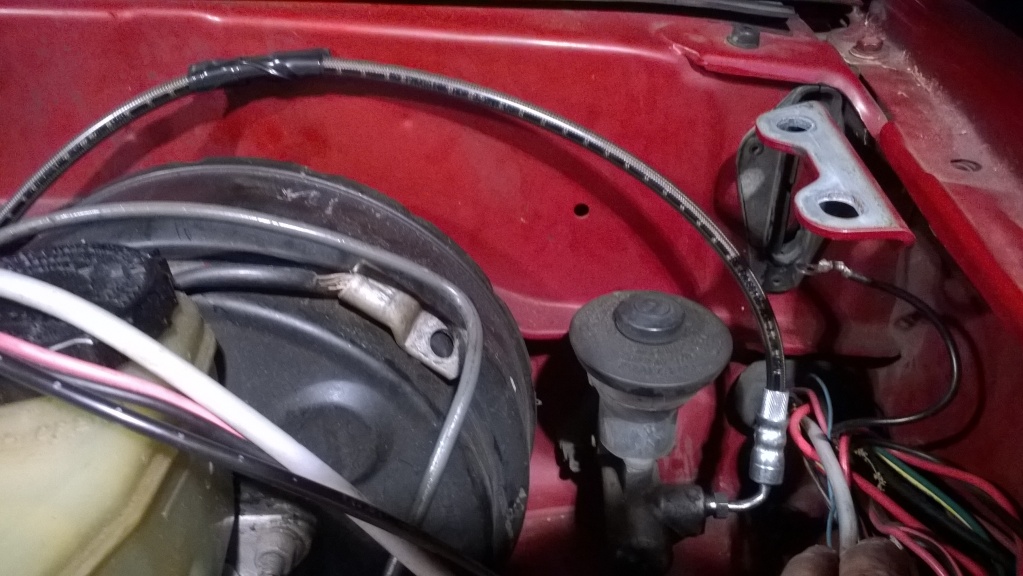
my slave cylindar was clogged with some dirt. after cleaning it out, the inside is like new. probably the first time it's been serviced since new
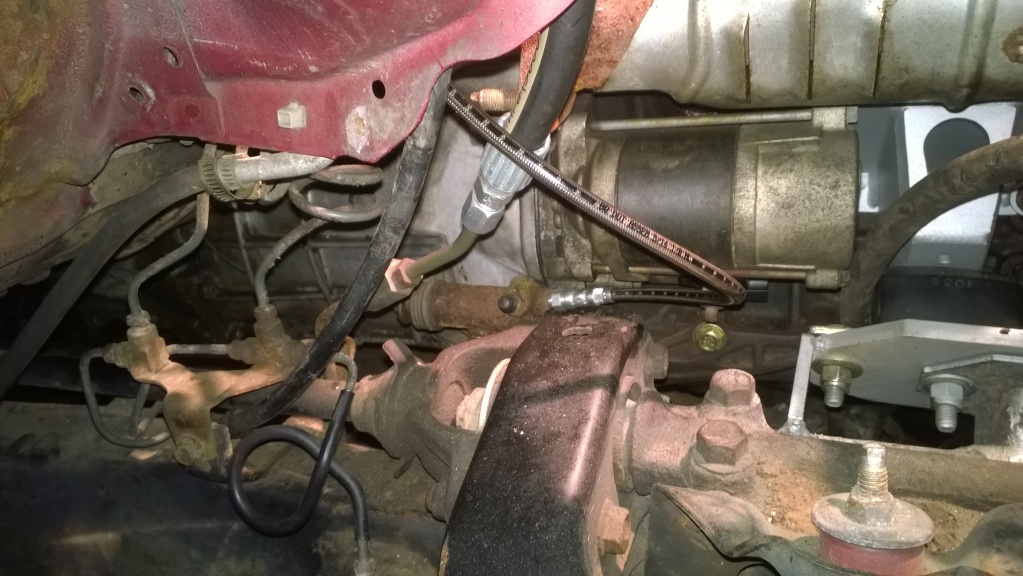
the trouble area
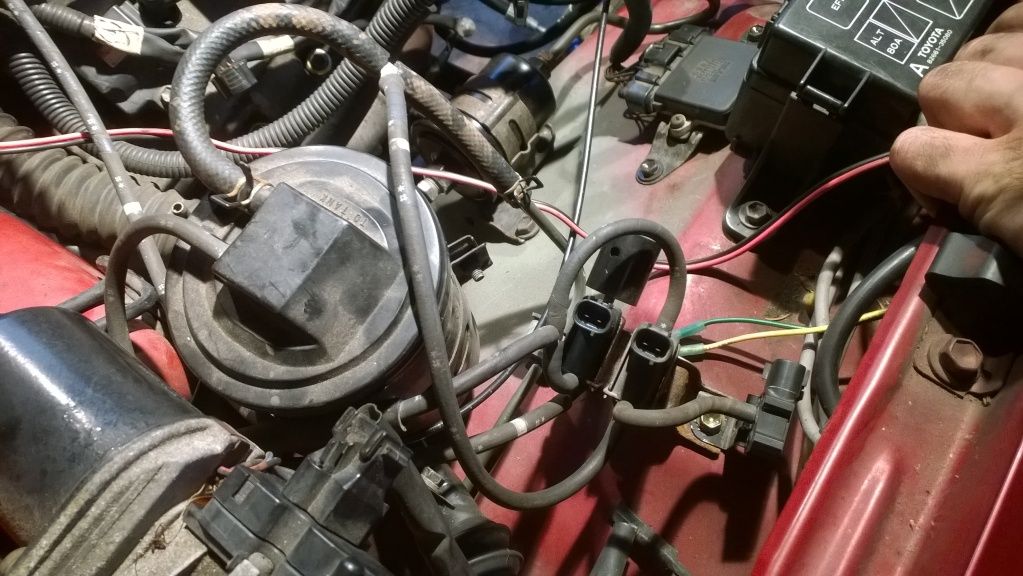
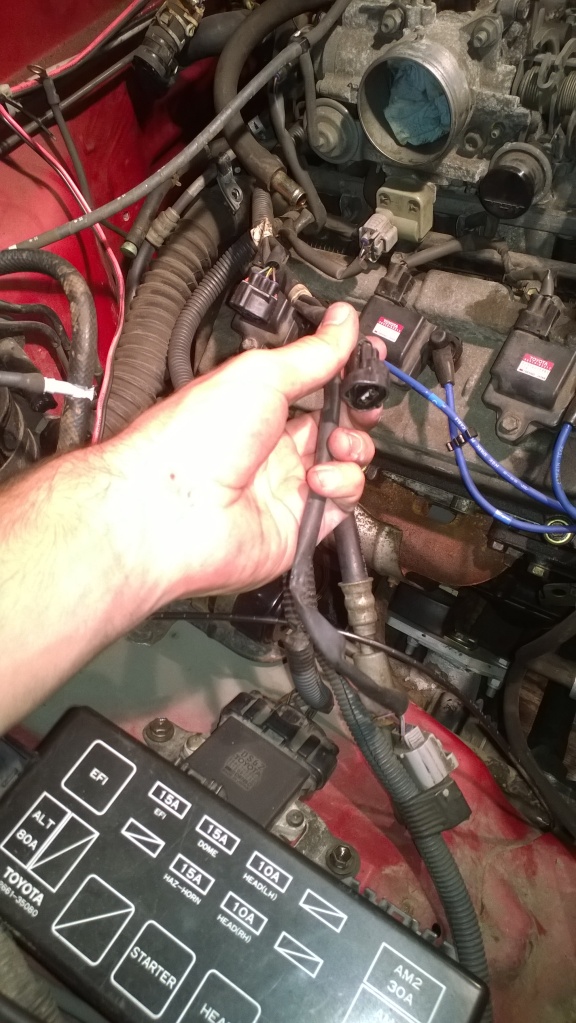
finally, since the threat of storms loomed over all day, i worked on the wiring harness. i got it down to this: ecu plug, obdii plug, and 2 plugs that come from the engine, but i have no idea what they're for (gauge cluster, maybe?)
got a lot of little things done this past weekend, including vacuum routing, cleaning up my custom rat's nest wiring, figuring out the new engine's wiring, lengthening a few cables, installing and bleeding a new clutch line, and a few other small things.
first up, vacuum wiring
since i sold off my old engine, i needed to find another small-line vsv. i used the blue one from the add system on the 4runner. i hope it works, and if not, i have the original one (that i'll need to adapt to the right size)
everything fits nicely in the corner here
and the lines i extended
vacuum line for the brake booster. i've used that 3/8 fuel line for so much stuff on this build.
then i pulled out all the custom wiring. it was easy to add new things to my setup, but there was no cable organization at all. back to the drawing board.
since the old clutch line was in the way of my crossover pipe, i got a new braided line from ebay. the pedal is much firmer now
my slave cylindar was clogged with some dirt. after cleaning it out, the inside is like new. probably the first time it's been serviced since new
the trouble area
finally, since the threat of storms loomed over all day, i worked on the wiring harness. i got it down to this: ecu plug, obdii plug, and 2 plugs that come from the engine, but i have no idea what they're for (gauge cluster, maybe?)
Last edited by irab88; Jul 29, 2014 at 03:49 AM.
Jul 28, 2014 | 04:00 PM
#168
today marked another major milestone: i got the electronics working! on the first try, too!
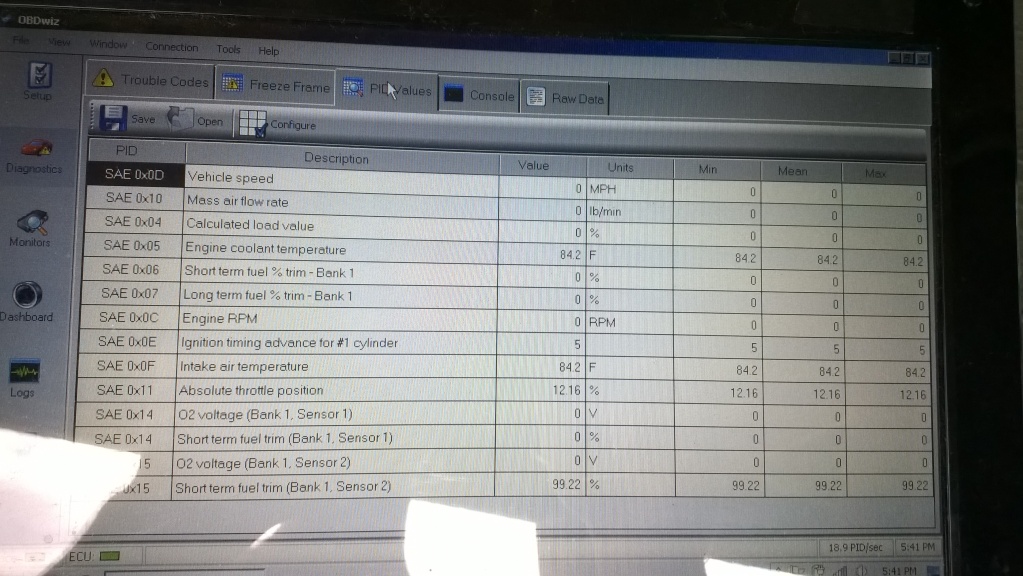
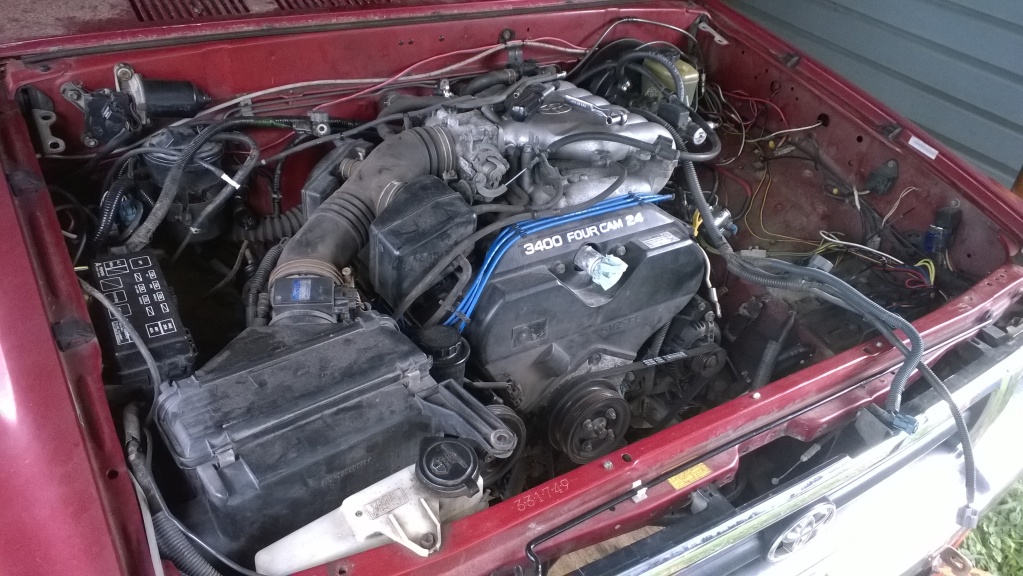
basically, the ecu, hooked up to the engine (sensors), hooked up to 12v, and my obd2 scanner plugged in. the software was able to read about half of the pid's which makes sense (lots of things either not plugged in yet or reading zero, like tach and speed)
also put the air intake in. i'll probably keep the intake tube and put a cone filter on until i get this thing up and running
i didn't get any pictures, but i also secured the new clutch line out of the way
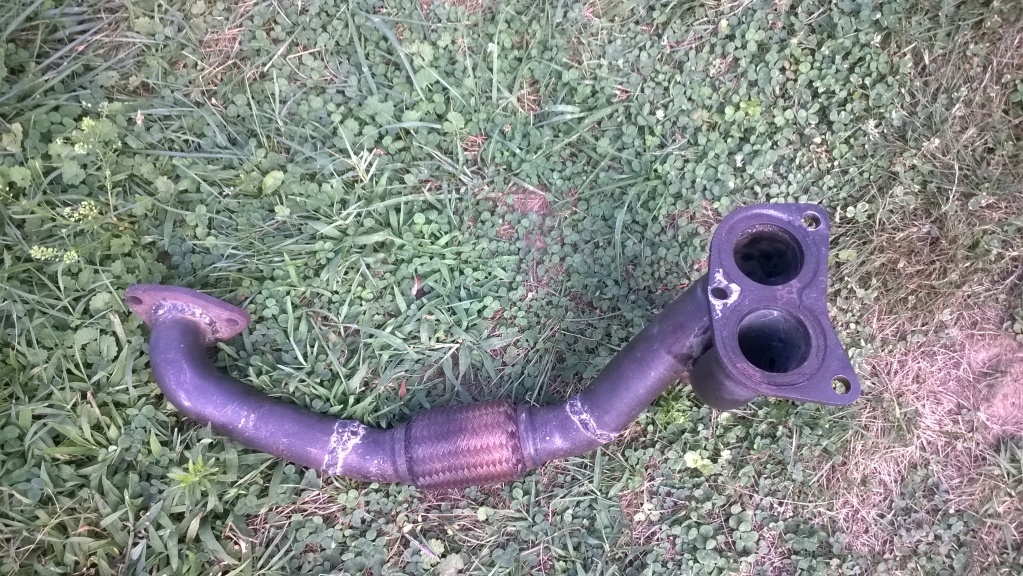
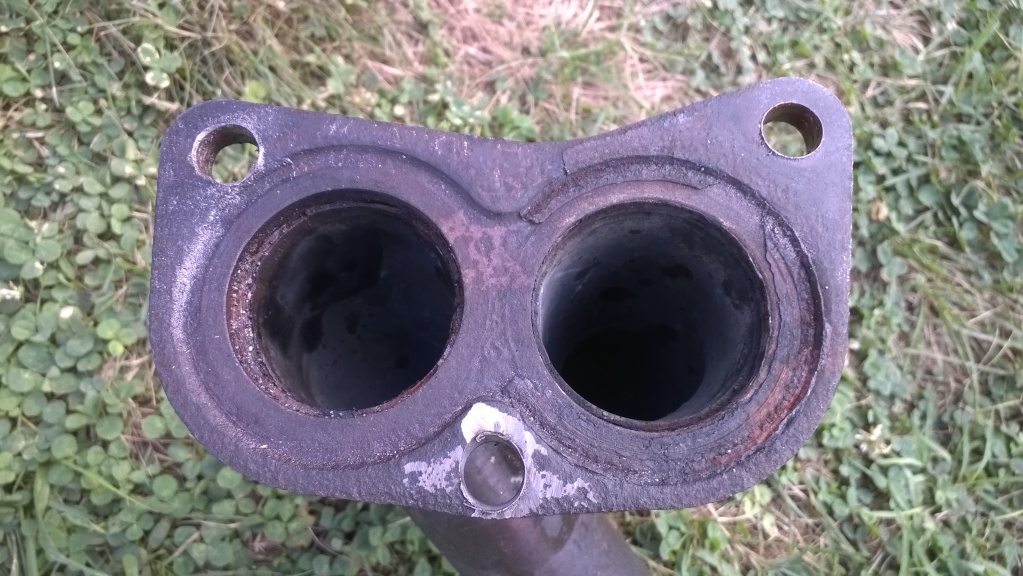
and the last thing i did before the mosquitoes got bad was drill out the old studs from the downpipe flange. i'm just going to use bolts and nuts for the exhaust to avoid trying to re-thread everything.
the last things to do, in no particular order:
-finish the wiring
-remake the driveshafts
-install exhaust
-install heat shield on firewall
-timing belt
-radiator
-fluids
-battery wiring
 Jul 28, 2014 | 07:17 PM
#170
thanks. I wasn't sure about it, as I didn't remember taking one off. but then I looked at my pictures and saw it's "built into" the 3.4 booster. is it something I can buy separate, or can I use the one off the 4runner?
 Aug 22, 2014 | 02:15 PM
#173
Registered User
Joined: Jan 2009
Posts: 1,908
Likes: 5
From: Fresno, Ca.
If your booster has the built in one, that's all you'll need. No need for another one. I couldn't see it from the initial pictures.
Damn 84 degree intake air temp??! It doesn't get that cool around here unless it's 4am this time of year. Must be nice. I think it's like 1....0....bazillion today. Ready for fall!
Damn 84 degree intake air temp??! It doesn't get that cool around here unless it's 4am this time of year. Must be nice. I think it's like 1....0....bazillion today. Ready for fall!
Sep 4, 2014 | 05:15 AM
#174
3/8" check valve, ebay, $5
i ordered some parts to "finish" off the exhaust. i'll start working on the timing belt and more wiring next week when it gets cooler.
my hope is to get this thing started by the end of october. most of my weekends now will be spent building model railroad bridges with my dad. here's one we built last year; i hope to get two more done by thanksgiving weekend.
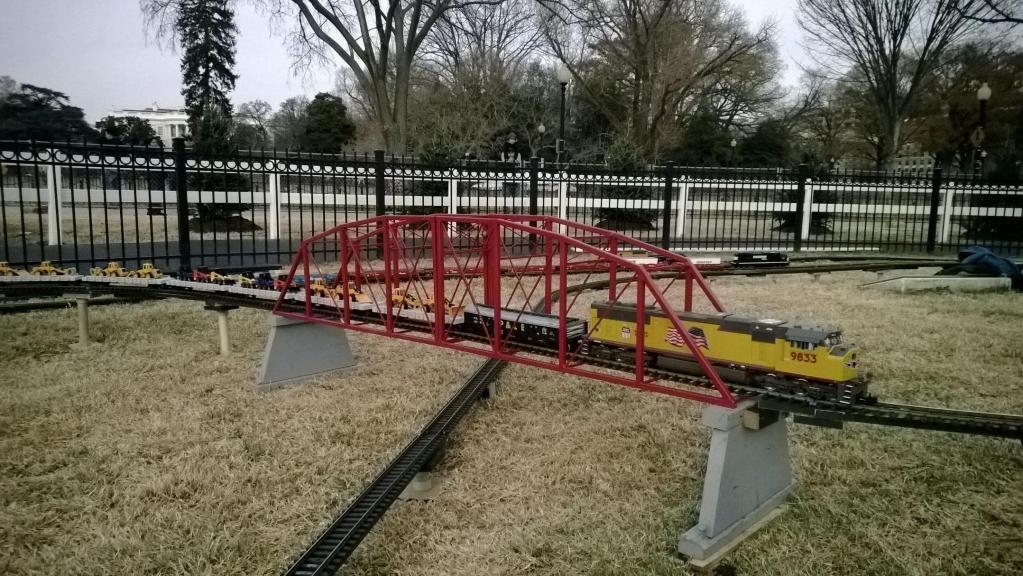
(size reference: the bridge itself is ~6 feet long)
i ordered some parts to "finish" off the exhaust. i'll start working on the timing belt and more wiring next week when it gets cooler.
my hope is to get this thing started by the end of october. most of my weekends now will be spent building model railroad bridges with my dad. here's one we built last year; i hope to get two more done by thanksgiving weekend.
(size reference: the bridge itself is ~6 feet long)
Last edited by irab88; Sep 4, 2014 at 05:17 AM.

 Sep 5, 2014 | 12:44 PM
#178
because it's $20 i didn't want to spend 
naw, but seriously. it works now, and it's easy enough to get to if i need to replace it in the future. i also didn't want to spend another hour to drive out, get the part, drive back, remove, and install. time is more important than money on this project. i've been away for more than 3 months since i started this project back in march, and the holidays (basically now until jan 2) show no sign of slowing. sigh.
naw, but seriously. it works now, and it's easy enough to get to if i need to replace it in the future. i also didn't want to spend another hour to drive out, get the part, drive back, remove, and install. time is more important than money on this project. i've been away for more than 3 months since i started this project back in march, and the holidays (basically now until jan 2) show no sign of slowing. sigh.
Sep 11, 2014 | 09:05 AM
#180
thanks pete!
so, some less-than-extatic news; i will not be working on the truck on the weekends, and my weekly building will slow waaaaay down until the end of december. i looked at my calendar and saw that i already have more than half my weekends booked, and i still have to decide on non-toyota things for the other half. everything is fine in my life right now, i just need to take care of other things. i miss driving my truck sooooo much, but i know i won't do a good job if i just half-ass it.
post for the next 3� months will be sparse


