
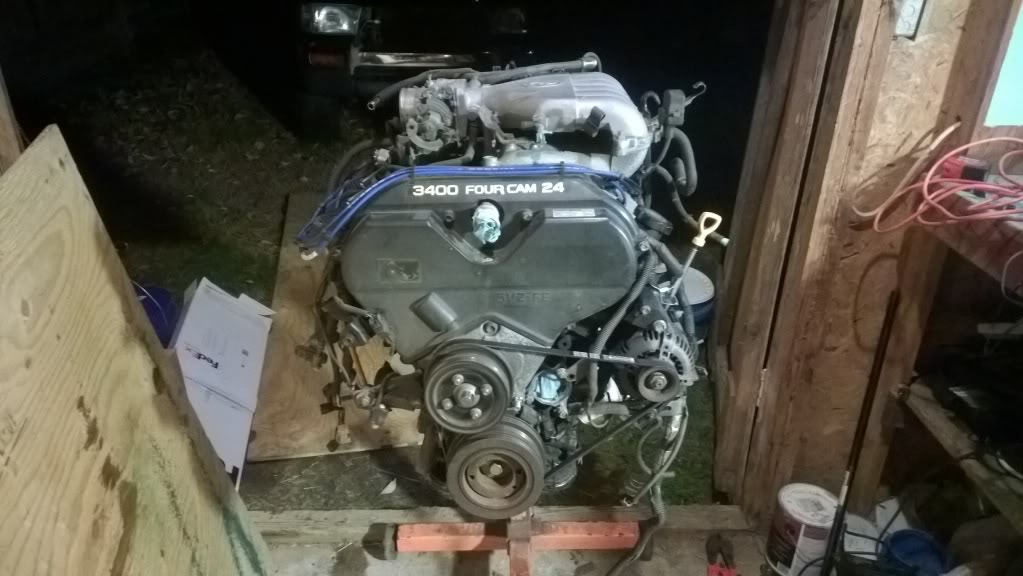
irab88 adds another liter: 22R-EC to 5VZ-FE
 Apr 9, 2014 | 08:45 AM
#121
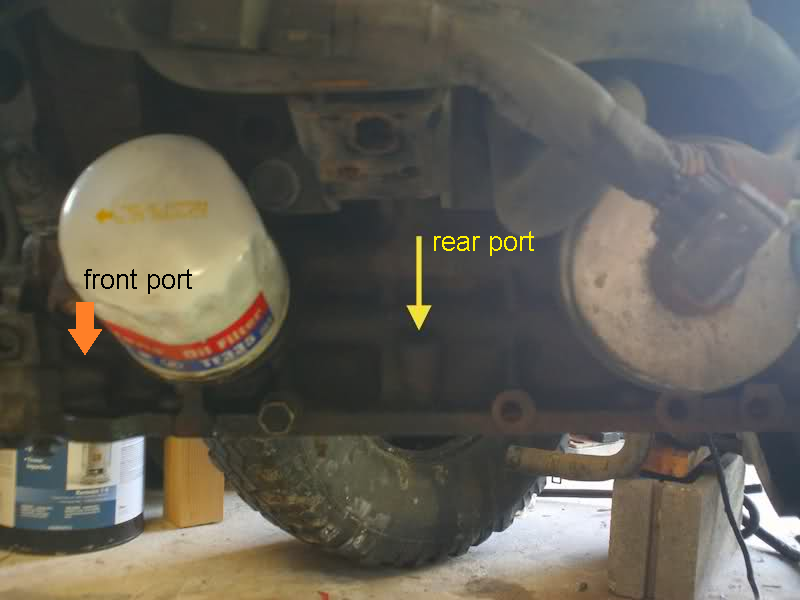
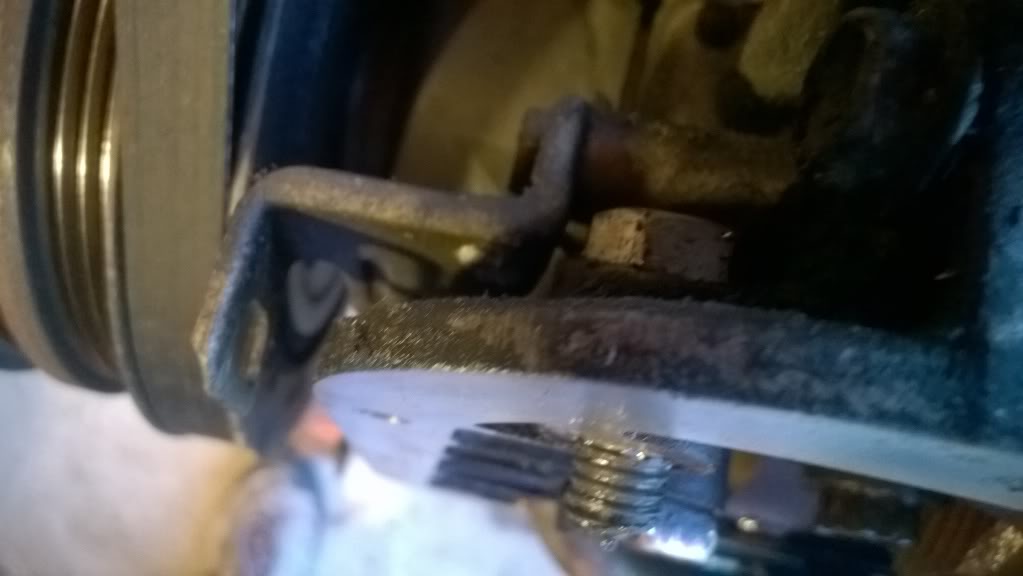
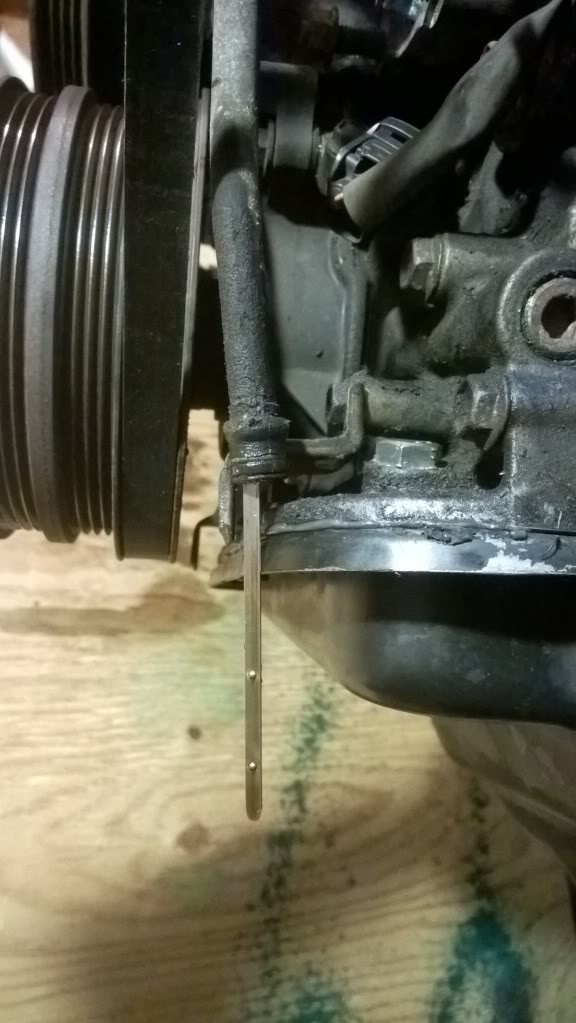
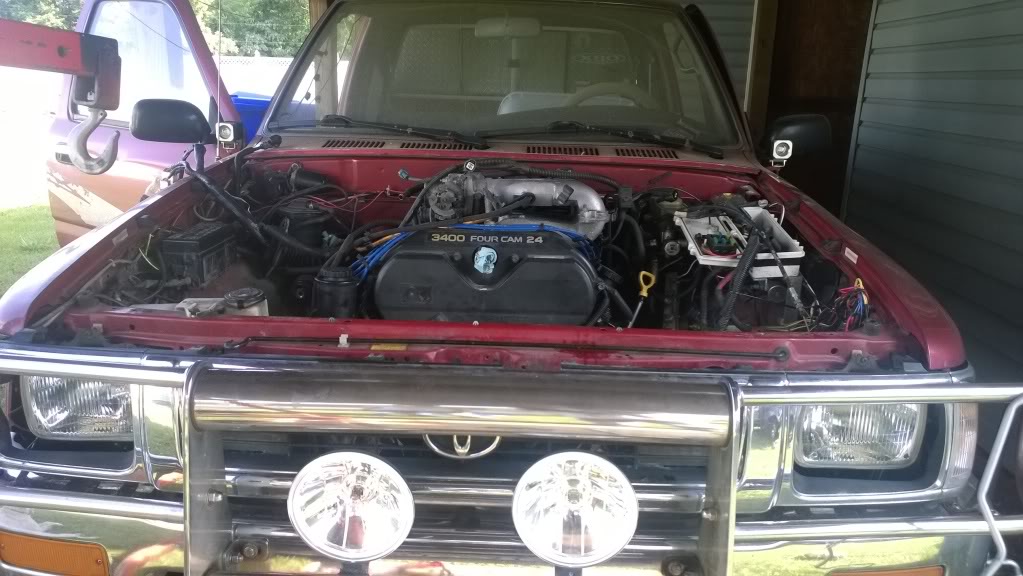
in the 3.4 swap, there are multiple oil pan setups. the first is the front sump, that comes stock on 4runners (not helpful at all). the second is a mid sump from a 3.0 for ifs rigs (what i have). the last is rear sump, great for sas rigs. the mid and rear sump applications require the dipstick in the back. the front sump uses a dipstick in the front. on my 5vz (with the front sump), the dipstick is in the front. but i need the mid-sump pan, so the dip stick will be moved back to the rear port. i'm therefore plugging the front port and opening the rear.
Apr 11, 2014 | 07:22 AM
#123
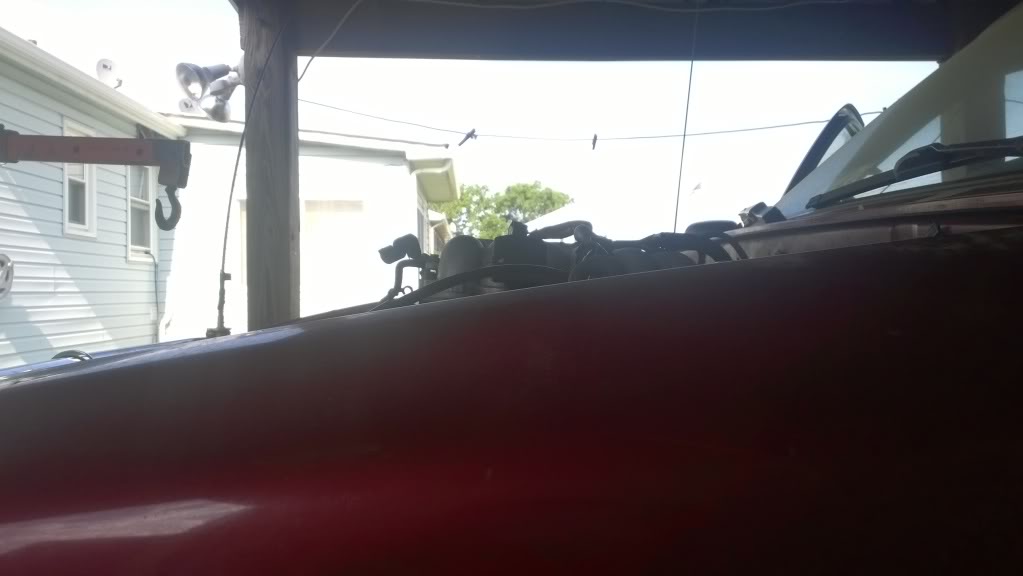
got my oil pan situation taken care of last night. everything bolts up nicely, the weather was great, and i got a nice flyover
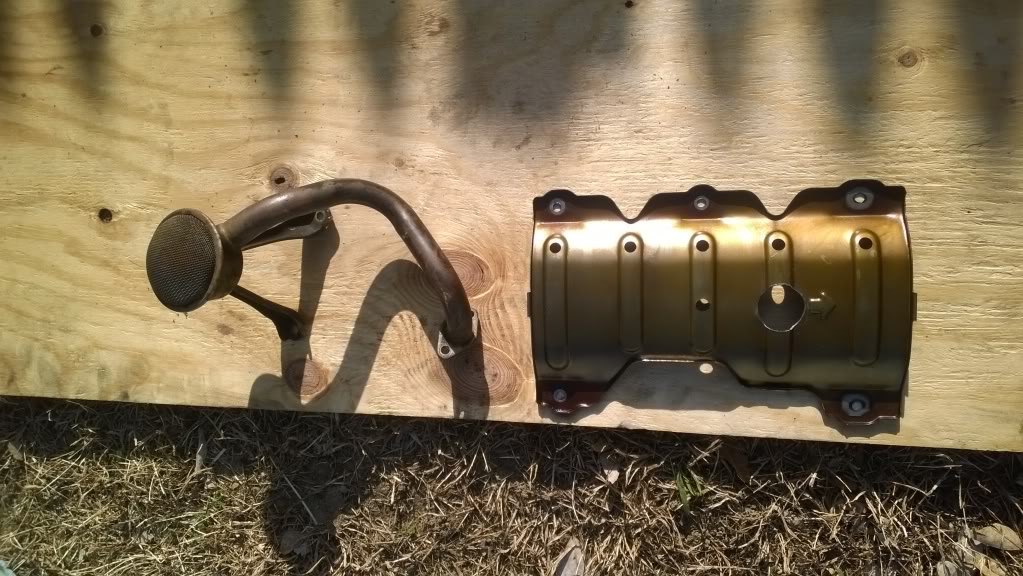
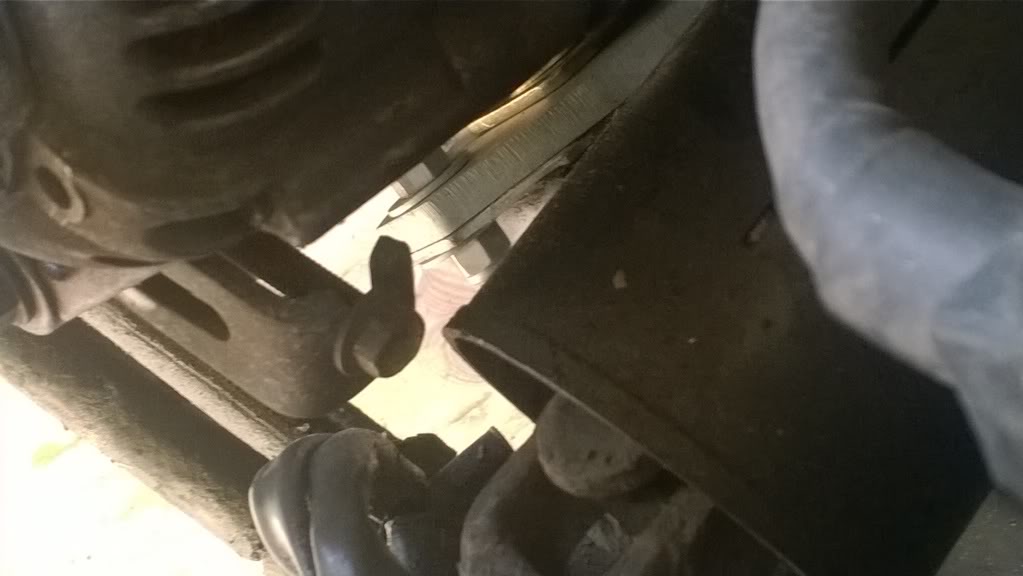
1.5" hole works perfectly
it looked a lot closer in person

all on
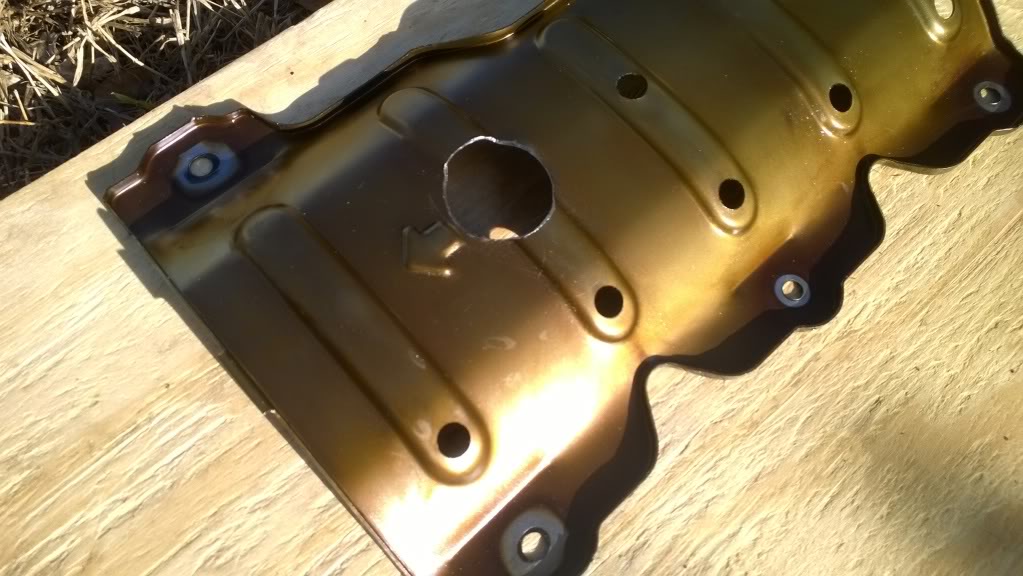
3/8-16 bolt with ultra-black, staked in
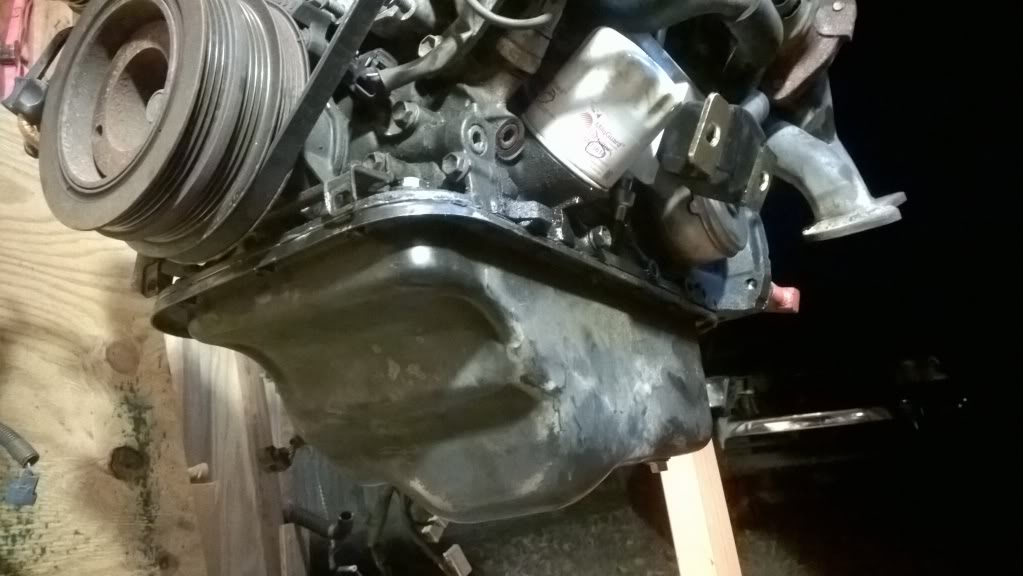
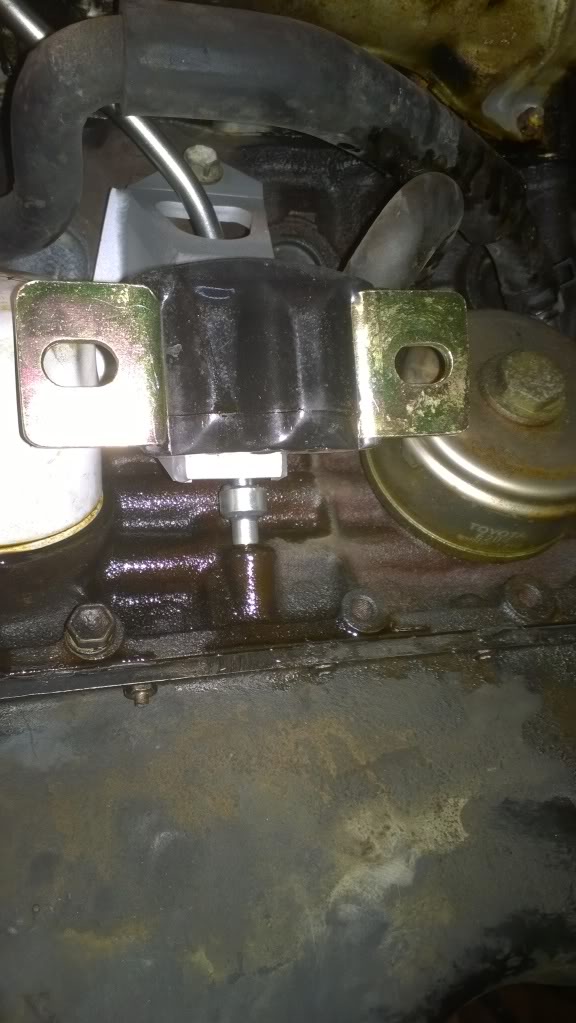
stock dipstick next to plugged hole, for depth comparison
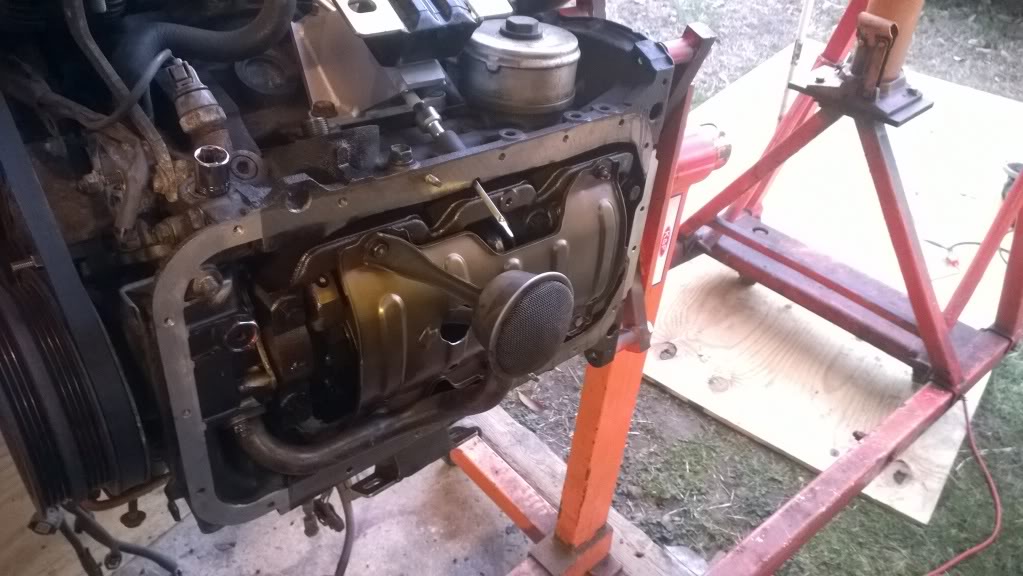
90% done
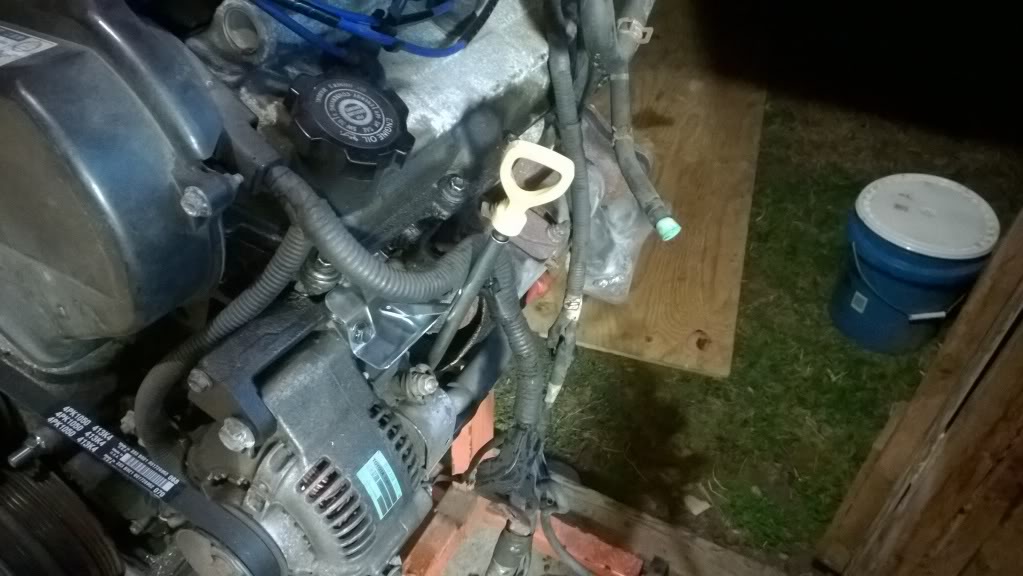
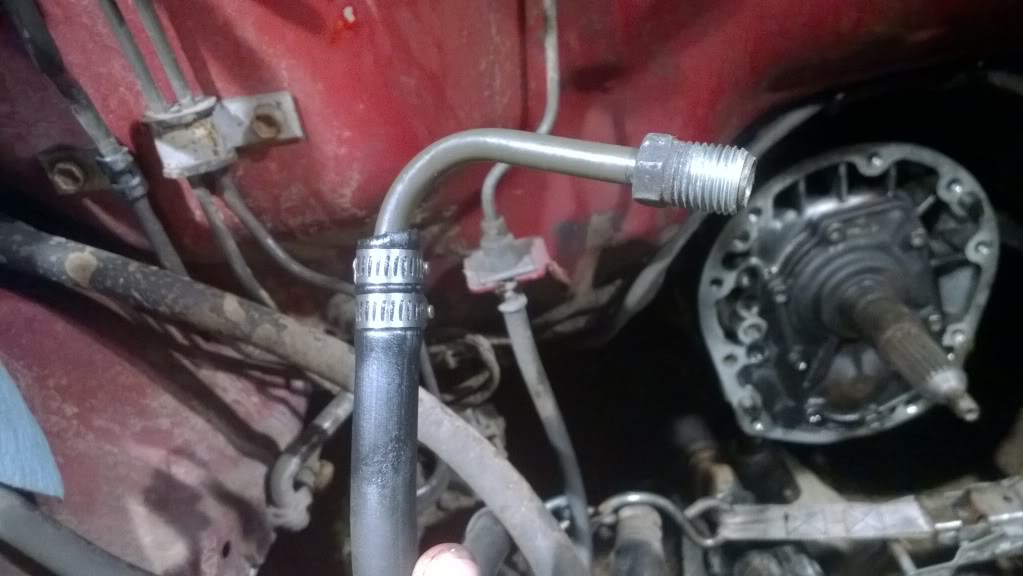
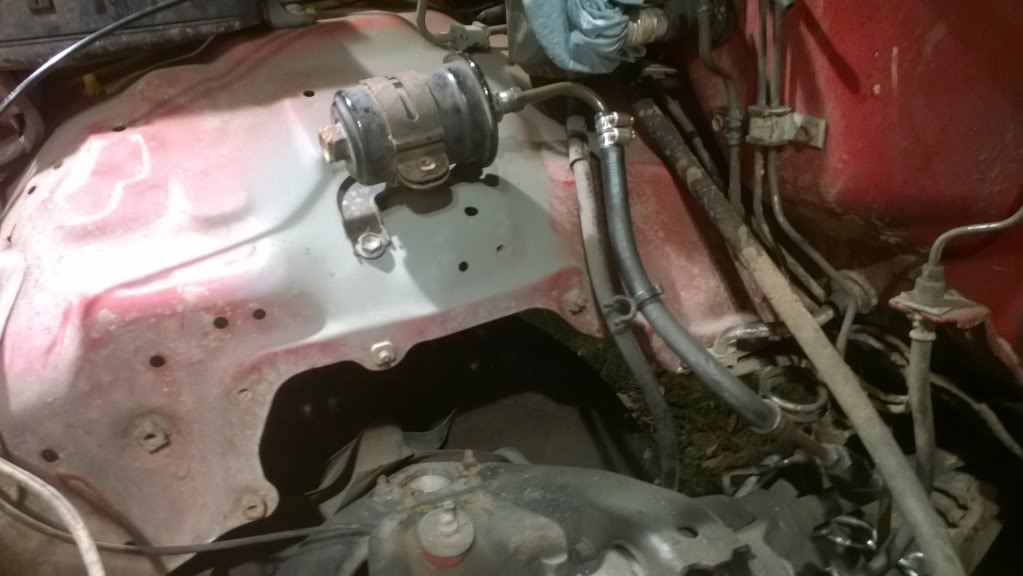
i also fitted the fuel line. i made a bead with a double-flare tool, and i think that'll give me plenty of seal
like i said earlier, i have a month of 60-hour work weeks starting monday, so i won't be working on this project for a while.
1.5" hole works perfectly
it looked a lot closer in person
all on
3/8-16 bolt with ultra-black, staked in
stock dipstick next to plugged hole, for depth comparison
90% done
i also fitted the fuel line. i made a bead with a double-flare tool, and i think that'll give me plenty of seal
like i said earlier, i have a month of 60-hour work weeks starting monday, so i won't be working on this project for a while.
 Apr 11, 2014 | 10:59 PM
#128
Registered User


Joined: Nov 2012
Posts: 1,175
Likes: 177
From: Tucson
Your fuel pressure line looks like a clean install but, hose clamps on the pressure side are kind of risky.
I wouldn't be hard (no pun intended) to make a hard line. It would be safer.
It would SUCK to spring a leak and burn your truck to the ground. Especially if you or a passenger got toasted.
I wouldn't be hard (no pun intended) to make a hard line. It would be safer.
It would SUCK to spring a leak and burn your truck to the ground. Especially if you or a passenger got toasted.
Apr 15, 2014 | 03:19 AM
#129

Registered User
Joined: Mar 2014
Posts: 29
Likes: 1
Your fuel pressure line looks like a clean install but, hose clamps on the pressure side are kind of risky.
I wouldn't be hard (no pun intended) to make a hard line. It would be safer.
It would SUCK to spring a leak and burn your truck to the ground. Especially if you or a passenger got toasted.
I wouldn't be hard (no pun intended) to make a hard line. It would be safer.
It would SUCK to spring a leak and burn your truck to the ground. Especially if you or a passenger got toasted.
I agree, I think it's a little risky using hose clamps on a fuel line like that.
I'm using -6AN stainless braided on mine. A little expensive, but well worth protecting your investment.
Apr 16, 2014 | 05:58 PM
#130
Yeah, I know it's not the best, but I can assure you that it is safe. The end of the hard line has a bead on the end, so there's no chance of the soft line slipping off.
That being said, I would still like to do a hard line. I would be reusing the hard line fittings and re-flaring the ends. The only thing I don't like is how much the flaring tool chews up the coating. I didn't think to make hard lines because I haven't done them in a loooooong time.
That being said, I would still like to do a hard line. I would be reusing the hard line fittings and re-flaring the ends. The only thing I don't like is how much the flaring tool chews up the coating. I didn't think to make hard lines because I haven't done them in a loooooong time.
Apr 17, 2014 | 03:55 AM
#131
Registered User

Joined: Jan 2010
Posts: 3,795
Likes: 33
From: Bloodymore
^^^ I agree Ian. these engines only run between 40-60psi in those lines anyhow. Plus if you have a leak, you will probably notice it just by throttle response. I'd still like to see a hard-line put on there, but I think it could wait.
Apr 19, 2014 | 07:50 AM
#133
Thanks. I am "almost done" in the parts department, but time-wise I'm still 4 weeks away. This past week, I've put about 70 hours in at work, sun-sat, and the coming weeks will be the same. Bleh...
May 14, 2014 | 02:43 PM
#134
No work done to the rig yet, but parts are being ordered. I have one more week of long work days, so in my little bit of free time I've been buying the small parts.
For the power steering, I found a good deal on a new 3.0 high pressure line. I also got the required banjo bolt.
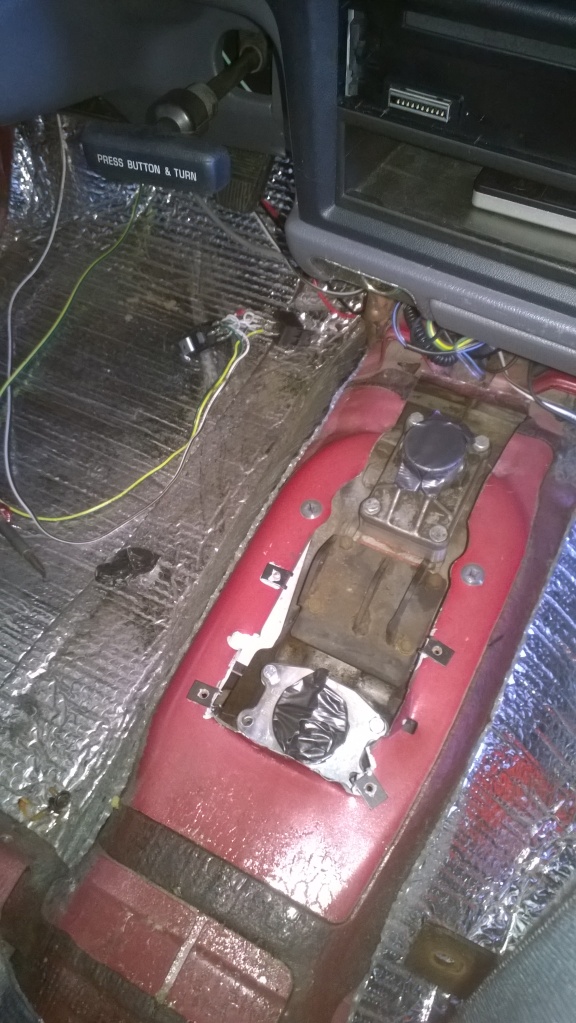
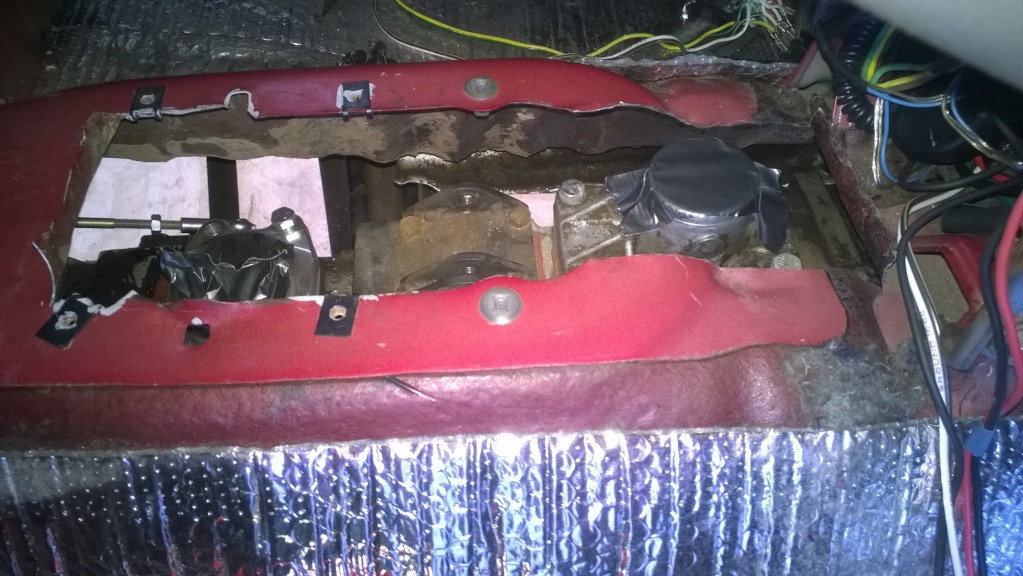
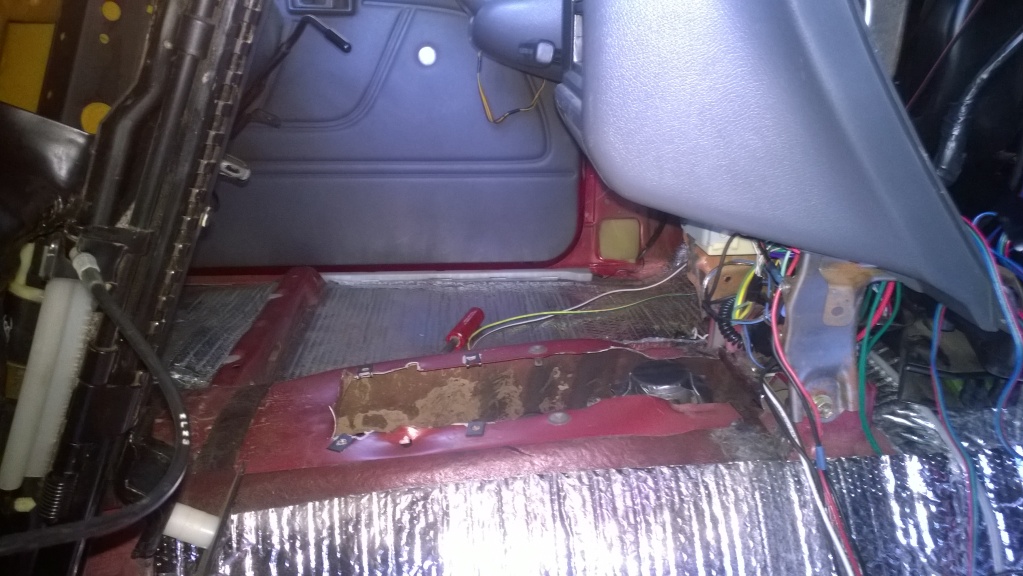
The trans tunnel will be modified, but I have all the parts to move the shifters back. It's slightly confusing to describe, so I'll just post pics later. Still keeping triple sticks, but the center console might be gone for a while.
Last week I put in 80 hours at work. This week is up to over 50, and I still have a few days to go. I can't wait to start working on this again.
For the power steering, I found a good deal on a new 3.0 high pressure line. I also got the required banjo bolt.
The trans tunnel will be modified, but I have all the parts to move the shifters back. It's slightly confusing to describe, so I'll just post pics later. Still keeping triple sticks, but the center console might be gone for a while.
Last week I put in 80 hours at work. This week is up to over 50, and I still have a few days to go. I can't wait to start working on this again.
May 22, 2014 | 02:17 PM
#135
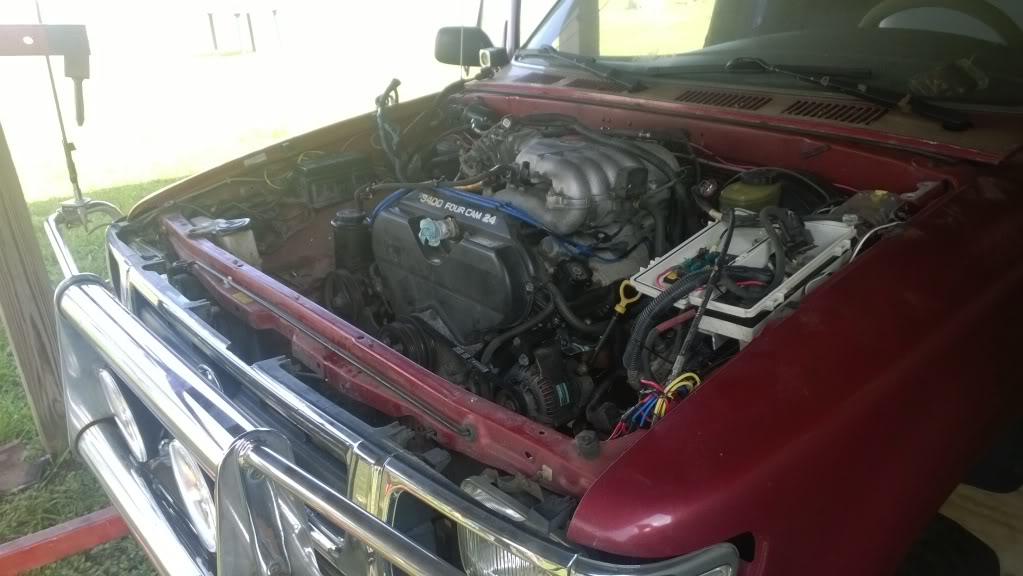
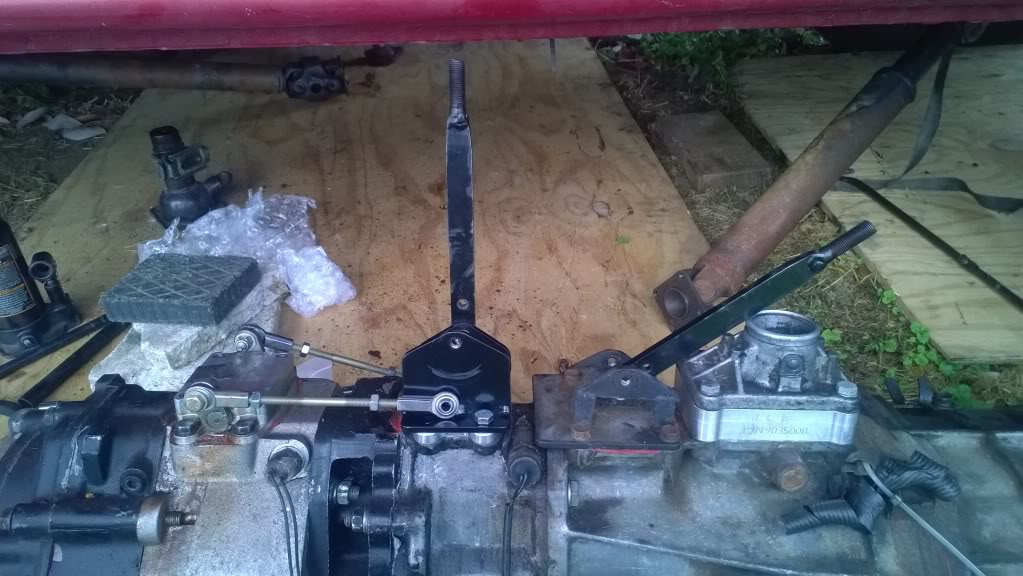
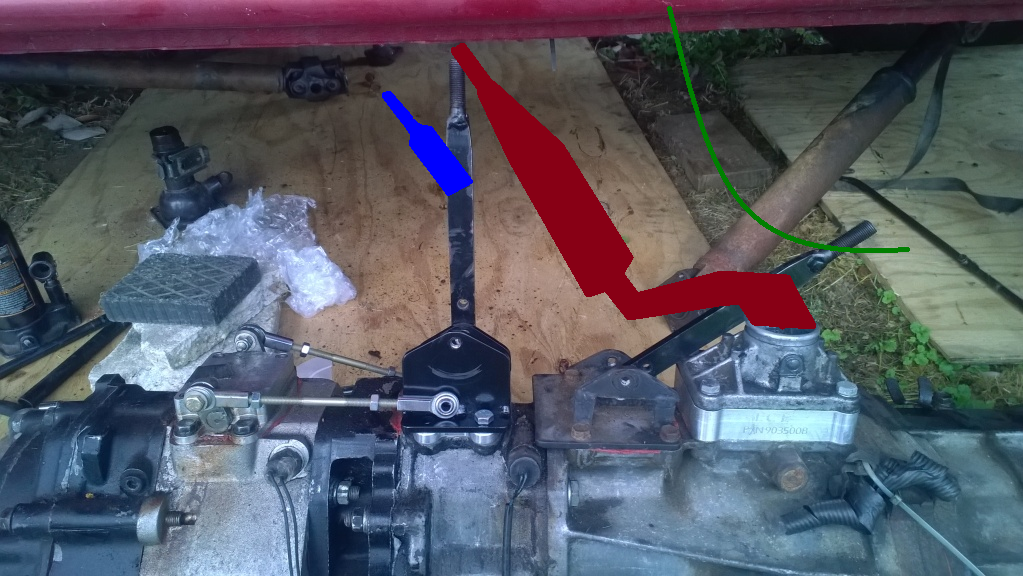
done with my looooong work hours. got to take the whole day off today (also tomorrow) to work on this some more
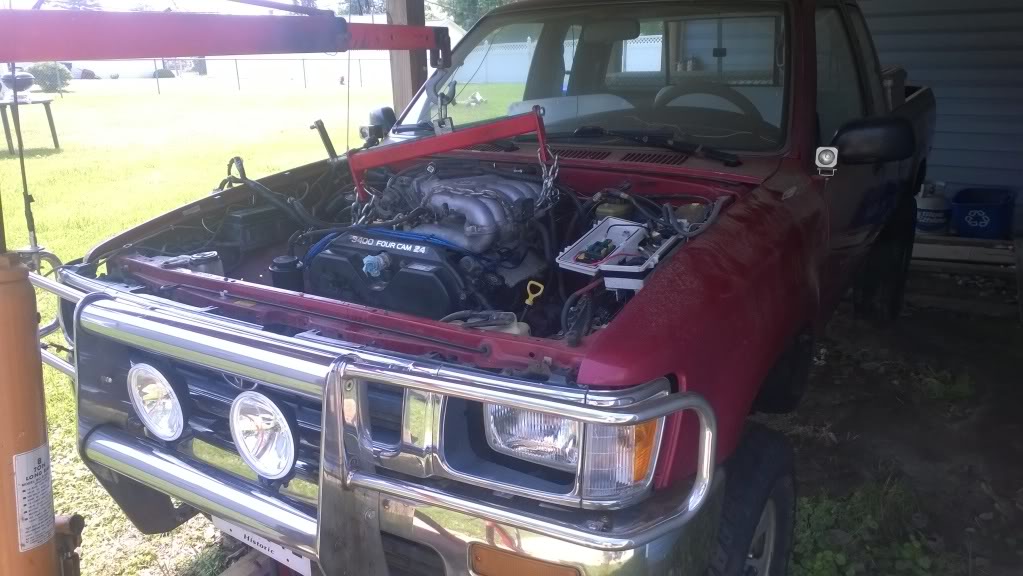

steering column and alternator clearance. i can probably get another 0.5" if i take off the cover
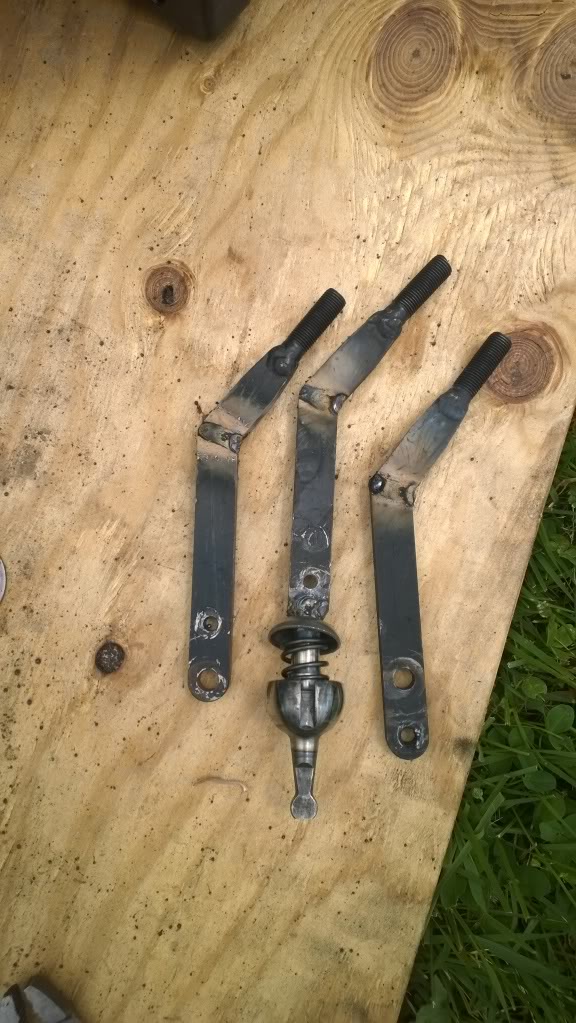
left to right:
radesign's relocated twin sticks, custom lever base on top of marlin crawler billet base, original custom lever base, LCE short throw setup
with this setup, the triple sticks on top of the front crawl box come up in the previous location. the main shift lever come will have to be dog-legged to directly above the original custom lever base.
steering column and alternator clearance. i can probably get another 0.5" if i take off the cover
left to right:
radesign's relocated twin sticks, custom lever base on top of marlin crawler billet base, original custom lever base, LCE short throw setup
with this setup, the triple sticks on top of the front crawl box come up in the previous location. the main shift lever come will have to be dog-legged to directly above the original custom lever base.
May 22, 2014 | 02:27 PM
#136
Registered User
Joined: Nov 2012
Posts: 1,175
Likes: 177
From: Tucson
I went to a slightly shorter alternator belt. My engine sits about 1 1/2" lower though.
One of my buds noticed how much my (new) rag joint flexed when under load on 35's. I just got rid of the rag joint. Better steering and more room along side my alt.
Looking good! Glad you finally got some time to work on it.
One of my buds noticed how much my (new) rag joint flexed when under load on 35's. I just got rid of the rag joint. Better steering and more room along side my alt.
Looking good! Glad you finally got some time to work on it.
May 28, 2014 | 10:38 AM
#138
Registered User
Joined: Mar 2014
Posts: 29
Likes: 1
I'm almost finished with my 4runner and I think the body lift is the only way to go with this swap. Makes installation easier and gives you extra valuable room where it's needed.
May 28, 2014 | 12:08 PM
#139
i forgot to post this the other day
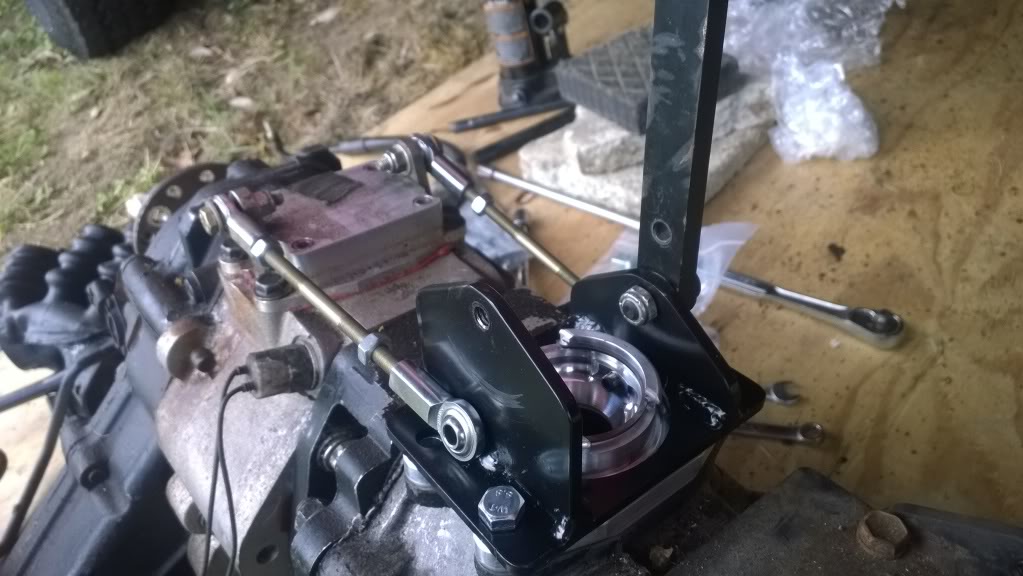
since i have the r151f, all of my levers are moved forward a good 3-4 inches. that means a lot of work to keep the shift levers in the same spot. i'm "dog-legging" the trans shifter, and bent the t-case levers back. it should roughly end up like this (4th gear, t-case lever forward)
i've already cut and welded the 3 t-cast levers, and attached the radesigns lever to the toyota lever base. with the boot on, there should be no difference in telling which lever is which (other than the throw distances)
Jun 2, 2014 | 06:29 AM
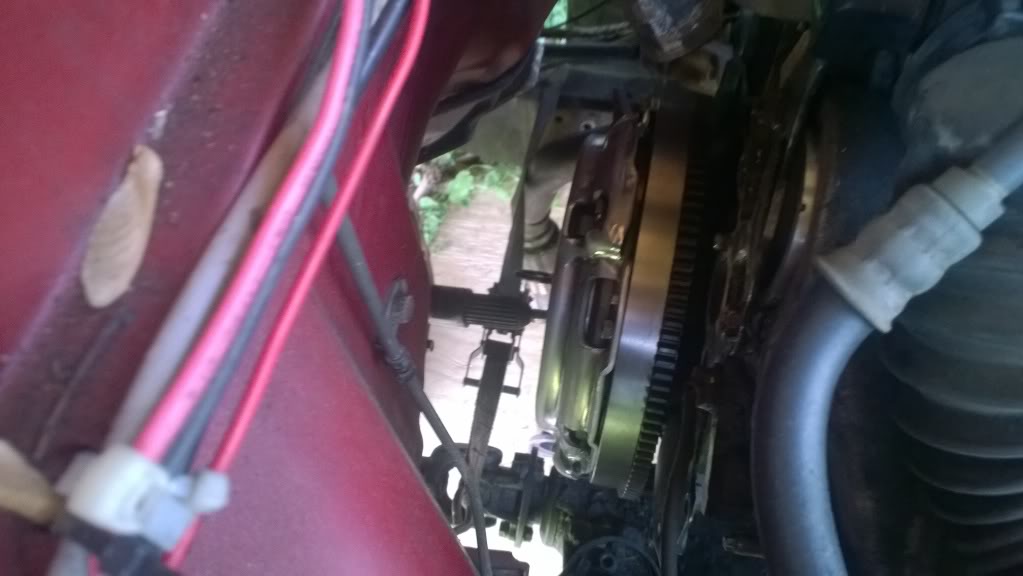
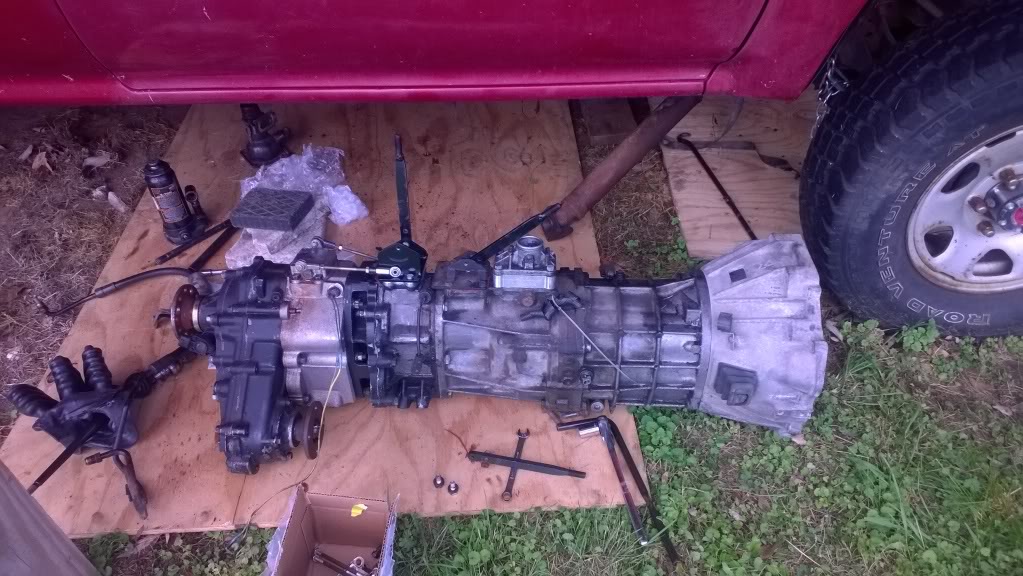
#140
this weekend (with a lot of help from yt member LolaL and her brother) we got the transmission bolted to the engine. it was the last of the heavy lifting, so i should have this running around town sometime in july. i still need to order a body lift (going with 4crawler's 2" lift), some miscellaneous hardware, and get the driveshafts re-done. also, there is a small chance i'll add on my driveline disconnect, now that i'll have a body lift to accommodate it and the controls. more on that later.
pics
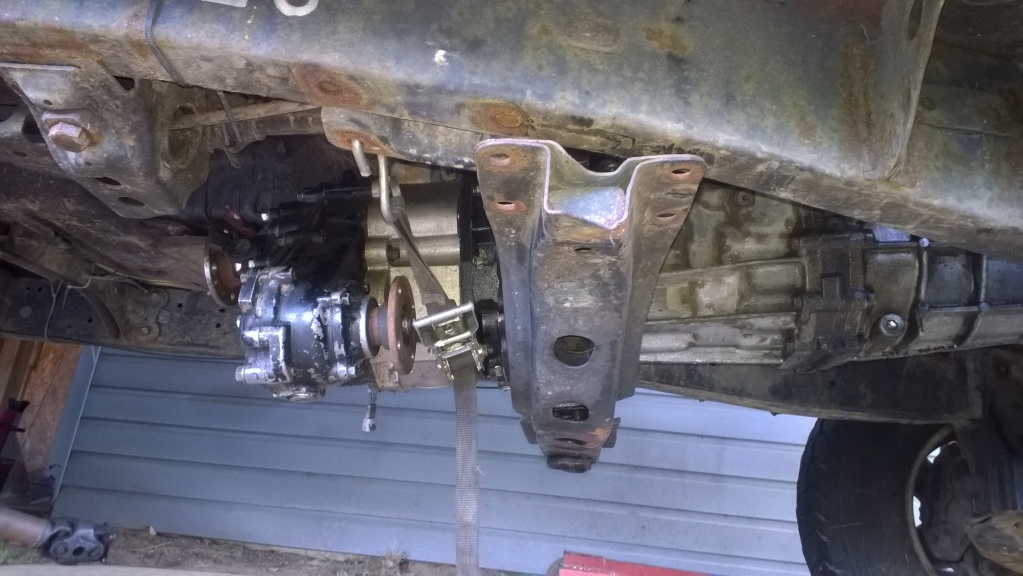
nice opening for the starter
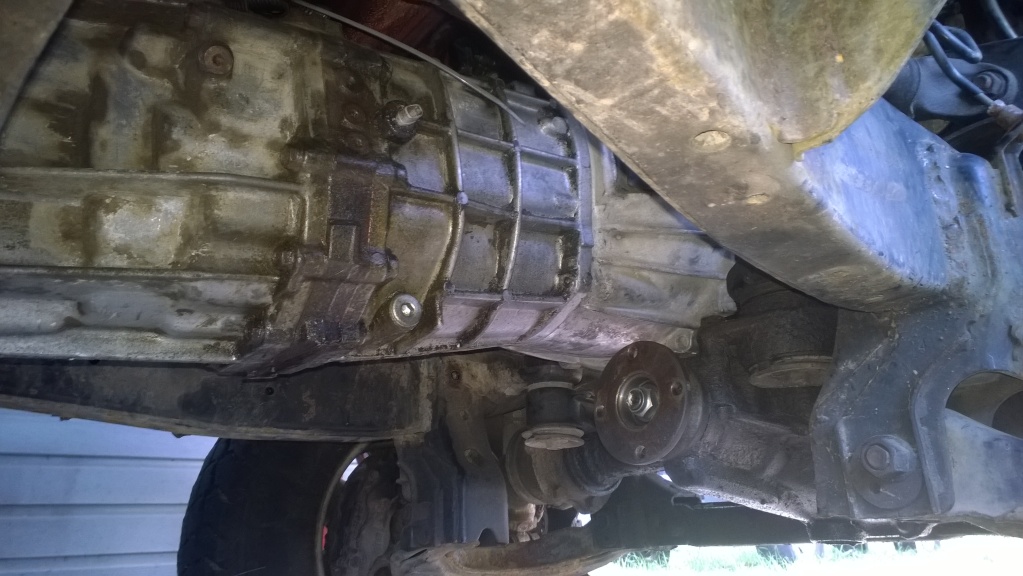
here you can see where the cover plate needs to go. brian (swimmerboy2112) is sending me his extra one, which i'll use as a template for others to use. also, i'll put in the brackets that go from the block to the bottom of the bellhousing.

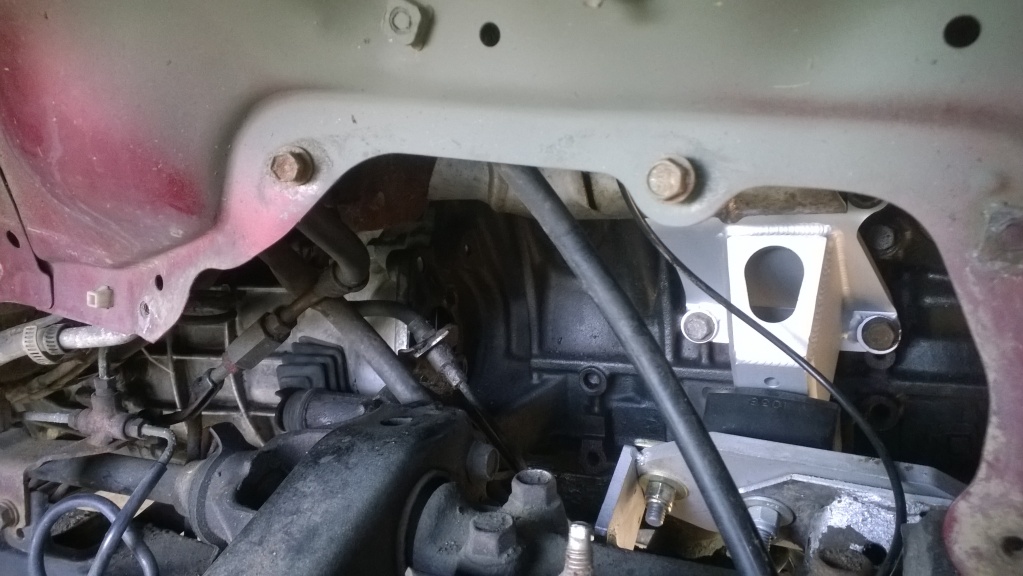
aaaand here you can see how far forward the r151f sits when bolted to a v-6 engine. the tunnel opening goes all the way forward to the center dash support. i'll take a dremel wheel and trim up the edges. however, with keeping the top shift crawl box (r151f's are forward shift from the factory, mine got converted), i could move the levers back from where i had them originally and still have my center console. i doubt that i can use the bezzel that goes around the levers, but we'll see.
pics
nice opening for the starter
here you can see where the cover plate needs to go. brian (swimmerboy2112) is sending me his extra one, which i'll use as a template for others to use. also, i'll put in the brackets that go from the block to the bottom of the bellhousing.
aaaand here you can see how far forward the r151f sits when bolted to a v-6 engine. the tunnel opening goes all the way forward to the center dash support. i'll take a dremel wheel and trim up the edges. however, with keeping the top shift crawl box (r151f's are forward shift from the factory, mine got converted), i could move the levers back from where i had them originally and still have my center console. i doubt that i can use the bezzel that goes around the levers, but we'll see.
Last edited by irab88; Jun 2, 2014 at 06:41 AM.


