irab88 adds another liter: 22R-EC to 5VZ-FE


 Jun 3, 2014 | 04:04 AM
#144
thanks!
though, if you knew what i'm capable of, you'd know i'm being fairly lazy with this project, haha!
nor can i. it's awesome to have all the heavy lifting done!
someone else to caravan up to rausch creek with!
it's all good. brian hasn't shipped the cover plate yet, and i have some parts i'm sending him today. toyota parts never get thrown away; they just hitch rides on other toyota trucks
though, if you knew what i'm capable of, you'd know i'm being fairly lazy with this project, haha!
nor can i. it's awesome to have all the heavy lifting done!
it's all good. brian hasn't shipped the cover plate yet, and i have some parts i'm sending him today. toyota parts never get thrown away; they just hitch rides on other toyota trucks
Jun 3, 2014 | 04:09 AM
#145
Registered User

Joined: Jan 2010
Posts: 3,795
Likes: 33
From: Bloodymore
Jun 23, 2014 | 06:32 PM
#146
The internet was down today, so a few pics sometime tomorrow.
I got most of the body lift installed. The kit from 4crawler is complete, but the bumper spacers have holes that don't line up, or let you use the valance support. Also, one of the tabs he welded on a nut fell off. I'll be putting on a different bumper sometime in the near future, but it will all work out.
I got most of the body lift installed. The kit from 4crawler is complete, but the bumper spacers have holes that don't line up, or let you use the valance support. Also, one of the tabs he welded on a nut fell off. I'll be putting on a different bumper sometime in the near future, but it will all work out.
Jun 24, 2014 | 05:42 AM
#147
face removed


i had trouble getting the old 14mm bolts out that hold the large body mounts in place, so i just left them in for now. once i get everything set up, then i'll get back to them
i got everything done except the radiator brackets. i'll put those on when i get to the engine work again. the body lift is very easy to install, and the blocks 4crawler makes are very high quality. i'm going to wait on doing the bed until everything else is done with this swap.
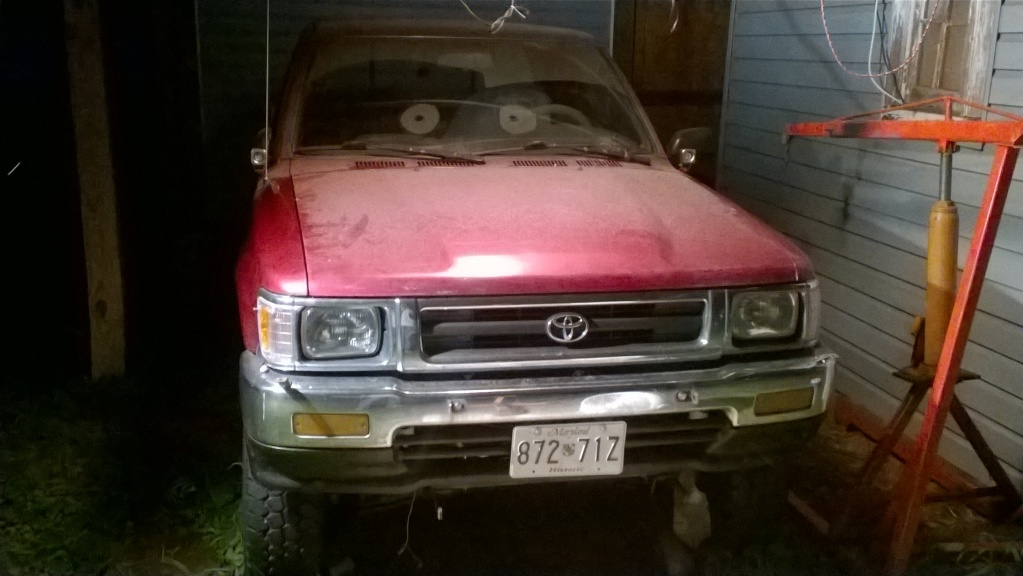
now the engine sits lower under the hood
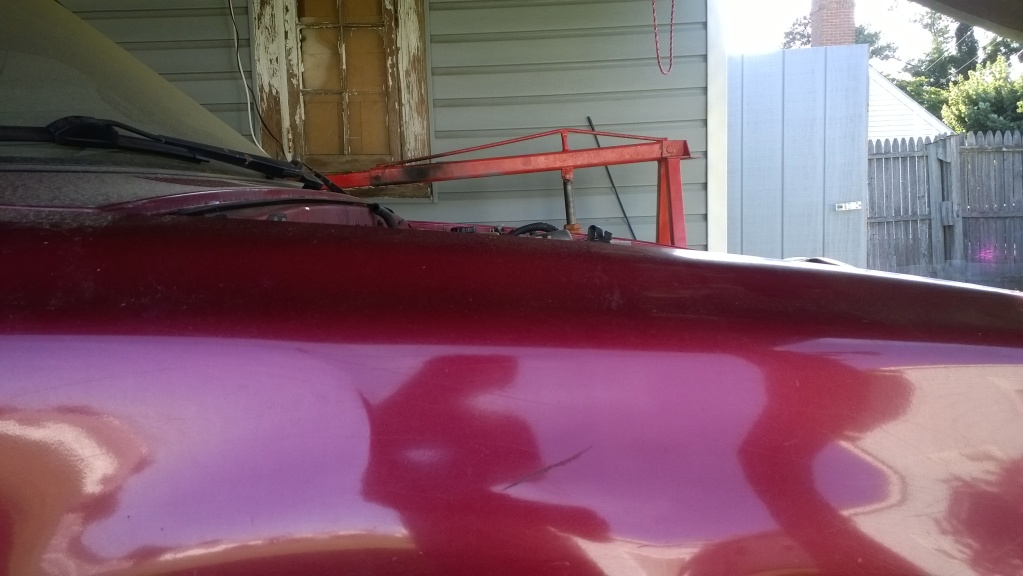
and the hood closes

i'll still add vents for getting rid of the added heat
it doesn't look familiar anymore...

and for anyone wondering, this is a 2 inch body lift. just the right amount of lift. if i hadn't used the chilkat motor mount plates, the engine would have sit about 0.5" lower, needing only a 1.5" body lift
i had trouble getting the old 14mm bolts out that hold the large body mounts in place, so i just left them in for now. once i get everything set up, then i'll get back to them
i got everything done except the radiator brackets. i'll put those on when i get to the engine work again. the body lift is very easy to install, and the blocks 4crawler makes are very high quality. i'm going to wait on doing the bed until everything else is done with this swap.
now the engine sits lower under the hood
and the hood closes
i'll still add vents for getting rid of the added heat
it doesn't look familiar anymore...
and for anyone wondering, this is a 2 inch body lift. just the right amount of lift. if i hadn't used the chilkat motor mount plates, the engine would have sit about 0.5" lower, needing only a 1.5" body lift
Jul 6, 2014 | 09:08 AM
#148
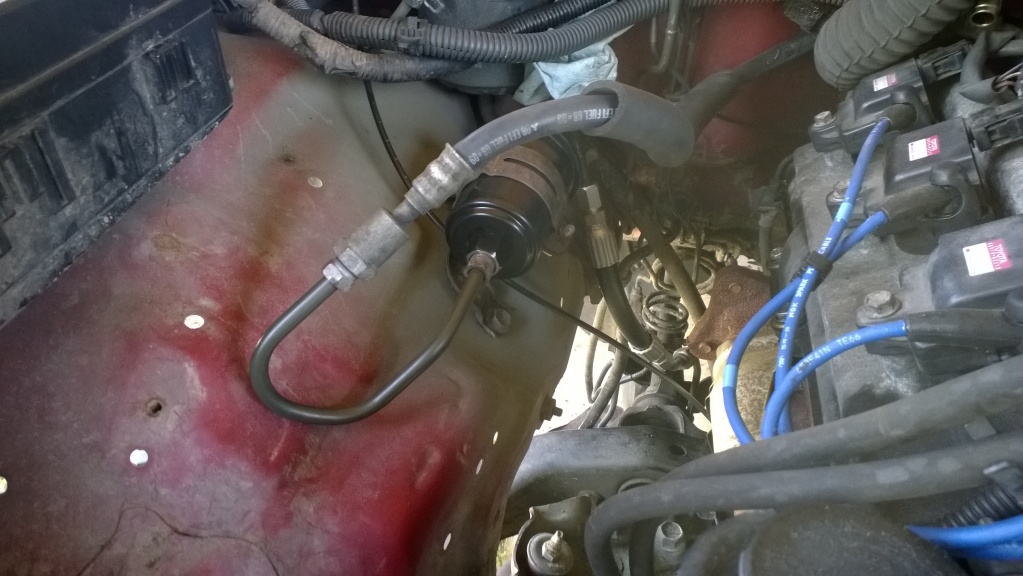
Did a bunch of little things this weekend. the weather has been great, so fuel lines, power steering lines, ignitor, (temporary) crossmember, and shift lever bases got done.
fuel filter to engine
from tank to filter
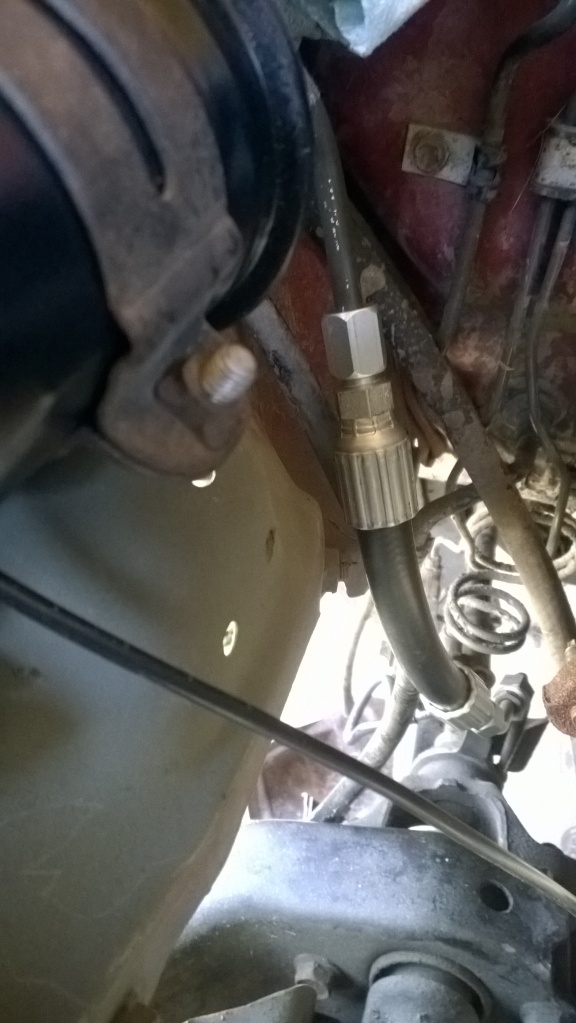
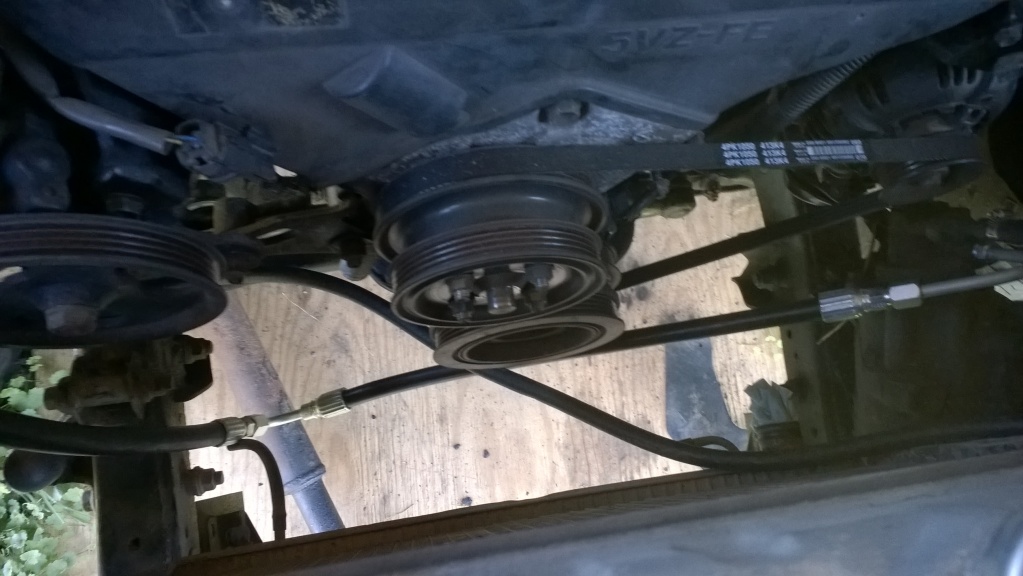
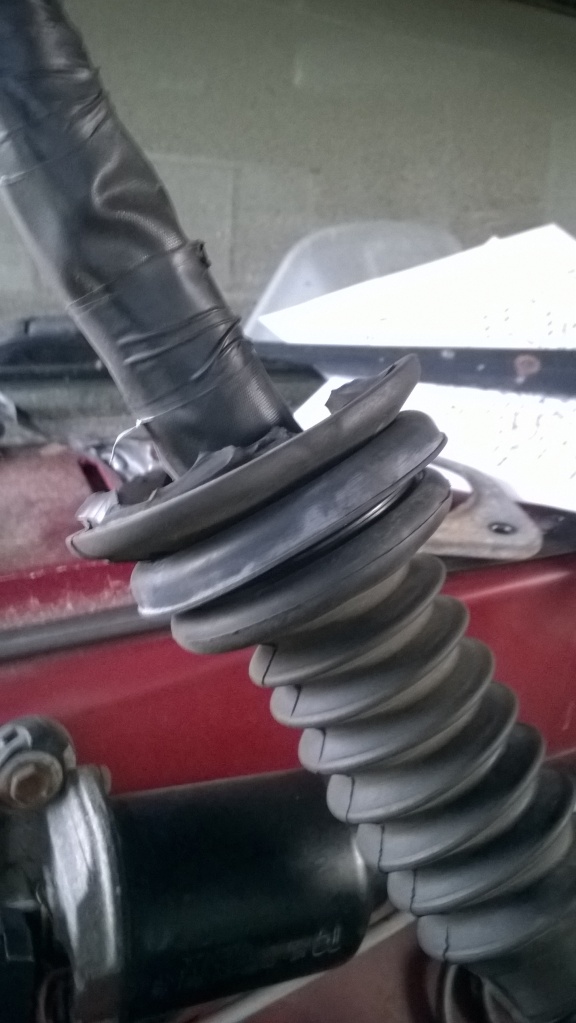
both high and low pressure steering lines
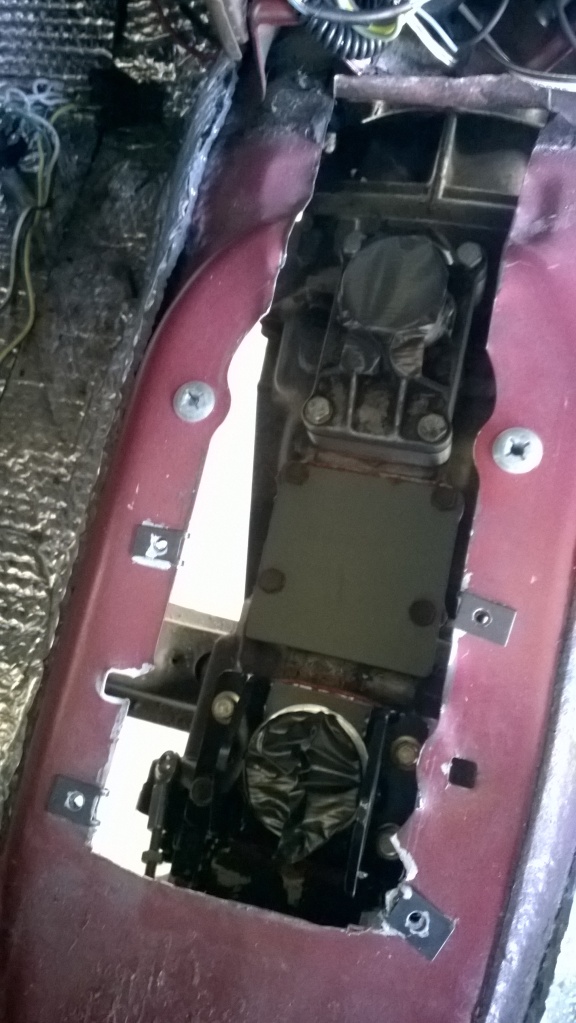
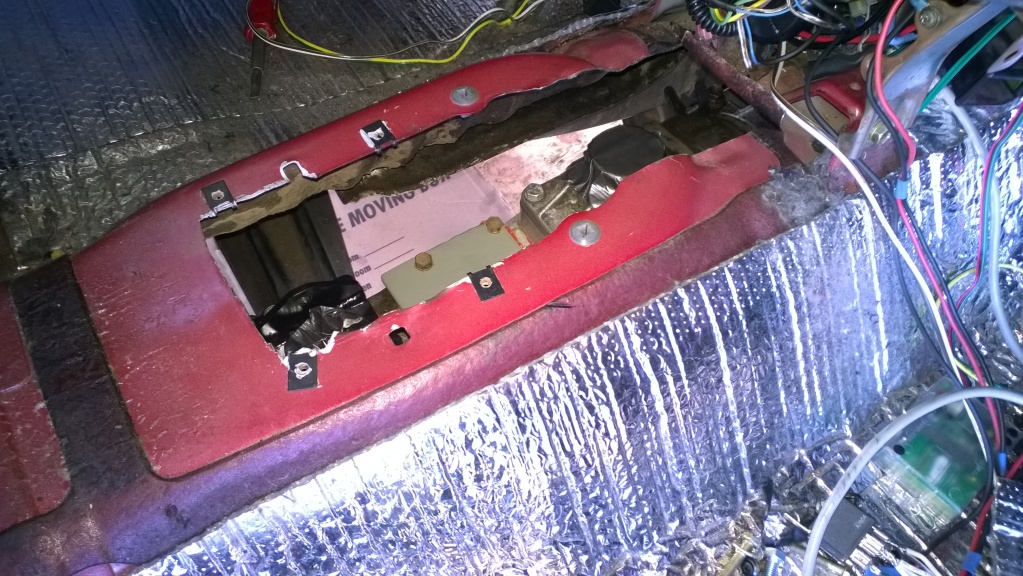
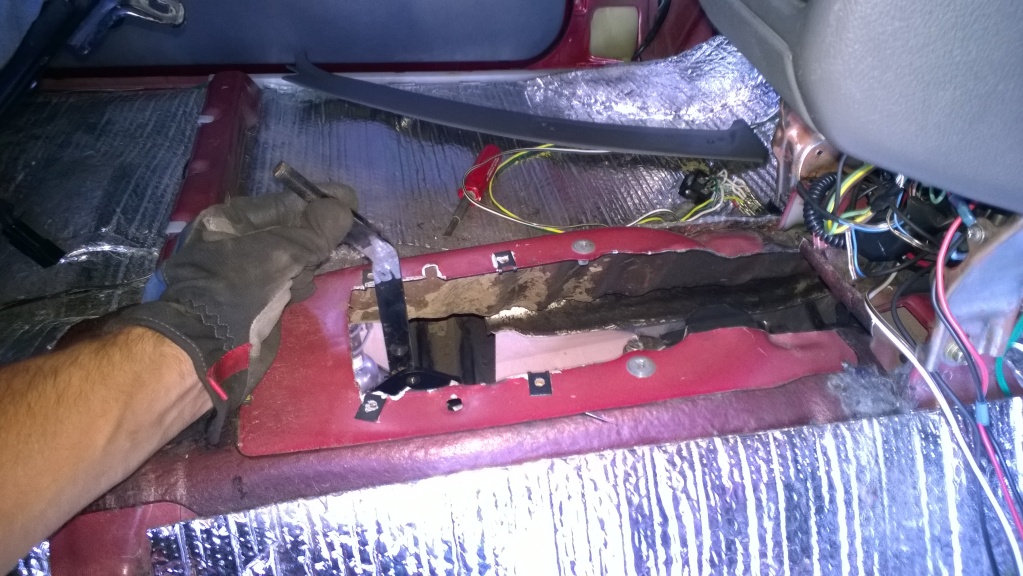
shift lever bases. huge opening needed, but only a bit farther back than stock. this should let me retain the center console
a little too low, but that's with the lowered crossmember from before the body lift. i'll end up making my own soon
starter in place. the bottom mounting hole on the starter (not bellhousing) needs to be drilled out. then a bolt will fit in nicely

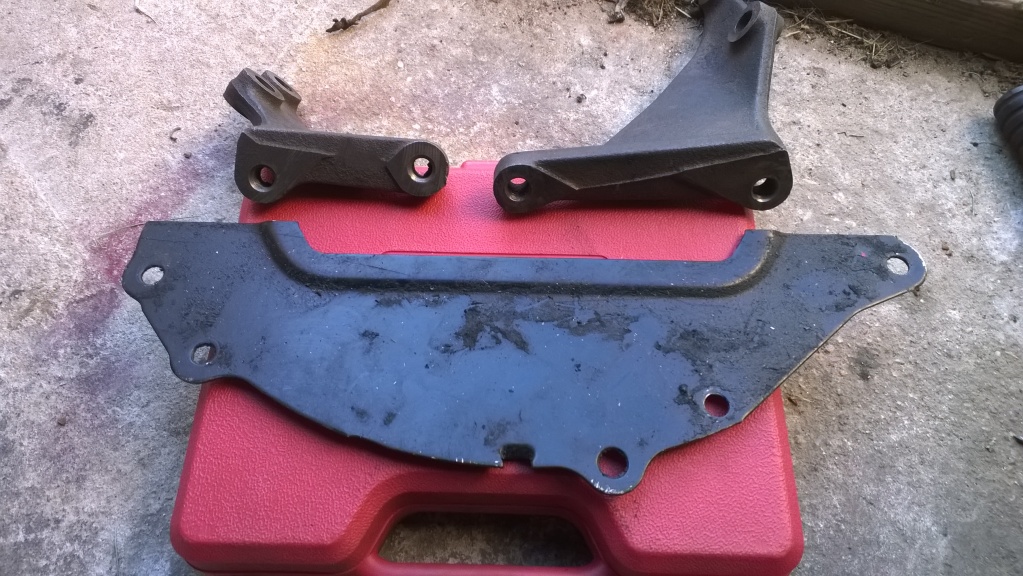
the plate and stiffening brackets. the brackets bolt right up, but the plate has some issues. the holes are too small (meant for m8, not m10). and the holes on the left side don't line up with the bracket. i guess the auto bellhousing is a bit different (auto plate, manual brackets)
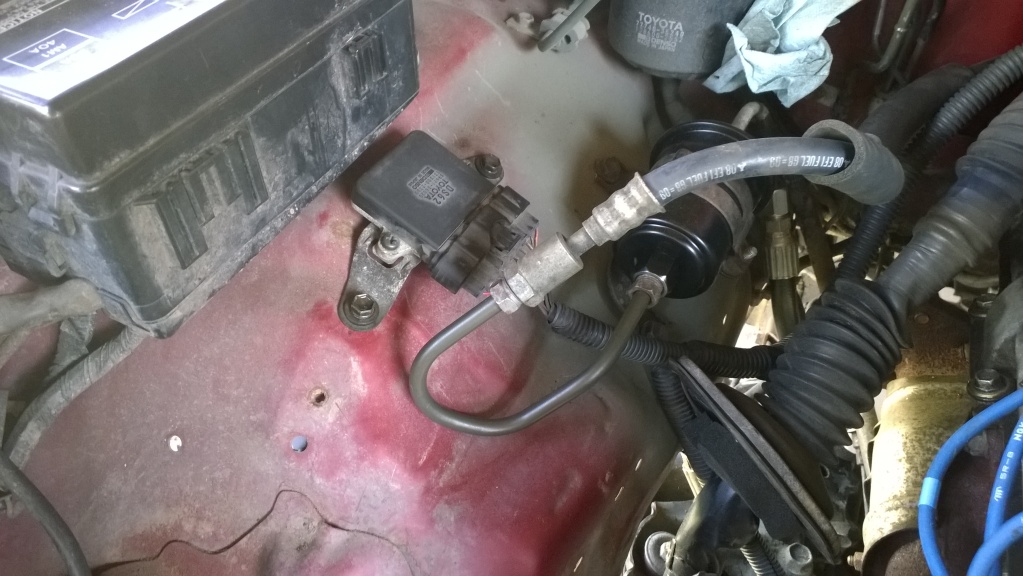
and lastly, the ignitor. i bent the tabs a hair, and there were two bolt holes that lined up perfectly.
fuel line size: 5/16
power steering line size (both high and low): 3/8
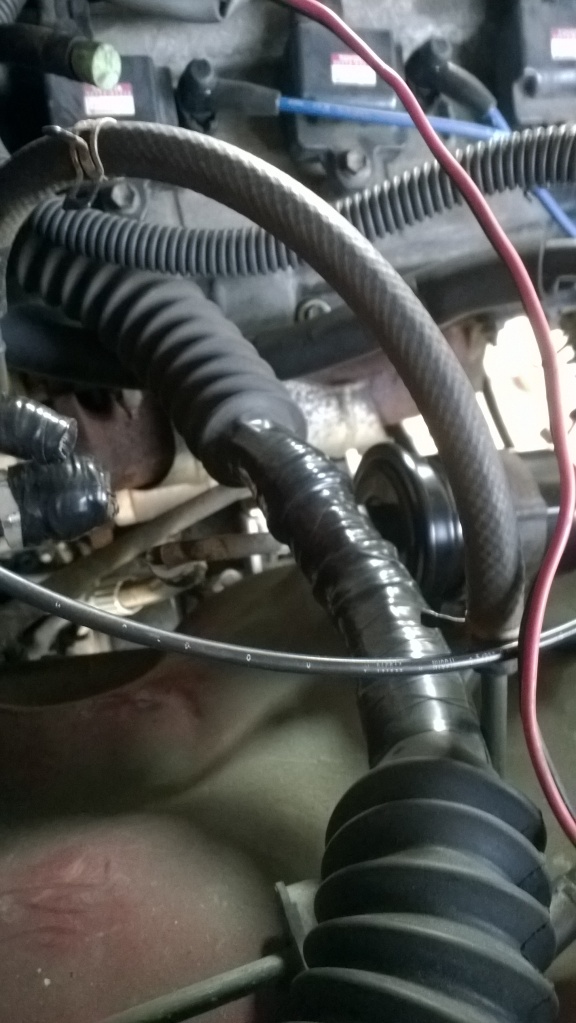
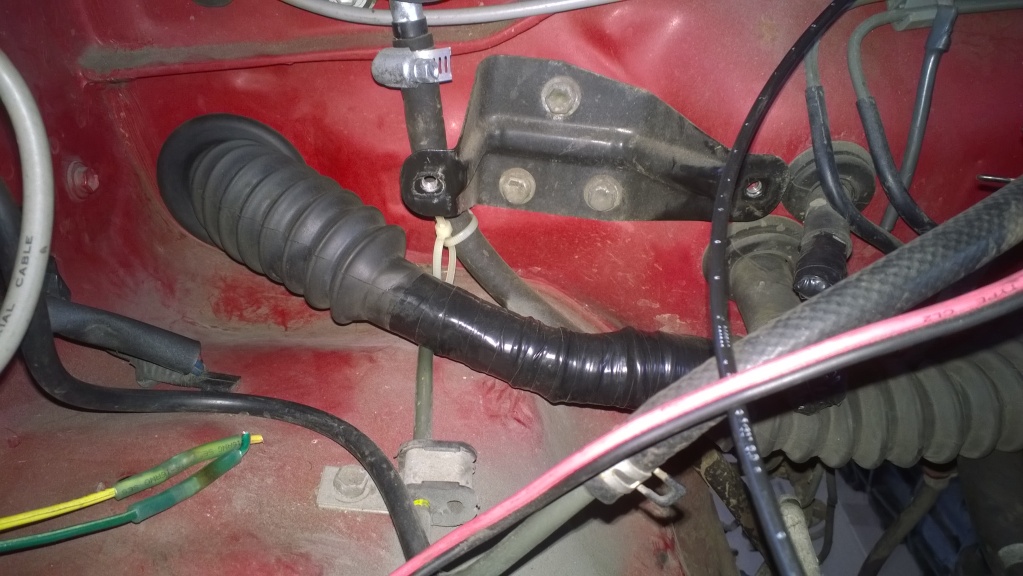
next issue i ran into was the clutch line. it's damn close to the exhaust. thank goodness i'm not running the exhaust down the passenger side
fuel filter to engine
from tank to filter
both high and low pressure steering lines
shift lever bases. huge opening needed, but only a bit farther back than stock. this should let me retain the center console
a little too low, but that's with the lowered crossmember from before the body lift. i'll end up making my own soon
starter in place. the bottom mounting hole on the starter (not bellhousing) needs to be drilled out. then a bolt will fit in nicely
the plate and stiffening brackets. the brackets bolt right up, but the plate has some issues. the holes are too small (meant for m8, not m10). and the holes on the left side don't line up with the bracket. i guess the auto bellhousing is a bit different (auto plate, manual brackets)
and lastly, the ignitor. i bent the tabs a hair, and there were two bolt holes that lined up perfectly.
fuel line size: 5/16
power steering line size (both high and low): 3/8
next issue i ran into was the clutch line. it's damn close to the exhaust. thank goodness i'm not running the exhaust down the passenger side
Jul 7, 2014 | 09:42 AM
#151
 Jul 18, 2014 | 08:44 AM
#155
Freaking awesome work, man! Definitely wish I had gone for an upgrade motor before doing another 2.4... But it's been pretty good to me so I will just have to live with it for a while. Lol.... Great job so far, Ian!
Jul 19, 2014 | 03:51 PM
#156
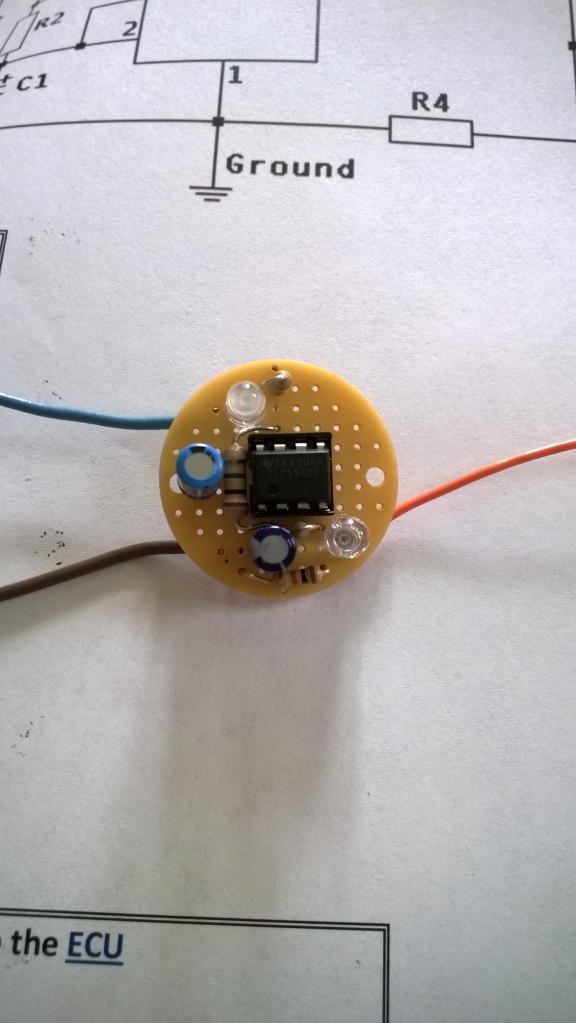
built the different style o2 sensor emulator. this one uses a 555 timer to output the same signal as the rear o2 sensor.
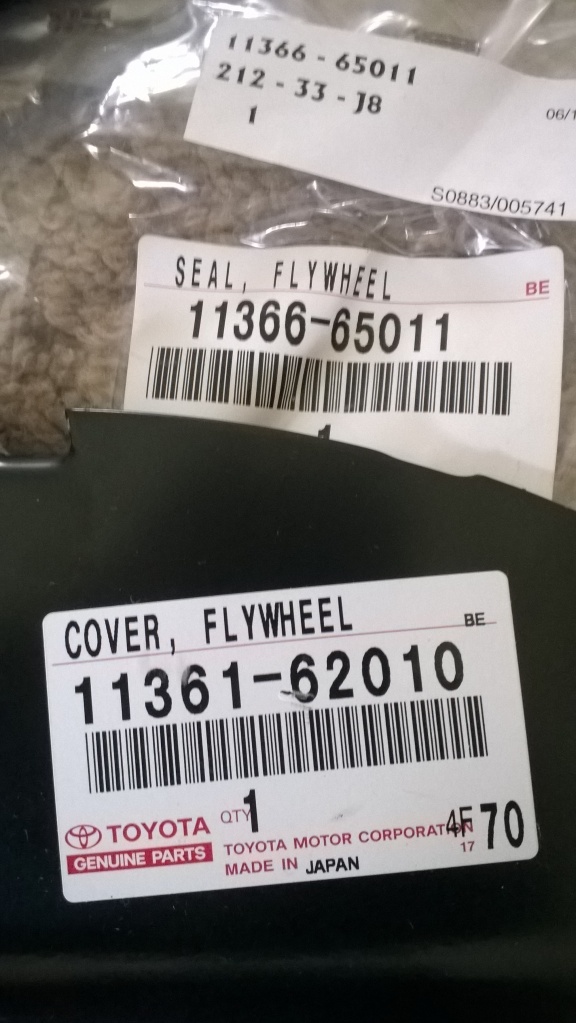
i went ahead and ordered the factory cover plate
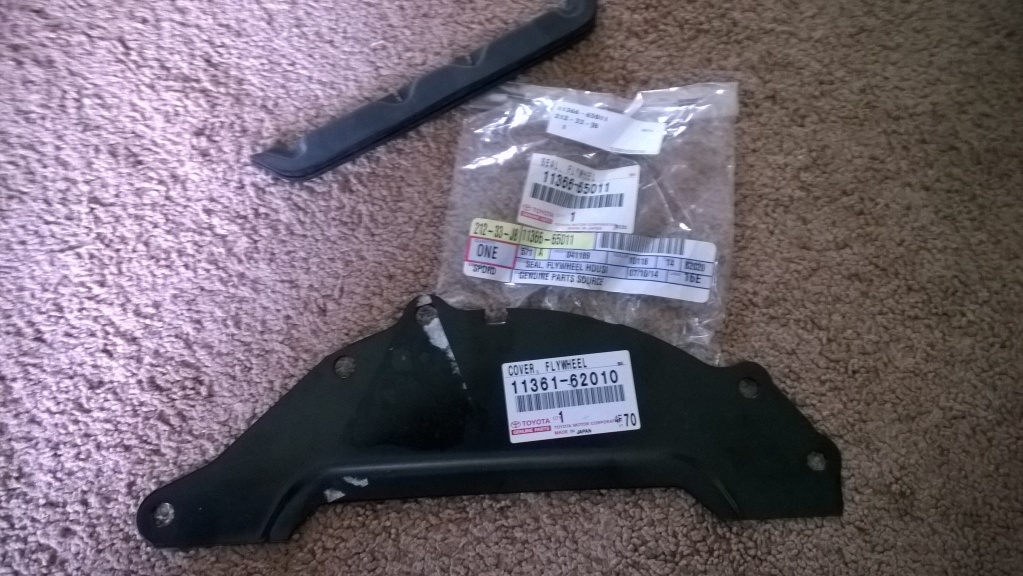
part numbers for both the seal and plate
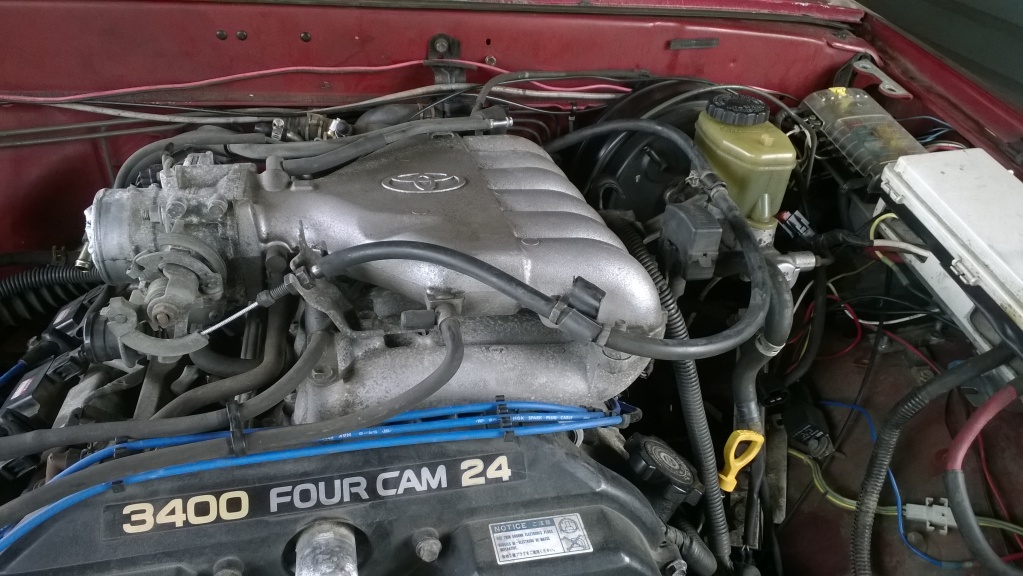
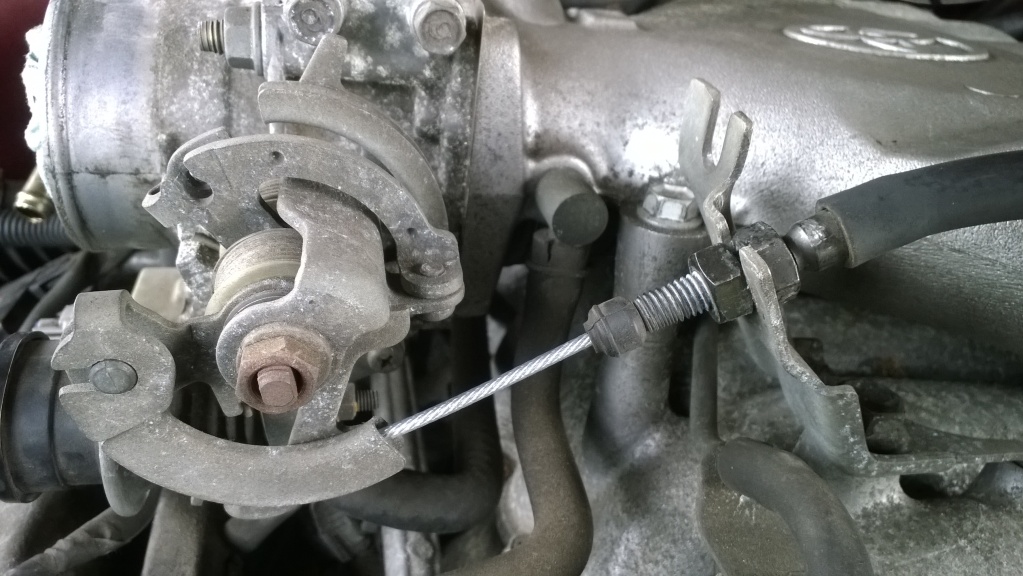
installed the throttle cable from the 3.4. it fits a lot better
i went ahead and ordered the factory cover plate
part numbers for both the seal and plate
installed the throttle cable from the 3.4. it fits a lot better
Jul 21, 2014 | 04:11 AM
#158
thanks 
yep, there's a seal. and both the plate and seal were cheap enough that i went ahead and ordered them new instead of making my own. i'll install them sometime this week, as i'll be finishing up the crossmember
yep, there's a seal. and both the plate and seal were cheap enough that i went ahead and ordered them new instead of making my own. i'll install them sometime this week, as i'll be finishing up the crossmember