
Replacing 1989 22re Headgasket
 Nov 13, 2011 | 12:51 PM
#61
Registered User

Joined: Oct 2011
Posts: 258
Likes: 1
From: socal
Good luck to you. I really hope you don't have to do your timing chain next week! The more I get into mine the more I expect my head gasket to be fine, I really feel like my timing chain was the only problem.
It's stupid not to do the head gasket though, gotta be done!
It's stupid not to do the head gasket though, gotta be done!
Nov 18, 2011 | 05:33 PM
#62

Thread Starter
Registered User
Joined: Jul 2011
Posts: 108
Likes: 0
From: Atlantic Canada
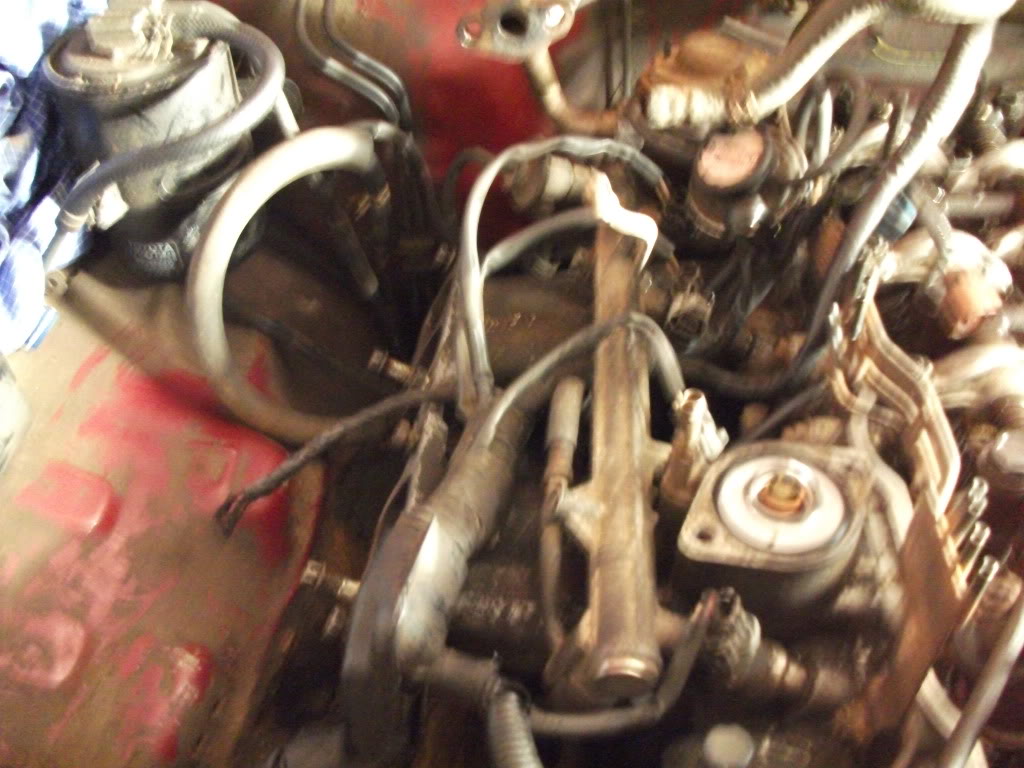
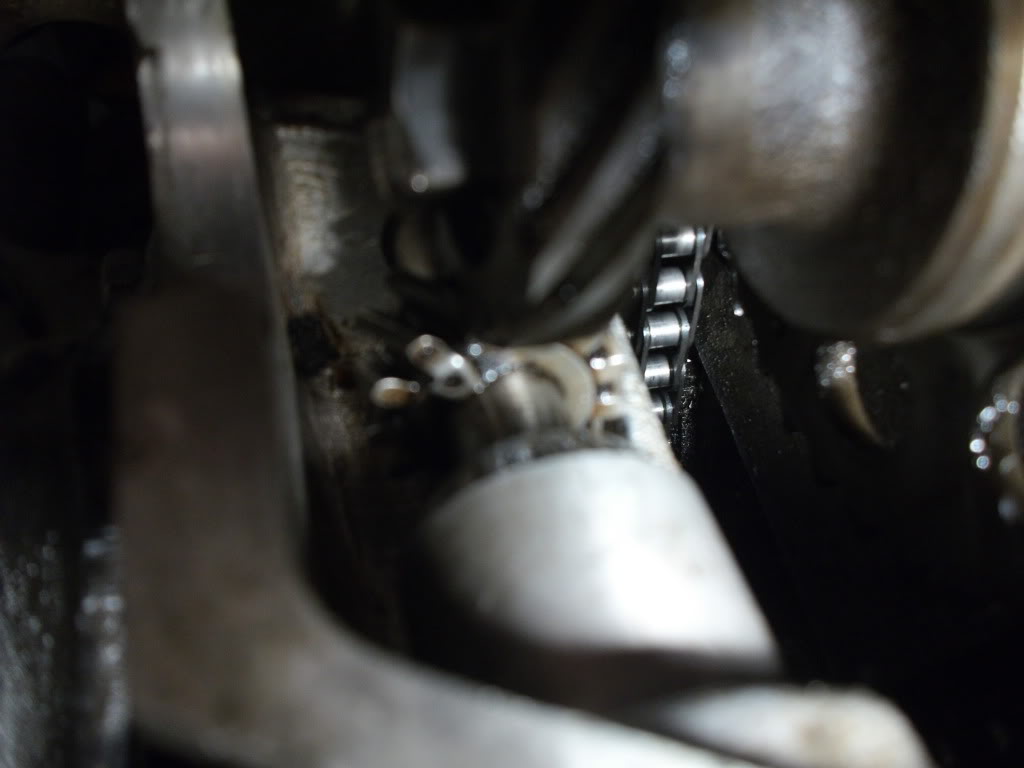
 Should I be able to access this nut? I tried every tool and tool combination I've got, I'm going to try more with the wrench tomorrow morning, and get someone to look from underneath to see if I can get the wrench onto the nut. And yes, mines a like, stud and nut for some reason. So I need a deep socket or open-ended tool. Deep sockets won't fit between the firewall and the head, and I can't get any wrenches to grab it. I hope I don't have to pull this head again, lol...
 Nov 19, 2011 | 04:59 AM
#63
Registered User
Joined: Oct 2011
Posts: 258
Likes: 1
From: socal
Aw that sucks! I've heard it can be done, I wouldn't pull the head though. From reading other posts, this is a big fear of mine. I've been telling myself over and over again to hook those lines up before I put my head on!
Others have done it though and they got them bolted on, it's just more difficult.
Others have done it though and they got them bolted on, it's just more difficult.

 Nov 19, 2011 | 08:04 AM
#66
Thread Starter
Registered User
Joined: Jul 2011
Posts: 108
Likes: 0
From: Atlantic Canada
I've been under the truck, in front, beside, sitting in the engine bay, no luck. very frustrated right now.. going to have to pull the head it looks like..  I know I "should" wait until monday and buy a new head gasket, but is it absolutely necessary? I've only torqued down the head..
I know I "should" wait until monday and buy a new head gasket, but is it absolutely necessary? I've only torqued down the head..
Nov 19, 2011 | 08:15 AM
#67
Registered User
Joined: Nov 2011
Posts: 199
Likes: 3
From: Northern Arizona
I've been under the truck, in front, beside, sitting in the engine bay, no luck. very frustrated right now.. going to have to pull the head it looks like.. I know I "should" wait until monday and buy a new head gasket, but is it absolutely necessary? I've only torqued down the head..
I know I "should" wait until monday and buy a new head gasket, but is it absolutely necessary? I've only torqued down the head..
Nov 19, 2011 | 11:53 AM
#68
Thread Starter
Registered User
Joined: Jul 2011
Posts: 108
Likes: 0
From: Atlantic Canada
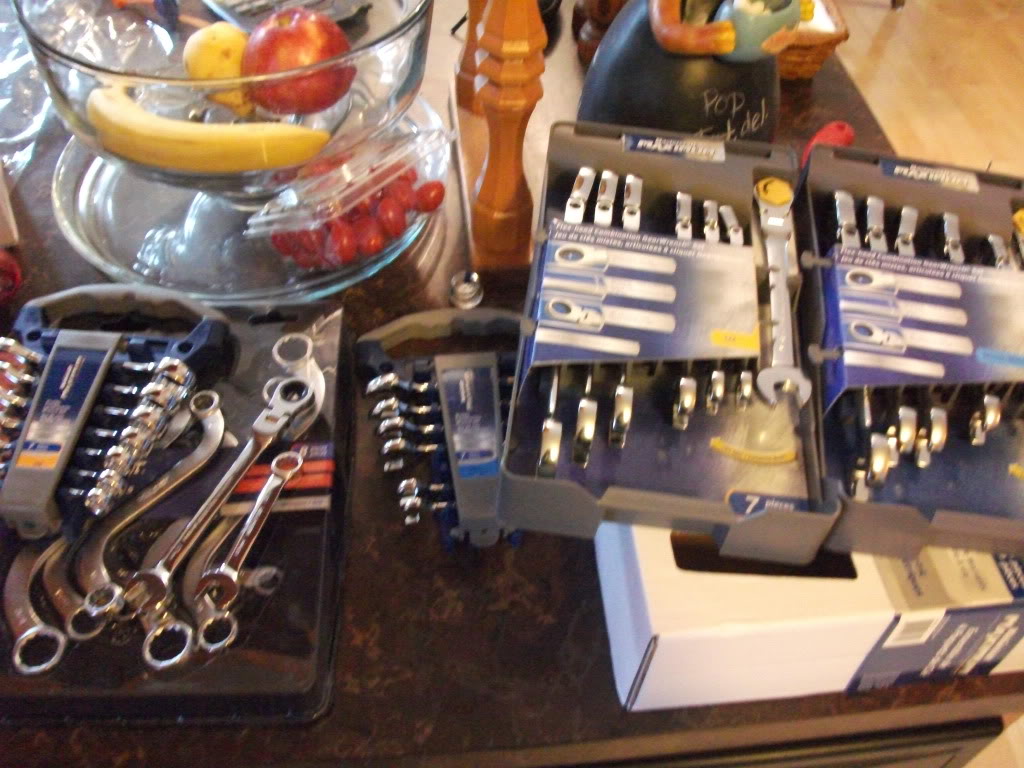
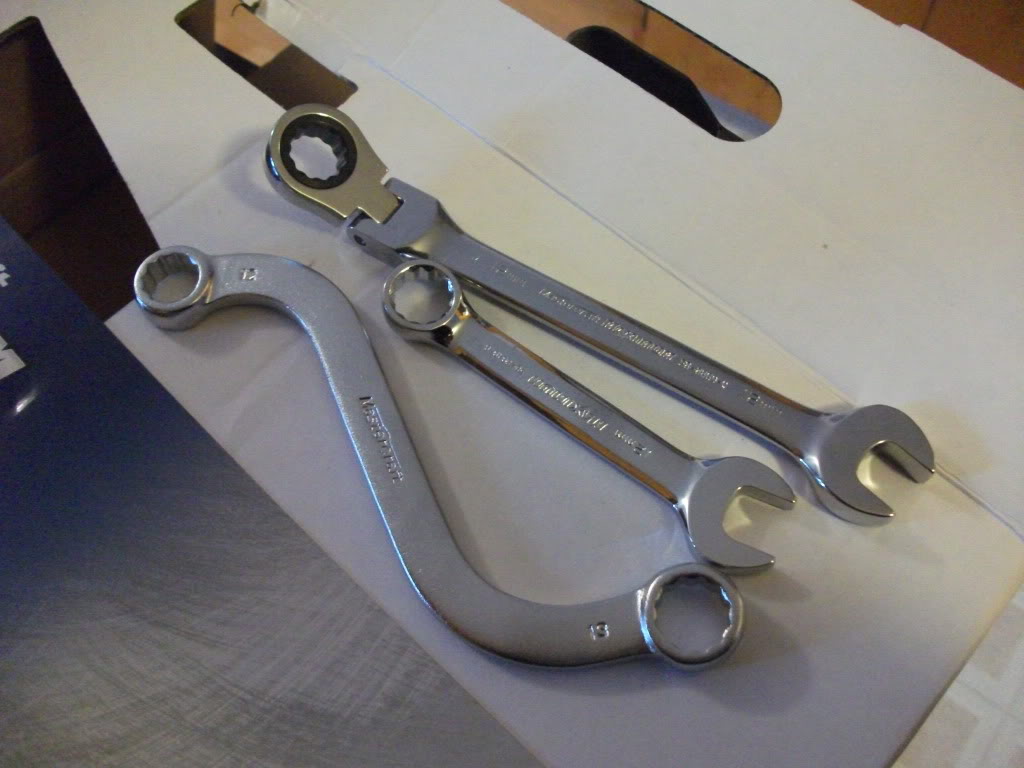
Thanks for the advice, yeah I thought of moving the engine somehow, I'm also not familiar with toyota, not with anything very much yet, couldn't even see the motor mounts.. so went and bought $120 worth of wrenches, flex-heads, ratheting, stubbies, and curved ones lol.. all 60% percent off  i got the nut off! finally, with the help of a mirror, and a helper holding it, finally got it with a S bend wrench.
I removed the fuel filter (pretty sure thats what it was) so I can slide one of the pipes into place alongside the head. Then noticed a top nut on my starter (pretty sure its the starter) was almost all the way backed off.. lol? Maybe a friend did it and I didn't notice. anyhow, tightened that back down, just about to bolt the pipes onto the back, and put the fuel system/intake manifold all back together.
i got the nut off! finally, with the help of a mirror, and a helper holding it, finally got it with a S bend wrench. I removed the fuel filter (pretty sure thats what it was) so I can slide one of the pipes into place alongside the head. Then noticed a top nut on my starter (pretty sure its the starter) was almost all the way backed off.. lol? Maybe a friend did it and I didn't notice. anyhow, tightened that back down, just about to bolt the pipes onto the back, and put the fuel system/intake manifold all back together.
Nov 19, 2011 | 01:14 PM
#69
Registered User
Joined: Oct 2011
Posts: 258
Likes: 1
From: socal
Thanks for the advice, yeah I thought of moving the engine somehow, I'm also not familiar with toyota, not with anything very much yet, couldn't even see the motor mounts.. so went and bought $120 worth of wrenches, flex-heads, ratheting, stubbies, and curved ones lol.. all 60% percent off i got the nut off! finally, with the help of a mirror, and a helper holding it, finally got it with a S bend wrench.
I removed the fuel filter (pretty sure thats what it was) so I can slide one of the pipes into place alongside the head. Then noticed a top nut on my starter (pretty sure its the starter) was almost all the way backed off.. lol? Maybe a friend did it and I didn't notice. anyhow, tightened that back down, just about to bolt the pipes onto the back, and put the fuel system/intake manifold all back together.
i got the nut off! finally, with the help of a mirror, and a helper holding it, finally got it with a S bend wrench. I removed the fuel filter (pretty sure thats what it was) so I can slide one of the pipes into place alongside the head. Then noticed a top nut on my starter (pretty sure its the starter) was almost all the way backed off.. lol? Maybe a friend did it and I didn't notice. anyhow, tightened that back down, just about to bolt the pipes onto the back, and put the fuel system/intake manifold all back together.
 )
Nov 19, 2011 | 02:21 PM
)
Nov 19, 2011 | 02:21 PM
#70
Thread Starter
Registered User
Joined: Jul 2011
Posts: 108
Likes: 0
From: Atlantic Canada
haha i'm very glad too, lol. 
 love these smilies.. but yeah, I bolted the (egr?) back on, thing right beside the lower intake manifold, with 3 bolts, along with the intake manifold resting in place, a pipe bolted on, just trying to remember if the wiring harness was under the fuel rail or over it.
love these smilies.. but yeah, I bolted the (egr?) back on, thing right beside the lower intake manifold, with 3 bolts, along with the intake manifold resting in place, a pipe bolted on, just trying to remember if the wiring harness was under the fuel rail or over it.
 (Mr. T because he rocks)
 Nov 19, 2011 | 10:45 PM
#73
Thread Starter
Registered User
Joined: Jul 2011
Posts: 108
Likes: 0
From: Atlantic Canada
got a fair amount done today, got almost all intake and exhaust manifold bolts in. exhaust side is pretty much done, except for distributor. I'm missing bolts, frustrated. I'll blame my tool-happy friends who helped the other weekend, lol.. will just be glad when this thing is on the road. Looking forward to putting more work into it, just need a break for a while, lol.
Nov 20, 2011 | 08:20 AM
#74
Registered User
Joined: Nov 2011
Posts: 199
Likes: 3
From: Northern Arizona
Sucks losing hardware after a big project like that. Just make sure none of them found their way into the head, timing cover, intake, or exhaust. That is a big project but glad you're almost done. Take your time and make sure you didn't miss anything. Whenever I do a rebuild or tear the engine down I'll turn the engine over by hand a few times before starting her up (once everything is installed). 
Nov 20, 2011 | 10:13 AM
#76
Just got done reading yor thread. I was going to mention the fuel filter causing a hold up. It is tempting to put it on with everything out of the way, but seems like I always had to take it back out for some reason or another. Now I just make it my last thing to do.
I have replaced quite a few timing chains and learned something on your build. I didnt know there was a dimple/slot/notch on the distributor.Thanks irab88
I was just talking to another Yoattecher, and we have both done this. Make sure when all is said and done, that you have your distributor bolt tightened down. It if gets to far advanced on timing, you can get the cherry manifold.
Dont know if I missed it, but watch the bolts on your timing chain cover. There are different sizes and you can get into a problem if you get them out of place.
Looking good and great job. I think you will like the 22re.
Nov 20, 2011 | 12:15 PM
#77
Thread Starter
Registered User
Joined: Jul 2011
Posts: 108
Likes: 0
From: Atlantic Canada
Thanks!!
Yeah, live and learn. Next time, many things will be much eaiser now.
I'm about to line that distributor gear up now. You simply mean, make sure its tightened down all the way, correct? I'm assuming a cherry manifold implies it being very hot.
I did hear somewhere that the timing cover bolts were not all the same. Luckily didn't have to get into that this time. thanks for the heads up I think I'll like it too 
Yeah, live and learn. Next time, many things will be much eaiser now.
I'm about to line that distributor gear up now. You simply mean, make sure its tightened down all the way, correct? I'm assuming a cherry manifold implies it being very hot.
I did hear somewhere that the timing cover bolts were not all the same. Luckily didn't have to get into that this time. thanks for the heads up
I think I'll like it too
Nov 20, 2011 | 12:22 PM
#78
Nov 20, 2011 | 04:09 PM
#79
Thread Starter
Registered User
Joined: Jul 2011
Posts: 108
Likes: 0
From: Atlantic Canada
I got it in correctly, I believe. Only thing I'm struggling with now, is figuring out where certain things go on the intake manifold side. I think I'm gonna put on the upper chamber, and just see if that helps. I'll post some update pics for reference.
just a quick pic of the truck and my car (cars dirty)

wrenches i bought.. S bend helped get it off
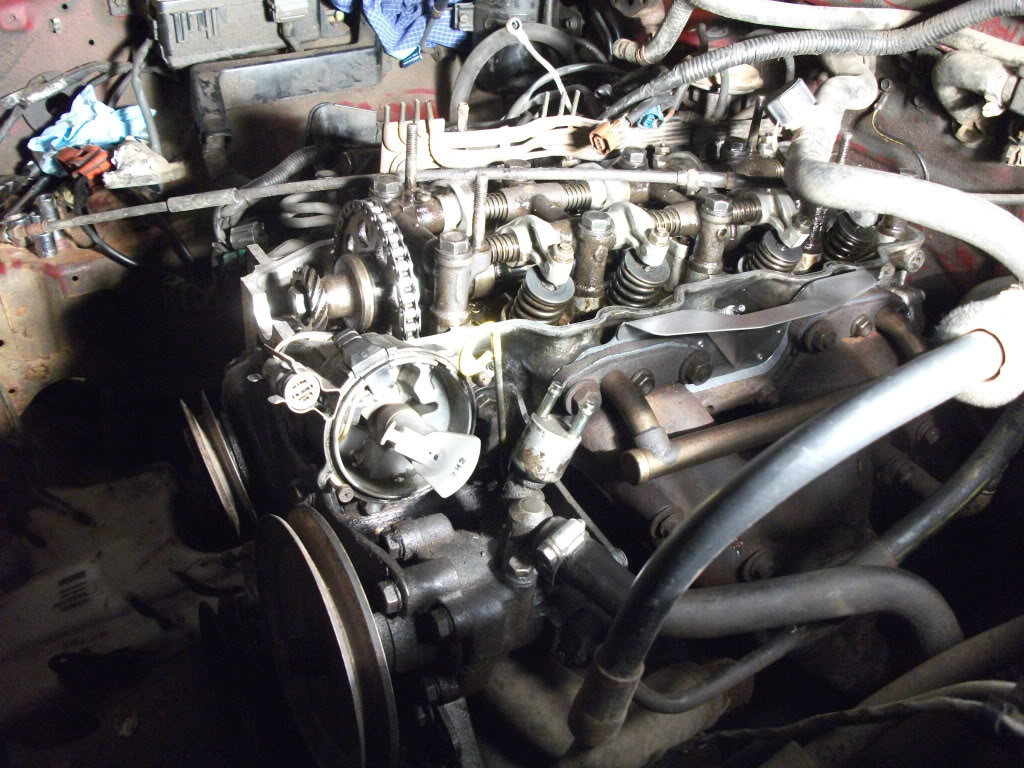
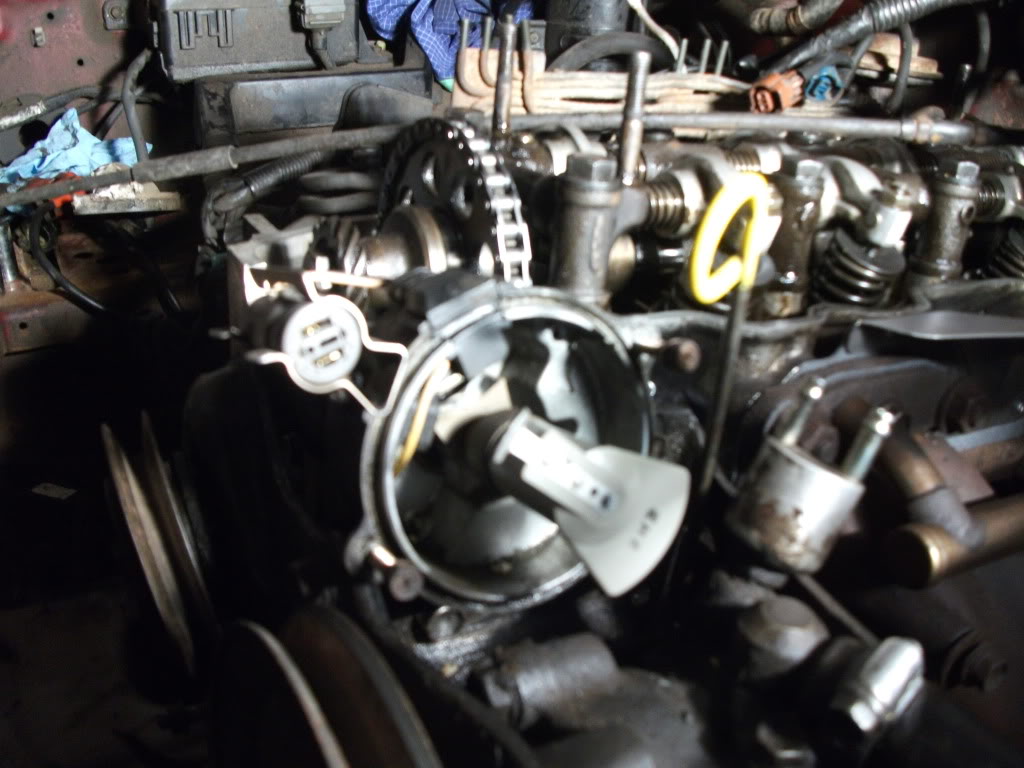
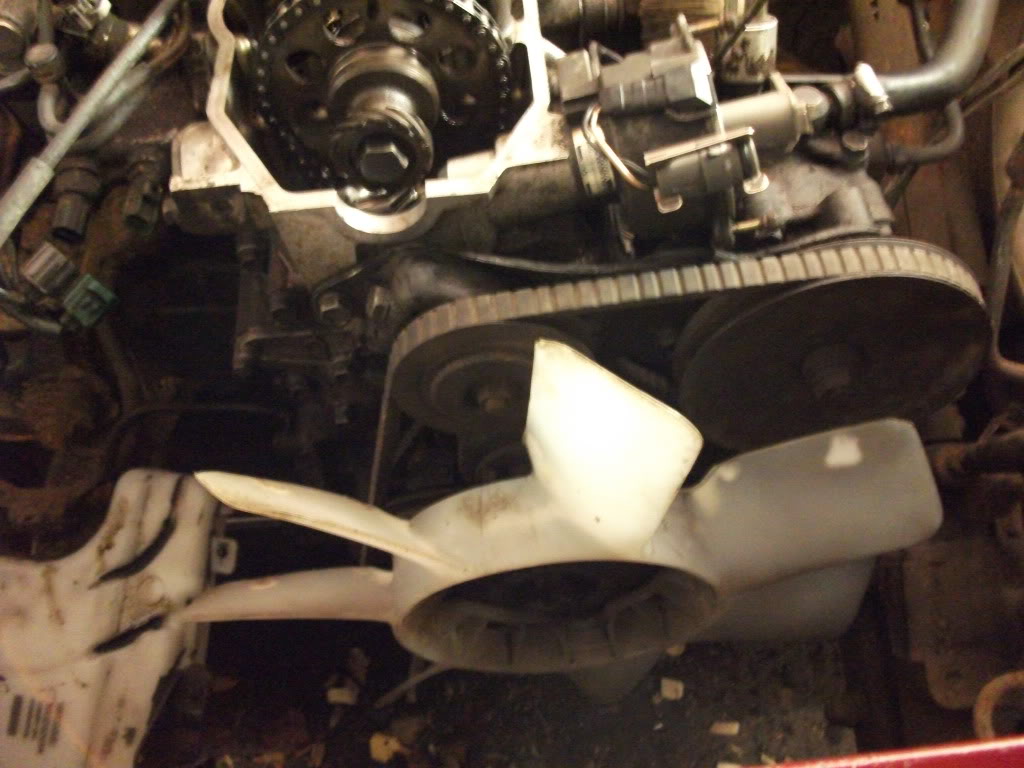
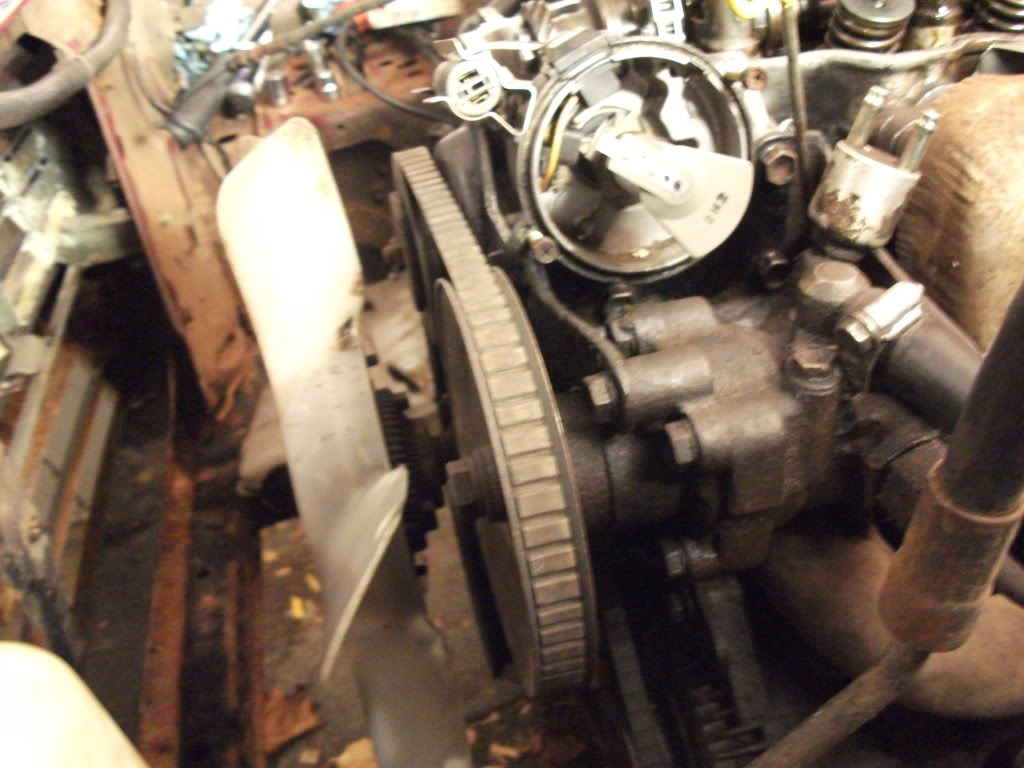
Putting distributor on
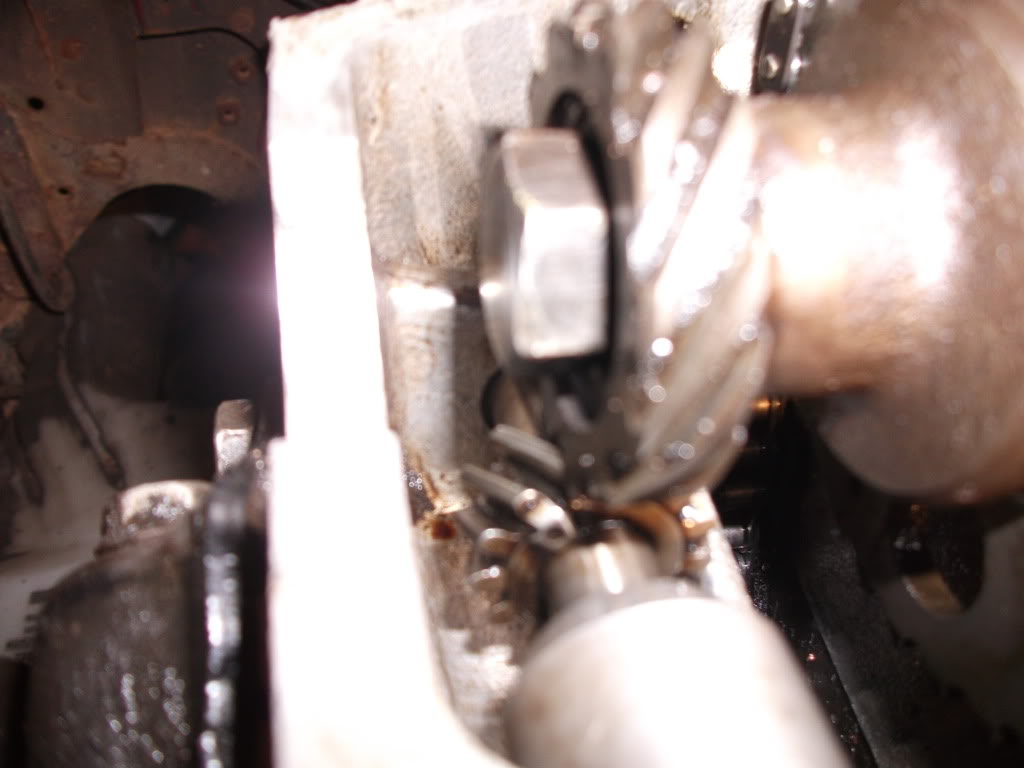
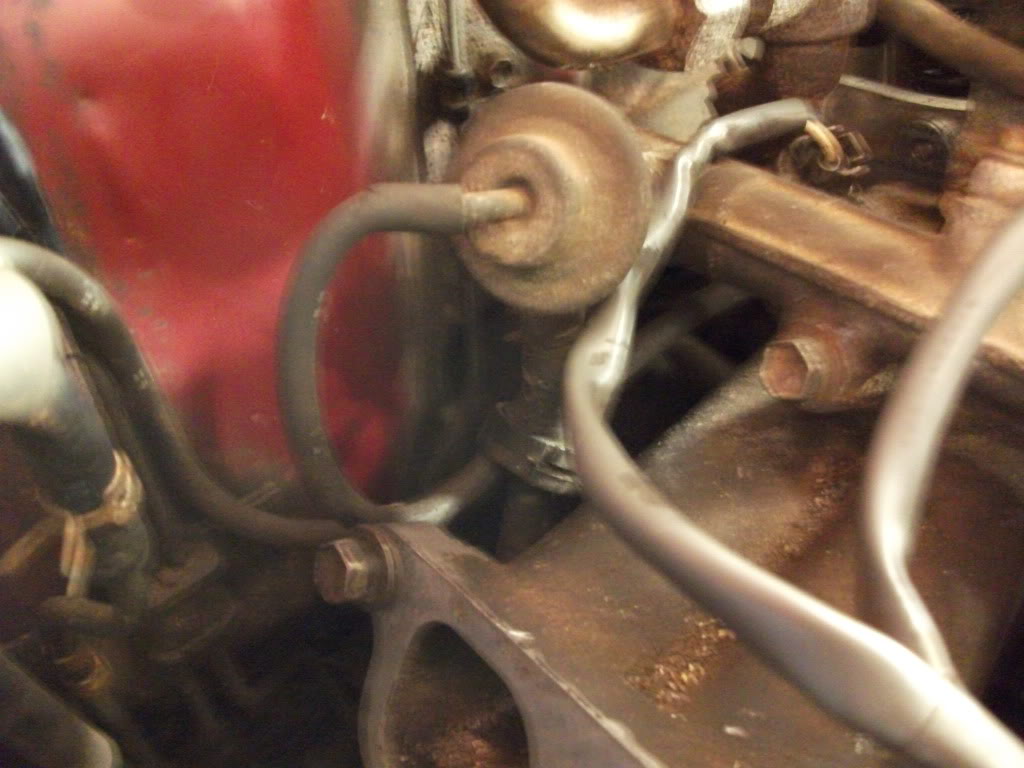

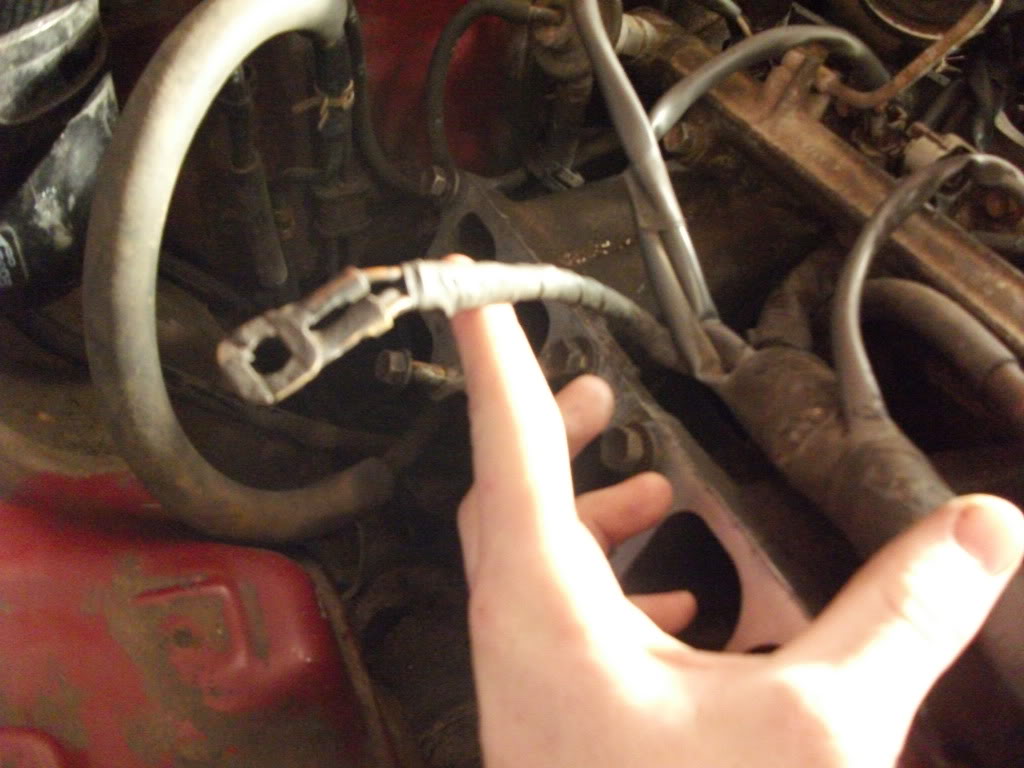
I can't figure out where this goes. any ideas?
just a quick pic of the truck and my car (cars dirty)
wrenches i bought.. S bend helped get it off
Putting distributor on
I can't figure out where this goes. any ideas?


