
Replacing 1989 22re Headgasket
 Nov 20, 2011 | 04:59 PM
#81


correct: 
ground:
this should help with intake stuff:
https://www.yotatech.com/forums/f116...l#post51695337
https://www.yotatech.com/forums/f116...l#post51710392
(also, a hint when working in dim-er light: use the flash. it'll get rid of the "blur")
ground:
this should help with intake stuff:
https://www.yotatech.com/forums/f116...l#post51695337
https://www.yotatech.com/forums/f116...l#post51710392
(also, a hint when working in dim-er light: use the flash. it'll get rid of the "blur")
Nov 20, 2011 | 05:14 PM
#82

Thread Starter
Registered User
Joined: Jul 2011
Posts: 108
Likes: 0
From: Atlantic Canada
 Nov 20, 2011 | 07:52 PM
#84
Thread Starter
Registered User
Joined: Jul 2011
Posts: 108
Likes: 0
From: Atlantic Canada
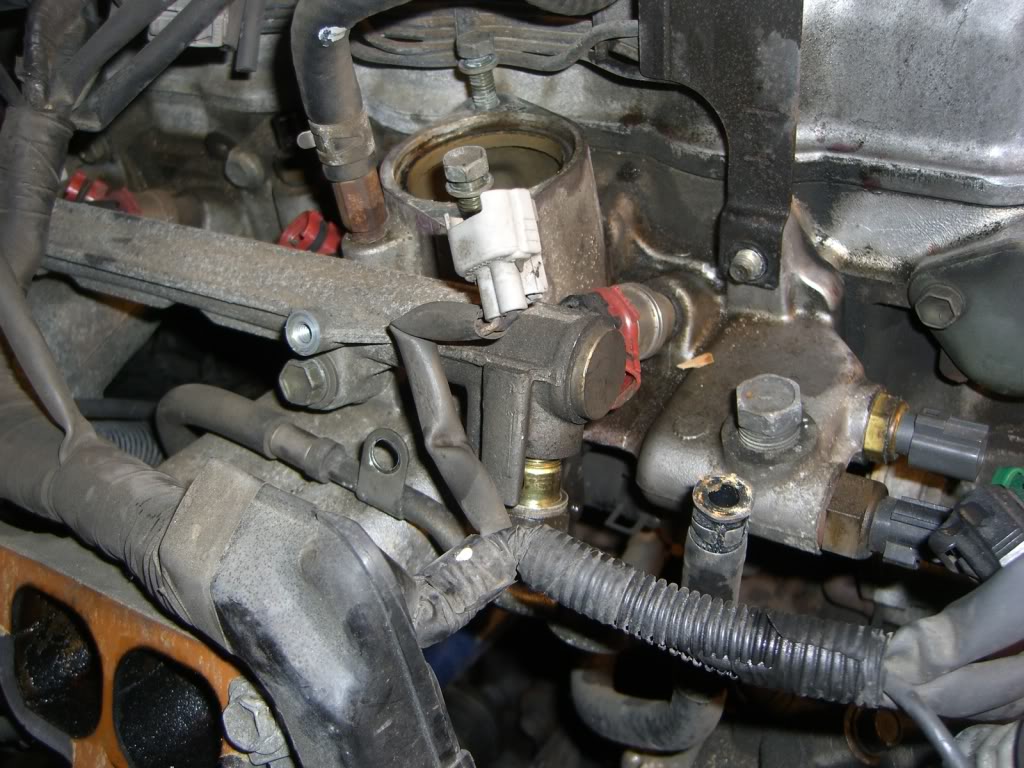
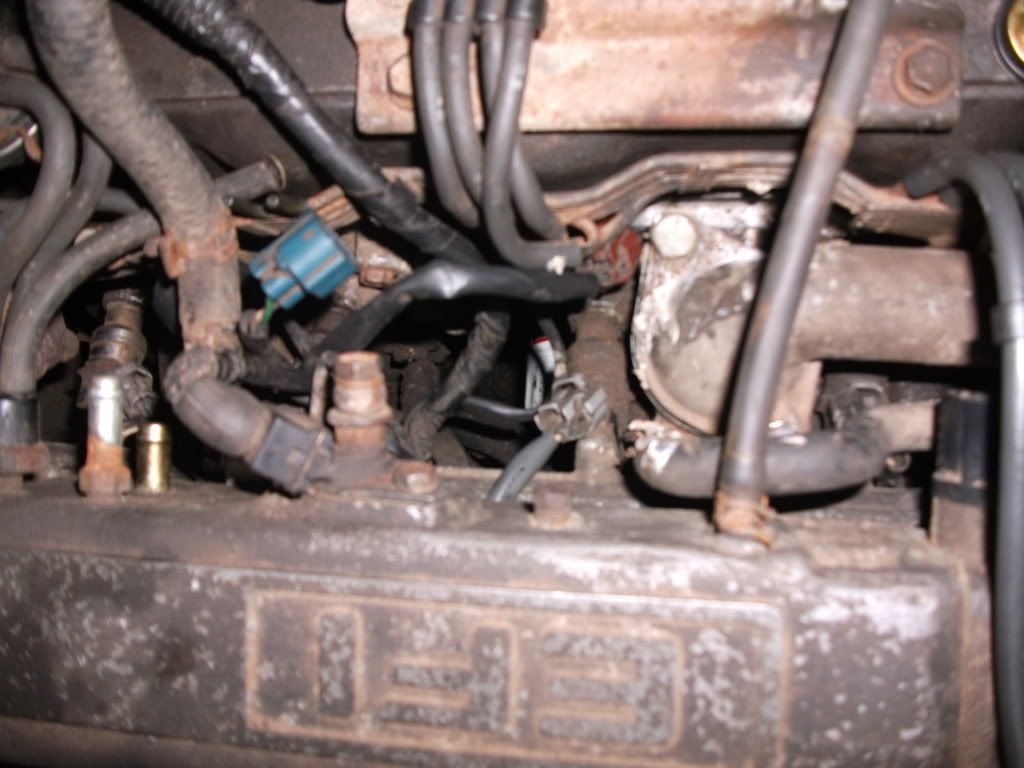
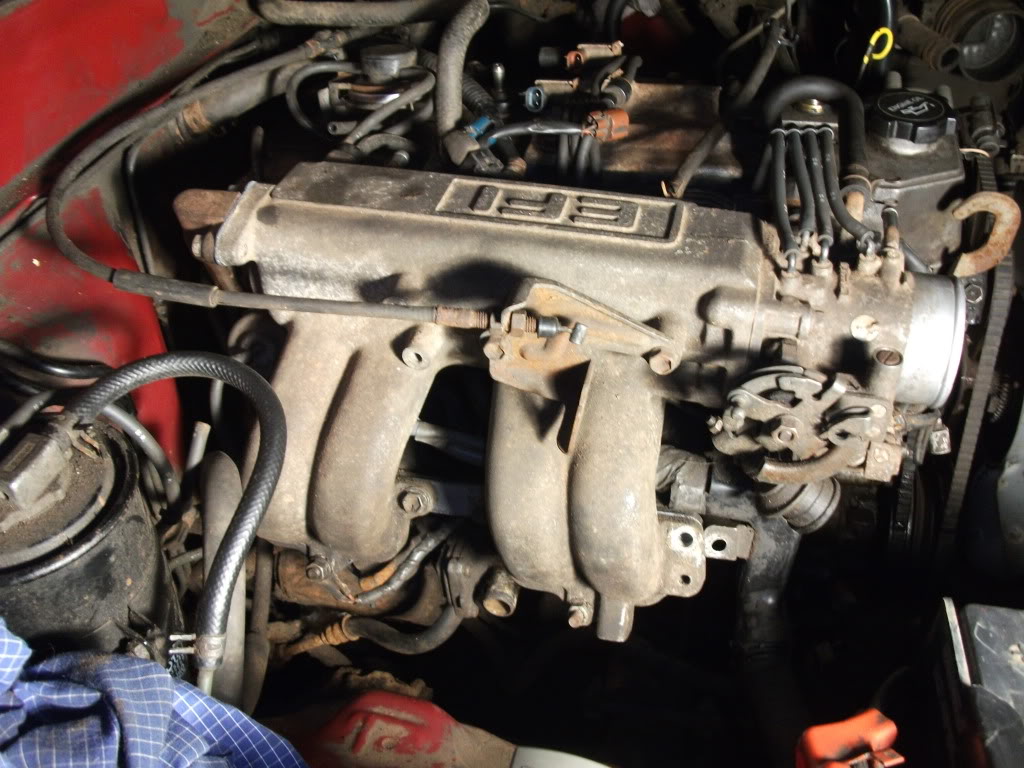
Thats good to hear!  I just put on the upper intake chamber, realized i should have a gasket and 2 bolts for where the (egr?) meets the chamber, on the firewall side.. ugh. No bolts for that either. I'll stop at a junkyard tomorrow after school and see if I can find anything. I have these small gaskets I don't know what they're for, and none fit here. I already squeezed a gasket into the exhaust side tubing that was 'close enough' lol..
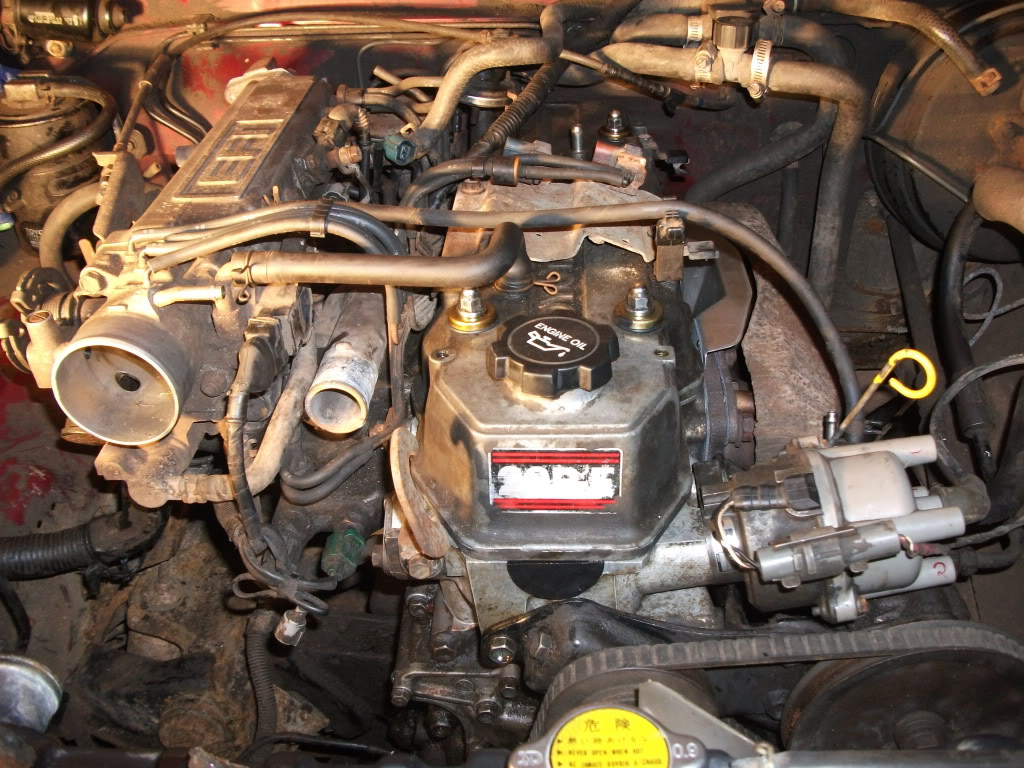
i got the distributor on, and cap. the drive belts, and fan. the exhaust mani shield.. not as much as I wanted to get done. I don't even remember taking the bolts out that I lost, I'm almost positive it was one of my buddies. erg.
I just put on the upper intake chamber, realized i should have a gasket and 2 bolts for where the (egr?) meets the chamber, on the firewall side.. ugh. No bolts for that either. I'll stop at a junkyard tomorrow after school and see if I can find anything. I have these small gaskets I don't know what they're for, and none fit here. I already squeezed a gasket into the exhaust side tubing that was 'close enough' lol.. i got the distributor on, and cap. the drive belts, and fan. the exhaust mani shield.. not as much as I wanted to get done. I don't even remember taking the bolts out that I lost, I'm almost positive it was one of my buddies. erg.
Nov 22, 2011 | 03:13 PM
#85
Thread Starter
Registered User
Joined: Jul 2011
Posts: 108
Likes: 0
From: Atlantic Canada
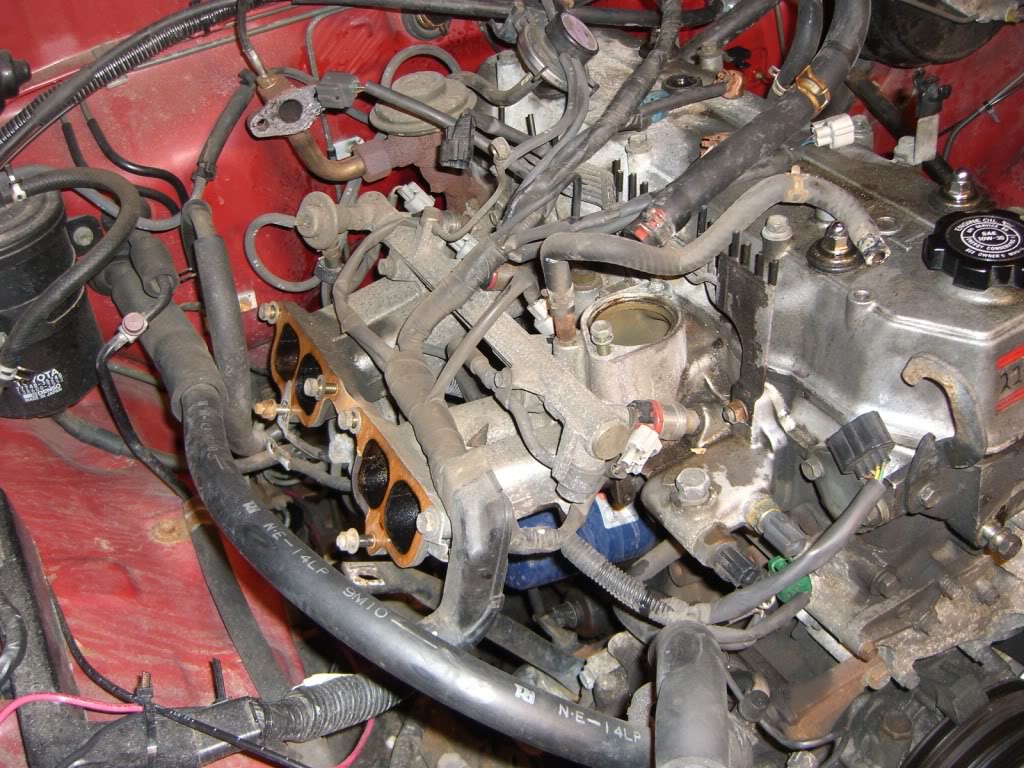
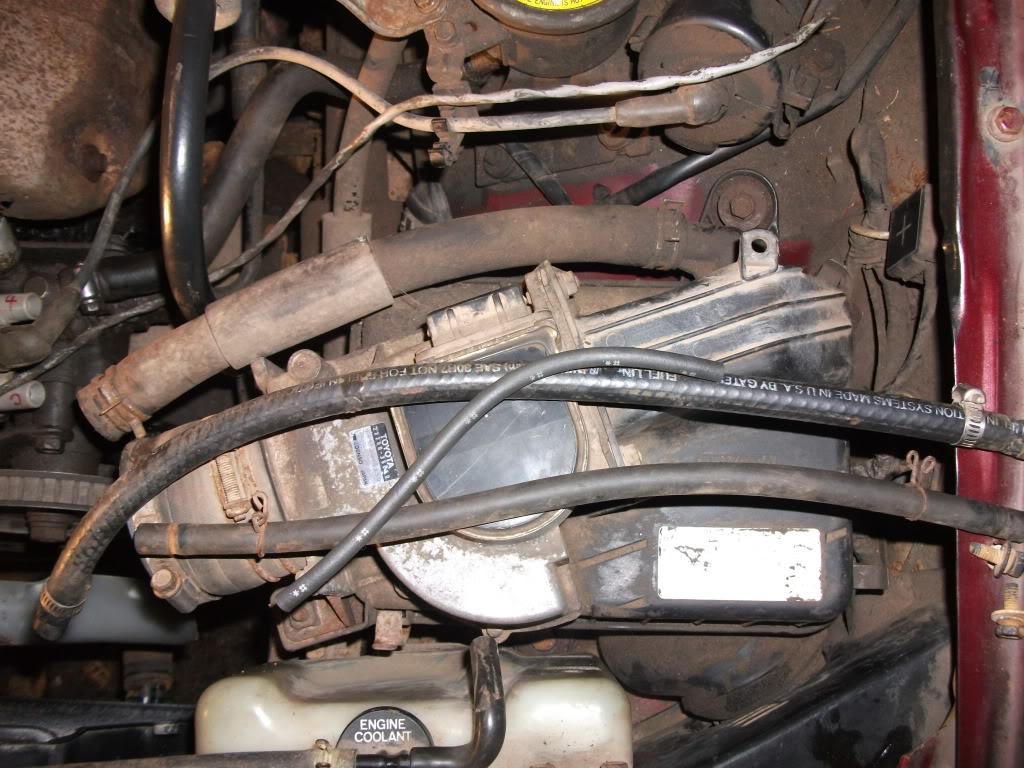
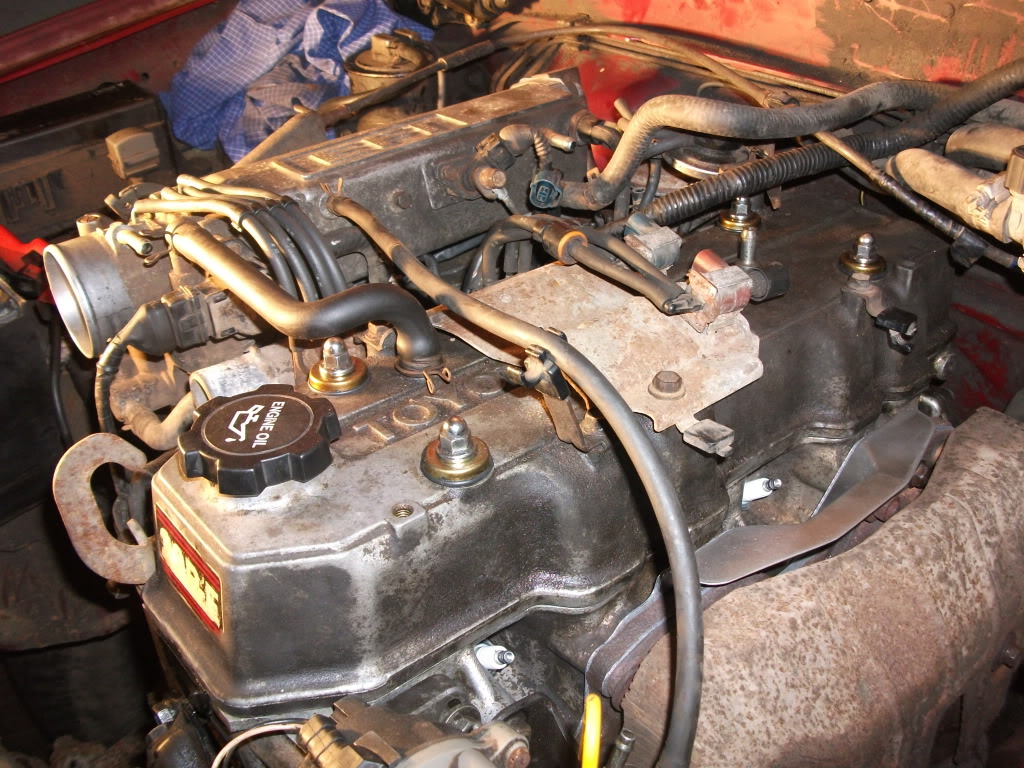
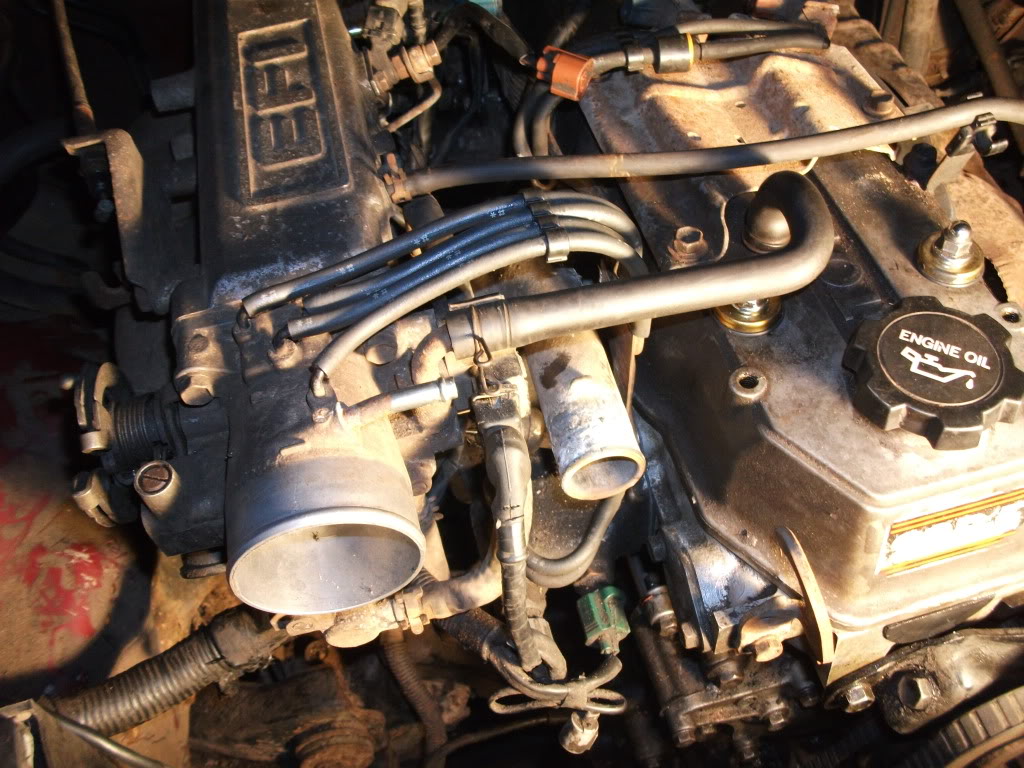
so for some reason, i put the wiring harness UNDER the fuel rail, instead of over it. now the plugs won't reach on top of the valve cover. a few others problems ive ran into, but i've got most of it back together.. my rad is out of a 4runner i believe, im thinking maybe the lower outlet might be different? i'll see if I can make it work, hoping to try and start it up tonight. big snow storm coming tomorrow.. right now trying to get all the small tubing ˟˟˟˟ figured out! they all seem to pointless.
Nov 22, 2011 | 04:33 PM
#86

Registered User
Joined: Nov 2006
Posts: 730
Likes: 2
From: Indiana
The 22R and 22RE in truck and 4 runners use the same radiators, use that web site http://www.toyotapartseast.com/ and check the part numbers and picks of truck and 4-runner of your year truck :}
For mine it shows the same pic for radiator on truck and 4-runner same year a 93 with a 4 banger, they have different part numbers, last 5 numbers for truck is 35350 and for a 93 4-runner last 5 numbers is 35380, they have same input hose location and output on trucks and 4-runners with 22R and or 22RE...
Now putting a 6 cylinder radiator in a 4 banger I have no idea :}
Nov 22, 2011 | 05:26 PM
#87
Thread Starter
Registered User
Joined: Jul 2011
Posts: 108
Likes: 0
From: Atlantic Canada
Thanks for that john I didn't mess with the hose very long, I'll probably get it next time I'm outside.
Just an update I suppose, I should have taken more pics!!!!!!!!!!!!!!!!
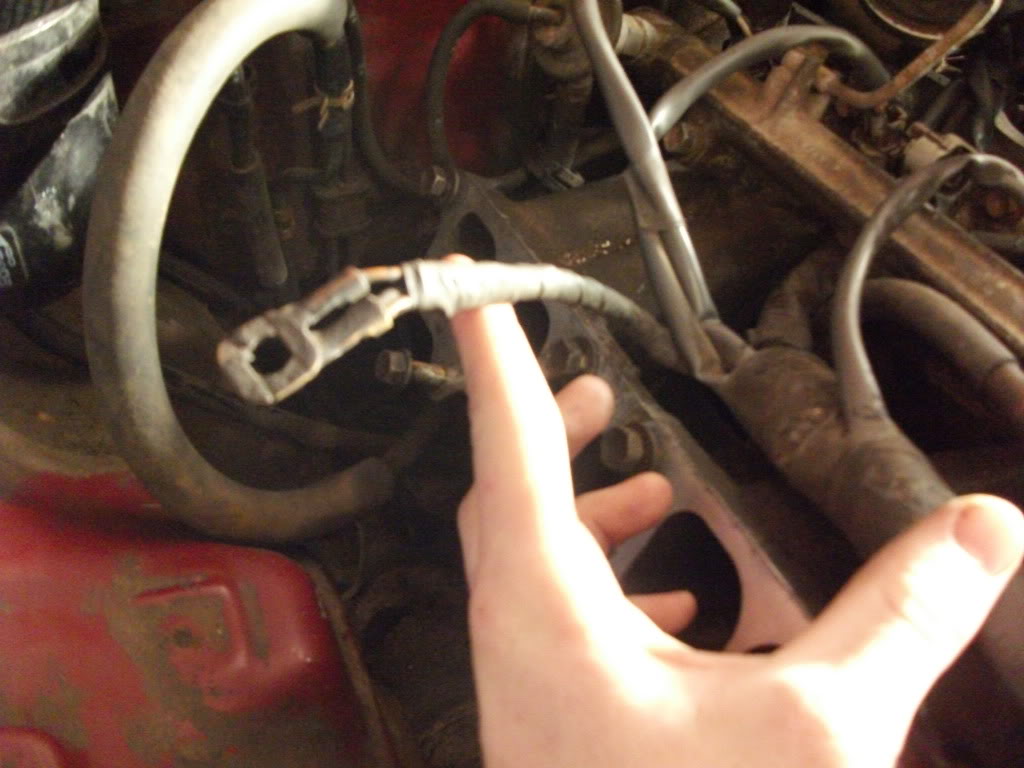
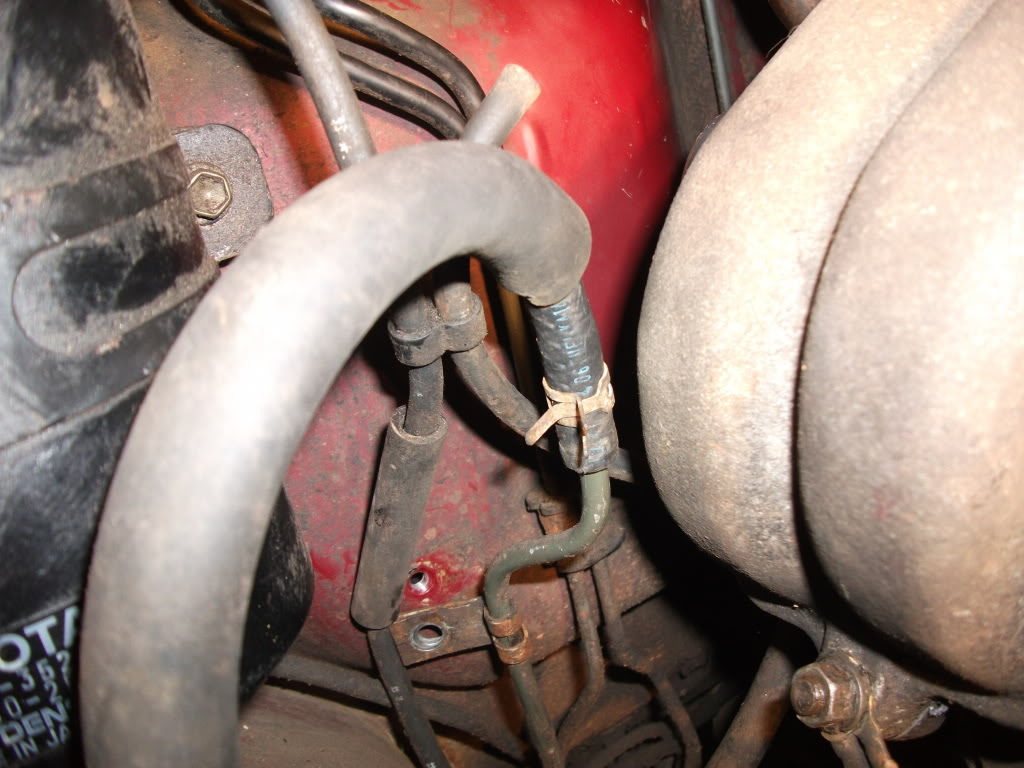
I don't even have a picture of what the top hoses look like when they're done. Thought I did, but I don't. ..first of all, I'm left with these 3 hoses, and missing the bolts as you can see in the second pic..


I didn't mess with the hose very long, I'll probably get it next time I'm outside. Just an update I suppose, I should have taken more pics!!!!!!!!!!!!!!!!
I don't even have a picture of what the top hoses look like when they're done. Thought I did, but I don't. ..first of all, I'm left with these 3 hoses, and missing the bolts as you can see in the second pic..
Nov 22, 2011 | 05:50 PM
#88
Registered User
Joined: Nov 2006
Posts: 730
Likes: 2
From: Indiana
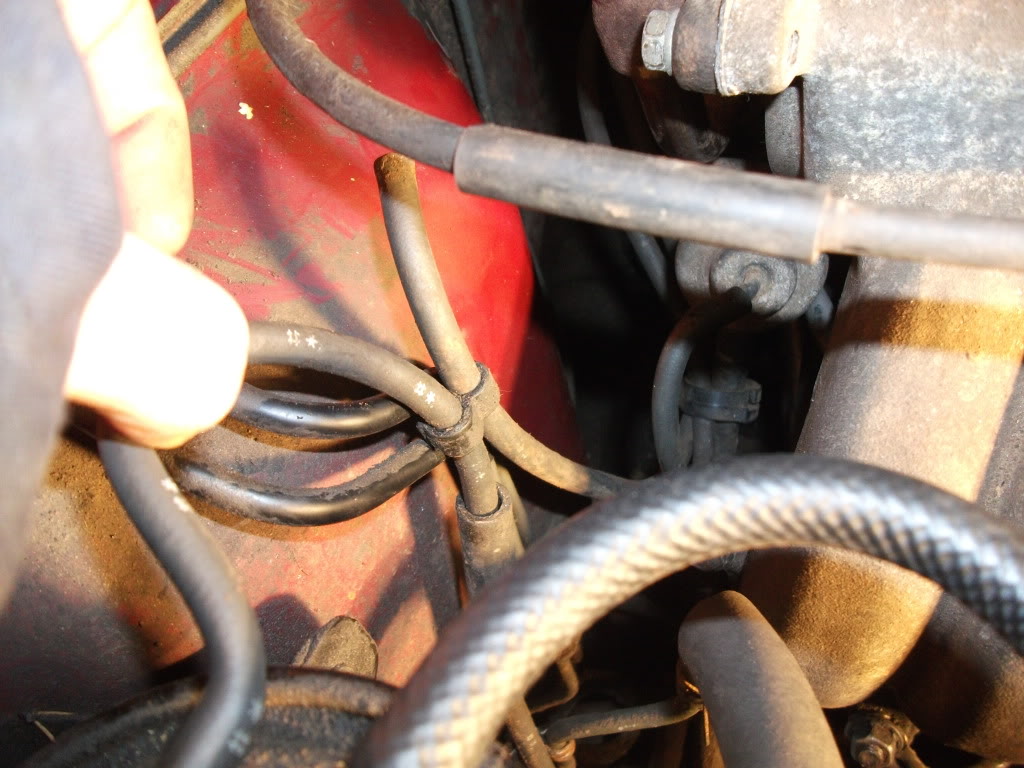
the small hose with the wire clamps might go on top of PS, should be 2 going to intake, the really tiny hose is a vacuum, might go to EGR under intake, not sure where that after market hose goes too with the aftermarket clamps, go to that parts web site and go through there hose pics and match it to what you have, I didn't even label my hoses on my top half engine rebuild cause there all almost cut to length where they go so hard to put on in wrong place just like electrical connector on the engine, there all different connecters and the same cut to length so no way to mistake them I hooked them all correct first time ;}
Last edited by john4wd; Nov 22, 2011 at 05:53 PM.
Nov 22, 2011 | 05:54 PM
#89
Thread Starter
Registered User
Joined: Jul 2011
Posts: 108
Likes: 0
From: Atlantic Canada
haha yeah.. i did notice that. but this trucks been messed with before it seems. one of the thermostat bolts has been drilled out and heli-coiled i think, and stuff is mis matched together and not done the right way.. just adds to the difficulty of doing this for the first time with aftermarket parts, lol. I'll try some more like you said and touch base again.
Nov 22, 2011 | 06:19 PM
#90
Registered User
Joined: Nov 2006
Posts: 730
Likes: 2
From: Indiana
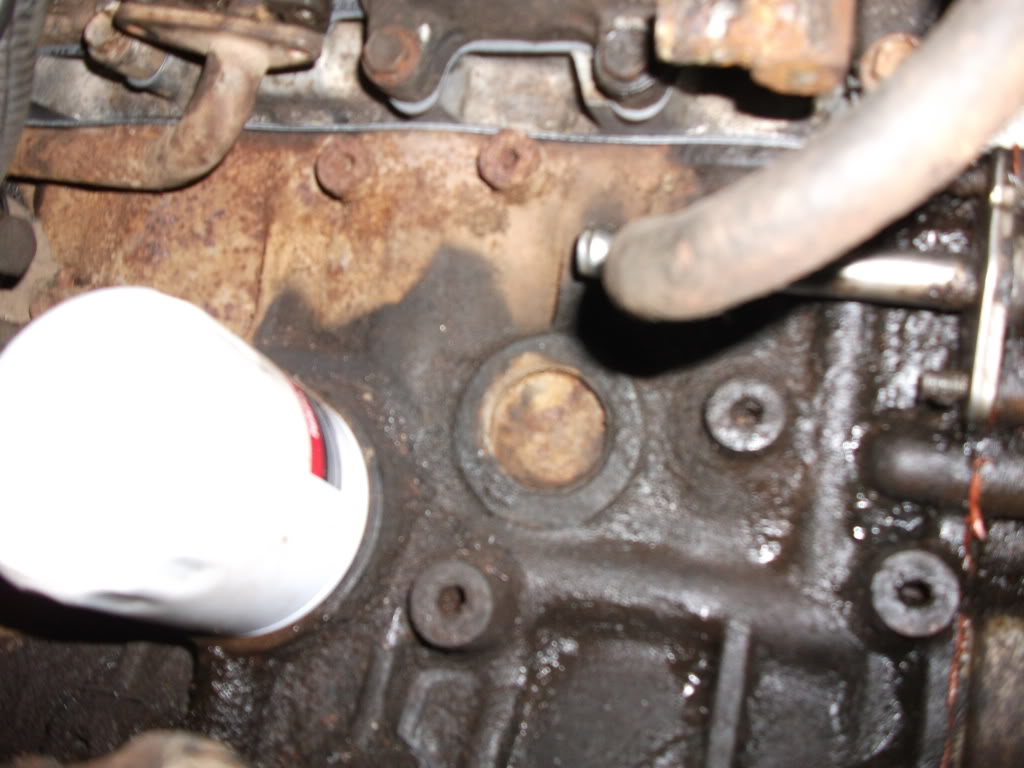
On my rebuild the water pipe that goes from the firewall valve around back of head too under the intake with 2 bolts that attaches it to under intake with an o-ring both bolts broke when I tore engine down and I has to drill out the broken bolts and instead of using those unreliable heli coil fix's, I used a bigger bolt on one cause I couldn't get it out like the other one so I just made the tube mounting bolt hole larger on intake bigger and tapped it and with alittle finess>(using a rat tail file) on lining up the larger pass through on the tubes flange I re-drilled larger so they line up together so o-ring was center in the hole under the intake. It took a while and patiants but have no leaks :}
I'm just trying to say, it's not a big deal most of the time to make the hole 1 to 2 sizes bigger and re-tap a hole and inlarge the pass through hole bigger than use those heli coil fix's...
I would say to take that heli-coil fix out and redrill hole bigger, tap it with new threads and enlarge the hole on the water outlet tube that goes over thermostat and use a bigger bolts, but do nighten to tight, gasket is pinched in between and that seals it, plus it's aluminum and you don't want to crack it. Good luck and let me know how it works out :}
Nov 23, 2011 | 07:29 AM
#91
Thread Starter
Registered User
Joined: Jul 2011
Posts: 108
Likes: 0
From: Atlantic Canada
Thanks for the advice on the heli-coil situation, I may just leave it as it for now though since its holding fine.
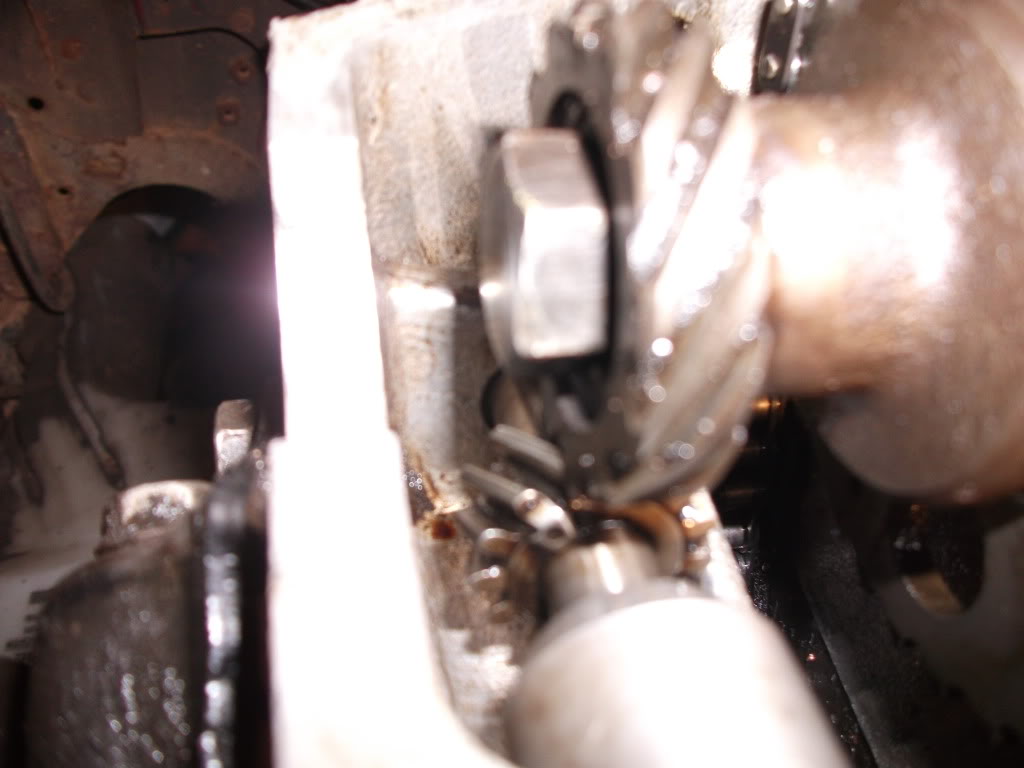
You said your water pipe, that goes into the bottom of the intake manifold, with an o-ring. I believe that is the pipe I'm missing the bolts for, and now apparently the o-ring, lol.. It does hold water? I was thinking it held air and wasn't very important overall, but it holds water/antifreeze? You can see it in the top left of the second picture. I can't get it to line up, it seems to sit too far towards the front of the truck.. what happens if I try and drive it without that sealed?
You said your water pipe, that goes into the bottom of the intake manifold, with an o-ring. I believe that is the pipe I'm missing the bolts for, and now apparently the o-ring, lol.. It does hold water? I was thinking it held air and wasn't very important overall, but it holds water/antifreeze? You can see it in the top left of the second picture. I can't get it to line up, it seems to sit too far towards the front of the truck.. what happens if I try and drive it without that sealed?
Nov 23, 2011 | 07:38 AM
#93
Thread Starter
Registered User
Joined: Jul 2011
Posts: 108
Likes: 0
From: Atlantic Canada
Nov 23, 2011 | 07:39 AM
#94
I kept my old o ring in that part since I didnt have another, I used fipg to seal under and over the o ring and the rest of the plate. Held up fine. I'm sure you could use a good silicone to do the same thing. Just don't over torque those fasteners. It is only aluminum. The awkward angle is a pain.
When I was putting that part on my motor, I had it on a motor stand and even then I had a problem getting it to line up. It was slightly bent more toward the block, I had the rear plate on the head tightened down holding the tube on. I had to remove it. remove the filter plate on the block and then tighten the tube on the intake then put the other stuff back on.
When I was putting that part on my motor, I had it on a motor stand and even then I had a problem getting it to line up. It was slightly bent more toward the block, I had the rear plate on the head tightened down holding the tube on. I had to remove it. remove the filter plate on the block and then tighten the tube on the intake then put the other stuff back on.
Last edited by gottadog; Nov 23, 2011 at 07:40 AM.
Nov 23, 2011 | 07:49 AM
#96
Registered User
Joined: Nov 2006
Posts: 730
Likes: 2
From: Indiana
I bet it's a seal you can get at a hardware store, just a round o-ring, it is a water tube and needs a seal, that is a common complaint on that part not wanting to line up when re-installing it and one guy (Chef I think) used a set of vise-grips to use as a clamp, since mine was drilled out bigger hole didn't have a problem putting it back together, do you have a big wide short tapered nail punch? go get an o-ring that'll go around the round part sticking up past the flat flange, it goes into a hole under intake so don't get a seal to wide, I think it was around a 16th of an inch or so, put it under where it goes and slide through the flange the tapered tool to line up the hole that off and then clamp it with vise-grips and removed tapered tool and try to put bolt in and if you do get it in screw it but don't tighten it down till the other bolts is in, just play around with it, you'll get it :}
Or take off tube and use a rat file or a drill bit bigger than the flange hole to make the flange hole bigger, the rubber seal will center the pipe in the hole and does the sealing and then bolt it back on. If you take the tube off take that with you to hardware store to go through there 0-rings and find one that'll work...Good Luck bud!!!!
Or take off tube and use a rat file or a drill bit bigger than the flange hole to make the flange hole bigger, the rubber seal will center the pipe in the hole and does the sealing and then bolt it back on. If you take the tube off take that with you to hardware store to go through there 0-rings and find one that'll work...Good Luck bud!!!!
Nov 23, 2011 | 07:50 AM
#97
Thread Starter
Registered User
Joined: Jul 2011
Posts: 108
Likes: 0
From: Atlantic Canada
Ok, yeah its very hard to get to, now that the intake manifold and chamber is on, along with the rad.. also having to try bolts to see which will fit, not knowing if i'm uselessly trying to thread a bolt in or if its just being stubborn, drives me nuts. no pun intended, lol..
Was also not liking the idea of removing the rear plate that holds the pipe bracket in place, since it was very hard to get to with everything apart, let alone everything together..
About the leak, yeah, that sounds pretty important then. umm... maybe I can find the bolts at a junkyard, and silicone it up somehow for now. Mind you we're having a decent snow storm right now, looks like things are delayed.
Thanks guys, for your patience.
Nov 23, 2011 | 07:53 AM
#98
Thread Starter
Registered User
Joined: Jul 2011
Posts: 108
Likes: 0
From: Atlantic Canada
I bet it's a seal you can get at a hardware store, just a round o-ring, it is a water tube and needs a seal, that is a common complaint on that part not wanting to line up when re-installing it and one guy (Chef I think) used a set of vise-grips to use as a clamp, since mine was drilled out bigger hole didn't have a problem putting it back together, do you have a big wide short tapered nail punch? go get an o-ring that'll go around the round part sticking up past the flat flange, it goes into a hole under intake so don't get a seal to wide, I think it was around a 16th of an inch or so, put it under where it goes and slide through the flange the tapered tool to line up the hole that off and then clamp it with vise-grips and removed tapered tool and try to put bolt in and if you do get it in screw it but don't tighten it down till the other bolts is in, just play around with it, you'll get it :}
Or take off tube and use a rat file or a drill bit bigger than the flange hole to make the flange hole bigger, the rubber seal will center the pipe in the hole and does the sealing and then bolt it back on. If you take the tube off take that with you to hardware store to go through there 0-rings and find one that'll work...Good Luck bud!!!!
Or take off tube and use a rat file or a drill bit bigger than the flange hole to make the flange hole bigger, the rubber seal will center the pipe in the hole and does the sealing and then bolt it back on. If you take the tube off take that with you to hardware store to go through there 0-rings and find one that'll work...Good Luck bud!!!!

wish me luck, lol.
Nov 23, 2011 | 07:56 AM
#99
you dont have to remove that plate, just loosen the bolt, if you need more take that bolt out. But having the correct o ring is the way to go. He is right it would be an easy part to get.
Nov 23, 2011 | 08:04 AM
#100
Registered User
Joined: Nov 2006
Posts: 730
Likes: 2
From: Indiana
The bolt that attaches the flange to the intake is a common size on the toy, used every where, you have one of the 2 bolts? if so go to hardware store, find a MM nut that fits it and you'll have the diameter and the thread pitch and then get a new MM bolt the same length, and also when you go to a salvage yard fill you pockets or tool box with nuts and bolts and screws other leave behind when removing parts and build up a supply like I do...


