When you click on links to various merchants on this site and make a purchase, this can result in this site earning a commission. Affiliate programs and affiliations include, but are not limited to, the eBay Partner Network.
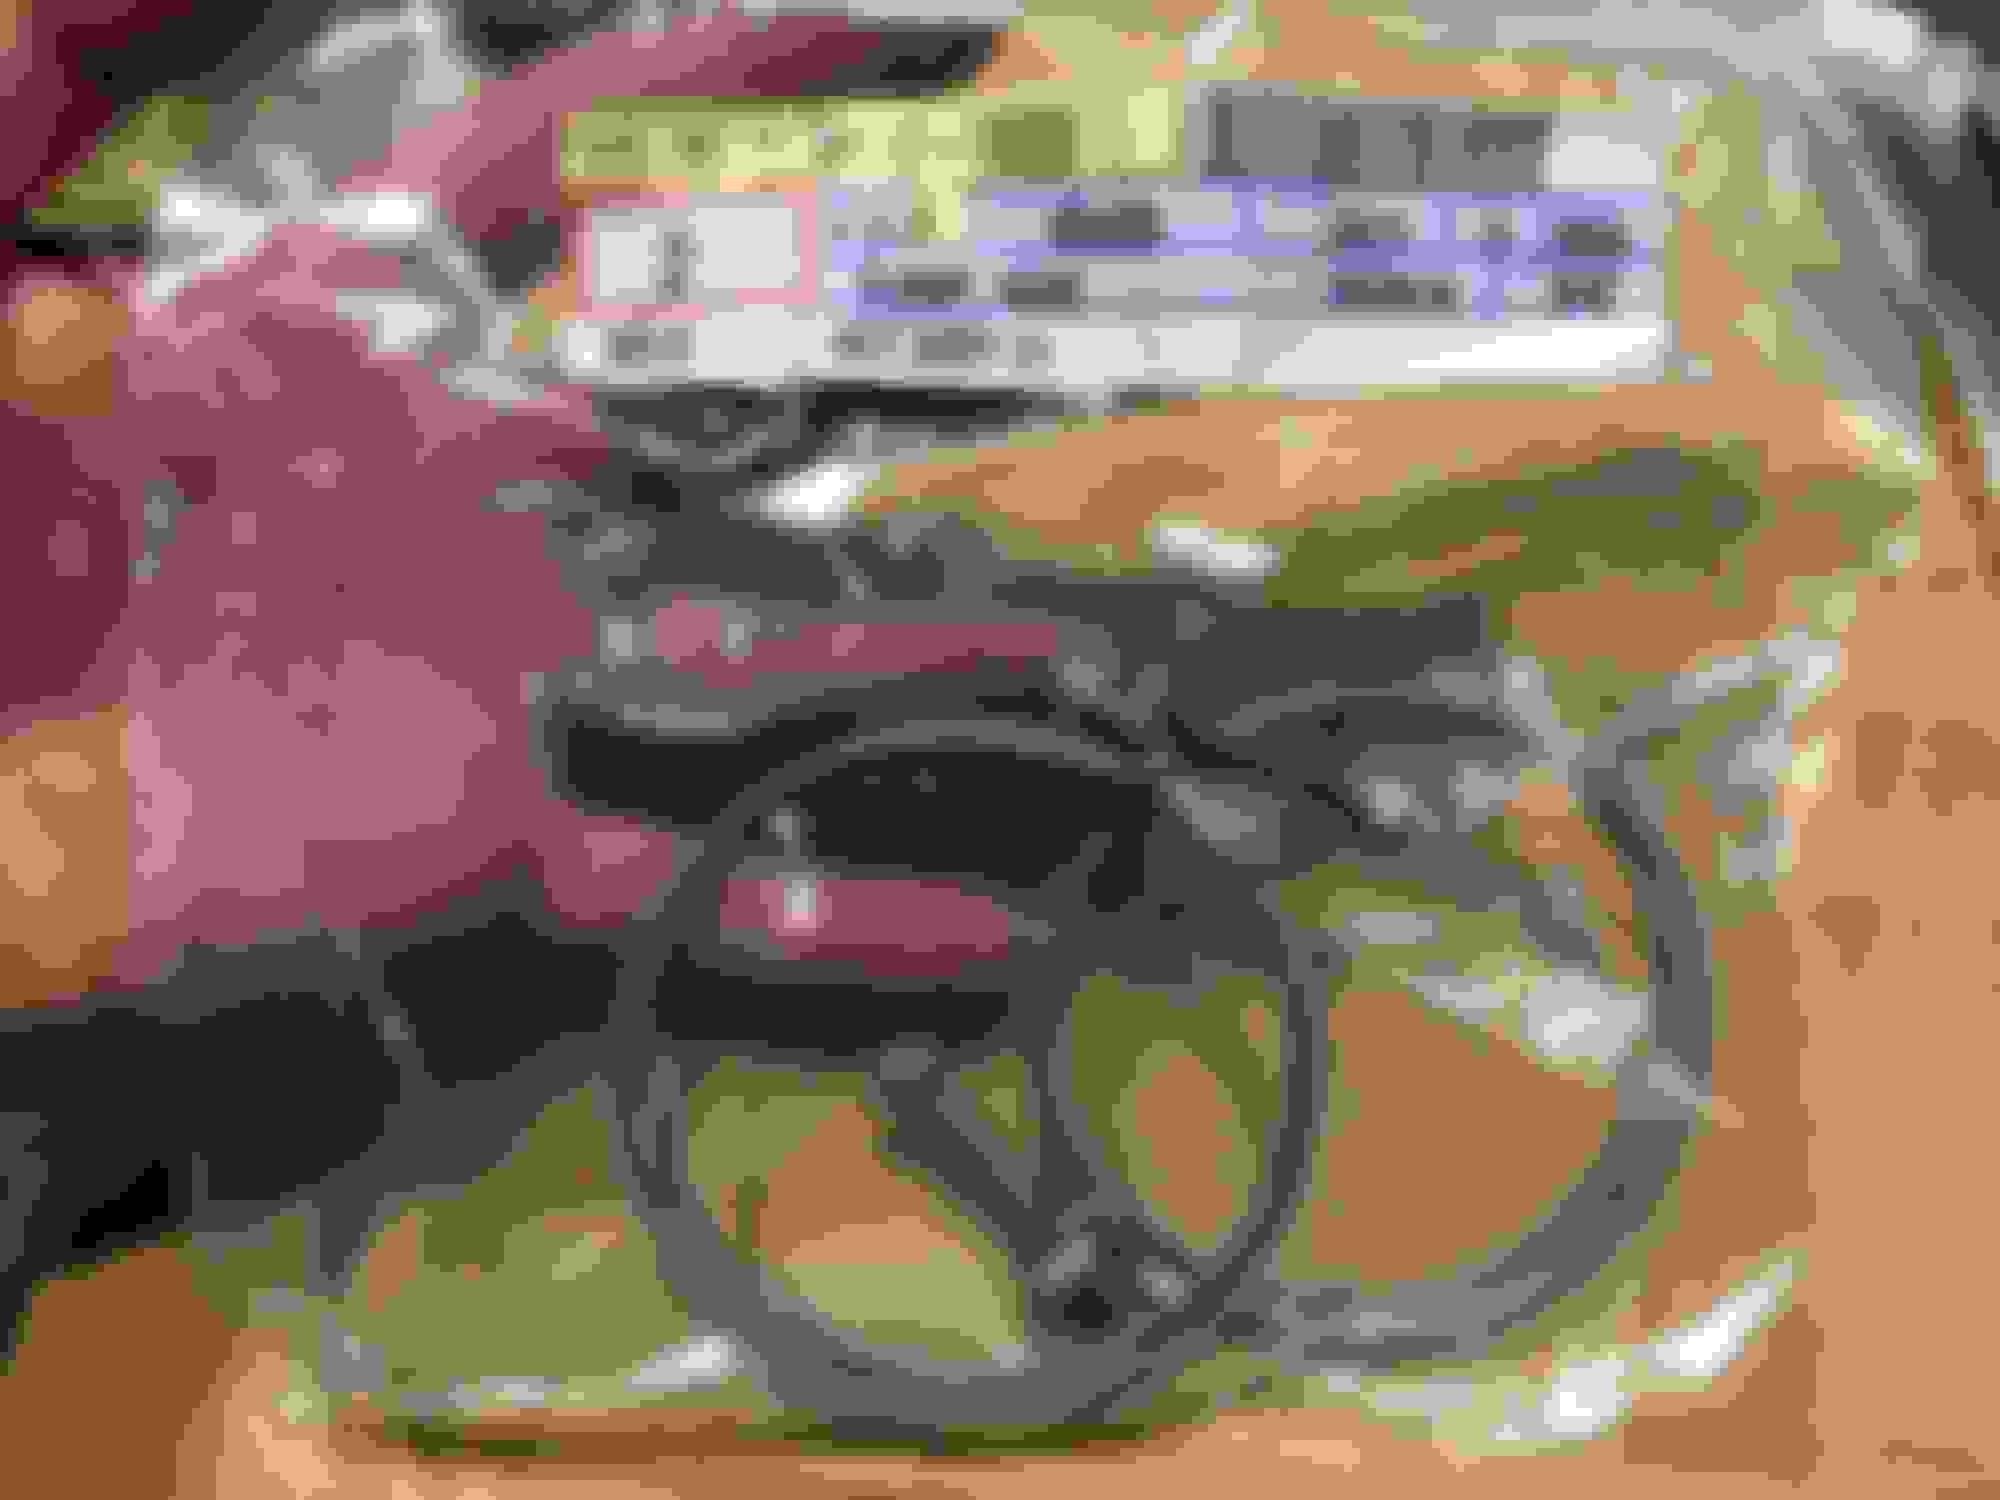
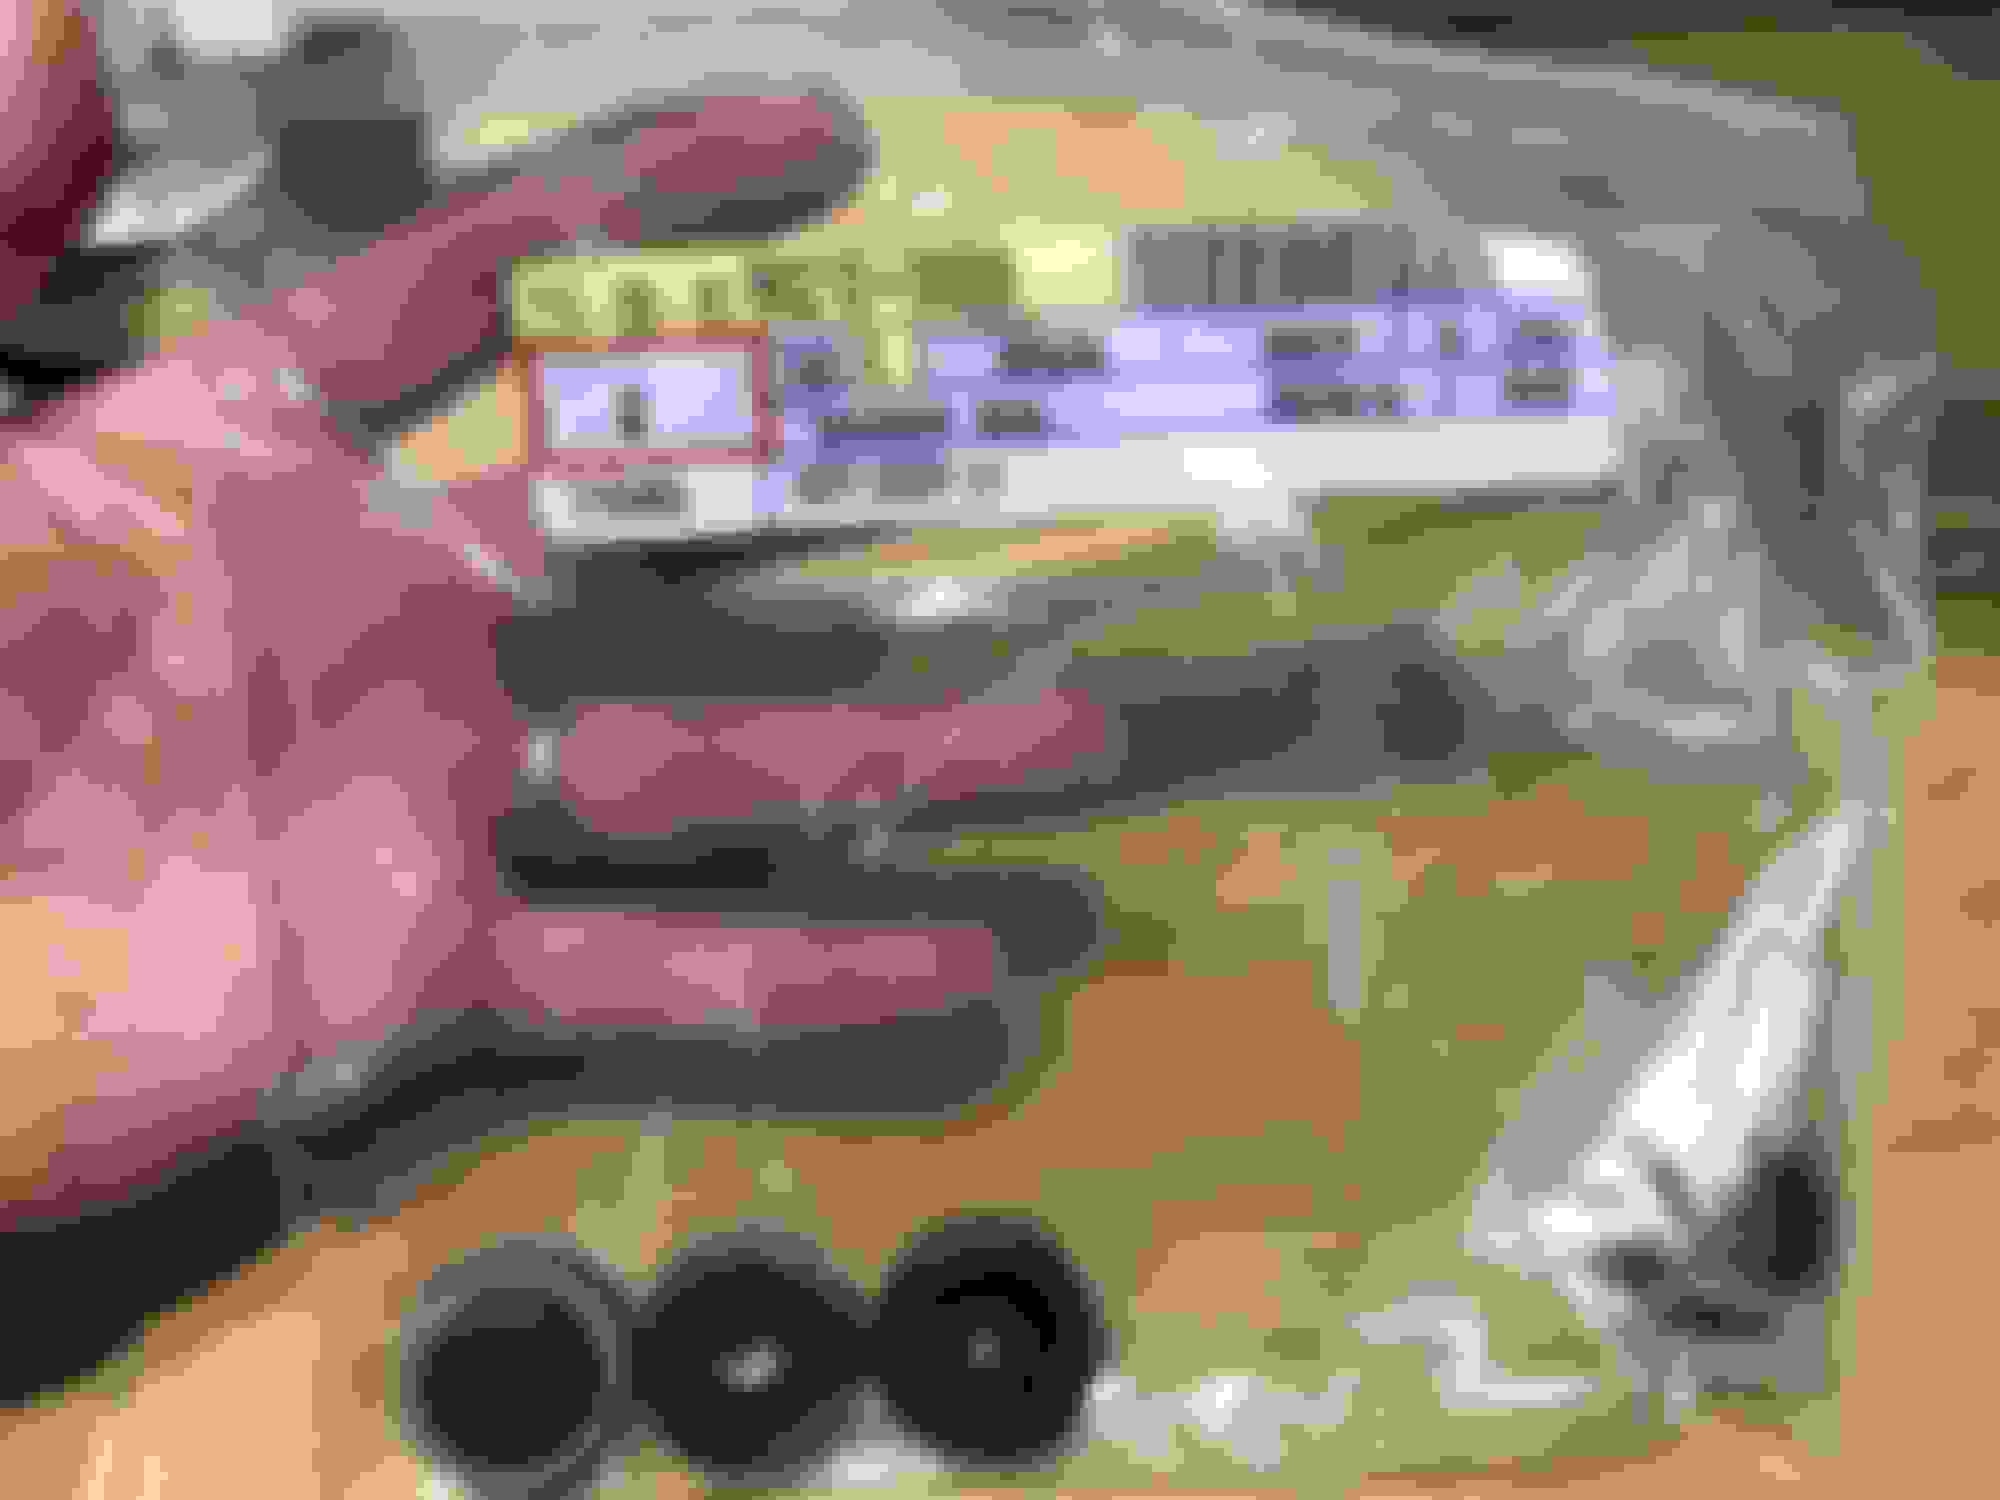
new starter in, dont forget that the stay bracket for the clutch line goes under the bottom starter bolt! cleaned up the tcase best i could, speedo on, new rubber mount, driveshaft rebuilt and on. remember to align the zerks for the front and rear shafts for easy greasing. dust shield going on, youll need to pull this hardware form your old tranny. heres the mount for the clutch line in proper orientation, i used a new horseshoe clip tcase skid on. front drive shaft in. need to pressure wash off the old driveshaft grease swaybar on. if your not familiar, these four tiny bolts hold the stick into the base for the shifter. dont put your 4wd shifter in upside down like me, that bottom right bolt is a PITA to get to for some reason.
so far im pretty pleased with the transmission. its clean and well assembled, but I wish they would have sent shipping updates. they also don't include the new shift socket like they claim on their page. youll need the dust cover hardware, new shift fork parts, a new tcase gasket, and the old sensor from your tranny to transfer over. they recommend GL4 dino oil for the break in but good luck finding it. ill be using mobile for the 500 miles initial fill then switching to redline. I mentioned in an earlier post that I would be switching over my entire shifter/base but you cannot do this due to a security paint mark on the marlin base, youll just need pull your stick and use the new base. go easy on the box it comes in because youll be using it to send your back, and its not very sturdy, just a regular old cardboard box but they do give you some nice thick padding material to use. I will be filling it today and hopefully going for a drive.
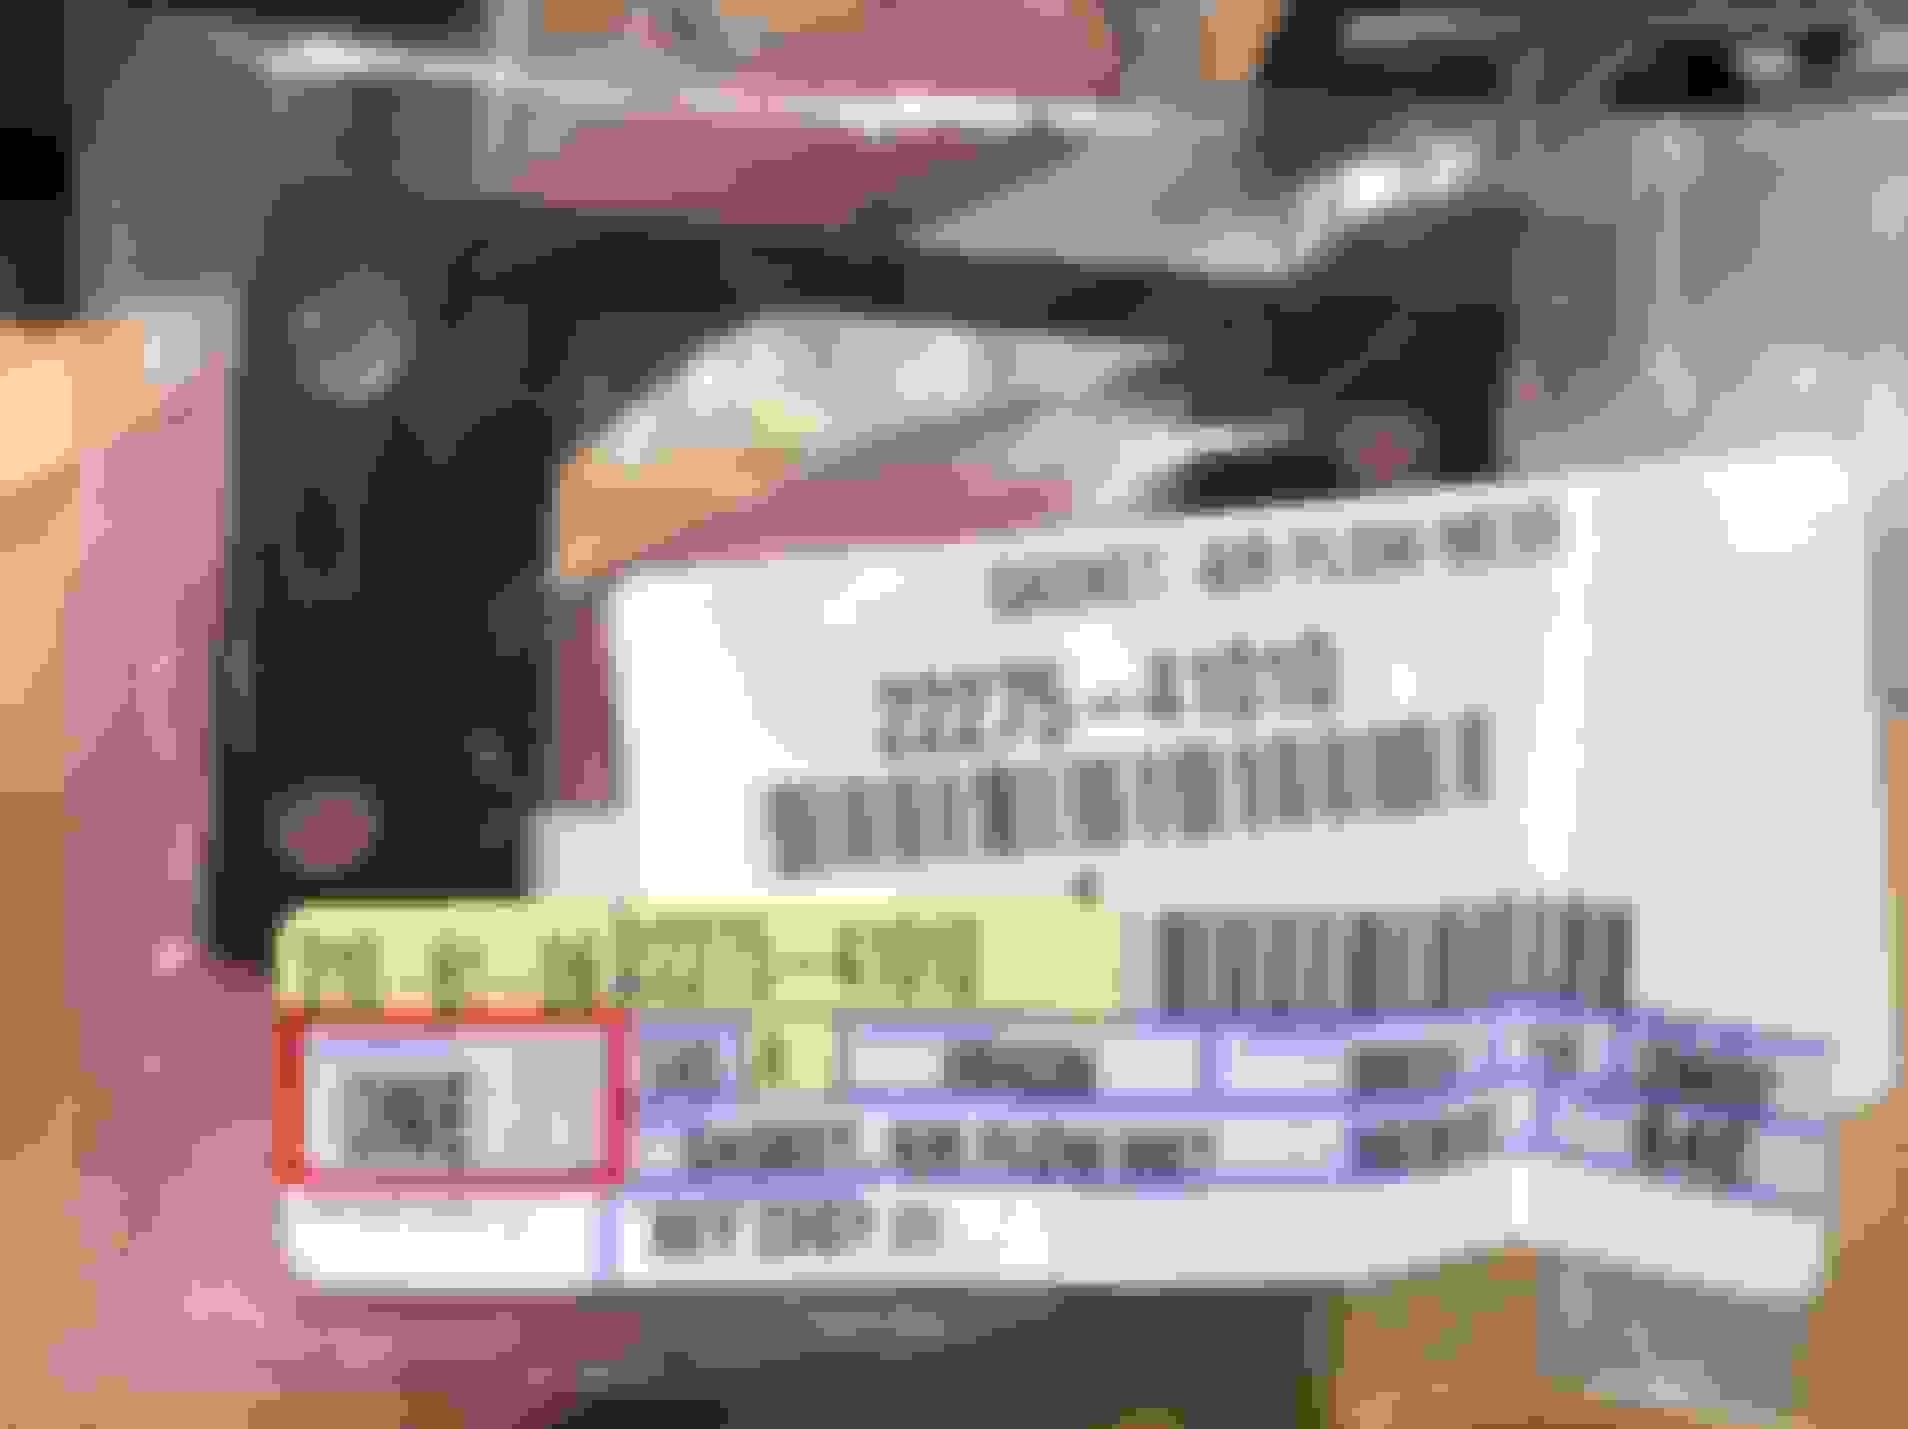
Some of you probably saw my post about 2nd gear popping out in my new transmission. I have posts out in here and Marlins forum about it. No definitive answer yet but my I�m looking at the tcase Mount and the internal linkage at the moment. Will talk to marlin Monday hopefully. Until then I have some small trinket part number for y�all. I had some mismatched screws holding my dash and shifter bezel area together so I ordered new oem ones and I needed a replacement bumper for the glove box.
while my transmission is on its way back to marlin so they open it up and see why it wont stay in second, I decided to order a few parts that I did not replace the first time I installed the new tranny. I got a new shift arm ball, bearing cup spring, tcase to tranny gasket, and shift clutch fork arm boot. also this weird little parking brake tag, because I liked it and it was like a dollar.. here are the dealer numbers for your convenience. also my redline mt90 gear oil came in. I ordered it off amazon because it was significantly cheaper than anywhere else. still cost me about 100 bucks for 6 quarts (tranny and tcase)
It will be interesting to see what Marlin finds with your tranny. Frustrating to have to remove and send back considering all the work installing it, but I guess this is the price you pay when you do your own work.
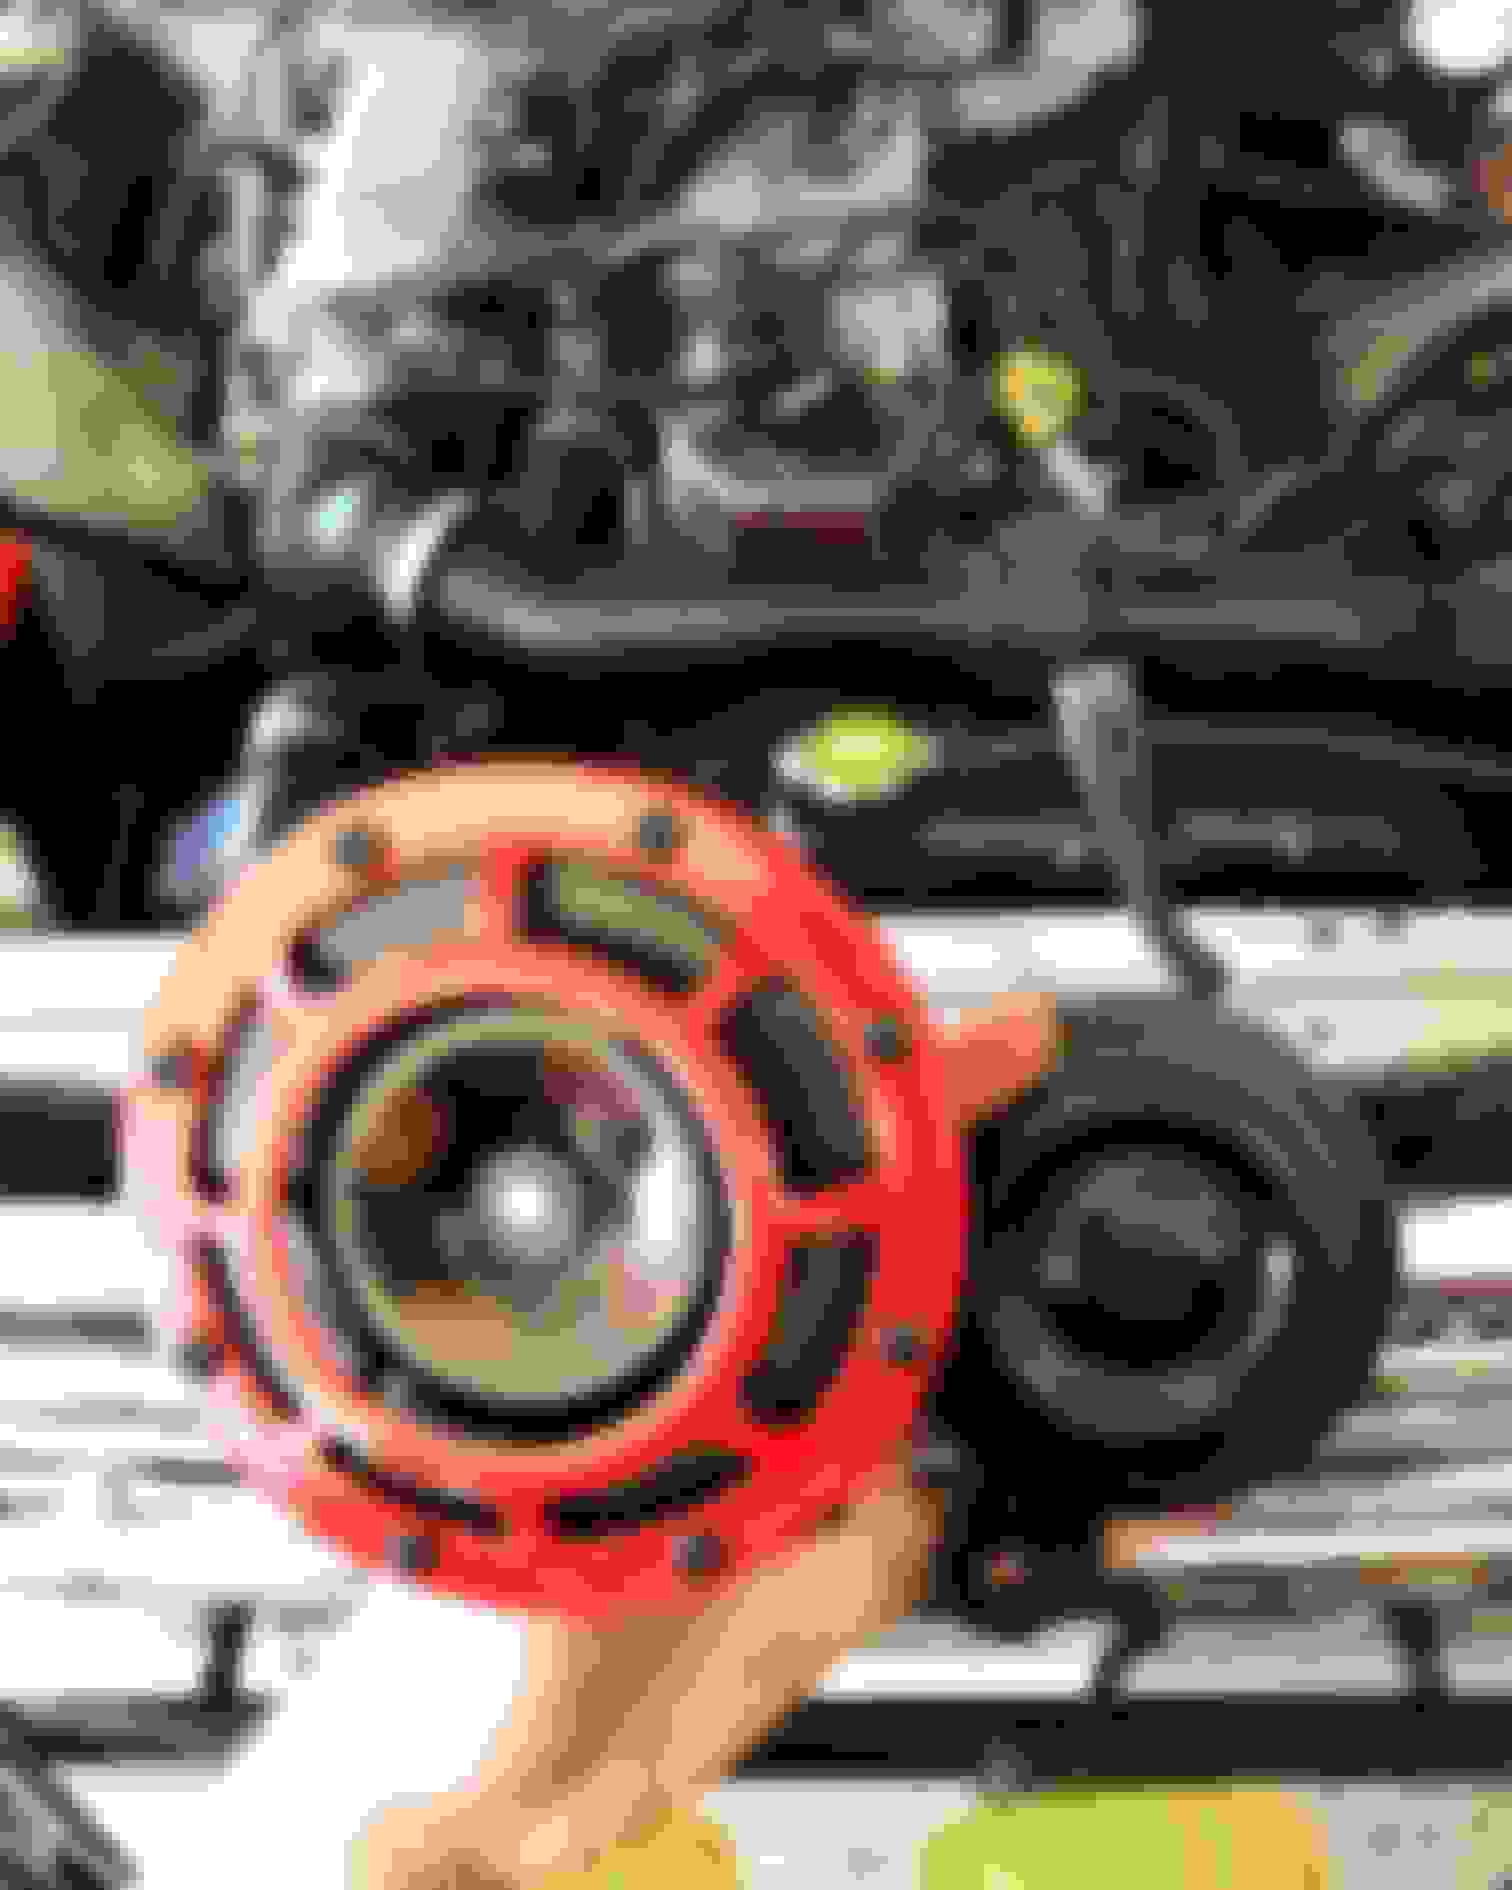
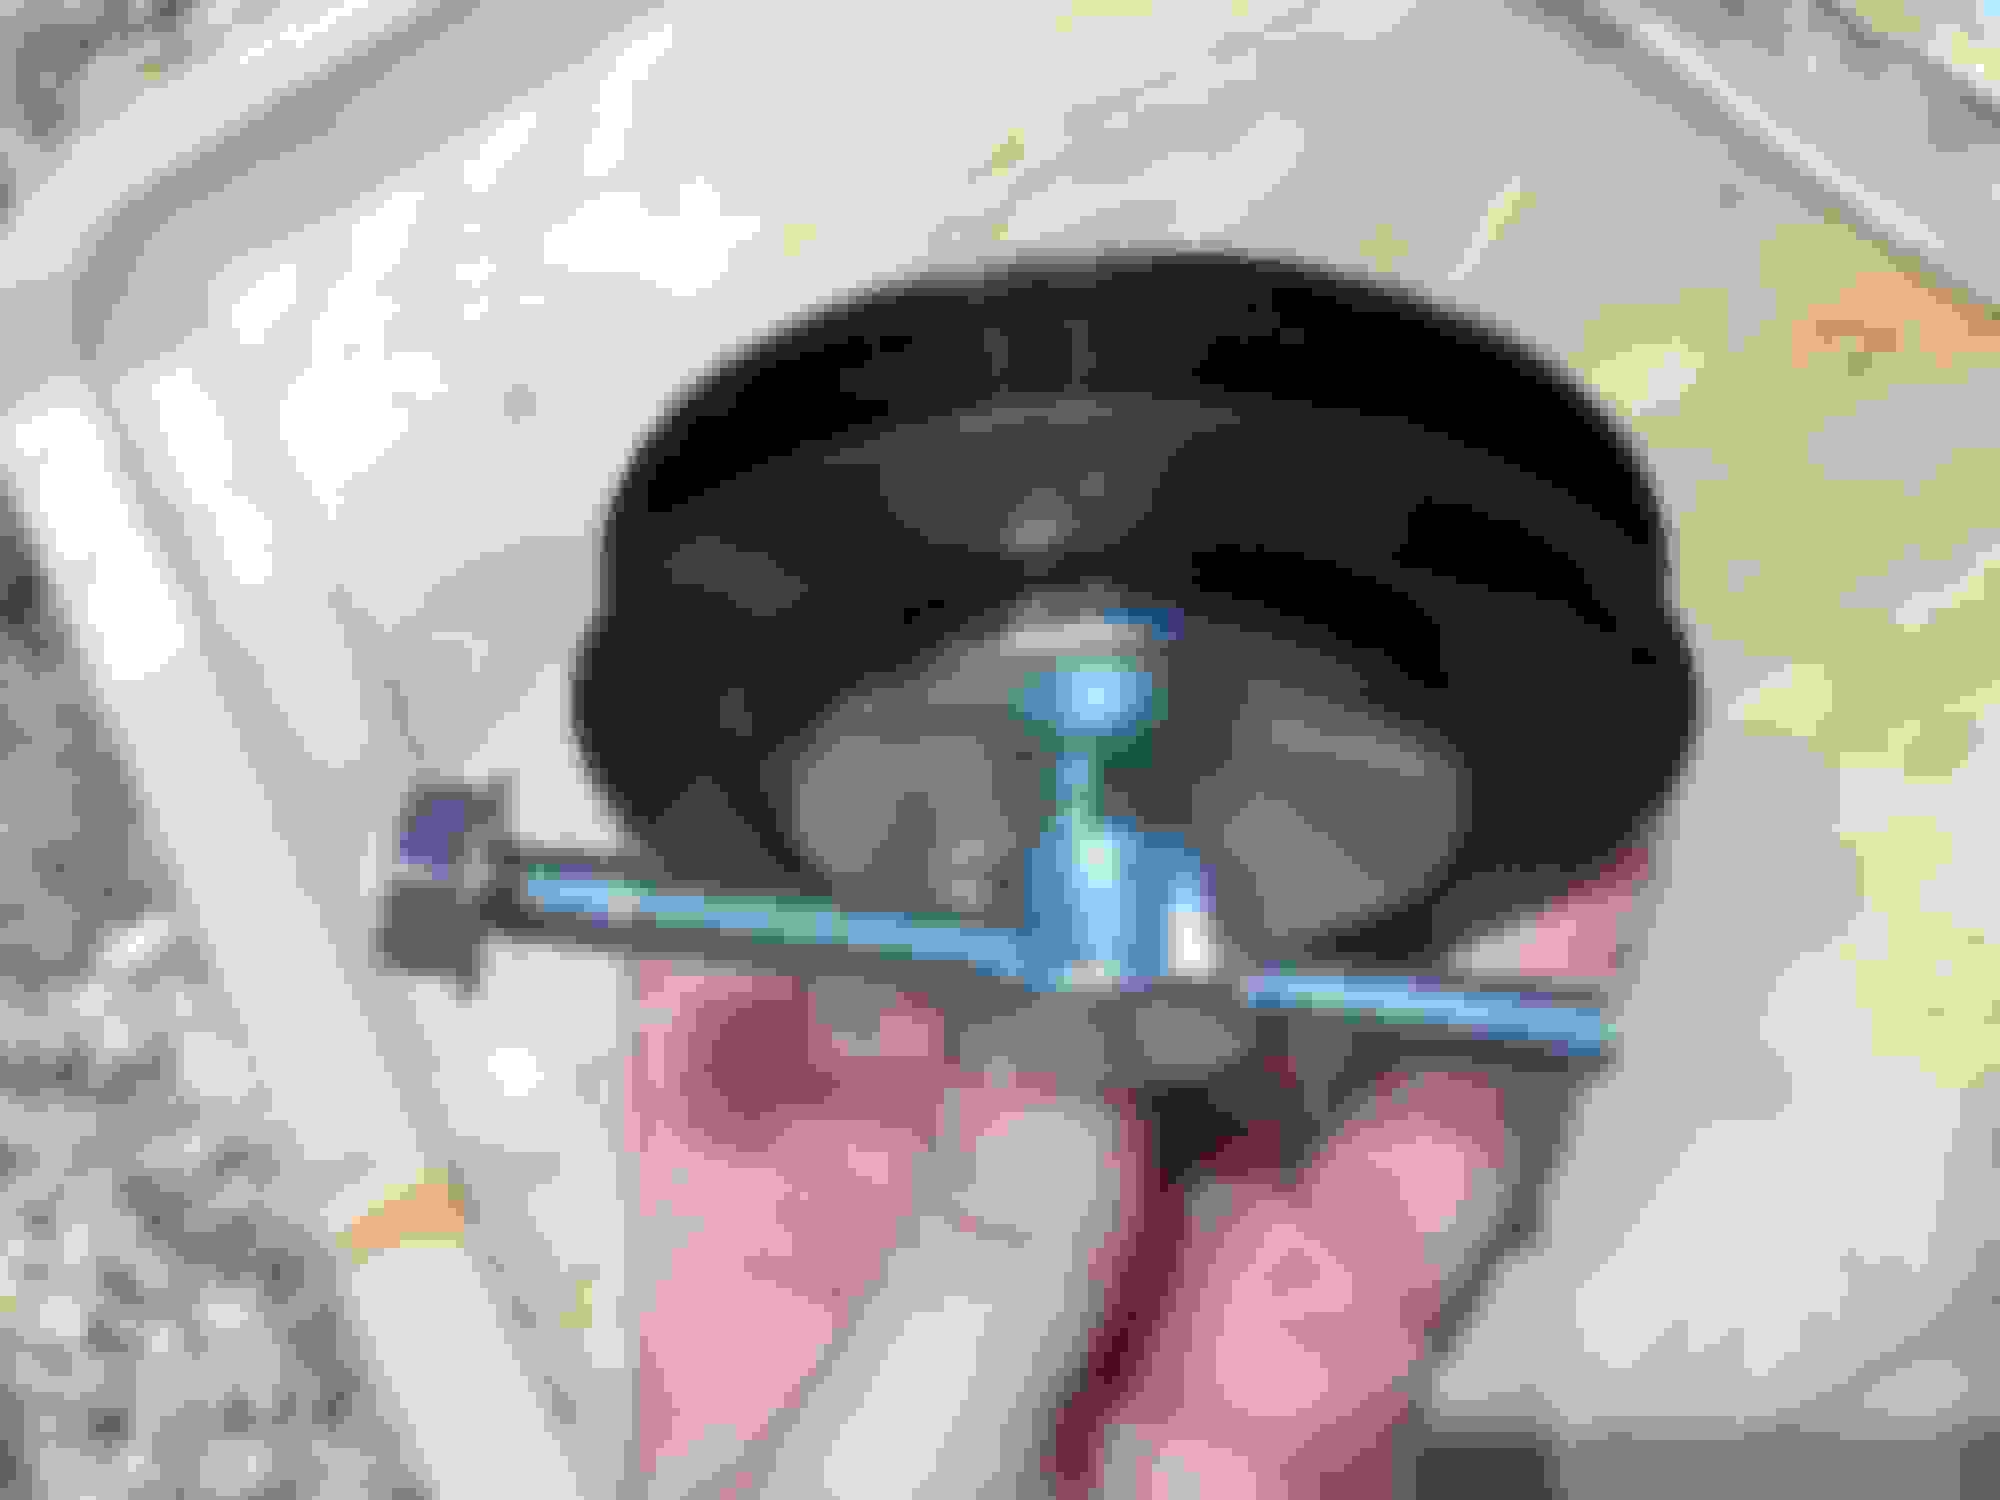
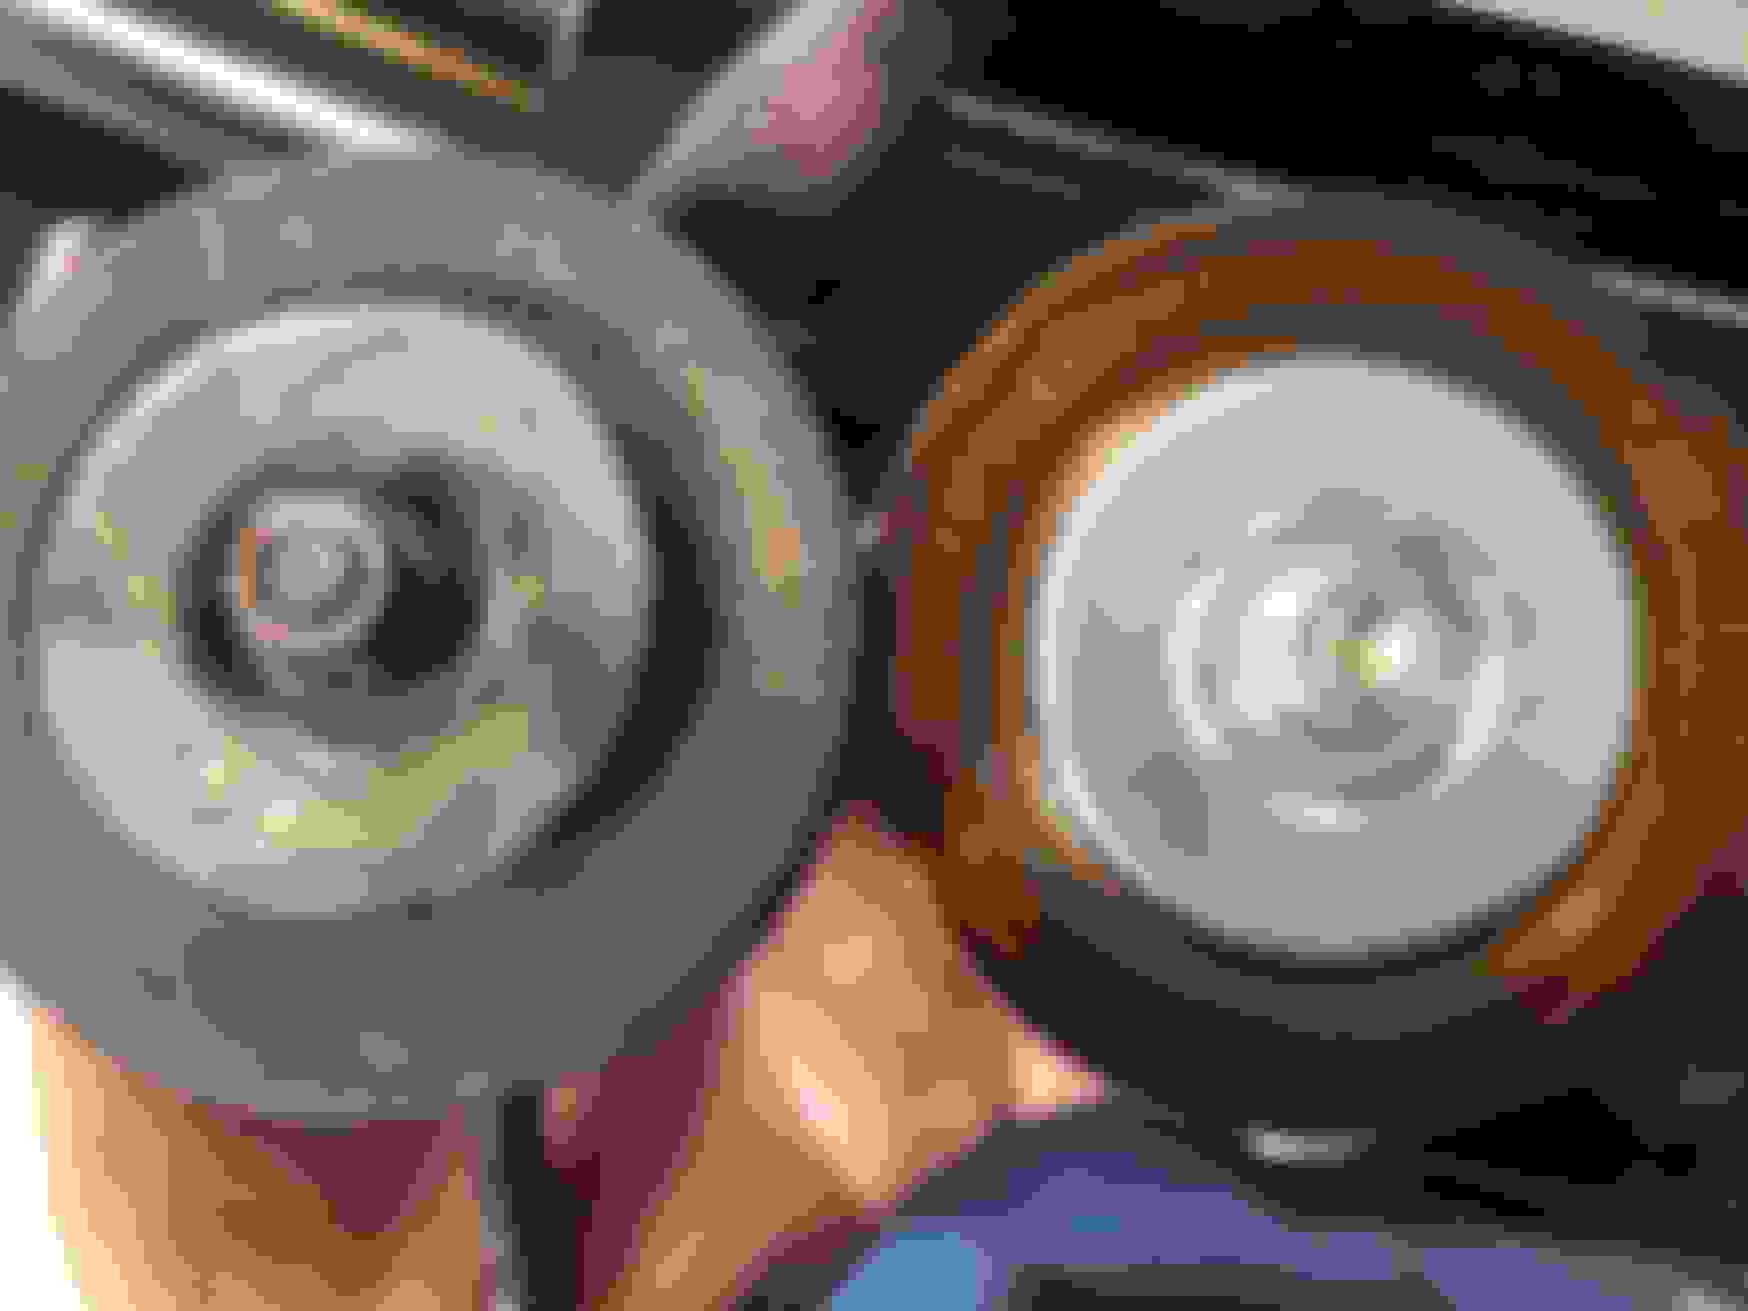
That release bearing clip, does that hold the throwout bearing hub to the clutch fork? On my 1988, the clips that go on the ears of the throwout hub were individual little clips, not a 1 piece like that. If that is indeed what it is, I like the 1 piece design better.
It will be interesting to see what Marlin finds with your tranny. Frustrating to have to remove and send back considering all the work installing it, but I guess this is the price you pay when you do your own work.
That release bearing clip, does that hold the throwout bearing hub to the clutch fork? On my 1988, the clips that go on the ears of the throwout hub were individual little clips, not a 1 piece like that. If that is indeed what it is, I like the 1 piece design better.
your correct! I actually ordered both styles of clips, the one piece and the two little ones. mine originally had the two little ones but I thought that maybe the once piece was some sort of newer replacement. ill find out if it works when I try to put it in and let you know, it could just be for a different transmission but according to the Toyota overstock parts catalog it matches my truck.
still waiting on my transmission news from marlin, but my wife pointed out that the heater was hard to operate. so before I, or someone else, broke the heater cable I decided to order a new control valve and see if that fixed the issue, sure enough, the original was extremely corroded inside and barely moving. I got an OEM from 22reperformance and swapped it out in about 15 minutes. youll lose a small amount of coolant so put a catch underneath, there are two band clamps and a pinch point on the cable itself, and then two 10mm bolts holding the assembly to the firewall. easy enough.
shiny youll find the valve on the firewall near the brake booster the heater cable attaches here i had this funky band deal probably from the PO..so i ditched it for an oem style old and busted new hotness
well, yesterday I decided to check the tracking on my transmission because it should have gotten back to marlin already but I had not received any news from them. tracking said it got there last week. I emailed them yesterday asking if they did get it and expected times for rebuild, and reship and to tell me what was wrong with it. I got an email today saying it was already fixed and will ship back to me tomorrow but didn't say anything about what they found wrong. I called and eventually got through and got to a nice guy named trevor who told me that they didn't find anything wrong with the transmission.. bad new for me. they decided to replace the fork and gear and pretty much everything associated with 2nd gear. will post more once it arrives and I can drive again. ill be doing some things even though they said it was an internal issue. I will bleed and replace the clutch fluid, switch to a heavy duty tcase mount, and I have some redline mt90 on standby.
the band you removed from the heater valve was original. both of my �87s have it in that location.
pin clamp on heater valve at lower right corner of photo (below date).
that is so weird because there WAS an oem clamp on the hose a few inches down, no doing anything so I moved it up to the valve. I kept the cotter pin clamp but I was sure it was some cheap fix! Interesting.
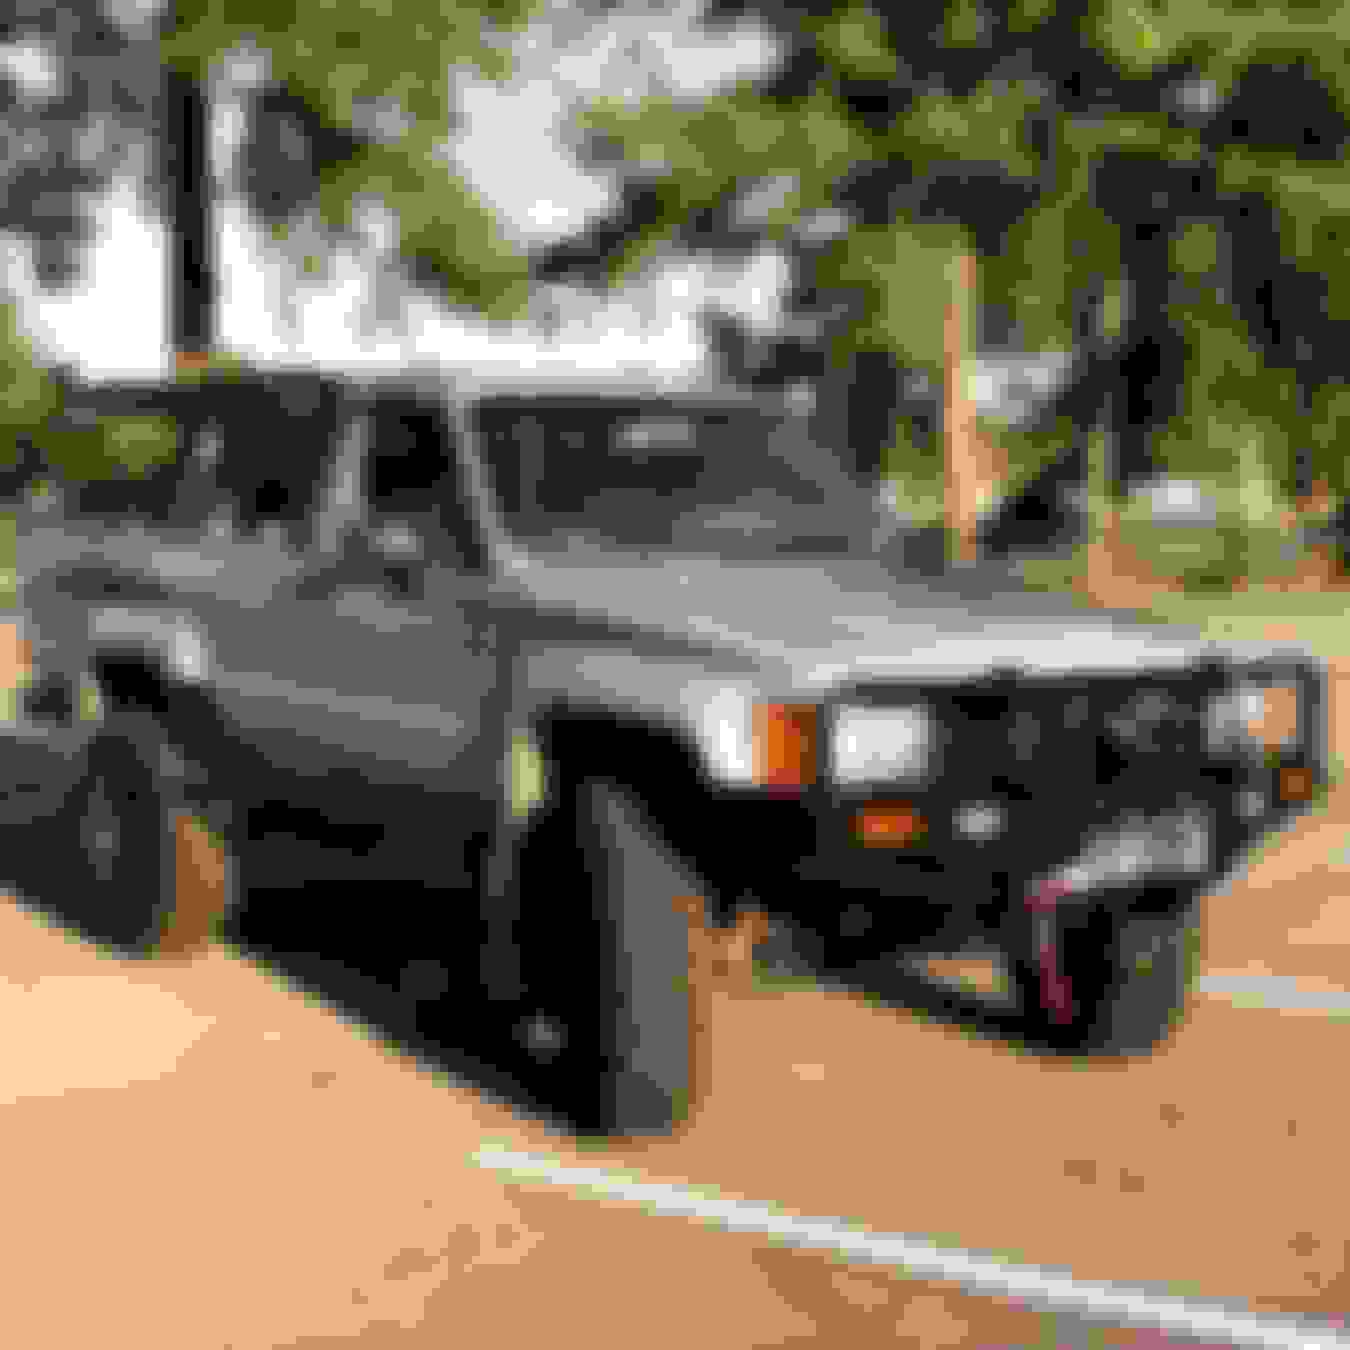
really just been trying to enjoy driving the truck lately, but I got around to swapping out the barely functional factory horn with a nice Hella Supertone. also went with one of 4crawlers front recovery points, since I don't have any immediate plans for a full bumper. I bought two from him but to get the driver side on will require modifying the little valance piece. my marlin transmission mount also finally came in. I actually ordered an oem mount from them and they messed up my order, man I don't have good luck with them. I decided to just keep their mount and get a small refund for the difference. I feel a little more vibration, but hey its a 30 year old mini truck with OME springs and super swampers, so who cares.
my valve cover rubber grommet/washers were shot so I tracked some new ones down from Toyota, along with a gasket for the sensor on the airbox. ive attached pictures of the part numbers. I also sourced a new power steering idler but forgot to take a picture of the part number, it was hella expensive though for a pulley. I also replaced the band clamps on my intake because they were rusting and bothering me.
this is the tensioner bolt for the idler, run this bolt out after letting off on the nut on front of the pulley. id say the original was toast shiney you can see the rotted gasket here remove the 4 10mm nuts old gasket old versus new valve cover grommet washers
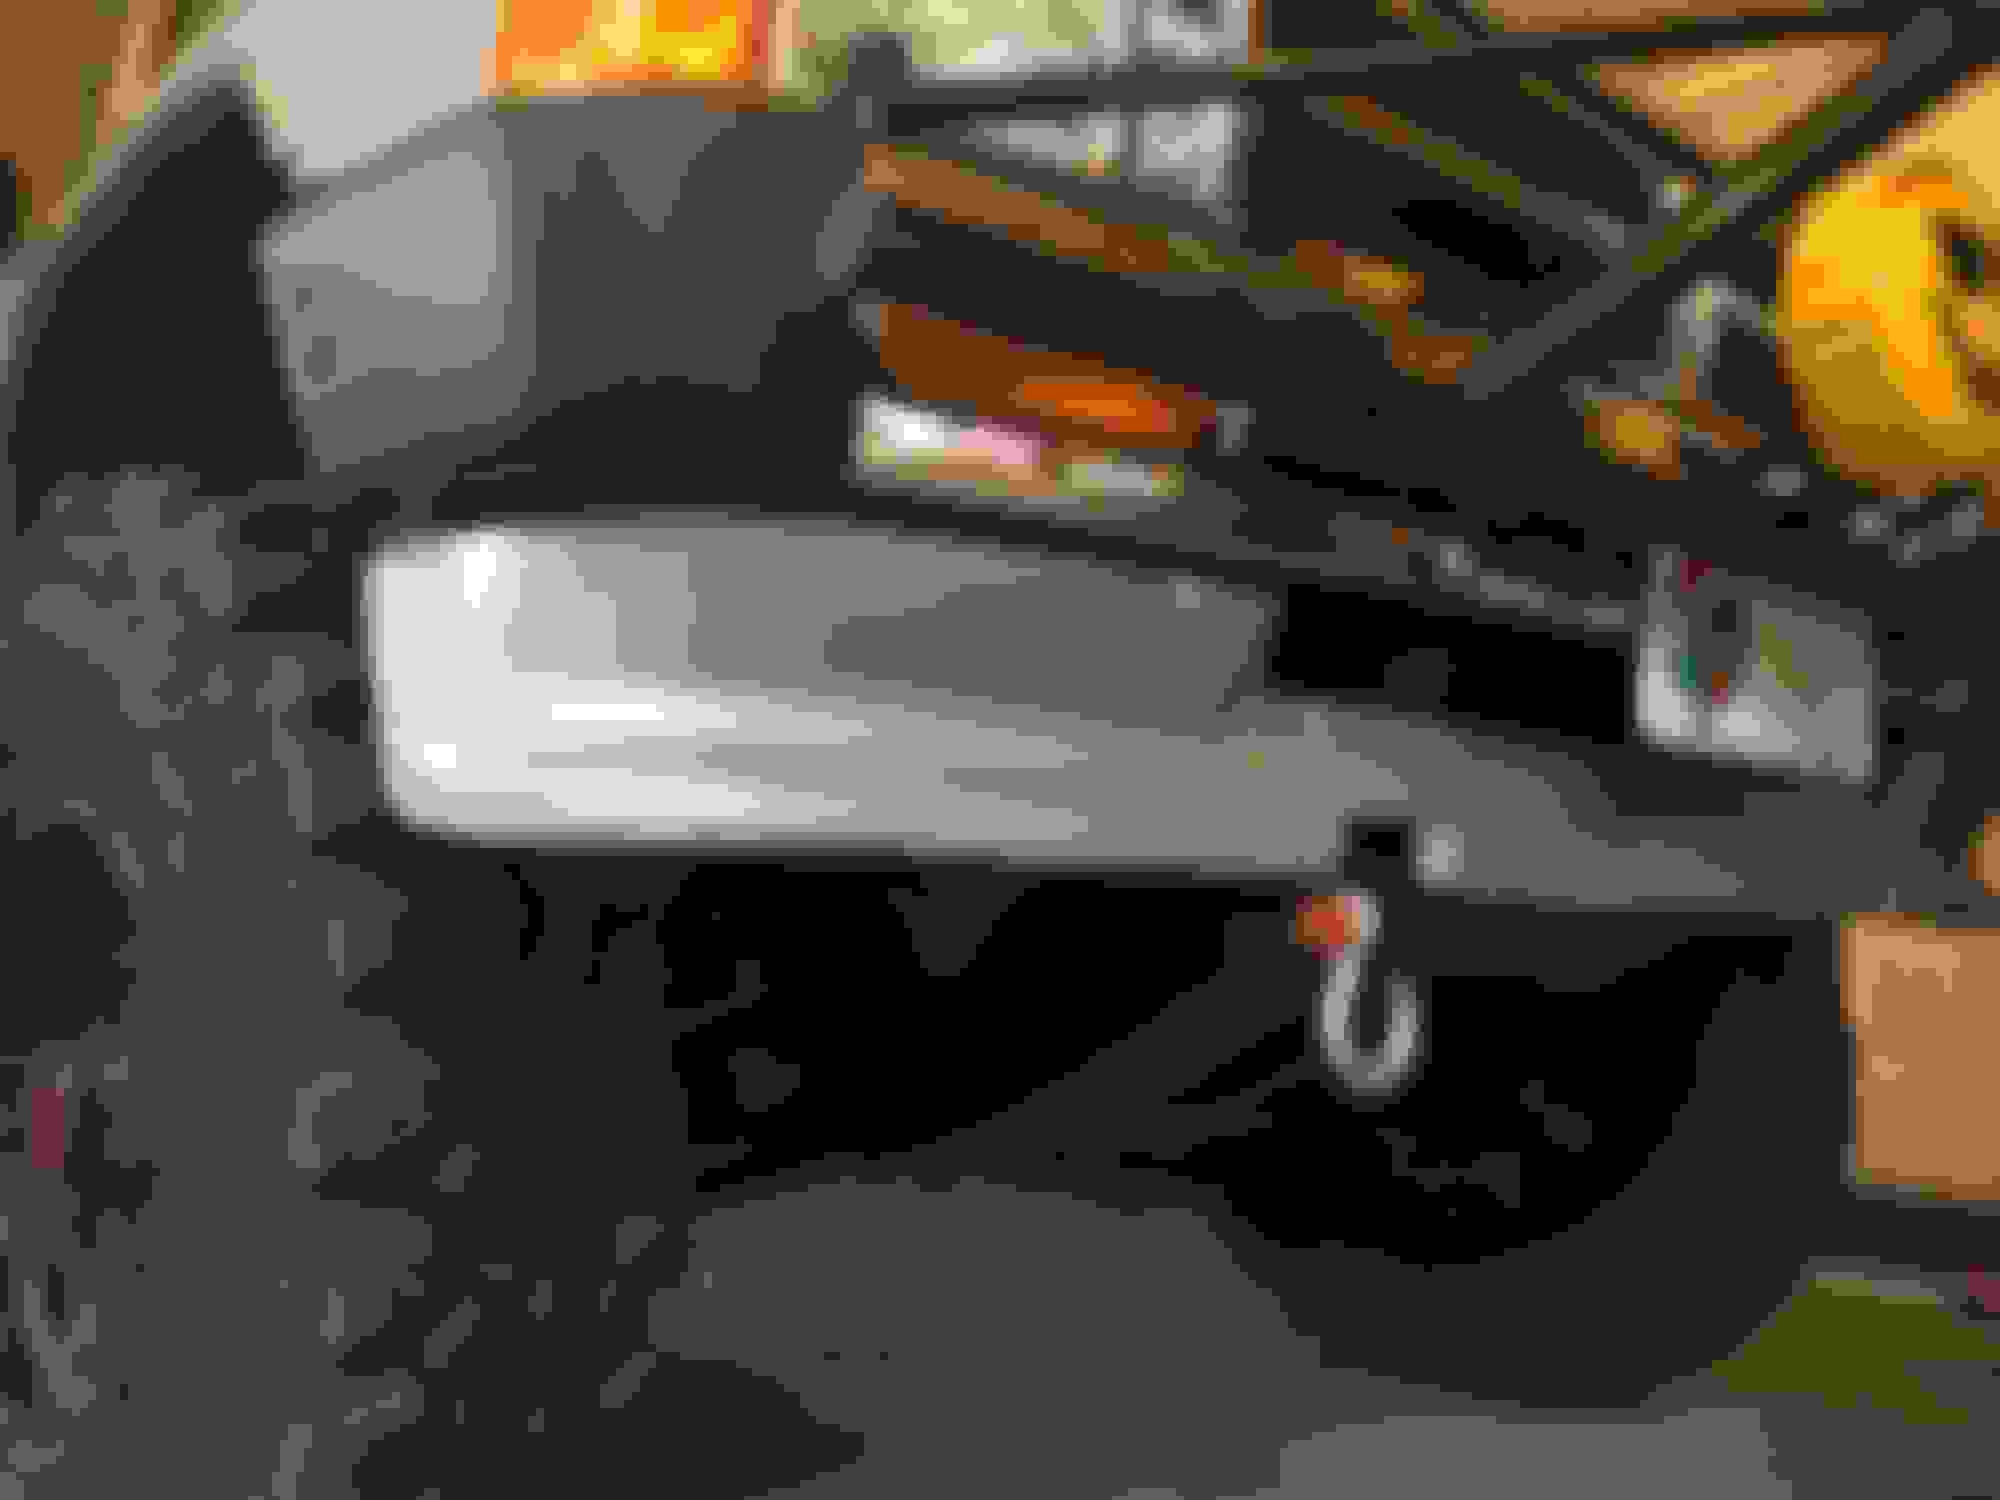
I did an install thread but forgot to put a final install picture in my build page. The ARB fit great and was a breeze to install. I stuck a warn m8000 in the bumper as well.
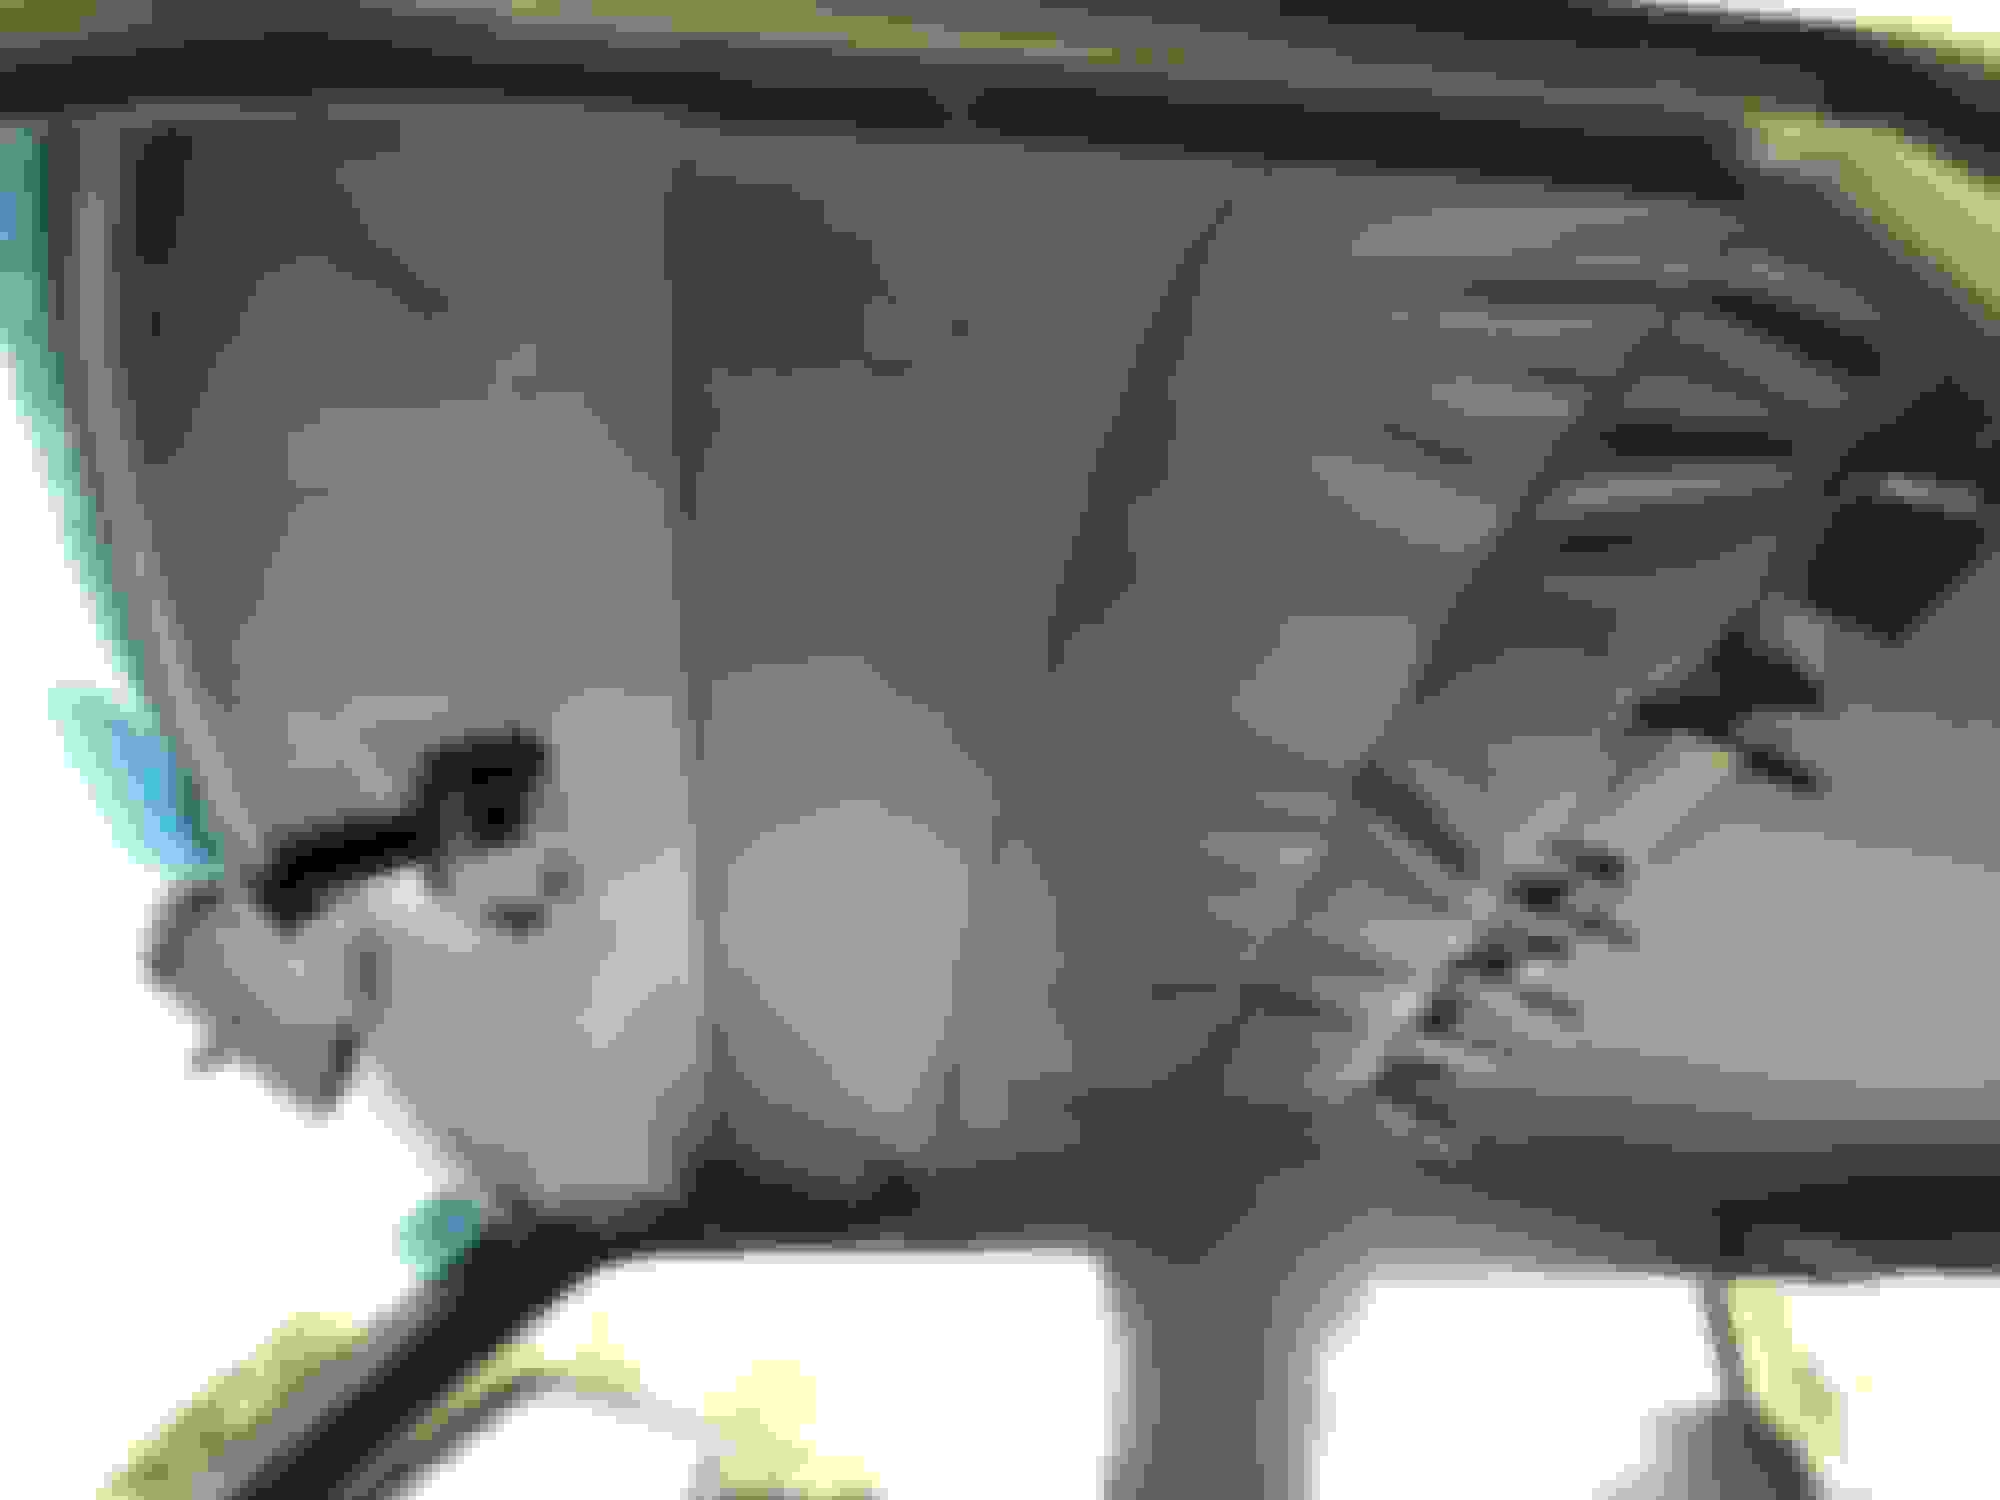
I ordered a replacement headliner from a guy named jim who runs a small upholstery shop called GoLiners in texas. he has an ebay store also. its about 150 dollars for a new vinyl cab headliner with the bow slots sewn in. he also includes new material to have sewn onto the sun visors if you wish. the ebay store color pallet is a little off from real world color so he mailed me a small card with pieces of vinyl in different shades of grey for me to pick from. I went with the dark grey and it matched up to OEM pretty dang good. be aware that this headliner is not simply a "drop in" piece of fabric, it takes a significant amount of trimming and work to get in, it was not exactly an easy job, tedious really. I bought a tube of 3M weather strip adhesive for the edges of the liner. the procedure is pretty straight foreward. remove the sun visors, the map lamp, the mirror, and the dome lamp. pull off the rear weather strip, the door strips, and windshield strip, and the A-pillars. the OEM liner comes out by gently pulling down on the center of the metal bows in order to get the ends out of the slots they sit in. I marked which bows go where from front, middle, and rear although I don't know if they are different. the fiber mat stays in the roof once the liner comes down. note that I do not have a sunroof. I installed the bows into the new liner and put it into place, and used a pencil to rough sketch the shape. removed it and trimmed the excess off. installed again and used some small clamps to get the edges into place, then with a razor knife and scissors cut it to shape starting with the front and working back. I put the weather strip glue in a small bead and used the clamps to hold it into placre while it dried, then put the OEM weather strips/trim pieces back over top. a have some small ripples in the vinyl on the rear, not noticeable to most but they stick out to me, I will try to tighten it later. the slots for the bows MUSt be trimmed to match the length of your oem liner to get it to fit tight. I had to trim 1.5, 2, and 4 inches off of each end (front to rear) on the new liner to match the original. once the liner was in it was easy to use a small scribe and a razor knife to make the appropriate cuts for reinstallation of the lights, mirror, and sun visors. some tricky things to know are that they rear most bow has a small hanger in the middle and there are small rectangular plastic pieces molded to the oem liner that sit under the B-pillars and have some plastic body panel clips in them. I removed them using a razor knife and glued them to the new liner. they simply hold the liner down under the B pillar.

 Mar 13, 2019 | 05:01 AM