When you click on links to various merchants on this site and make a purchase, this can result in this site earning a commission. Affiliate programs and affiliations include, but are not limited to, the eBay Partner Network.
As I started to approach the kick plates at the doors with soundproofing, it was obvious that 20 years of water sitting there was starting to take it�s toll, so I ran out for some POR-15.
I have used this, Rust Bullet, and several others, and I, personally like POR-15 the best.
If you have never used it, keep couple things in mind.
1. It�s hardcore and nasty.
2. It works.
3. It doesn�t come off. The part, your hands, your clothes, your face, squirrels, clowns, nothing can escape it.
4. Once you open the can, the timer starts on the shelf life. It�s activated by oxygen and nothing you can do can make it last 6 months in the can. Unless your lucky.
5. Use chip brushes. Don�t even waste your time trying to clean up.
6. Put plastic wrap over the can mouth before you put the lid back on. If you don�t do this, you probably won�t even be able to open the cab a second time.
Before and after a light coat.
I brushed and shop-vac�d all the loose stuff out.
wiped it all down with a red rag and some mineral spirits, and went at it.
This will stop the rust, and make a good clean surface to stick to in the vital high-traffic area of the cab.
I didn�t coat over the factory tarpaper because, well, I just didn�t think it was necessary.
Before and after on the passenger side:
Last edited by 55reasons; Jun 15, 2018 at 05:13 AM.
Reason: Add photo, typo
As I continue to seal up the interior, it has become more and more obvious how easy the T100 is to make completely air tight. I started thinking about air pressure when closing the doors and the fact that now the air pressure is not going to be able to escape the inner skin to be purged out the cabin vents on the back of the cab between the bed.
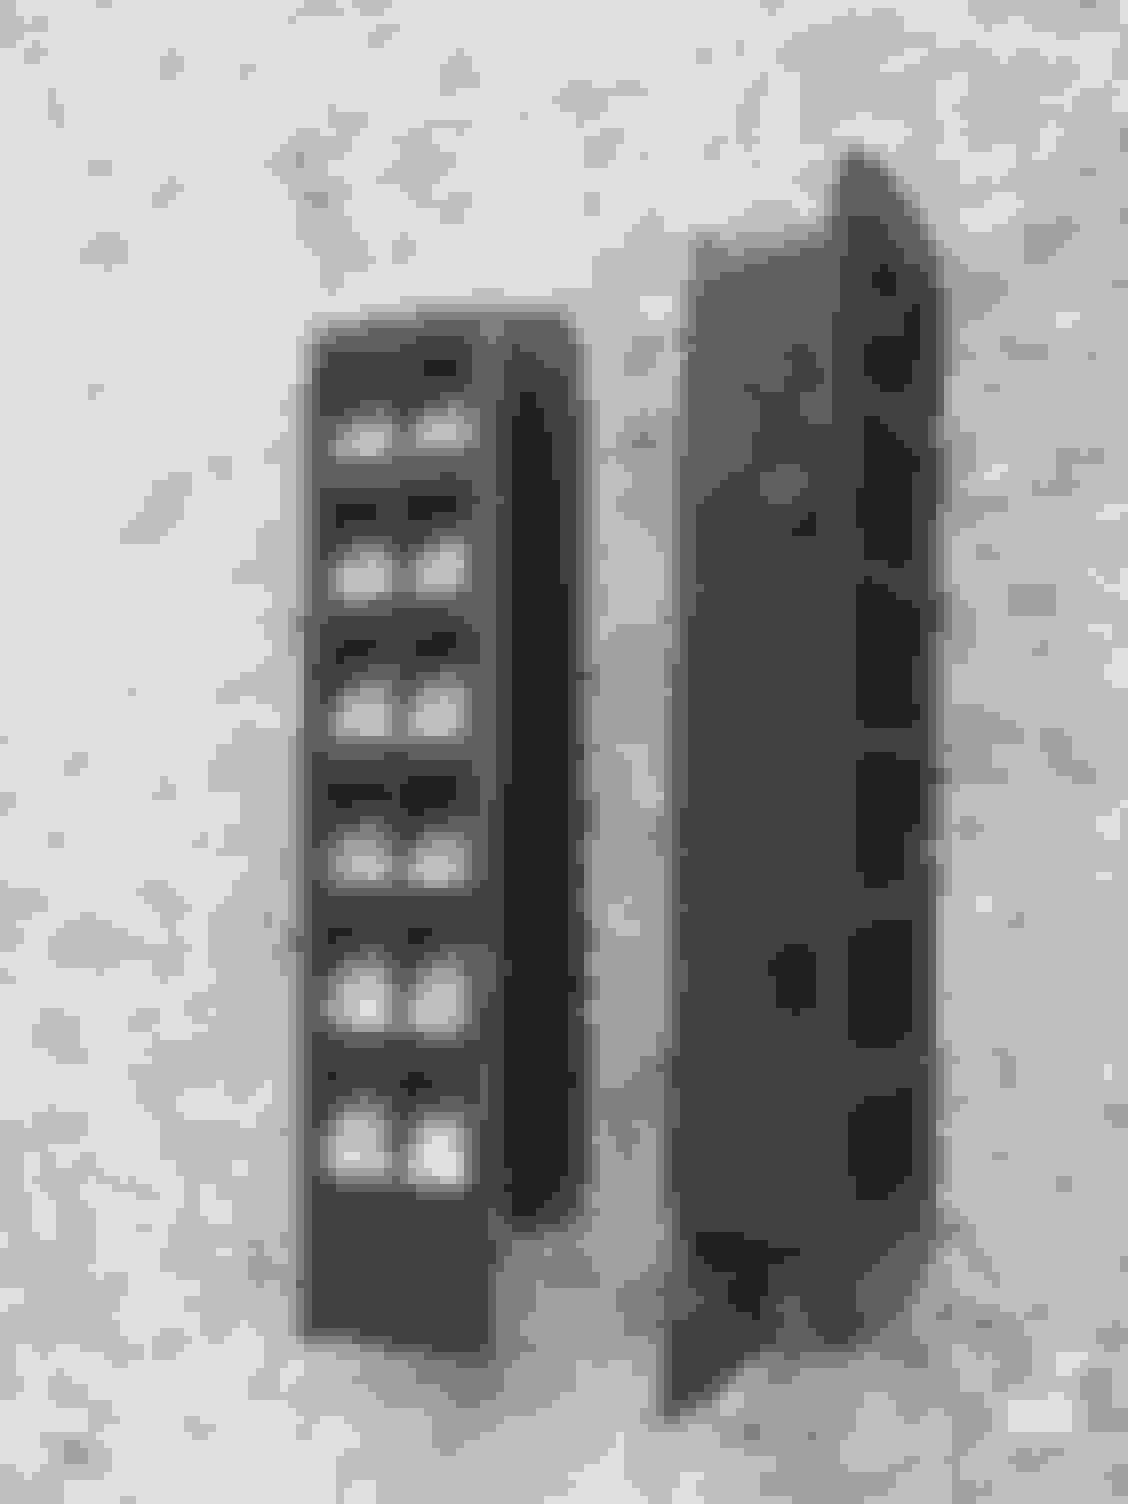
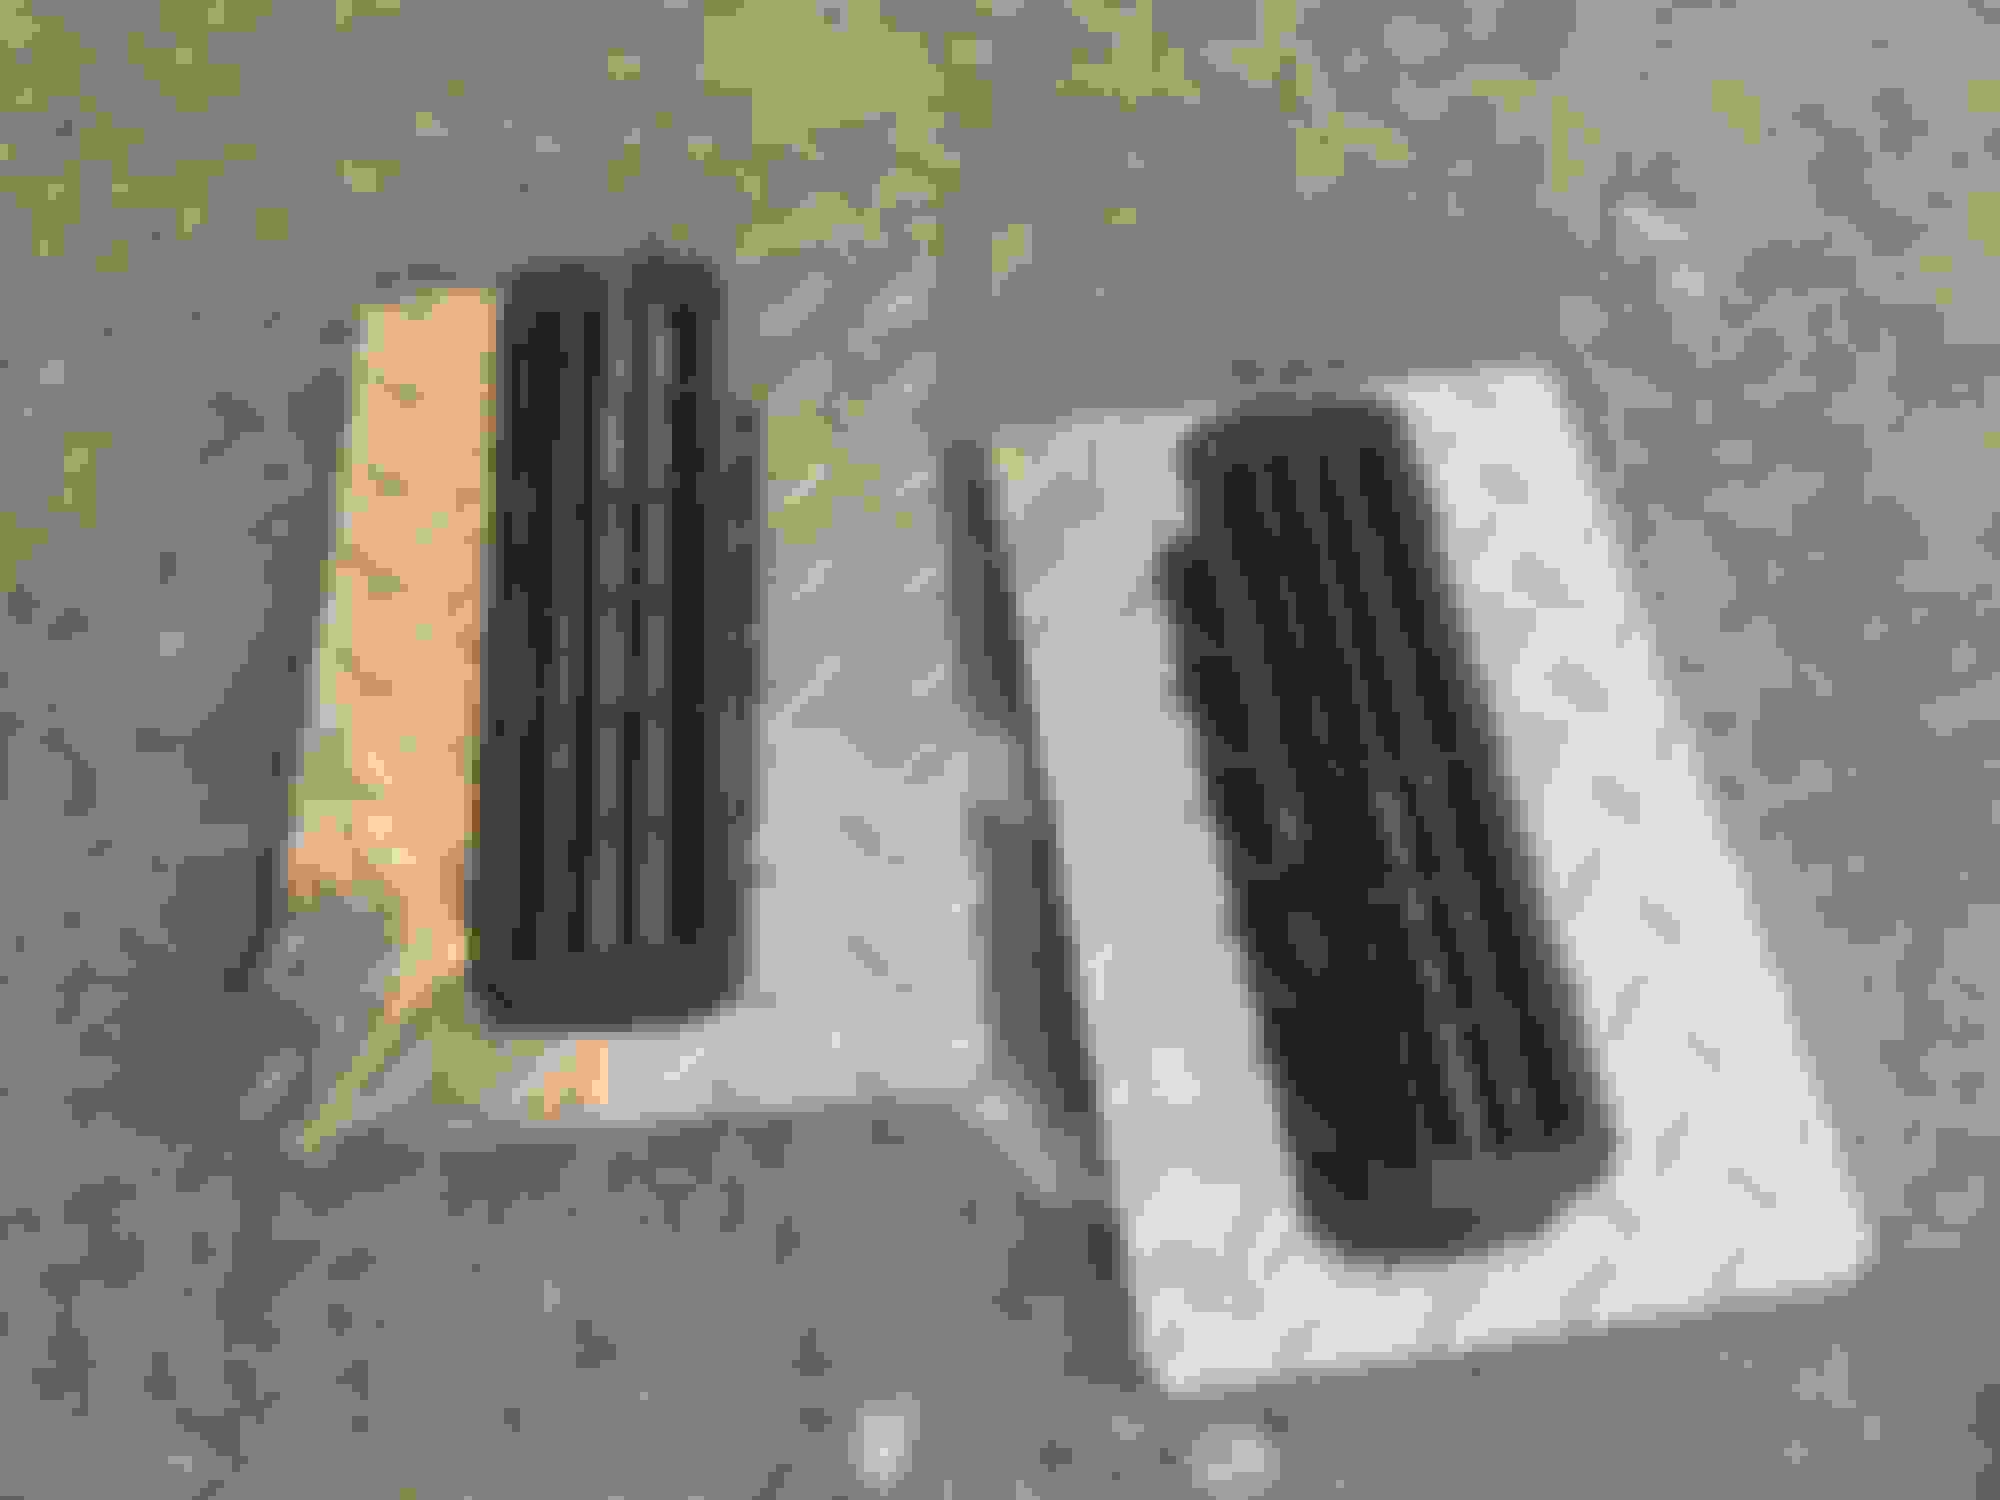
So, I headed to the junkyard and grabbed two cab vents off a Tundra for $10 and got to work.
basically one vent will face in and one will face out. This should be plenty of air passage to allow the cabin to depressurize and/or push and pull air as needed.
Grabbed a scrap piece of thin aluminum sheet, made some cuts, whacked off the parts of the vents I didn�t need, and siliconed them in. Bolted them in place where the factory speaker mounts go, and called it a day.
After I wrote the above I realized something. Having the interior vents may allow some road noise to make its way in, so tomorrow I�m going to remove the plates, fill the cavity with Polyfil, and put them back in. That way it will cancel any noise but still allow air to go through. I should have thought of that, but I was just in a hurry to finish up today.
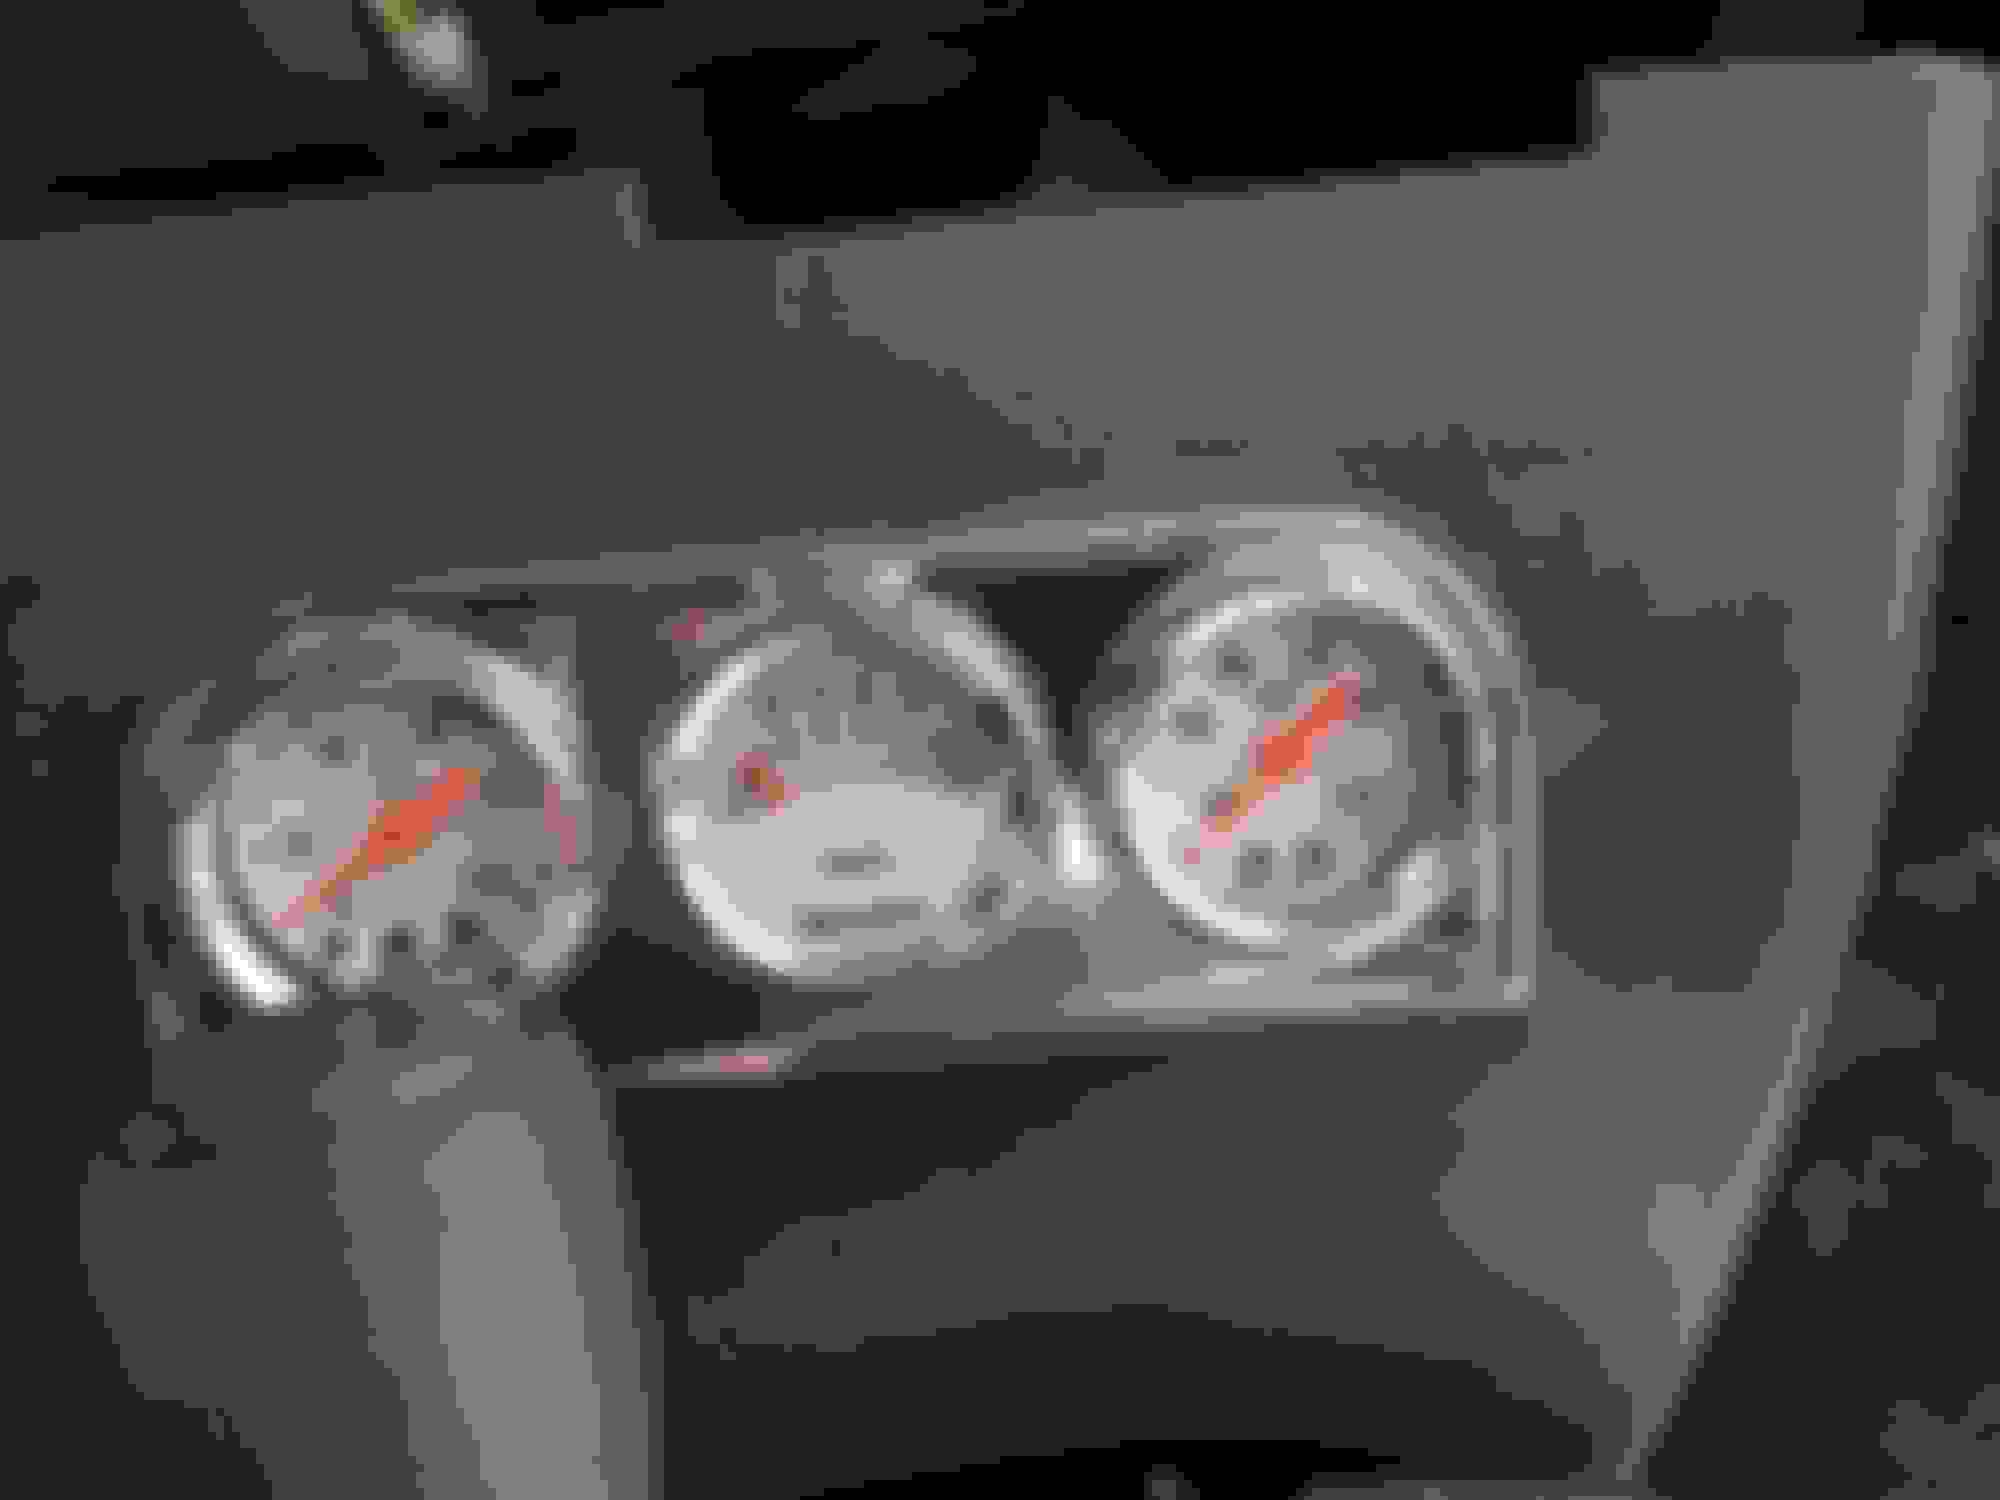
As I moved forward inside the cab, it was time to start taking out jumbled wiring left by the PO and get rid of the horrible gauge �pod� cut into the file panel below the radio console.
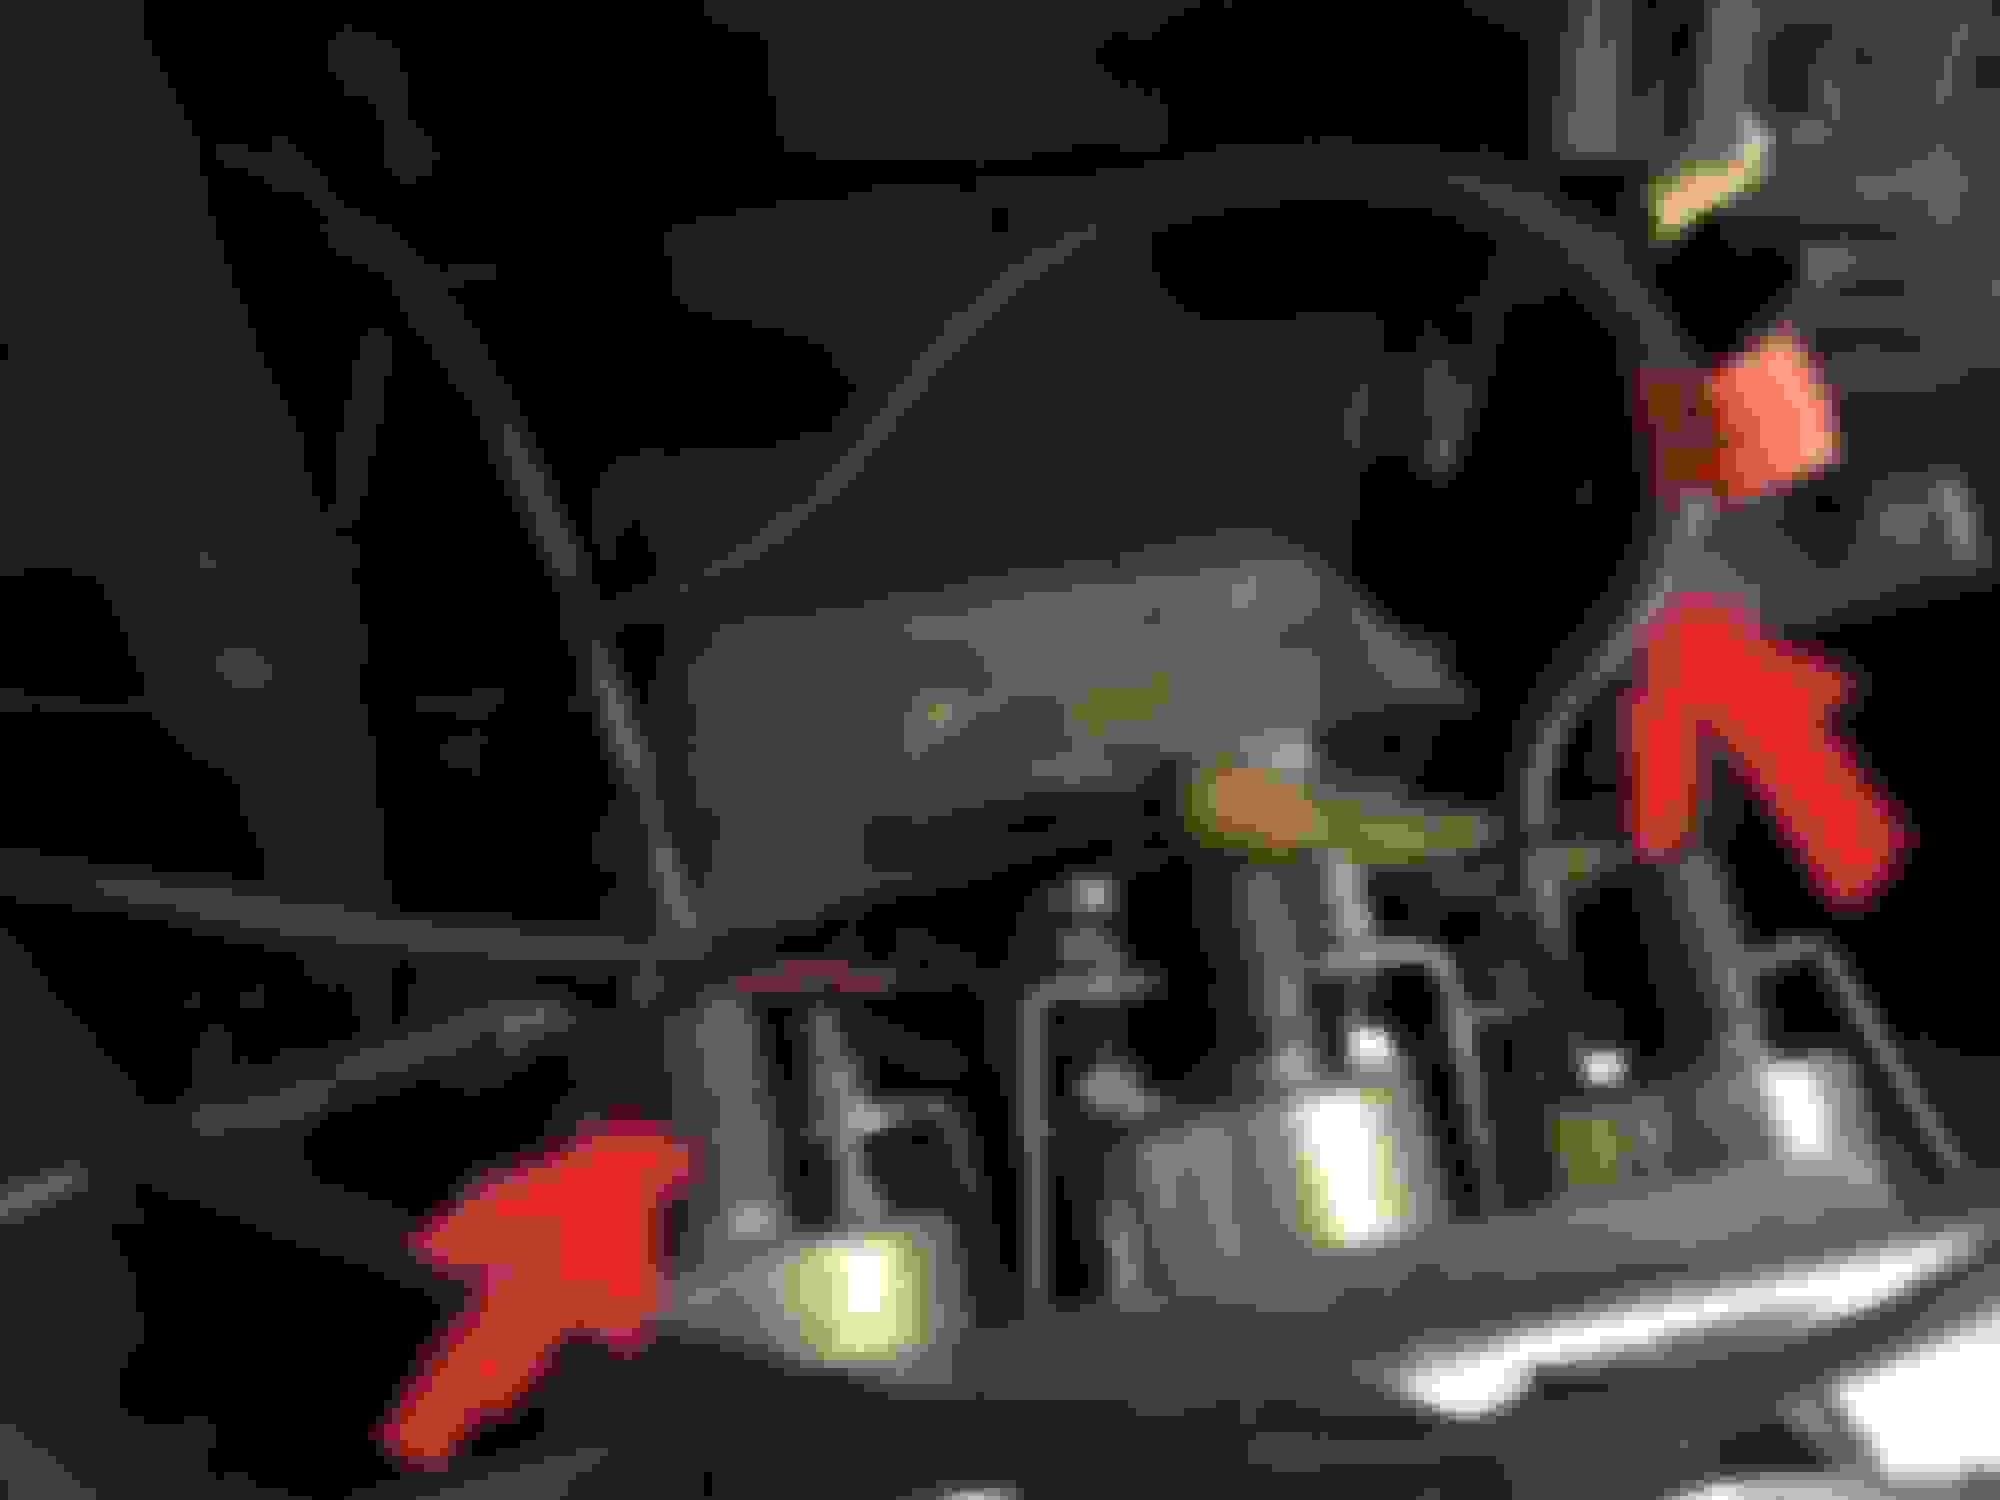
This ended up causing to me to follow clues I to the engine area and while rolling around under it, I have some questions for you guys..
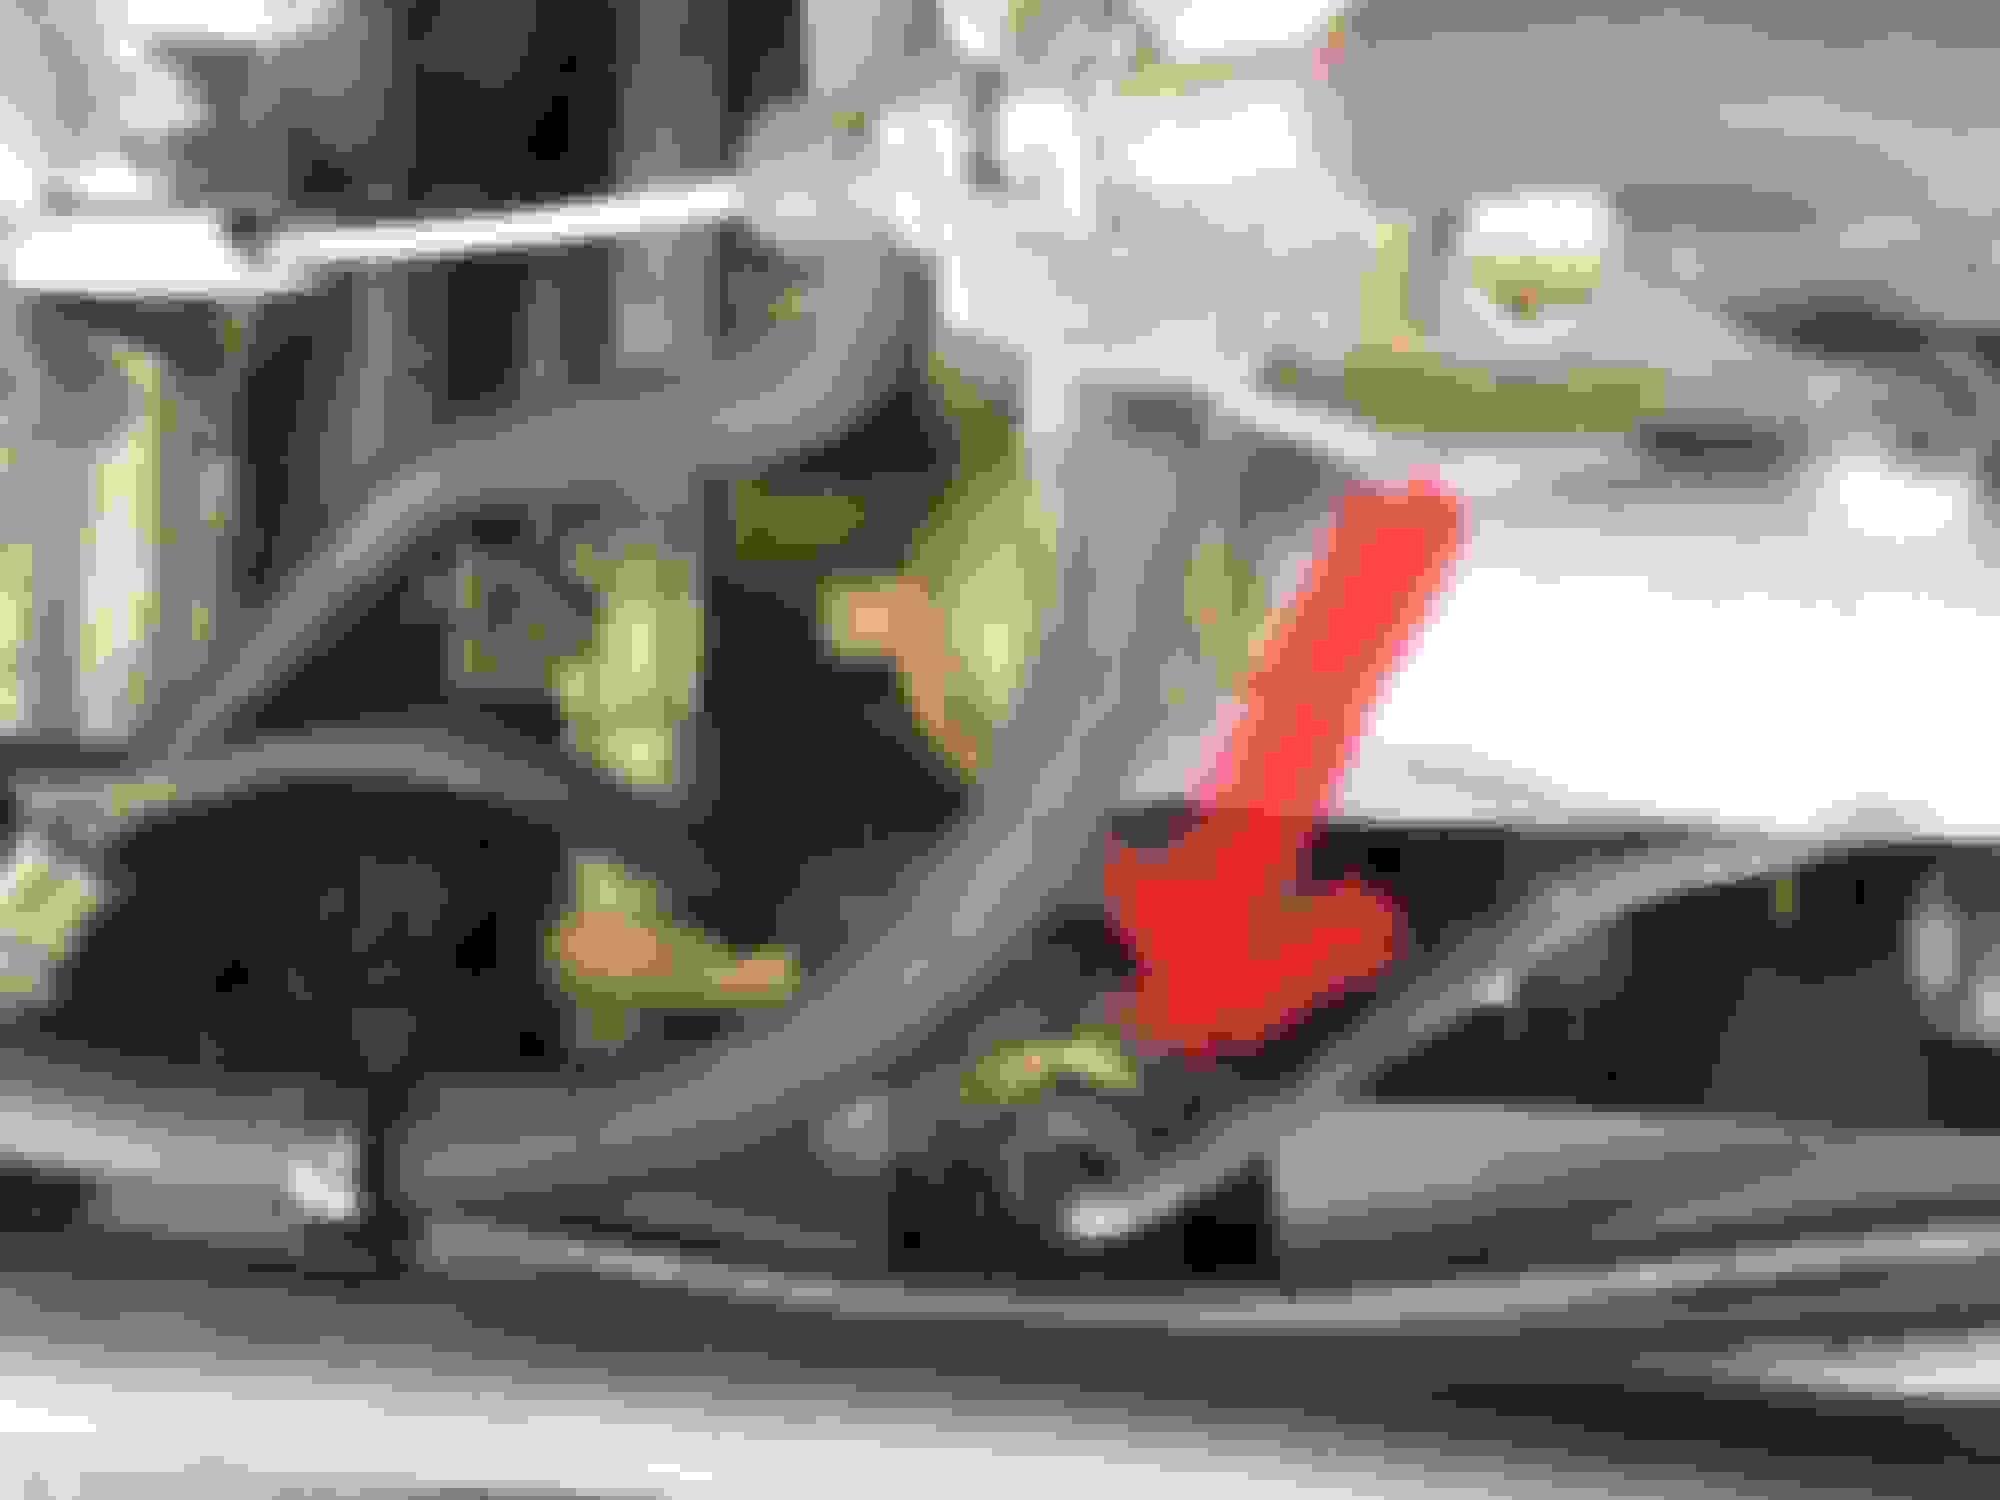
Is it safe to assume the connector with the question mark is the factory oil pressure harness? Any idea why some jackass would do this?
Also, temp gauge. I don�t see a factory temp gauge harness up here
?
What are these for?
Am I to assume that there is supposed to be some sort of skid plate from these small brackets up to the threaded holes in the frame?
This pigtail behind the radio area has three circuits.
The one with the broken wire and the red wire are for the lighter.
One of the bulbs (the longer one) goes in the ash tray.
where does the light on the shorter lead go? I�m not seeing anywhere for it to seat.
Last edited by 55reasons; Jun 16, 2018 at 05:32 PM.
Reason: Typo
This is the kind of project that keep our T100s runin' and runin'. Good job of work. Hope " the kid" will appreciates being uniquely special in the world of Tundra and Tacoma
This pigtail behind the radio area has three circuits.
The one with the broken wire and the red wire are for the lighter.
One of the bulbs (the longer one) goes in the ash tray.
where does the light on the shorter lead go? I�m not seeing anywhere for it to seat.
Well, every diagram, and three dealership parts reps have no idea where the light on the short lead goes.
It doesn't show up in any of the exploded parts diagrams.
Well, I found that I had to have the Clifford security system installed by an authorized shop or they would not warranty it.
Contacted my local shop and they ruined my month.
1. After numerous conversations about removing the original Toyota VIP security system harness, they, instead, just tapped into it to make their job easier, so now the old VIP harness is basically the backbone of the new system.
2. Upon inspection, I found ELECTRICAL TAPE on the wires. Not heat shrink and solder. Electrical tape.
3. The technician now claims the door lock actuators don't work strongly enough for the alarm to lock and unlock the doors. This is BS, because they worked just fine when I dropped it off.
So, I just wasted a ton of money paying someone to do something half-ass for the sole reason of having a receipt for a warranty.
But, now I'm going to basically have to re-install the whole thing, wire by wire to do it properly.
I'm pretty pissed off.
This is VERY common to see when someone (either DIY or "professional") installs an aftermarket security system or remote start, unfortunately.
This is exactly the reason I was silently cringing when you first brought up installing the security system. I would say over 90% of aftermarket security systems are installed the way the "shop" did it.
Many problems have been caused by crappy wiring and installation of these systems.
I have no doubt that you will make it right, given your high quality of work elsewhere on the truck!
Anyway, that light might be for the cigarette lighter ring. My brother's 1990 Toyota Corolla has a lighted ring around the cigarette lighter. Is there any place on the cigarette lighter assembly for the light bulb to fit?
nope the heater panel has it�s own bulb on a separate pigtail up high.
Question, does the green ring around your cigarette lighters �glow�? That�s the only thing I could image it reaching.
Glow? No I don't have a glow around the lighter...�..well there was that incident along time ago, but the fire department said "it coulda happened to any body , not that it ever has" .
But Seriously; The light is no doubt a part of the SR 5 Model trim package, so any sort of convenience item that may have been involved and then long since removed, maybe by the gage cluster installer.
But Seriously; The light is no doubt a part of the SR 5 Model trim package, so any sort of convenience item that may have been involved and then long since removed, maybe by the gage cluster installer.
Well, the strange thing is the length of the lead. It is only long enough to reach the lighter or something VERY CLOSE to it. Total length of the wire is less than 3".
So, I'm at a loss at what else it could go to.

 Jun 14, 2018 | 04:25 PM