
broke my timing chain guide, time to rebuild (pics)
 Apr 24, 2011 | 05:13 PM
#281


picture time
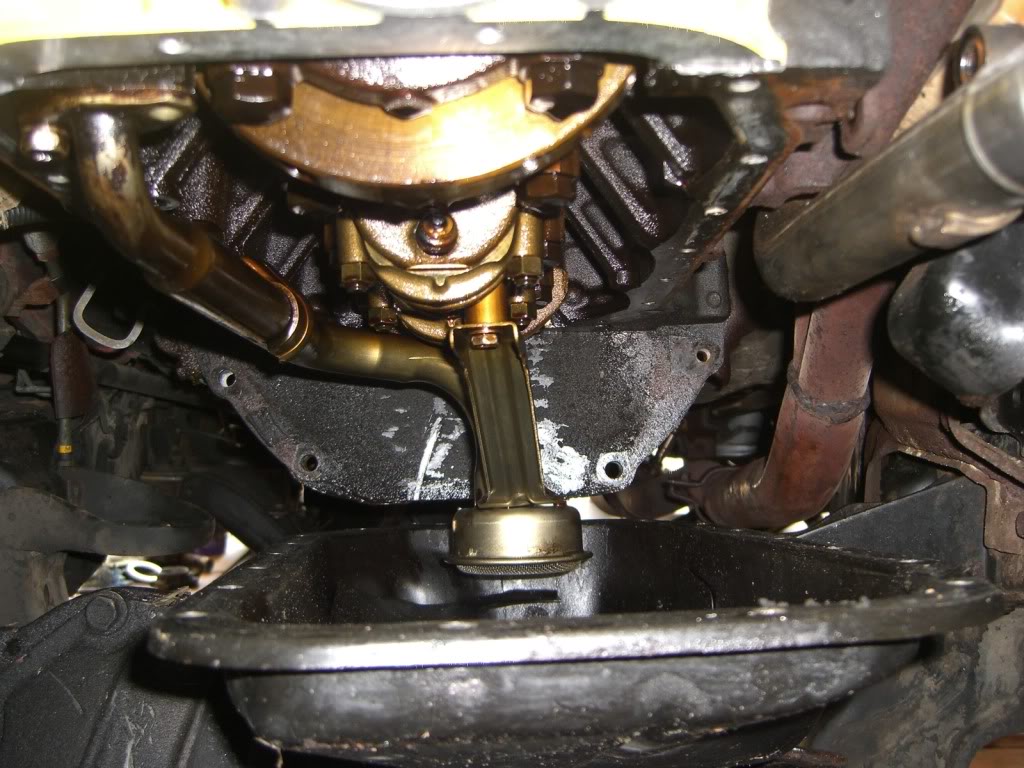
started the day off with this. the engine is still propped up and everything on the underside (diff and steering) is still disconnected
it was fairly easy to seal the oil pan this way. i sat in the engine bay to be able to reach it all
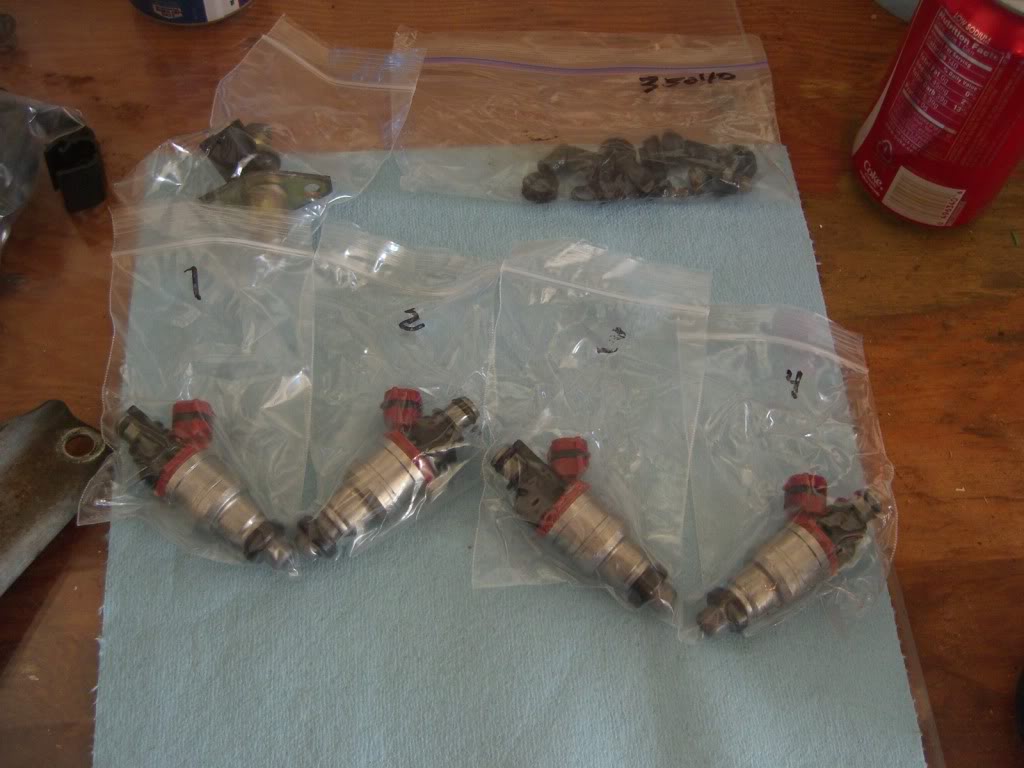
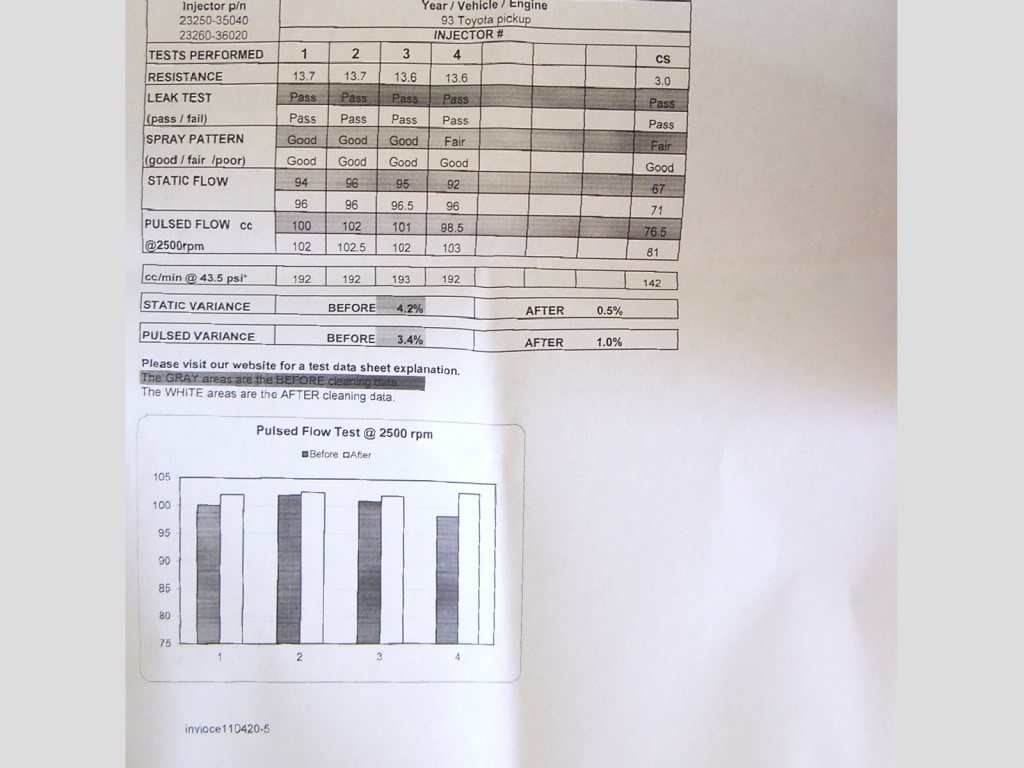
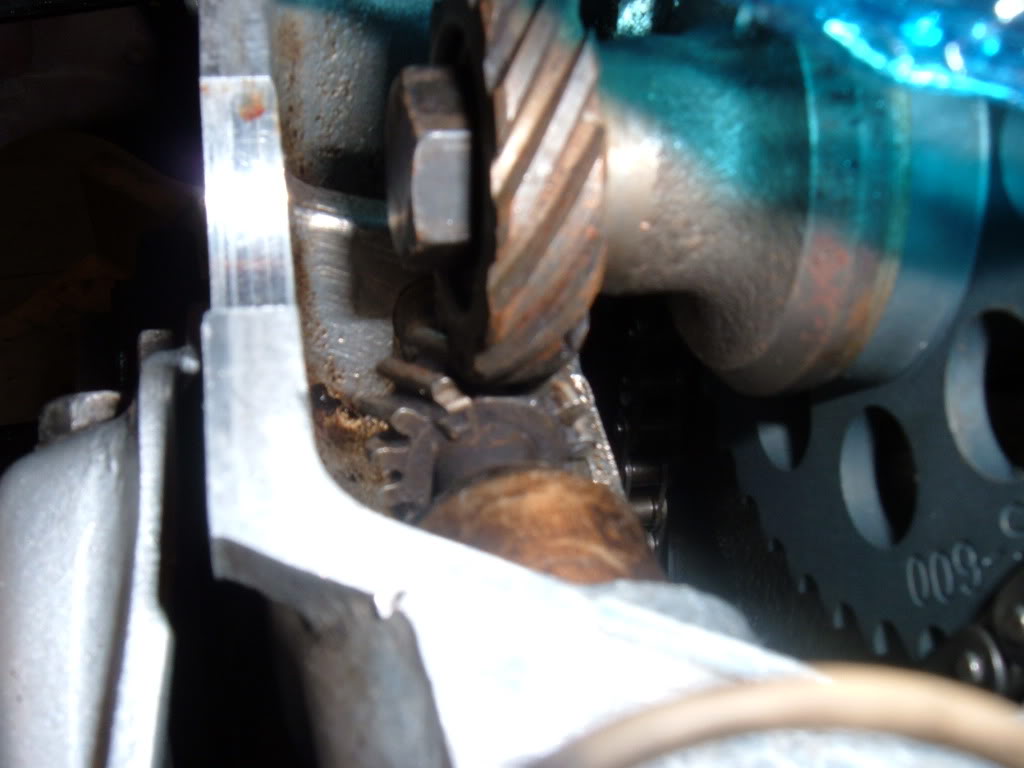
injectors came back yesterday
ooh... shiny

this is what i love: data. equalized injectors, for the win
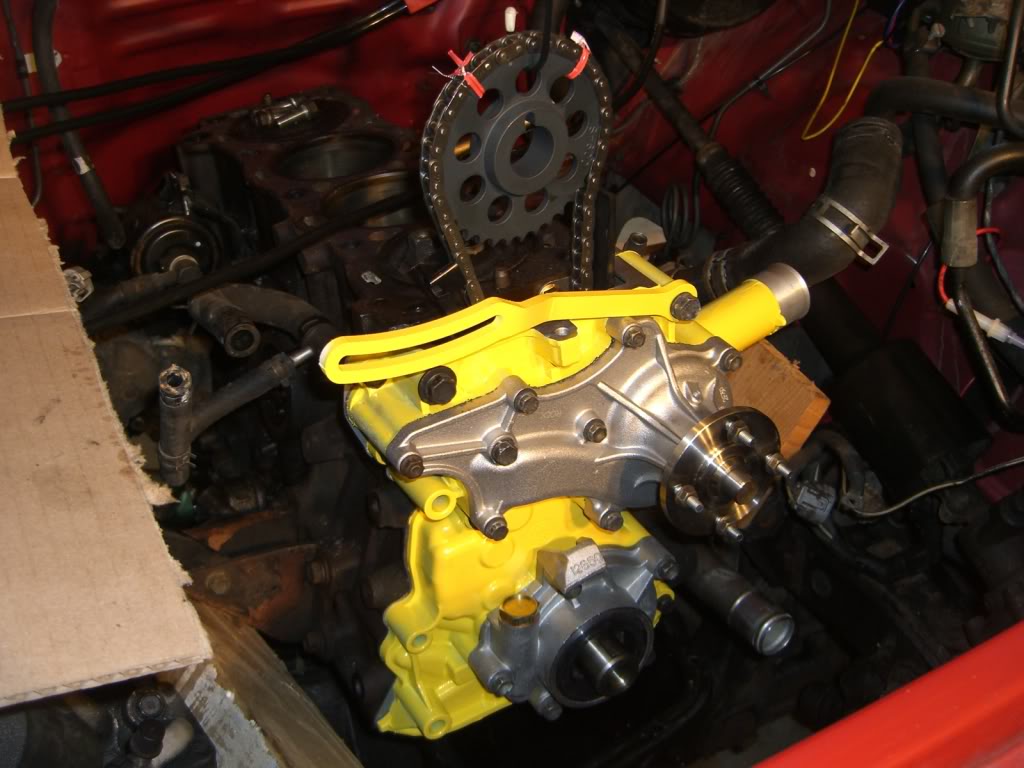
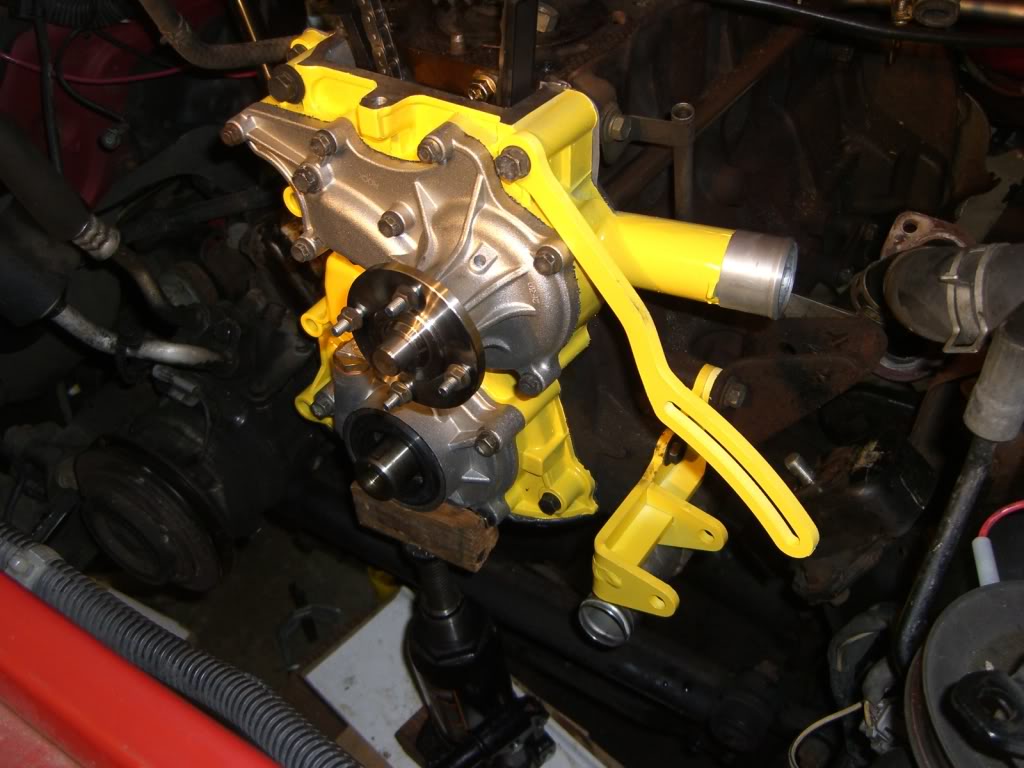
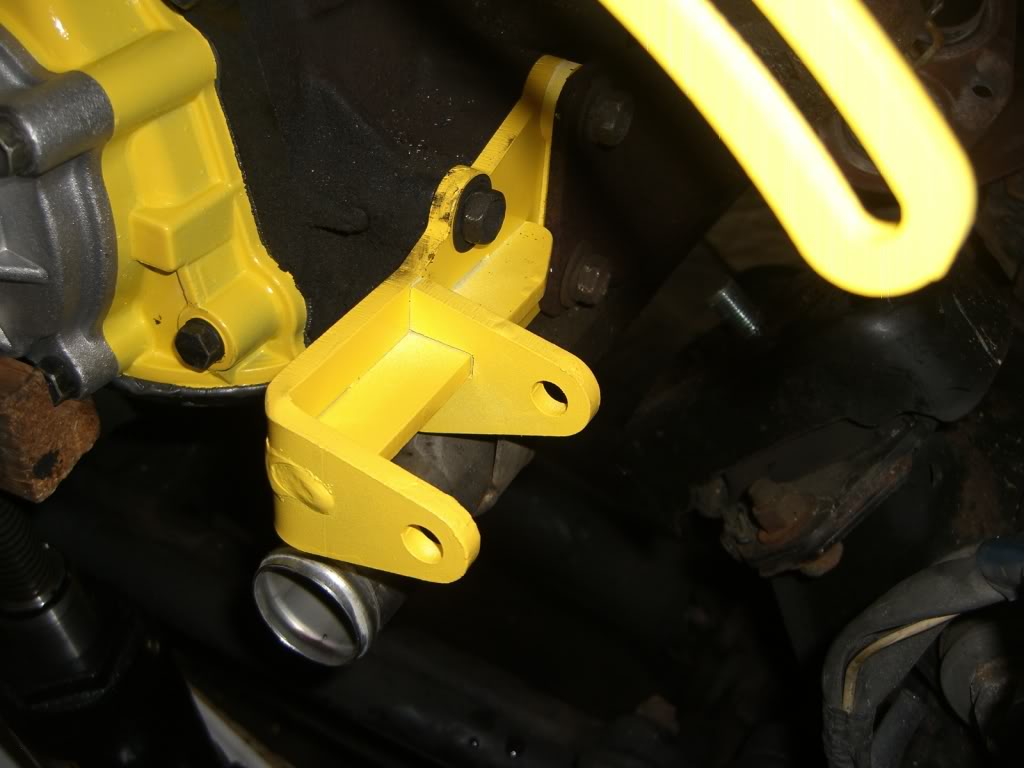
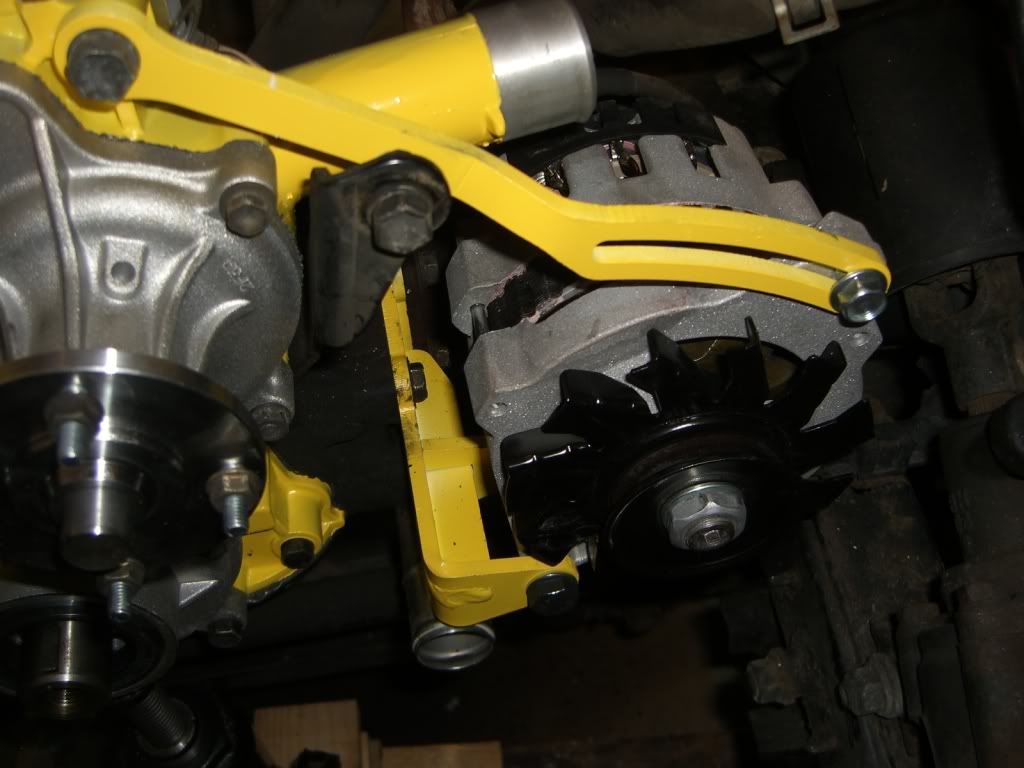
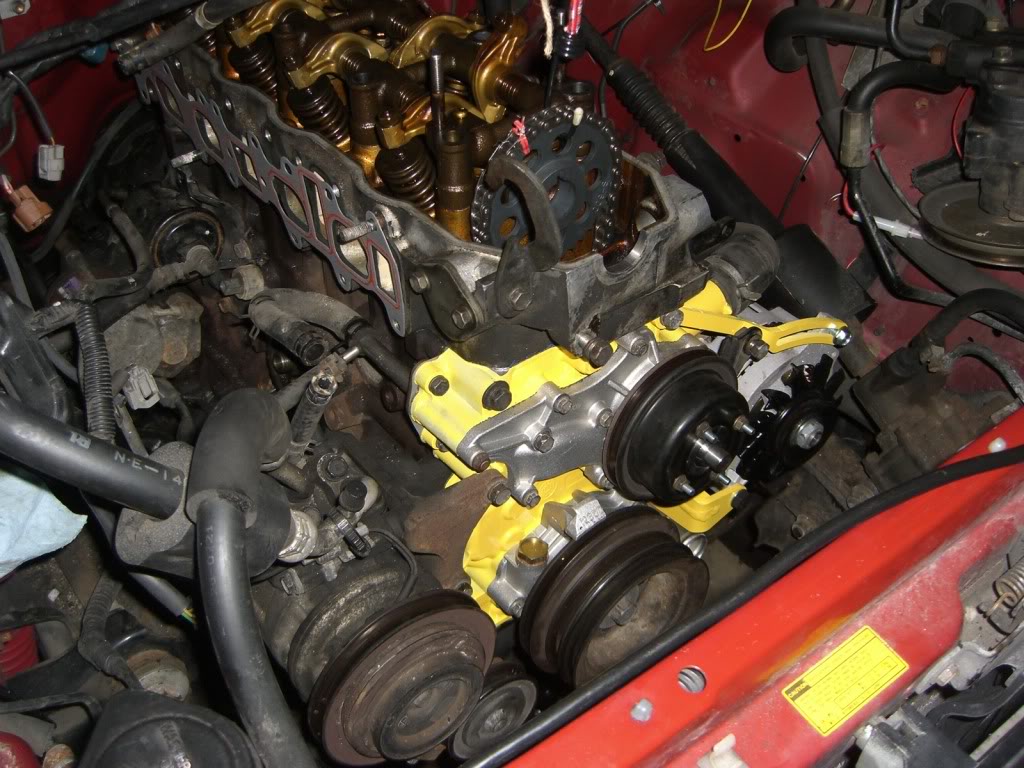
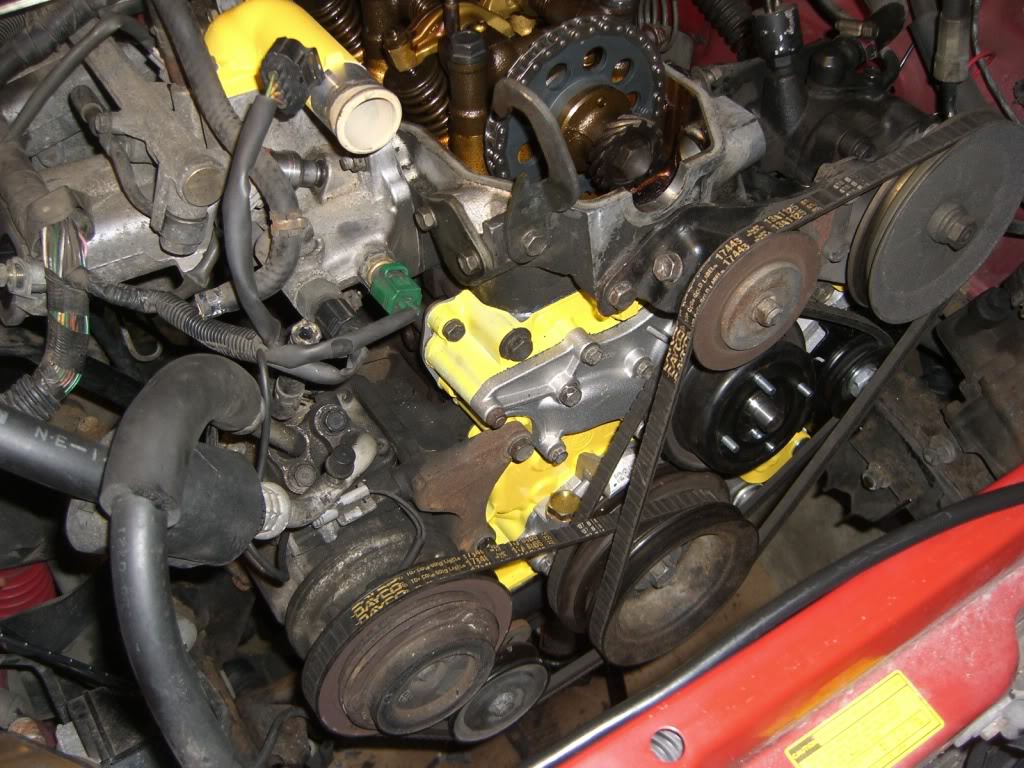
alternator bracket in. oh, and the engine is dropped. note: when trying to remove the engine, un-do the two smaller (14mm) bolts on each engine mount; not the big 17mm nut. much easier

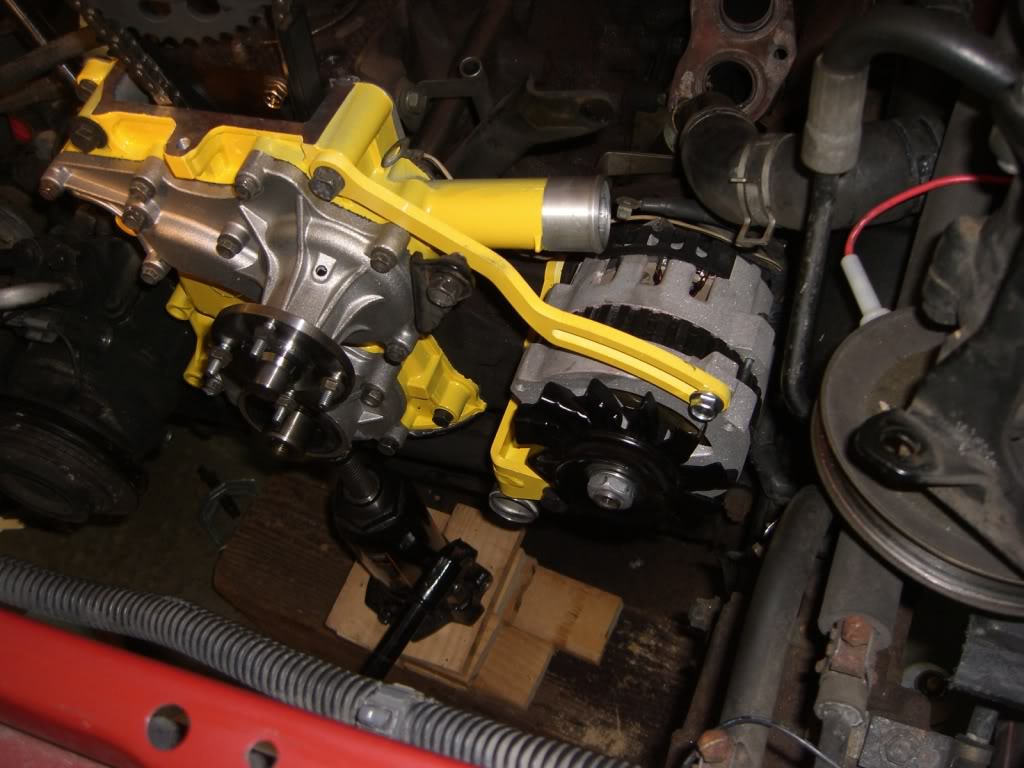
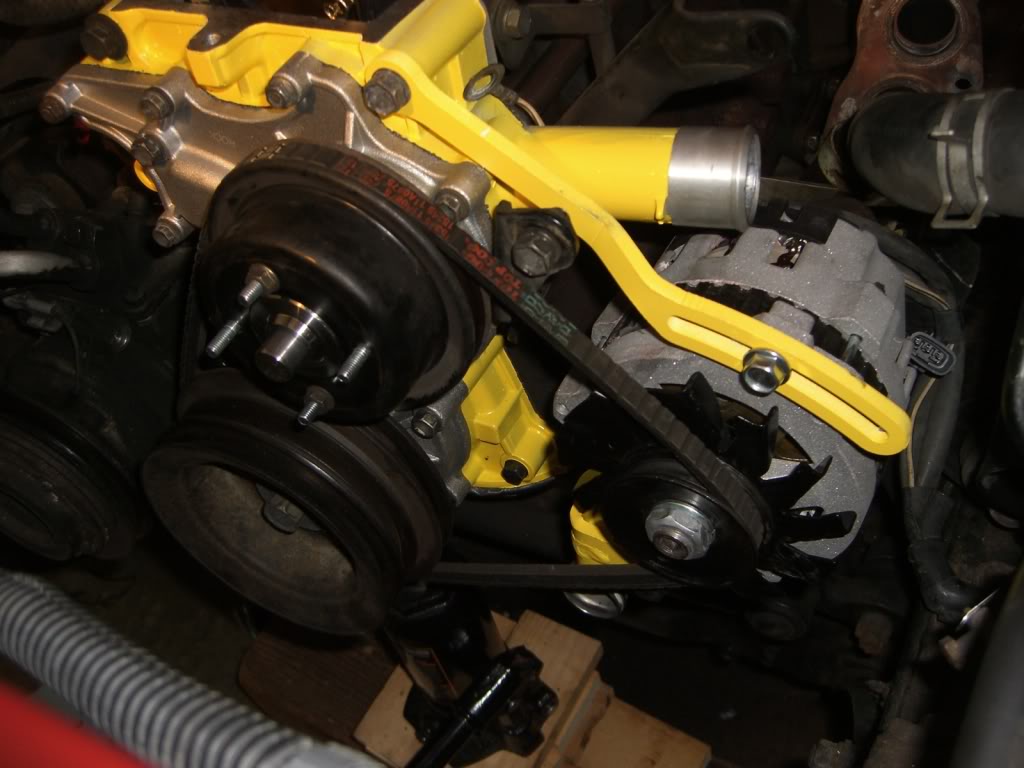
the belt fits nicely. plenty of room for adjustment

air conditioning on
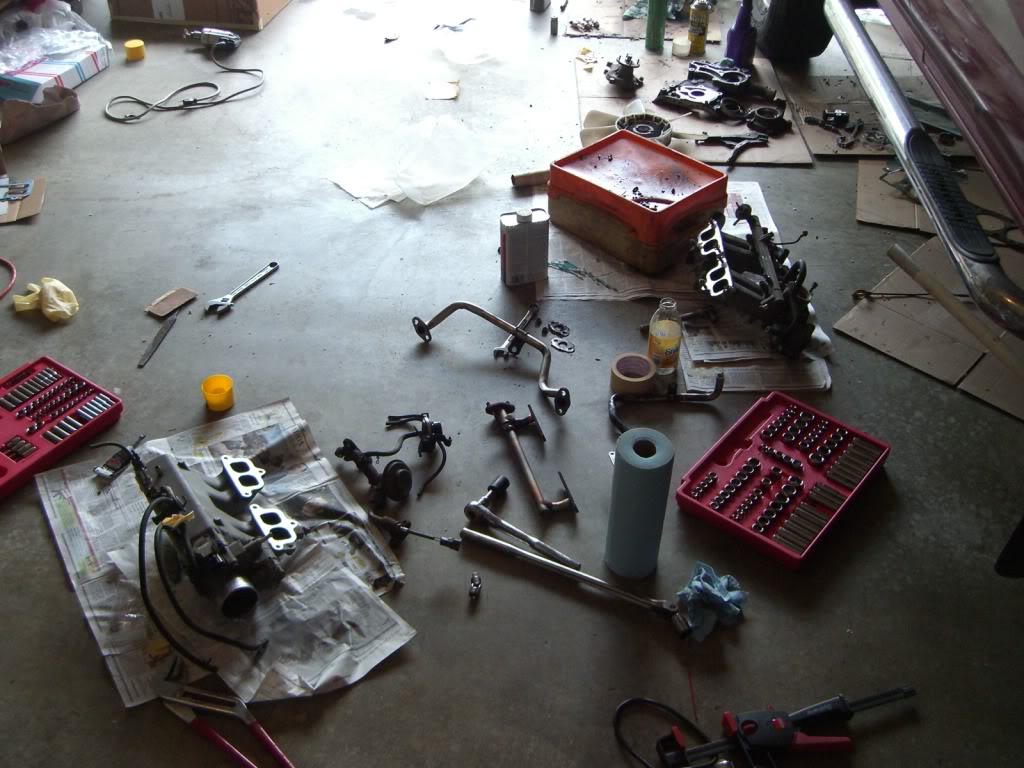
garage at the end of the day. messy, yes, but all so i'm ready to go for tomorrow and tuesday
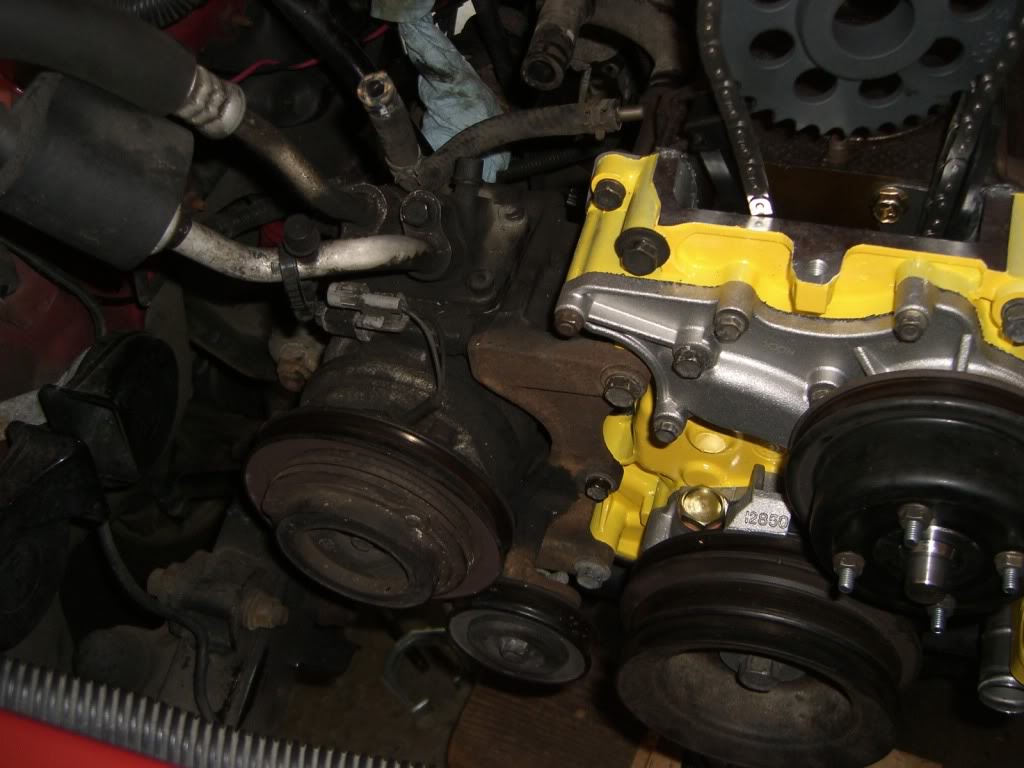
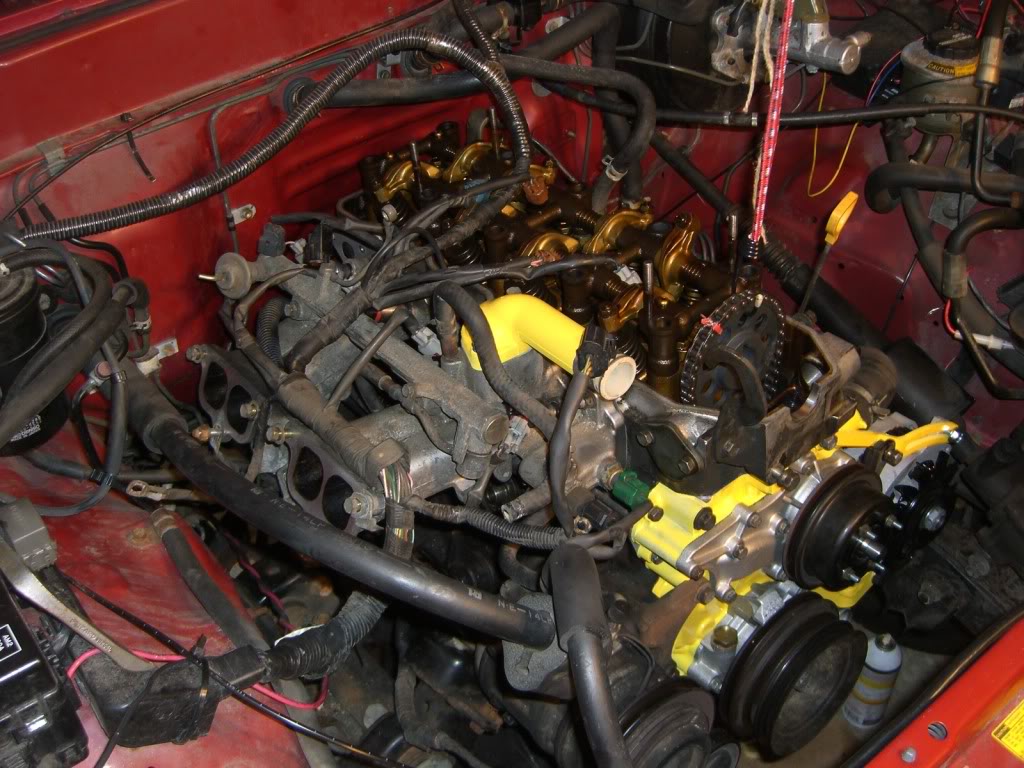
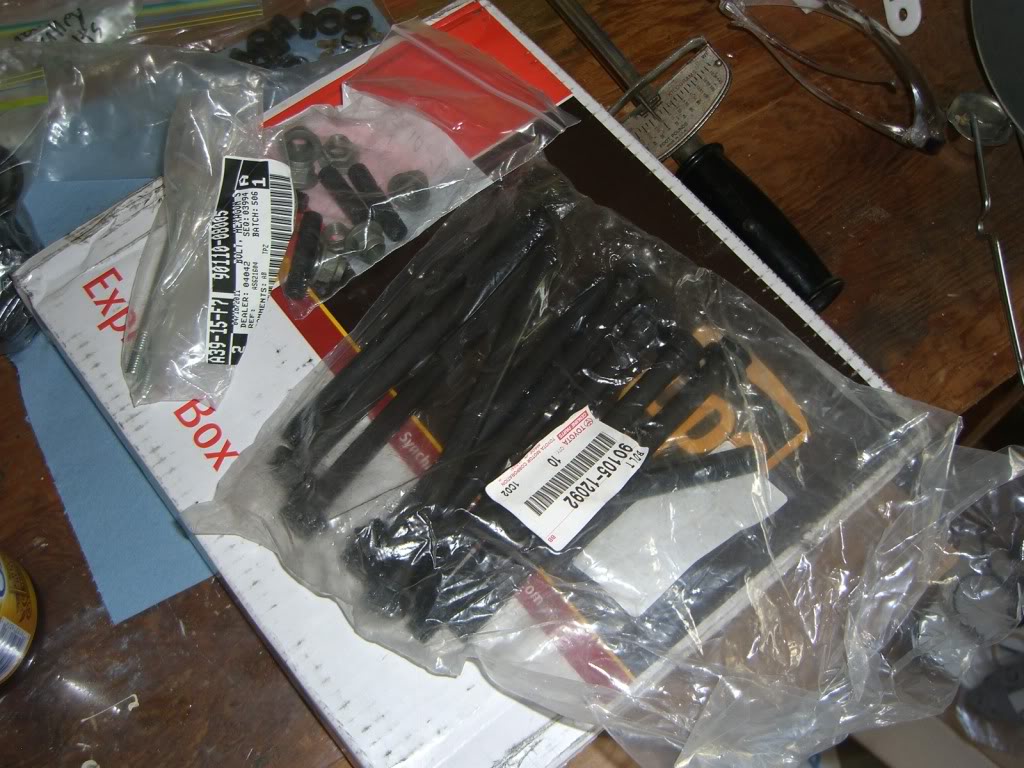
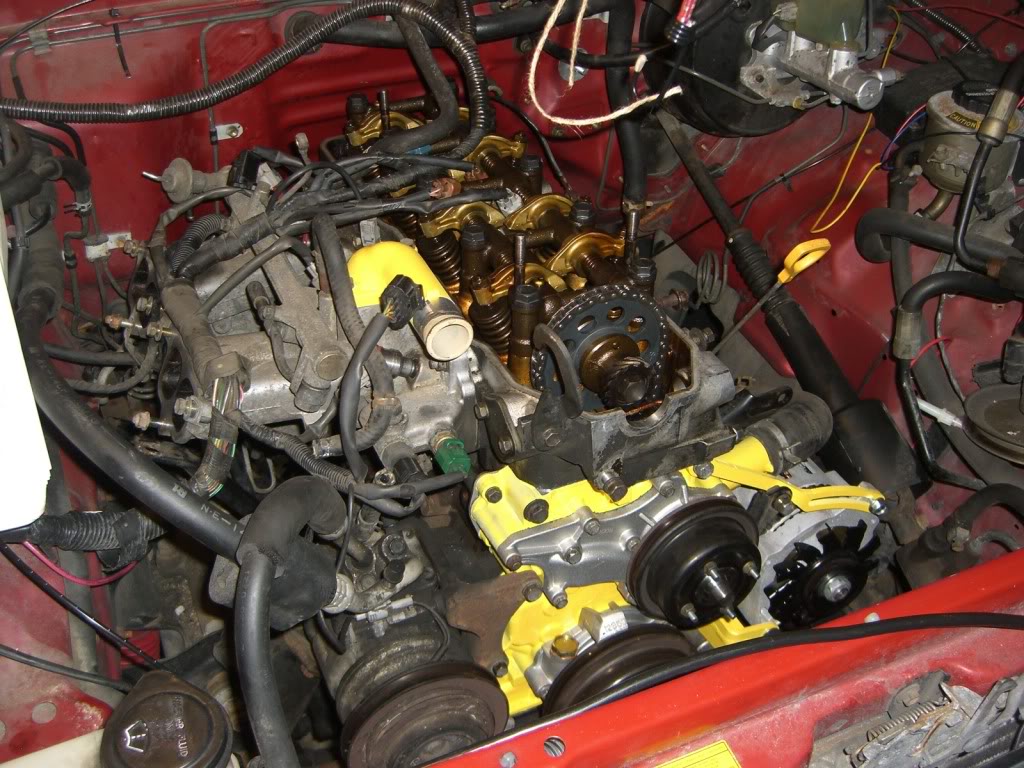
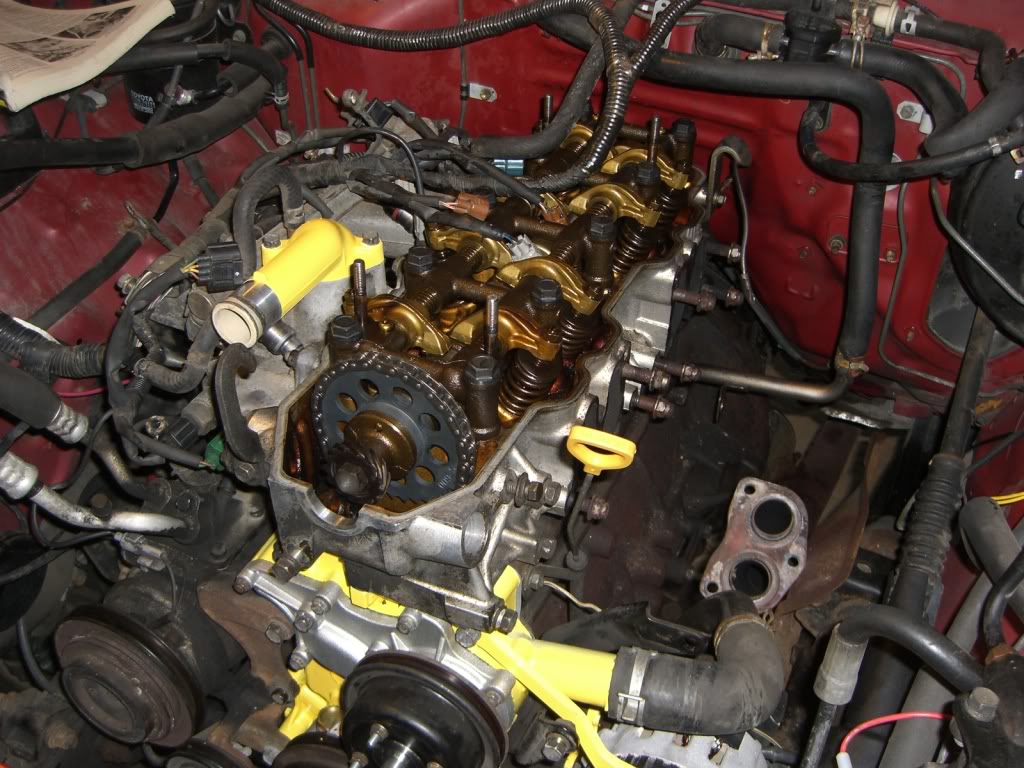
aaaand the engine as it sits now. no bolts in the head yet, it's just resting there. my bolts come in tomorrow, so i can finally get this back together
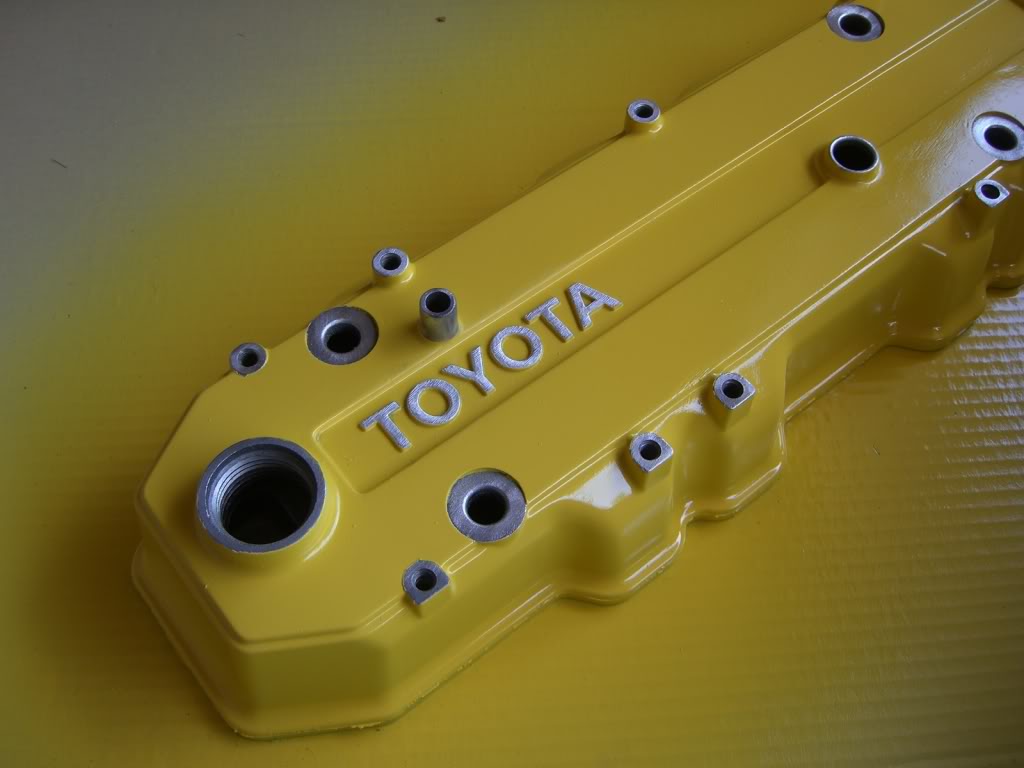
the yellow is starting to grow on me... no, literally. my hands had yellow paint all over them
lots more to come...
started the day off with this. the engine is still propped up and everything on the underside (diff and steering) is still disconnected
it was fairly easy to seal the oil pan this way. i sat in the engine bay to be able to reach it all
injectors came back yesterday
ooh... shiny
this is what i love: data. equalized injectors, for the win
alternator bracket in. oh, and the engine is dropped. note: when trying to remove the engine, un-do the two smaller (14mm) bolts on each engine mount; not the big 17mm nut. much easier
the belt fits nicely. plenty of room for adjustment
air conditioning on
garage at the end of the day. messy, yes, but all so i'm ready to go for tomorrow and tuesday
aaaand the engine as it sits now. no bolts in the head yet, it's just resting there. my bolts come in tomorrow, so i can finally get this back together
the yellow is starting to grow on me... no, literally. my hands had yellow paint all over them
lots more to come...
Apr 25, 2011 | 04:44 AM
#285
Registered User
Joined: Aug 2009
Posts: 13,574
Likes: 72
From: Wilkes-Barre, PA, USA
Looks good man. also had forgotten you had the GM alternator as well. I got to get me one of those. They are slightly more water resistant the the Toyota ones. But that means I need to pick up two alternators though as I always like to keep a backup.
Apr 25, 2011 | 04:58 AM
#286
for the alternator, all the connections are exactly the same (except the plug, but there's the adapter for that). if you already have a decent toyota alt, that can be your back-up, as it will bolt right in. and i think the bracket will work with it, too. the bottom mount is the same, and the top arm might work
Apr 25, 2011 | 11:45 AM
#288
Nice Work, Ian, .... keep on widat!
Hey, so, by lifting the engine, having Bj spacers, and dropping the diff, ...you were able to slap the pan in with the pick up tube already attached? Genious... Me likey! Please give me more details? I'm about to re-do mine soon, when I put in the new 3rds and locker.
Have a good'n, Ian, ...l8r
Hey, so, by lifting the engine, having Bj spacers, and dropping the diff, ...you were able to slap the pan in with the pick up tube already attached? Genious... Me likey! Please give me more details? I'm about to re-do mine soon, when I put in the new 3rds and locker.
Have a good'n, Ian, ...l8r
Apr 25, 2011 | 01:01 PM
#290
Nice Work, Ian, .... keep on widat!
Hey, so, by lifting the engine, having Bj spacers, and dropping the diff, ...you were able to slap the pan in with the pick up tube already attached? Genious... Me likey! Please give me more details? I'm about to re-do mine soon, when I put in the new 3rds and locker.
Have a good'n, Ian, ...l8r
Hey, so, by lifting the engine, having Bj spacers, and dropping the diff, ...you were able to slap the pan in with the pick up tube already attached? Genious... Me likey! Please give me more details? I'm about to re-do mine soon, when I put in the new 3rds and locker.
Have a good'n, Ian, ...l8r
ok, oil pan procedure, assuming timing cover is off and the front wheels are off the ground
1- raise the engine.
un-bolt the 2 bolts at the base of each motor mount (not the big one in the middle). jack the engine up using a bottle jack on stacks of wood. the jack fits nicely if you jack the engine by the main crank shaft. raise the engine until you can fit a 2x4 block of wood under the engine mounts. slowly let out the jack, and the engine should now be resting on the blocks of wood. remove the jack, you'll be sitting there
2- install the timing cover.
3- drop diff.
there are 3 bolt-nut combos: two vertical, near the ends of the "axle" (?), and one up front on the cross-member. the front one is easy, the back two are not. all are 17mm, and working over your head the whole time for the back two. they don't just come off freely once "broke" which is a huge pain. once all the bolts are loose, let the jack out. the diff will sit diagonally
4- remove the steering cross-brace.
put the key in and turn to "ign" so the wheels turn freely. the next bit is a bit tricky. remove the pass side tie-rod from the cross brace (requires a pitman arm puller or similar). then do the same for the cross-brace on the pass side. it's difficult to get the puller to fit, so try a few methods. i only did this, since it was all i needed
5- prep the gasket surfaces.
both the ban and block/timing cover. razor blade and acetone for the block, steel wire wheel for the pan.
6- move the pan in from the rear.
it won't fit from the front. maneuver it in carefully and rest it under the block. now sit up in the engine bay, with your rtv in-hand
7- apply ultra black.
...and a lot of it. start from the back of the pan, so you don't get it all over you. try to go down the "grooves" on the lip, and on the inside of bolt holes
8- raise the pan into place.
have the stud nuts ready. slowly move the pan to the block, guiding it onto the two studs. once it's pressed up, put the nuts on to hold it while you get the rest of the bolts. don't worry if there's rtv in the way of the holes. it'll displace as you screw the bolt in
9- re-assemble 1,3, &4.
and wash the rtv out of your hair. that's it!
10- this is step ten.
it felt odd having 9 steps
if you want, i can make a video later, but that's about it
Apr 25, 2011 | 06:20 PM
#291
worked a little too fast today. i need to take the pair valve off 
i did get a bunch done, although not too many pictures taken. here's the evidence:
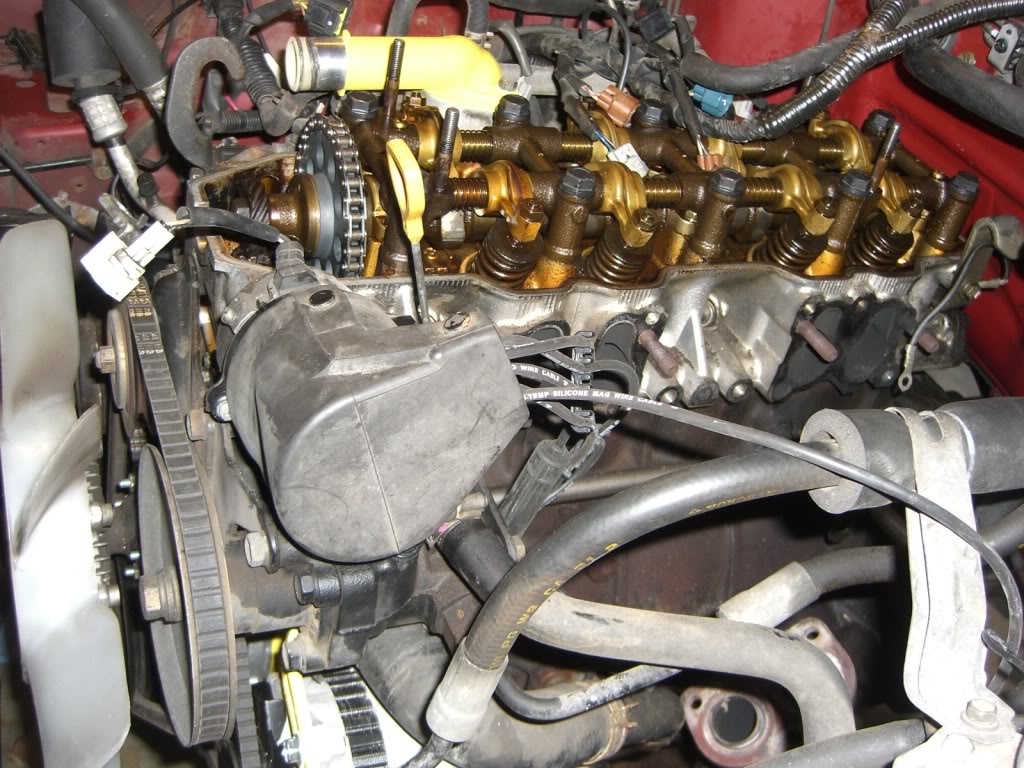
lower intake on
finally
everything torqued down
p/s pump on, and all belts

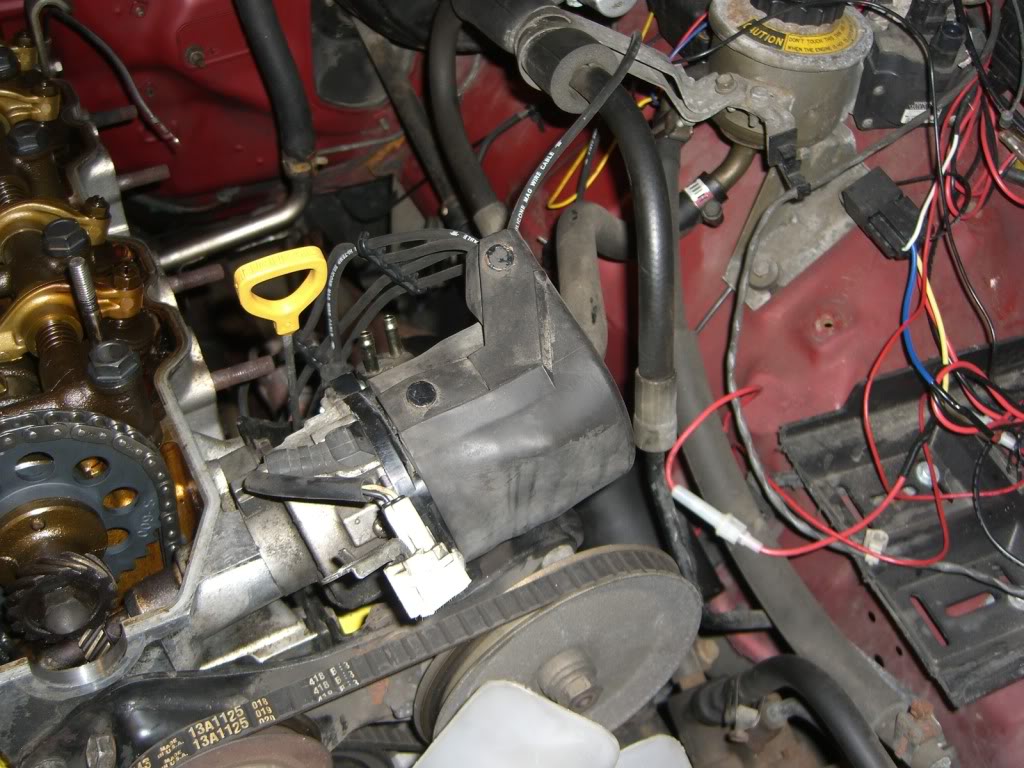
dizzy on
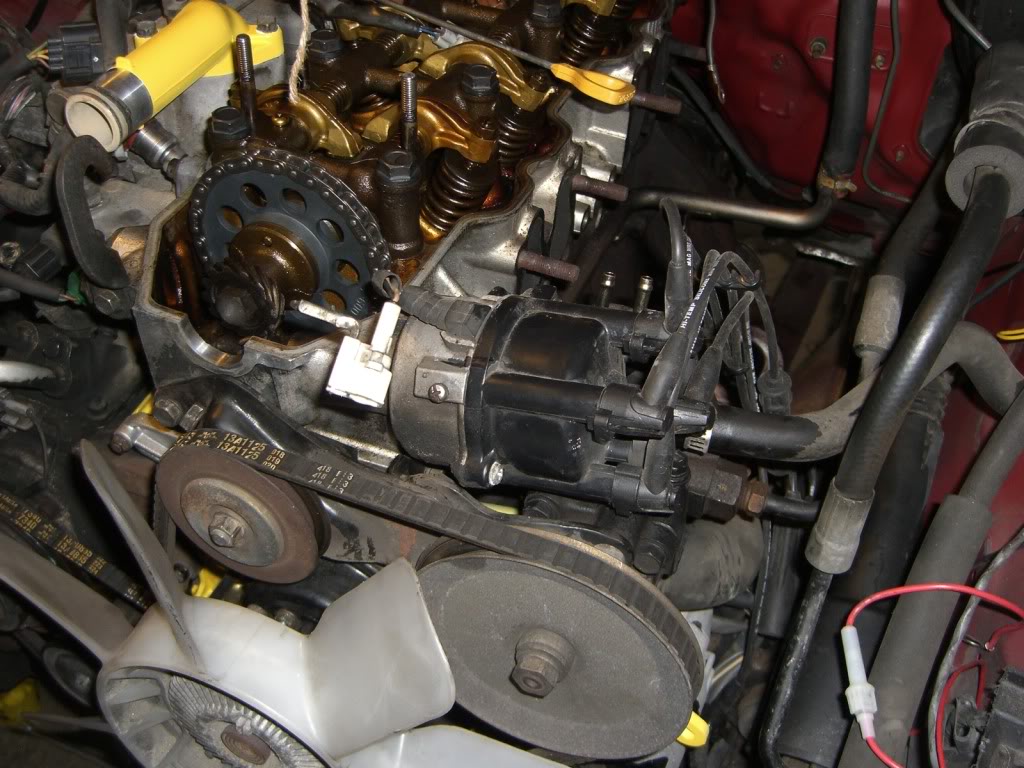

probably need to adjust that
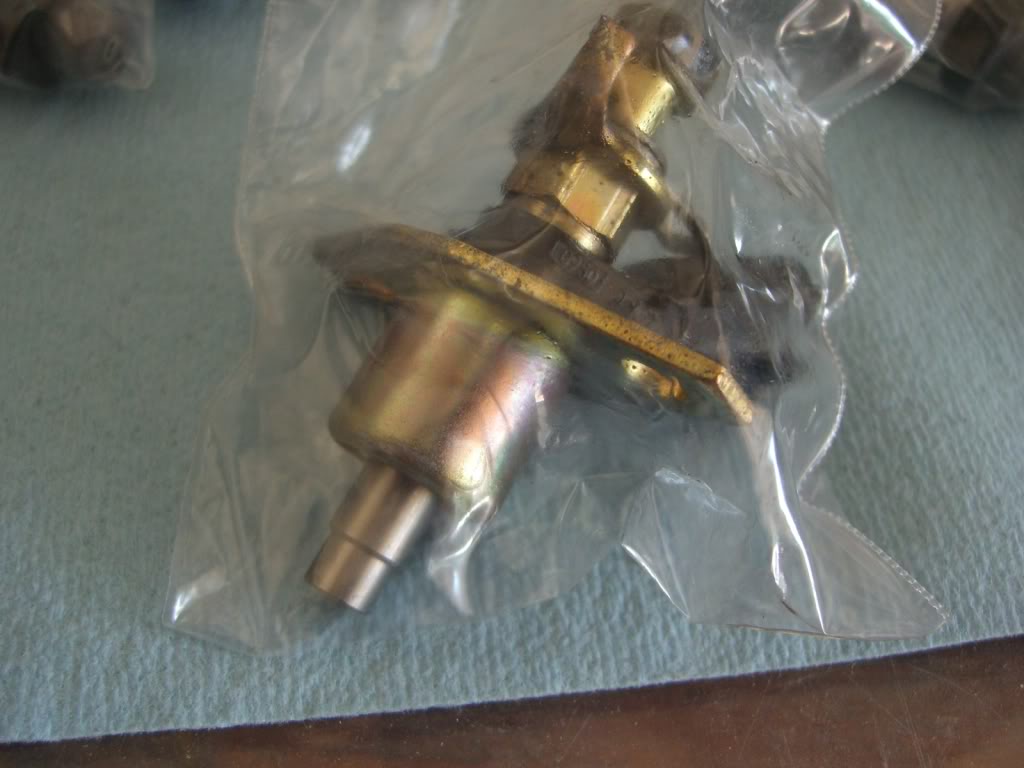
and one of my junkyard-raid finds
that's it. i'm glad i have all the parts now, so i can finally finish up soon. tomorrow i'll be taking my time, but still getting a bunch done
i did get a bunch done, although not too many pictures taken. here's the evidence:
lower intake on
finally
everything torqued down
p/s pump on, and all belts
dizzy on
probably need to adjust that
and one of my junkyard-raid finds
that's it. i'm glad i have all the parts now, so i can finally finish up soon. tomorrow i'll be taking my time, but still getting a bunch done
Apr 25, 2011 | 07:22 PM
#292
Registered User
Joined: Aug 2010
Posts: 73
Likes: 0
From: Willamette Valley, Oregon.
Oh man I'm so excited for you really looks good. Ive been wondering why I wasn't getting many responses on my thread lol everybody is watching you. I can't wait to see how it runs VERY exciting stuff!
Almost done keep it up
Almost done keep it up
Apr 25, 2011 | 08:39 PM
#293
Right on, Ian! I have one of those boots, .....just doesn't fit over my 8.5MM wires, lol... Oh well, I will find a use for it on another rig, or, ......HECK, maybe this one if I keep having issues! lol.
Just checkin in... l8r's
Just checkin in... l8r's
 Apr 26, 2011 | 07:33 AM
#296
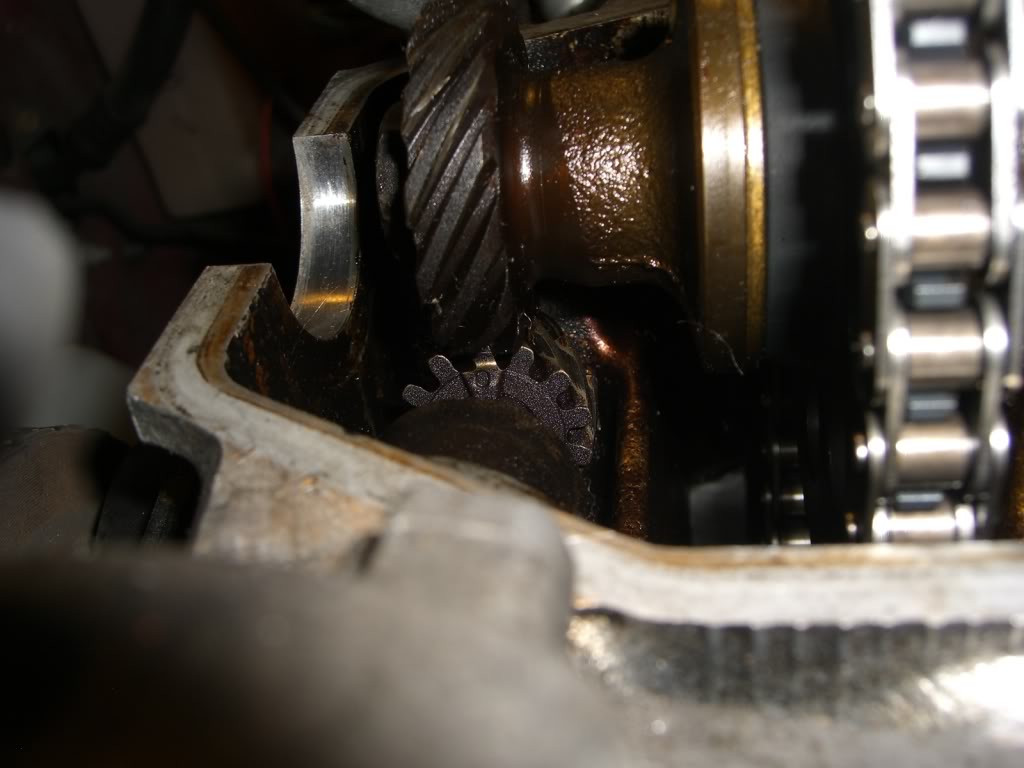
just checked... you set the rotor to tdc, and it rotates 45 degrees ccw. the mark on the gear indicates tdc for the dizzy, not where it's supposed to me lined up on the drive gear (like i thought). thanks for catching that
http://personal.utulsa.edu/~nathan-b.../5distribu.pdf
http://personal.utulsa.edu/~nathan-b.../5distribu.pdf
Apr 26, 2011 | 08:35 AM
#298
in any case, you were right.
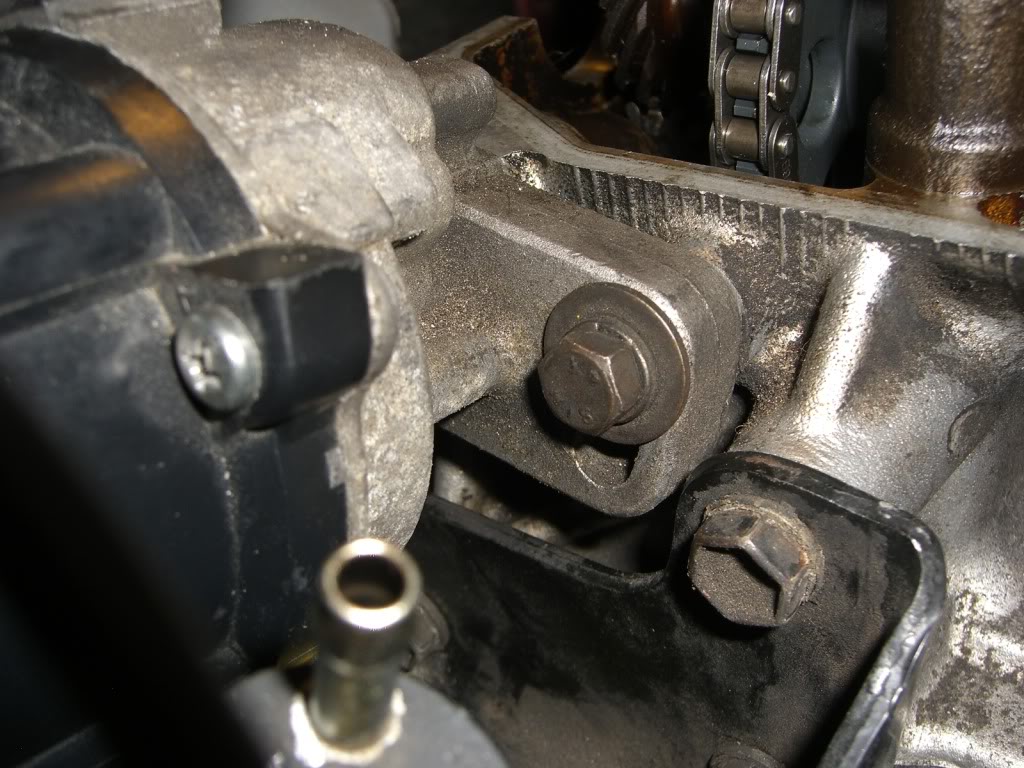
in later news: i forgot to put the water and egr pipes on the back of the head before bolting it down, and it's created a bit of a setback. i got it figured out now, but it's just one more thing. i still should be able to fire it up tonight or tomorrow
in later news: i forgot to put the water and egr pipes on the back of the head before bolting it down, and it's created a bit of a setback. i got it figured out now, but it's just one more thing. i still should be able to fire it up tonight or tomorrow
Apr 26, 2011 | 09:22 AM
#300
all right. those pipes are on. now i can move forward.
exhaust > upper intake > valve cover > emissions crap > radiator/shroud > intake/battery > fluids > fire it up!
exhaust > upper intake > valve cover > emissions crap > radiator/shroud > intake/battery > fluids > fire it up!
Last edited by irab88; Apr 26, 2011 at 01:30 PM.


