
broke my timing chain guide, time to rebuild (pics)
 Apr 21, 2011 | 06:15 AM
#241
Registered User
Joined: Aug 2009
Posts: 13,574
Likes: 72
From: Wilkes-Barre, PA, USA
 Apr 21, 2011 | 06:18 AM
#242
Registered User
Joined: Aug 2010
Posts: 73
Likes: 0
From: Willamette Valley, Oregon.
WOW took me the better part of an hour to read/skim through this thread and I must say what a great thread it is.
So as of right now I have a 1992 single cab PU with a 22re. I am almost positive it has a internal head gasket leak that is allowing exhaust to enter the cooling system. The symptoms are poor running, over heating, small sea of bubbles in the radiator, white smoke coming out of tailpipe, and exhaust coming out the radiator with cap off.
The goal this weekend is to do the exact same tear down as you did minus the AC and power steering pump (my rig has neither). I will be following your post closely to see how your rebuild goes.
You inspired me to make a similar thread with lots of reference pics and vids because I can instantly see the HUGE benefit to them. Maybe you guys can check it out and help me out through my adventure. Seeing the success you have been having with your tear down give me some WELL NEEDED confidence on my task because this is going to be my first rebuild ever and I'm about to S my pants.
Keep up the good work I wish you the best of luck bud =)
Apr 21, 2011 | 06:22 AM
#243
Registered User
Joined: Aug 2009
Posts: 13,574
Likes: 72
From: Wilkes-Barre, PA, USA
try this one as well. https://www.yotatech.com/forums/f116...cement-212688/
Apr 21, 2011 | 06:33 AM
#244
YotaTech Milestone-Two Millionth Post
Joined: Jan 2009
Posts: 12,009
Likes: 122
From: Northeast Pennsylvania
try this one as well. https://www.yotatech.com/forums/f116...cement-212688/
I hear that's a good one
 Apr 21, 2011 | 07:27 AM
#245


don't hurt yourself patting your back
thanks, m.s. boss. with mine, i have a late 22r-ec. that makes all the difference. with possibly the exception of the 22r-et, i think mine is the most complicated 22r engine
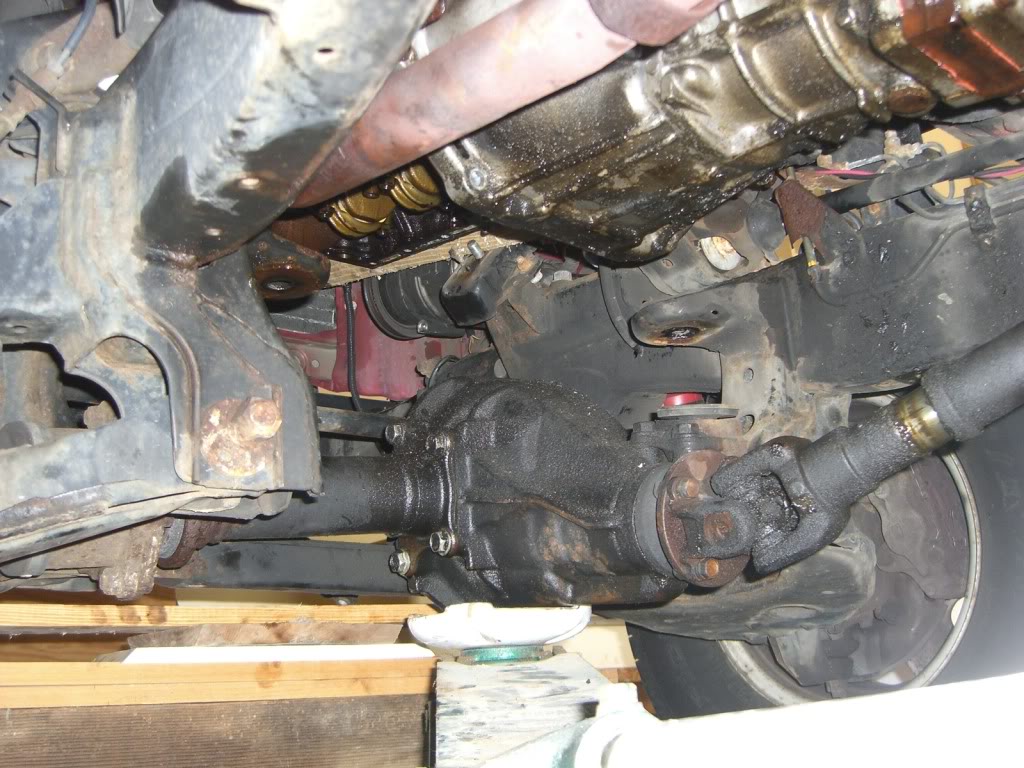
also, just got the diff out. almost broke something, i'm sure. but it's out, and i can relax while i work on the new battery cables
thanks, m.s. boss. with mine, i have a late 22r-ec. that makes all the difference. with possibly the exception of the 22r-et, i think mine is the most complicated 22r engine
also, just got the diff out. almost broke something, i'm sure. but it's out, and i can relax while i work on the new battery cables
Apr 21, 2011 | 10:51 AM
#246
Hmmmmm, dropping the diff after all, eh? lol. Right on, Ian, ...really glad for ya that you're getting so much done so quickly in your spare time!
I personally am going to drop the idler and let the linkage hang next time.... it was REALLY in the way of tilting the pan forward so I could hook up the pick up tube without smearing FIPG all over my arm(as Jerry Mentioned.....DANG THAT STUNK getting that off!!!!! lol... PAINFUL!) Maybe if I lifted the motor as well, it wouldn't have been such a pain... plus, you have the BJ spacer in there already, right? Hmmmmm, ....I mention this because MINE IS LEAKING again, because I had such a 'TIGHT TIME' of it! lol.
I personally am going to drop the idler and let the linkage hang next time.... it was REALLY in the way of tilting the pan forward so I could hook up the pick up tube without smearing FIPG all over my arm(as Jerry Mentioned.....DANG THAT STUNK getting that off!!!!! lol... PAINFUL!) Maybe if I lifted the motor as well, it wouldn't have been such a pain... plus, you have the BJ spacer in there already, right? Hmmmmm, ....I mention this because MINE IS LEAKING again, because I had such a 'TIGHT TIME' of it! lol.
Apr 21, 2011 | 11:19 AM
#247
Registered User
Joined: Aug 2009
Posts: 13,574
Likes: 72
From: Wilkes-Barre, PA, USA
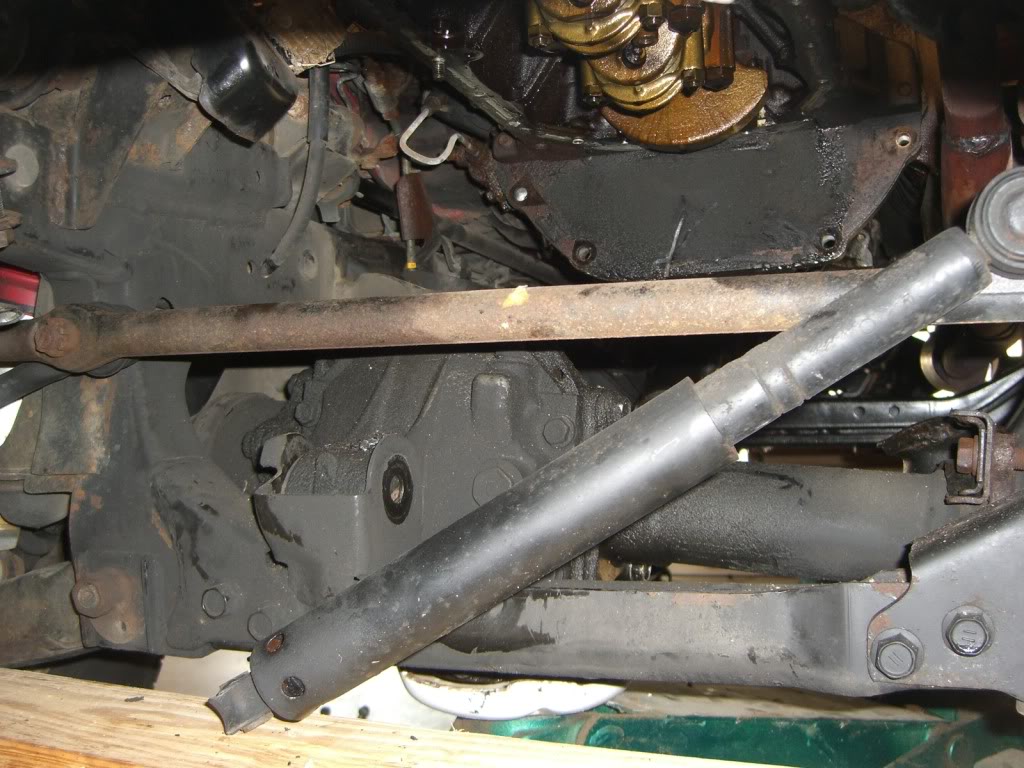
Dang you guys are such  I pulled my my pan right in this spot. Only dropped the back two mounts on the diff. But then again I like to do things the hard way and lazily at times. Haha.
hahaha Well only about the Part.
I pulled my my pan right in this spot. Only dropped the back two mounts on the diff. But then again I like to do things the hard way and lazily at times. Haha. hahaha
Well only about the Part.
Apr 21, 2011 | 11:30 AM
#248
Hahaha... I know, B, lol.
Actually, I just figured, "why not make it easier than it already will be, next time(since I've now done it).... and just move the linkage out of the way... It's so easy, and it keeps you from having much room to play in the front for pivoting because of the linkage."....HOLD ON, I need to find my Passy!....I dropped it, .....WAHHHHHHHHHH! hehehehe.
Actually, I just figured, "why not make it easier than it already will be, next time(since I've now done it).... and just move the linkage out of the way... It's so easy, and it keeps you from having much room to play in the front for pivoting because of the linkage."....HOLD ON, I need to find my Passy!....I dropped it, .....WAHHHHHHHHHH! hehehehe.
 hahaha.
Apr 21, 2011 | 12:19 PM
hahaha.
Apr 21, 2011 | 12:19 PM
#252
i didn't drop the bottom cross-member (?) like you did. just the three on the diff itself. but i'll have time, so not worried.
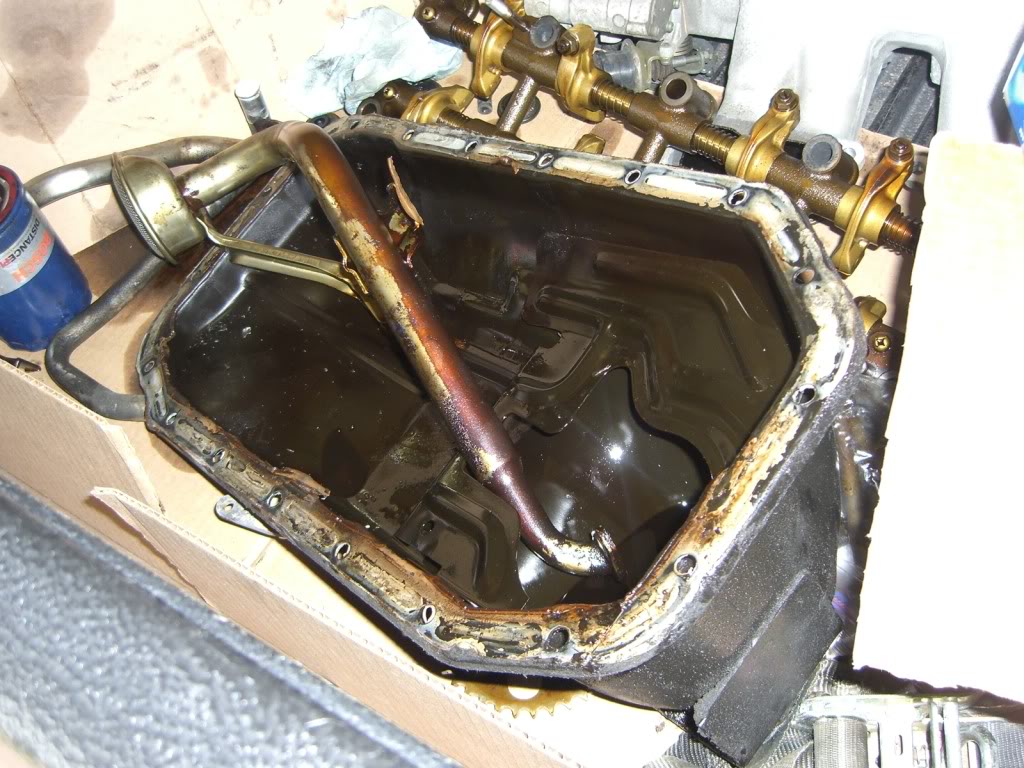
oh, and got the fipg off the oil pan with a wire-wheel in about 5 mins
oh, and got the fipg off the oil pan with a wire-wheel in about 5 mins
Last edited by irab88; Apr 21, 2011 at 12:20 PM.
Apr 21, 2011 | 08:13 PM
#253
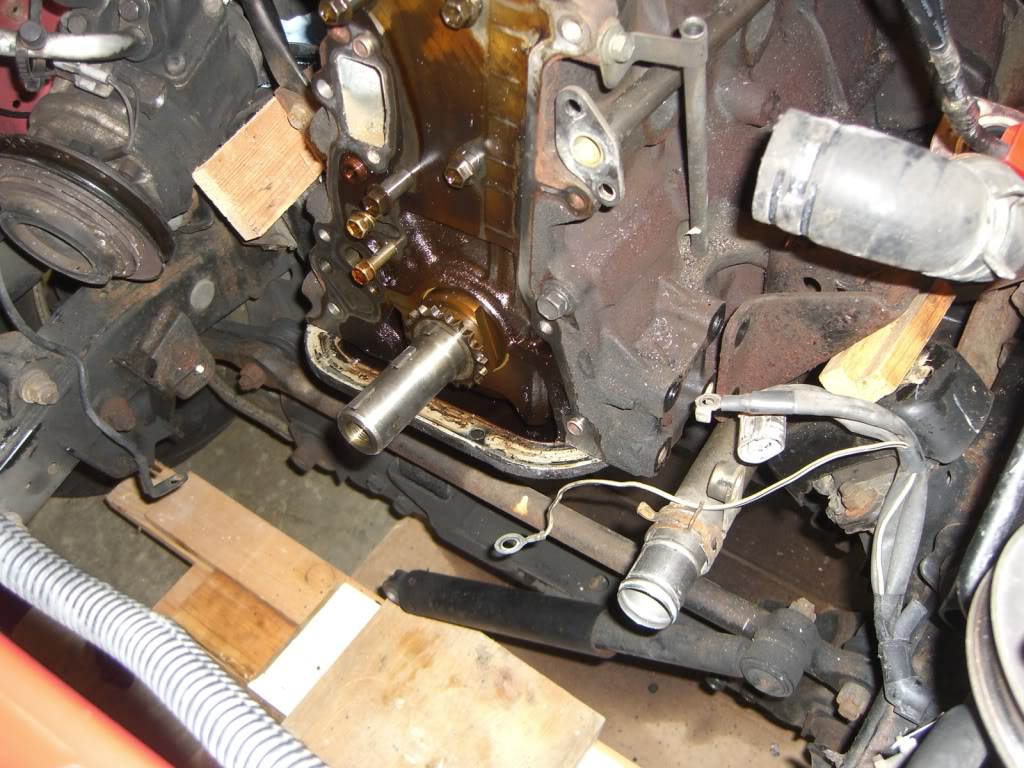
now for the pics (wed. and thurs.)
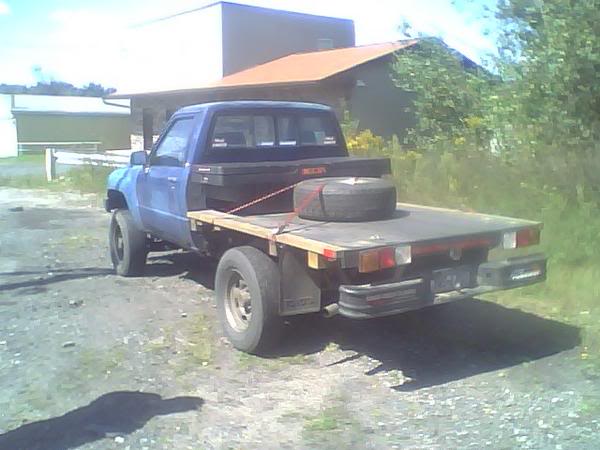
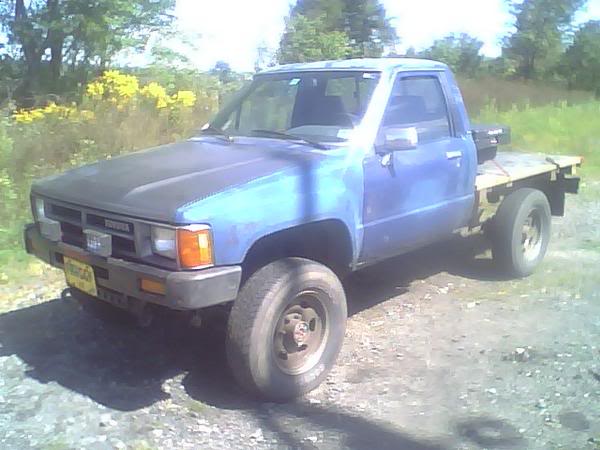
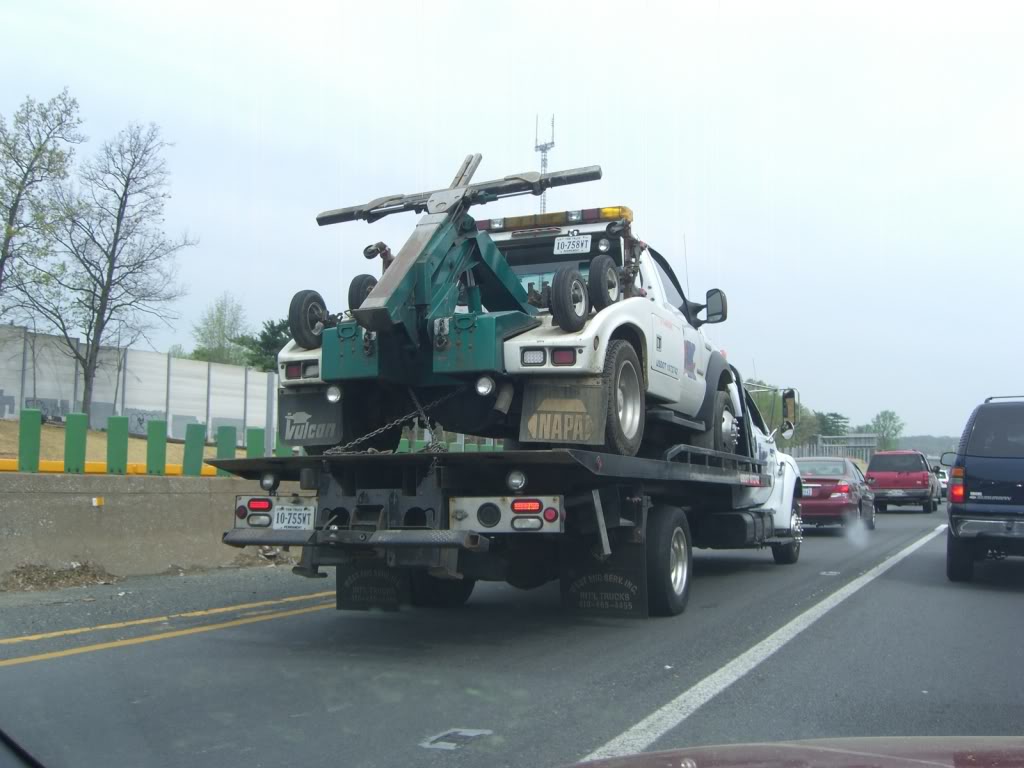
saw this on my way up. huh... so they do break down...
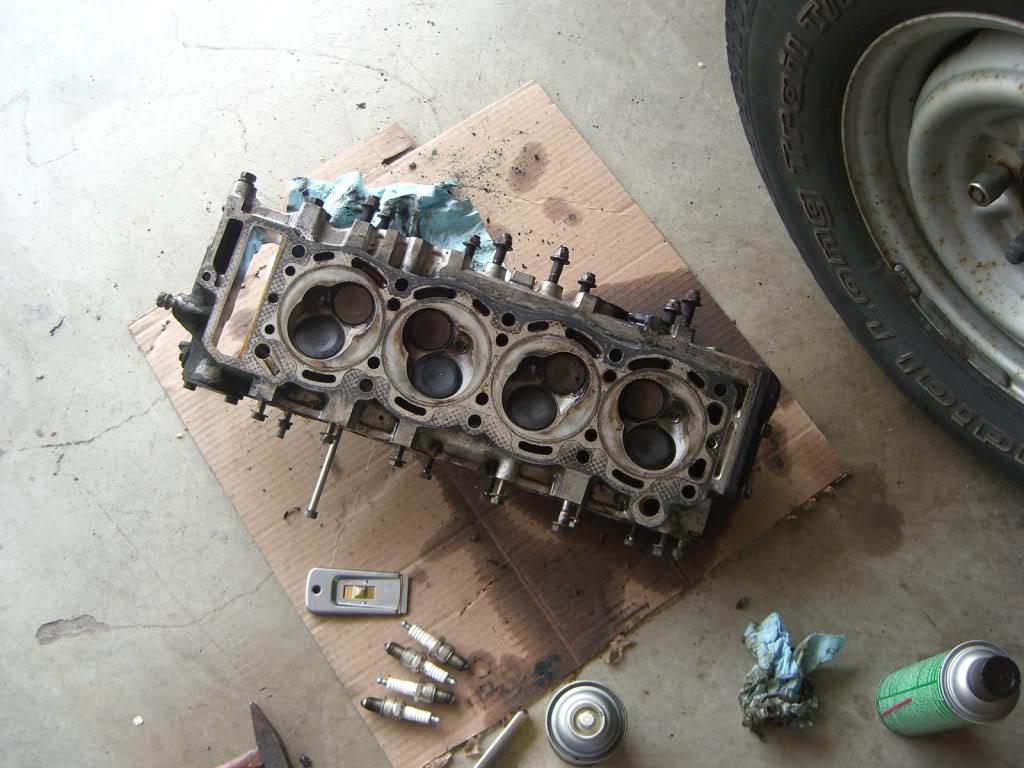
dirty head

clean(er) head. did more to it today, it's better, and ready for a gasket
gettin' ready to drop the oil pan
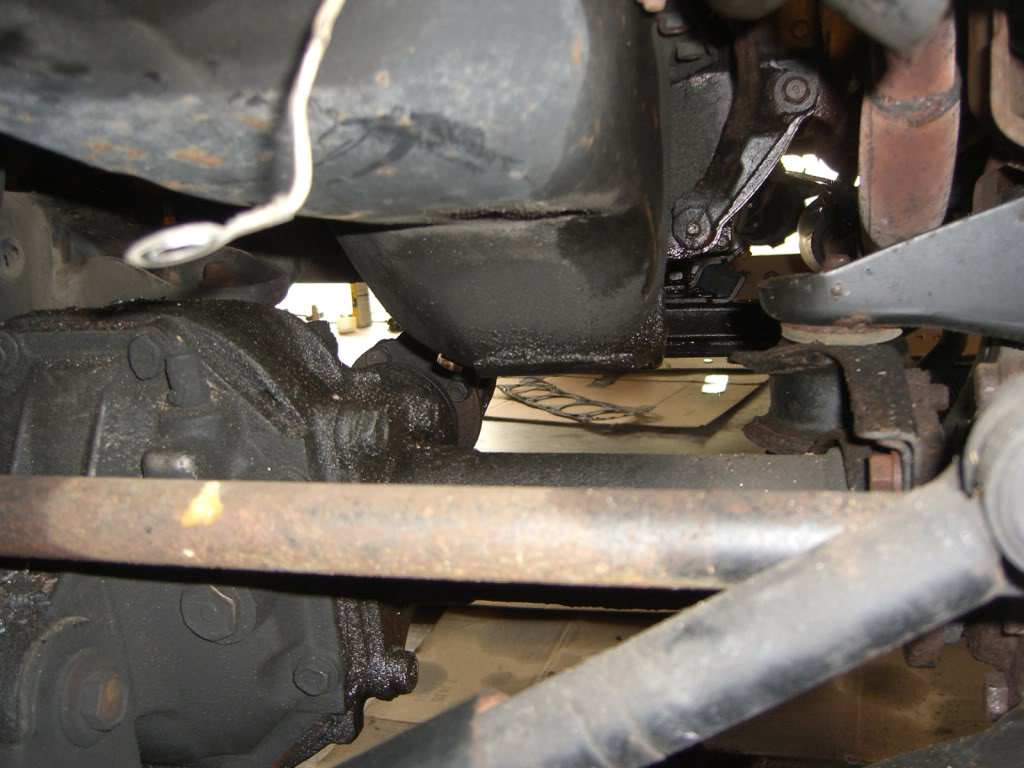
and it's out
dropped the diff
and started on the custom battery cables
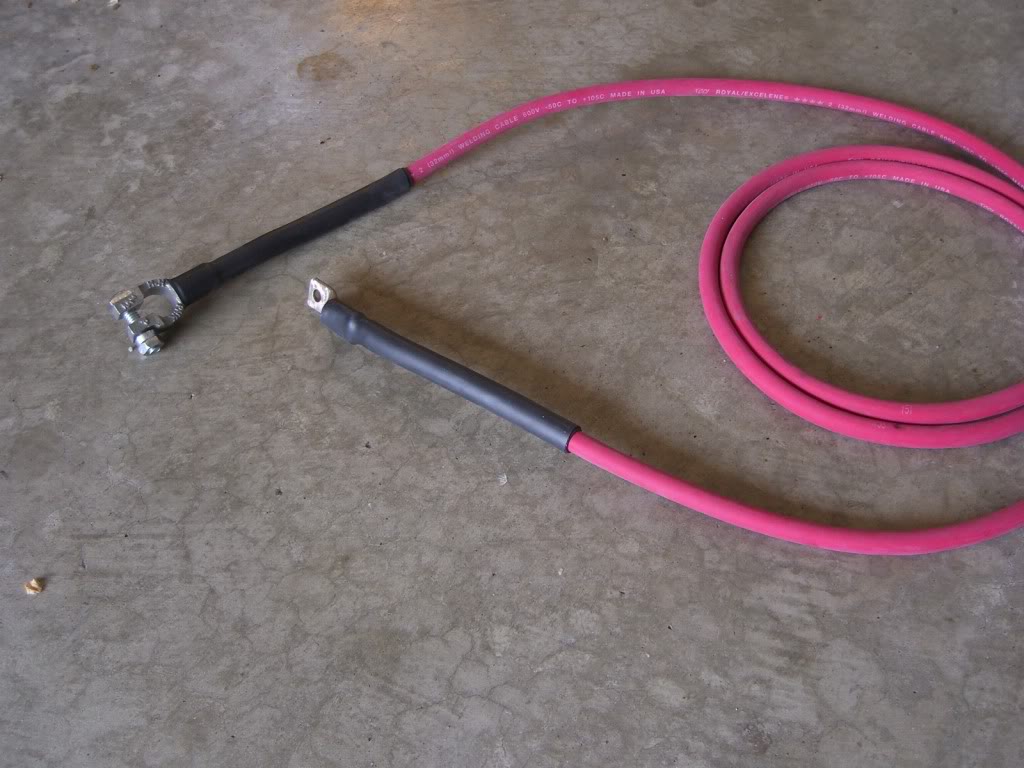
some good stuff
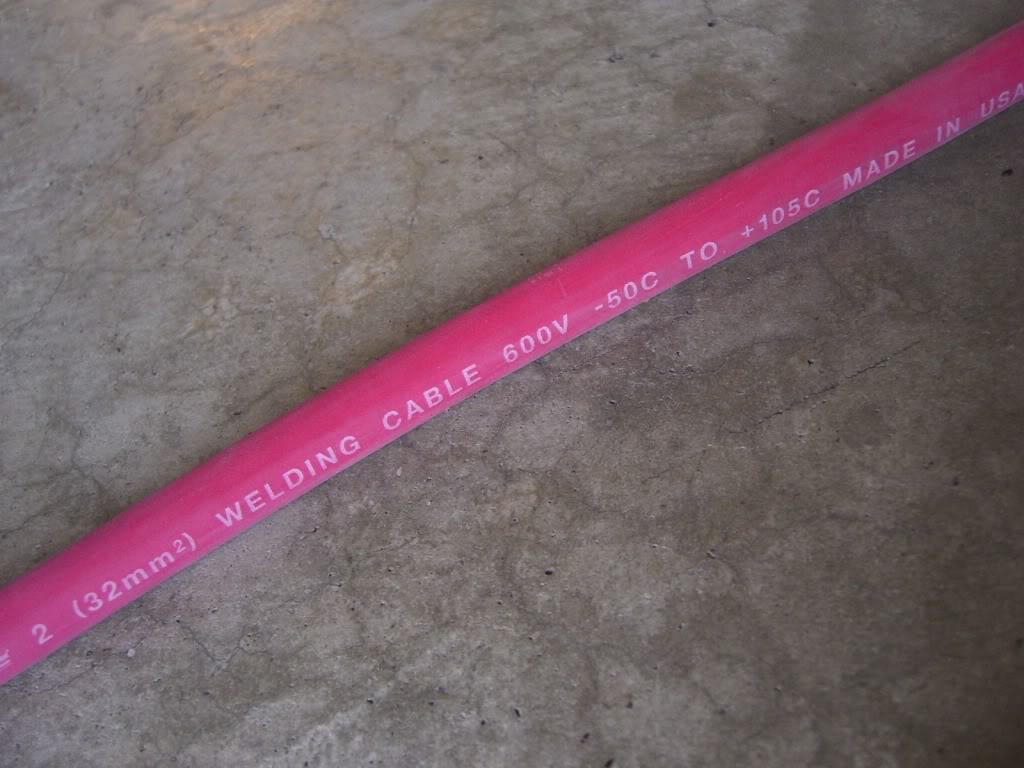
and while i was picking up some more supplies, i saw this. a fine product, i'm sure

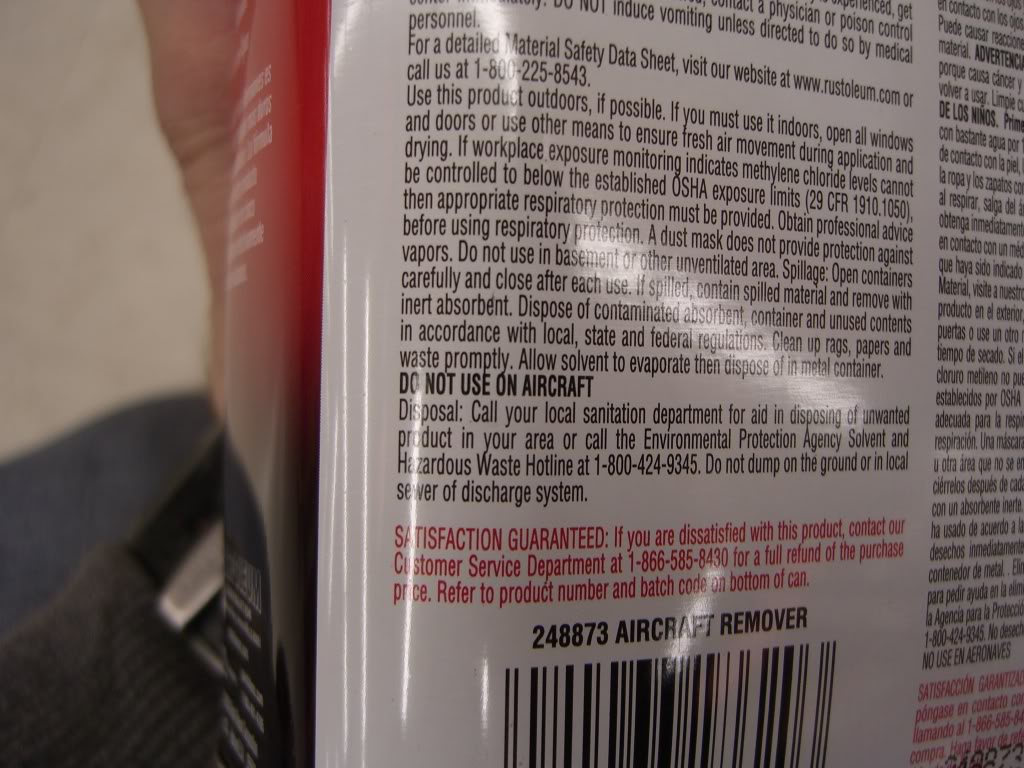
then i saw this... (read it, you'll see it in bold)
saw this on my way up. huh... so they do break down...
dirty head
clean(er) head. did more to it today, it's better, and ready for a gasket
gettin' ready to drop the oil pan
and it's out
dropped the diff
and started on the custom battery cables
some good stuff
and while i was picking up some more supplies, i saw this. a fine product, i'm sure
then i saw this... (read it, you'll see it in bold)
Apr 22, 2011 | 03:26 AM
#254
Registered User
Joined: Aug 2010
Posts: 73
Likes: 0
From: Willamette Valley, Oregon.
LoL that's great "DO NOT USE ON AIRCRAFT" right on the ARCRAFT REMOVER!
Head looks good. How long did that take you and how did you cover the oil and water galleys to prevent crud from falling in?
Head looks good. How long did that take you and how did you cover the oil and water galleys to prevent crud from falling in?
Apr 22, 2011 | 05:01 AM
#255
not too long. it took longer to tear up the pieces then to actually put them in.
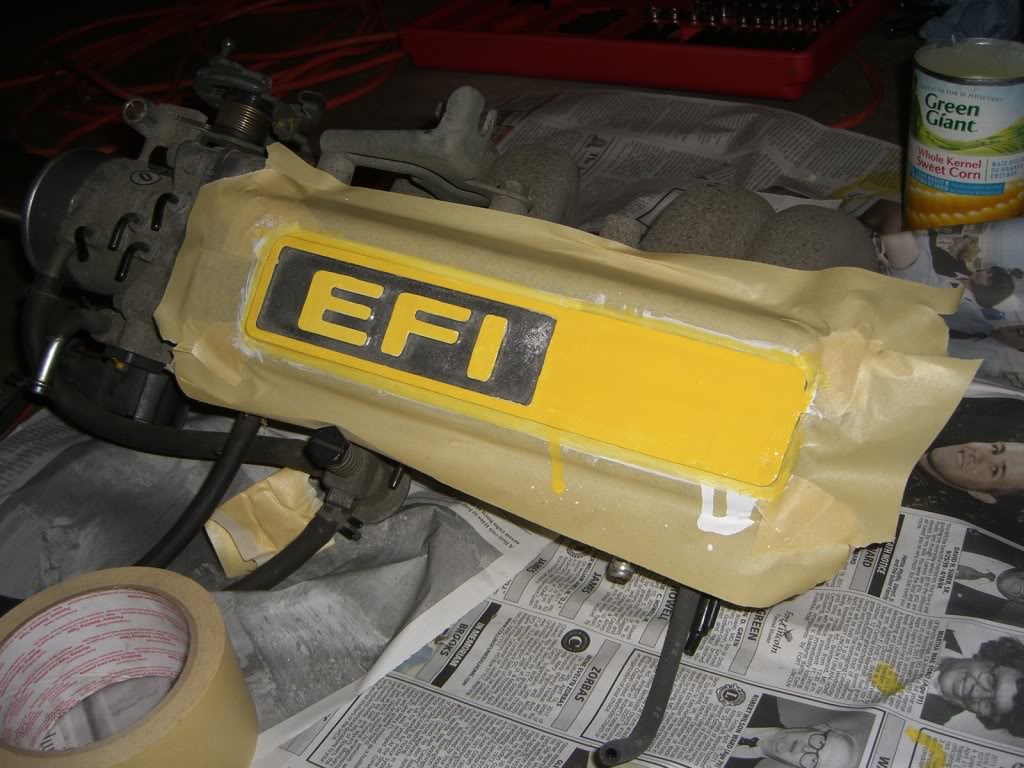
today i'll be dropping the steering linkage in the front (is that what it's called?). then i'll test-fit the oil pan again, which should go better than yesterday. i'll also finish cleaning the valve cover and lay down some paint, and prep my intake chamber for teh paent.
maybe no paint. i just saw the weather. rain all day >sigh<
 Apr 23, 2011 | 05:03 AM
#257
Registered User
Joined: Aug 2010
Posts: 73
Likes: 0
From: Willamette Valley, Oregon.
THAT'S WHAT I'M TALKING ABOUT!
Nice color choice it's got a nice pop. I was expecting red or blue TBO but I really like the yellow.
Keep it up I'll be watching closely cause I'm tearing my 22re down today wish me luck.
Nice color choice it's got a nice pop. I was expecting red or blue TBO but I really like the yellow.
Keep it up I'll be watching closely cause I'm tearing my 22re down today wish me luck.
Apr 23, 2011 | 10:06 AM
#258
Haha, hilarious...... Guess they just don't think some times as they're printing, lol.
So, looking good, Ian, ....sorry bout the rain putting a hiccup in your plan. Best wishes on the rest!
So, looking good, Ian, ....sorry bout the rain putting a hiccup in your plan. Best wishes on the rest!
Apr 23, 2011 | 10:46 AM
#259
 no rain can stop me. it gave me a chance to sort out what i still need to do.
right now, paint is drying on valve cover, intake chamber, and timing cover. oil and water pump are on the timing cover (oil pump primed with good ol' vasiline). still need to brush off some paint on the timing cover, and about to install the front end. the relay steering arm is off, which makes it a bit easier to put the oil pan on. looks like i can get to the head tomorrow.


