
broke my timing chain guide, time to rebuild (pics)

 Apr 23, 2011 | 11:55 AM
#262
Registered User
Joined: Aug 2009
Posts: 13,574
Likes: 72
From: Wilkes-Barre, PA, USA
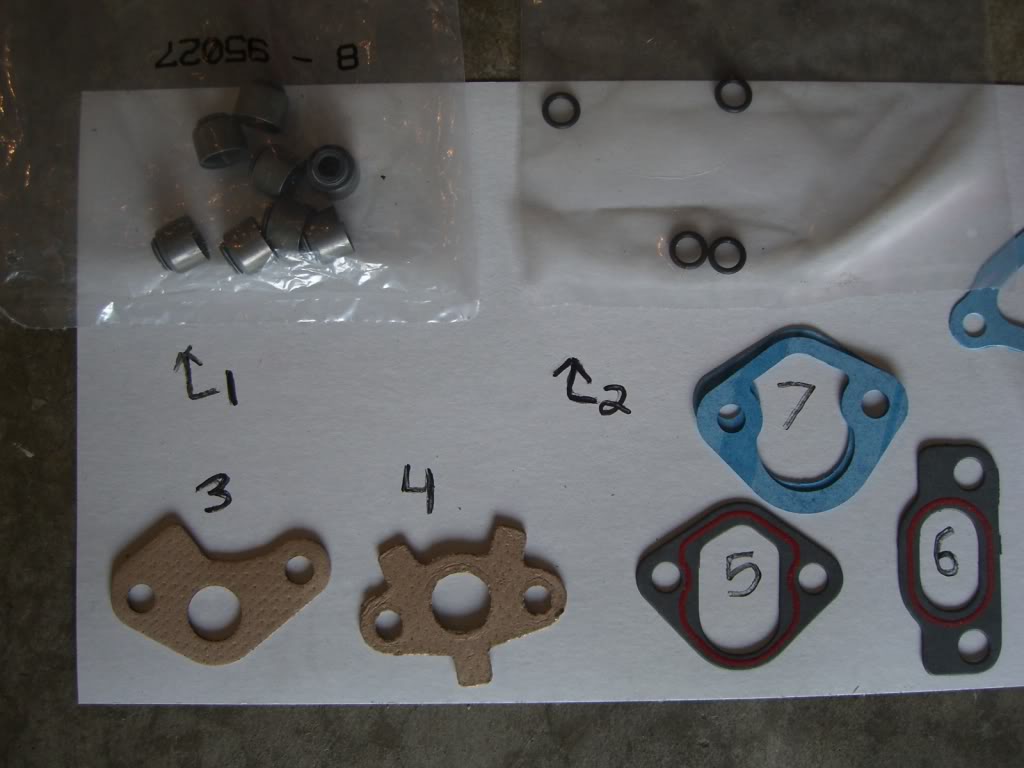
#1 are valve seals. #8 your not gonna need, it's a 22r gasket for under the intake manifold. #5 and #7 are for the 22r mechanical fuel pump and block off plate on the head. Your only gonna use one. I believe it will be the #5 but not 100%.
Not 100% on the rest.
Not 100% on the rest.
Apr 23, 2011 | 12:15 PM
#263
thanks. i haven't touched the block-off plate, so i won't need those. same with the valve seals.
the cover is on, and sealed up nicely. if i get back in time, i might be able to get the oil pan...
the cover is on, and sealed up nicely. if i get back in time, i might be able to get the oil pan...
Apr 23, 2011 | 02:30 PM
#265
didn't come with one. i'm gonna rtv-black it. that should work. and instead of trying to maneuver it into place with the stuff on, i'll put it in place, let the pan rest on the diff, then lift straight up. shouldn't be too messy that way
Apr 23, 2011 | 03:53 PM
#267
yeah. i've tried several different ways to get the oil pan up, but this seems easiest. i'll have pics of that later, but now for some pics of the past two days
i want to re-locate these to be able to see the valve cover
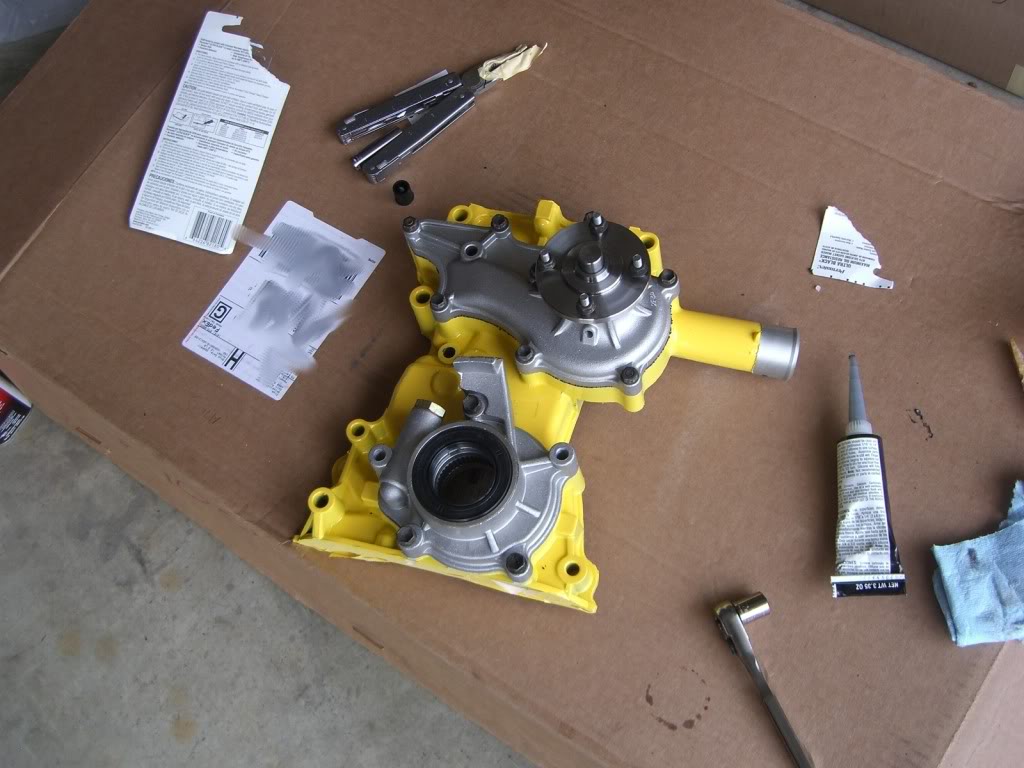
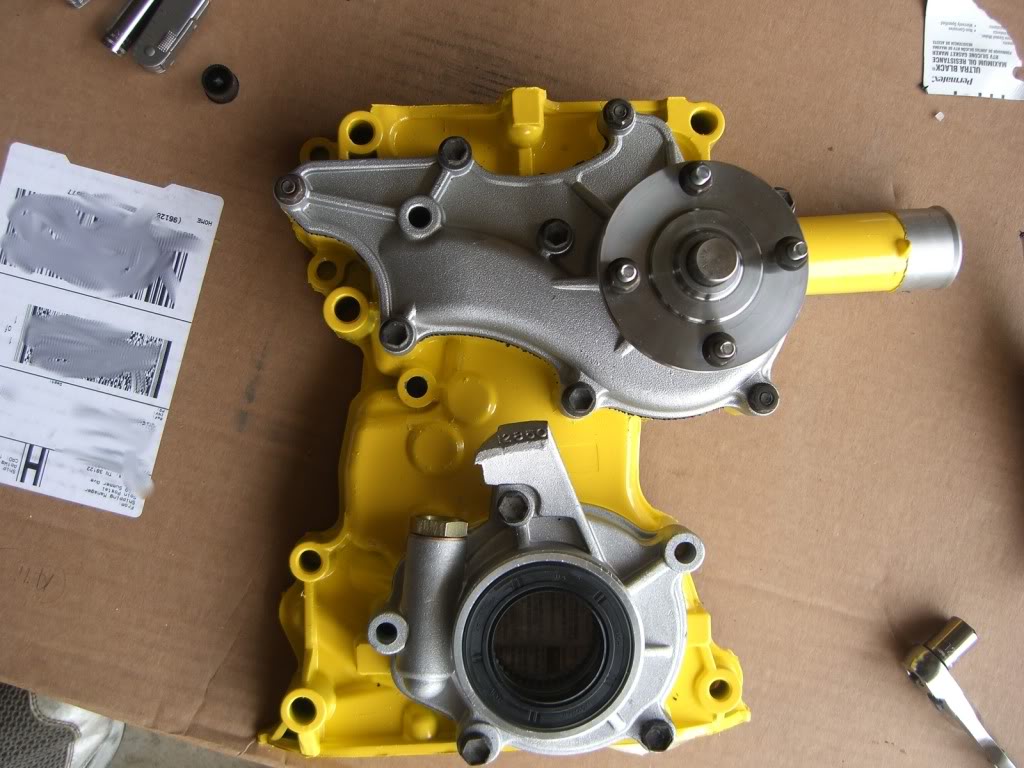
looks nice, but it's not going to stay that way
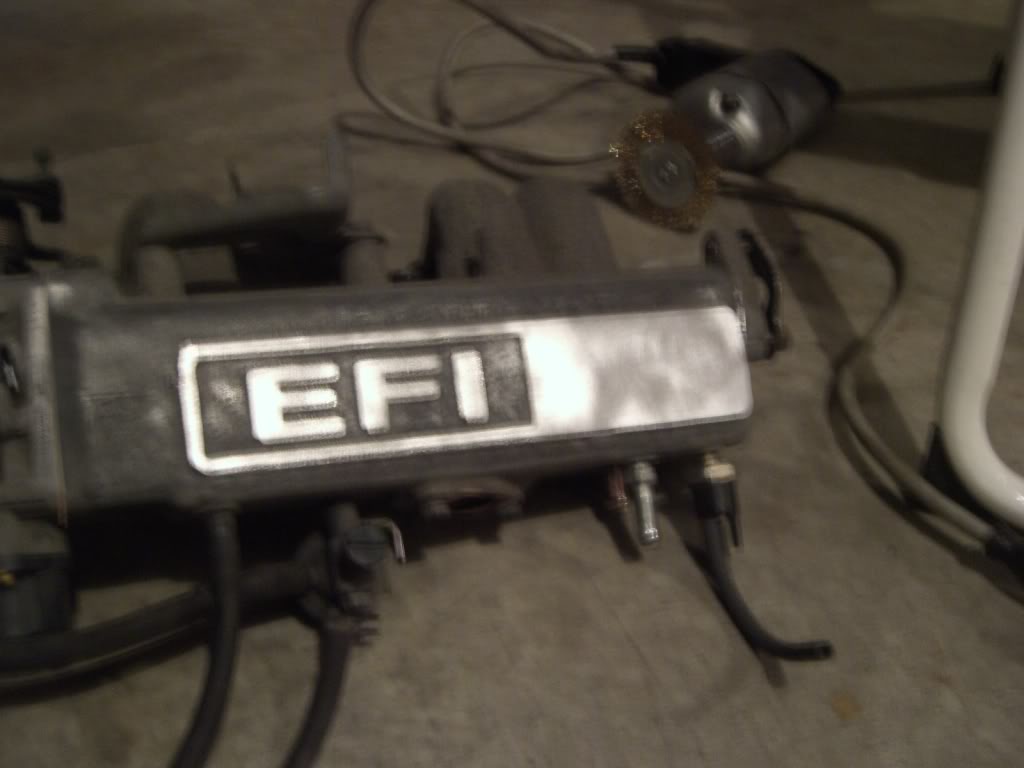
bring on the "daytona yellow"
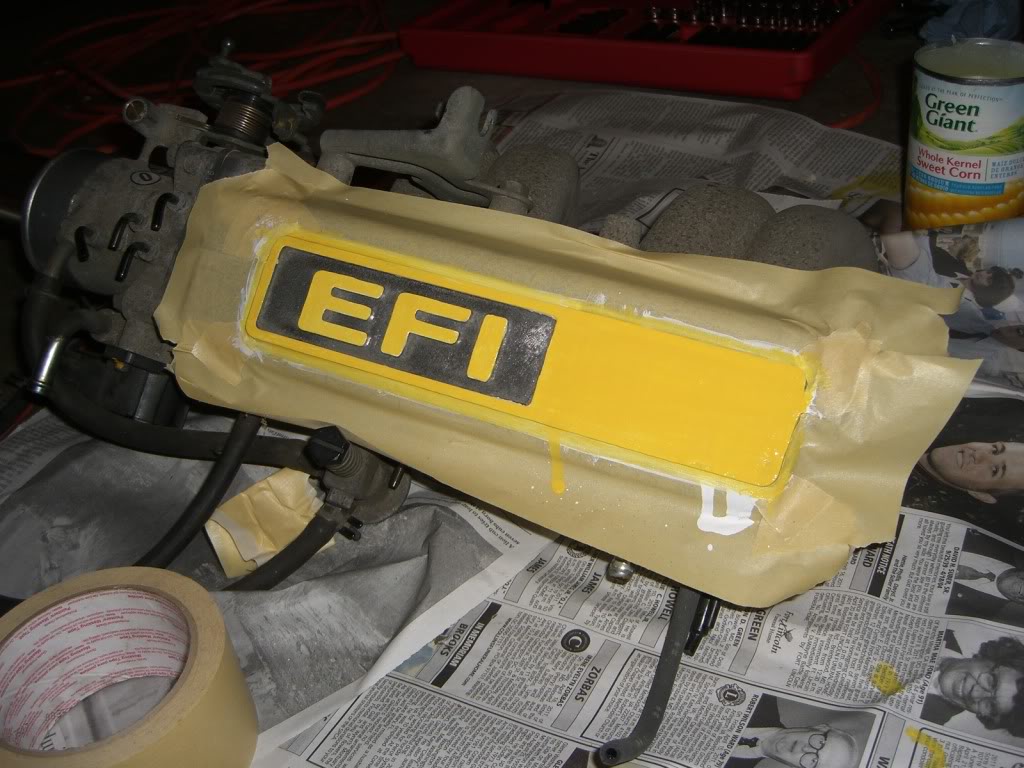
and that's about it. like i said, i'll get more up later
i want to re-locate these to be able to see the valve cover
looks nice, but it's not going to stay that way
bring on the "daytona yellow"
and that's about it. like i said, i'll get more up later
Apr 23, 2011 | 05:55 PM
#268
Hey Ian, looks great, man!
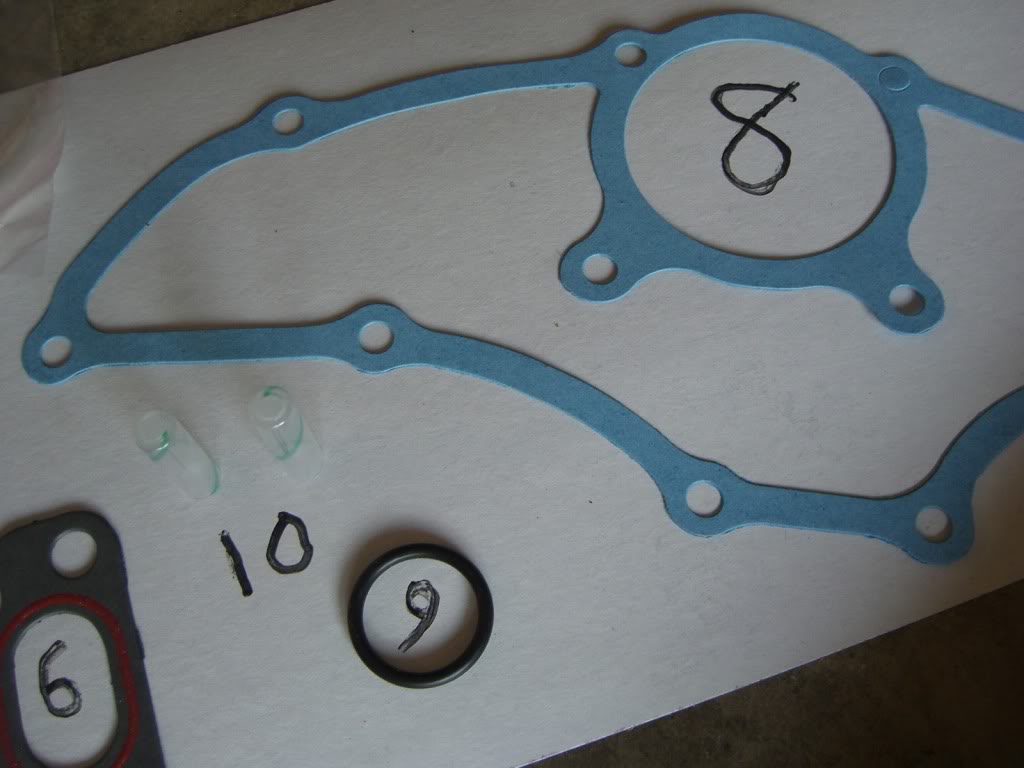
Btw, 7 and 8 are the EGR gaskets on either end. The larger o-ring (9) MIGHT be a new Dizzy o-ring. Don't remember mine being so fat,...and mine was purchased at the dealer, OEM... so .....hmmmm,....but just can't remember. Check the dizzy on that one.
Btw, 7 and 8 are the EGR gaskets on either end. The larger o-ring (9) MIGHT be a new Dizzy o-ring. Don't remember mine being so fat,...and mine was purchased at the dealer, OEM... so .....hmmmm,....but just can't remember. Check the dizzy on that one.
Apr 23, 2011 | 06:00 PM
#269
OH, ...a tip. I don't care how long you let those painted pieces dry, ..... when you fire her up, when the head gets nice and cookin hot it will at first seem to soften the paint again, .....then it will bake on if you manage to avoid touching it long enough. I have a couple wrinkles in mine from having to pull off the breather tube really quick and smudgededed it, lol. Soon after, once it had gotten nice and hot a couple times, .......I can't even BUDGE those wrinkles, they're so petrified! lol.
Anyway, just a thing I ran across, thought I'd share it, lol.
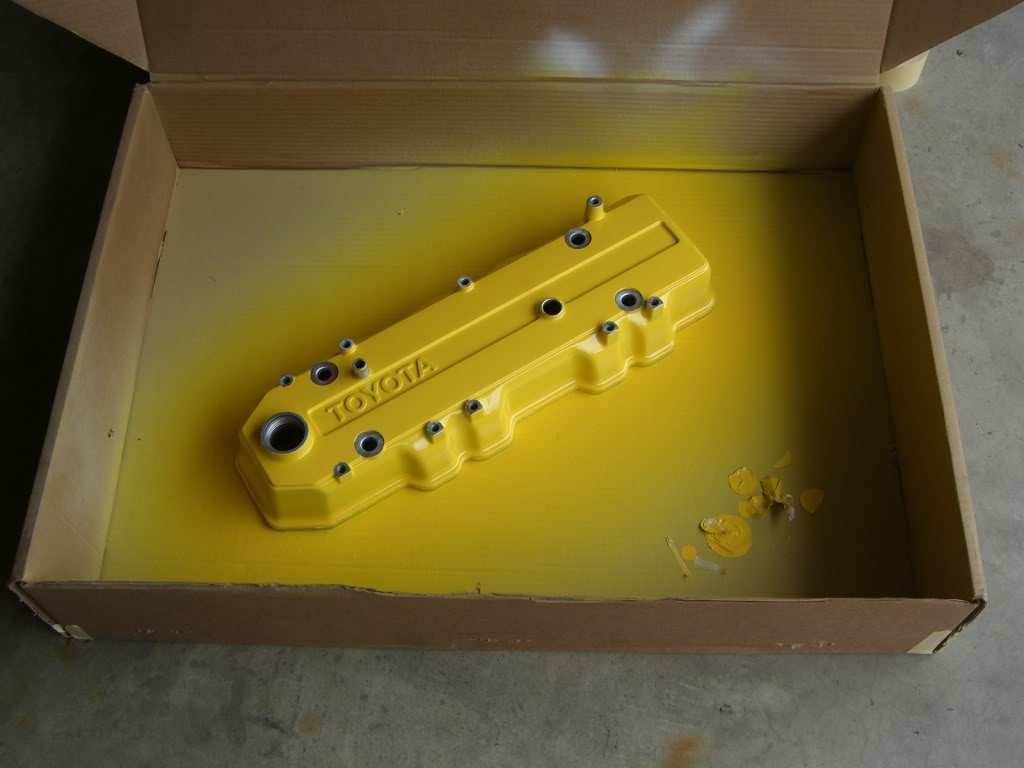
Seriously, Ian, it looks great. ..... Are you leaving the whole valve cover yellow? Shaving any of it in the recess? Just curious. Looks very aggressive, either way! lol.
Good job man!
Anyway, just a thing I ran across, thought I'd share it, lol.
Seriously, Ian, it looks great. ..... Are you leaving the whole valve cover yellow? Shaving any of it in the recess? Just curious. Looks very aggressive, either way! lol.
Good job man!
Apr 23, 2011 | 06:31 PM
#271
OOOOH, and one more thing....
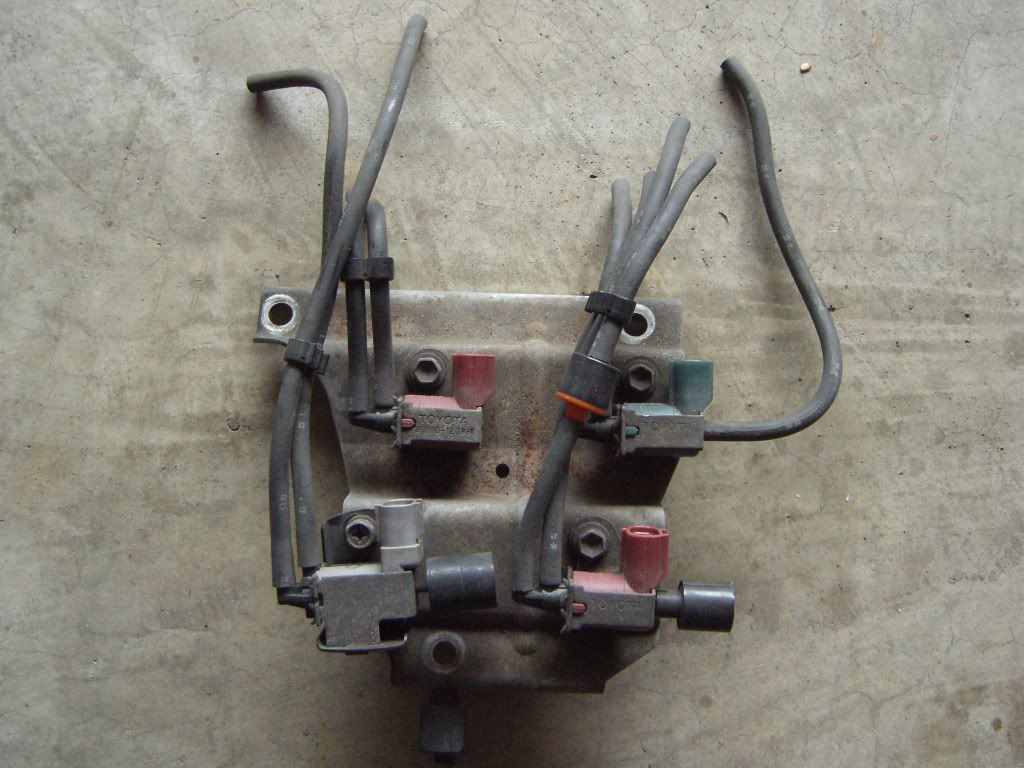
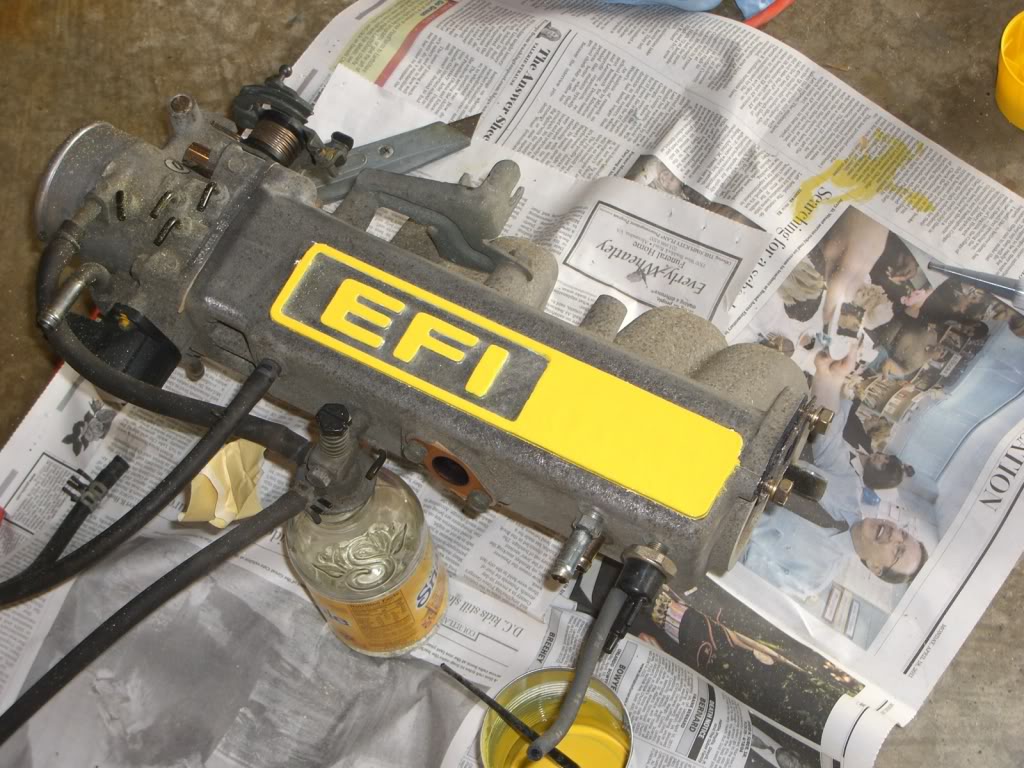
In case you didn't notice, ...somewhere in my build thread in the beginning, .... the water inlet pipe that goes up, vertically, into the intake between injector 2 and 3? .... that rubber O-ring that seals that up? IT CAN LEAK THERE(just cuz it's old and dried up, ya know? If it get's tightened too much as you're installing it, it can crack and you wont know it till it's leaking like a pig), ....and that is not a fun place to try and replace that, drain all the coolant, etc., without taking the intake off(But it IS possible, as long as you don't have to replace the pipe like I did). It's made just for that, specific,.... High Temp Coolant Crush Gasket(Rubber O-ring), just like the ones that go under the high and low valves on the AC compressors(meaning, they expand and flatten out to fill that recess in the intake....and THAT'S IT, the only seal).
Sorry, not meaning to make a big deal out of it, ...but it put me back a whole day or two, because I didn't make sure before putting it all back together..... FOR THE SECOND TIME(injector #2 incident, hahaha).
Last edited by ChefYota4x4; Apr 23, 2011 at 06:34 PM.
Apr 24, 2011 | 05:28 AM
#272
Registered User

Joined: Jan 2010
Posts: 3,795
Likes: 33
From: Bloodymore
looks nice, I'm sure Brian will approve....ha!
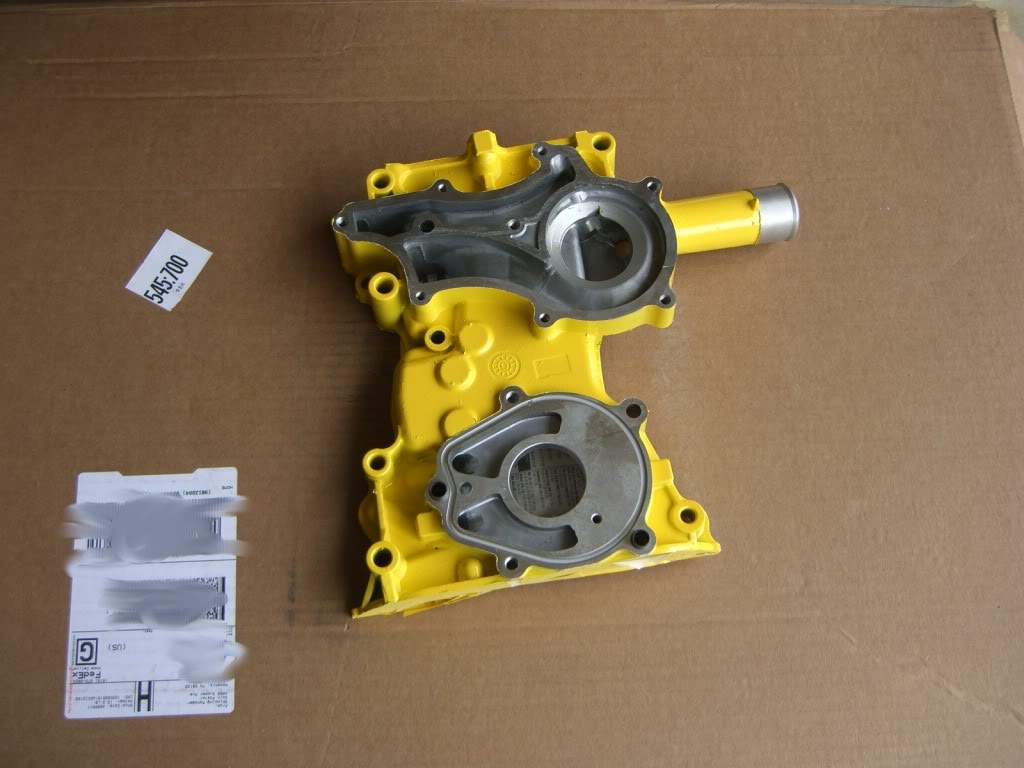
you are doing a very thorough job, and painting the components will make it easier to work under the hood.
if you need anything hit me on the cell.
you are doing a very thorough job, and painting the components will make it easier to work under the hood.
if you need anything hit me on the cell.
Apr 24, 2011 | 06:01 AM
#274
OOOOH, and one more thing....
In case you didn't notice, ...somewhere in my build thread in the beginning, .... the water inlet pipe that goes up, vertically, into the intake between injector 2 and 3? .... that rubber O-ring that seals that up? IT CAN LEAK THERE(just cuz it's old and dried up, ya know? If it get's tightened too much as you're installing it, it can crack and you wont know it till it's leaking like a pig), ....and that is not a fun place to try and replace that, drain all the coolant, etc., without taking the intake off(But it IS possible, as long as you don't have to replace the pipe like I did). It's made just for that, specific,.... High Temp Coolant Crush Gasket(Rubber O-ring), just like the ones that go under the high and low valves on the AC compressors(meaning, they expand and flatten out to fill that recess in the intake....and THAT'S IT, the only seal).
Sorry, not meaning to make a big deal out of it, ...but it put me back a whole day or two, because I didn't make sure before putting it all back together..... FOR THE SECOND TIME(injector #2 incident, hahaha).

thanks. i'm liking the way the parts are going in
exactly my thoughts


