
broke my timing chain guide, time to rebuild (pics)
 Apr 2, 2011 | 11:54 AM
#81


big news:
i found a great place to do the work. my gram's place! she has a 2-car garage big enough that i can leave both the cap and hitch on. it's dry, out of the way, and the truck can be in pieces without complaints! score!! the only thing is that it's about 30 minutes away, but it's closer to my school, so i can just spend a night there and work on it the next day. pictures might come at a slower rate, but now i can finally get some work done without having to clean up the garage!
let's do this thing!
Apr 2, 2011 | 01:09 PM
#82
Registered User
Joined: Sep 2008
Posts: 3,887
Likes: 16
From: Spokane, WA
Hey, when you do the timing chain gaskets, my advice is to apply the RTV liberally on the cover as well as the block, allow it to tack up, and let the gaskets glue to it.
Same with the water pump.
Another tip: remove both heater core hoses from the block itself. Makes installing the cover 9x easier, because you don't run the risk of gasket damage.
Another tip: get some 500 grit sandpaper, and smooth out the head and block. Mainly just get rid of old gasket material.
One good way to clean the head bolts is to clean them with a wire wheel or brush. You honestly don't need the ARP studs. They're a good upgrade, but this isn't a race engine. Just retorque the head bolts in a few hundred miles.
Apr 2, 2011 | 03:05 PM
#83
Suwweeeet! Man, i can totally relate to that, Ian,....cept it was my Pops later into my life! lol.
Far as the hard/heater hoses, ....just remember that one's bolted in to the underside of the intake. Leave it attached to the underside of the intake but disconnect it from the heater hose before you pull back the intake(if that's what you're going to do)>>>
PS> just curious.... someone mentioned "I didn't remove the intake", etc., when doing the HG.... "Hung it out of the way", etc...... I thought of this when contemplating removing the head to do the cam swap, and I REALLY had no way to get to some of the intake bolts, easily enough, but hit even more of a brick wall in thinking out when the intake would be going back on when considering how I was going to retorque(with torque wrench) the Intake Bolts to 14# each, in a proper pattern(bolts that, some of which, are hard to get to even with a open/closed end wrench), over the gasket with a tiny bit of RTV on the lower intake gasket...etc. I would LOVE to have this explained, not out of sarcasm in my query, ....rather IN CASE I NEED TO! lol. Thanks(sorry, can't remember who said that). I honestly would love to learn this as I might still be swapping in a new head and rocker assembly in the next year or so(God willing, NO SOONER! lol).
Apr 2, 2011 | 04:48 PM
#84
Registered User
Joined: Sep 2008
Posts: 3,887
Likes: 16
From: Spokane, WA
PS> just curious.... someone mentioned "I didn't remove the intake", etc., when doing the HG.... "Hung it out of the way", etc...... I thought of this when contemplating removing the head to do the cam swap, and I REALLY had no way to get to some of the intake bolts, easily enough, but hit even more of a brick wall in thinking out when the intake would be going back on when considering how I was going to retorque(with torque wrench) the Intake Bolts to 14# each, in a proper pattern(bolts that, some of which, are hard to get to even with a open/closed end wrench), over the gasket with a tiny bit of RTV on the lower intake gasket...etc. I would LOVE to have this explained, not out of sarcasm in my query, ....rather IN CASE I NEED TO! lol. Thanks(sorry, can't remember who said that). I honestly would love to learn this as I might still be swapping in a new head and rocker assembly in the next year or so(God willing, NO SOONER! lol).
But otherwise, i unbolted the Exhaust Manifold, loosened some of the rubber hangers, and the block-side manifold bolt at the bottom, then used a ratchet strap to pull the manifold off to the side..
Then me and a friend lifted the whole head off.
As for the intake, on EFI units you're better off taking the intake plenum off, then working on the manifold..
Apr 2, 2011 | 05:29 PM
#85
Well, my truck is carbed so it'll be different.
But otherwise, i unbolted the Exhaust Manifold, loosened some of the rubber hangers, and the block-side manifold bolt at the bottom, then used a ratchet strap to pull the manifold off to the side..
Then me and a friend lifted the whole head off.
As for the intake, on EFI units you're better off taking the intake plenum off, then working on the manifold..
Thanks, Peow, for clearing that up. As I was saying to Ian, ..."it's easiest to pull the plenum with everything possible still attached after marking it off(either video or tape) and then do a lil cleaning while in there(maybe having the injectors cleaned or whatever, flushing out the rail really well, etc....I think 2 of my 4 injectors were leaking, as was the Cold start one).....shouldn't take more than a couple hours to clean out the carbon riddled ports, etc. I was surprised at how 3 of them on my plenum were almost COMPLETELY clogged up with carbon...actually, 1 was completely clogged.
Sweet, ... btw, hope you're doin well, Peow! Stay safe out there

Last edited by ChefYota4x4; Apr 2, 2011 at 05:32 PM.
Apr 2, 2011 | 07:15 PM
#86
thanks guys.
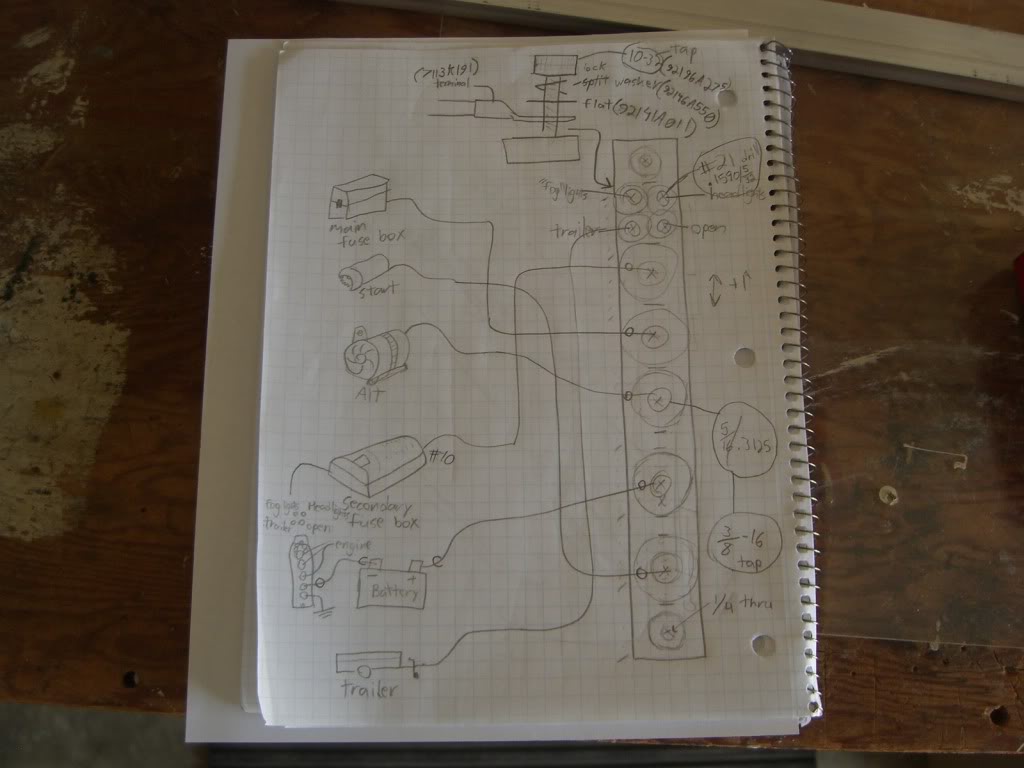
tomorrow i'm going up to her house to work on both the buss-bars and start pulling some junk out. the more i can get done, the better!
i'll keep that stuff in mind... great info to keep
tomorrow i'm going up to her house to work on both the buss-bars and start pulling some junk out. the more i can get done, the better!
i'll keep that stuff in mind... great info to keep
Apr 2, 2011 | 07:23 PM
#87
Good luck man, im still pretty much at a stand still. Block heads fuel rails plenum...all STILL at the shop. Got my injectors back tho, sure r purtty...lol. Gotten started on the clean up efforts, but this waiting for the block and stuff to be done is killin me...lol
Apr 2, 2011 | 07:34 PM
#88
All I can say after 'hoping mine would be done asap' is ......WAIT, PATIENTLY! hahaha. No, sorry man, I know how that stinks to wait when you wanna get 'roll'n' again! lol
Apr 3, 2011 | 01:07 PM
#93
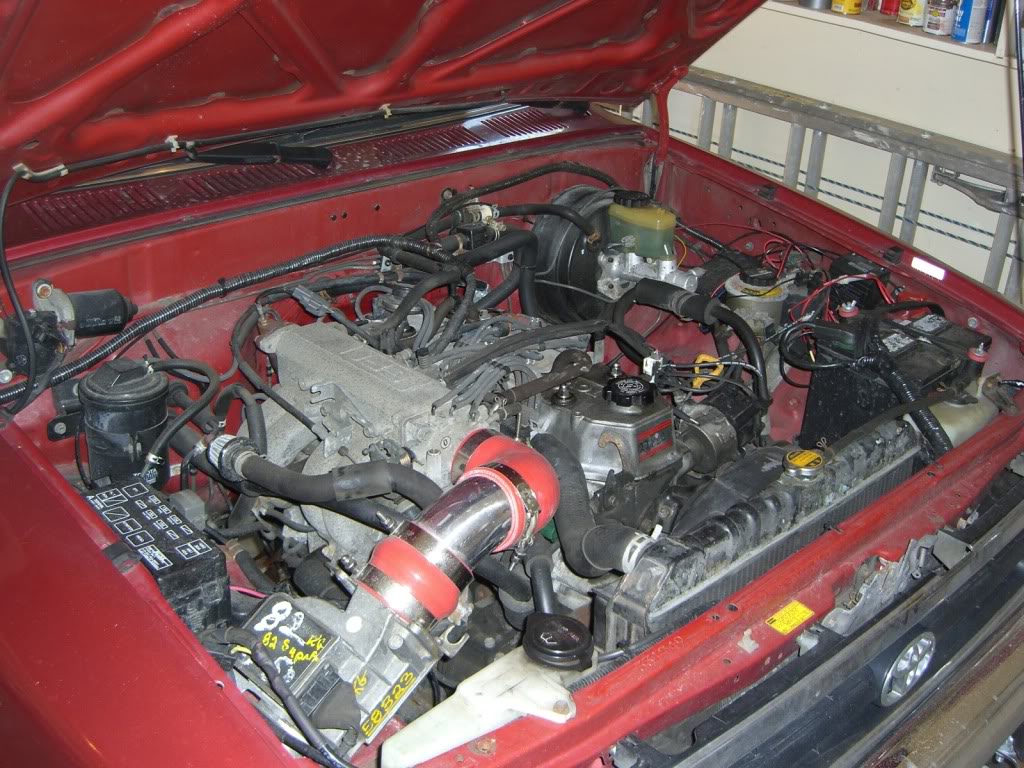
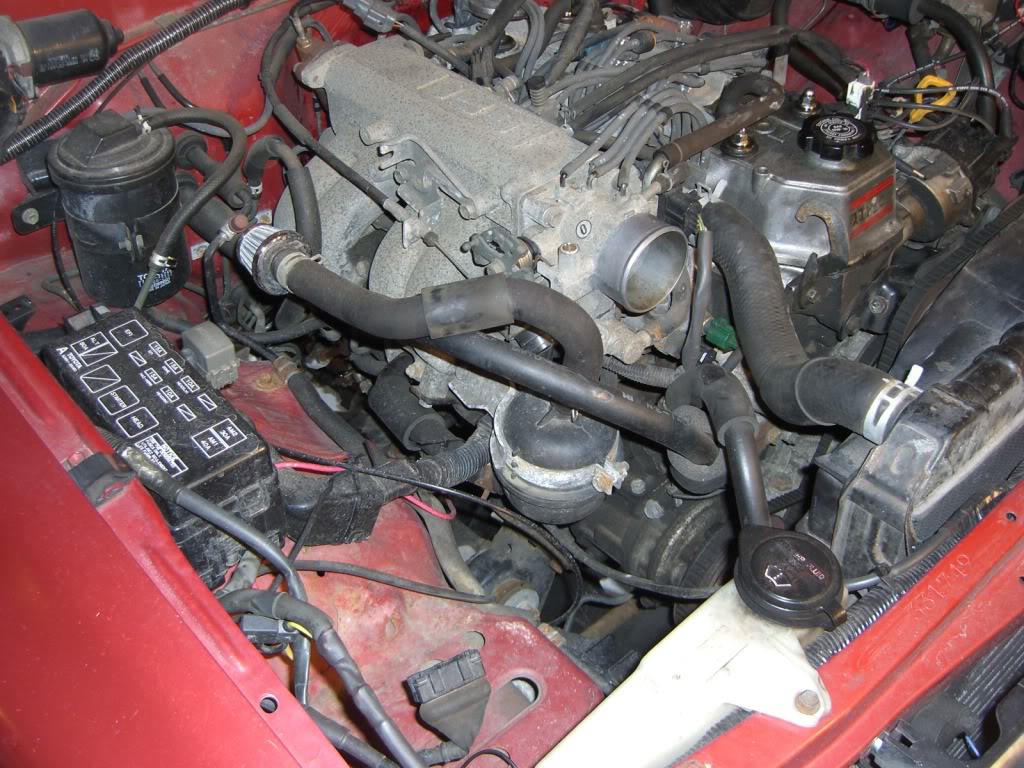
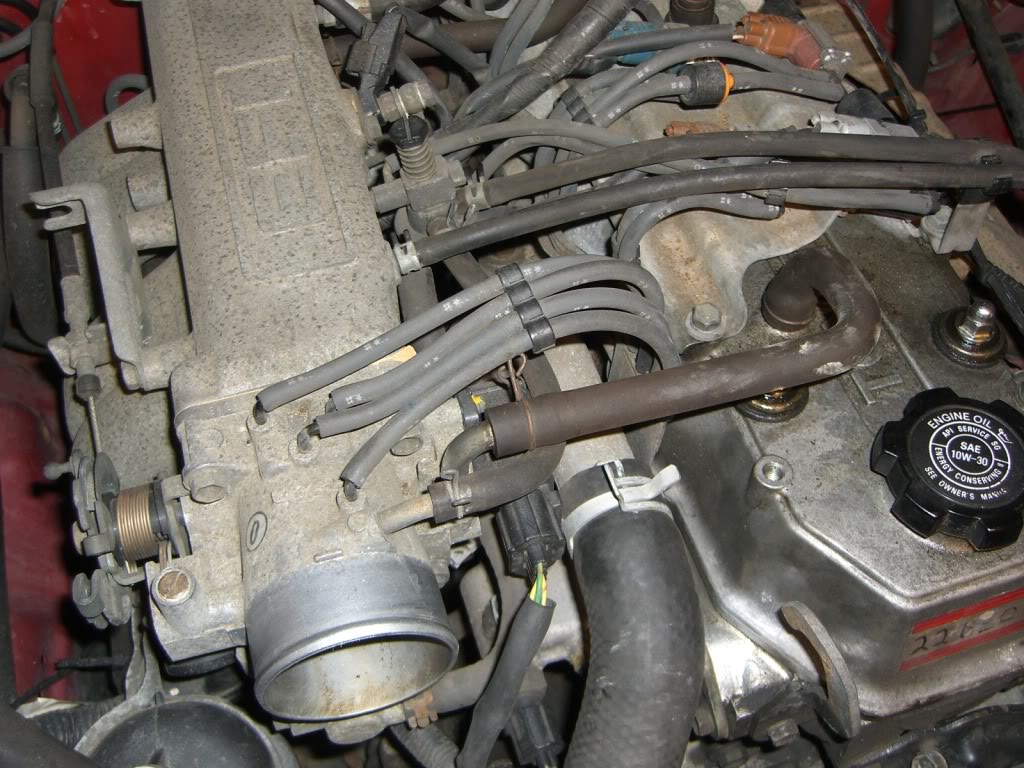
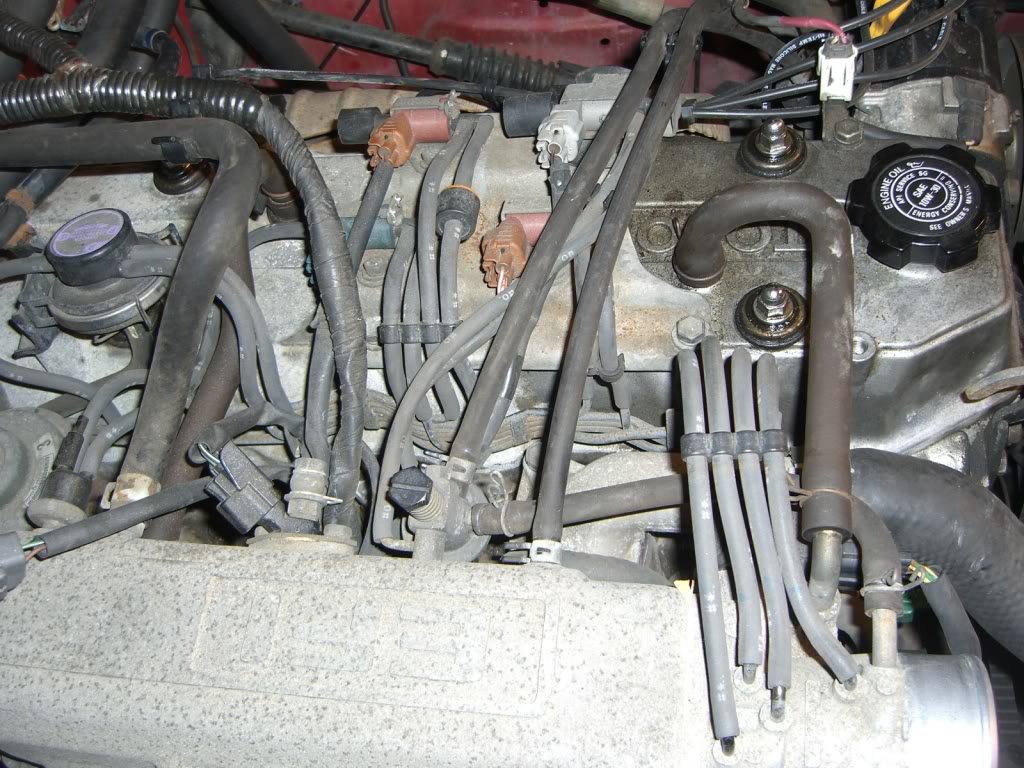
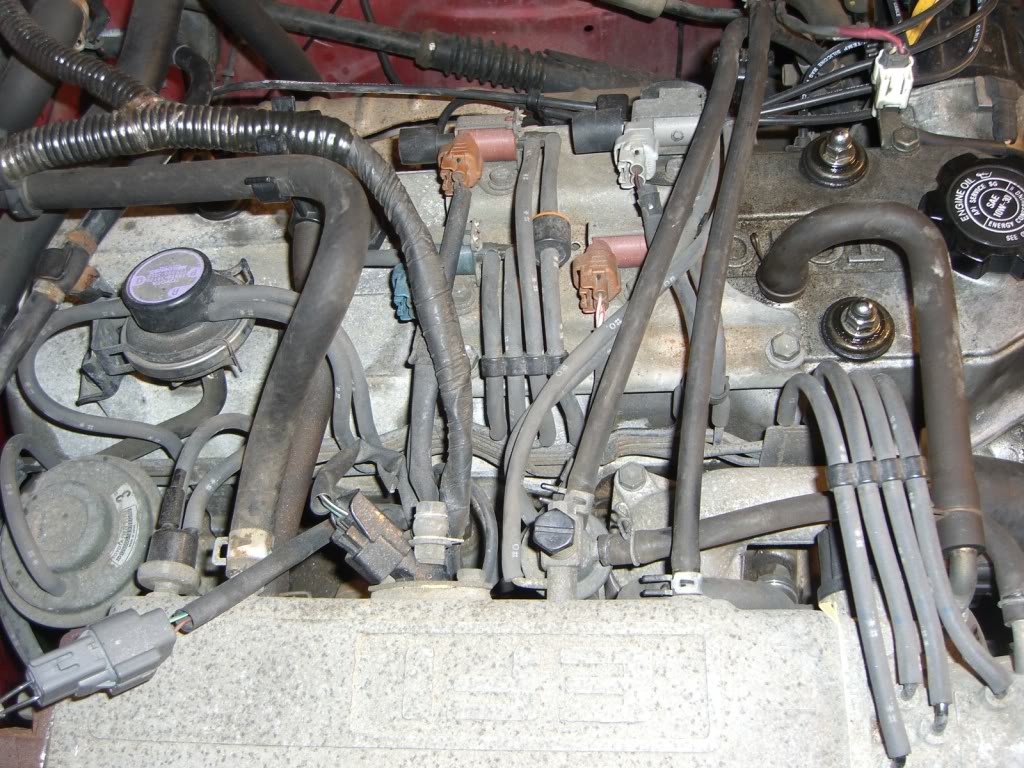
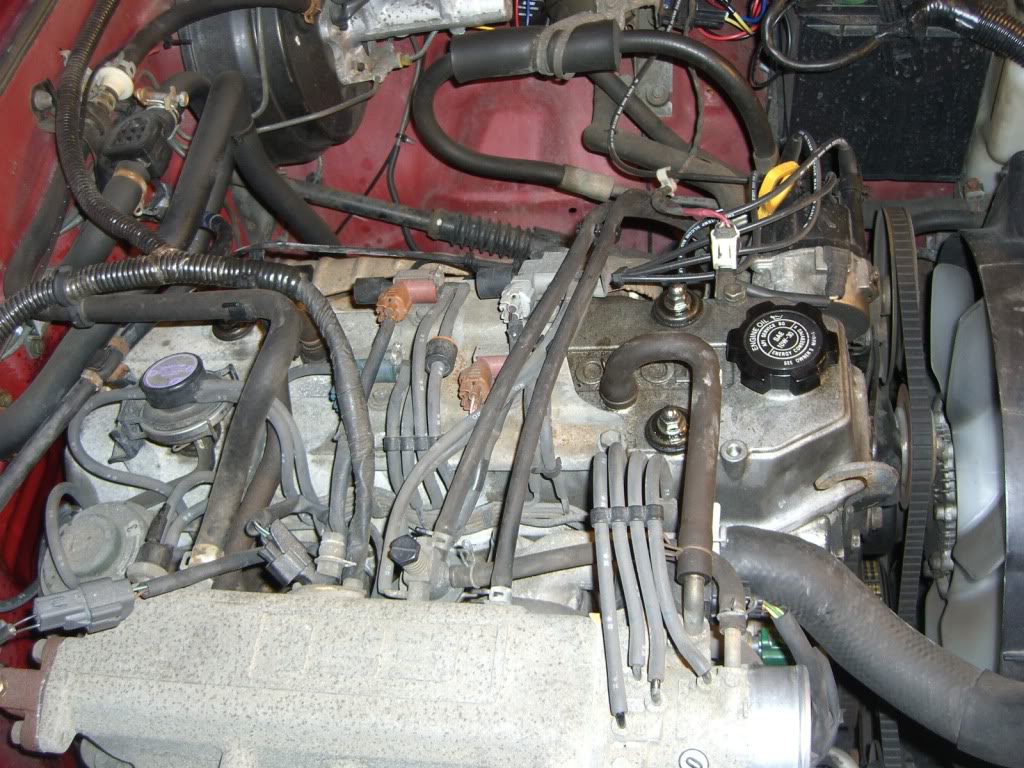
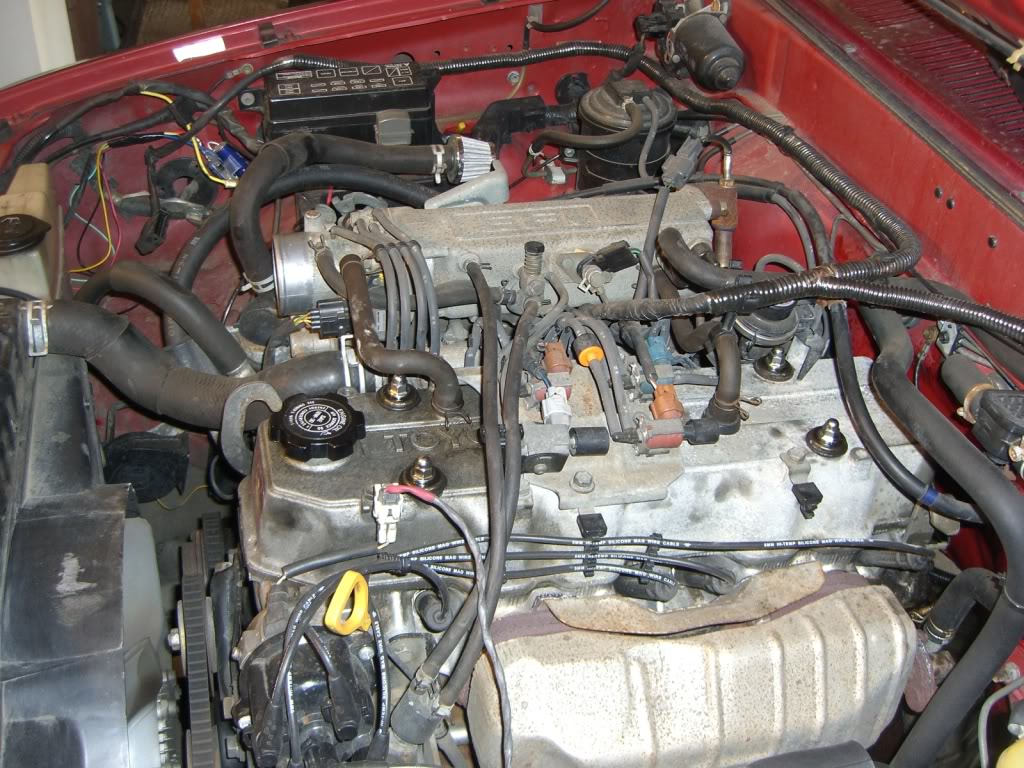
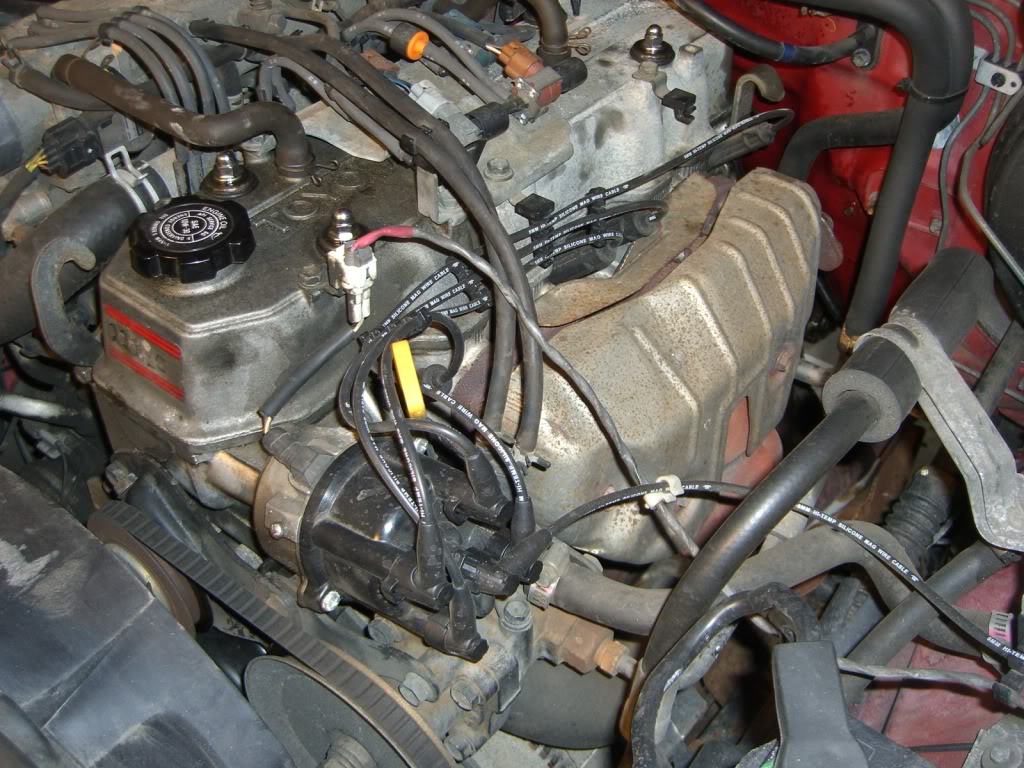
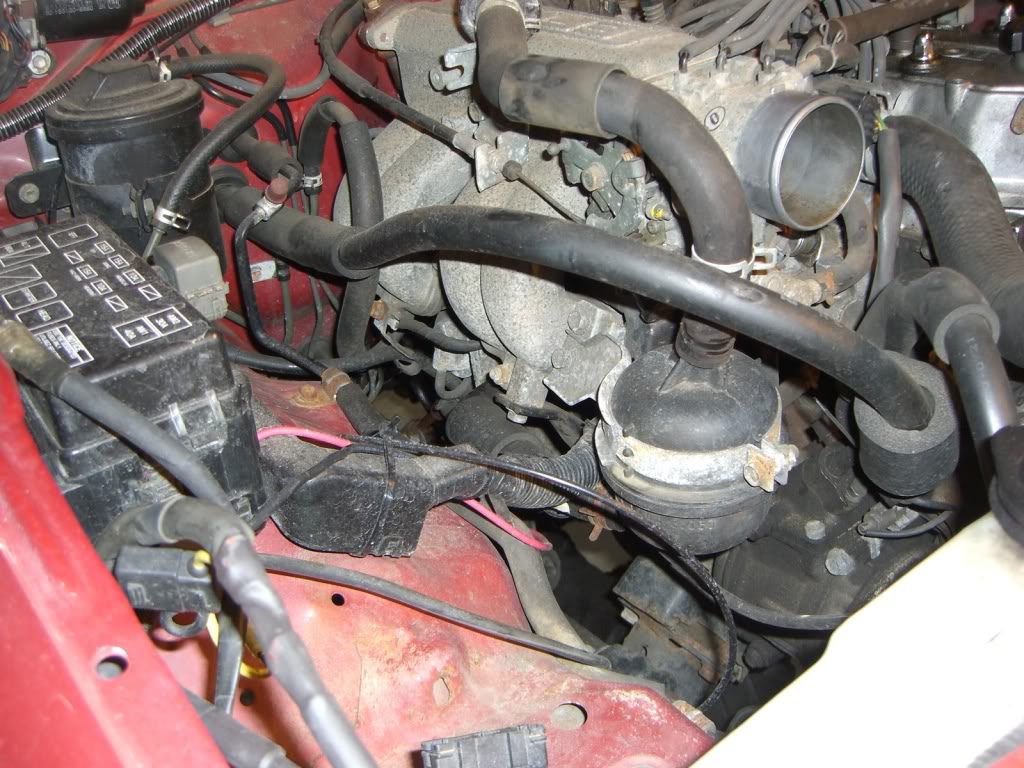
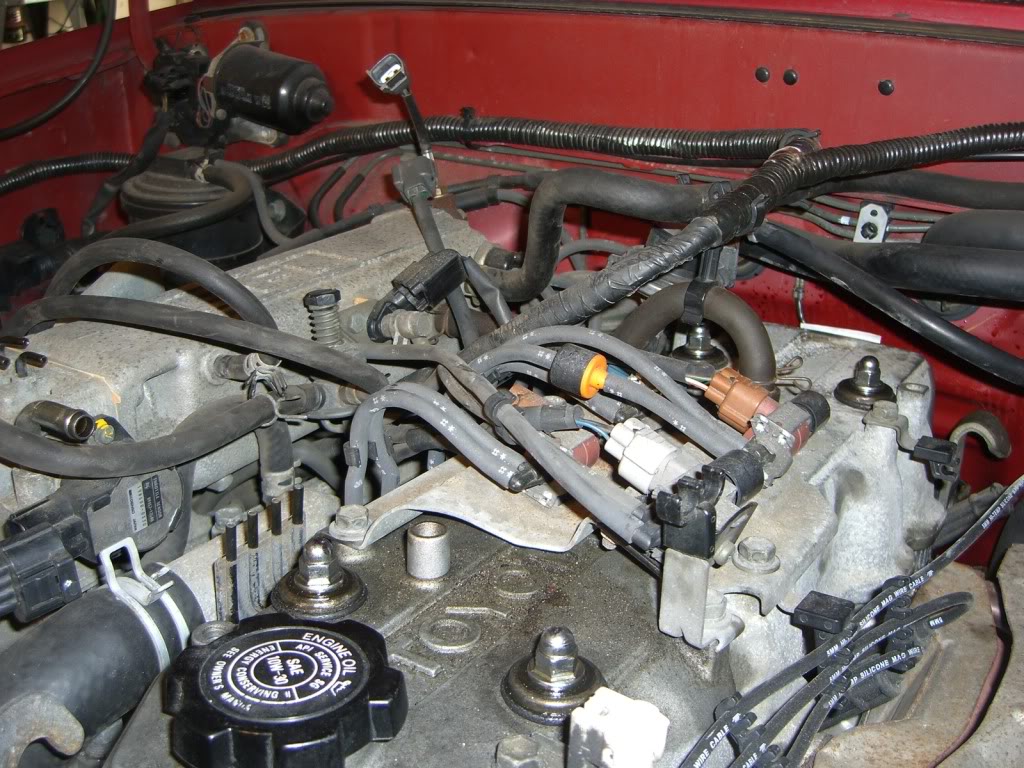
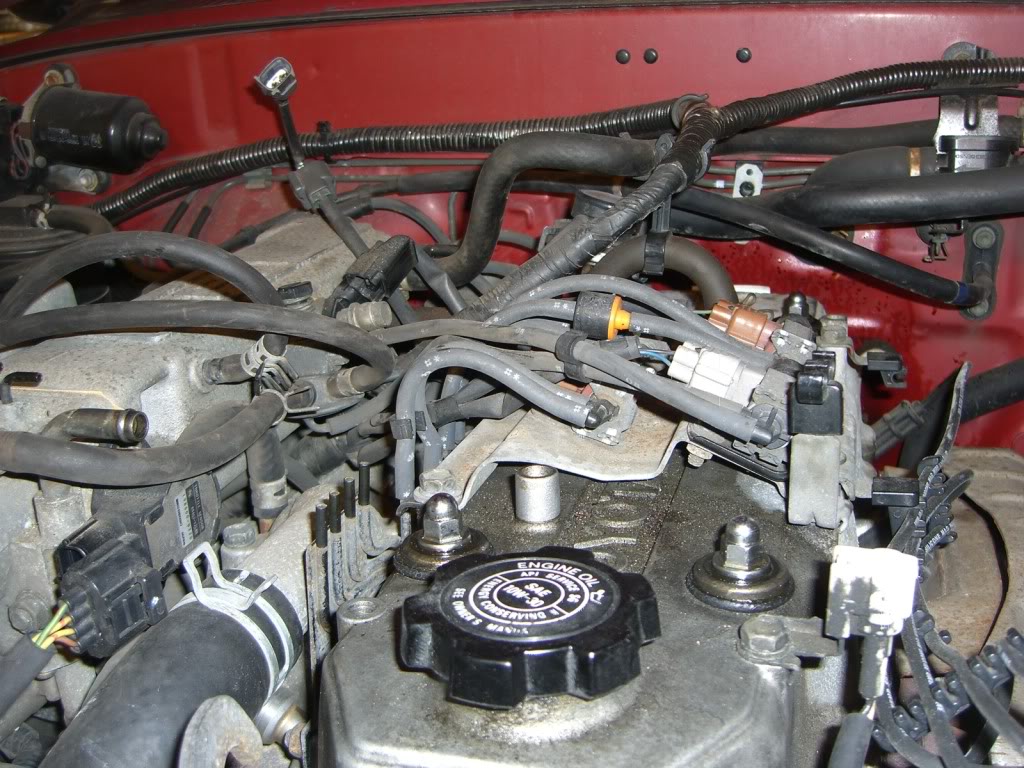
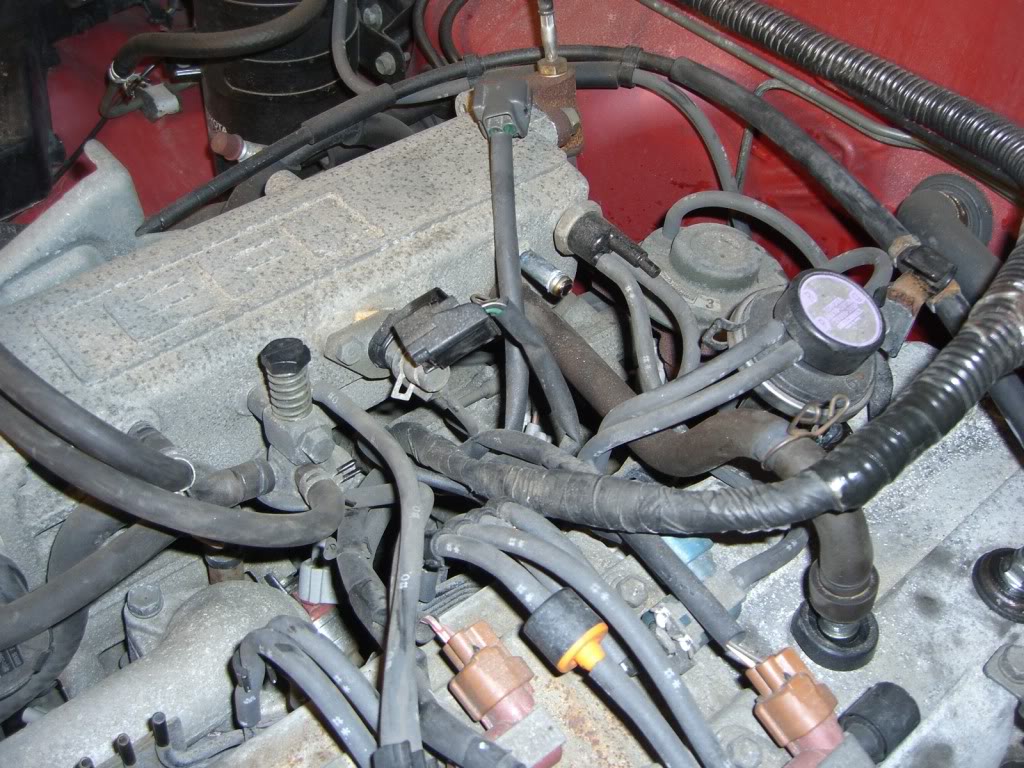
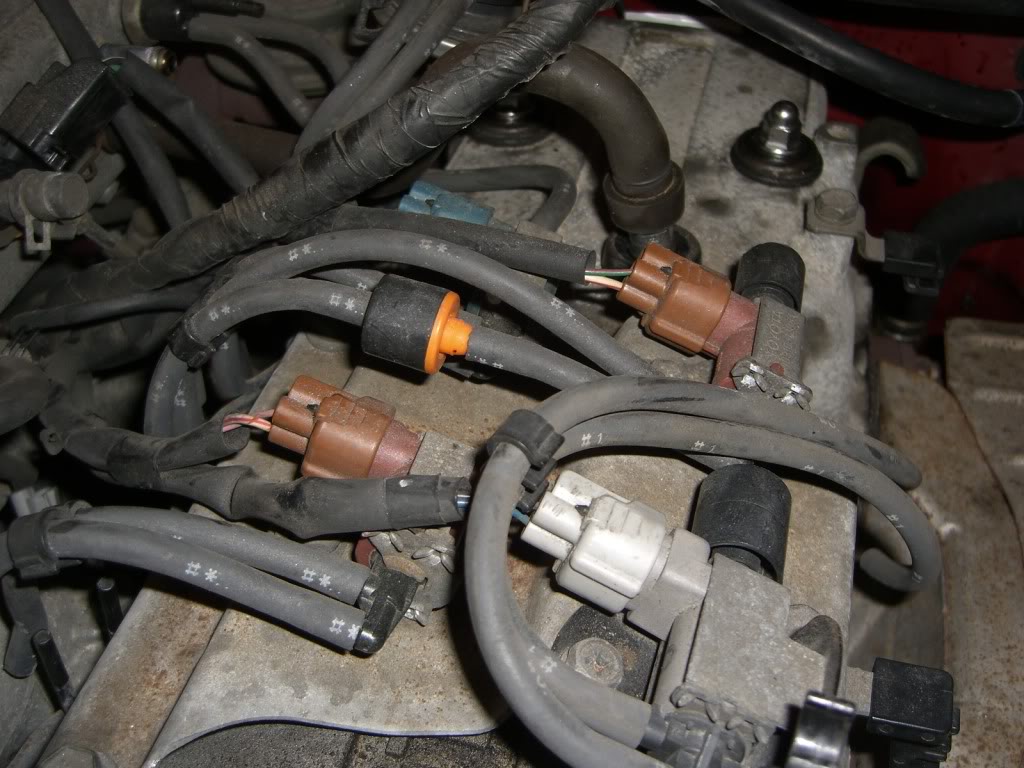
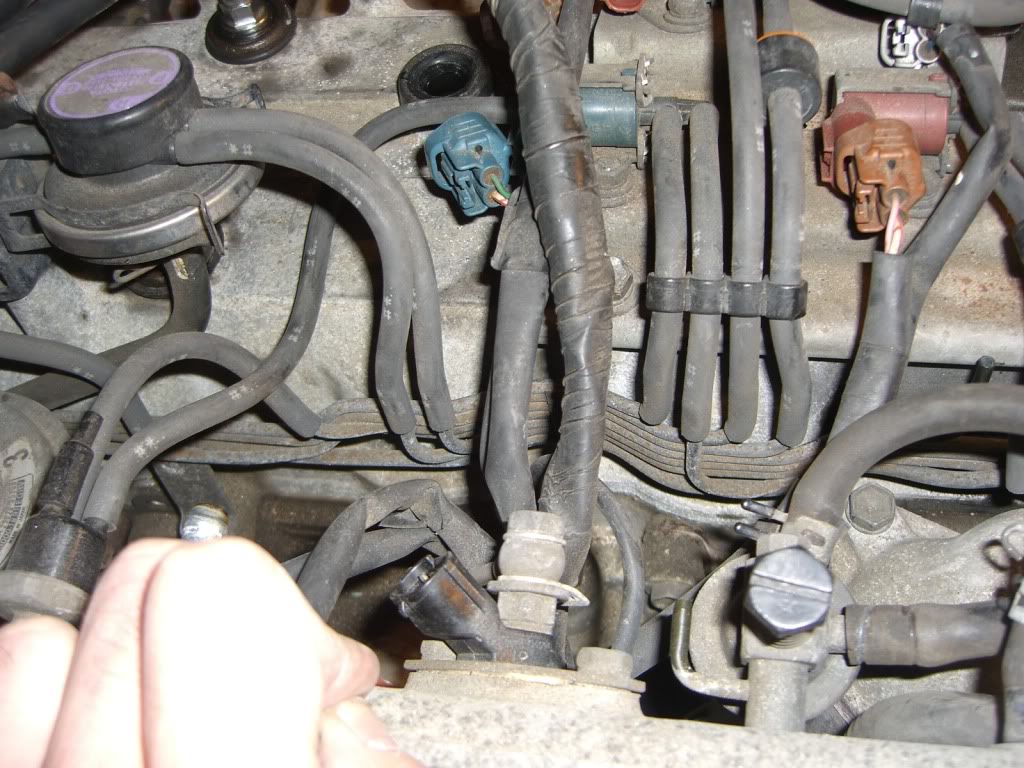
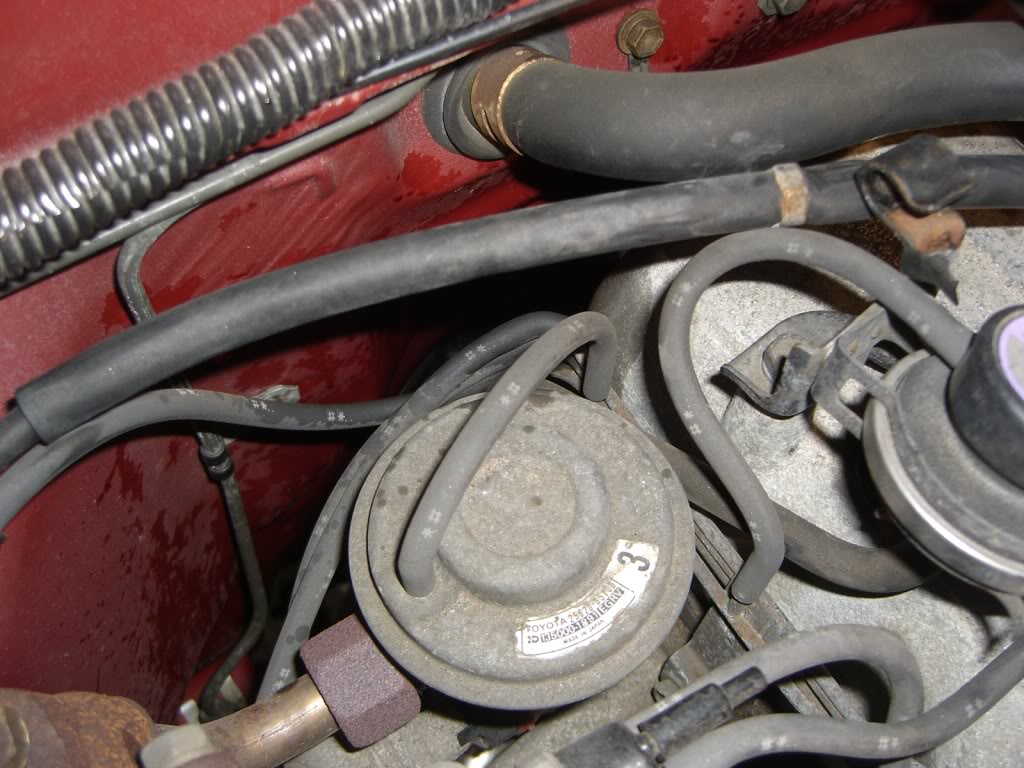
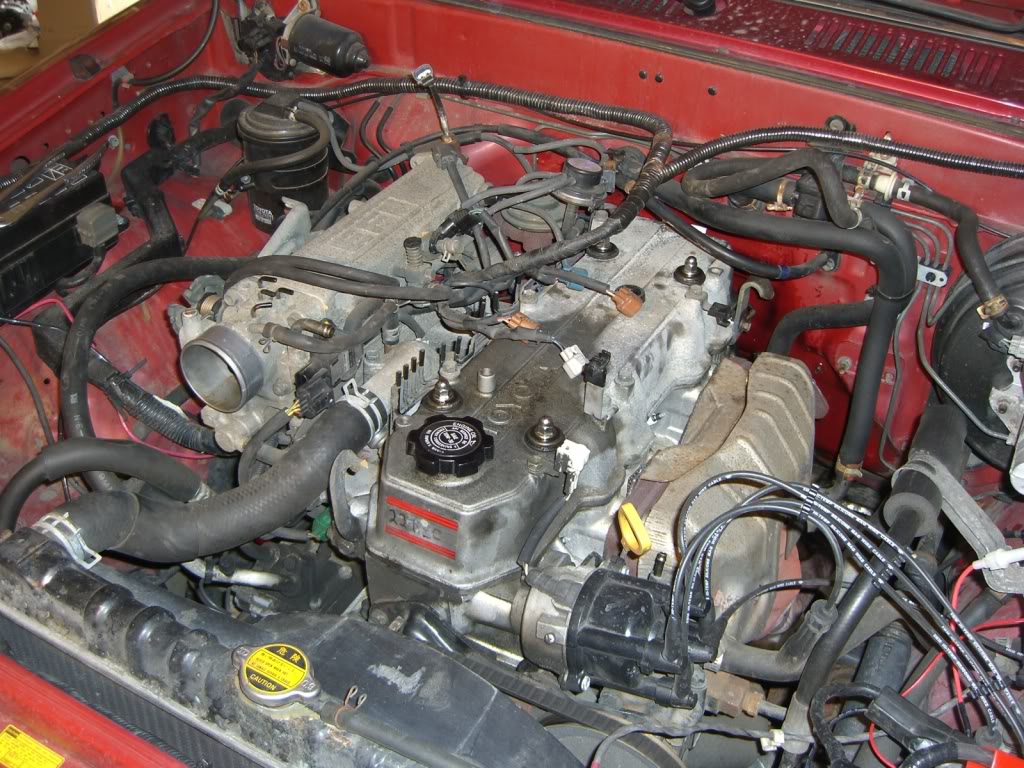
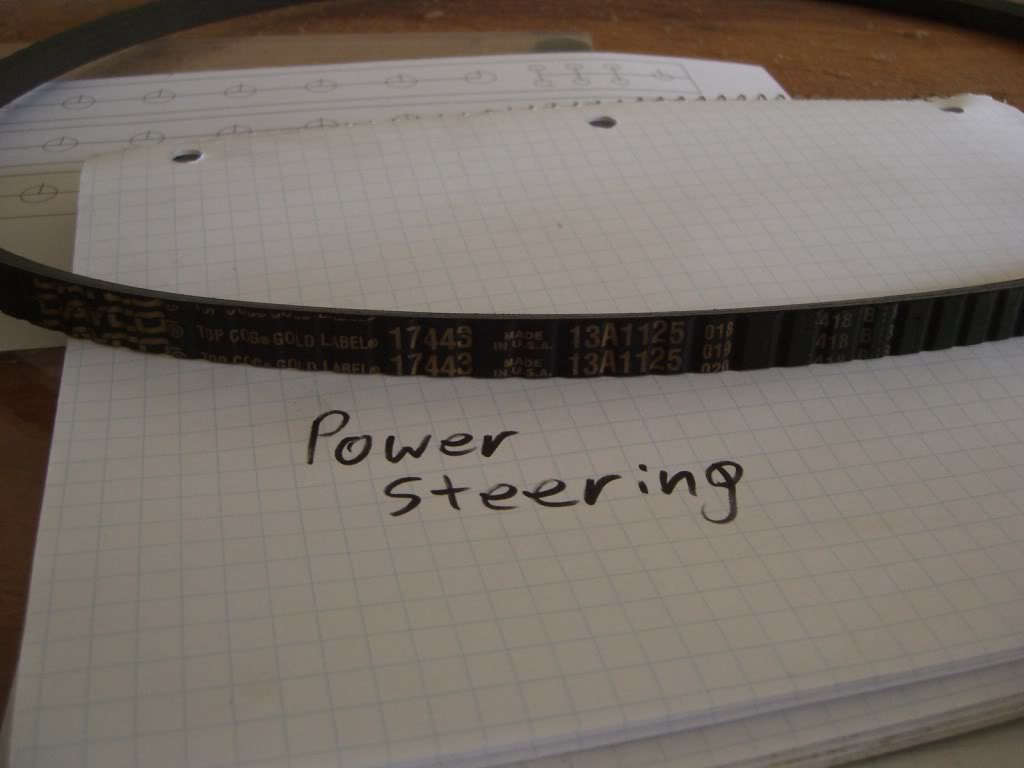
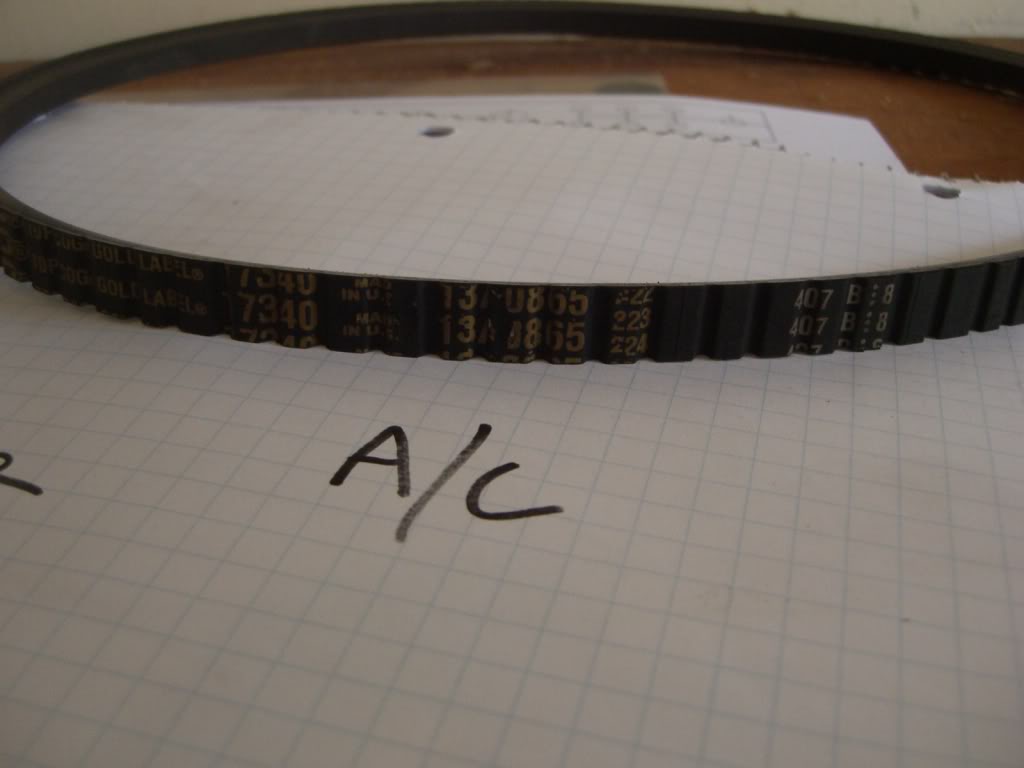
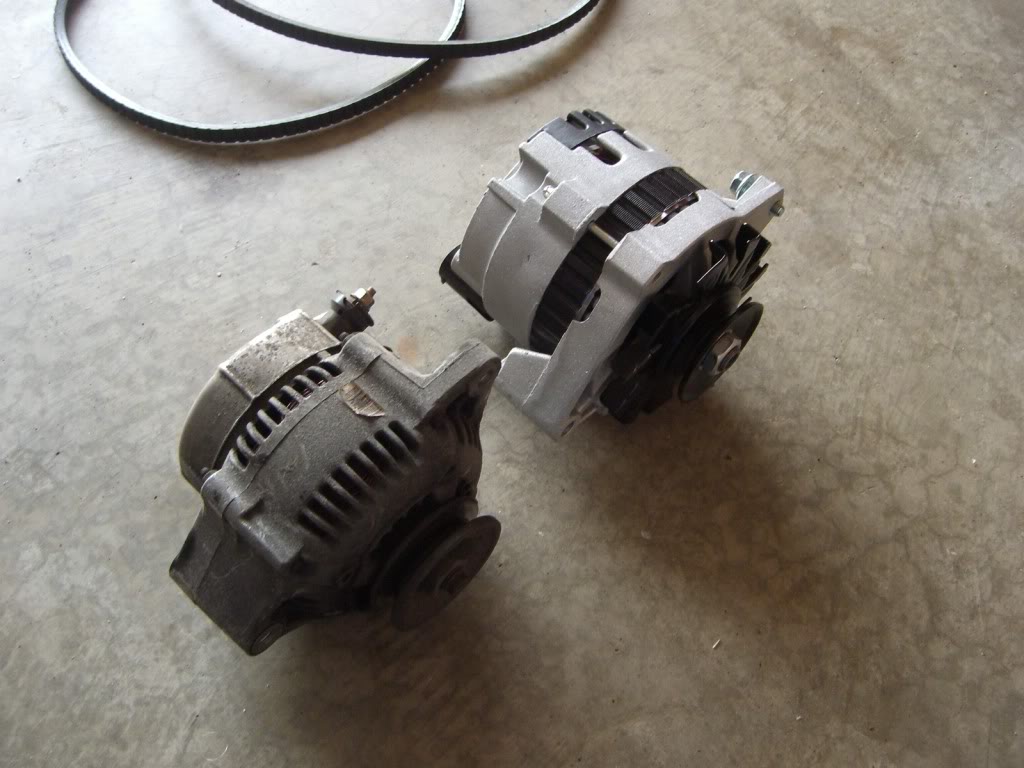
just got back... and do i have pictures for you!
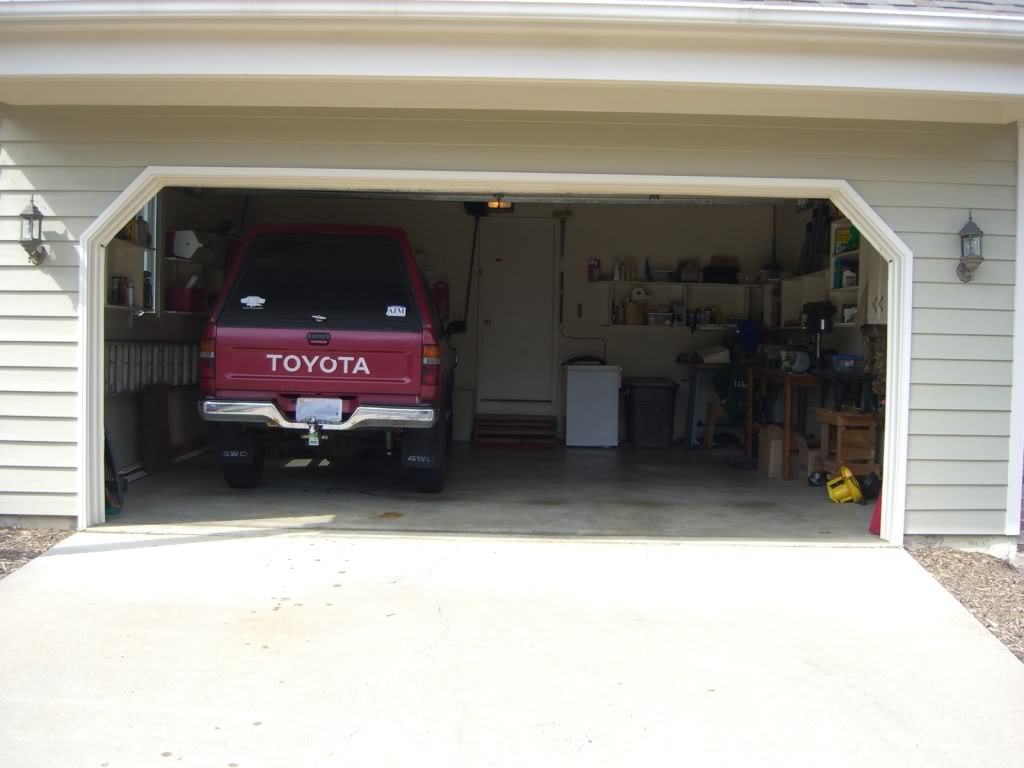
new home, for the time being
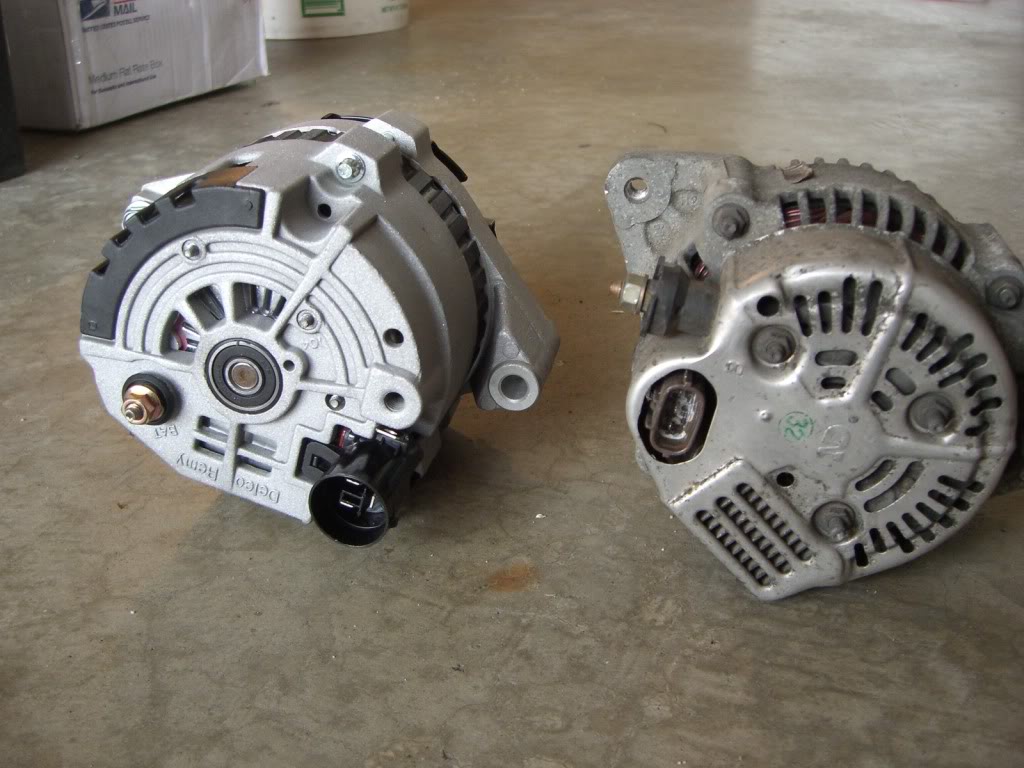
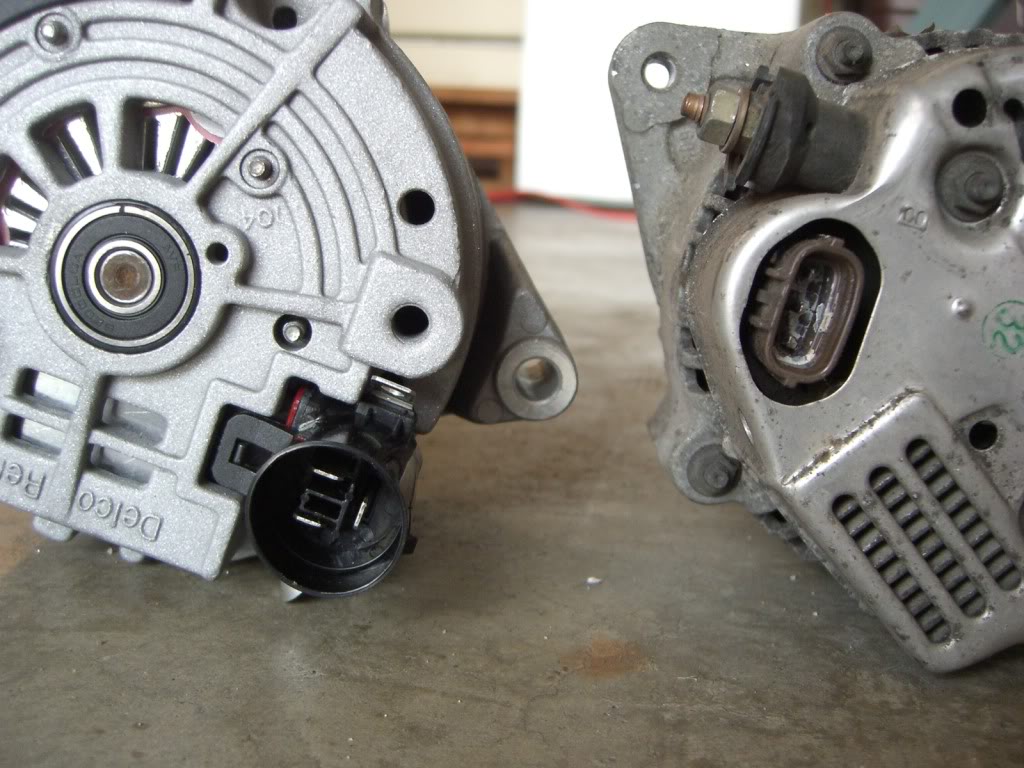
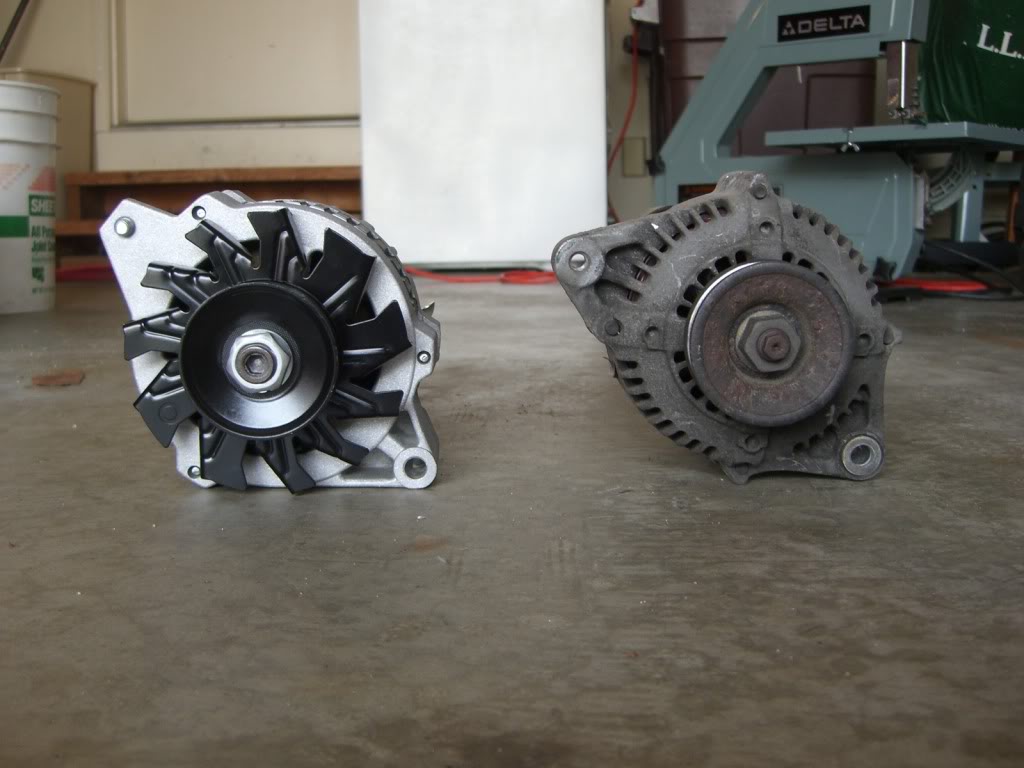
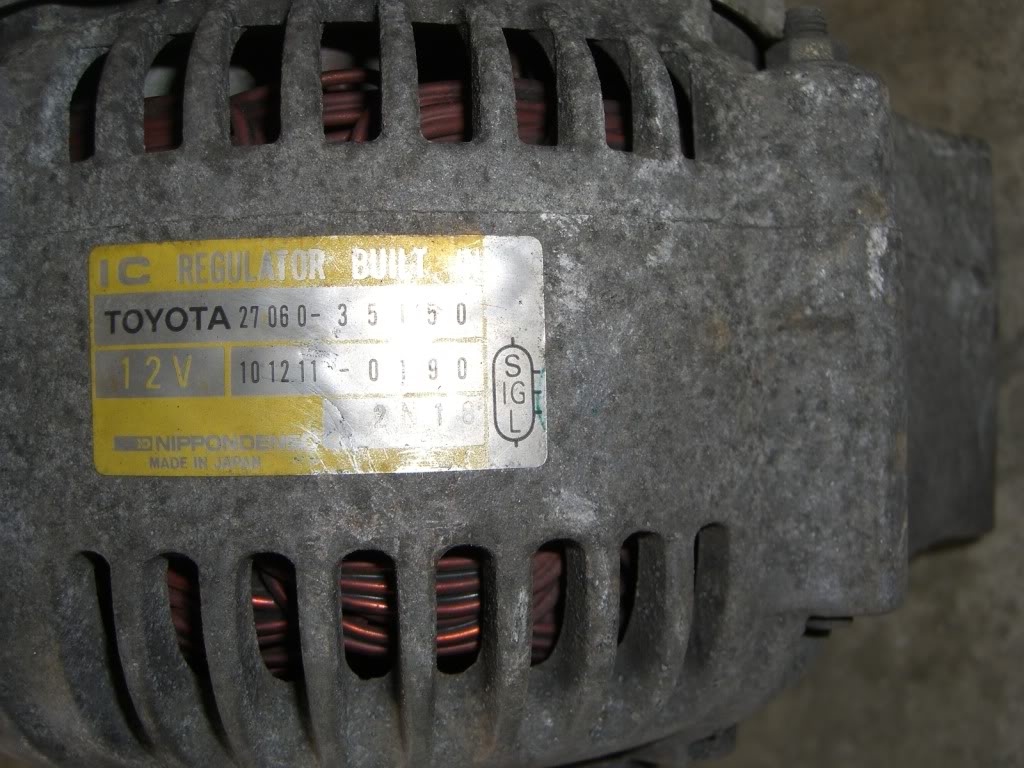
alternators side-by-side. i got the wrong adapter

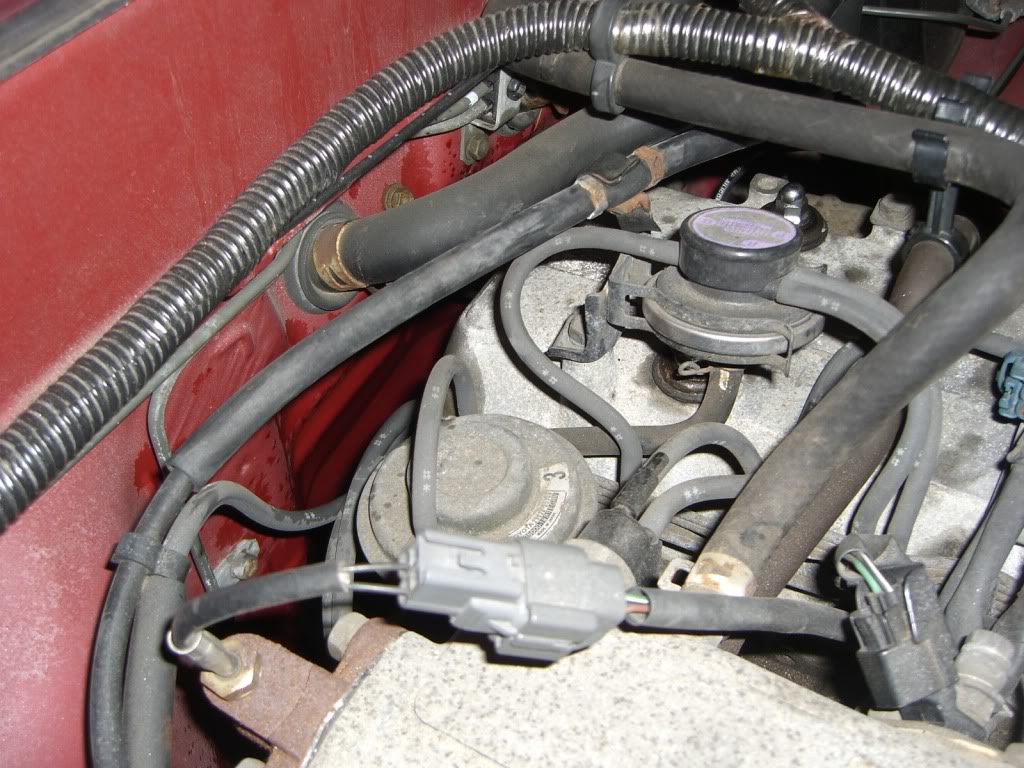
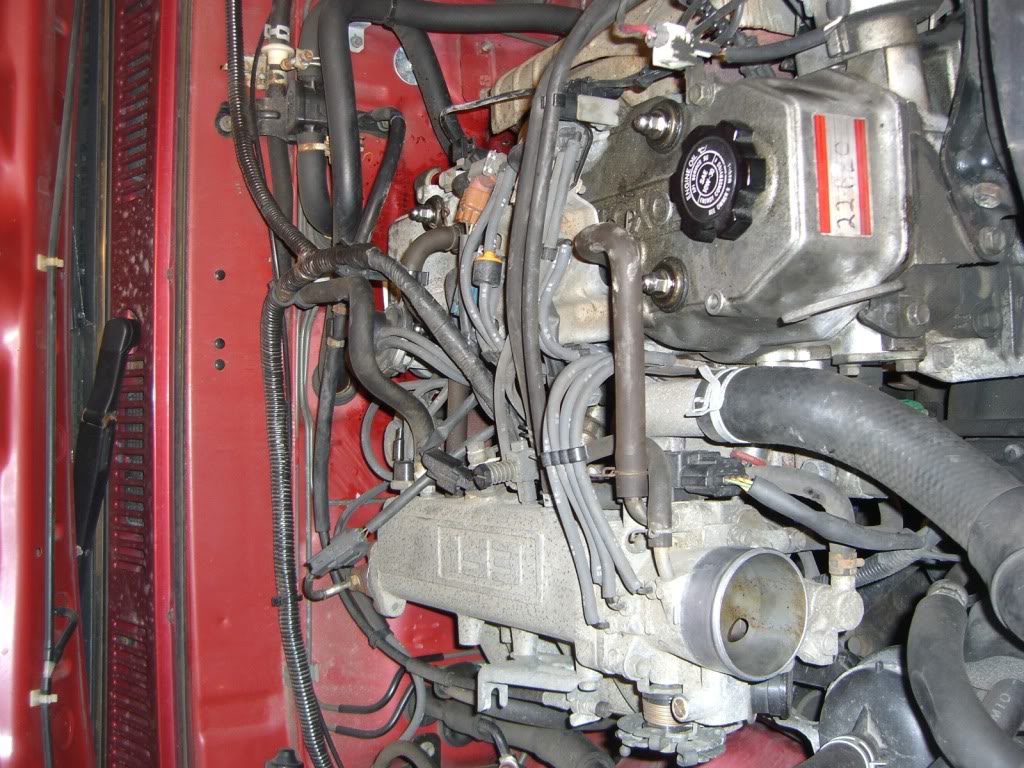
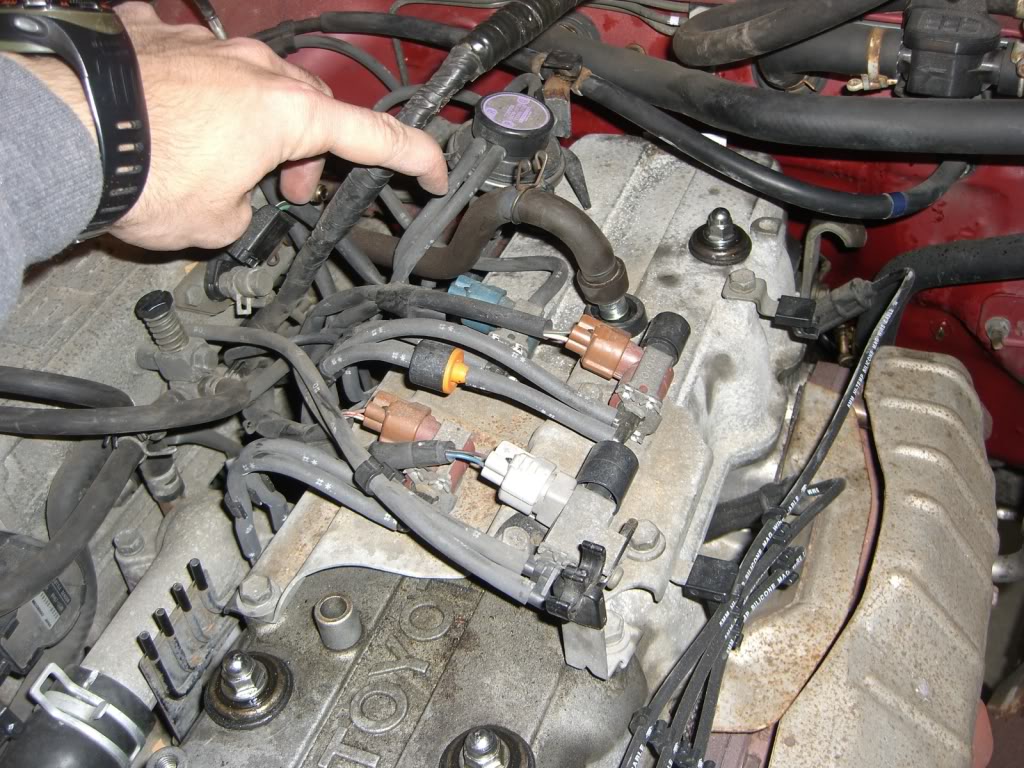
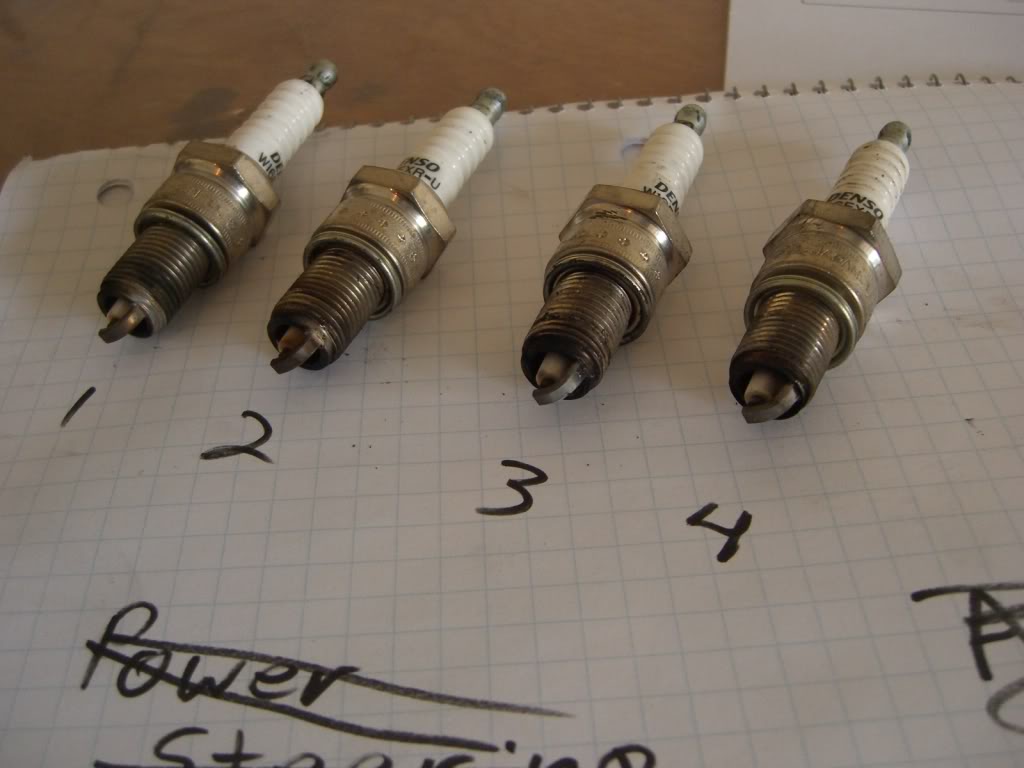
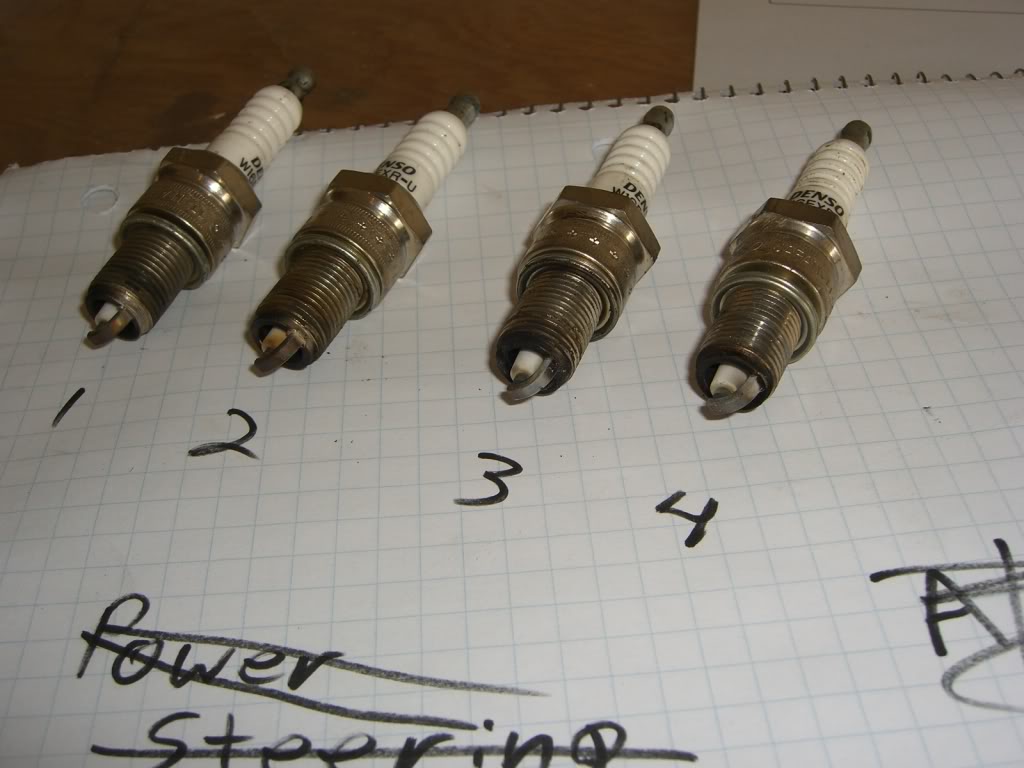
spark plugs out
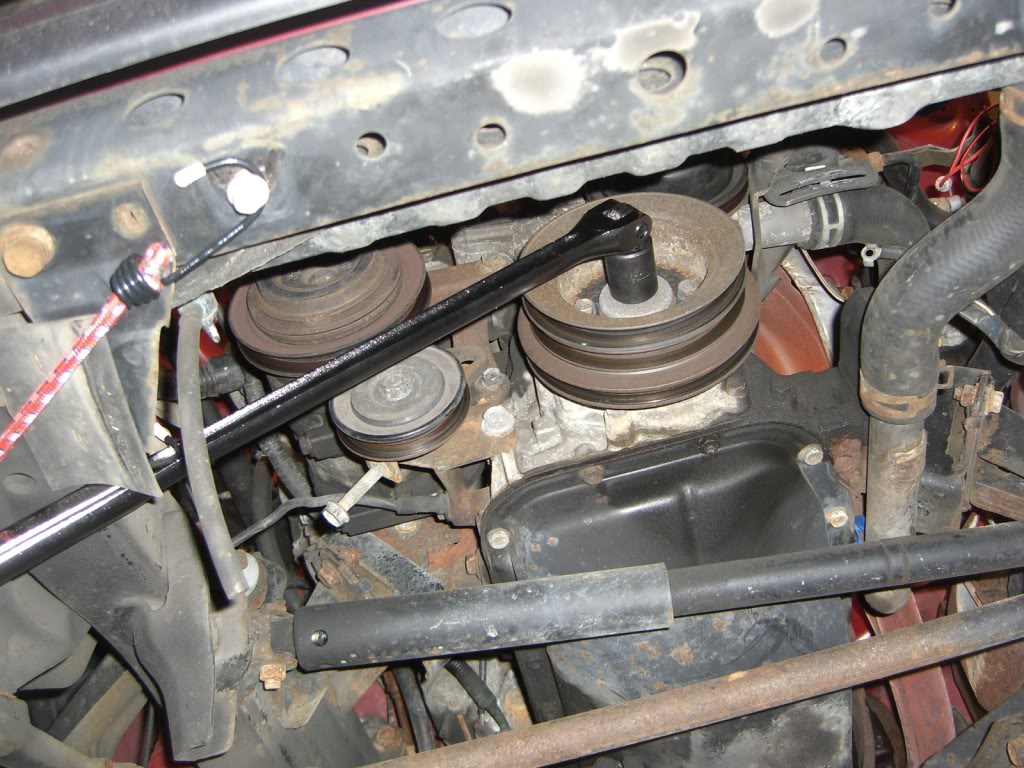
cracked the bolt loose (starter trick). it worked oh so well. highly recomended
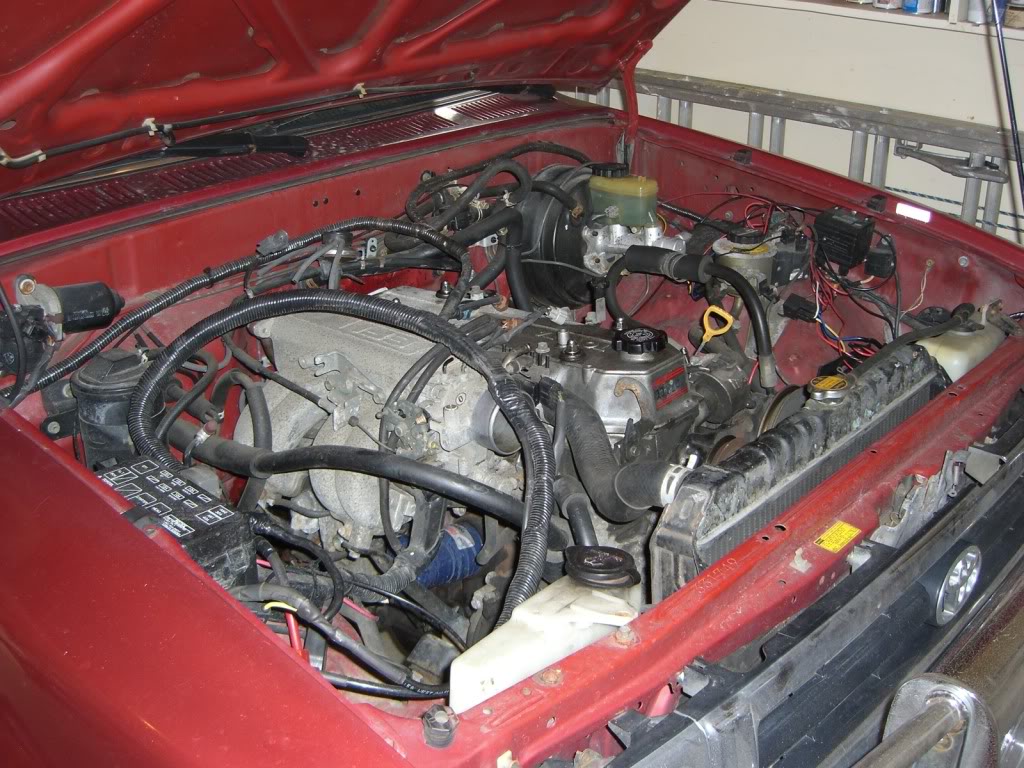
after a hard day's work
new home, for the time being
alternators side-by-side. i got the wrong adapter
spark plugs out
cracked the bolt loose (starter trick). it worked oh so well. highly recomended
after a hard day's work
Apr 3, 2011 | 03:42 PM
#94
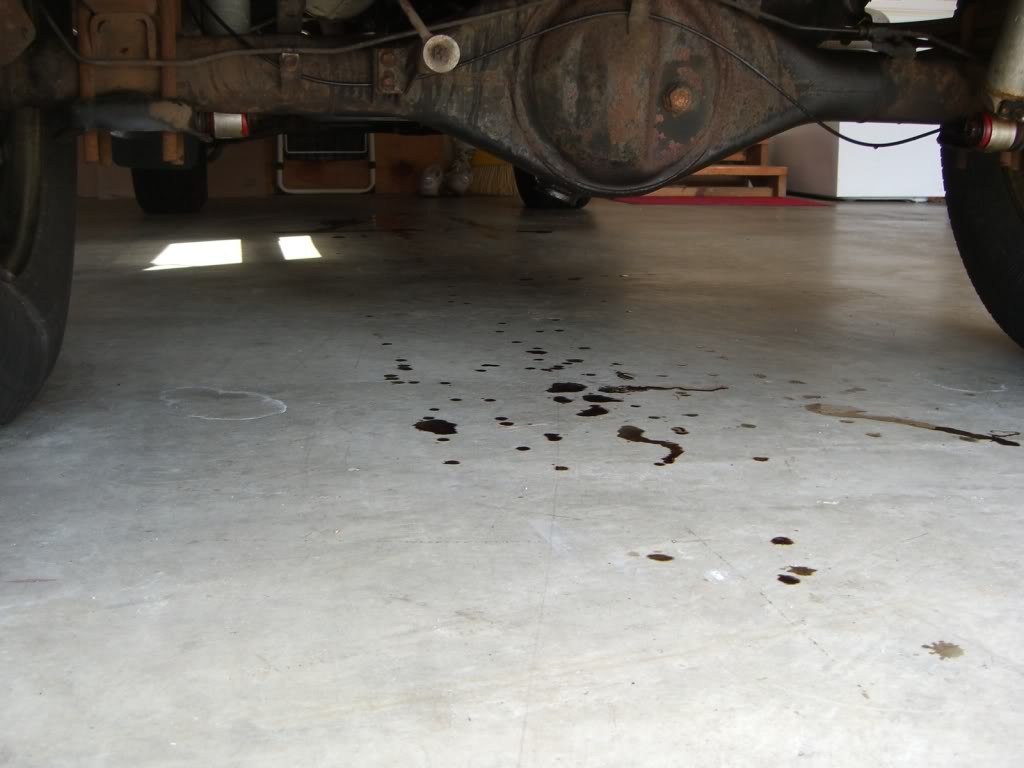
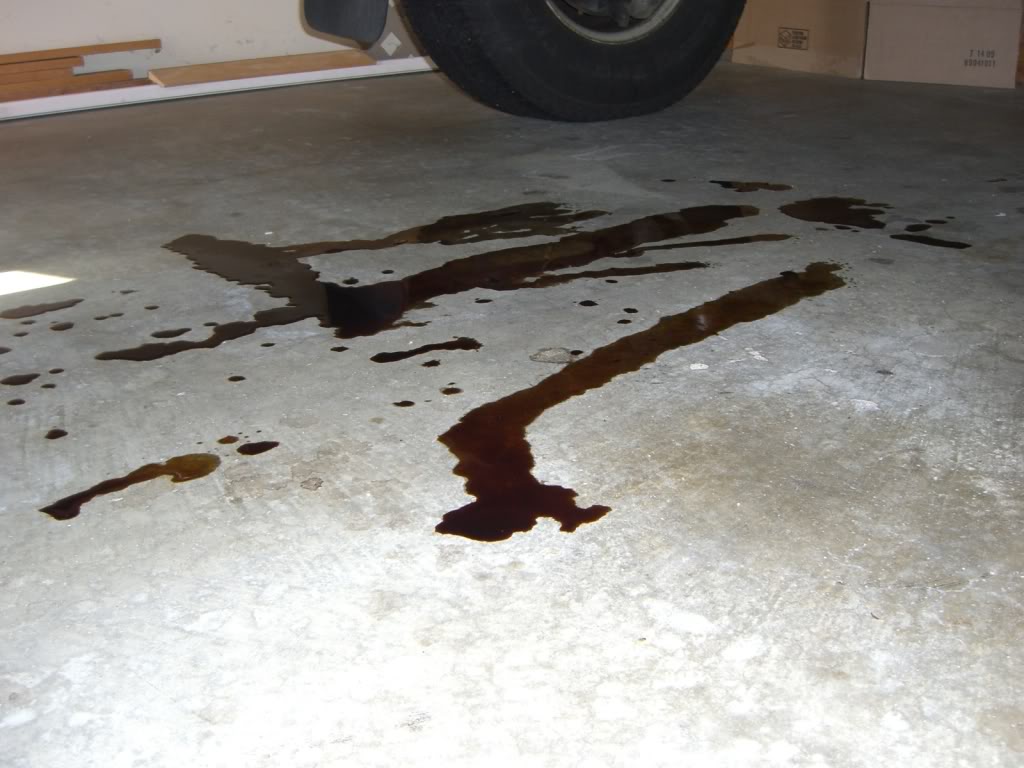
i would have taken more pictures, but the battery in the camera was dying. tomorrow i'm going back to clean up the oil, and take a few tools up. but i'll have plenty of time next weekend to finally drain all the fluids and take more out (ie- radiator, steering stuff, maybe soak the diff in pb blaster) and work on the buss bars. the drill press at her place gave out on me as soon as i turned it on. oh well, i'll have to dig out my dad's, then
 Apr 3, 2011 | 06:24 PM
#96
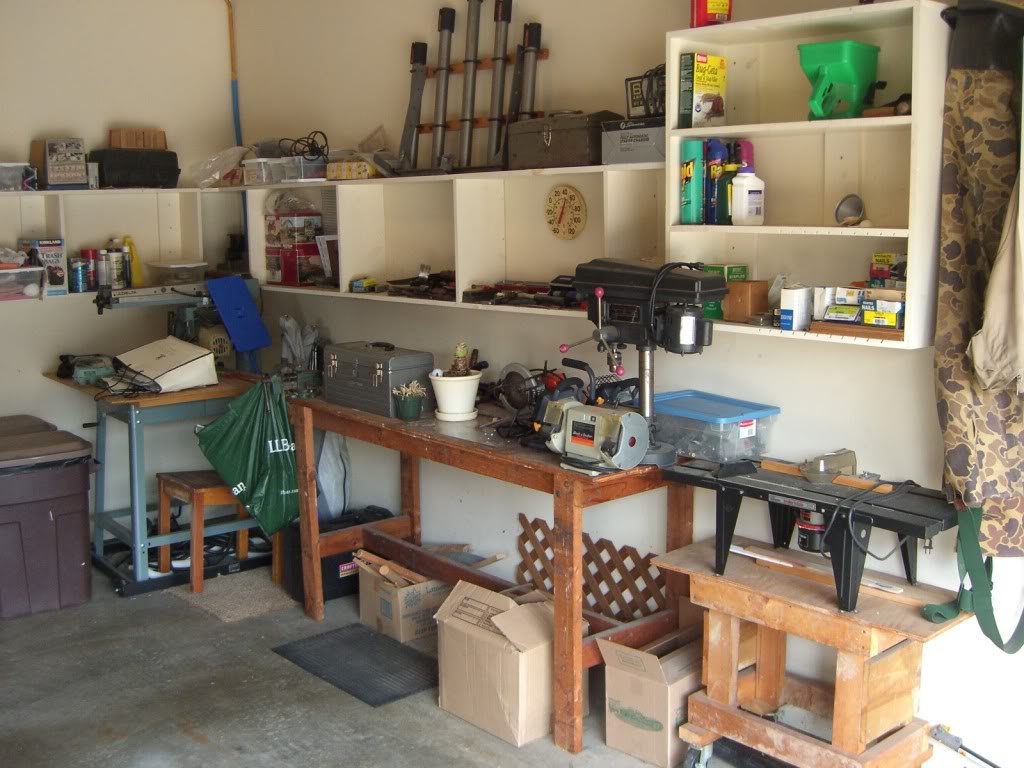
it's great having the truck up there... it's nice and open, and there's a work bench! woo! believe it or not, this is the first time i've been able to work on a car in a garage. i like it! haha
Apr 3, 2011 | 06:33 PM
#98
aaand just found the adapters i need. both of these are the same, but one has a bracket and is cheaper... i think i can remove the bracket and save a few bucks 
http://store.alternatorparts.com/partno4618061.aspx
http://store.alternatorparts.com/wir...tyle-plug.aspx
edit: yeah, mark. i just ordered the new one. i'll look into returns later, but i think shipping will cost more than i'll get back
http://store.alternatorparts.com/partno4618061.aspx
http://store.alternatorparts.com/wir...tyle-plug.aspx
edit: yeah, mark. i just ordered the new one. i'll look into returns later, but i think shipping will cost more than i'll get back
Last edited by irab88; Apr 3, 2011 at 06:40 PM.


