
Another cheap (but tasteful) snorkel
 Jan 24, 2013 | 06:00 PM
#1
Thread Starter
Registered User
Joined: Apr 2012
Posts: 97
Likes: 0
From: Bonners Ferry ID
Another cheap (but tasteful) snorkel
After this incident this spring I decided that a snorkel would be a nice feature

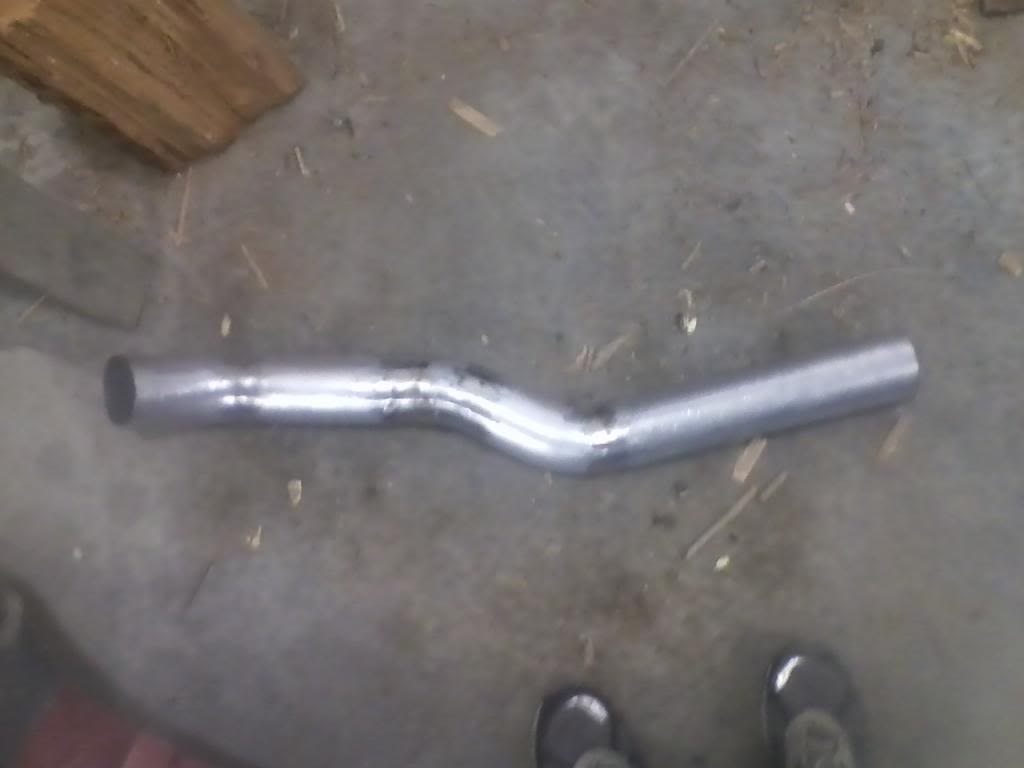
This fall I did the 1uzfe swap so I dont know how much of this will apply to other engines. the 1uz has an inline MAF on the passenger side. Goal for this project was to keep it cheap but strong and good looking. The ARB ones are spendy and on the wrong side for me. Then it is still plastic which is an issue on the brushy trails around here. I decided on 3" exhaust pipe. For materials I got
$20 exhaust u bend(already had a straight chunk of pipe)
$20 3" flexible intake hose(saw the same stuff way cheaper sold as RV sewer hose)
$25 fiberglass kit to make a filter "hat"
and I reused my 3" cone filter
Jan 24, 2013 | 06:08 PM
#2
Thread Starter
Registered User
Joined: Apr 2012
Posts: 97
Likes: 0
From: Bonners Ferry ID
first thing I did is fab a maf to 3" adapter
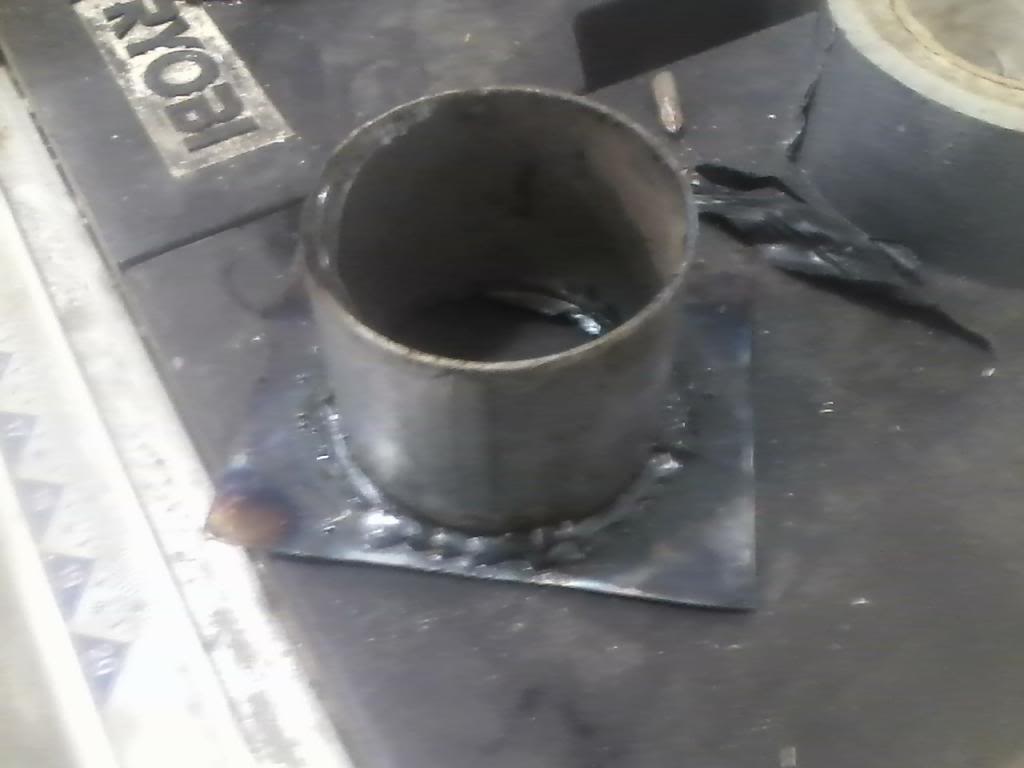
I welded a short piece of exhaust to some sheet steel. I then used a file to deburr both sides.
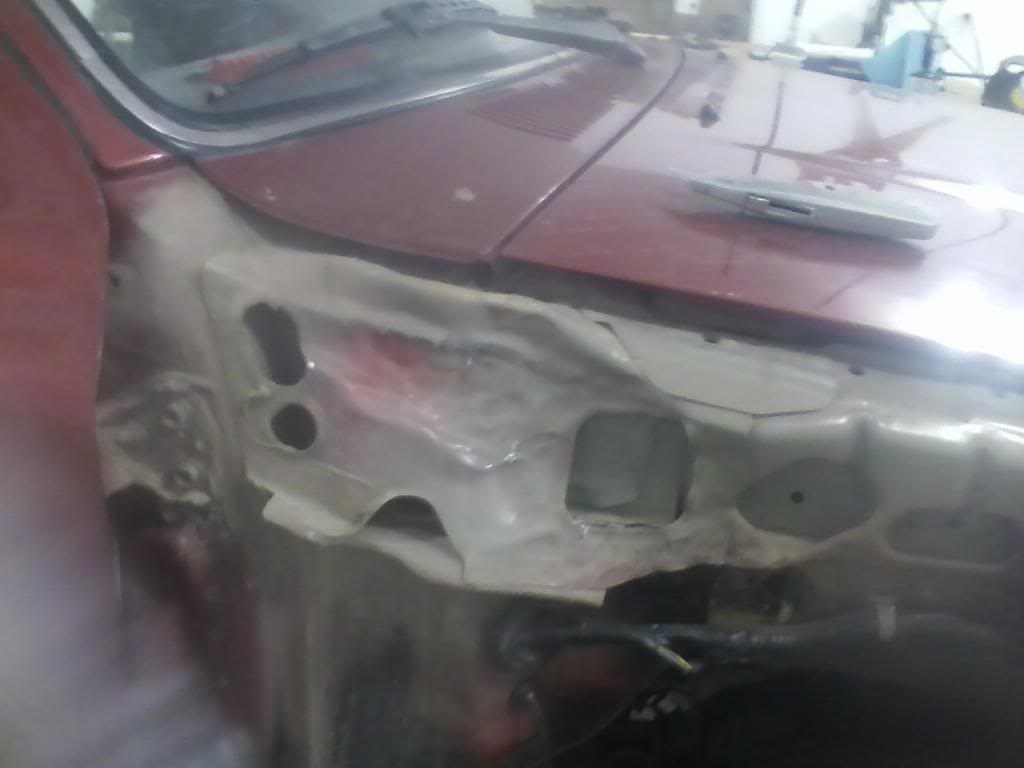
Then I marked out a hole in the inner fender
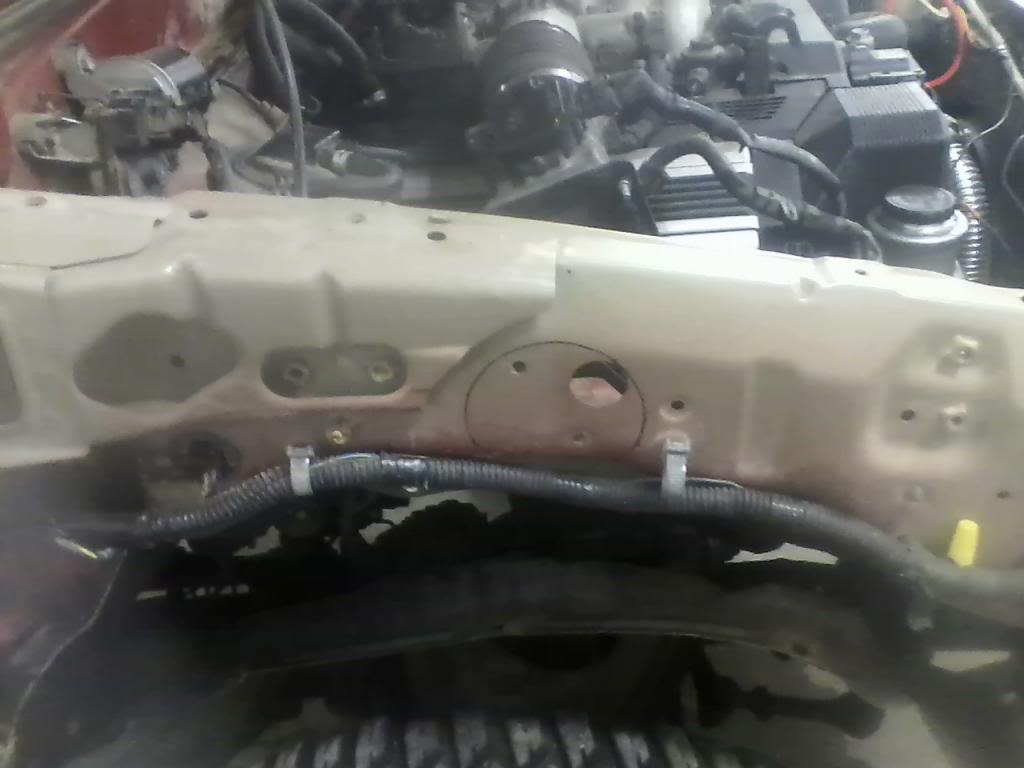
And hacked it out with a sabersaw
I slit a piece of vacuum hose to use as trim
I welded a short piece of exhaust to some sheet steel. I then used a file to deburr both sides.
Then I marked out a hole in the inner fender
And hacked it out with a sabersaw
I slit a piece of vacuum hose to use as trim
Jan 24, 2013 | 06:20 PM
#3
Thread Starter
Registered User
Joined: Apr 2012
Posts: 97
Likes: 0
From: Bonners Ferry ID
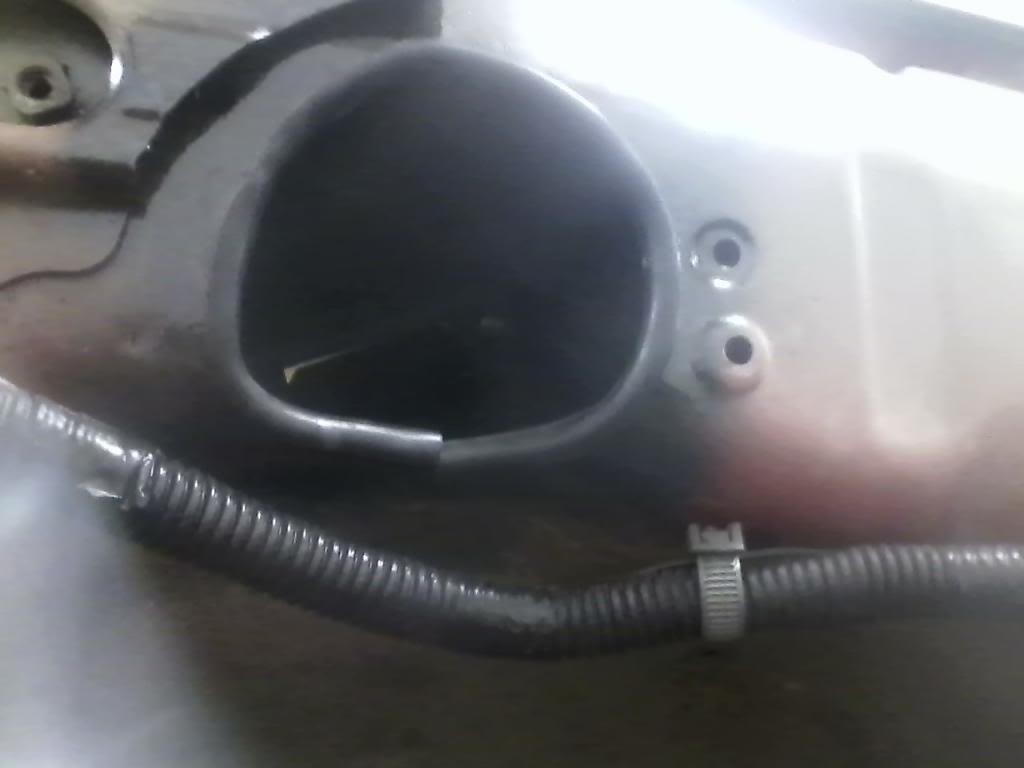
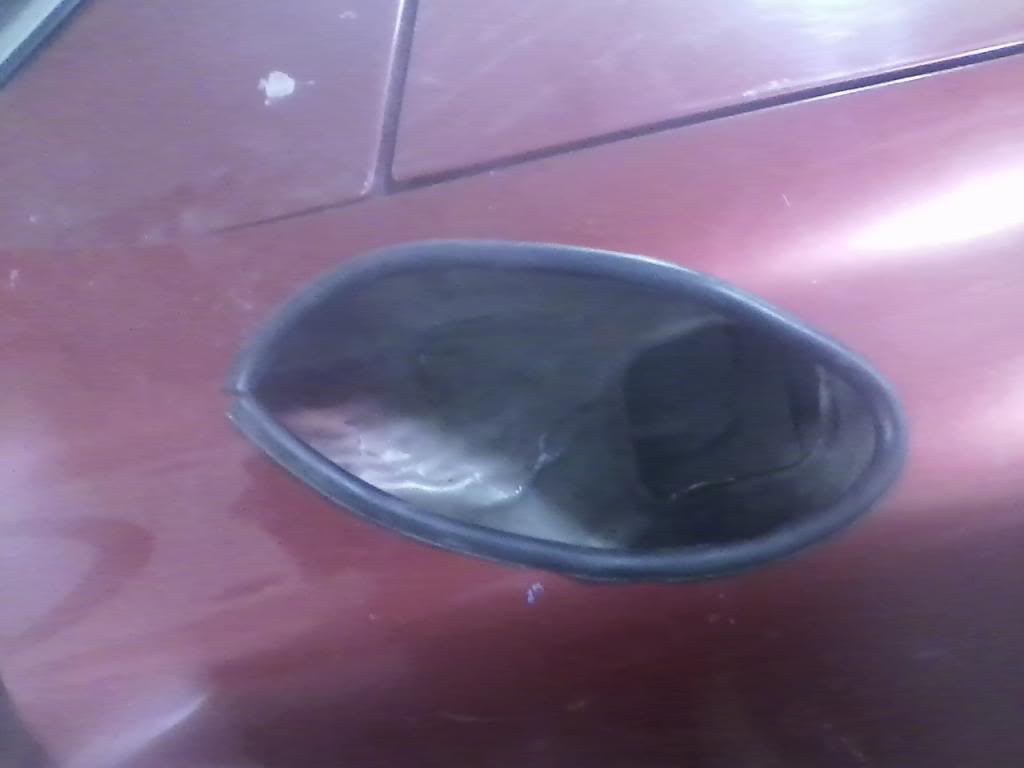
So next I cut the hole in the fender. I marked out the hole by sighting through a piece of tube. Maybe someone else has a better way but it worked for me. I used slit vacuum hose again.
I had to bash the inner fender to fit the pipe
after putting the fender back on I welded the exhaust how I wanted it, ground the welds flush and used a flapper wheel to smooth everything
Tomorrow I will post more
I had to bash the inner fender to fit the pipe
after putting the fender back on I welded the exhaust how I wanted it, ground the welds flush and used a flapper wheel to smooth everything
Tomorrow I will post more


 Jan 26, 2013 | 07:55 PM
#5
Thread Starter
Registered User
Joined: Apr 2012
Posts: 97
Likes: 0
From: Bonners Ferry ID
I am missing a pic or 2 but what I did is fab 3 brackets out of 3/16" and paint it black. I used self tappers to hold it down and seems sturdy enough but can go to riv-nuts if needed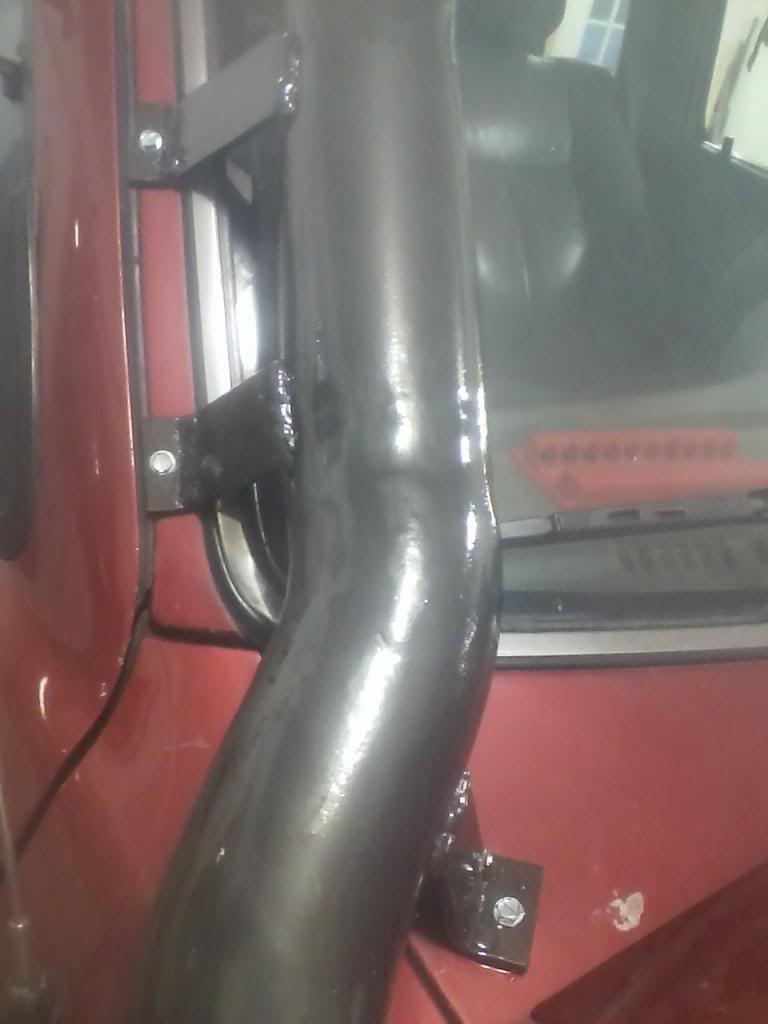

The flex hose runs through the fender to the bottom of snorkel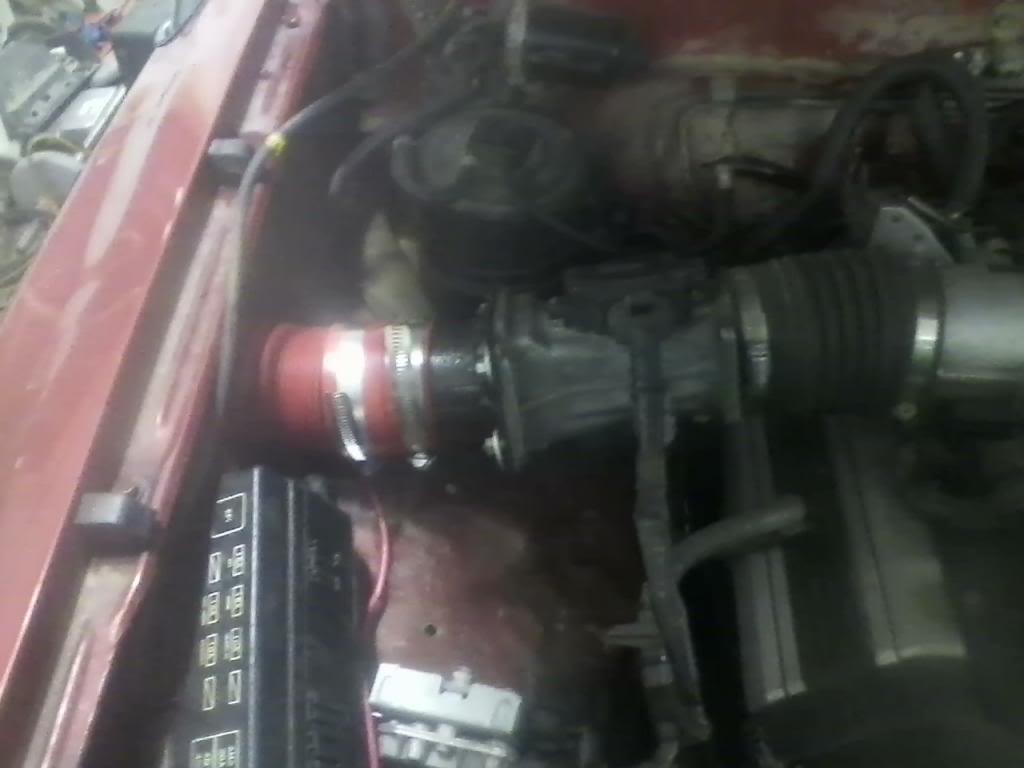
The flex hose runs through the fender to the bottom of snorkel
Jan 26, 2013 | 08:00 PM
#6
Thread Starter
Registered User
Joined: Apr 2012
Posts: 97
Likes: 0
From: Bonners Ferry ID
Here is how it sits now. I am waiting on a fiberglass kit to make a hat for the filter but it is runable like this. Had to move my antenna but that was easy, just drilled a new hole and bent the braket holding the base of the antenna.
 .
.
.
Trending Topics
Jan 26, 2013 | 08:59 PM
#9
Registered User
Joined: Jul 2009
Posts: 727
Likes: 1
From: Rocky Mtn. House AB, Canada
!!!!! red flags all over this one. That inner fender piece you bashed in with a hammer provied body support if your ever in a front end collision or roll over. Those pillars are designed to crush at certain points and absorb energy so its doesn't transfer into the cab and into you and your passanger. By denting it you've destroyed exactly what it was designed to do...
 Jan 27, 2013 | 04:15 AM
#11
Registered User
Joined: Nov 2009
Posts: 2,025
Likes: 40
From: Northen Indiana
Snorkel looks GOOD!! Nice work on it. I would suggest waterproofing your electronics ( fuse panels, ecm etc etc ) if you plan on making water crossings a regular part of your 4wheeling routine... Keep up the good work
 Oct 14, 2013 | 04:39 PM
#16
Thread Starter
Registered User
Joined: Apr 2012
Posts: 97
Likes: 0
From: Bonners Ferry ID
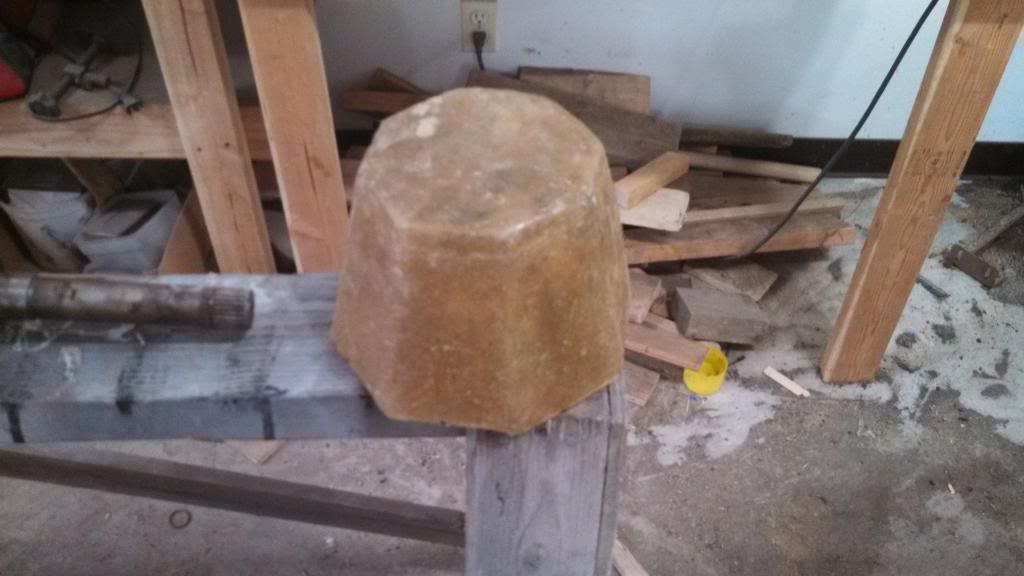
I know its been a long time but I kind of forgot to put up pictures of the finished product. Here's the fiberglass topper. It came out really well after some sanding and a couple coats of herculiner. It was my first time using fiberglass and so it was frusterating and messy but not horrible. Stay the heck away from fiberglass mat, it is what I used and not fun to work with. For the mold I just taped together cardboard and coated it in wax, popped right out. Sorry I don't have a better pic of it on but can get one if there is interest.
[IMG]
 [/IMG]
Oct 14, 2013 | 05:14 PM
[/IMG]
Oct 14, 2013 | 05:14 PM
#17
Registered User
Joined: Jul 2012
Posts: 139
Likes: 0
From: Landisburg, PA
Looks awesome man I've been wanting to attempt this for a little while now, but like all the other things I'd like to do it its kinda put on the back burner till I get more important things done. I'd like to see a close up of how the filter cover sits over the filter if you get the chance.


Thread
Thread Starter
Forum
Replies
Last Post
JookUpVandetti
86-95 Trucks & 4Runners
10
Sep 30, 2015 08:58 AM
Obmi
86-95 Trucks & 4Runners
9
Sep 24, 2015 08:10 AM


