
Redeth's 1989 4Runner Resurrection
 May 17, 2015 | 02:39 PM
#2581
Thread Starter
Registered User
Joined: Apr 2012
Posts: 2,817
Likes: 2
From: Los Angeles CA
May 18, 2015 | 11:08 AM
#2583
Registered User
Joined: Dec 2009
Posts: 2,762
Likes: 1
could be transmission problem but i heard the shifter bushing can cause it too. pick up a heavy duty one from marlin
https://www.marlincrawler.com/hardwa...-forward-shift
https://www.marlincrawler.com/hardwa...-forward-shift
May 18, 2015 | 03:39 PM
#2584
Thread Starter
Registered User
Joined: Apr 2012
Posts: 2,817
Likes: 2
From: Los Angeles CA
could be transmission problem but i heard the shifter bushing can cause it too. pick up a heavy duty one from marlin
https://www.marlincrawler.com/hardwa...-forward-shift
https://www.marlincrawler.com/hardwa...-forward-shift
Hey guys. Thanks for the replies. Toyo I replaced the shifter seat and the shifter tip as well. It did make the wobbling of the shifter more firm. But the gear pops out still. So I'm guessing this is gonna be a tranny problem like you guys said since I have already replaced the shifter components with heavy duty marlin ones.
May 18, 2015 | 05:15 PM
#2585
Registered User

Joined: Jan 2010
Posts: 3,795
Likes: 33
From: Bloodymore
My first 4runner dlx had the 1st gear pop out under load, that is definitely an internal issue with the trans. Shifting gears so it doesn't grind is good, but you are just nursing a bad trans from the sounds of your issues.
May 19, 2015 | 12:31 PM
#2586
Thread Starter
Registered User
Joined: Apr 2012
Posts: 2,817
Likes: 2
From: Los Angeles CA
Okay. I have a transmission shop near my home. They also work on 4x4 trans. I'll have to get a quote to do my tranny and also I may as well buy the heavy duty marlin clutch while I'm at it since it's gonna be dropped already.
May 19, 2015 | 09:04 PM
#2587
Thread Starter
Registered User
Joined: Apr 2012
Posts: 2,817
Likes: 2
From: Los Angeles CA
So I just got done ordering my Heavy Duty 1200 clutch kit from Marlin Crawler. IT isn't the competition one that is rated 1600 that people sometimes complain about. I'm sure I'll be okay with the 1200 cutch.
This one was $267.84 shipping included.
Here's the link to that HD clutch
https://www.marlincrawler.com/clutch...-lb-clutch-kit
The reason I'm changing it out is because since I gotta change out the transmission I might as well do the clutch as well since I'm gonna have it all out and exposed anyway. And what better clutch to go with then a Marlin crawler HD clutch right?

Also I have a local transmission shop working on a R150F transmission for me. IT should be ready for me to pickup tomorrow. The guy is selling the rebuilt transmission at $450. Since the 4runner is my only vehicle I told the guy I needed to drive the transmission back home and swap it out then return the core to him. Which he didn't want. But he worked with me considering I was a full time student and availability to have him do all the work on his schedule would have been impossible. So he let me take the trans with a $100 core charge. So i'll pick it up either tomorrow or Friday for $550 then get my 100 back once I return the old one to him.
Another thing I am getting is a resurfaced flywheel. the Marlin crawler one cost 100 for a new one. But I gotta save some kind of money so my girls uncles auto shop cut me a deal buy selling me a used/resurfaced flywheel for only $45. I just gotta give them the core when im done with the swap.
Found some helpful videos of ERIC THE CAR GUY on youtube doing a clutch change on a ford focus. I know it isn't the same vehicle the its the same concept. and at least I can see how a clutch is installed.
Part 1
Part 2
Part 3
Here's some other helpful ones that explain pretty good :
After watching all these videos it seems like is gonna be pretty straight forward. I think the hardest part is gonna be getting the trans off and back on using a regular jack. I called a few local stores and nobody rents a transmission jack. so ill have to see if I can get some man power to help me out balance the transmission on the jack. I really wish I would have ordered that clutch with the expedited shipping. just so I could get started on doing this job over the 3 day weekend. That would have helped out a bunch. So right now I'm just hoping that the package from Marlin Crawler shows up fairly quick since Its coming from Fresno Ca and i'm in Los Angeles CA. We'll see. I'll post up pix of everything as I get it and put up a review on that marlin clutch. I drive in crazy Los angeles traffic 20 miles back home every day so i'll definitely be able to tell if I like or hate it quick haha.
Last edited by Redeth005; May 19, 2015 at 09:06 PM.
May 19, 2015 | 09:34 PM
#2588

Registered User
Joined: Mar 2013
Posts: 1,060
Likes: 48
Nice idea with the parts! And yes you nailed it with the concern about the transmission on a normal jack. My friend swapped in a 12ht diesel into his fj60 and we wrestled his transmission back in with a floor jack on gravel for literally 3 hours! haha was probably the greatest the low point of my toyota wrenching days. Your truck is probably lifted more which should help a bit. I'd say maybe make a custom mount for the jack stand if possible cause that would save so much time.
May 20, 2015 | 03:30 AM
#2589
Registered User
Joined: Jan 2010
Posts: 3,795
Likes: 33
From: Bloodymore
Get two decent ratchet straps and sling them around the frame and under the trans. This will let you disconnect the trans while the straps hold it up. Once it's loose you can lower it to the jack. Then reverse order for install. Or lower it to a set of Jack stands then onto the jack. The ratchet straps will let you wiggle and move the trans back aways from the engine without balancing it on a jack if you don't have any help.
May 20, 2015 | 04:01 AM
#2590
Registered User
Joined: Apr 2013
Posts: 478
Likes: 4
From: Louisiana
x2. I borrowed a buddys homemade transmission mount that used a regular jack. All it consisted of was a square tubing frame with some bracing in the middle (all made of scrap he had at his house). I used ratchet straps to hold the trans to the mount.
May 20, 2015 | 09:18 PM
#2591
Thread Starter
Registered User
Joined: Apr 2012
Posts: 2,817
Likes: 2
From: Los Angeles CA
Get two decent ratchet straps and sling them around the frame and under the trans. This will let you disconnect the trans while the straps hold it up. Once it's loose you can lower it to the jack. Then reverse order for install. Or lower it to a set of Jack stands then onto the jack. The ratchet straps will let you wiggle and move the trans back aways from the engine without balancing it on a jack if you don't have any help.
 .
. I do have some left over steel as well from the time I built my bumpers. I may be able to weld something together really quick. We'll see what I pick. Hoping I can find the 2 big ratchet straps before the weekend.
May 20, 2015 | 09:26 PM
#2592
Thread Starter
Registered User
Joined: Apr 2012
Posts: 2,817
Likes: 2
From: Los Angeles CA
So I picked up this transmission today. Semi local transmission shop About 6-7 miles away from me in Compton Ca. This guy has a massive transmission shop. I think he may be a supplier to mechanics all around in our area because it looked like a freekin' warehouse of transmissions, gears, tools a a crap load of other stuff. Anyway this is a rebuilt Toyota R150F Transmission for the 3VZE it costed $450 and it was about $100 core charge till I take my current one back. I get a 6 month guarantee.
All that is left is to pick up the resurfaced flywheel at my girlfriends uncles auto shop and wait for the Heavy Duty Marlin Crawler Clutch to come in the mail. It's expected to arrive this friday. So looks like I'll be wrenching on the truck all day Saturday
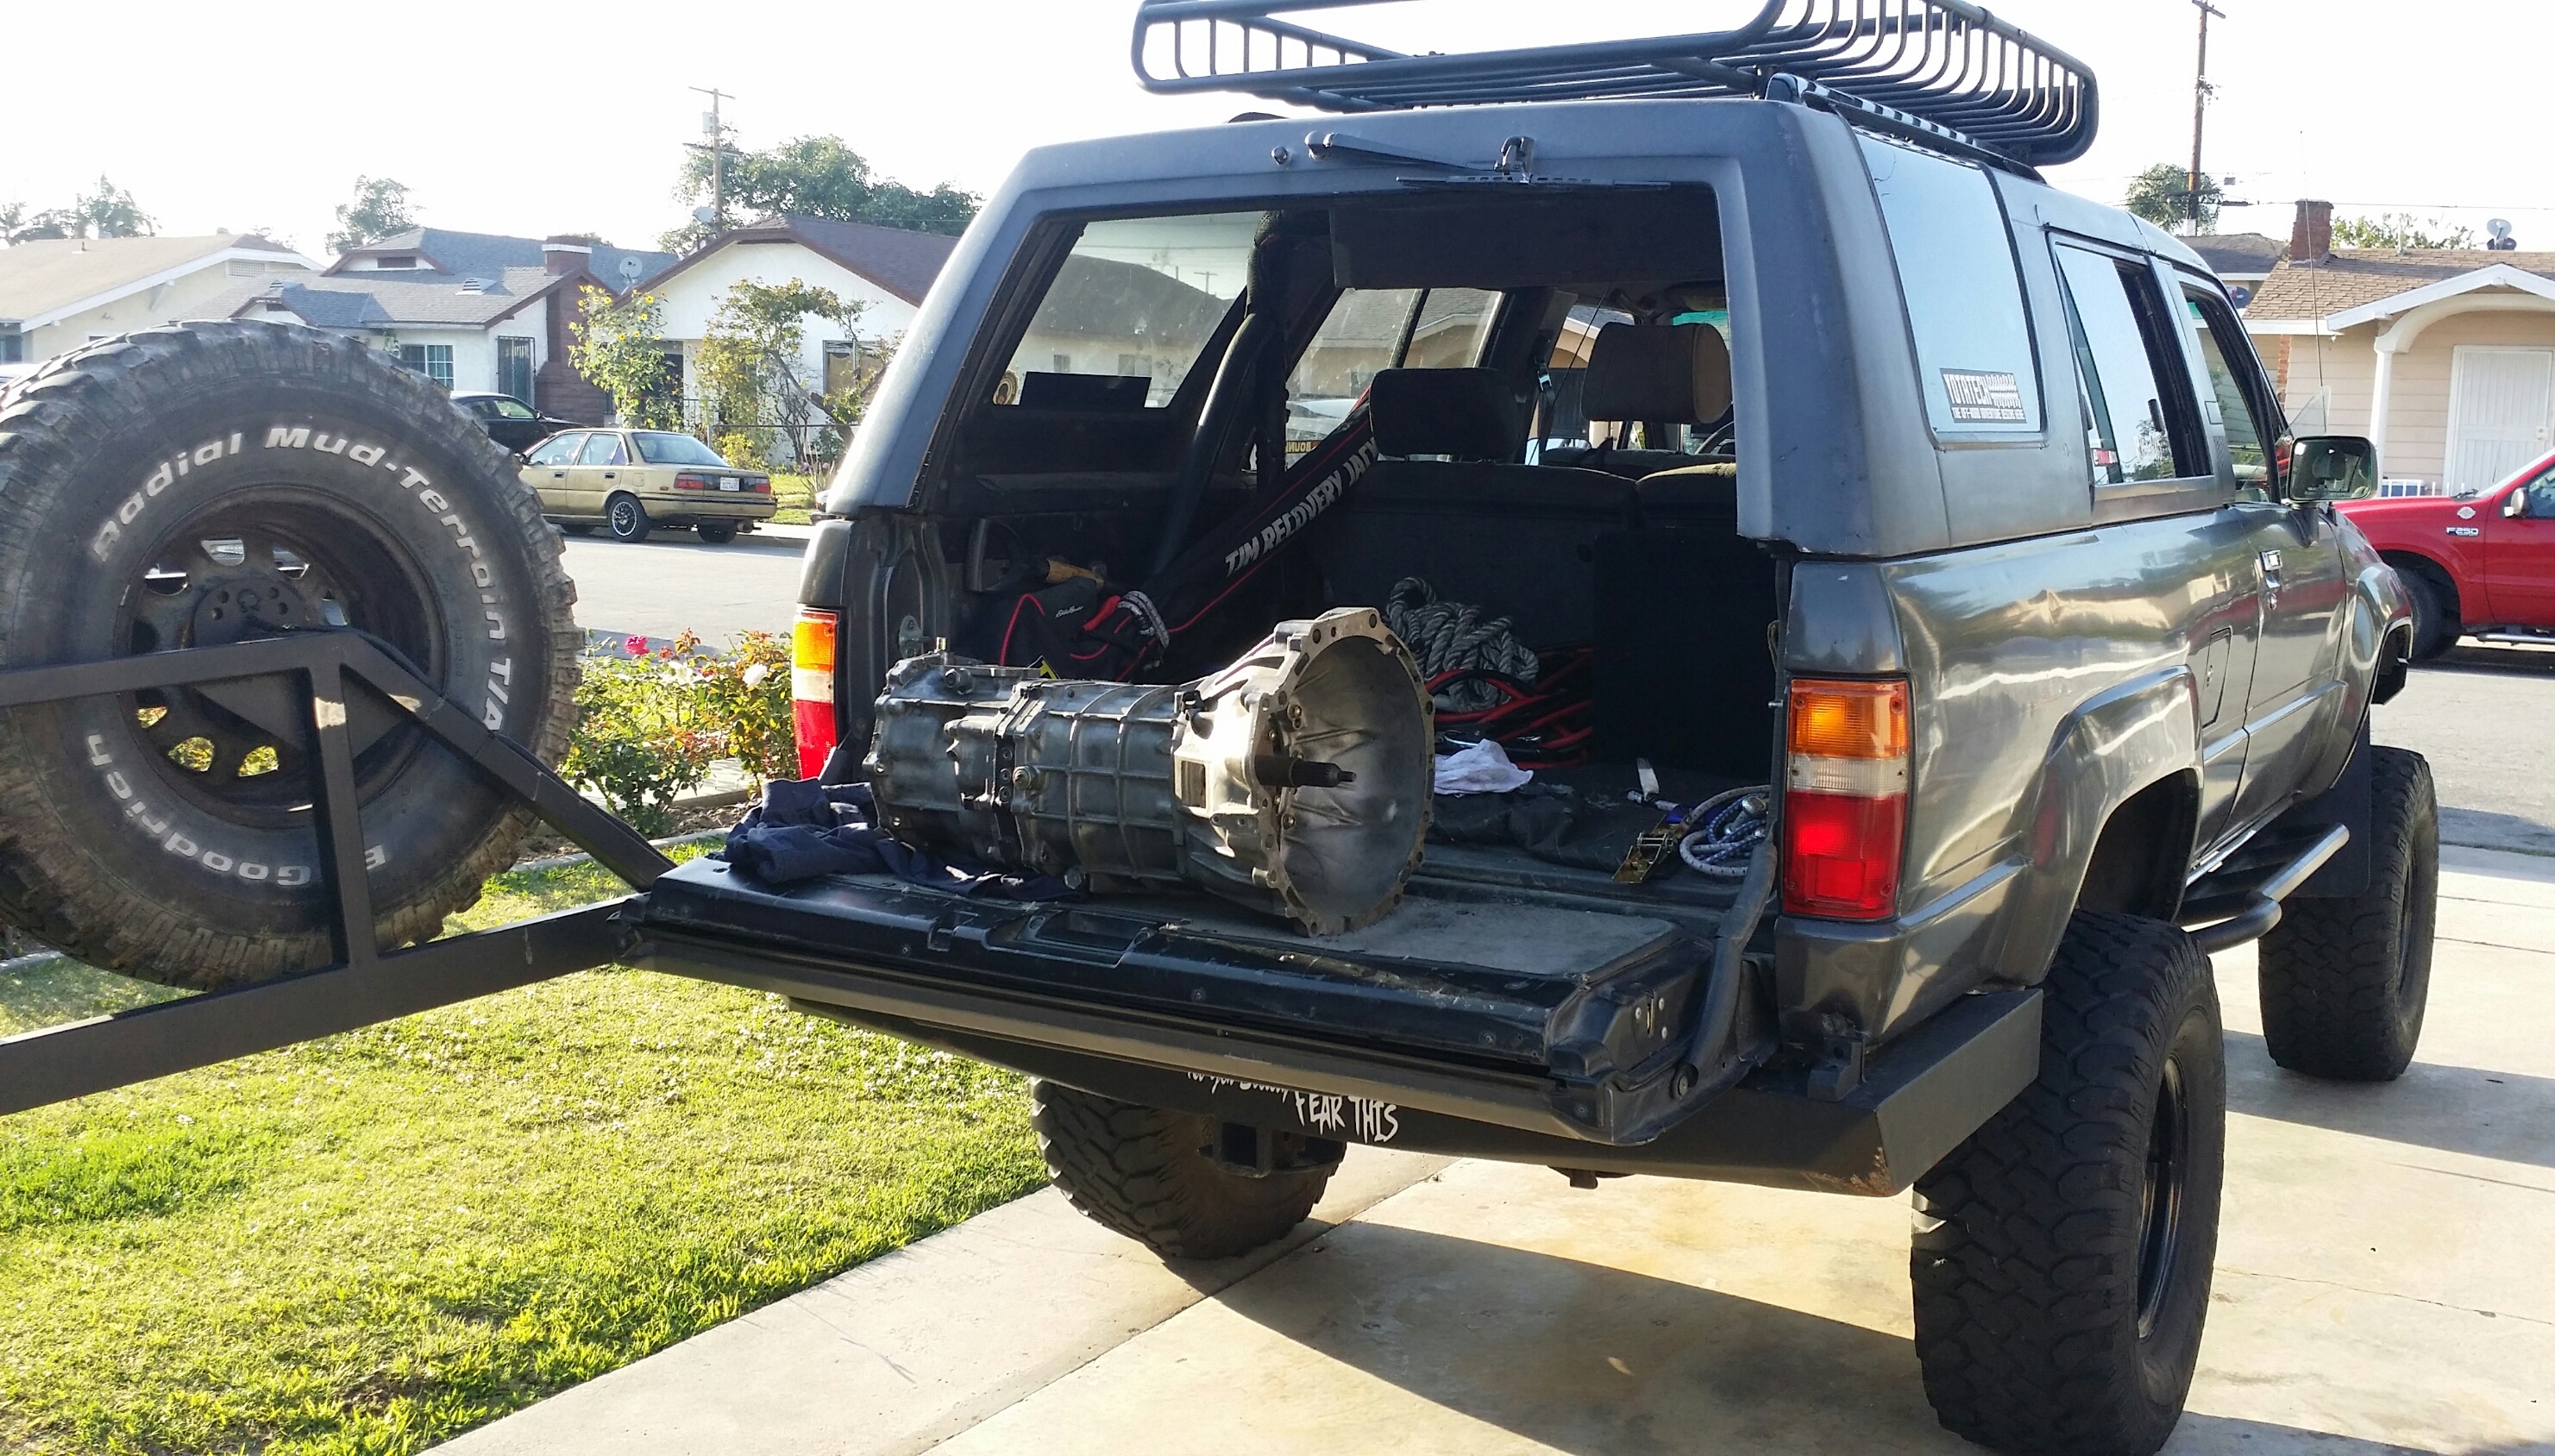
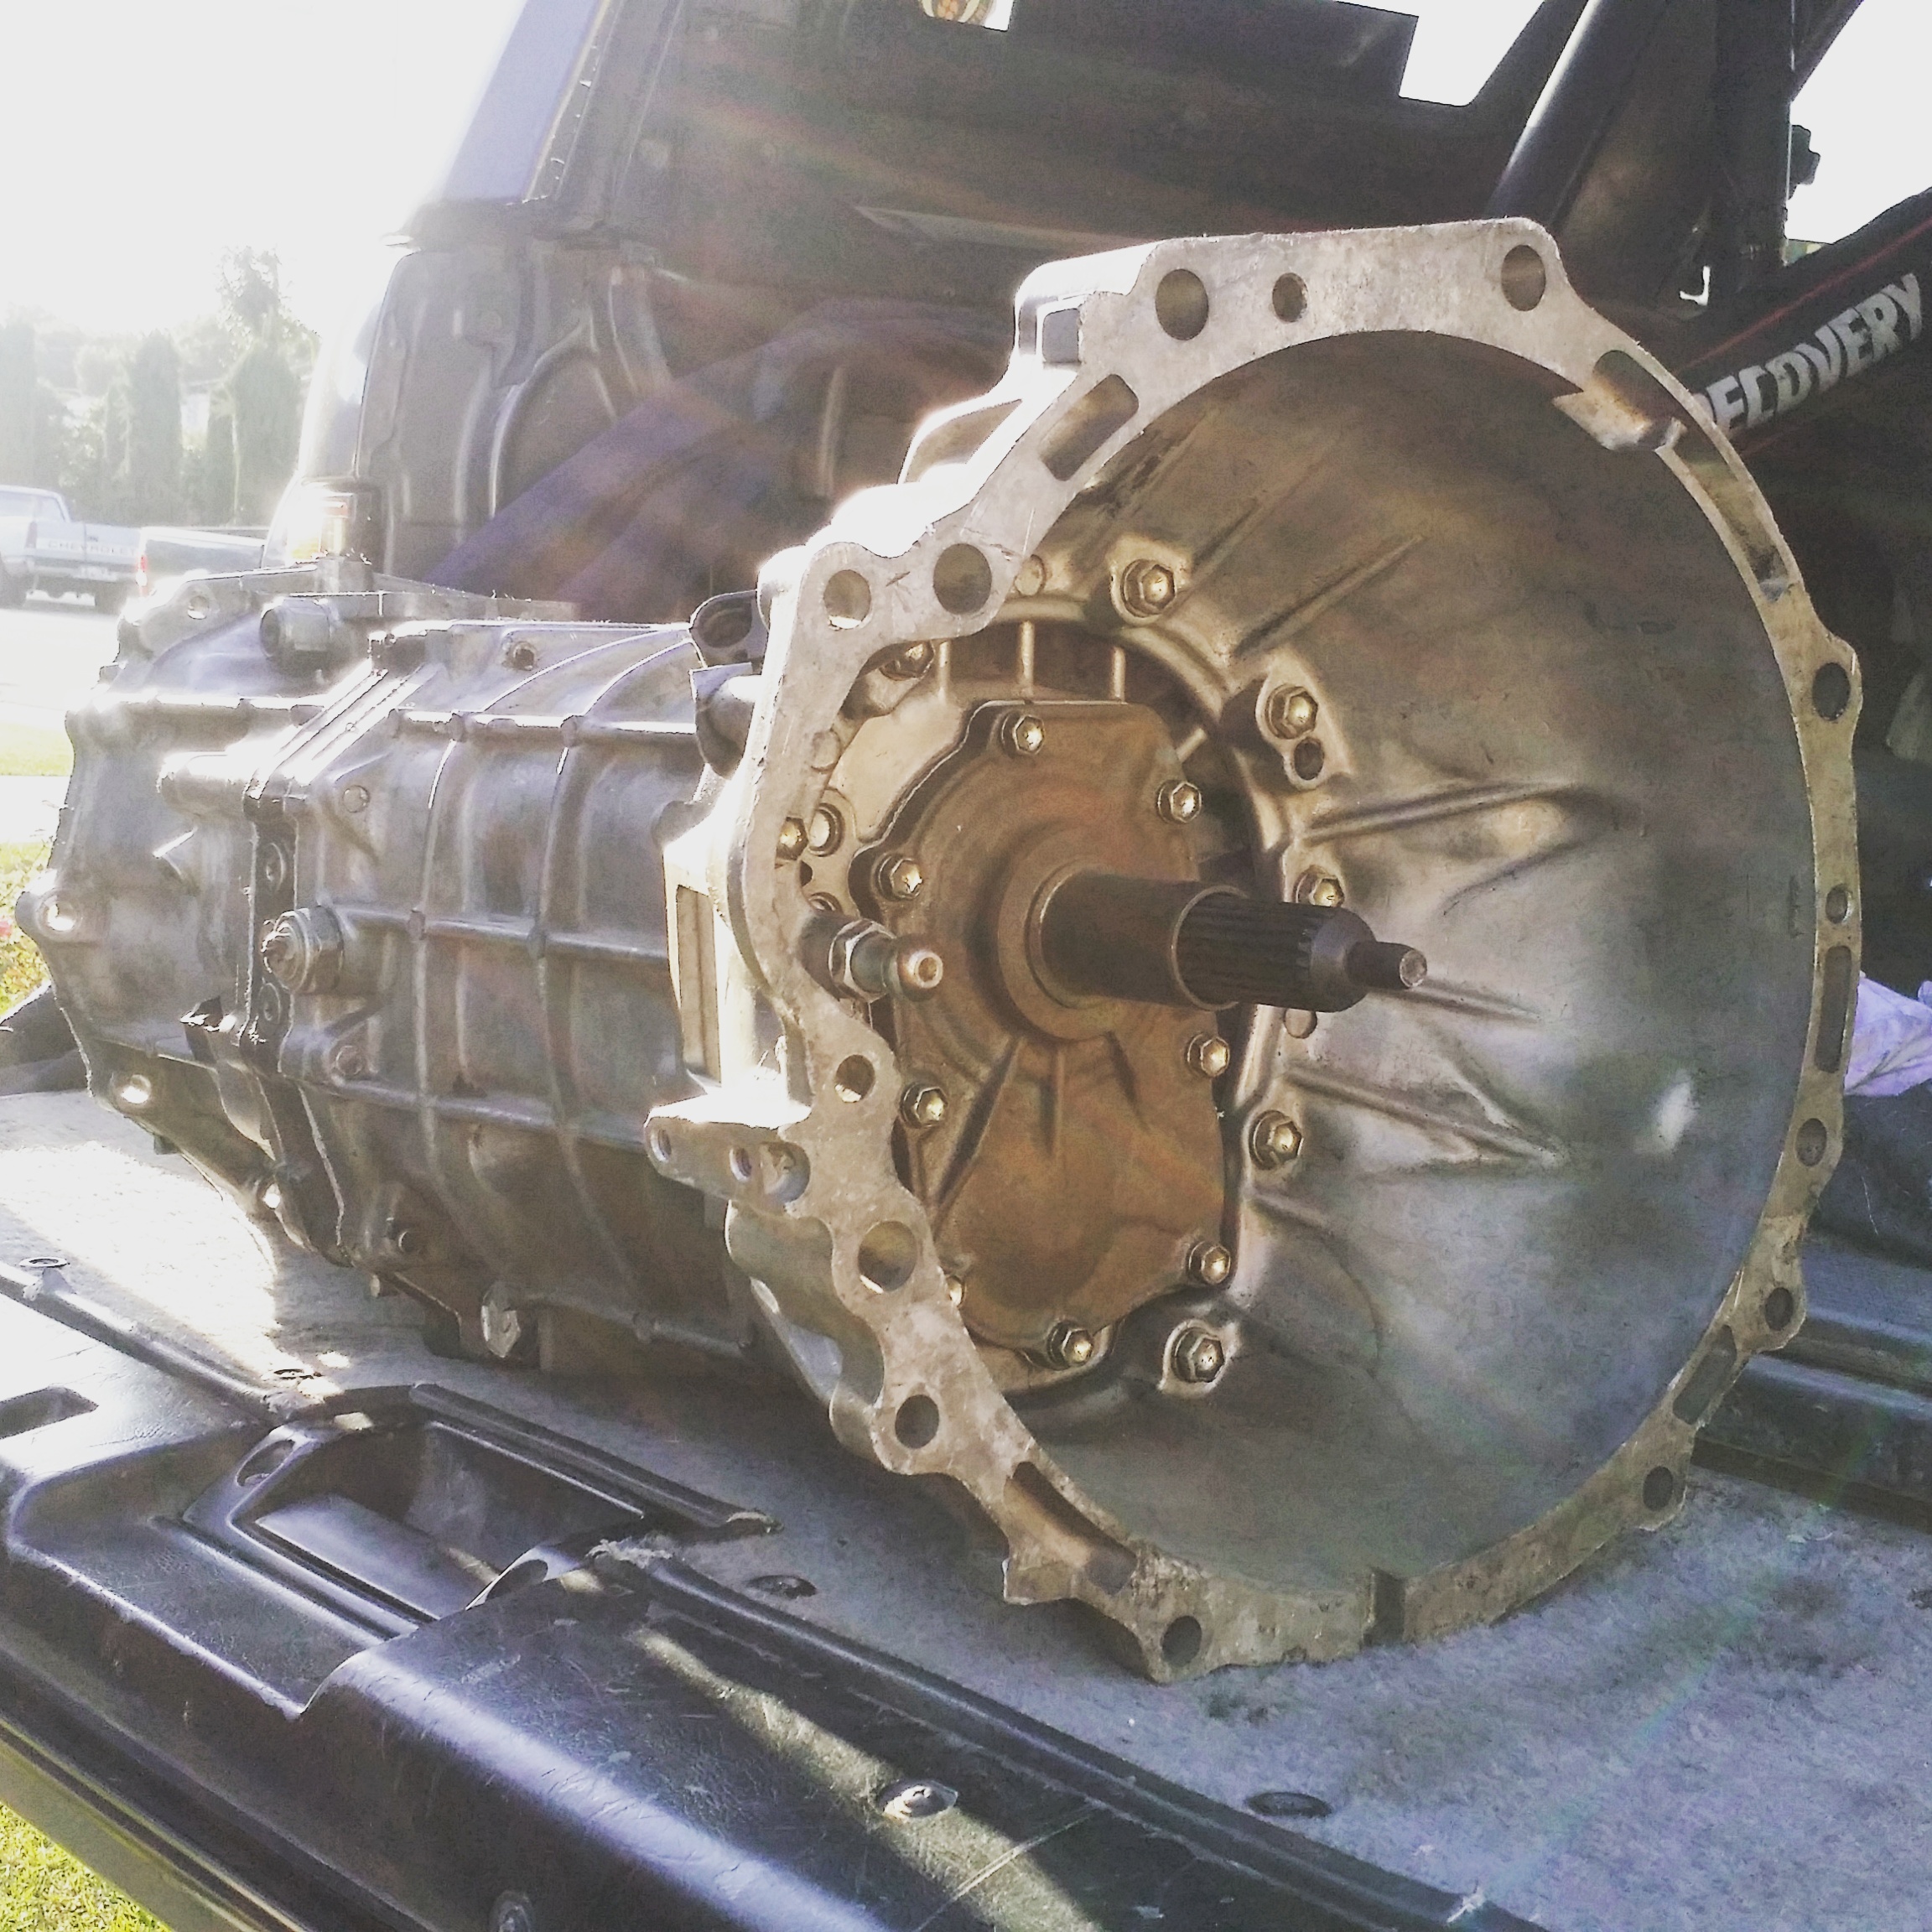
So upon looking at the trans I found that there is a connector that is on the right hand (passenger) side near the rear of the trans. I have no clue what it is to but it I think it might be a sensor for the odo? and if it is I wonder if I can use the one off my truck. I believe this transmission is off a 1994 4runner. and mine is a 1989.

 May 21, 2015 | 03:55 AM
#2593
Registered User
Joined: Jan 2010
Posts: 3,795
Likes: 33
From: Bloodymore
That is the reverse light signal, use the good one from your trans. You will have another similar sensor on the transfer case for the 4x4 light on your dash.
Your truck has a cable driven speedo/odo and that is located at the rear output of the transfer case. Study up on all the torque specifications for the trans assembly and install, aluminum of that age will pull threads out with the bolt.
Your truck has a cable driven speedo/odo and that is located at the rear output of the transfer case. Study up on all the torque specifications for the trans assembly and install, aluminum of that age will pull threads out with the bolt.
Last edited by RBX; May 21, 2015 at 03:56 AM.
May 21, 2015 | 05:06 AM
#2594
RBX is spot on about the connectors and speedo cable.
I think the price you paid on that transmission isn't too bad with the 6 month guarantee. That is worth it to me since some of the $250 craigslist transmissions i have bought that 'were fine when I pulled it' have been total POS's..
I think the price you paid on that transmission isn't too bad with the 6 month guarantee. That is worth it to me since some of the $250 craigslist transmissions i have bought that 'were fine when I pulled it' have been total POS's..
May 26, 2015 | 09:26 PM
#2595
Thread Starter
Registered User
Joined: Apr 2012
Posts: 2,817
Likes: 2
From: Los Angeles CA
That is the reverse light signal, use the good one from your trans. You will have another similar sensor on the transfer case for the 4x4 light on your dash.
Your truck has a cable driven speedo/odo and that is located at the rear output of the transfer case. Study up on all the torque specifications for the trans assembly and install, aluminum of that age will pull threads out with the bolt.
Your truck has a cable driven speedo/odo and that is located at the rear output of the transfer case. Study up on all the torque specifications for the trans assembly and install, aluminum of that age will pull threads out with the bolt.
RBX is spot on about the connectors and speedo cable.
I think the price you paid on that transmission isn't too bad with the 6 month guarantee. That is worth it to me since some of the $250 craigslist transmissions i have bought that 'were fine when I pulled it' have been total POS's..
I think the price you paid on that transmission isn't too bad with the 6 month guarantee. That is worth it to me since some of the $250 craigslist transmissions i have bought that 'were fine when I pulled it' have been total POS's..
Here is some scary crap that happened to me this past Friday. IT was crazy! But I will tell ya one thing. This will be the last time I ever buy PROCOMP TIRES! Check out this video! I was going to UCLA Hospital for the day and at 6am in the morning the freeway is pretty clear so I was traveling at about 70mph when the tire decided it wanted to fall apart on me. I noticed the truck feeling really rough. I knew soething wasn't right so I began to slow down and then "fling!" I had a chunk of tred fy past my driver side window as I look back another flies toward the driver behind me. Then a massive chunk began to flop and bang all over my wheelwell damaging the side fender paint, cleaning off the paint down to the metal on my sliders. im sure if it wasn't for my Heavy Duty rear bumper and sliders there probably would have been some denting going on.
https://instagram.com/p/2_CCe-FIlv/?taken-by=redeth005
So I put the hazard lights on and began making my way over to the side of the freeway at about 45mph as other inconsiderate drives zoomed past me at 70-80mph! Jerks... I pulled off the freeway into the first gas station I saw. which is when I first saw that damage in the video I posted above.
It was super scary. I am glad I pray every morning wen I get into my truck You never know what kind of day you'll have daily driving a rock crawler you know. And I sure am happy the damages weren't worse. I mean 70mph! that tire could have blown up rather the shear off the tred. im sure I could have cause a major accident if that were to happen.
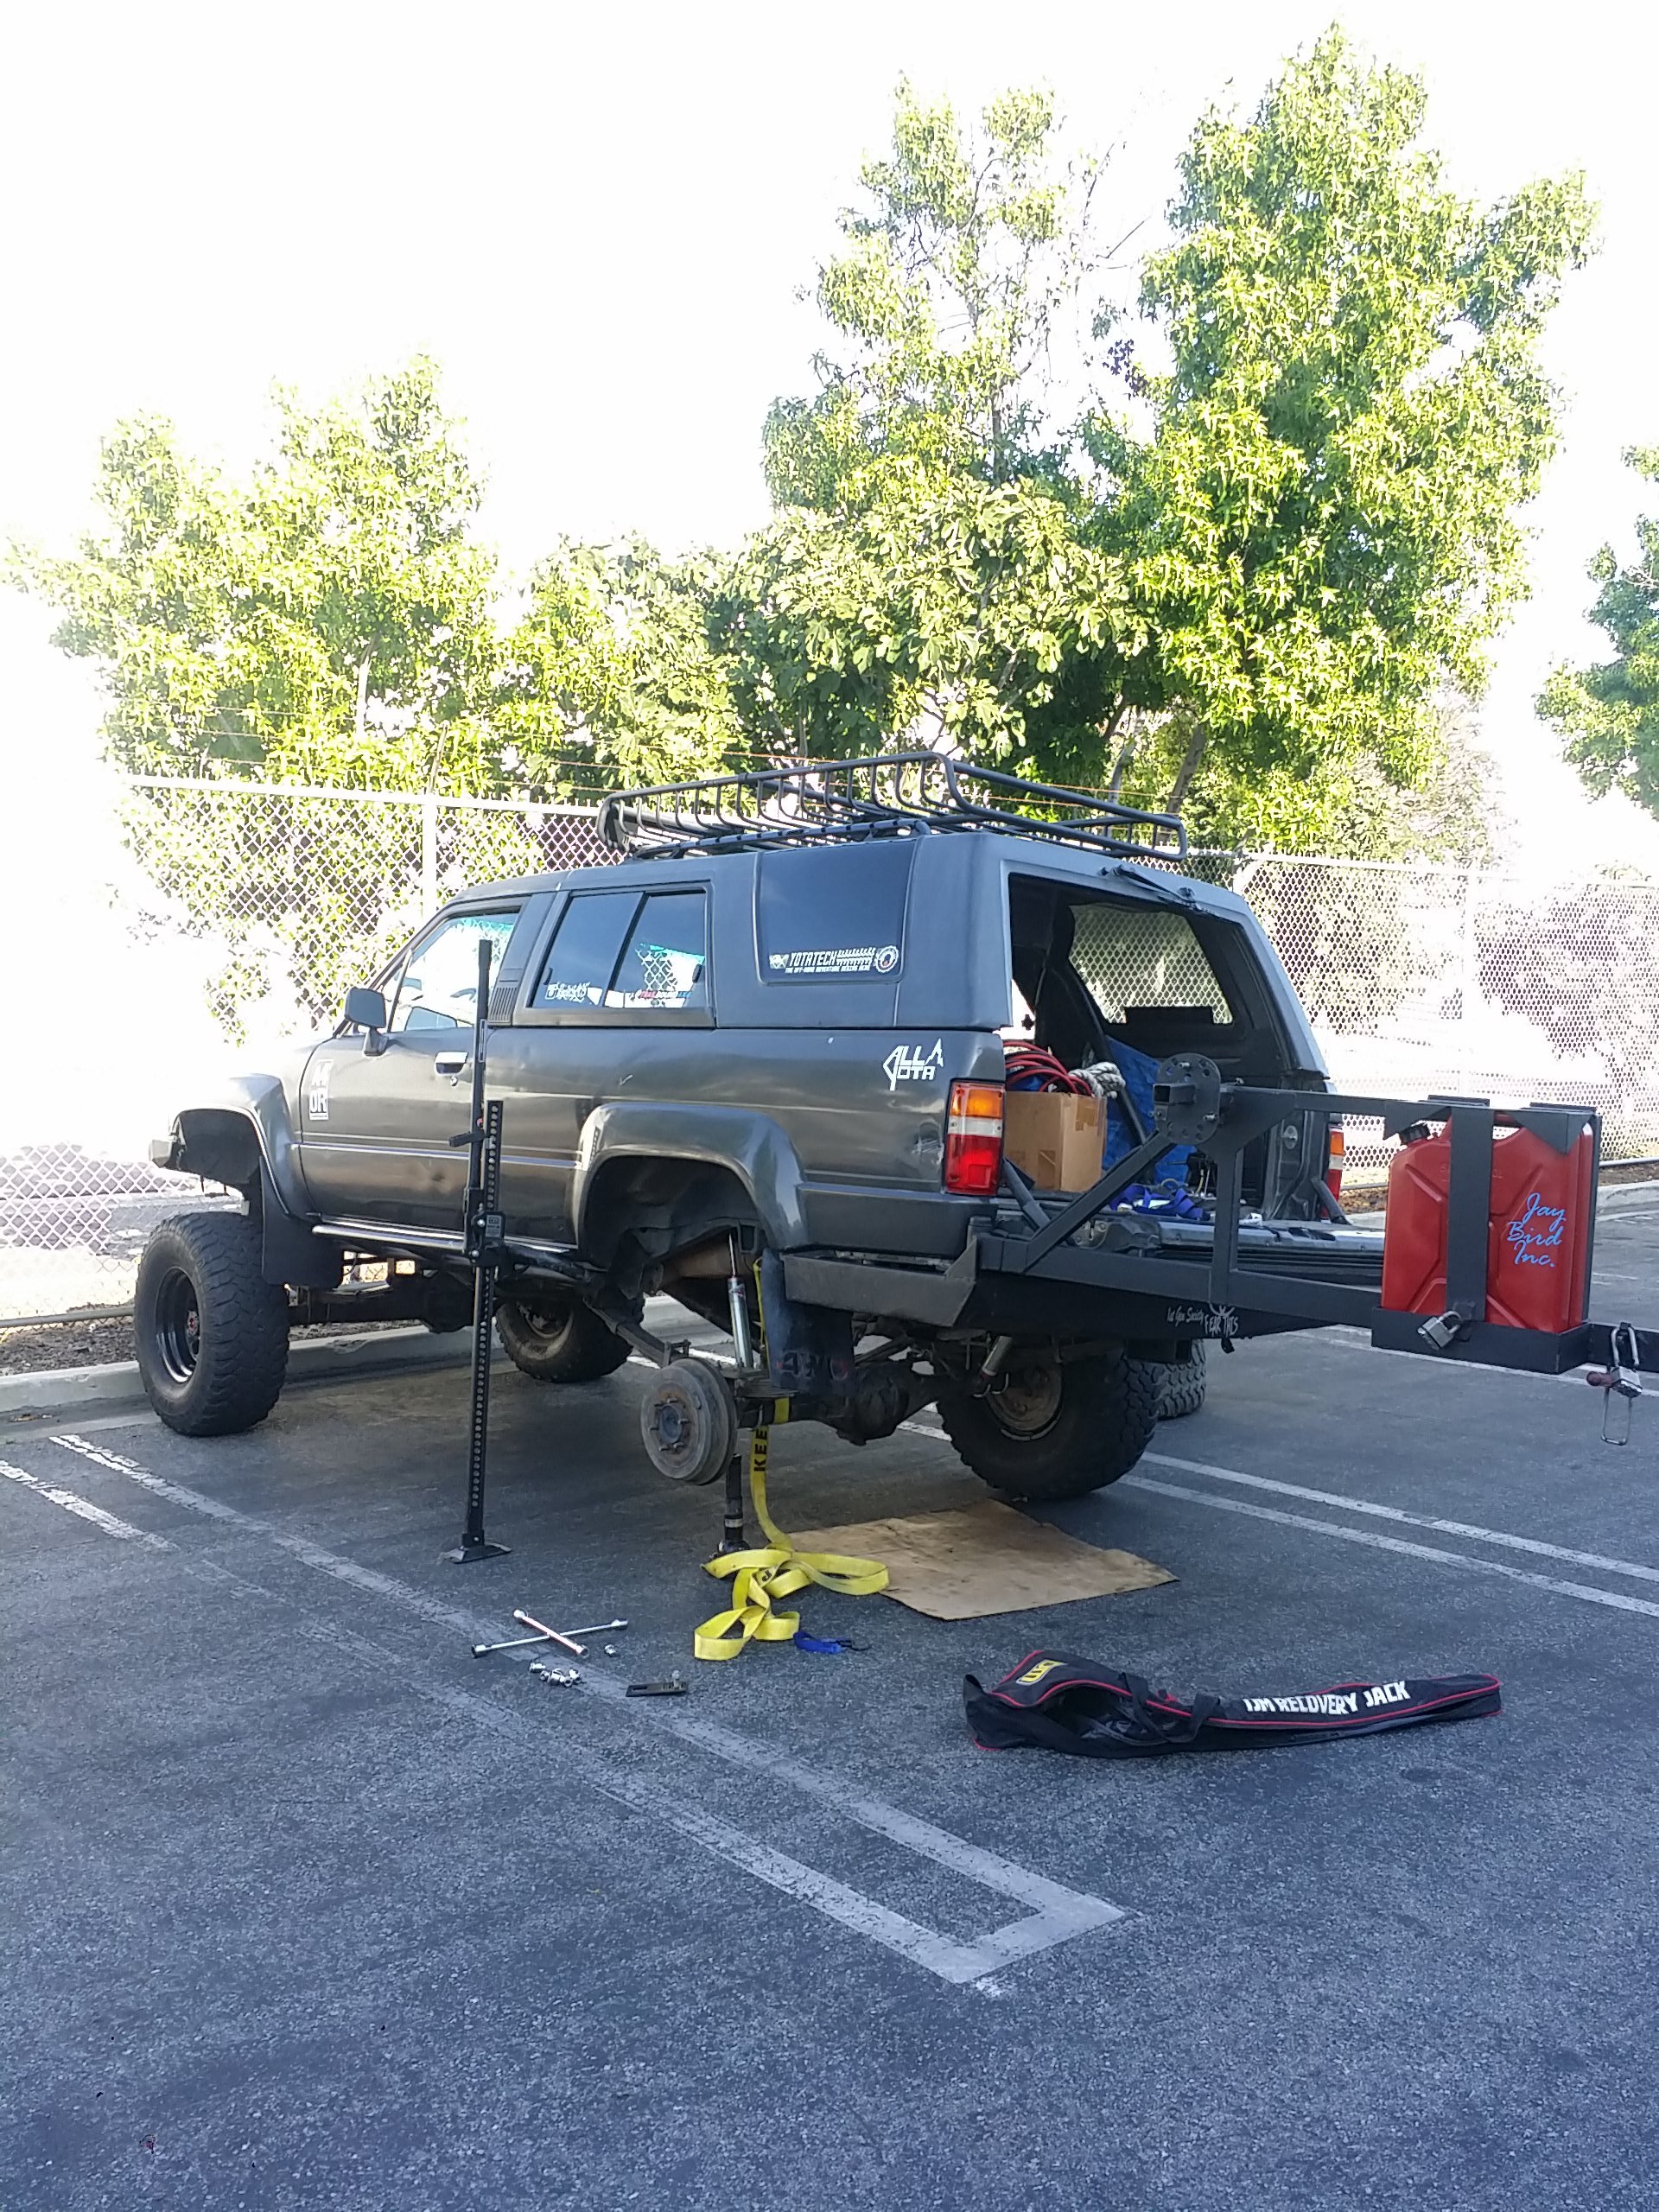
Anyway once at the gas station I was able to do a quick swap of the tire thanks to my trustee TJM high lift that I never leave home without and my ratchet straps. Swapped in my reliable BFG KM1 Spare! I WILL NEVER BETRAY YOU AGAIN BF GOODRICH! that's what I get for shopping for a deal. I know I am confortable with BFG and I found the set of procomps that I bought for about 200 or 250 I cant remember. I will never use thieve again. I guess I will stick to what I know works for me. BFG tires have never let me down.
First tie the axle to frame to prevent drooping

Love you TJM highlift! This makes a tire change so much quicker then using the traditional bottle jack.

Done with repair

Last edited by Redeth005; May 26, 2015 at 09:31 PM.
May 26, 2015 | 10:25 PM
#2596
Thread Starter
Registered User
Joined: Apr 2012
Posts: 2,817
Likes: 2
From: Los Angeles CA
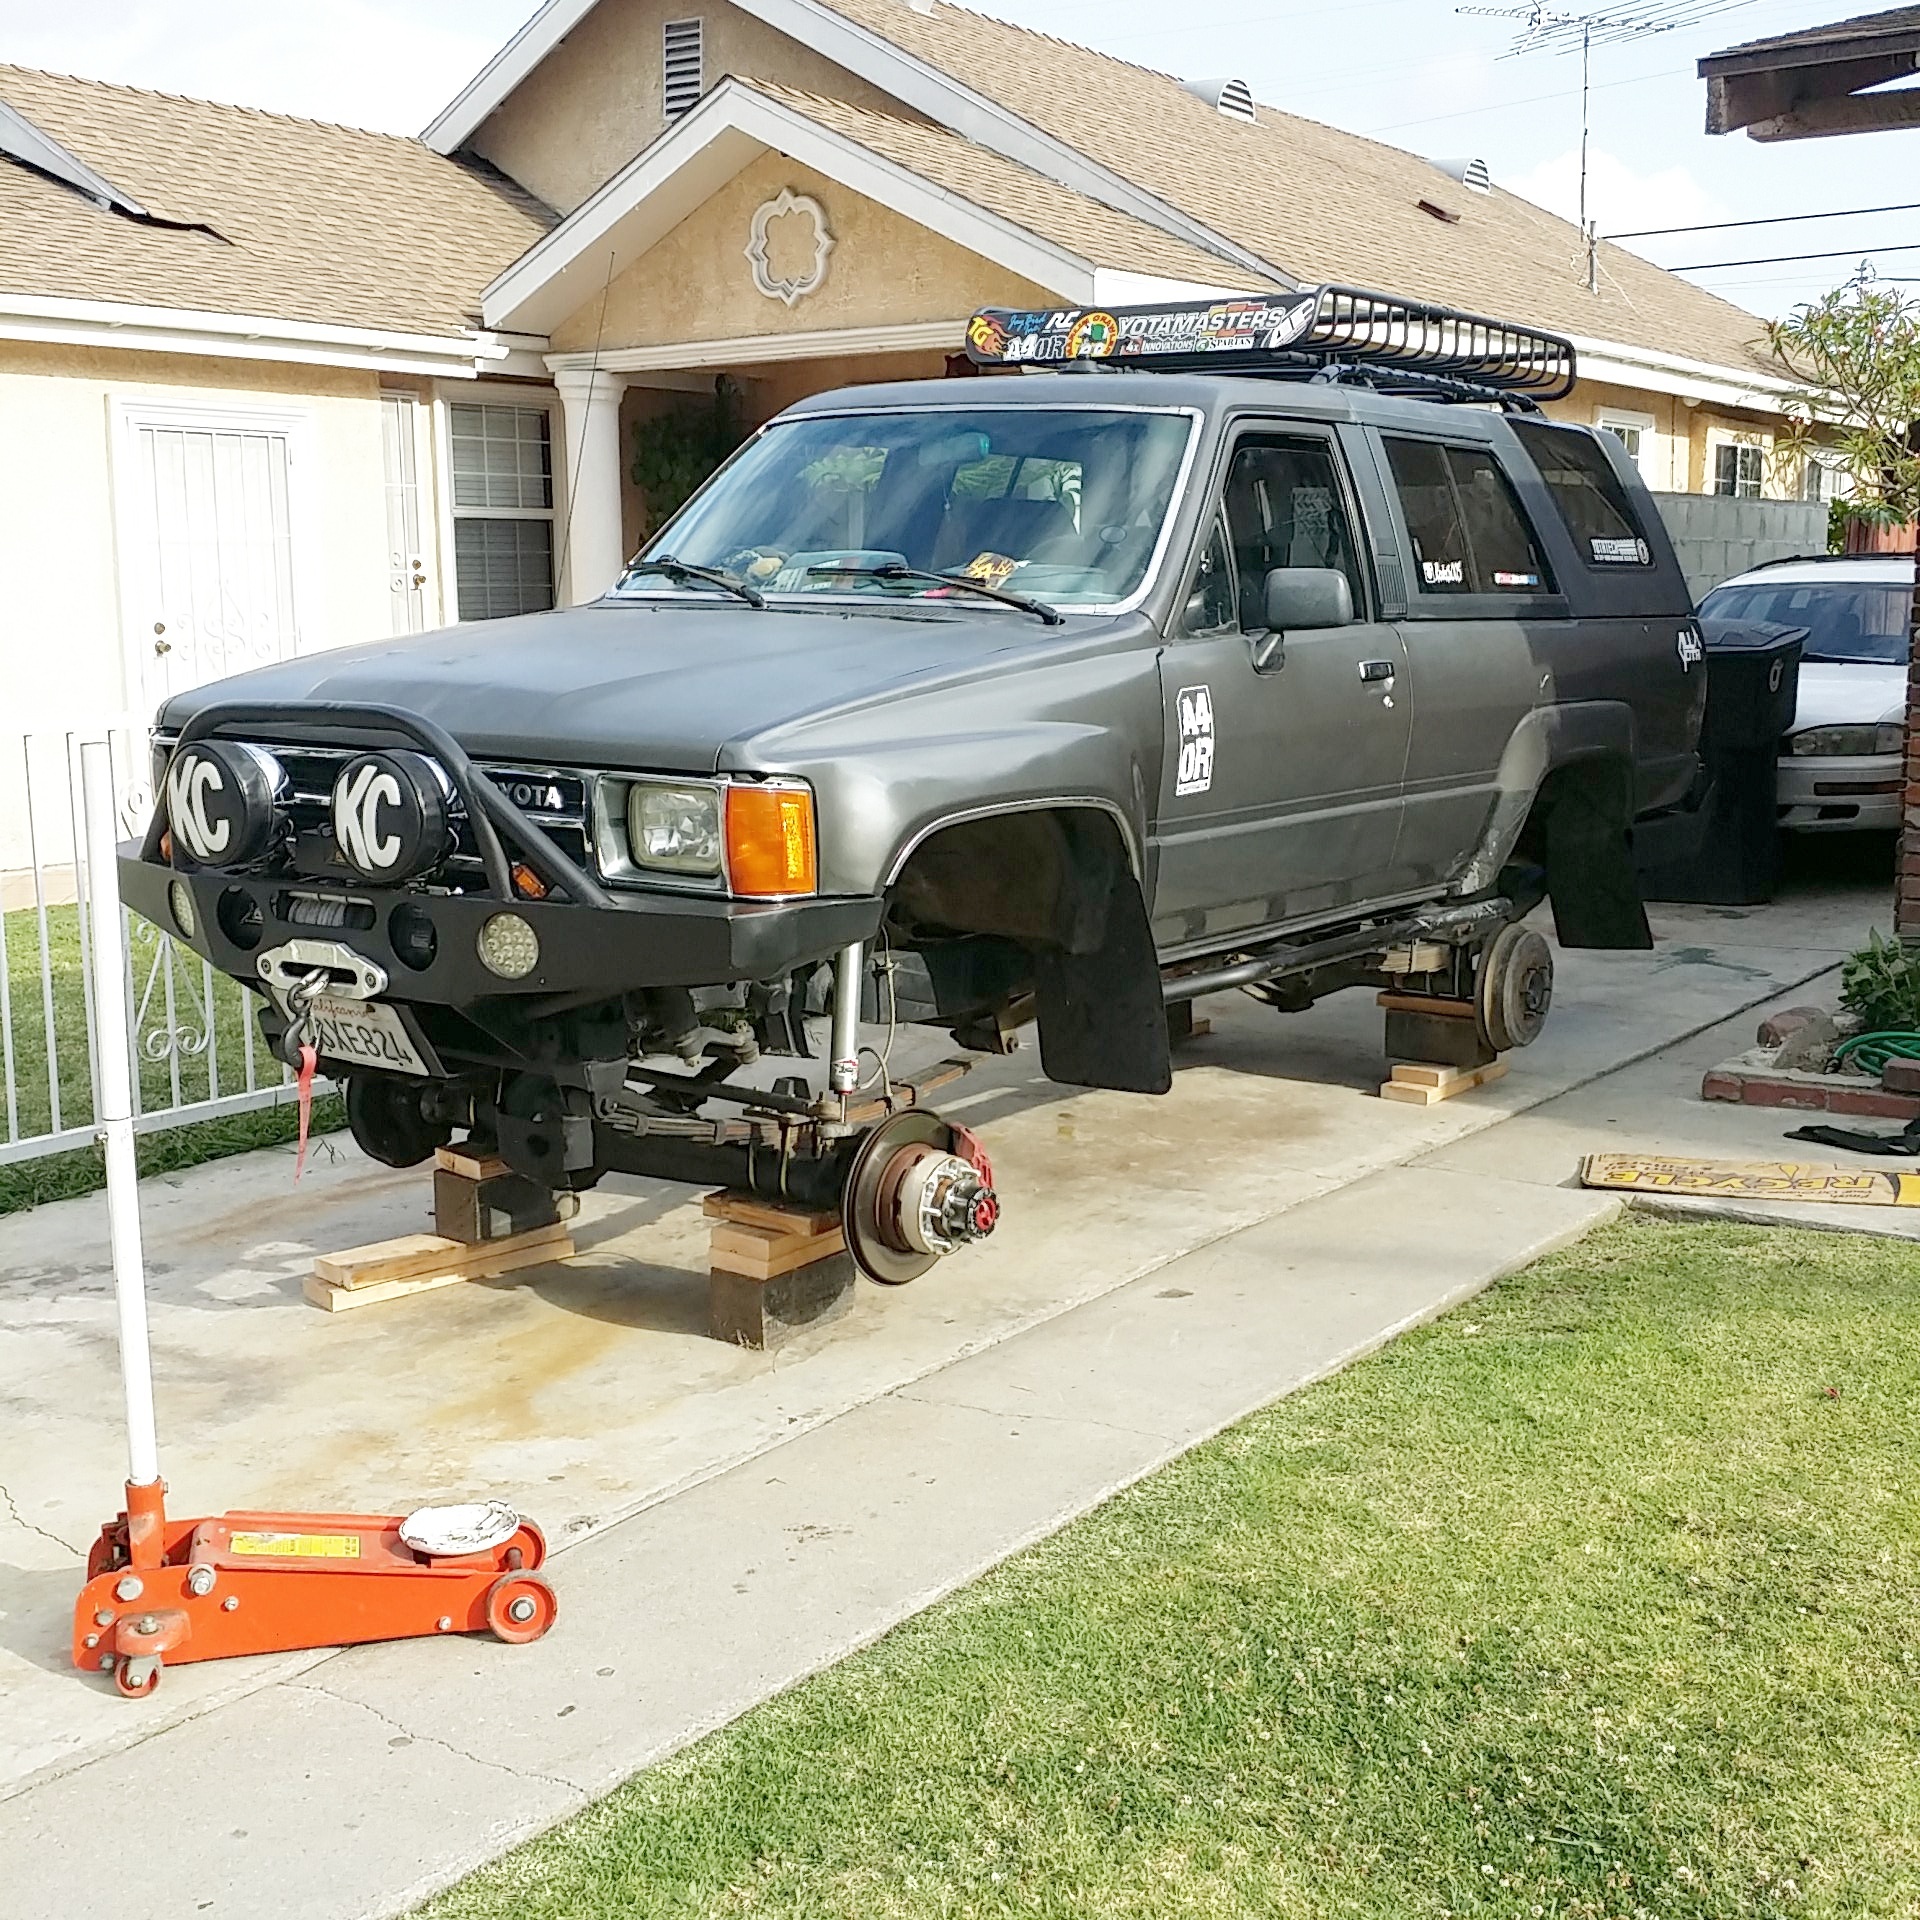
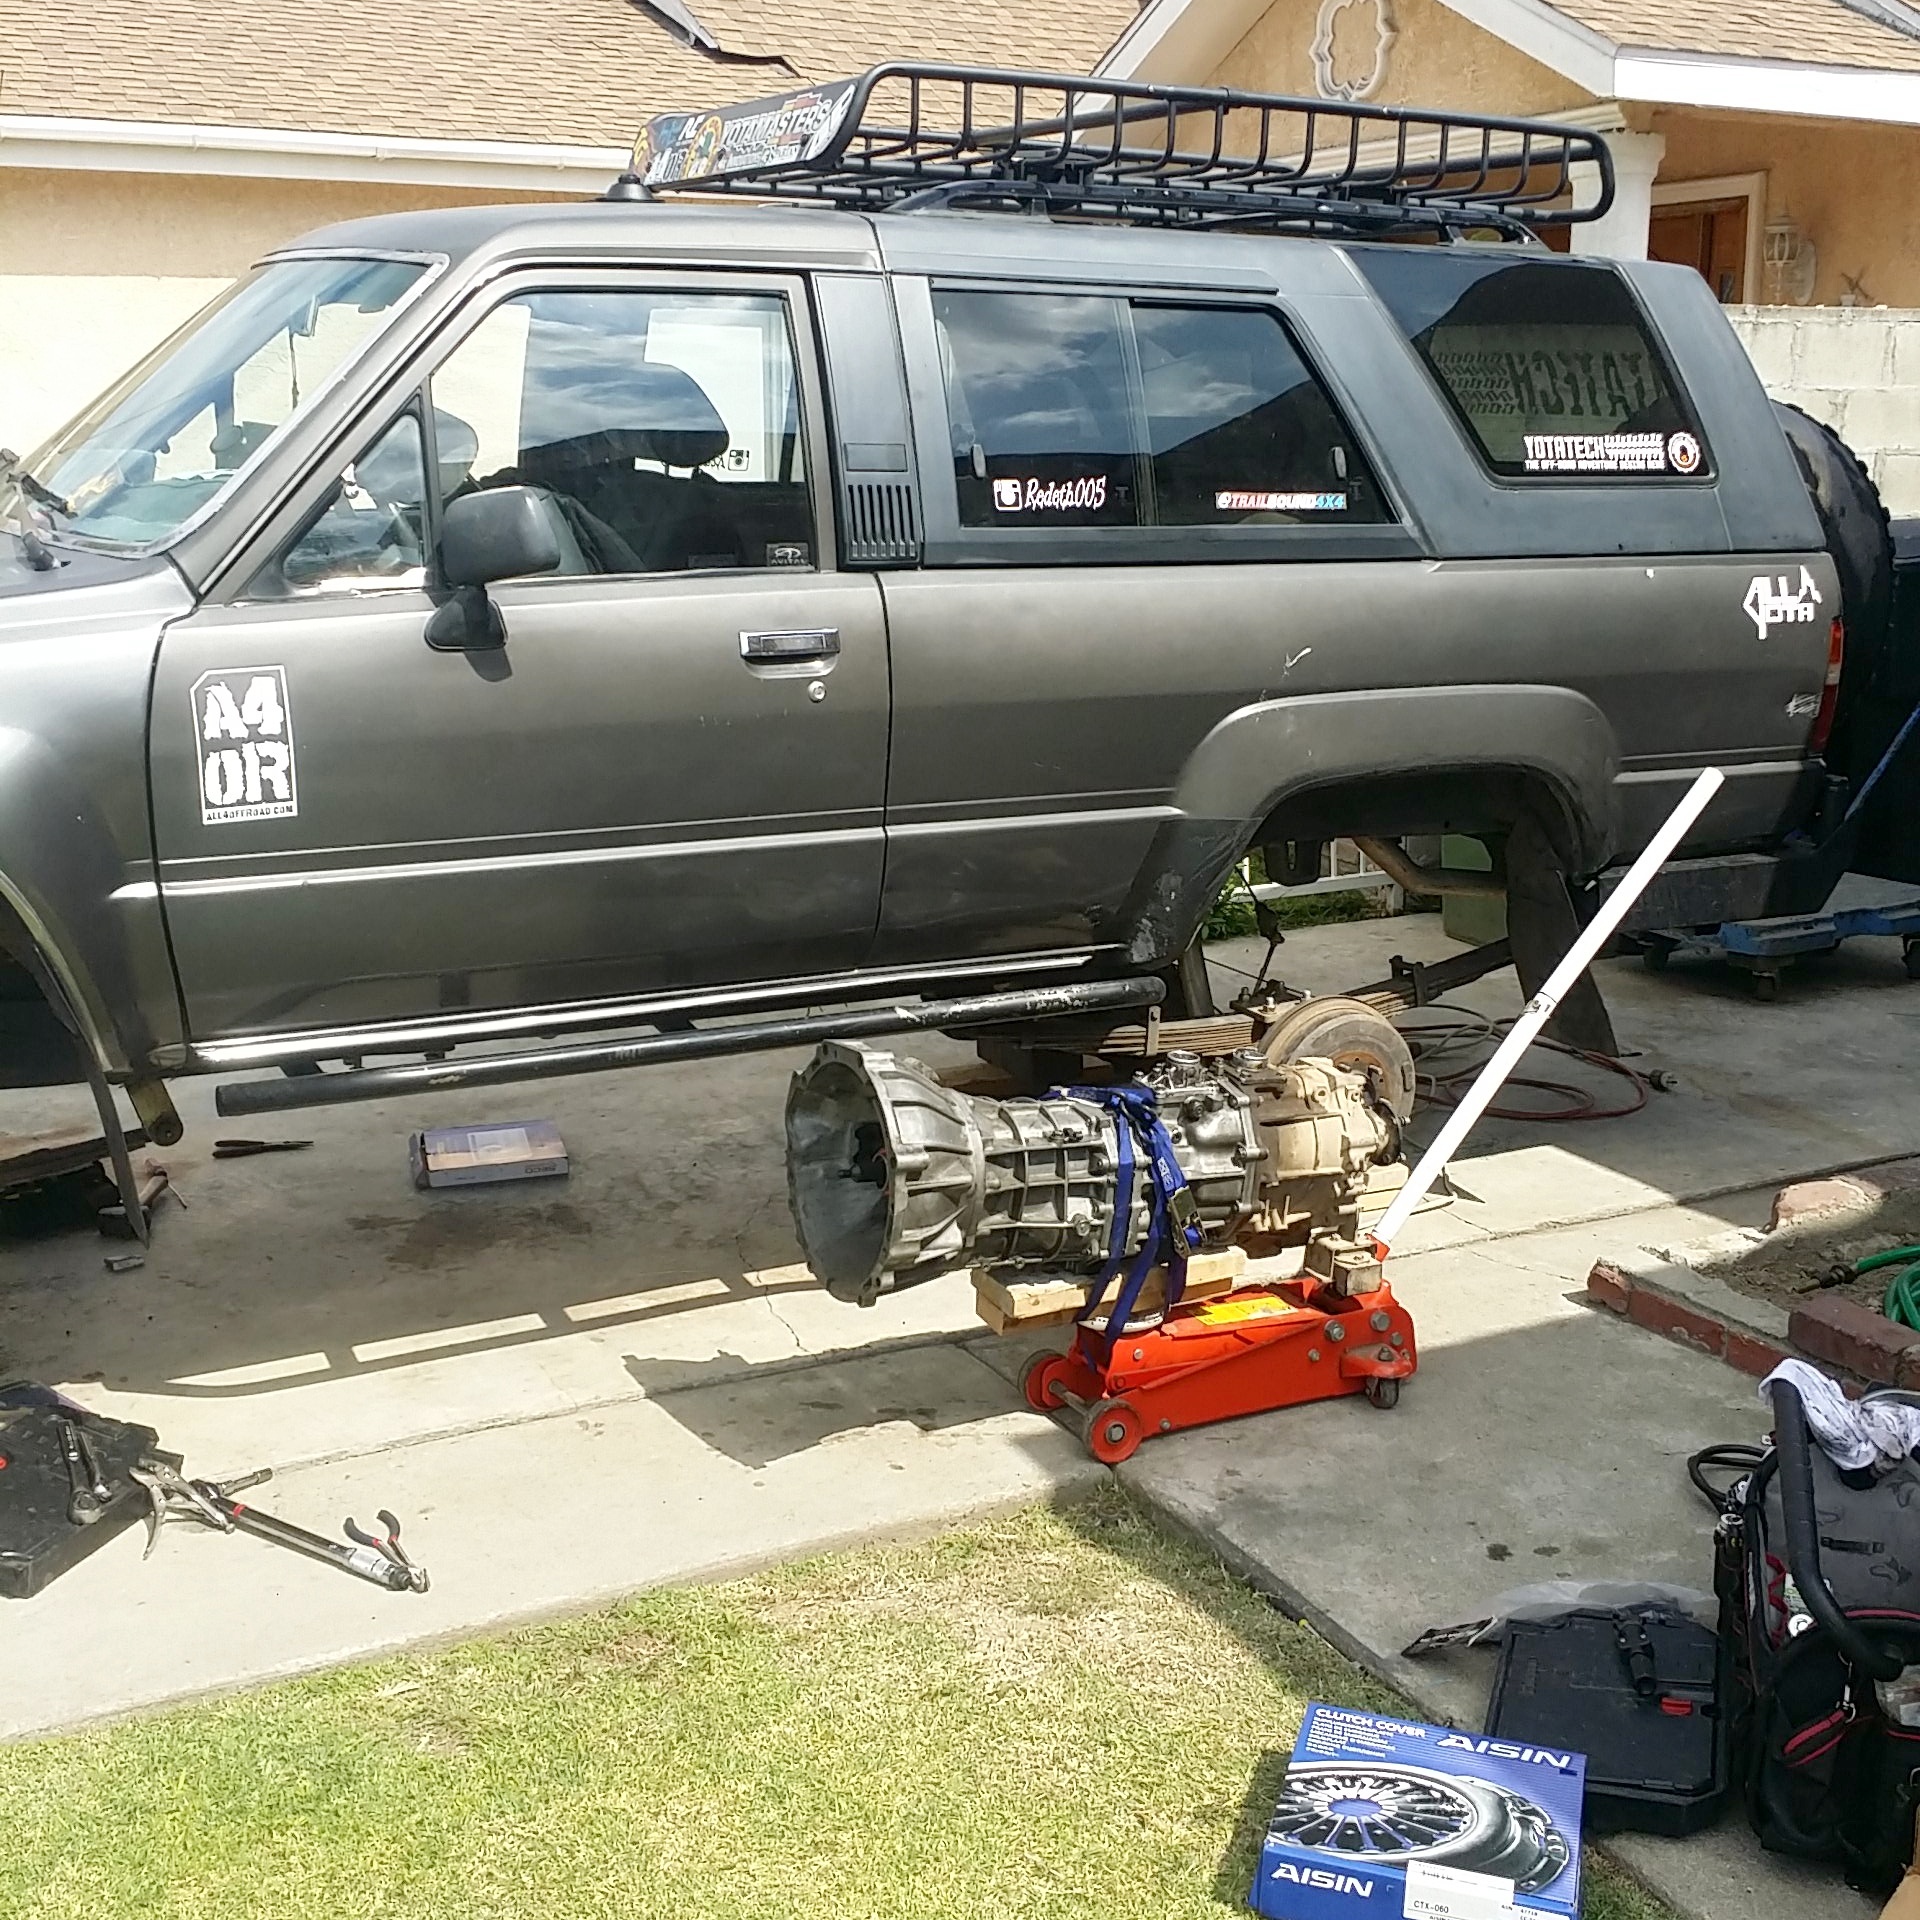
I Hope you all had an awesome 3 day weekend. Mine was mostly tiring as I busted my butt to install the rebuilt transmission and Marline HD 1200lb clutch. I began Friday after having a super long day at the hospital. I began working on the rig at about 5pm and I didn't stop till I had the transmission dropped and pressure plate removed! I ended up finishing around 12am in the morning. I was determined.
Before you guys ask. I removed the tires on the truck to get the over al truck lowered because my hydraulic jack didn't go high enough. now thinking back on how hard it was on my back i wish i would have left the tires mounted to get that extra height and just use a larger wooden block to compensate for extra height i needed. because i can actually sit up right under my truck when it has tires. but doing it this way really killed my lower back, knees, elbows, butt, hands, feet. PRetty much everything was sore after this job. and a lot of that could have been avoided by leaving the height of the truck alone.
When I finally got around to the transmission I discovered missing bolt!

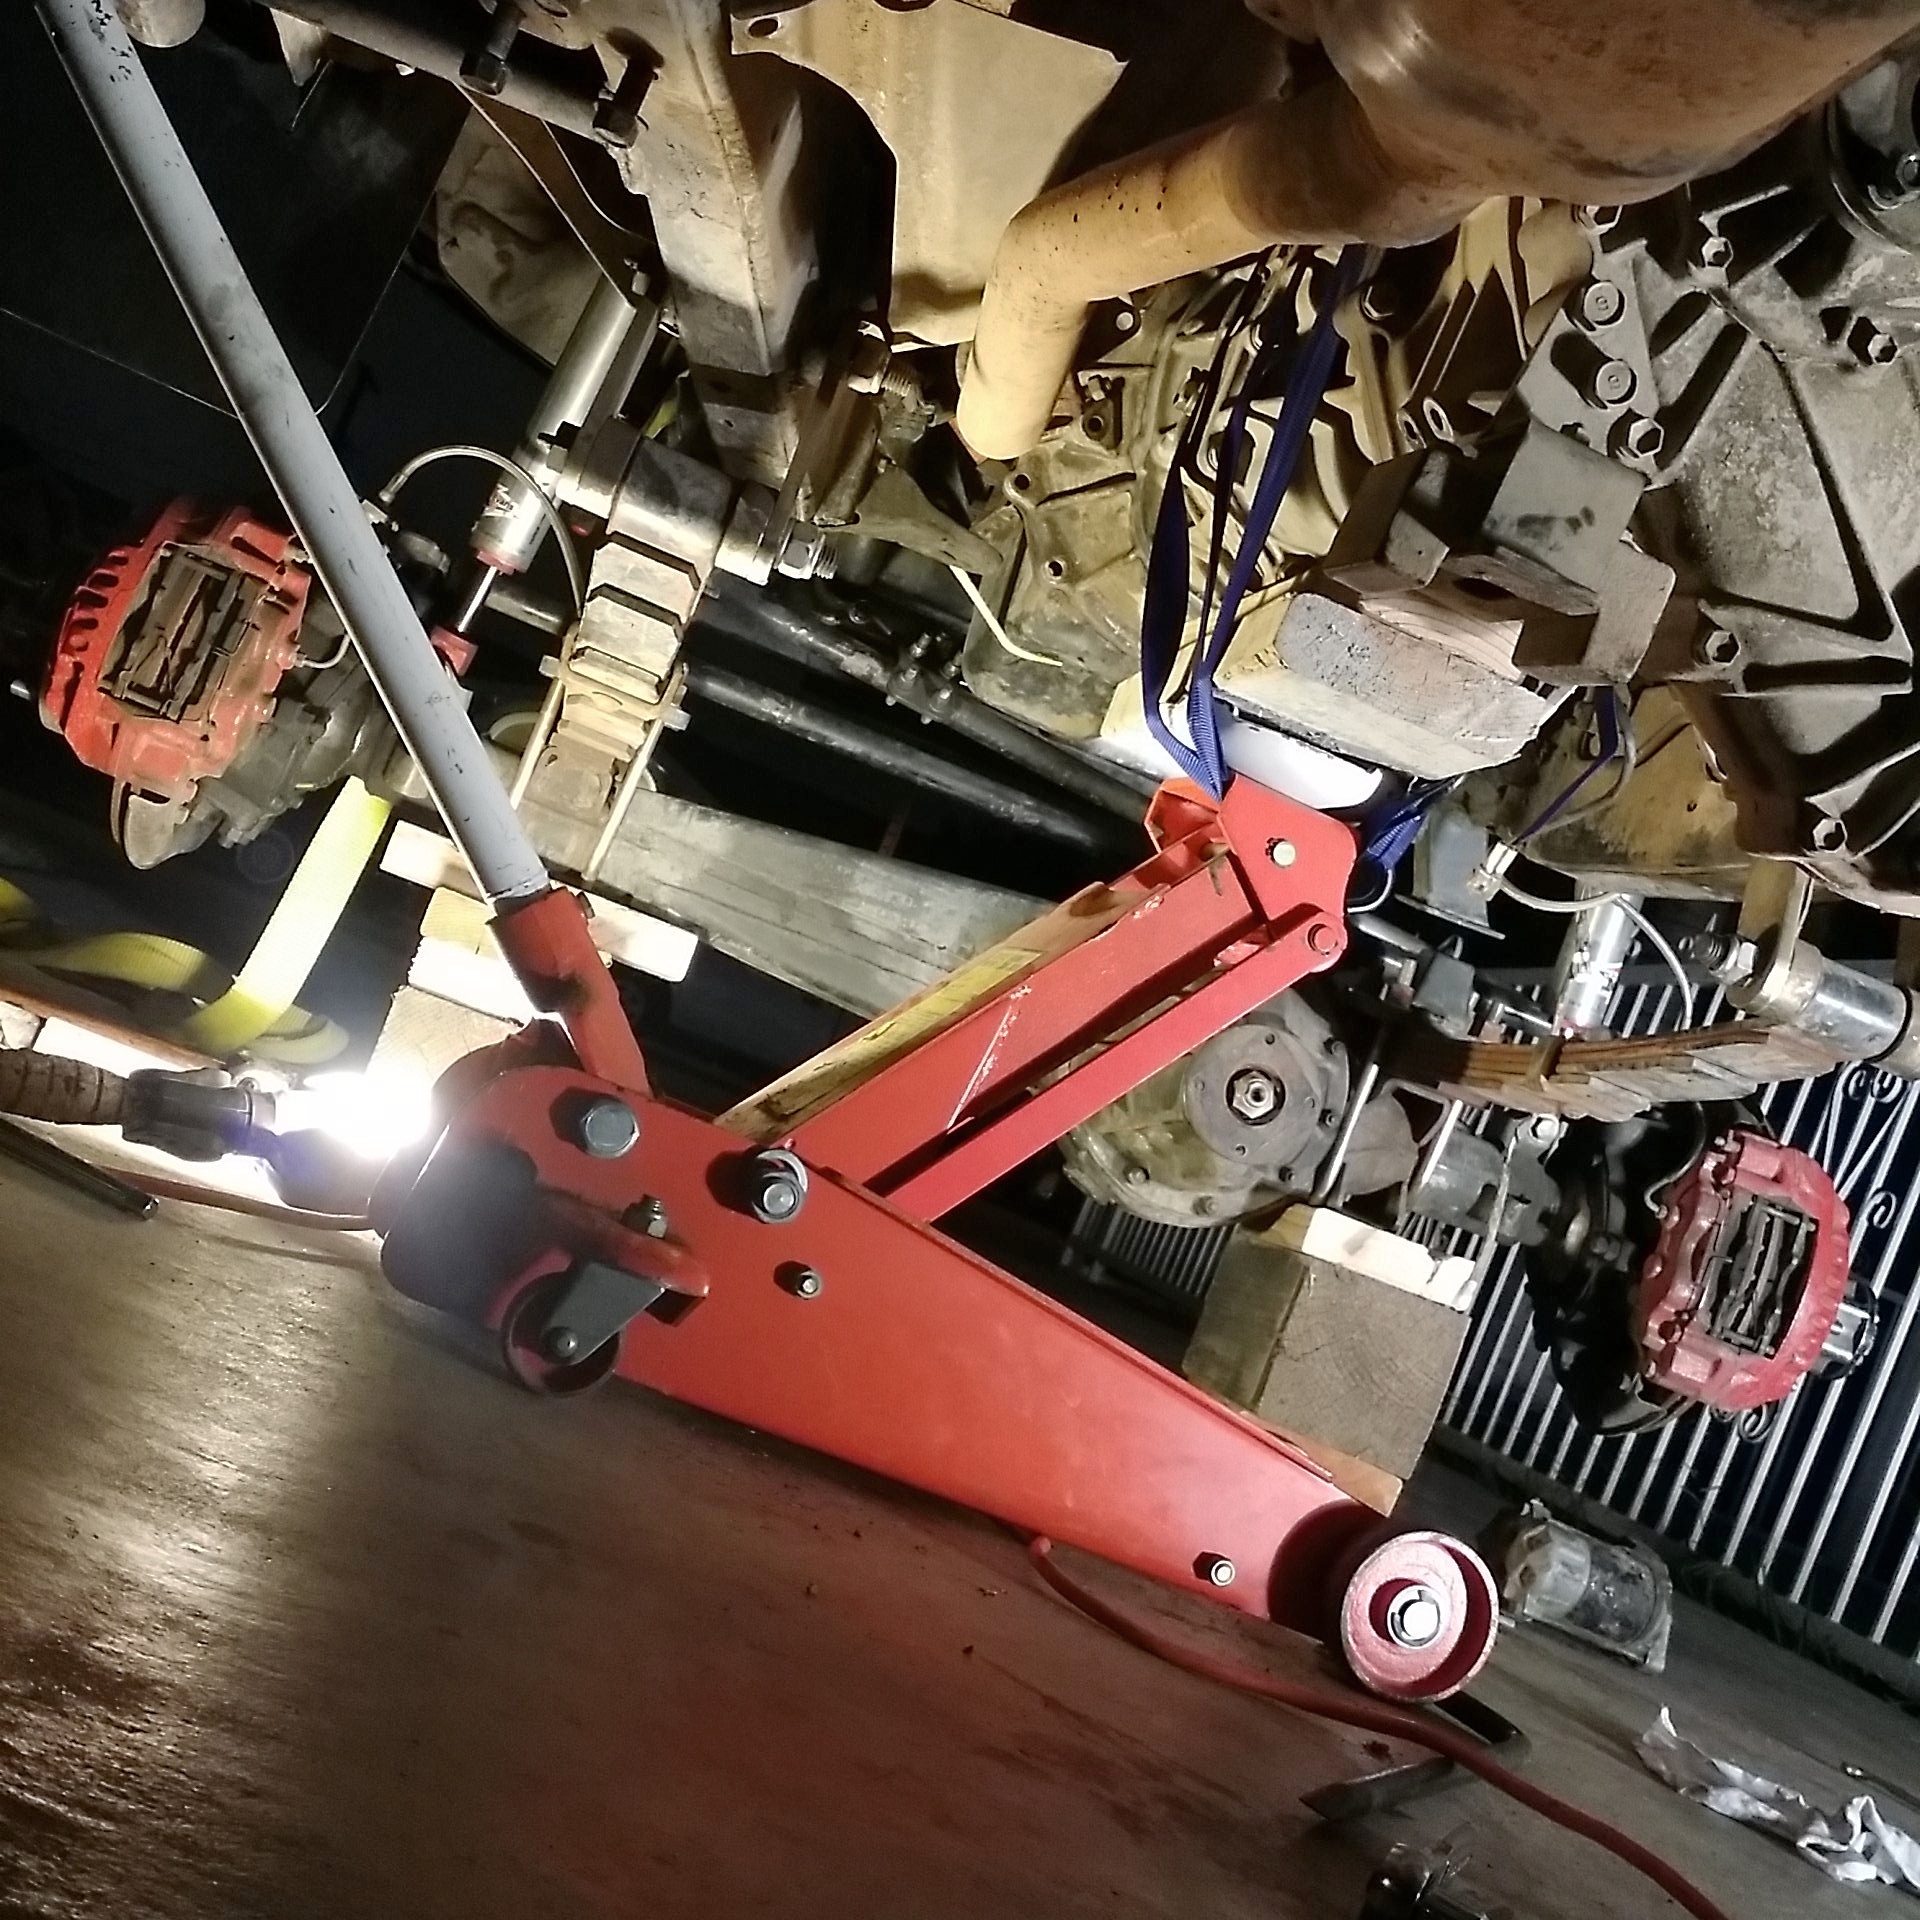
I got the engine held up with a heavy duty Industrial ratchet strap. And the transmission / transfer case held tightly with another tie strap to my hydraulic jack.
---------------------------------------------------------------------------------\
on a side note to people who don't know:
For those of you that didnt know like me and have unanswered questions about removing a starter this is for you. Before I thought It would probably be impossible to do after a solid axle swap like mine because I have obstructions such as shock hoops welded on to the frame that are blocking my way that aren't normally there in the stock 3vze 4runner with IFS suspension. Sure it was kind of a pain. But it didn't take any more then 10 minutes to remove after I figured out the angle I had to go. With the help of lots of ratchet wrench extensions it was possible. And if you still have a hard time doing it just go ahead and remove the shock. It will definitely fit between the shock hoop. I wish I would have known this before or I would have replaced it after I started having issues with it 1 year ago. Lol This starter is also toast!

https://instagram.com/p/3A31SdFIjg/?taken-by=redeth005
And actually after making that video I thought about it afterward but it is actually really simple to remove. It is no biggie. NO need to be scared or worried about how to remove the starter. I don't know why people made it seem like it was nearly impossible. all you need is extension and maybe an elbow swivel but not really.
I put off doing mine for over a year because I always read of how impossible or hard it was to do. But I really didn't think that of the removal I wish I would have swapped in a new starter sooner. Now mine is toast! I gotta bang in it every now and then to get it to start lol. I will swap in another rebuilt one soon. I had a great experience with ACE alternators with my higher output alternator. And I'm sure I'll have just as good experience with their starters. I just gotta make time to go get it lol
----------------------------------------------------------------------------------
Finally some freekin progress! After a bit of trouble I finally managed to get the tranny down.

https://instagram.com/p/3A7EUElInH/?taken-by=redeth005
After the trans came off I took the pressure plate off. I wanted to finish the night with everything removed. Unfortunately the flywheel and bolts were seized on! and I couldn't use my impact tool to remove so I had to call it a night. At least I managed to get some serious work accomplished in the 6-7 hours that I worked on Friday.
BTW when i removed the pressure plate i found this.... Busted pilot bearing and scratched up flywheel.
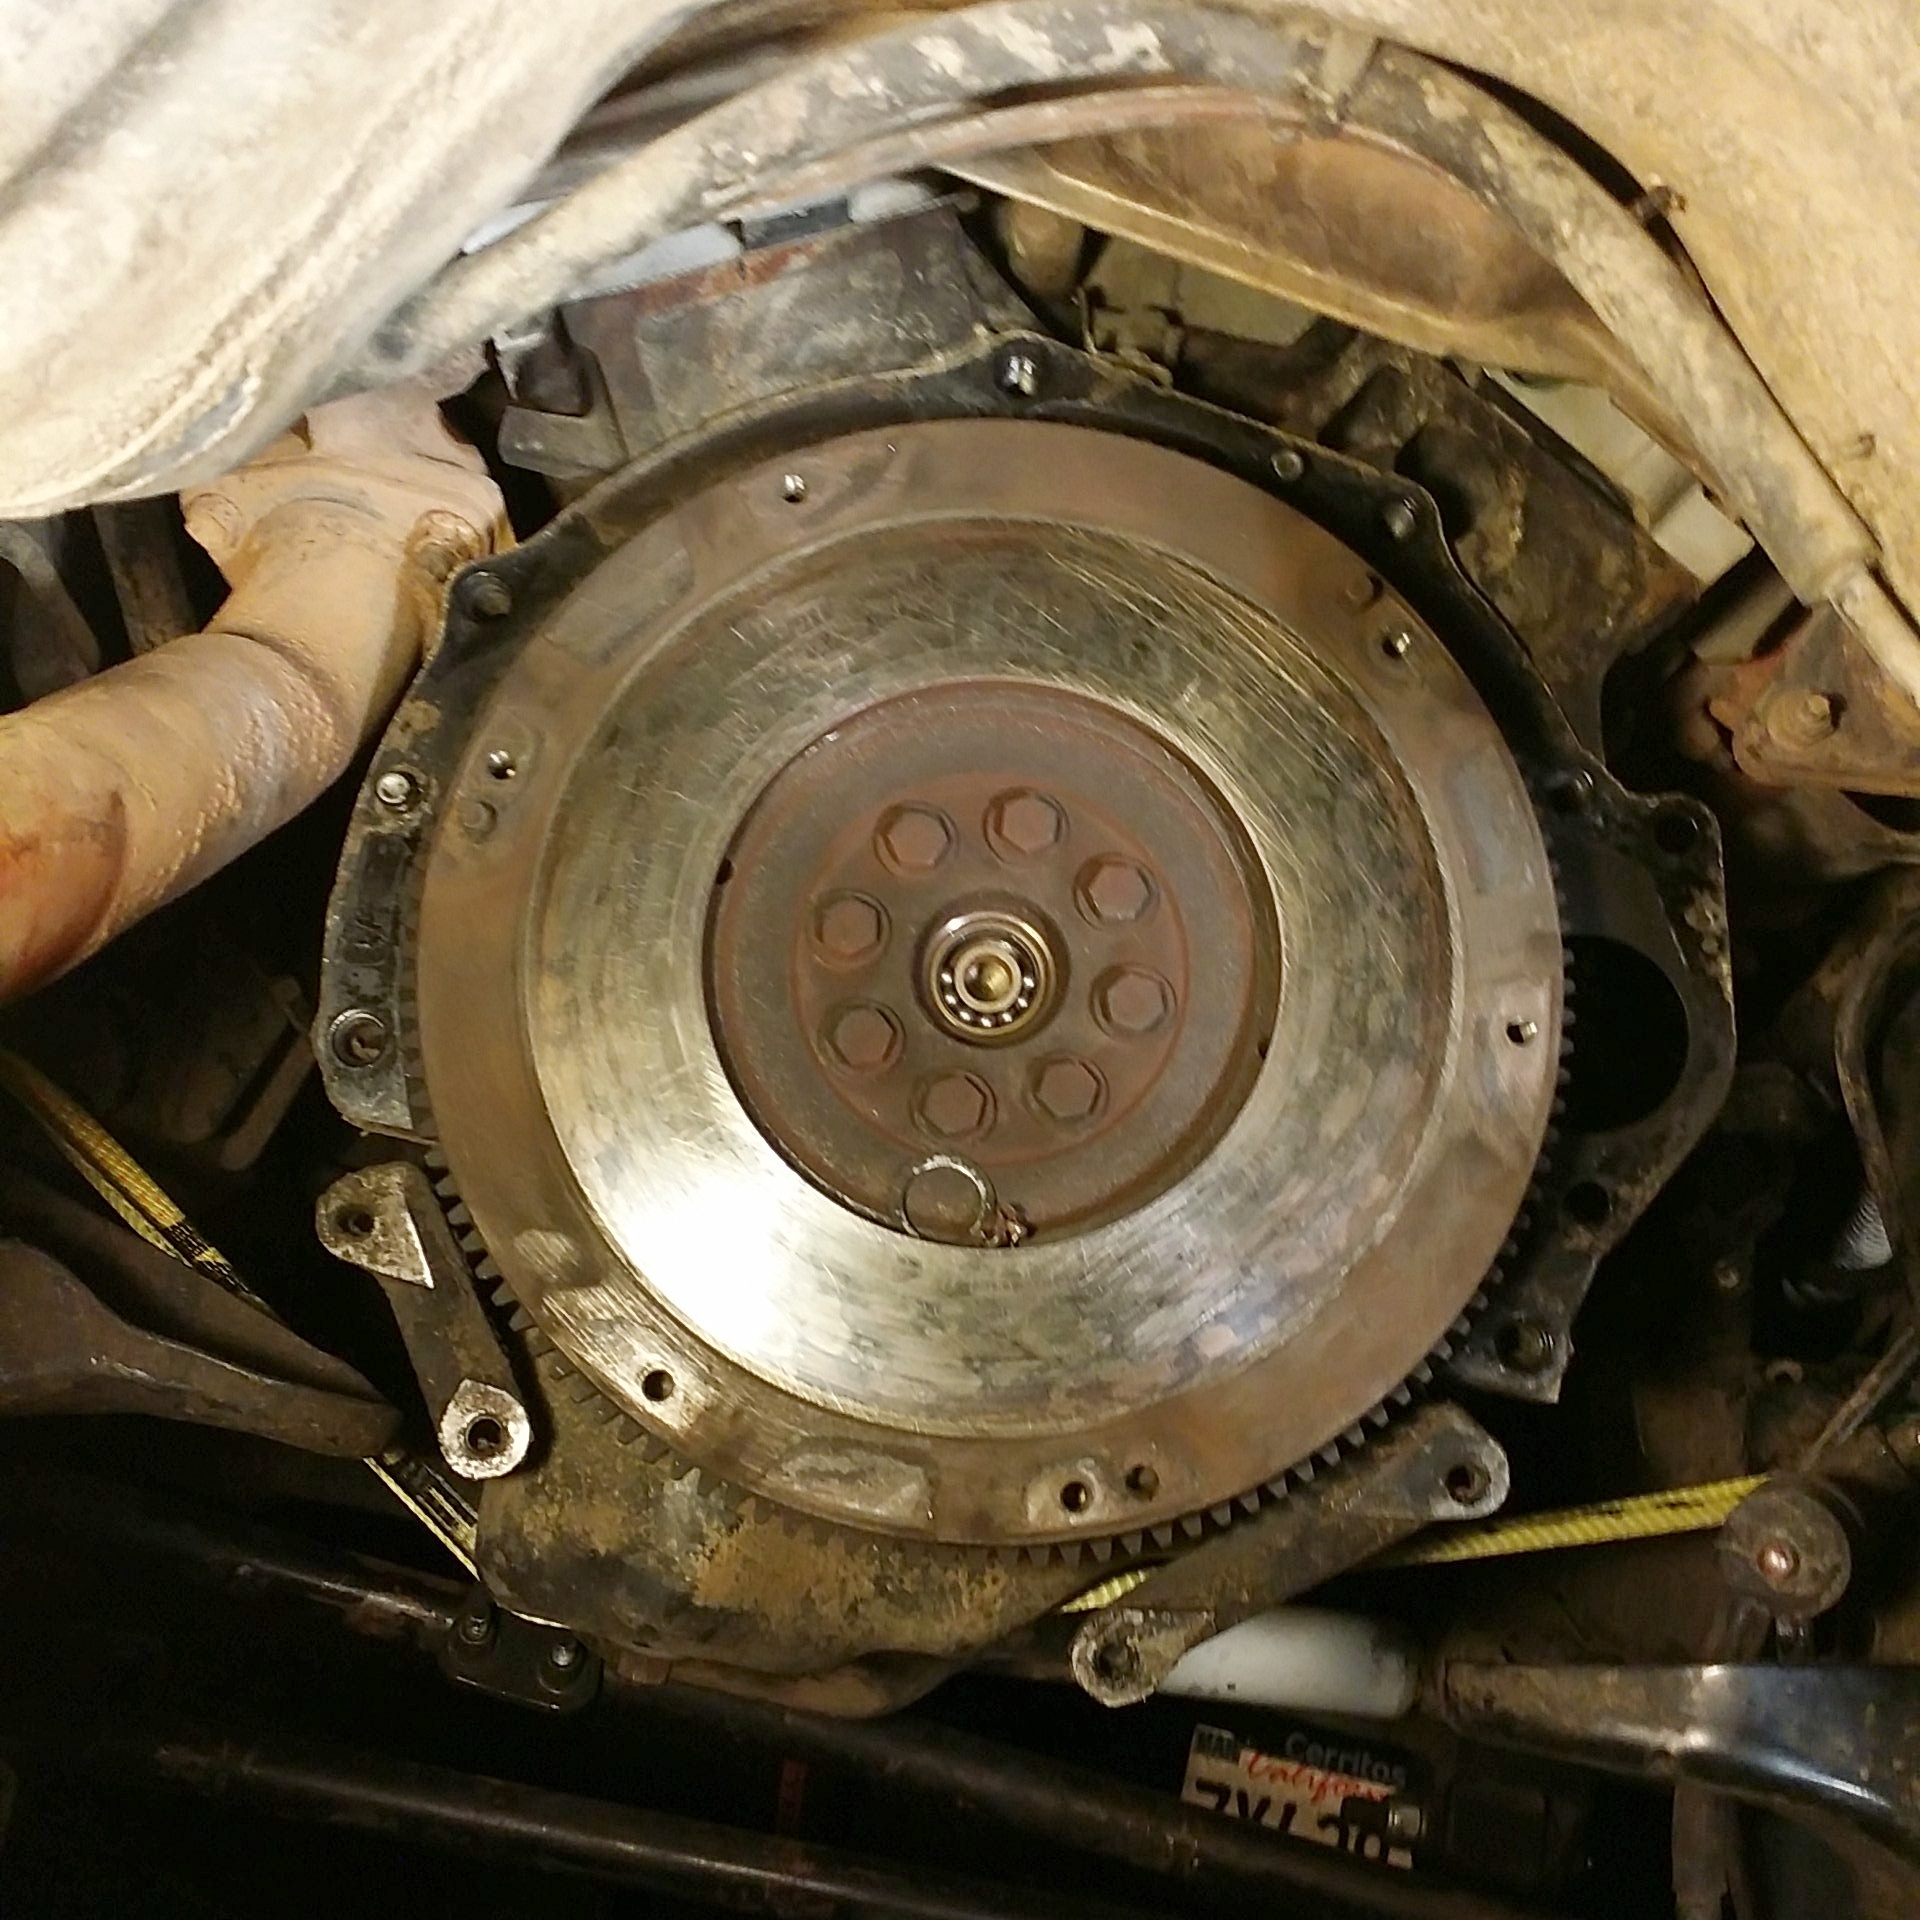
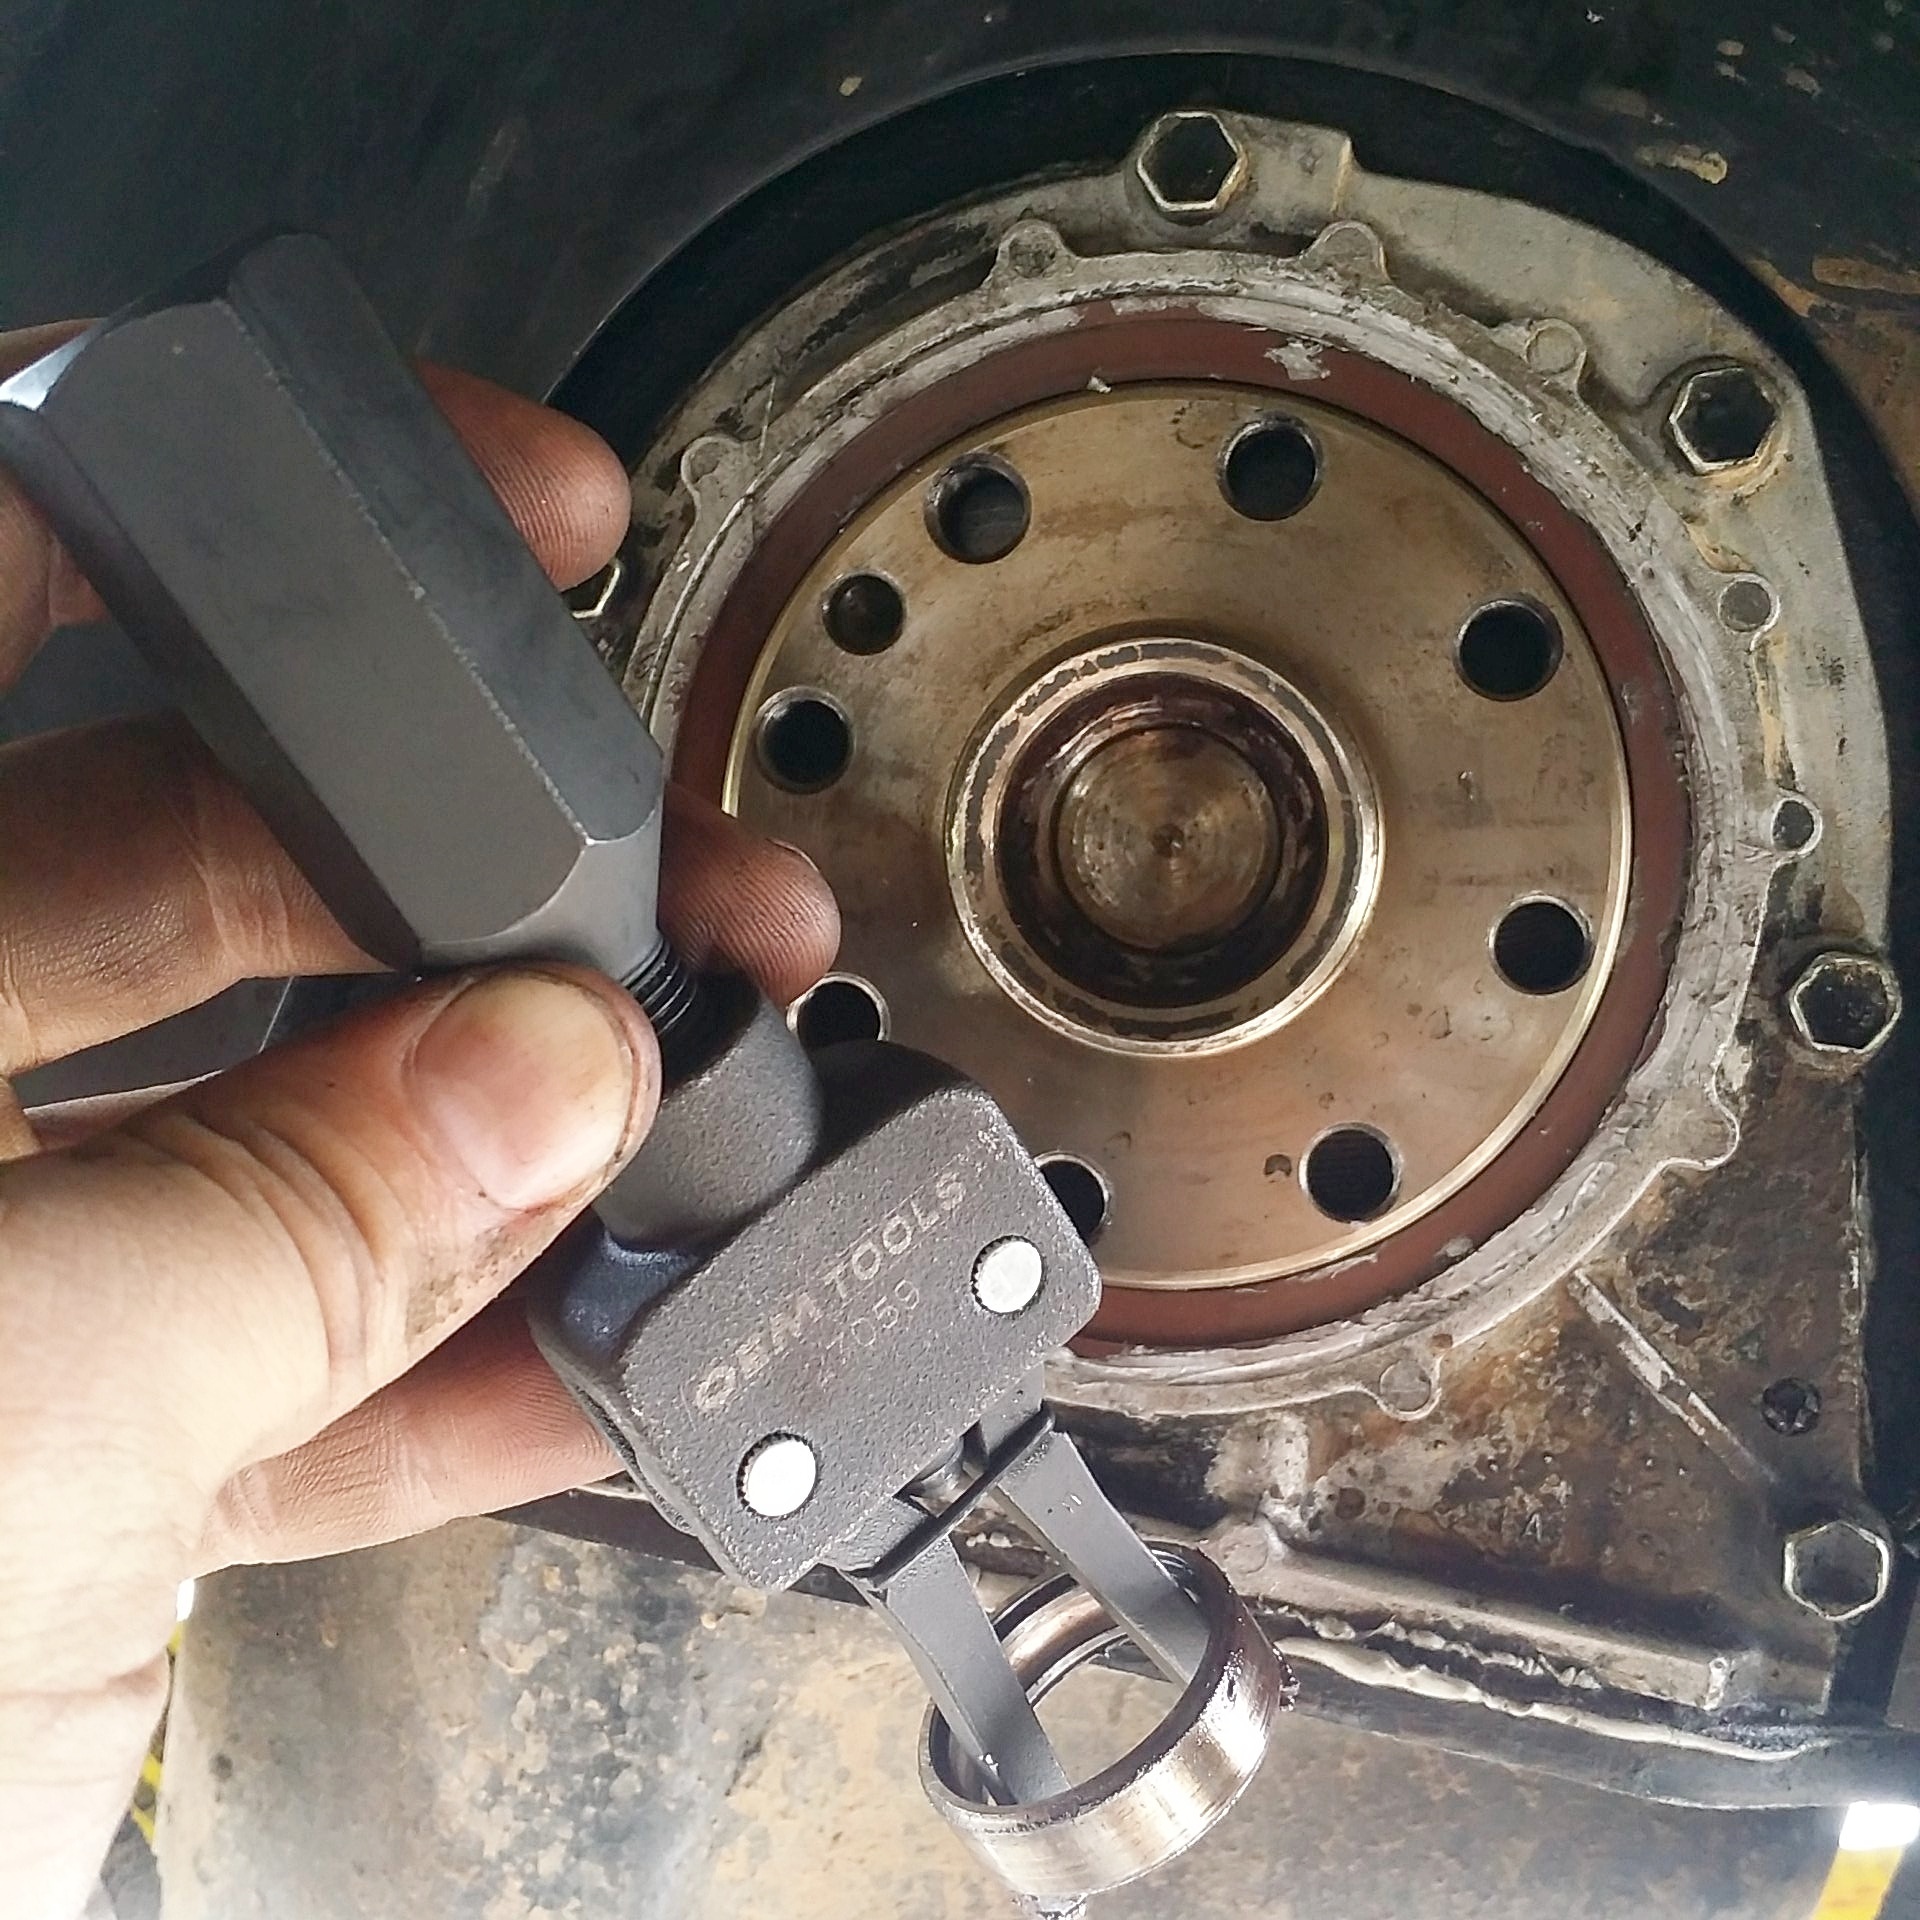
The following morning i brought out the impact gun and took off that flywheel. Now the next obstacle was gonna be taking off that pilot breaking. Mark (Chefyota4x4) suggested use the wet paper technique. Which really all you do is damp a piece of paper and pack it into the center of the bearing and keep packing and packing until you cant anymore then you take a socket that fits into the hole and smack it with a hammer. IT really did work to pop that sucker out. But the outer ring on the bearing was so stuck it refused to come off without a fight!

After almost 1 hour of wasted time trying to get the bearing out. my dad and i went to autozone and bought this Pilot bearing removal tool for only $15 TOTALLY WORTH THE MONEY!
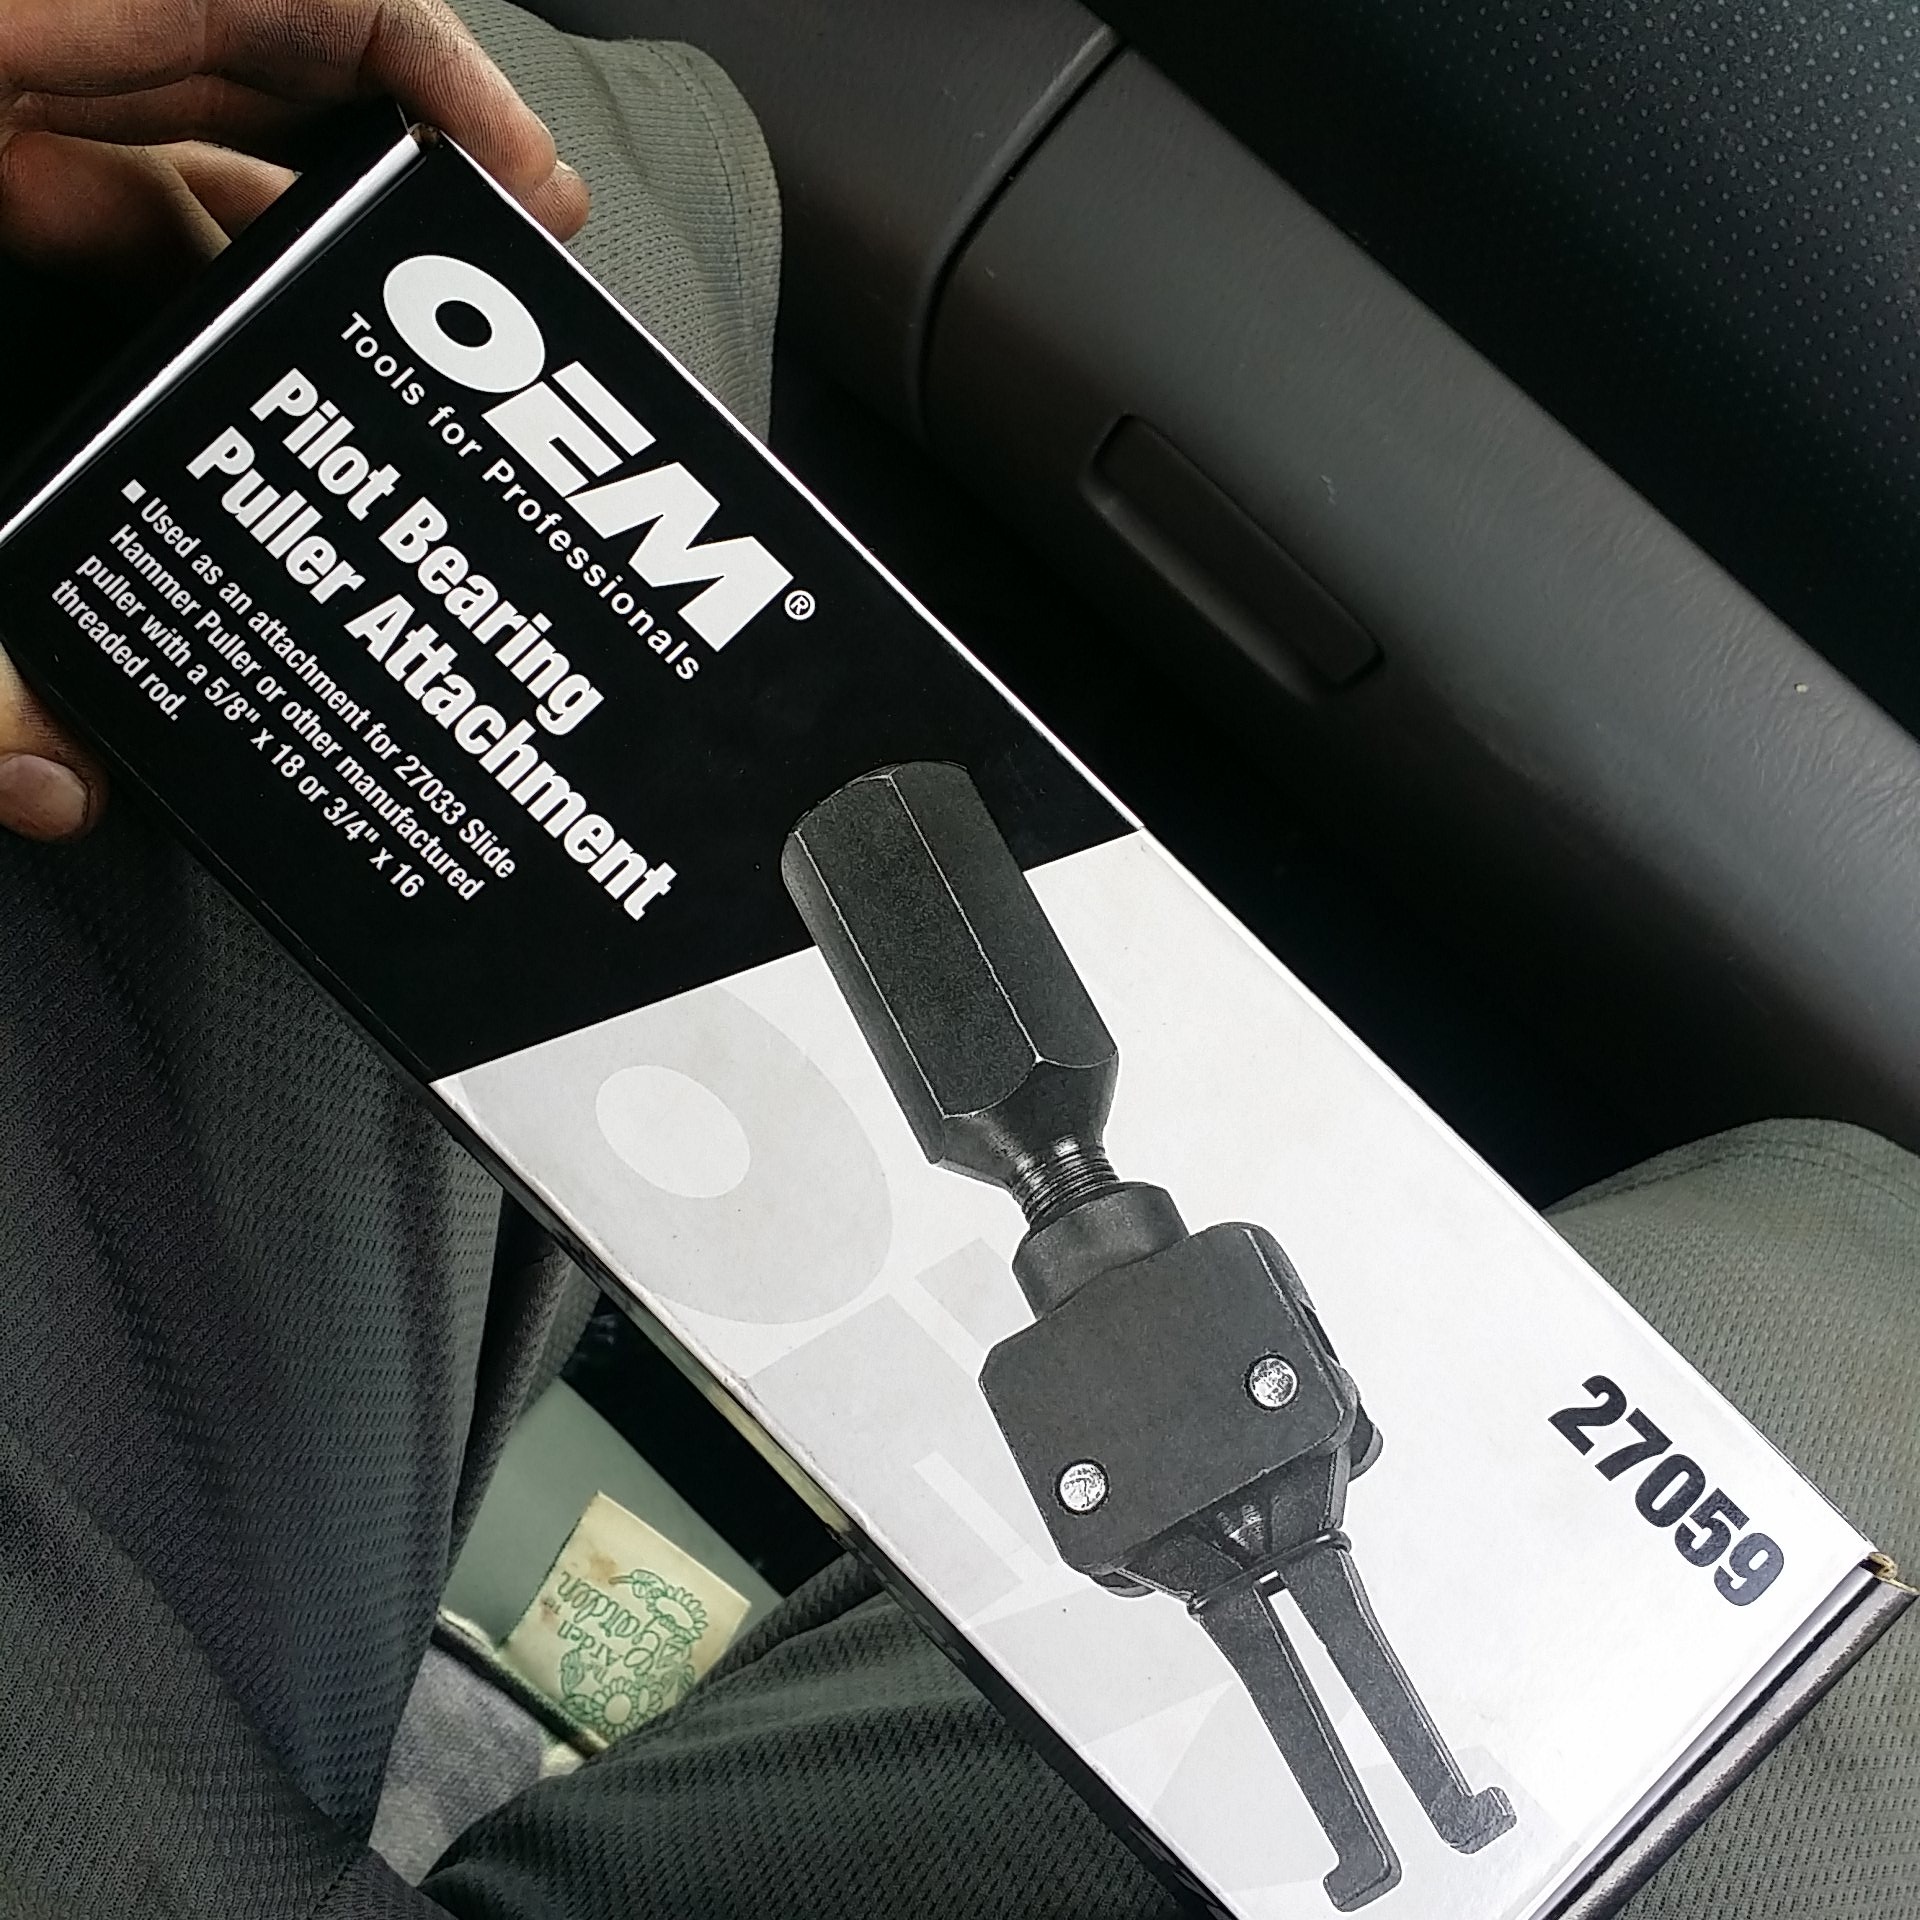
After less than 30 seconds of using this tool the dang ring came out with no issue. It's amazing how quickly things can go when you've got the correct tools for the job right!?!?!
Slowly but surely i got that heavy duty 1200lb marlin crawler clutch installed. I put in the new Nachi pilot bearing, Resurfaced flywheel, the SECO clutch plate and the AISIN pressure plate already talked to Spec
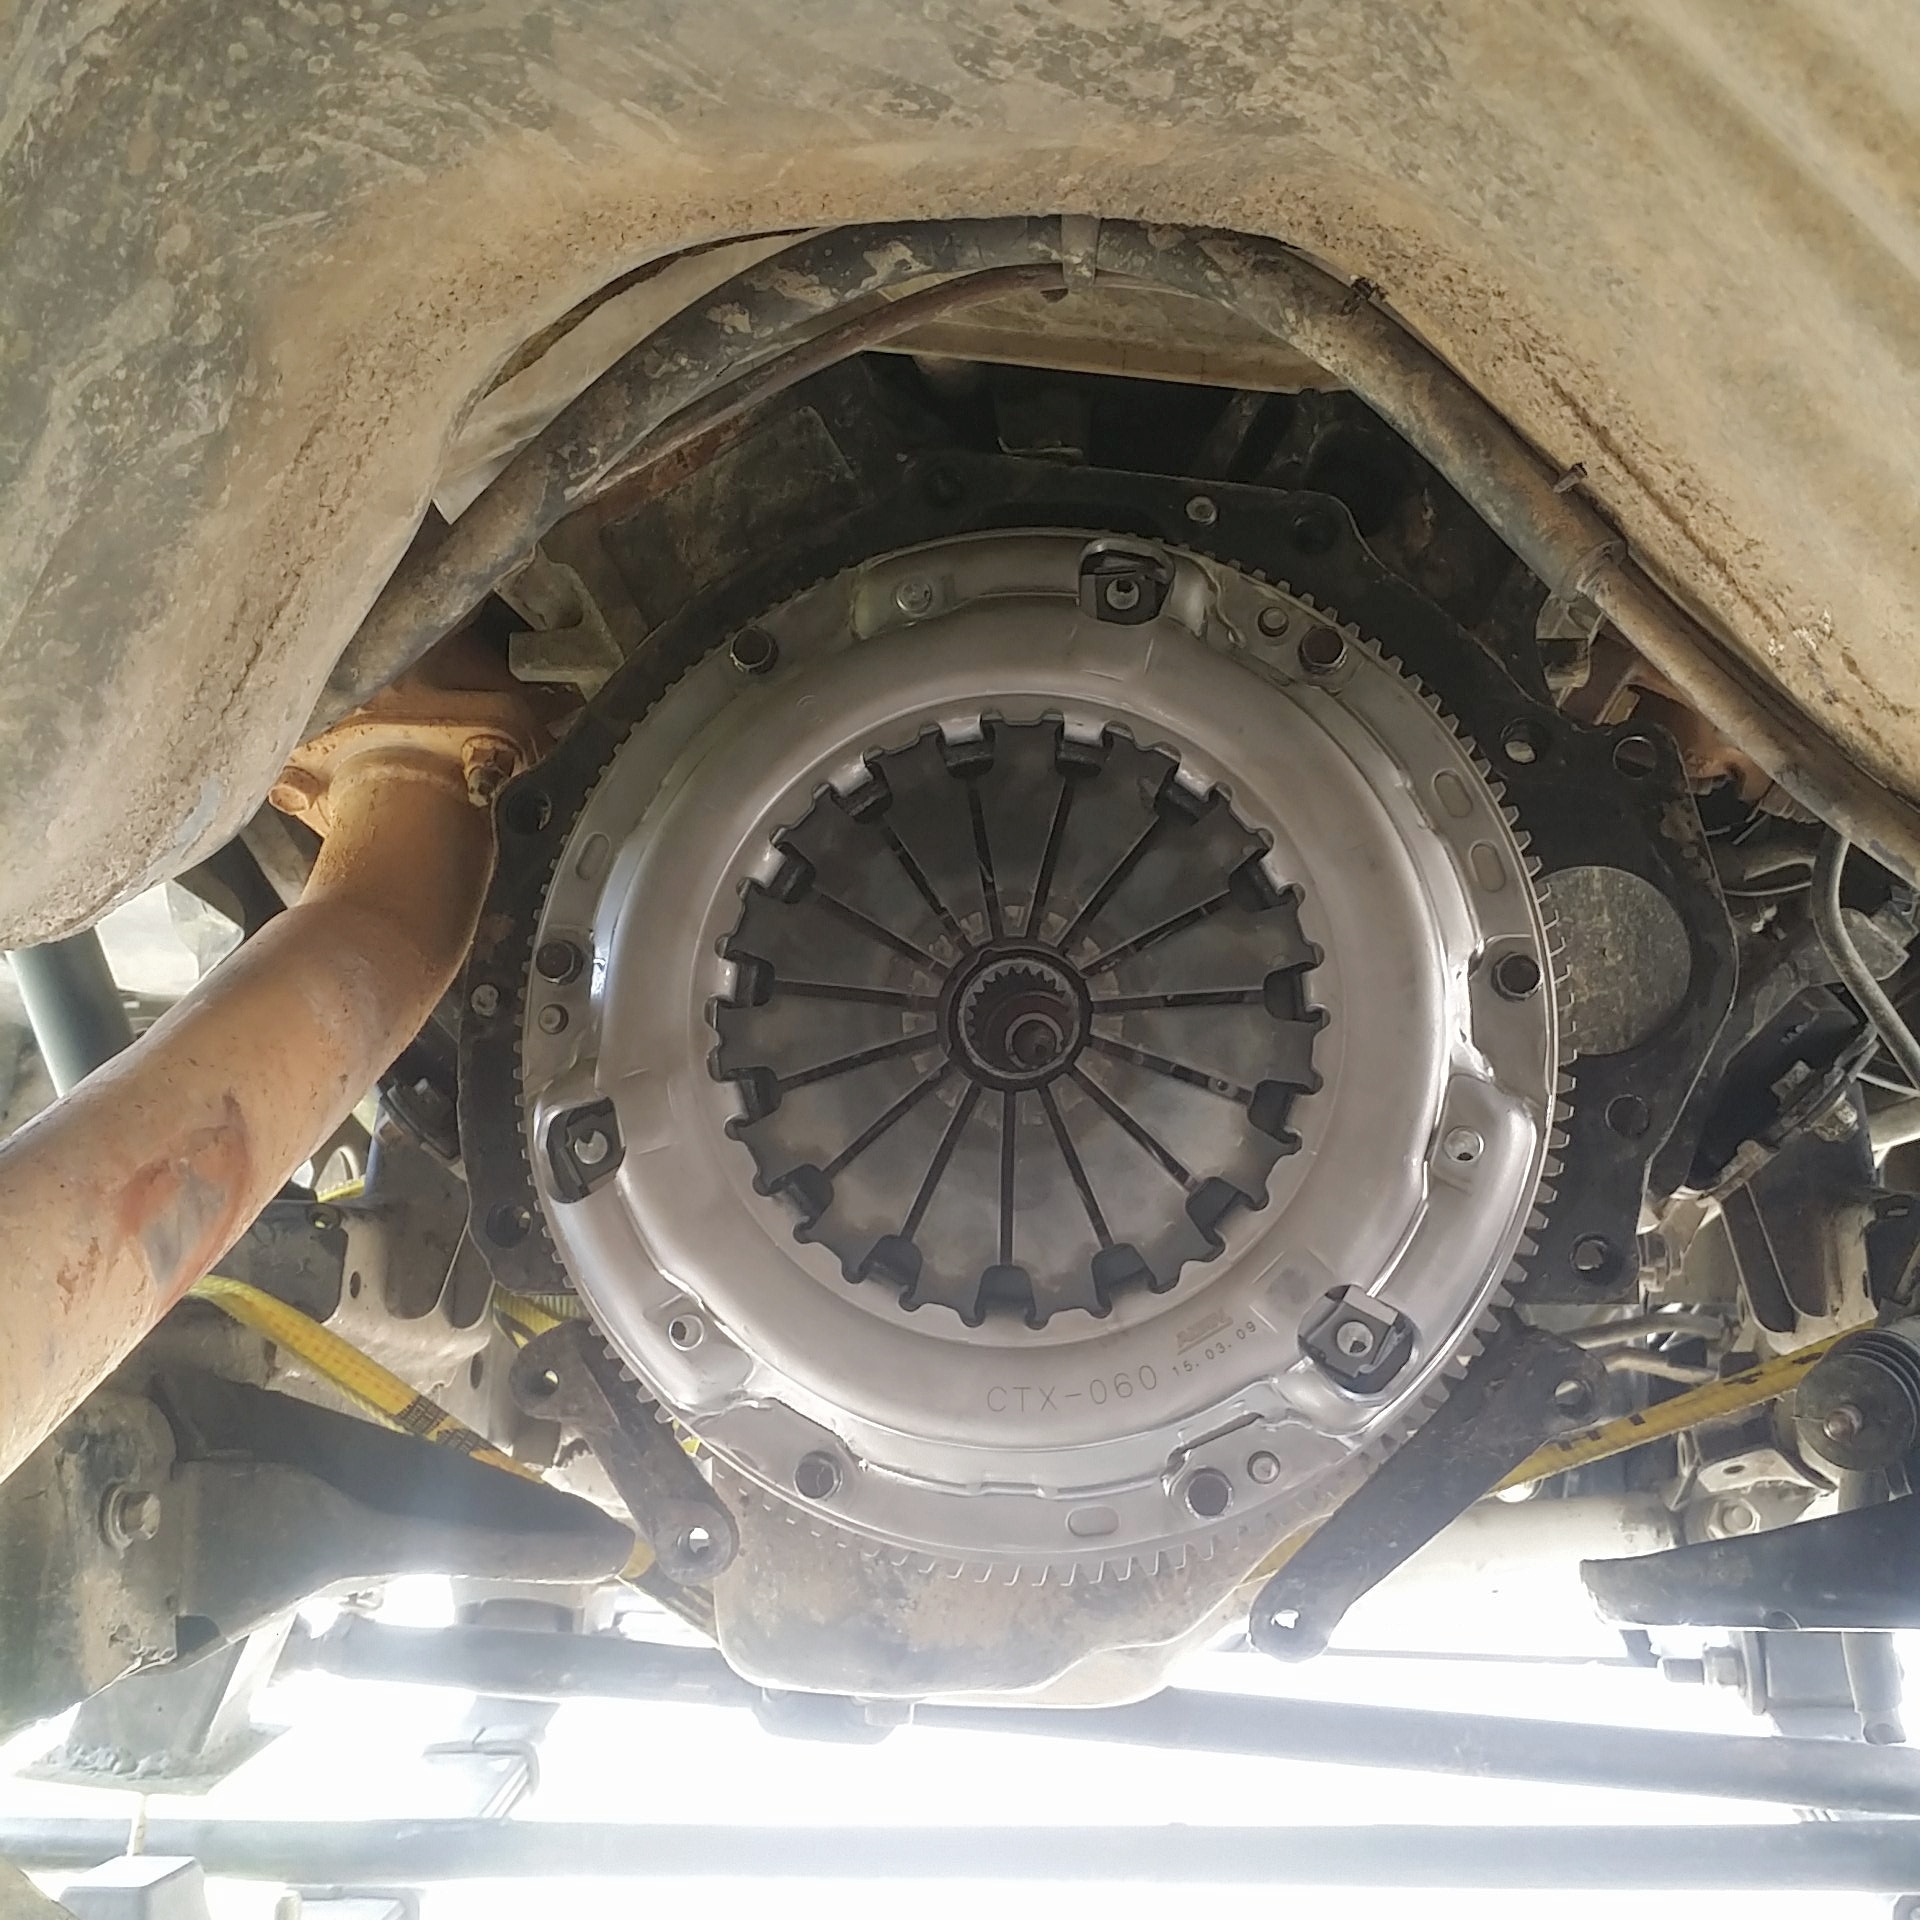
I put together the transfer case onto the new trans. and shifter adaptors. the transmission was ready to go! Keep in mind everything up to this point i did all by myself. So this could indeed be a 1 person job but it really does suck not having help. I'd say putting the transmission back on was definitely the hardest part of doing all this. And it was the only part of tis job that i had help from anybody because aligning and moving the splines into place while lifting slightly is a real pain in the butt doing it alone. So i got my dad and younger brother to help me out. and thank god they did becaue i doubt i would have succeeded in doing it alone.
RBX thank you for the advice with ratchet straps. I did use that when i had to readjust the jack under the truck so i held the trans up with straps while i readjusted.
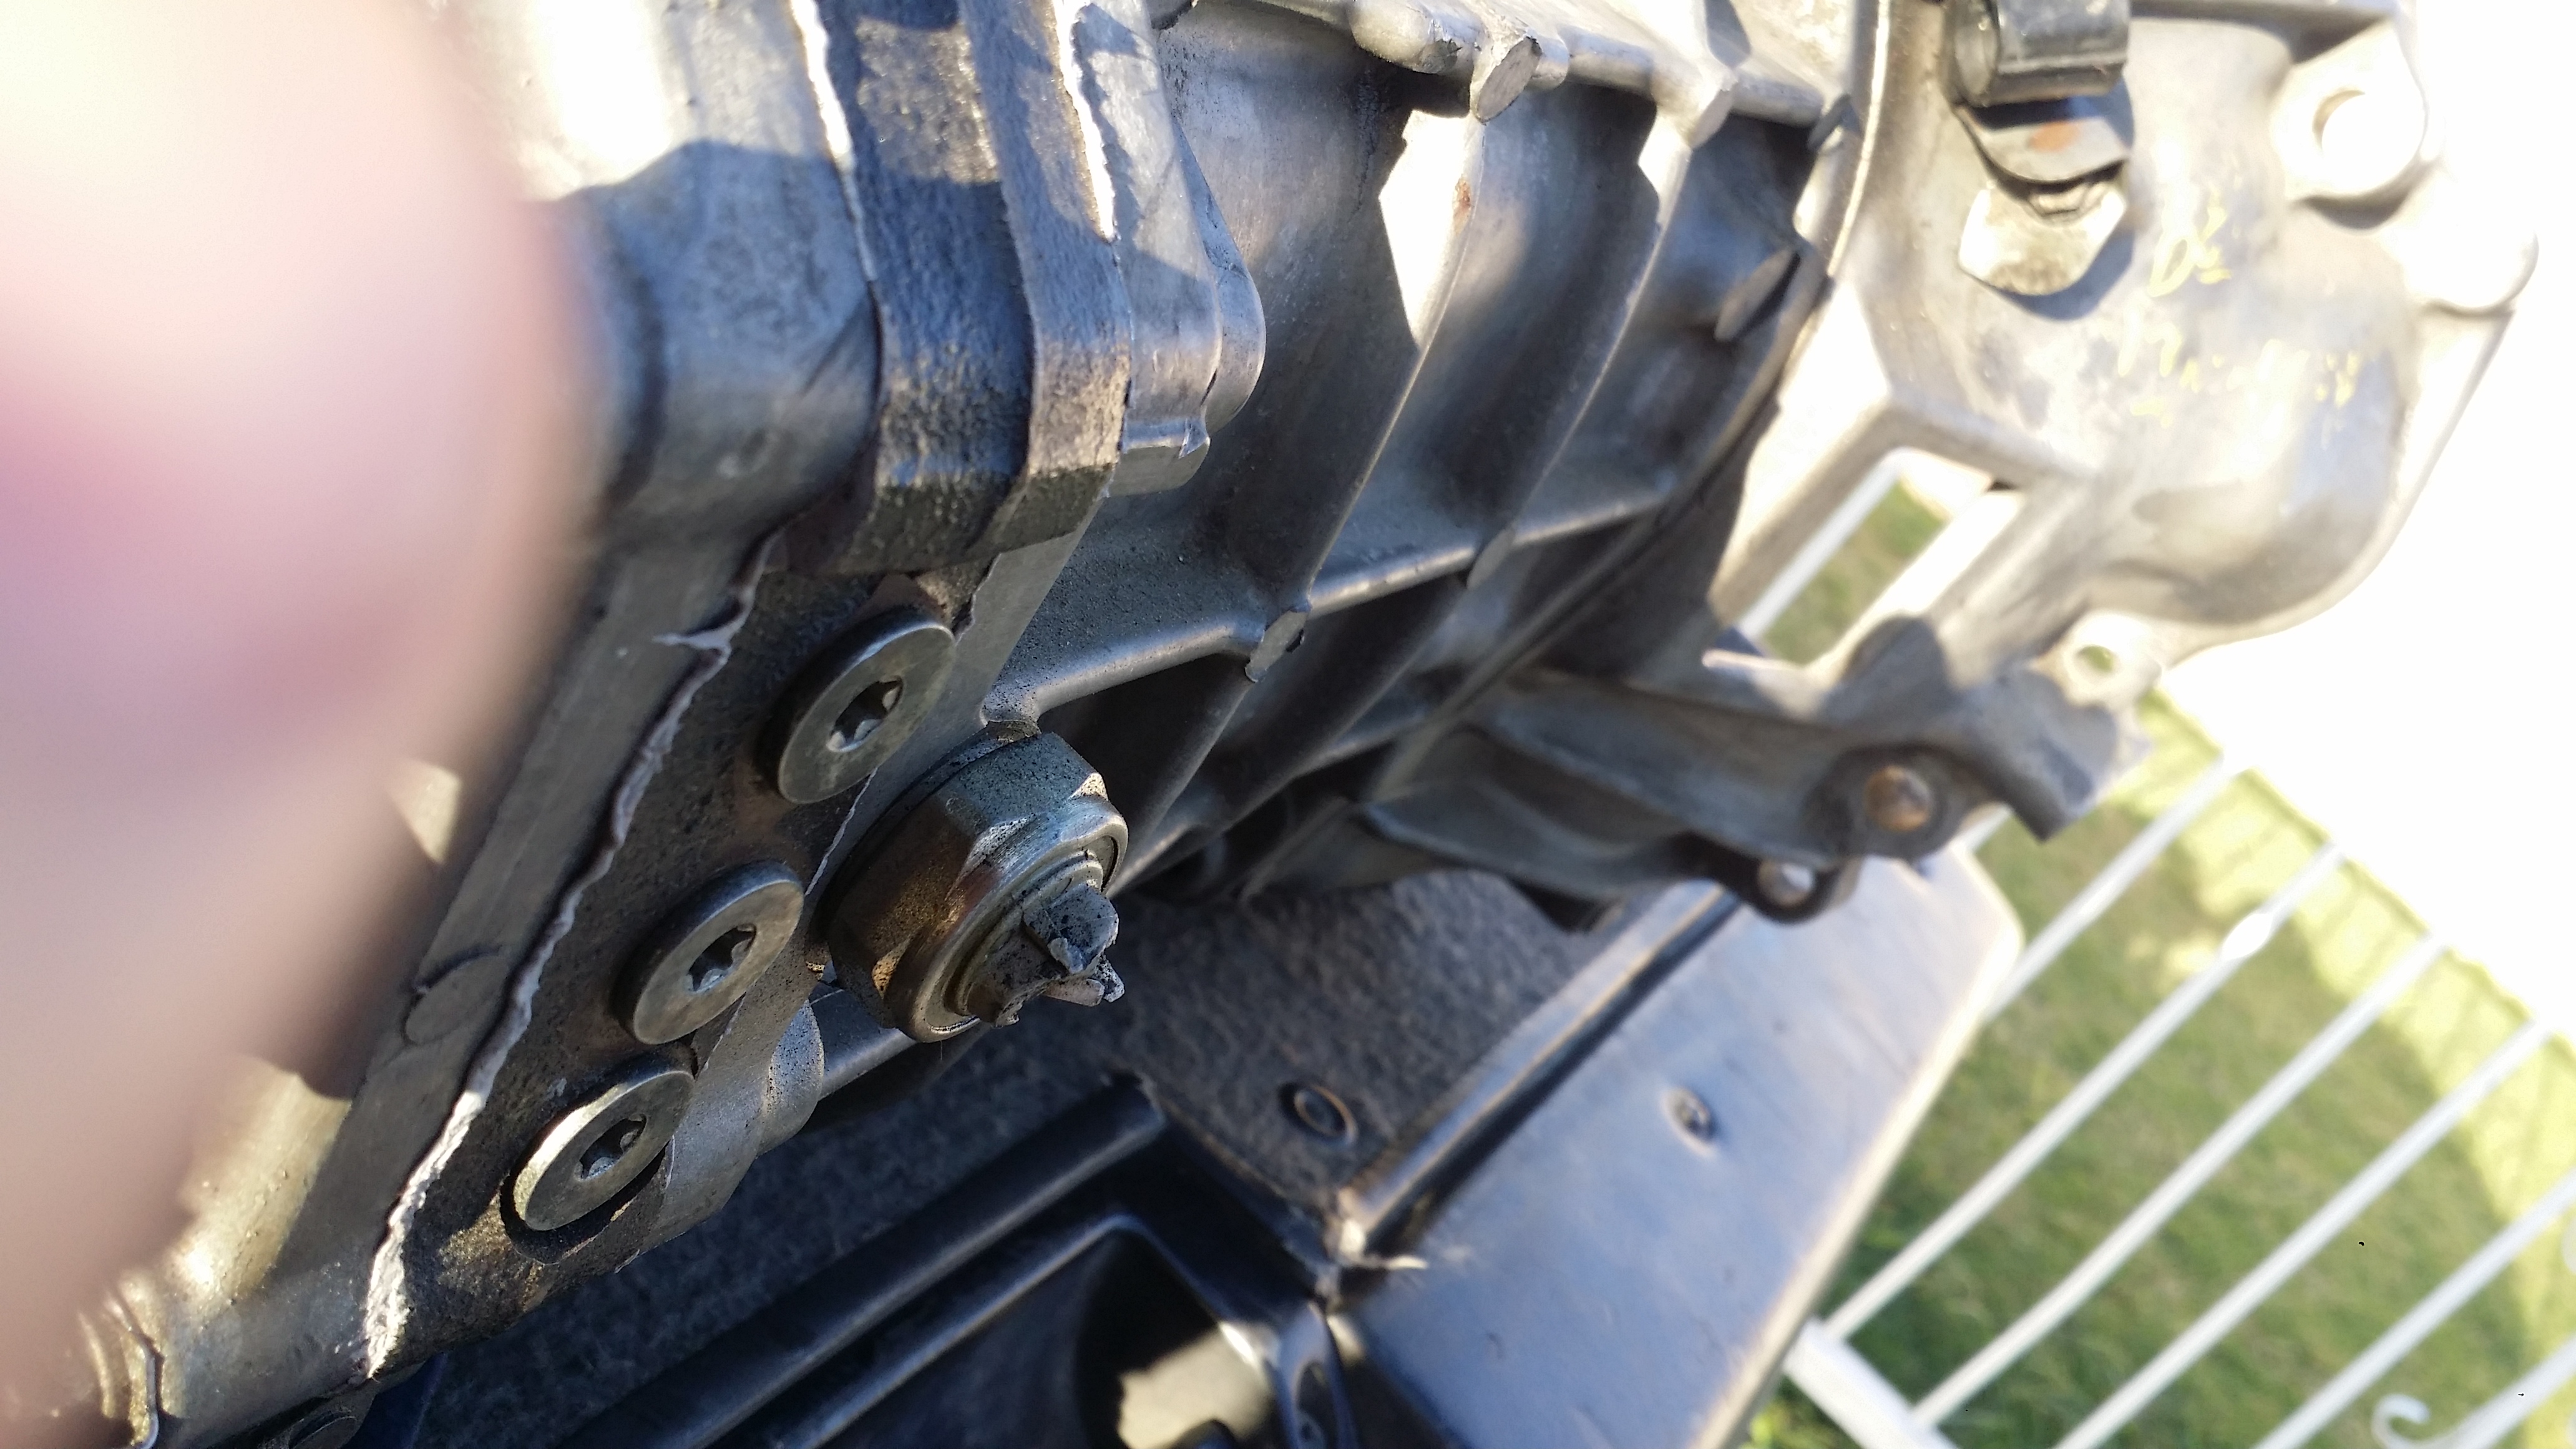
Tires all mounted. All that ass left to do is mount the driveshafts, Bleed clutch, Run to the auto store and buy some transmission fluid for the tranny/transfer case. And I found that one of the bolts that mounted the bellhousing to the engine was wrong. So I am missing 1 bolt due to that. Also missing 3 out of 4 transmission mount bolts so I need to get replacement ones too. Other then that everything was good.
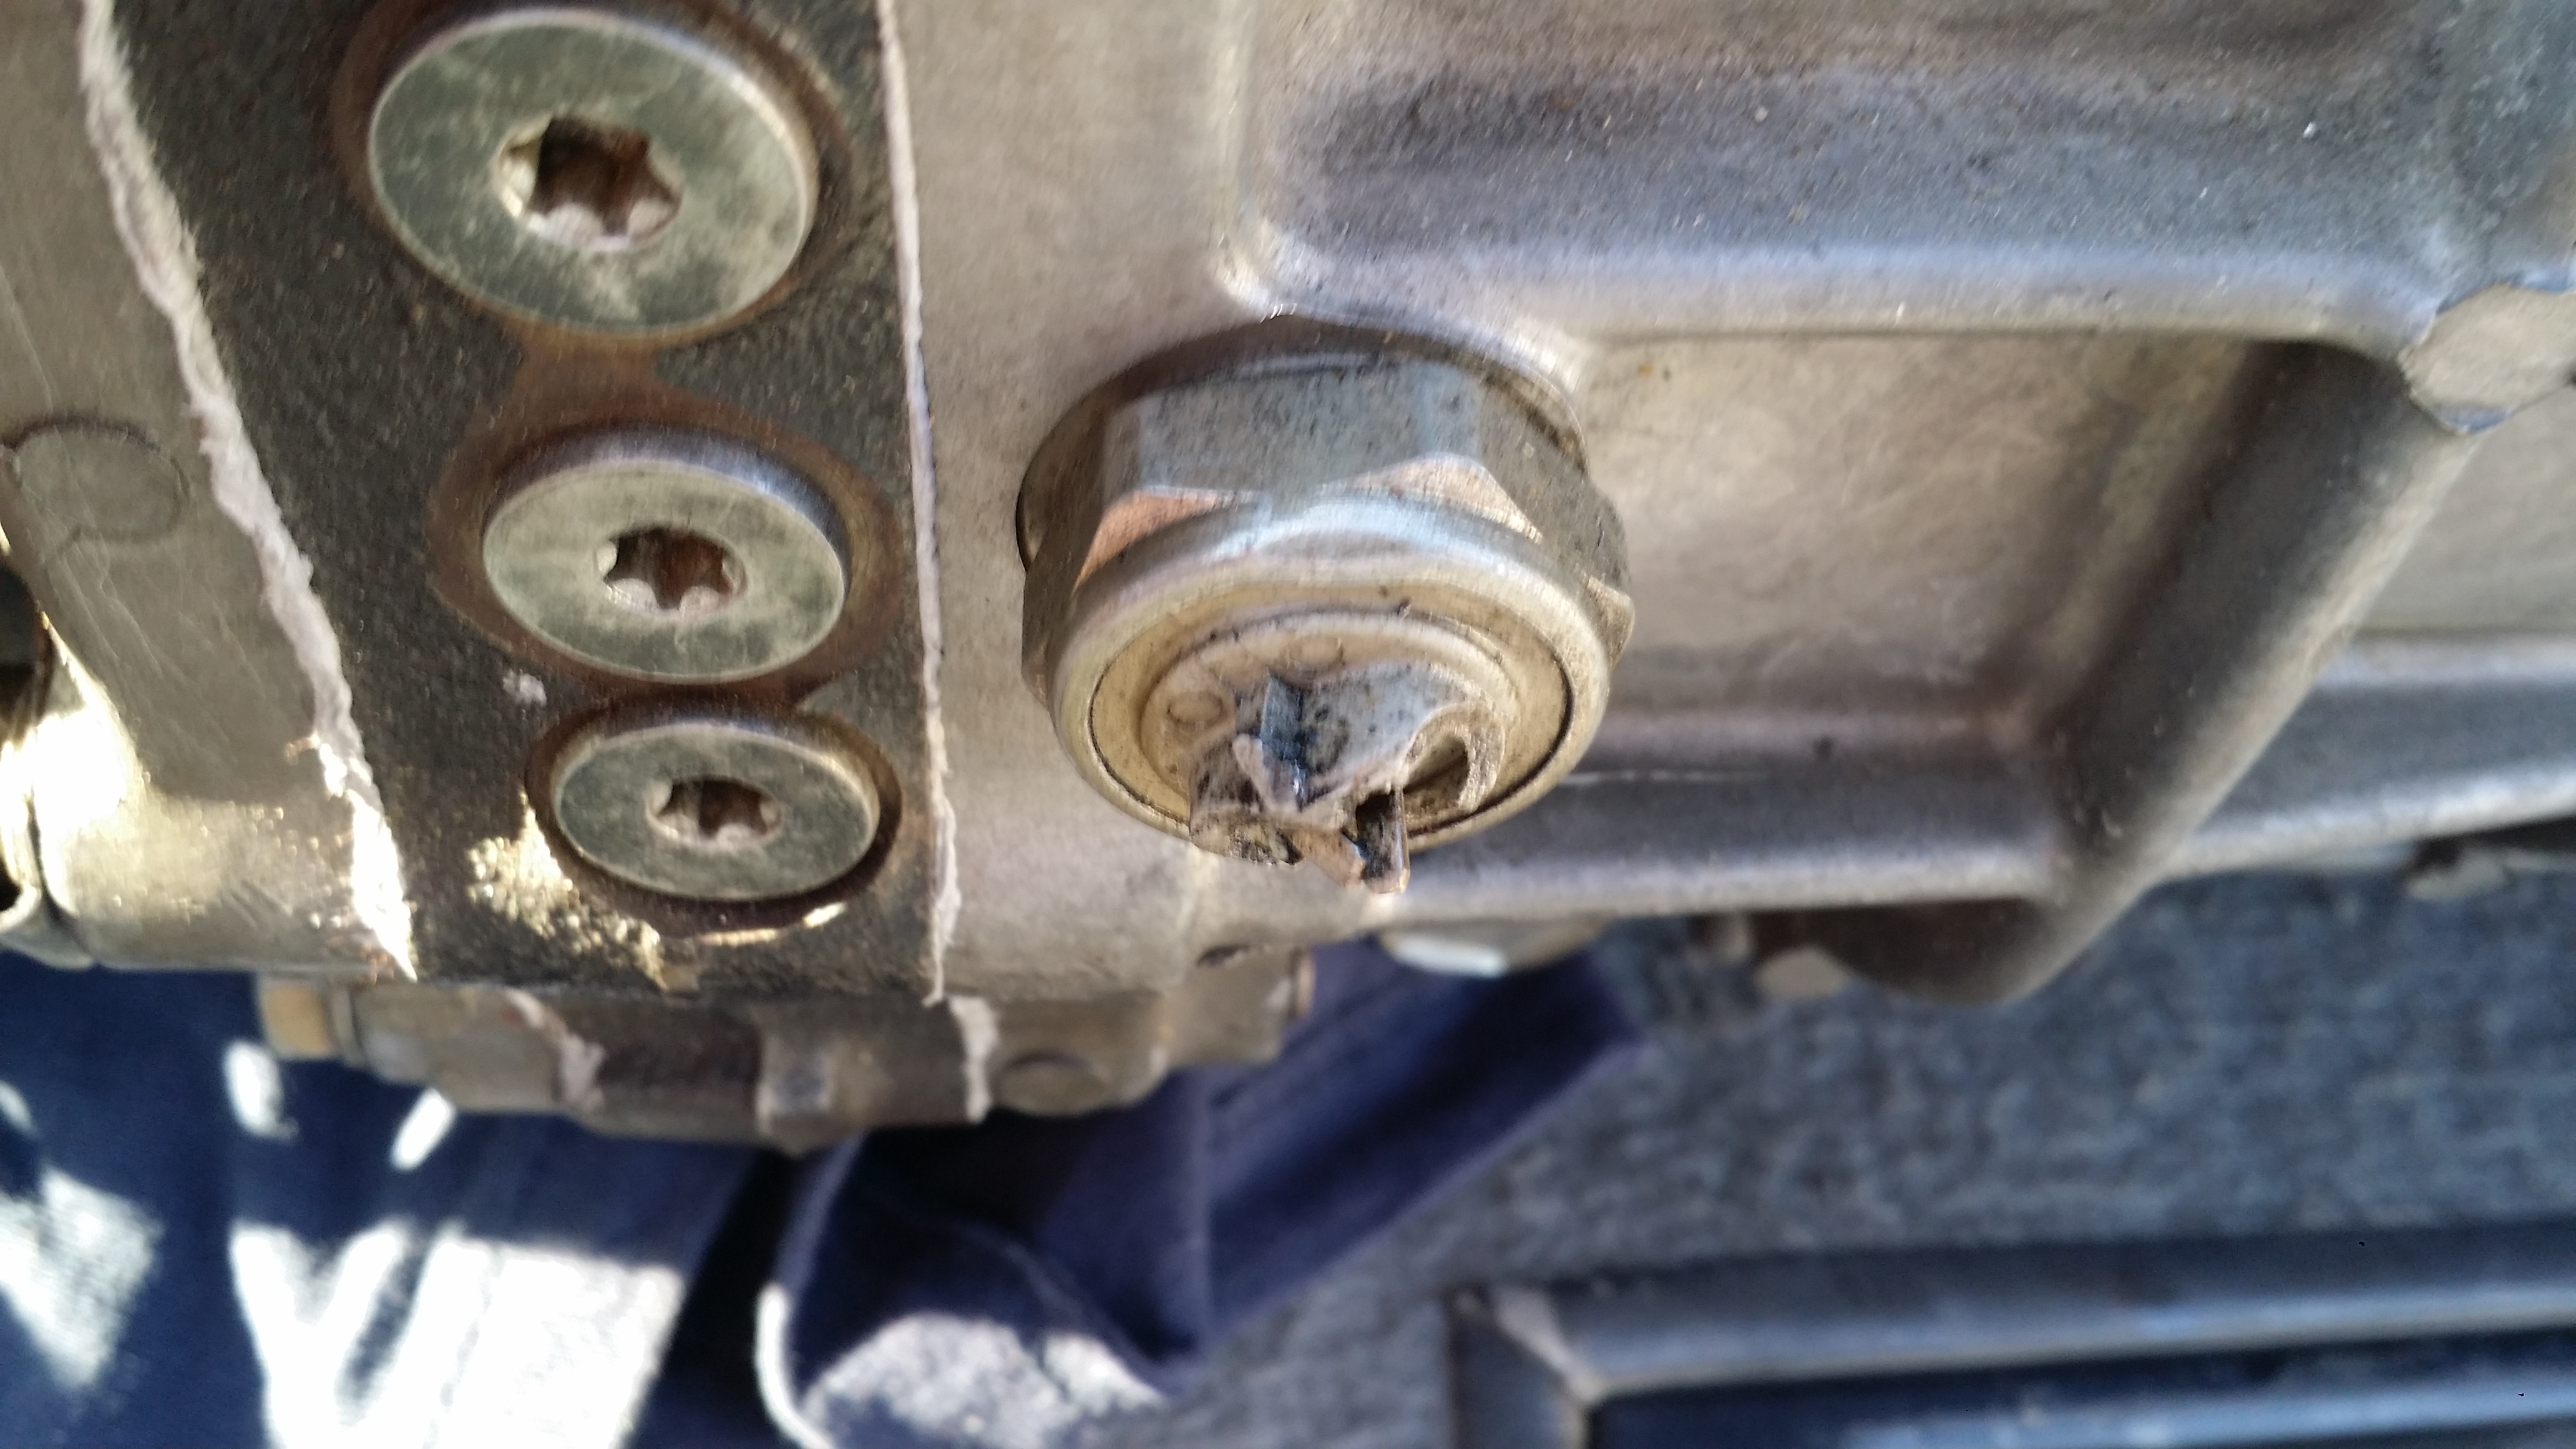
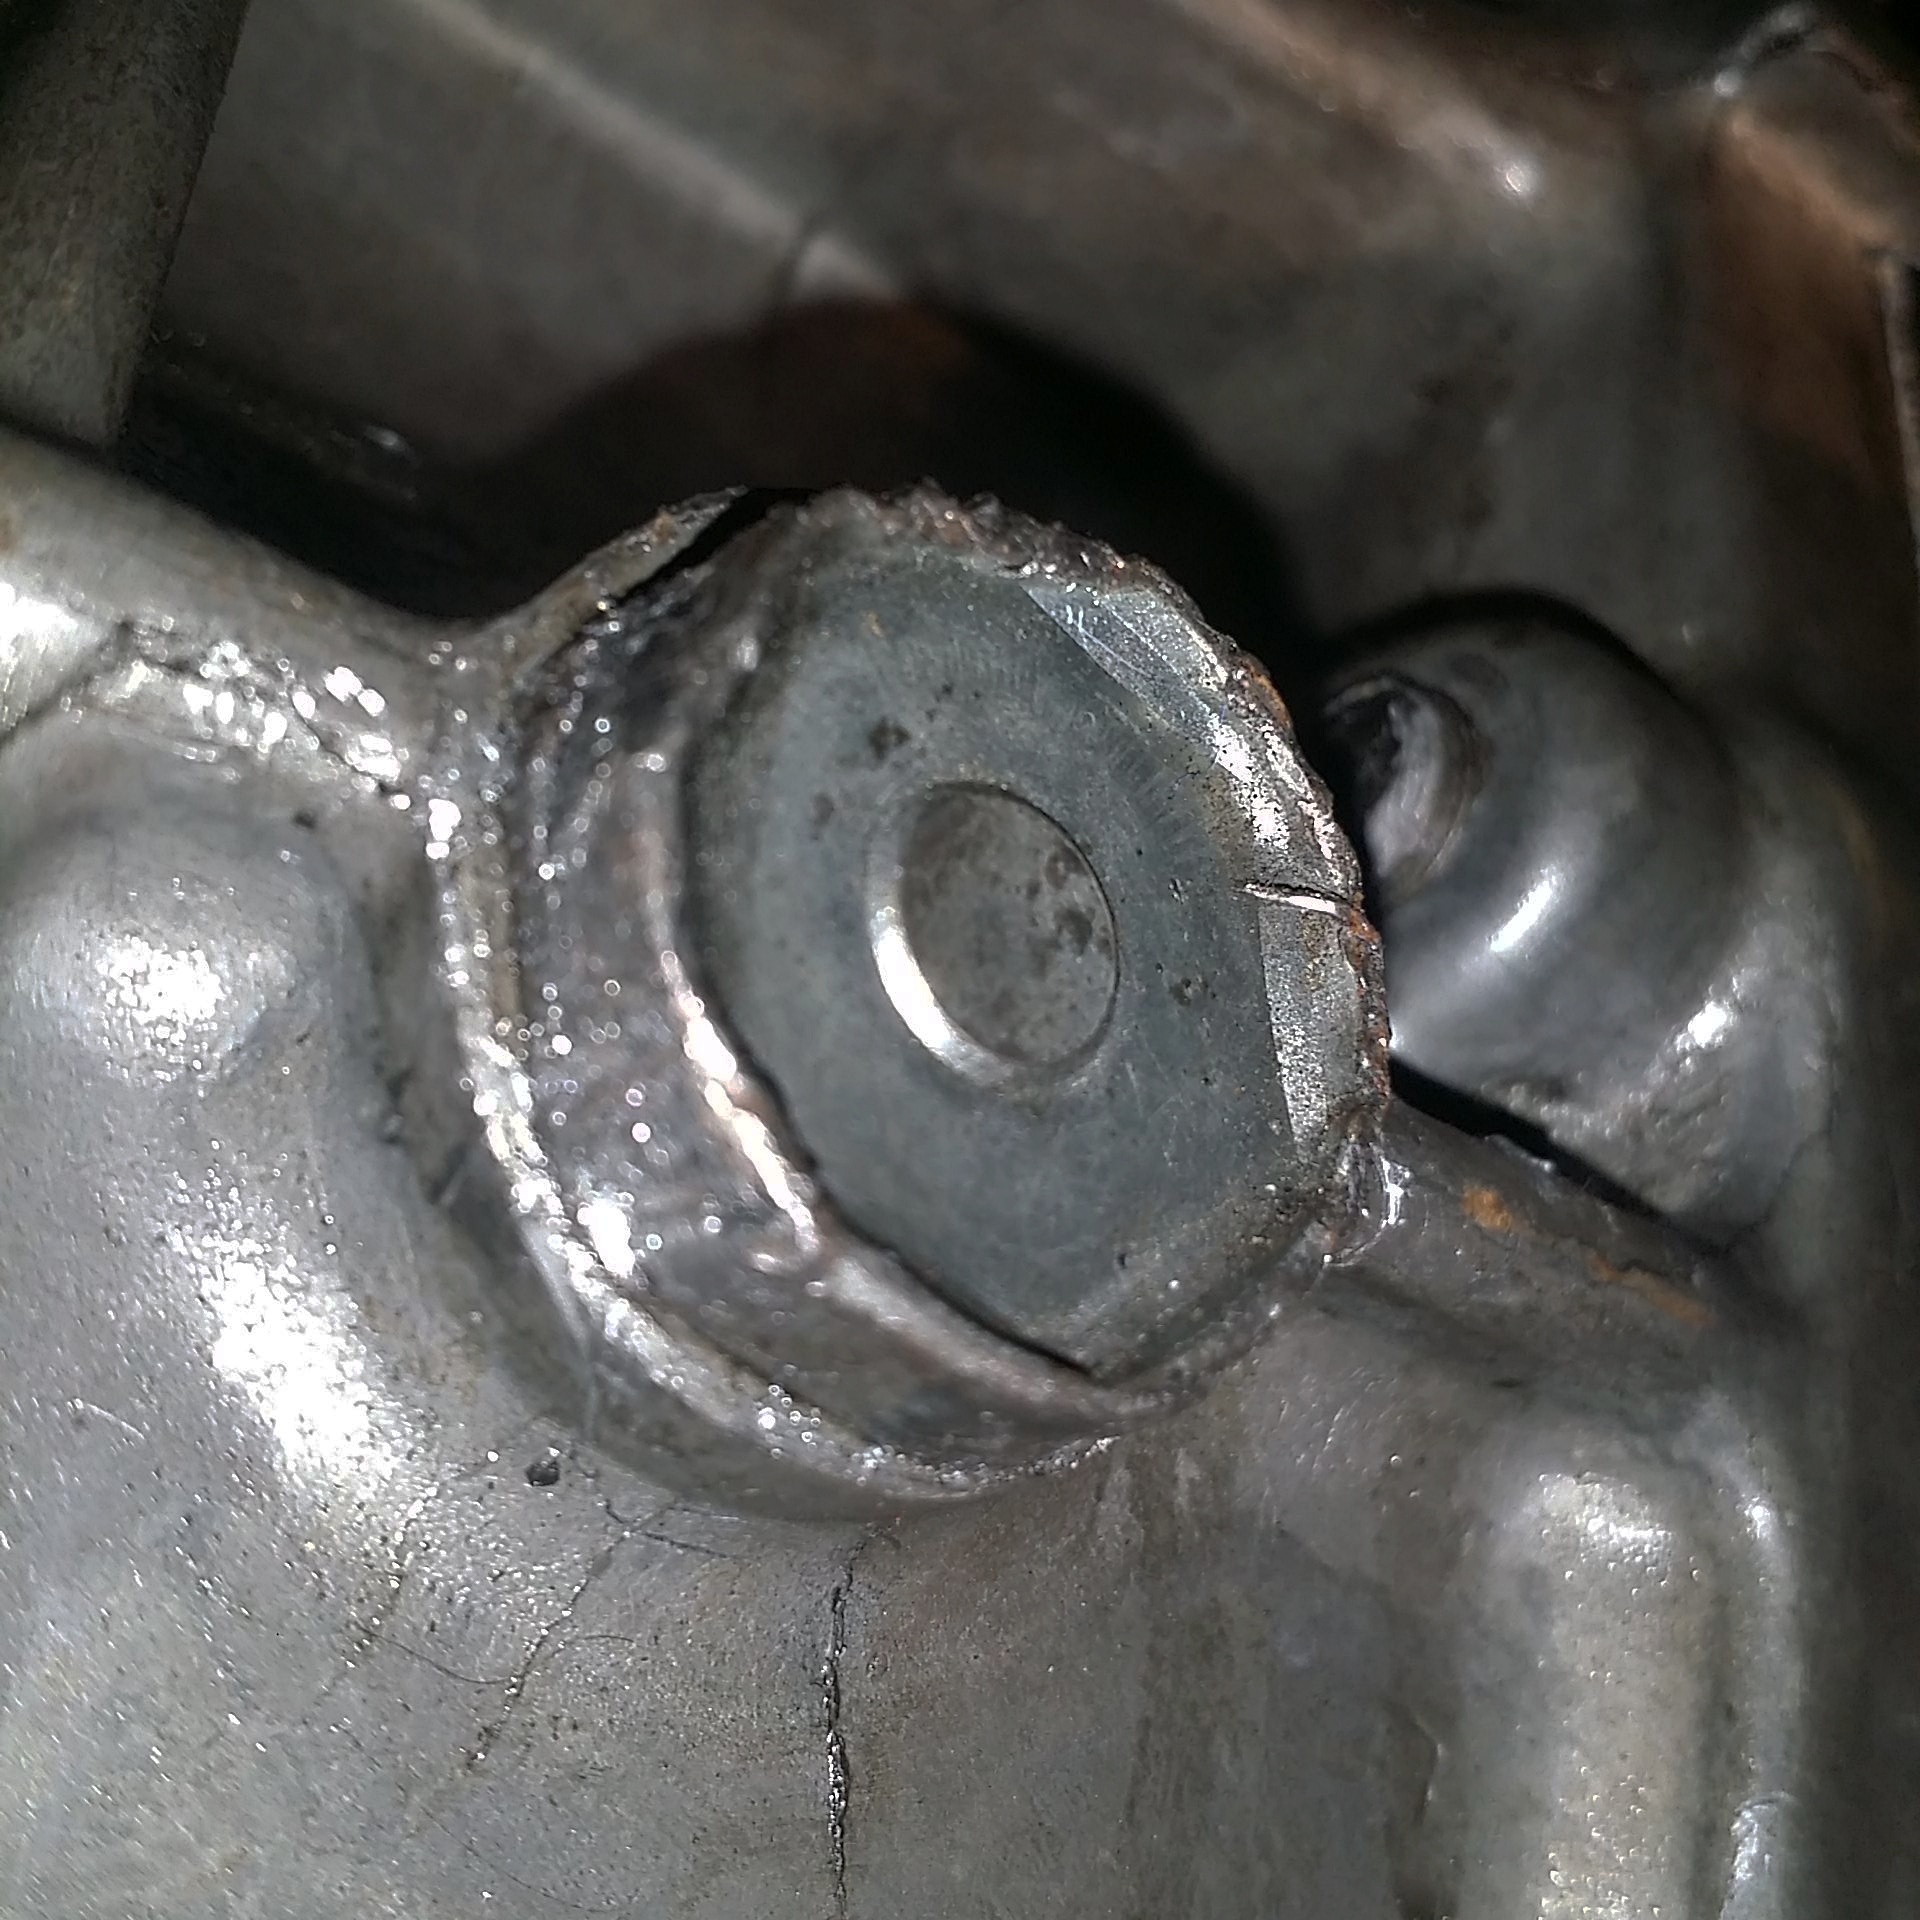
When trying to fill the trans with oil i found that the fill bolt had a slight strip on 2 corners. I attempted t take it off any way and cae out stripping it worse! i pretty much rounded it off. i tried the pressure clamps and a plumbers wrench to remove and it was no use. the only way to remove it is gonna be to weld another bolt to it and take it off that way. For the mean time i just filled it with the exact amount through the stick shift lever hole on the top of the trans from the inside of the cab.
the following day i went to Mark;s house to get help getting some bolts from his collection for my missing trans and bell housing bolts.
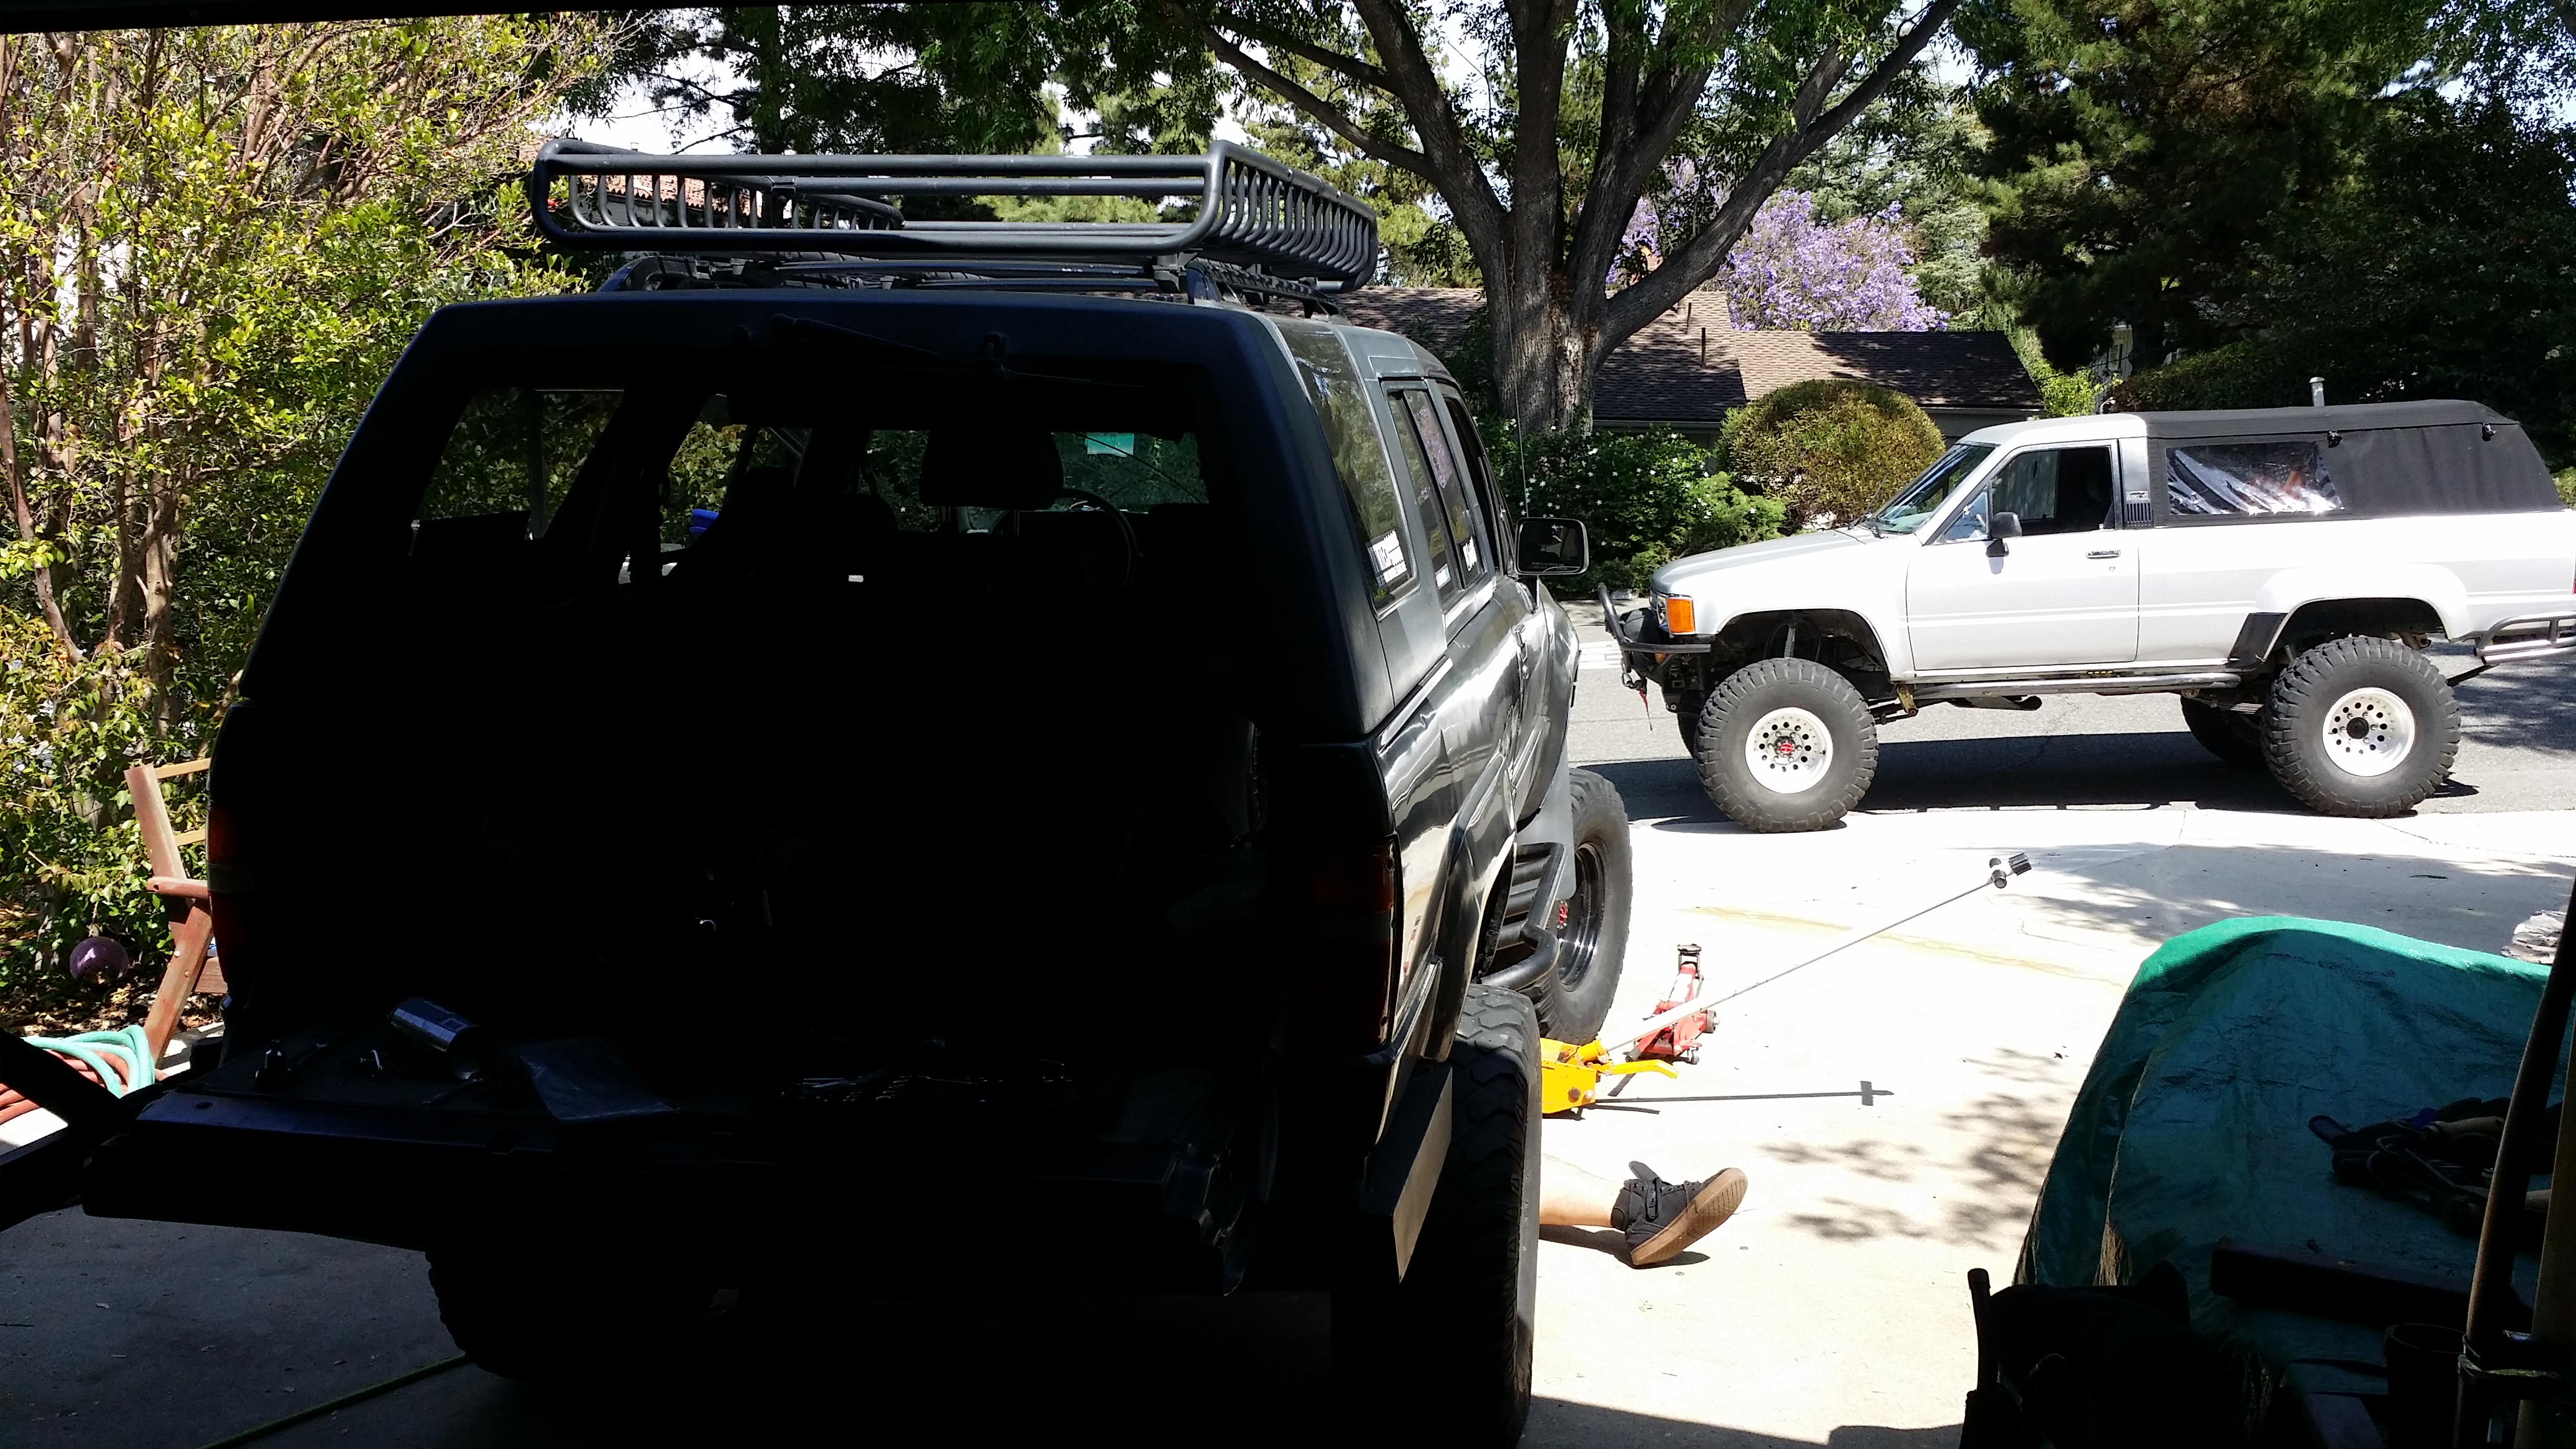
There is my foot
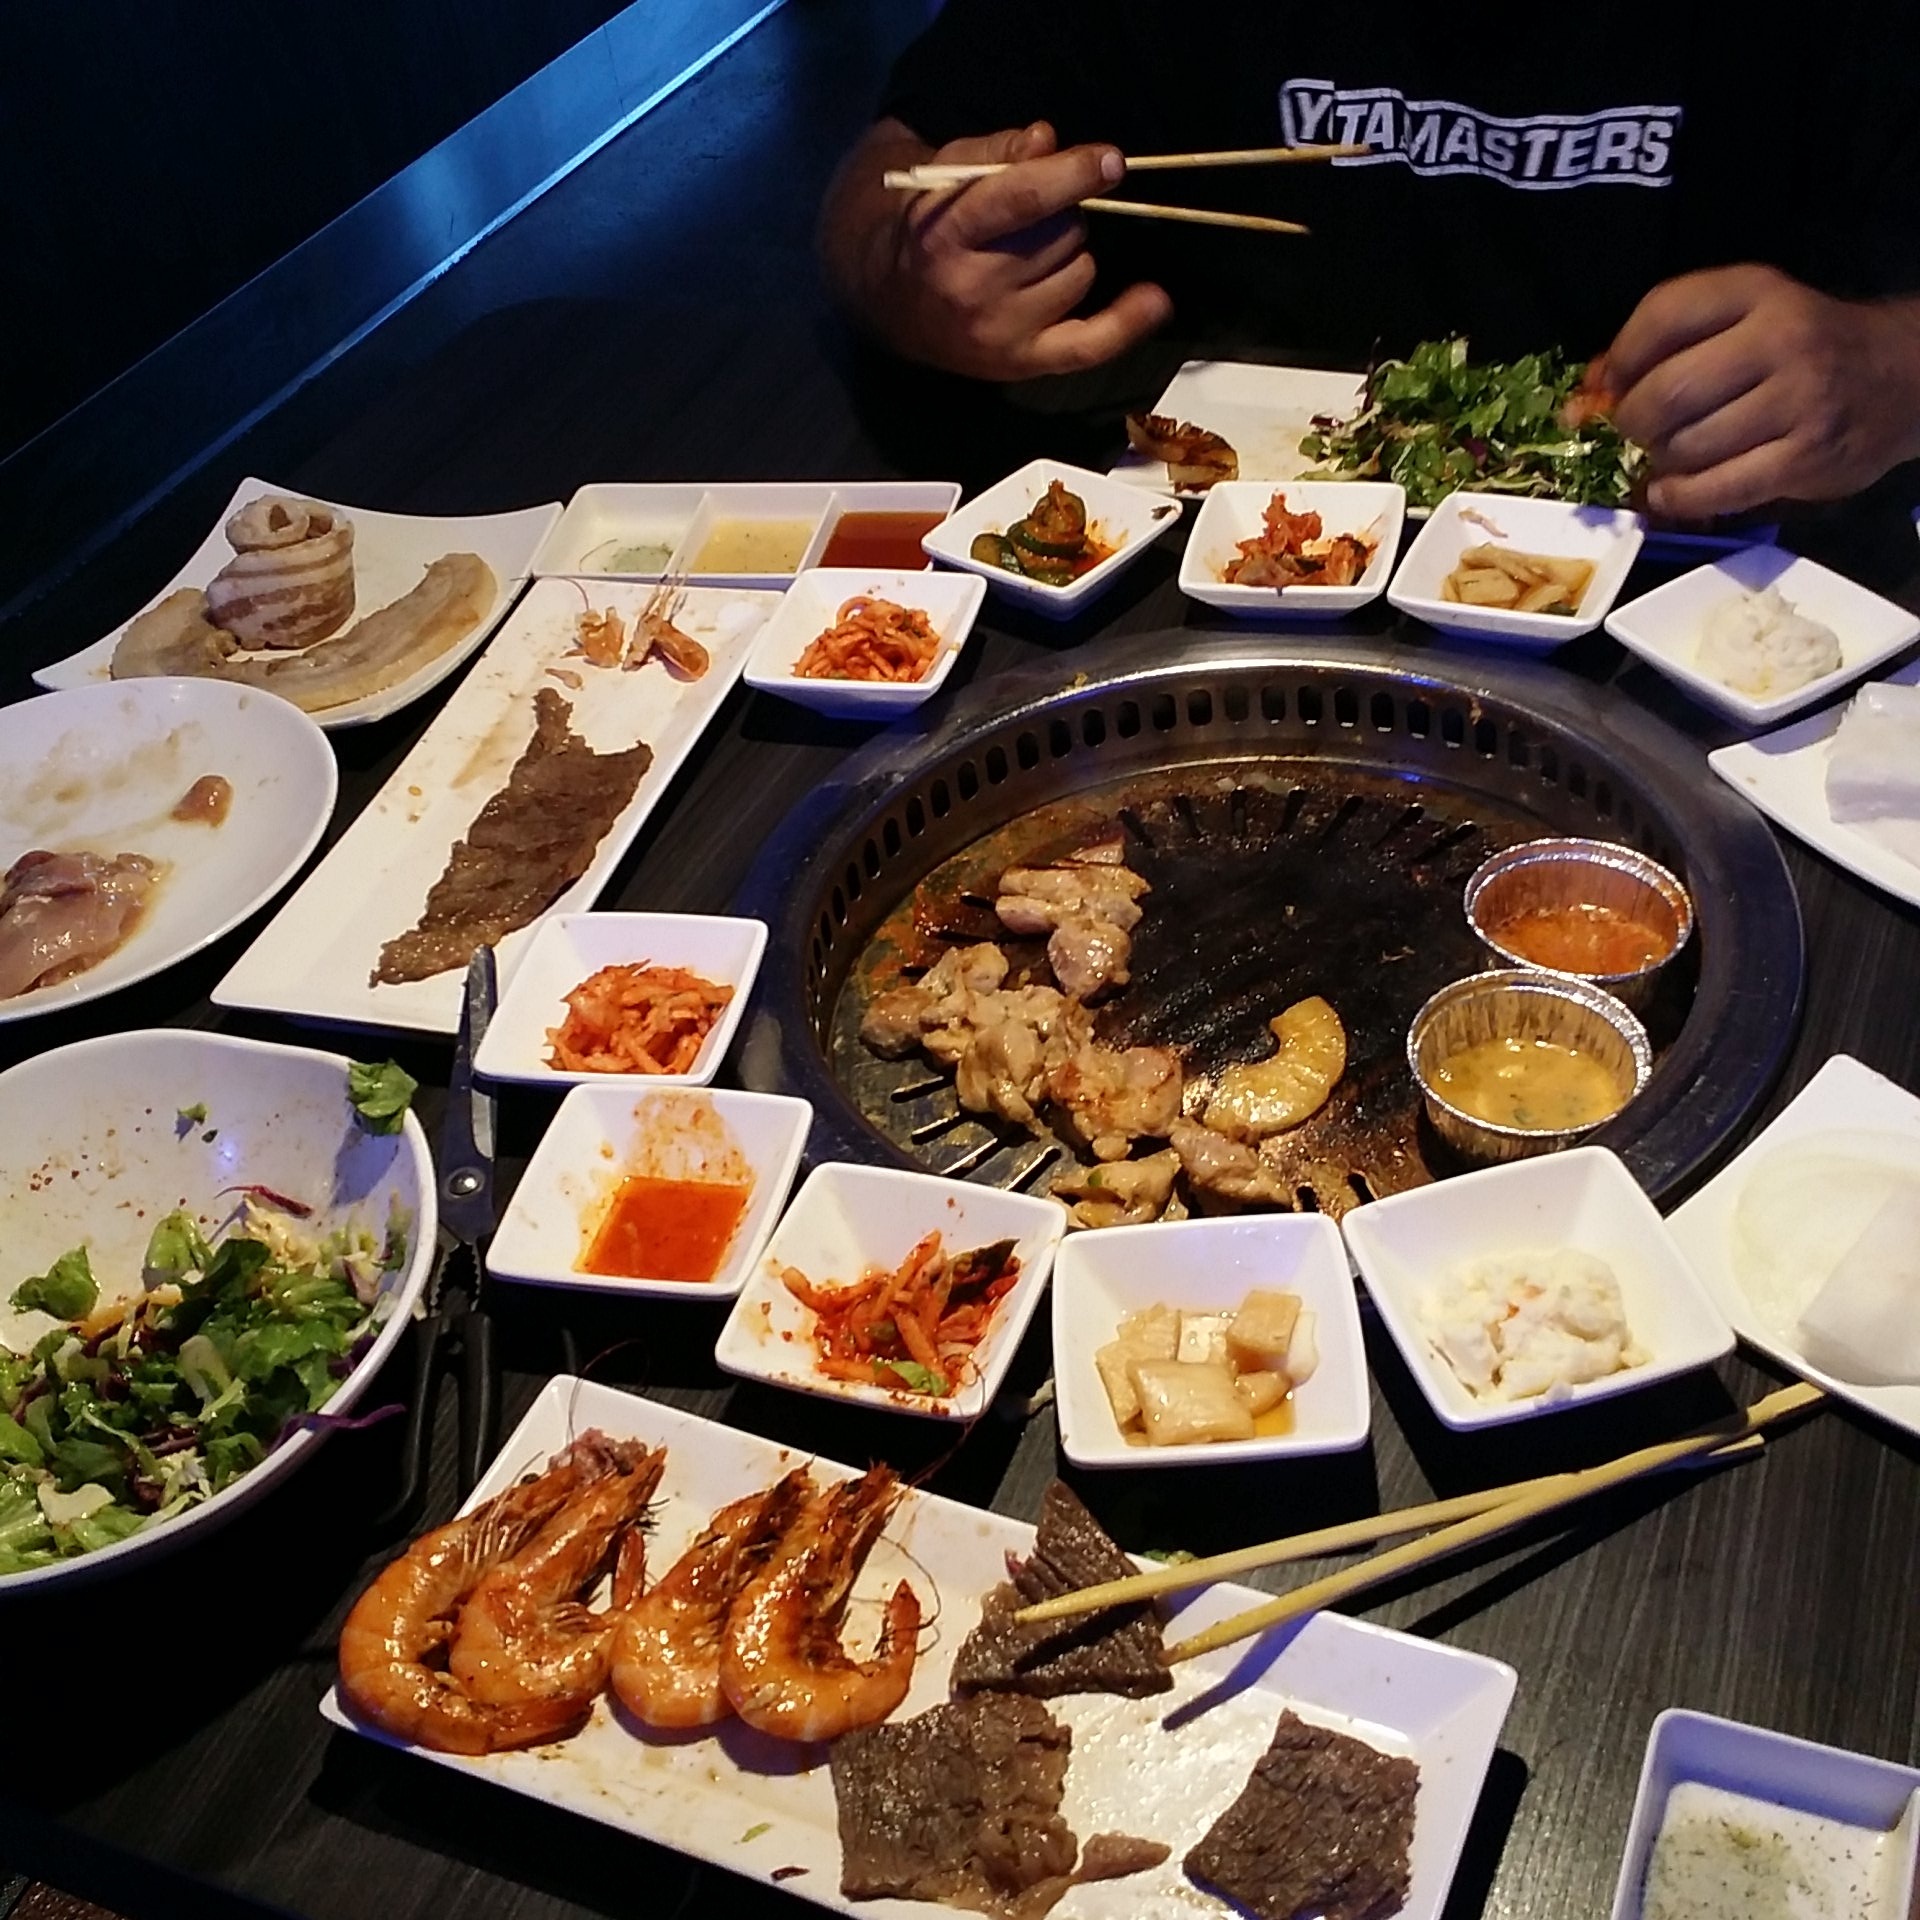
After we accomplished all that we went out for some Korean BBQ! Yum
Before you guys ask. I removed the tires on the truck to get the over al truck lowered because my hydraulic jack didn't go high enough. now thinking back on how hard it was on my back i wish i would have left the tires mounted to get that extra height and just use a larger wooden block to compensate for extra height i needed. because i can actually sit up right under my truck when it has tires. but doing it this way really killed my lower back, knees, elbows, butt, hands, feet. PRetty much everything was sore after this job. and a lot of that could have been avoided by leaving the height of the truck alone.

When I finally got around to the transmission I discovered missing bolt!
I got the engine held up with a heavy duty Industrial ratchet strap. And the transmission / transfer case held tightly with another tie strap to my hydraulic jack.

---------------------------------------------------------------------------------\
on a side note to people who don't know:
For those of you that didnt know like me and have unanswered questions about removing a starter this is for you. Before I thought It would probably be impossible to do after a solid axle swap like mine because I have obstructions such as shock hoops welded on to the frame that are blocking my way that aren't normally there in the stock 3vze 4runner with IFS suspension. Sure it was kind of a pain. But it didn't take any more then 10 minutes to remove after I figured out the angle I had to go. With the help of lots of ratchet wrench extensions it was possible. And if you still have a hard time doing it just go ahead and remove the shock. It will definitely fit between the shock hoop. I wish I would have known this before or I would have replaced it after I started having issues with it 1 year ago. Lol This starter is also toast!
https://instagram.com/p/3A31SdFIjg/?taken-by=redeth005
And actually after making that video I thought about it afterward but it is actually really simple to remove. It is no biggie. NO need to be scared or worried about how to remove the starter. I don't know why people made it seem like it was nearly impossible. all you need is extension and maybe an elbow swivel but not really.
I put off doing mine for over a year because I always read of how impossible or hard it was to do. But I really didn't think that of the removal I wish I would have swapped in a new starter sooner. Now mine is toast! I gotta bang in it every now and then to get it to start lol. I will swap in another rebuilt one soon. I had a great experience with ACE alternators with my higher output alternator. And I'm sure I'll have just as good experience with their starters. I just gotta make time to go get it lol
----------------------------------------------------------------------------------
Finally some freekin progress! After a bit of trouble I finally managed to get the tranny down.
https://instagram.com/p/3A7EUElInH/?taken-by=redeth005
After the trans came off I took the pressure plate off. I wanted to finish the night with everything removed. Unfortunately the flywheel and bolts were seized on! and I couldn't use my impact tool to remove so I had to call it a night. At least I managed to get some serious work accomplished in the 6-7 hours that I worked on Friday.
BTW when i removed the pressure plate i found this....
Busted pilot bearing and scratched up flywheel. 
The following morning i brought out the impact gun and took off that flywheel. Now the next obstacle was gonna be taking off that pilot breaking. Mark (Chefyota4x4) suggested use the wet paper technique. Which really all you do is damp a piece of paper and pack it into the center of the bearing and keep packing and packing until you cant anymore then you take a socket that fits into the hole and smack it with a hammer. IT really did work to pop that sucker out. But the outer ring on the bearing was so stuck it refused to come off without a fight!

After almost 1 hour of wasted time trying to get the bearing out. my dad and i went to autozone and bought this Pilot bearing removal tool for only $15 TOTALLY WORTH THE MONEY!

After less than 30 seconds of using this tool the dang ring came out with no issue. It's amazing how quickly things can go when you've got the correct tools for the job right!?!?!

Slowly but surely i got that heavy duty 1200lb marlin crawler clutch installed. I put in the new Nachi pilot bearing, Resurfaced flywheel, the SECO clutch plate and the AISIN pressure plate already talked to Spec

I put together the transfer case onto the new trans. and shifter adaptors. the transmission was ready to go! Keep in mind everything up to this point i did all by myself. So this could indeed be a 1 person job but it really does suck not having help. I'd say putting the transmission back on was definitely the hardest part of doing all this. And it was the only part of tis job that i had help from anybody because aligning and moving the splines into place while lifting slightly is a real pain in the butt doing it alone. So i got my dad and younger brother to help me out. and thank god they did becaue i doubt i would have succeeded in doing it alone.

RBX thank you for the advice with ratchet straps. I did use that when i had to readjust the jack under the truck so i held the trans up with straps while i readjusted.
Tires all mounted. All that ass left to do is mount the driveshafts, Bleed clutch, Run to the auto store and buy some transmission fluid for the tranny/transfer case. And I found that one of the bolts that mounted the bellhousing to the engine was wrong. So I am missing 1 bolt due to that. Also missing 3 out of 4 transmission mount bolts so I need to get replacement ones too. Other then that everything was good.

When trying to fill the trans with oil i found that the fill bolt had a slight strip on 2 corners. I attempted t take it off any way and cae out stripping it worse! i pretty much rounded it off. i tried the pressure clamps and a plumbers wrench to remove and it was no use. the only way to remove it is gonna be to weld another bolt to it and take it off that way. For the mean time i just filled it with the exact amount through the stick shift lever hole on the top of the trans from the inside of the cab.

the following day i went to Mark;s house to get help getting some bolts from his collection for my missing trans and bell housing bolts.
There is my foot

After we accomplished all that we went out for some Korean BBQ! Yum

Last edited by Redeth005; May 26, 2015 at 10:40 PM.
May 26, 2015 | 10:44 PM
#2597
Wow Dude!! you got lucky, with the exception of the douchebag you came out clean..
I had never seen the truck lowered like that, it worked.
How is the new trans?
Gonna get that pilot bearing puller for next clutch, I like that. .great fiND
Edit- where did you find that puller for $15? Finding contraptions on ebay way more expensive. .
I had never seen the truck lowered like that, it worked.
How is the new trans?
Gonna get that pilot bearing puller for next clutch, I like that. .great fiND
Edit- where did you find that puller for $15? Finding contraptions on ebay way more expensive. .
Last edited by dropzone; May 26, 2015 at 10:47 PM.
May 27, 2015 | 10:12 AM
#2598
Hey Richard, getting caught up on your thread, glad you tire incident wasn't worse, good thing it didn't blow out, that could've been really bad! Years back on my lifted Blazer, I lost all the lug nuts on the drivers front wheel. I noticed a vibration, and was heading home, I started to turn into my driveway, and the wheel skidded kinda weird in the gravel as I was turning. I got out and checked, and that's when I noticed all the lug nuts were gone (brand new aluminum wheels with new 35" tires just mounted) The wheel was just about ready to slide off the front hub when I had stopped, the lug holes in the aluminum wheels were all egg shaped instead of round from the vibration. I think the guy at the tire shop put the lugnuts on finger tight, and forgot to go back and torque them down! I always double check them now, lol...would have sucked to lose the wheel a couple minutes earlier when I was doing 55mph!
Nice job on the trans swap/new clutch intall. That's pretty much how I did it too, using the ratchet straps helps alot when repositioning the jack, especially when you don't have anyone to help. Glad you got it back on the road!
Nice job on the trans swap/new clutch intall. That's pretty much how I did it too, using the ratchet straps helps alot when repositioning the jack, especially when you don't have anyone to help. Glad you got it back on the road!
Last edited by rustED; May 27, 2015 at 10:18 AM.
Jun 16, 2015 | 08:20 PM
#2599
Thread Starter
Registered User
Joined: Apr 2012
Posts: 2,817
Likes: 2
From: Los Angeles CA
Wow Dude!! you got lucky, with the exception of the douchebag you came out clean..
I had never seen the truck lowered like that, it worked.
How is the new trans?
Gonna get that pilot bearing puller for next clutch, I like that. .great fiND
Edit- where did you find that puller for $15? Finding contraptions on ebay way more expensive. .
I had never seen the truck lowered like that, it worked.
How is the new trans?
Gonna get that pilot bearing puller for next clutch, I like that. .great fiND
Edit- where did you find that puller for $15? Finding contraptions on ebay way more expensive. .
That bearing puller is from Autozone and it was $15.
Hey Richard, getting caught up on your thread, glad you tire incident wasn't worse, good thing it didn't blow out, that could've been really bad! Years back on my lifted Blazer, I lost all the lug nuts on the drivers front wheel. I noticed a vibration, and was heading home, I started to turn into my driveway, and the wheel skidded kinda weird in the gravel as I was turning. I got out and checked, and that's when I noticed all the lug nuts were gone (brand new aluminum wheels with new 35" tires just mounted) The wheel was just about ready to slide off the front hub when I had stopped, the lug holes in the aluminum wheels were all egg shaped instead of round from the vibration. I think the guy at the tire shop put the lugnuts on finger tight, and forgot to go back and torque them down! I always double check them now, lol...would have sucked to lose the wheel a couple minutes earlier when I was doing 55mph!
Nice job on the trans swap/new clutch intall. That's pretty much how I did it too, using the ratchet straps helps alot when repositioning the jack, especially when you don't have anyone to help. Glad you got it back on the road!
Nice job on the trans swap/new clutch intall. That's pretty much how I did it too, using the ratchet straps helps alot when repositioning the jack, especially when you don't have anyone to help. Glad you got it back on the road!
I felt ill to my stomach when finding that. I'm glad your story didn't have a bad ending. -----------------------------------------------------------------------------------
I have so many updates for you guys that I have done over the past 3 weeks. I'll post those in a bit.
Jun 16, 2015 | 11:11 PM
#2600
Thread Starter
Registered User
Joined: Apr 2012
Posts: 2,817
Likes: 2
From: Los Angeles CA
After the tire incident o the freeway I was scared to continue using those tires. Especially after I confirmed the dot date meant those tires were 10 years old! So I took a trip to 4WheelParts in Compton CA.

All Mine!
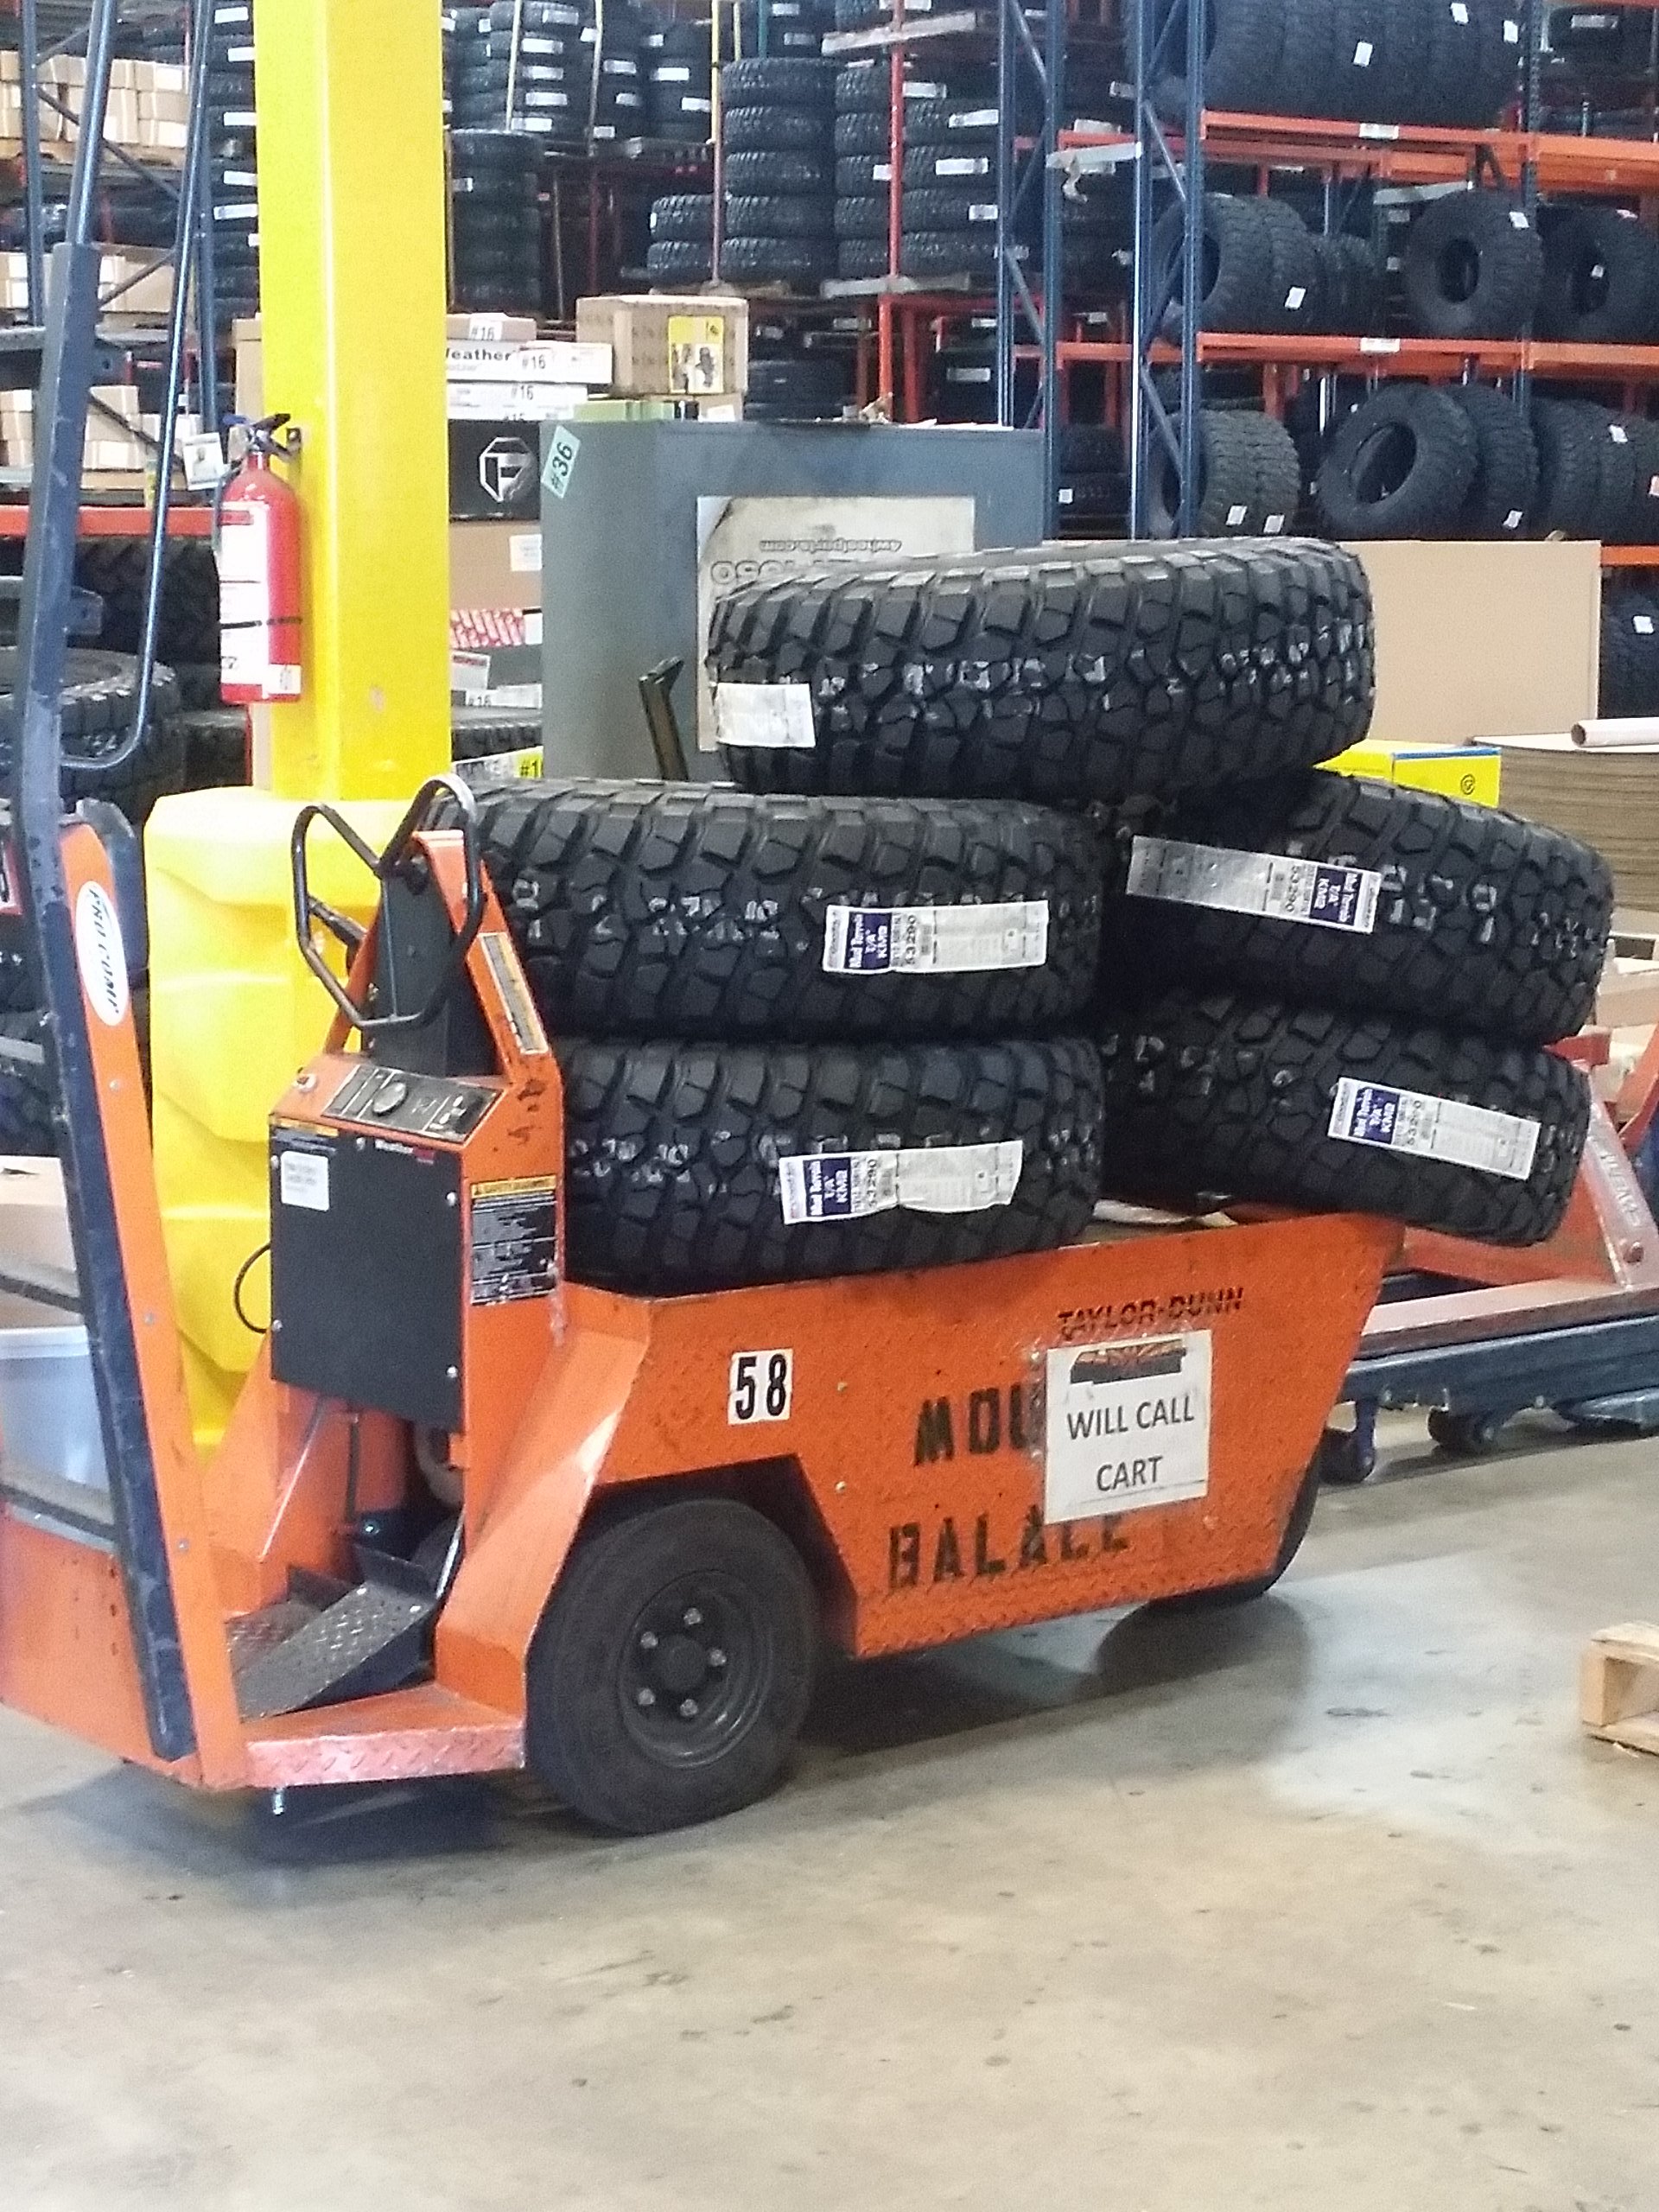
I've never had a set of "new" tires on this truck before. I always get handy downs from friends, Craigslist, or instagram. So this feels pretty nice to be able to have my very own 1st timer tires.
Unfortunately this location does not provide changing out tires for you. And they wont mount the tires unless you bring them the rims off the truck! For me that was a huge headache because I had a buyer for the set of 5 33's coming down from Ventura CA as I was at the store so I couldn't hold off. That 4wheel parts was gonna close in 1.5hours. so I had to take off the tires myself in the parking lot starting with the spare and one tire at a time. I could only have them mount tires 2 at a time! but it took forever! it was not a pleasant experience.
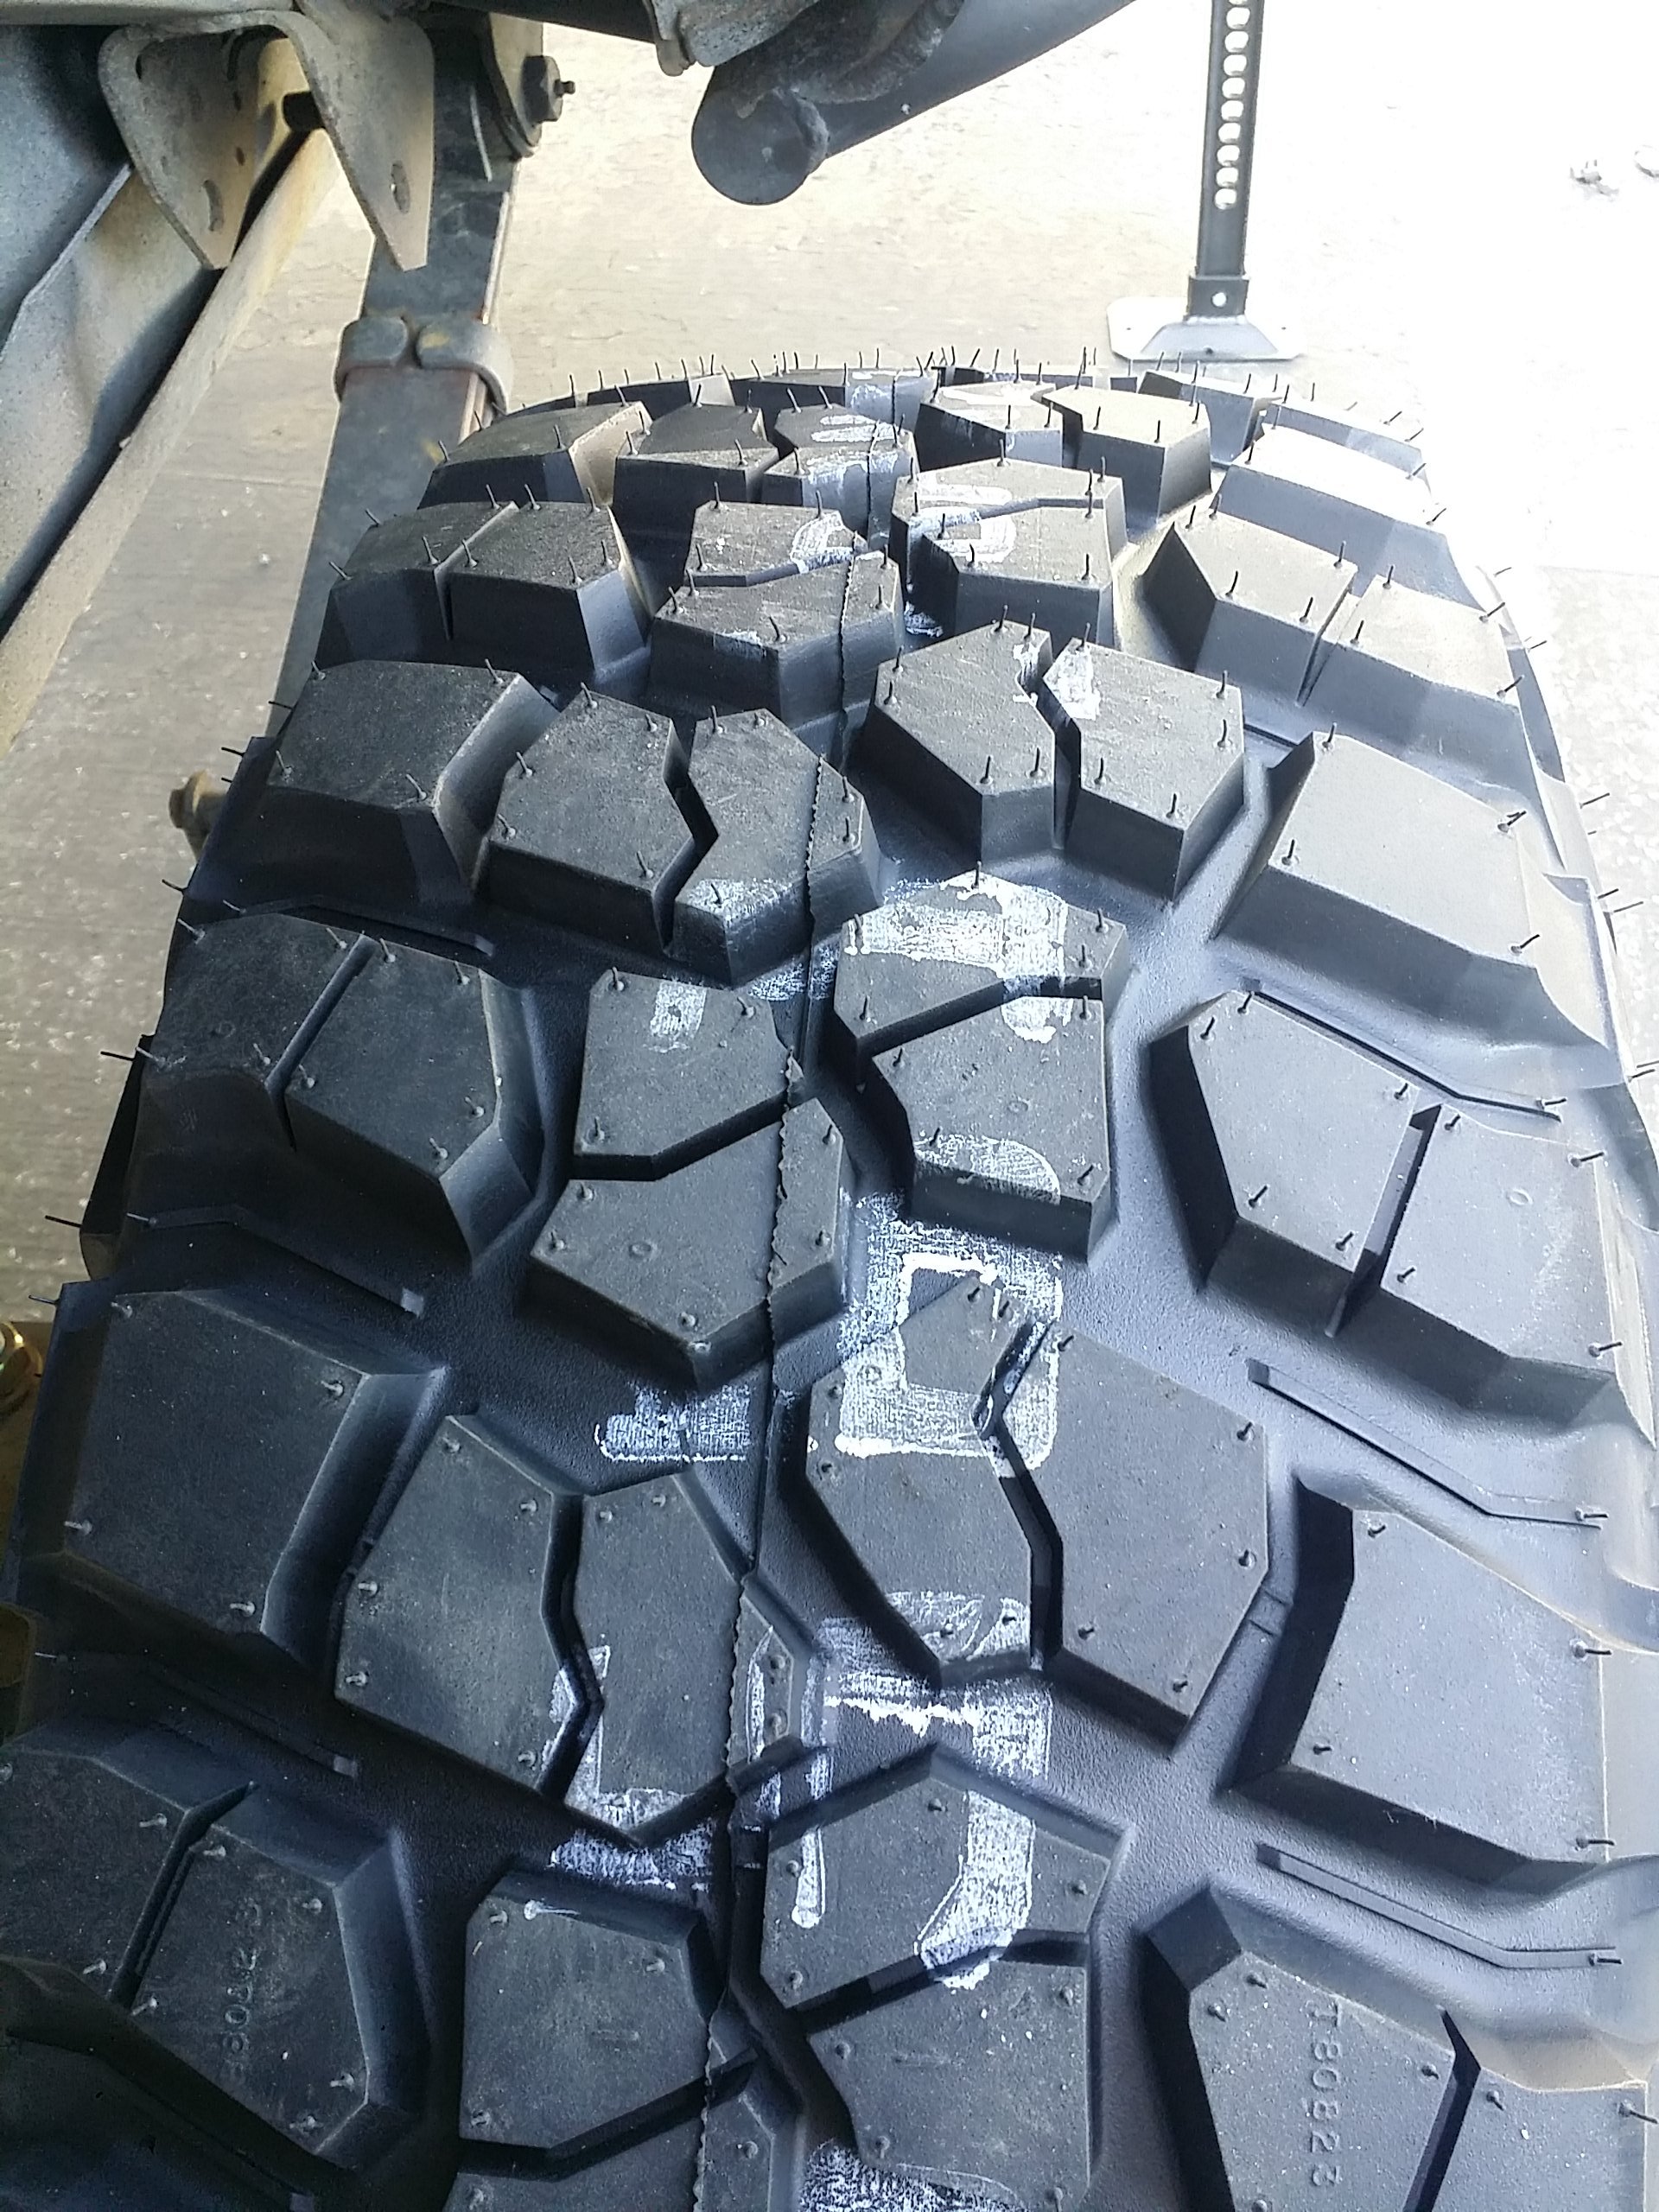
CHUNKINESS!!! LOOK AT THAT MEAT!!!
When doing the last tire I ran into a fitment issue. Looks like im gonna have to start cutting stuff to fit the larger tire. 

Ready to leave the parking lot tire strapped up on the top roof rack.
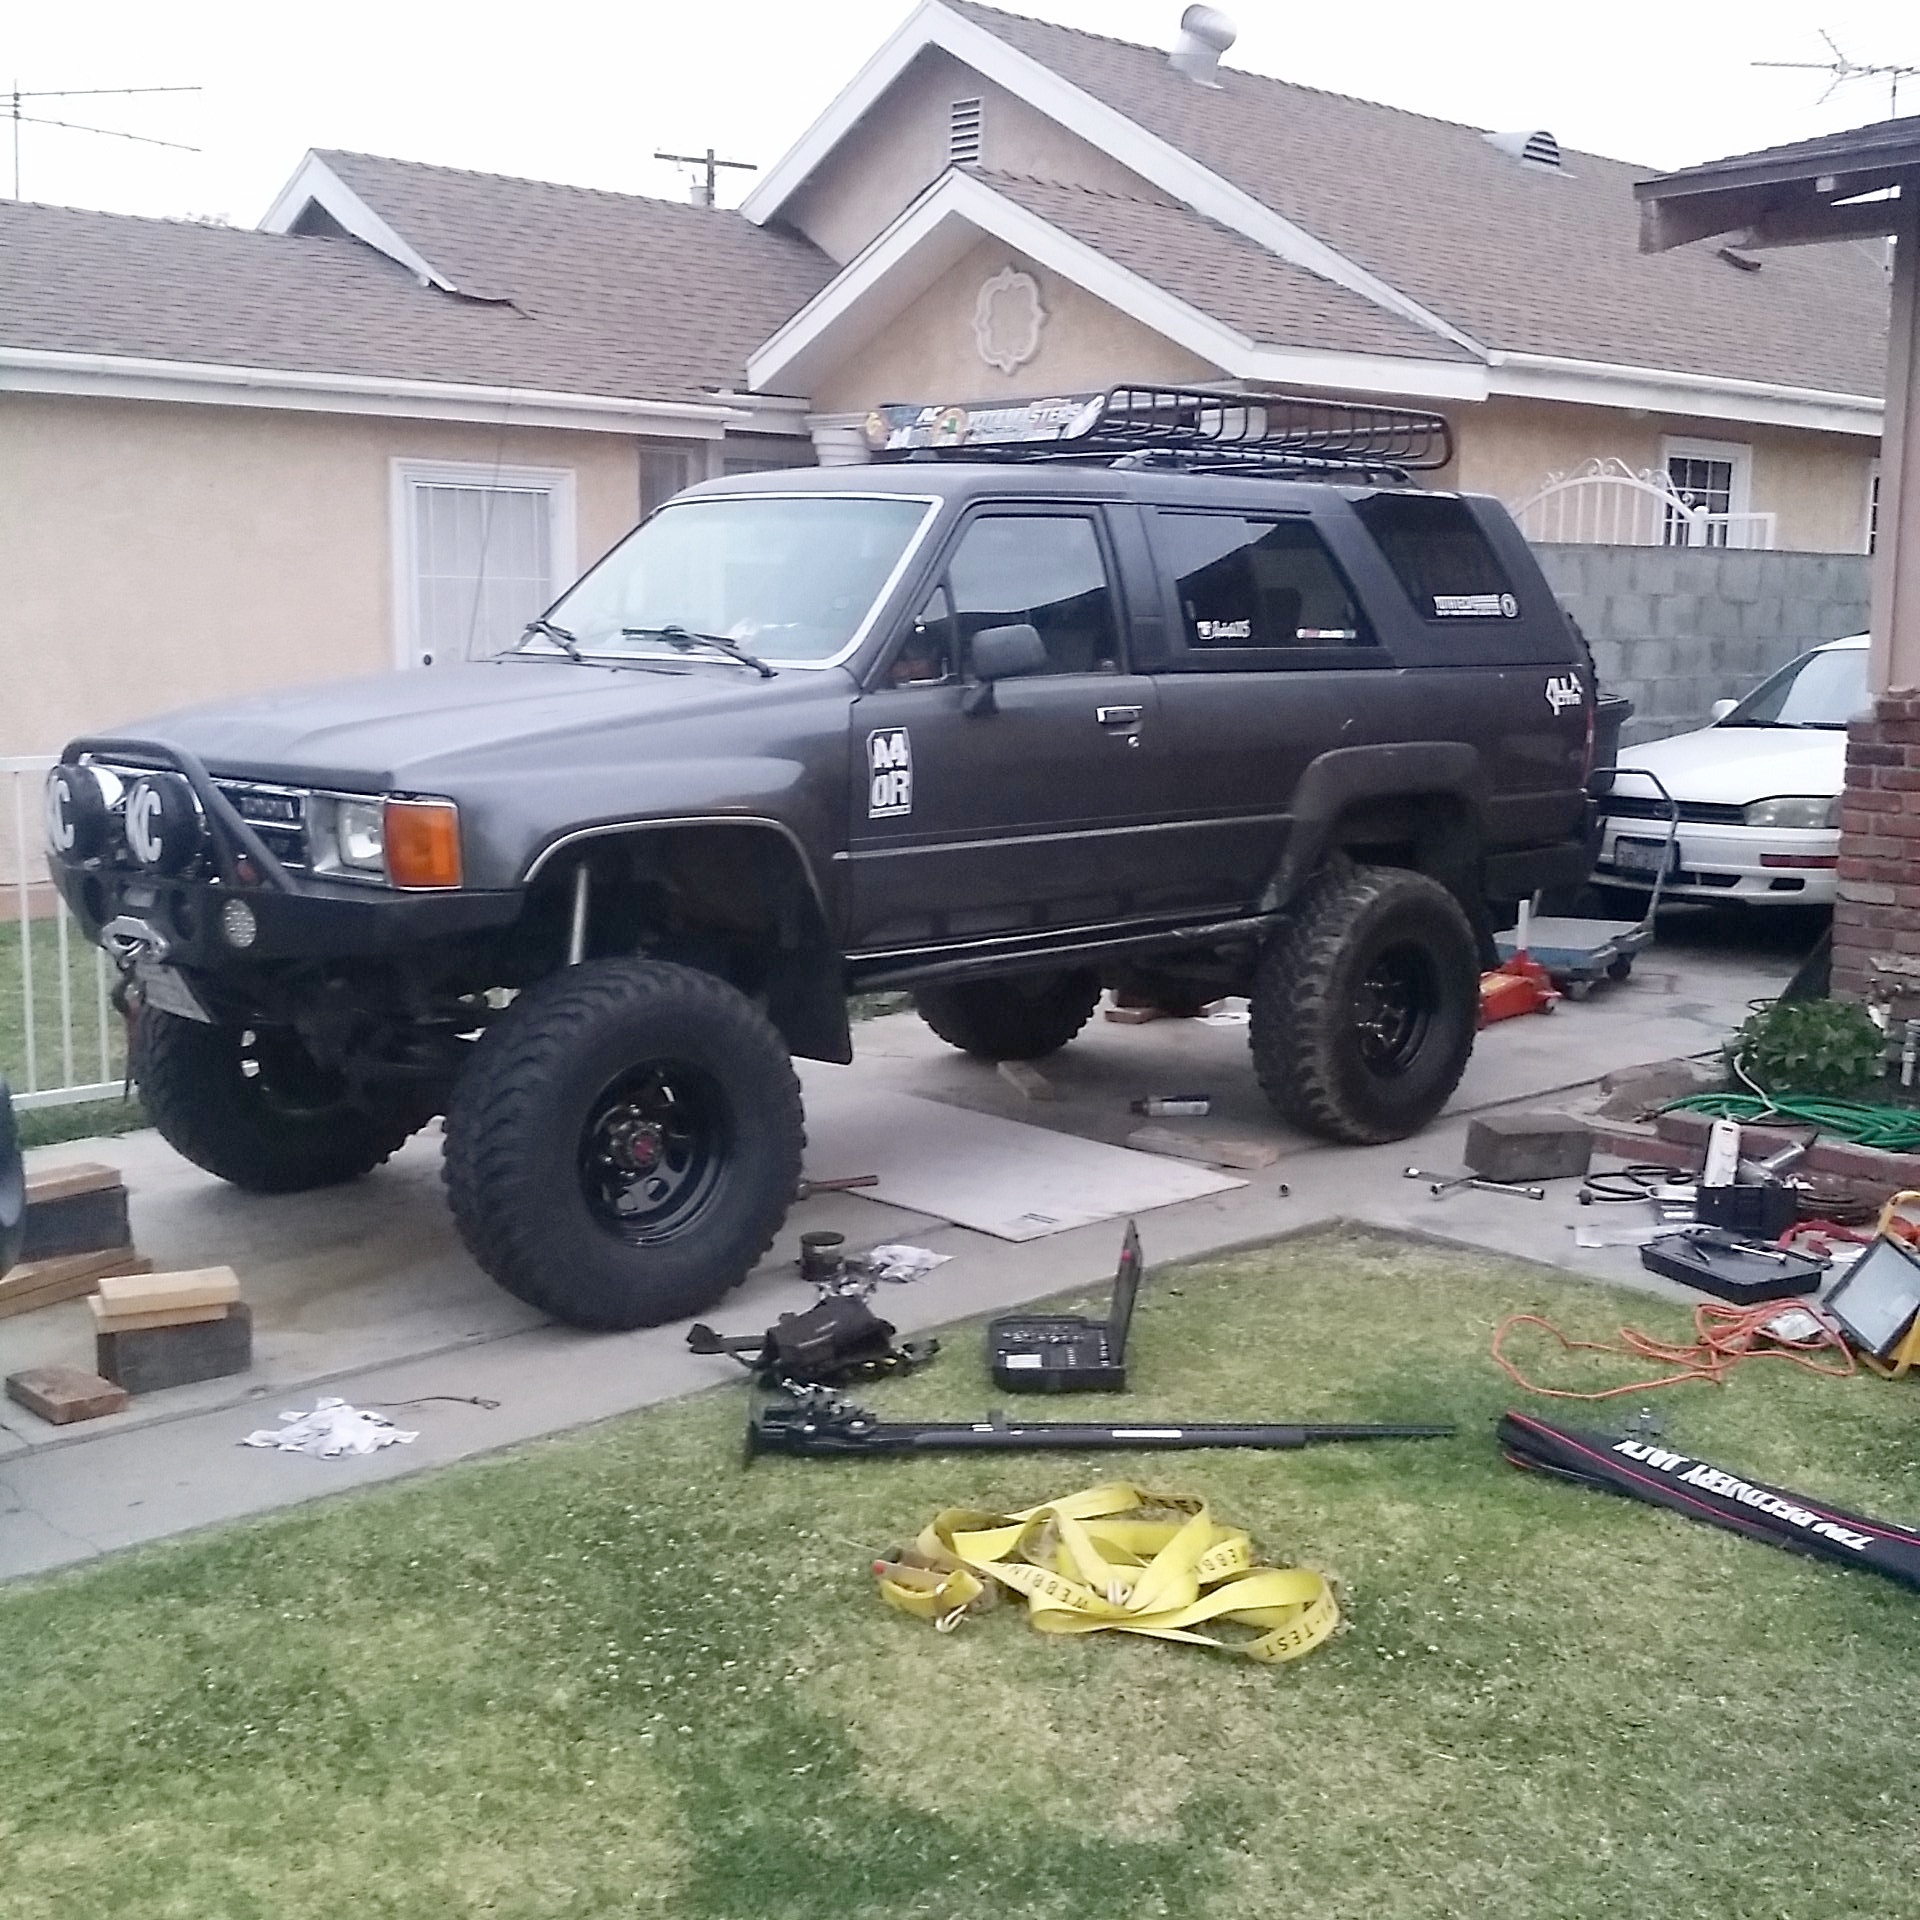
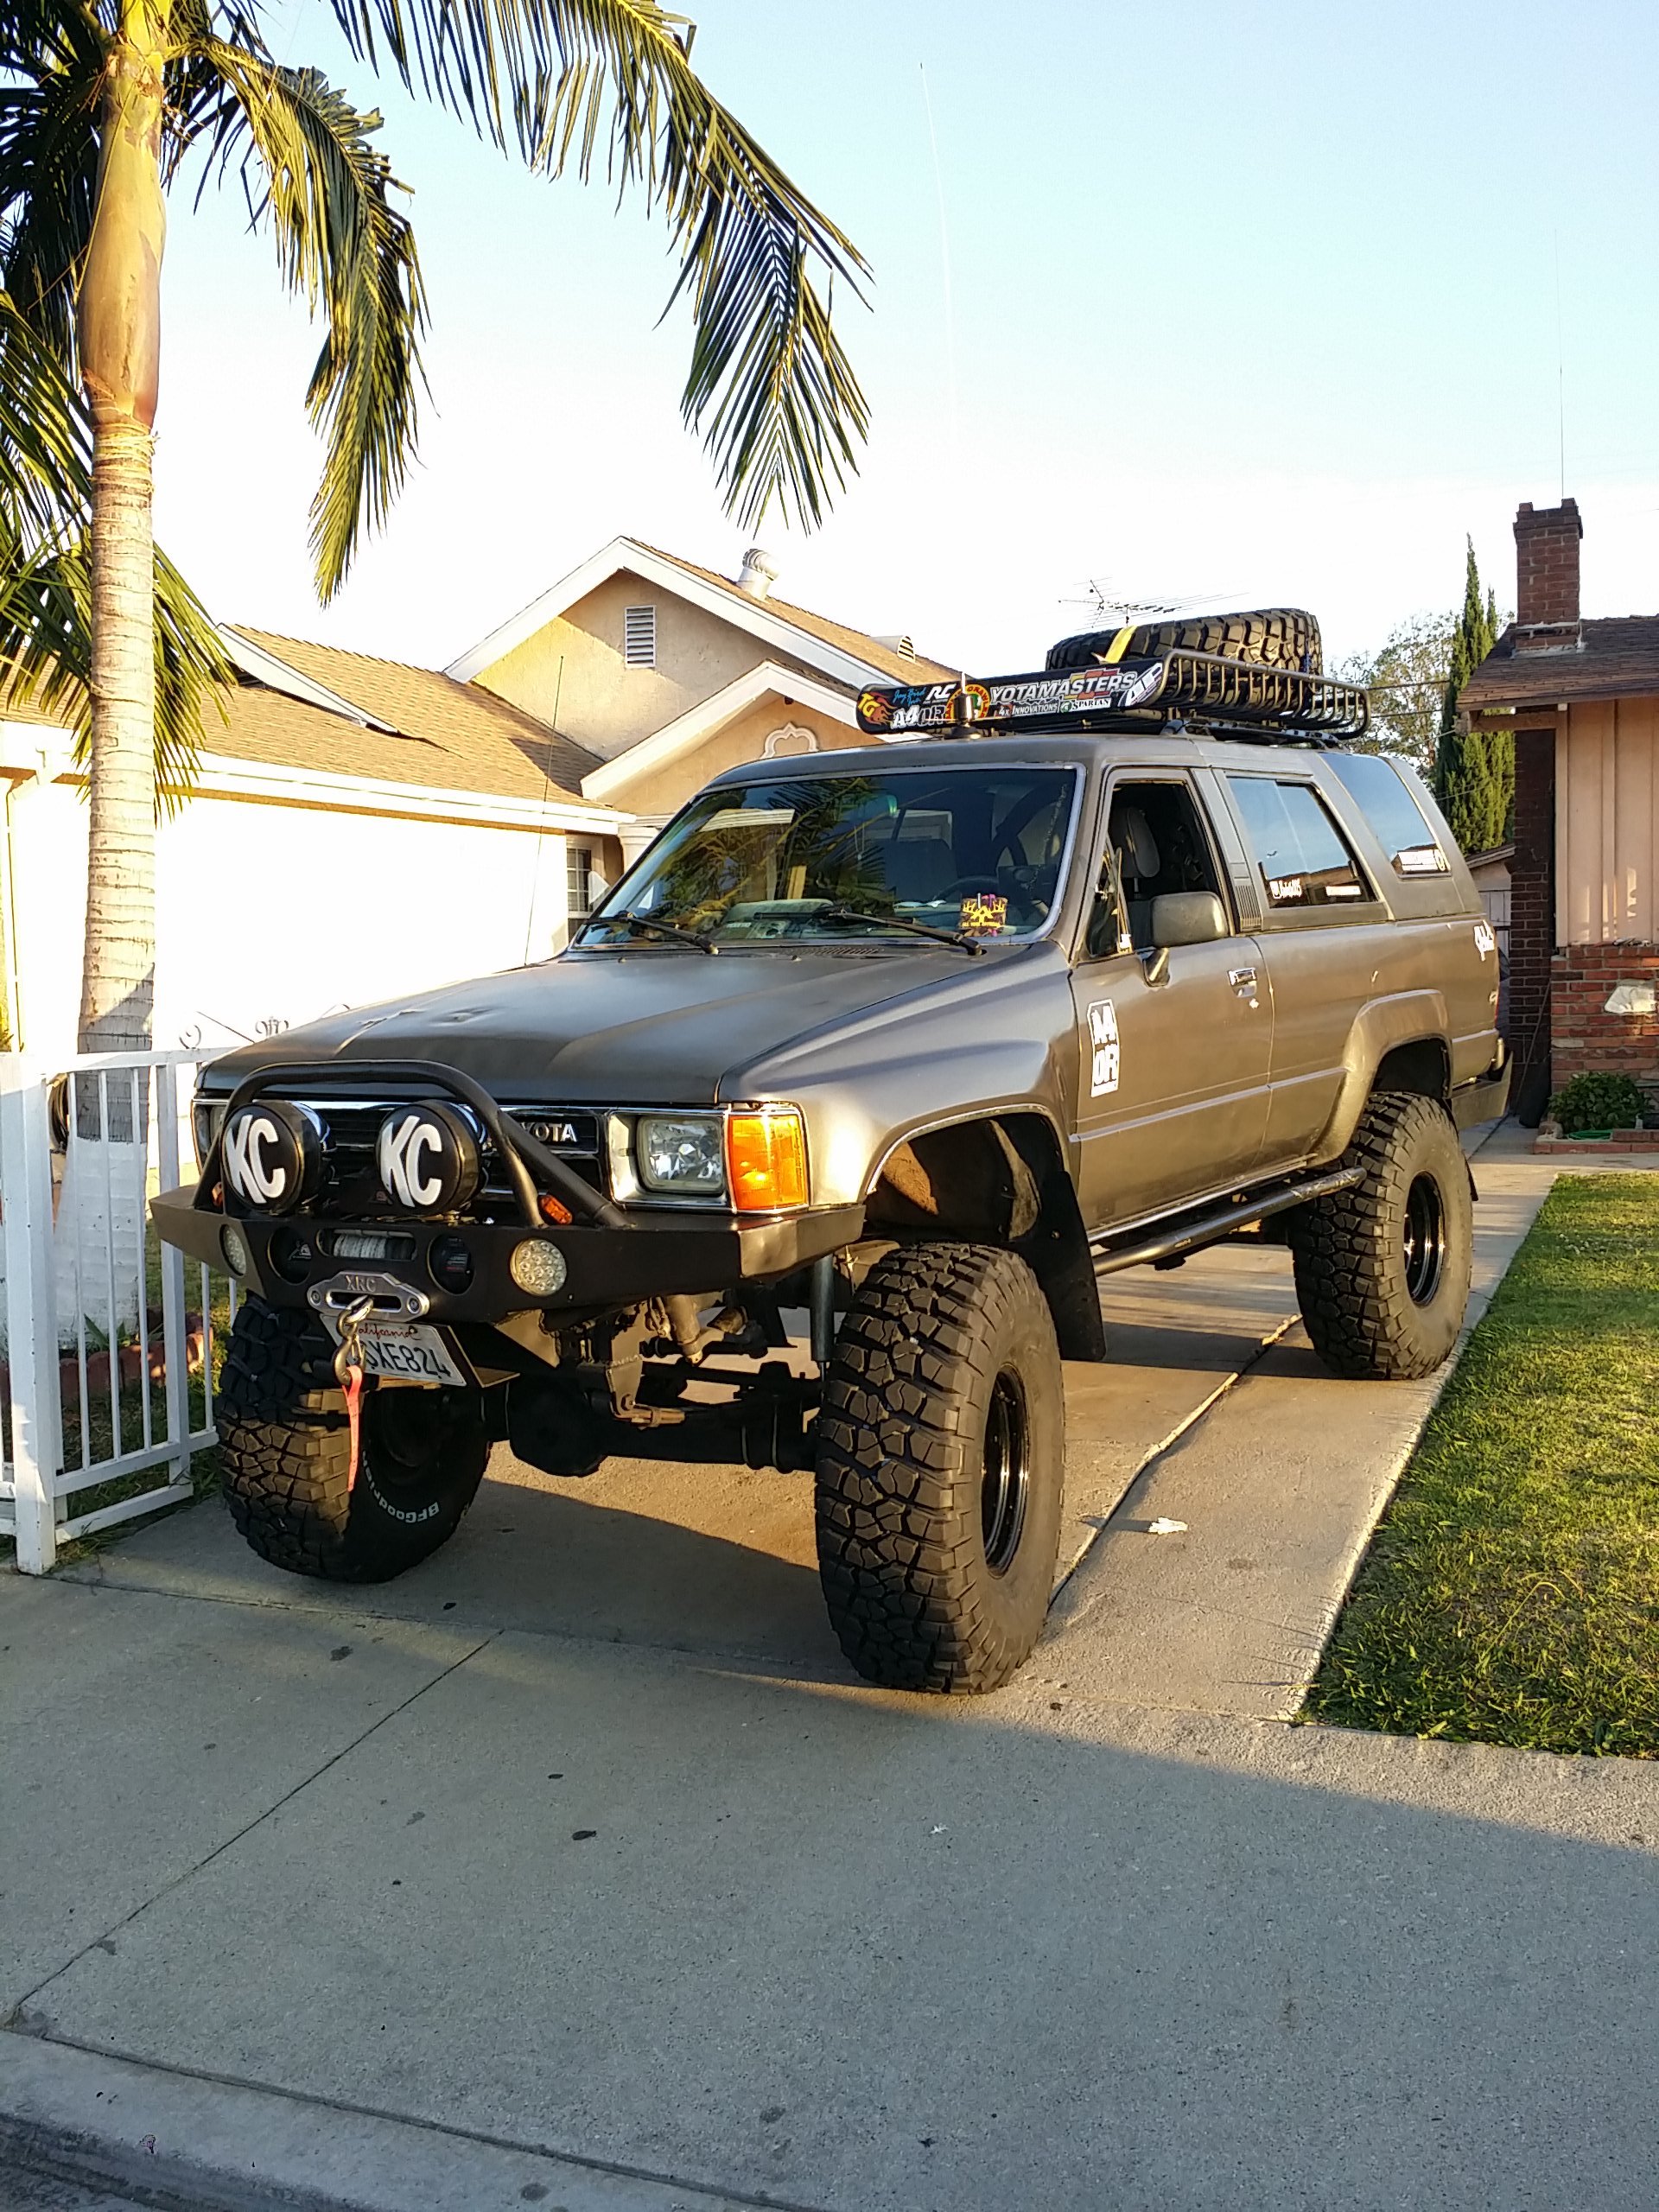
She looks mean!
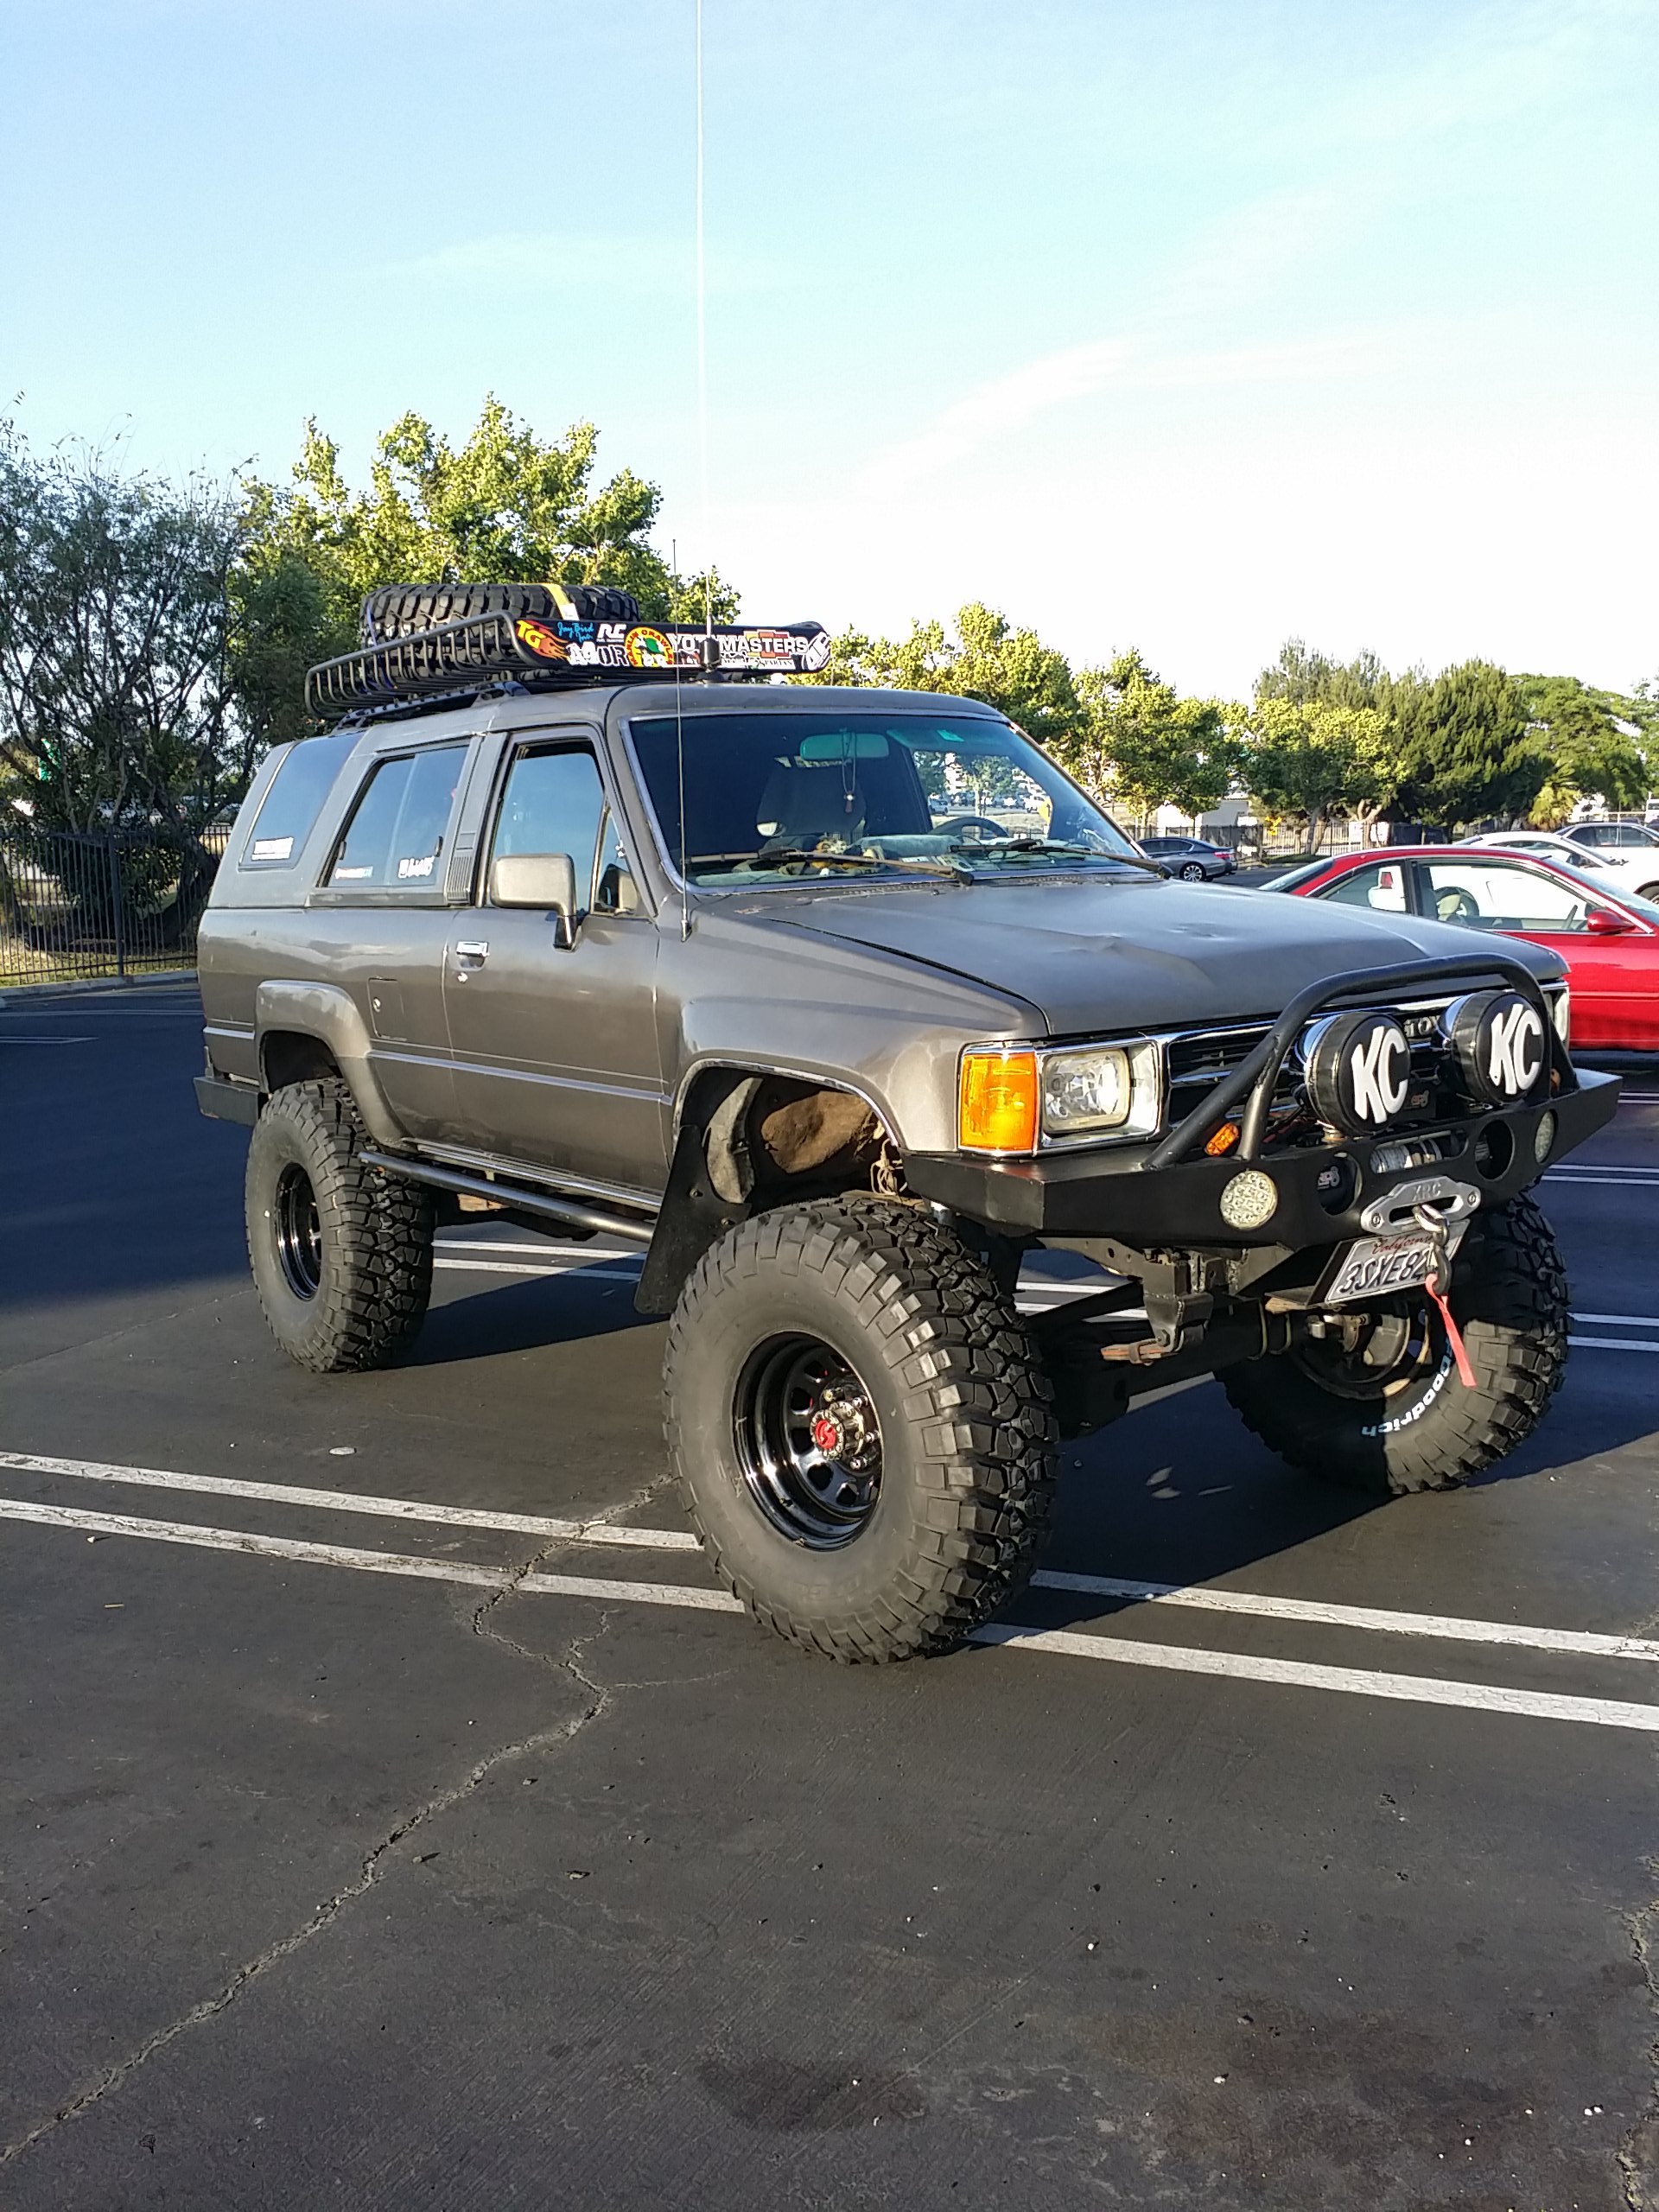
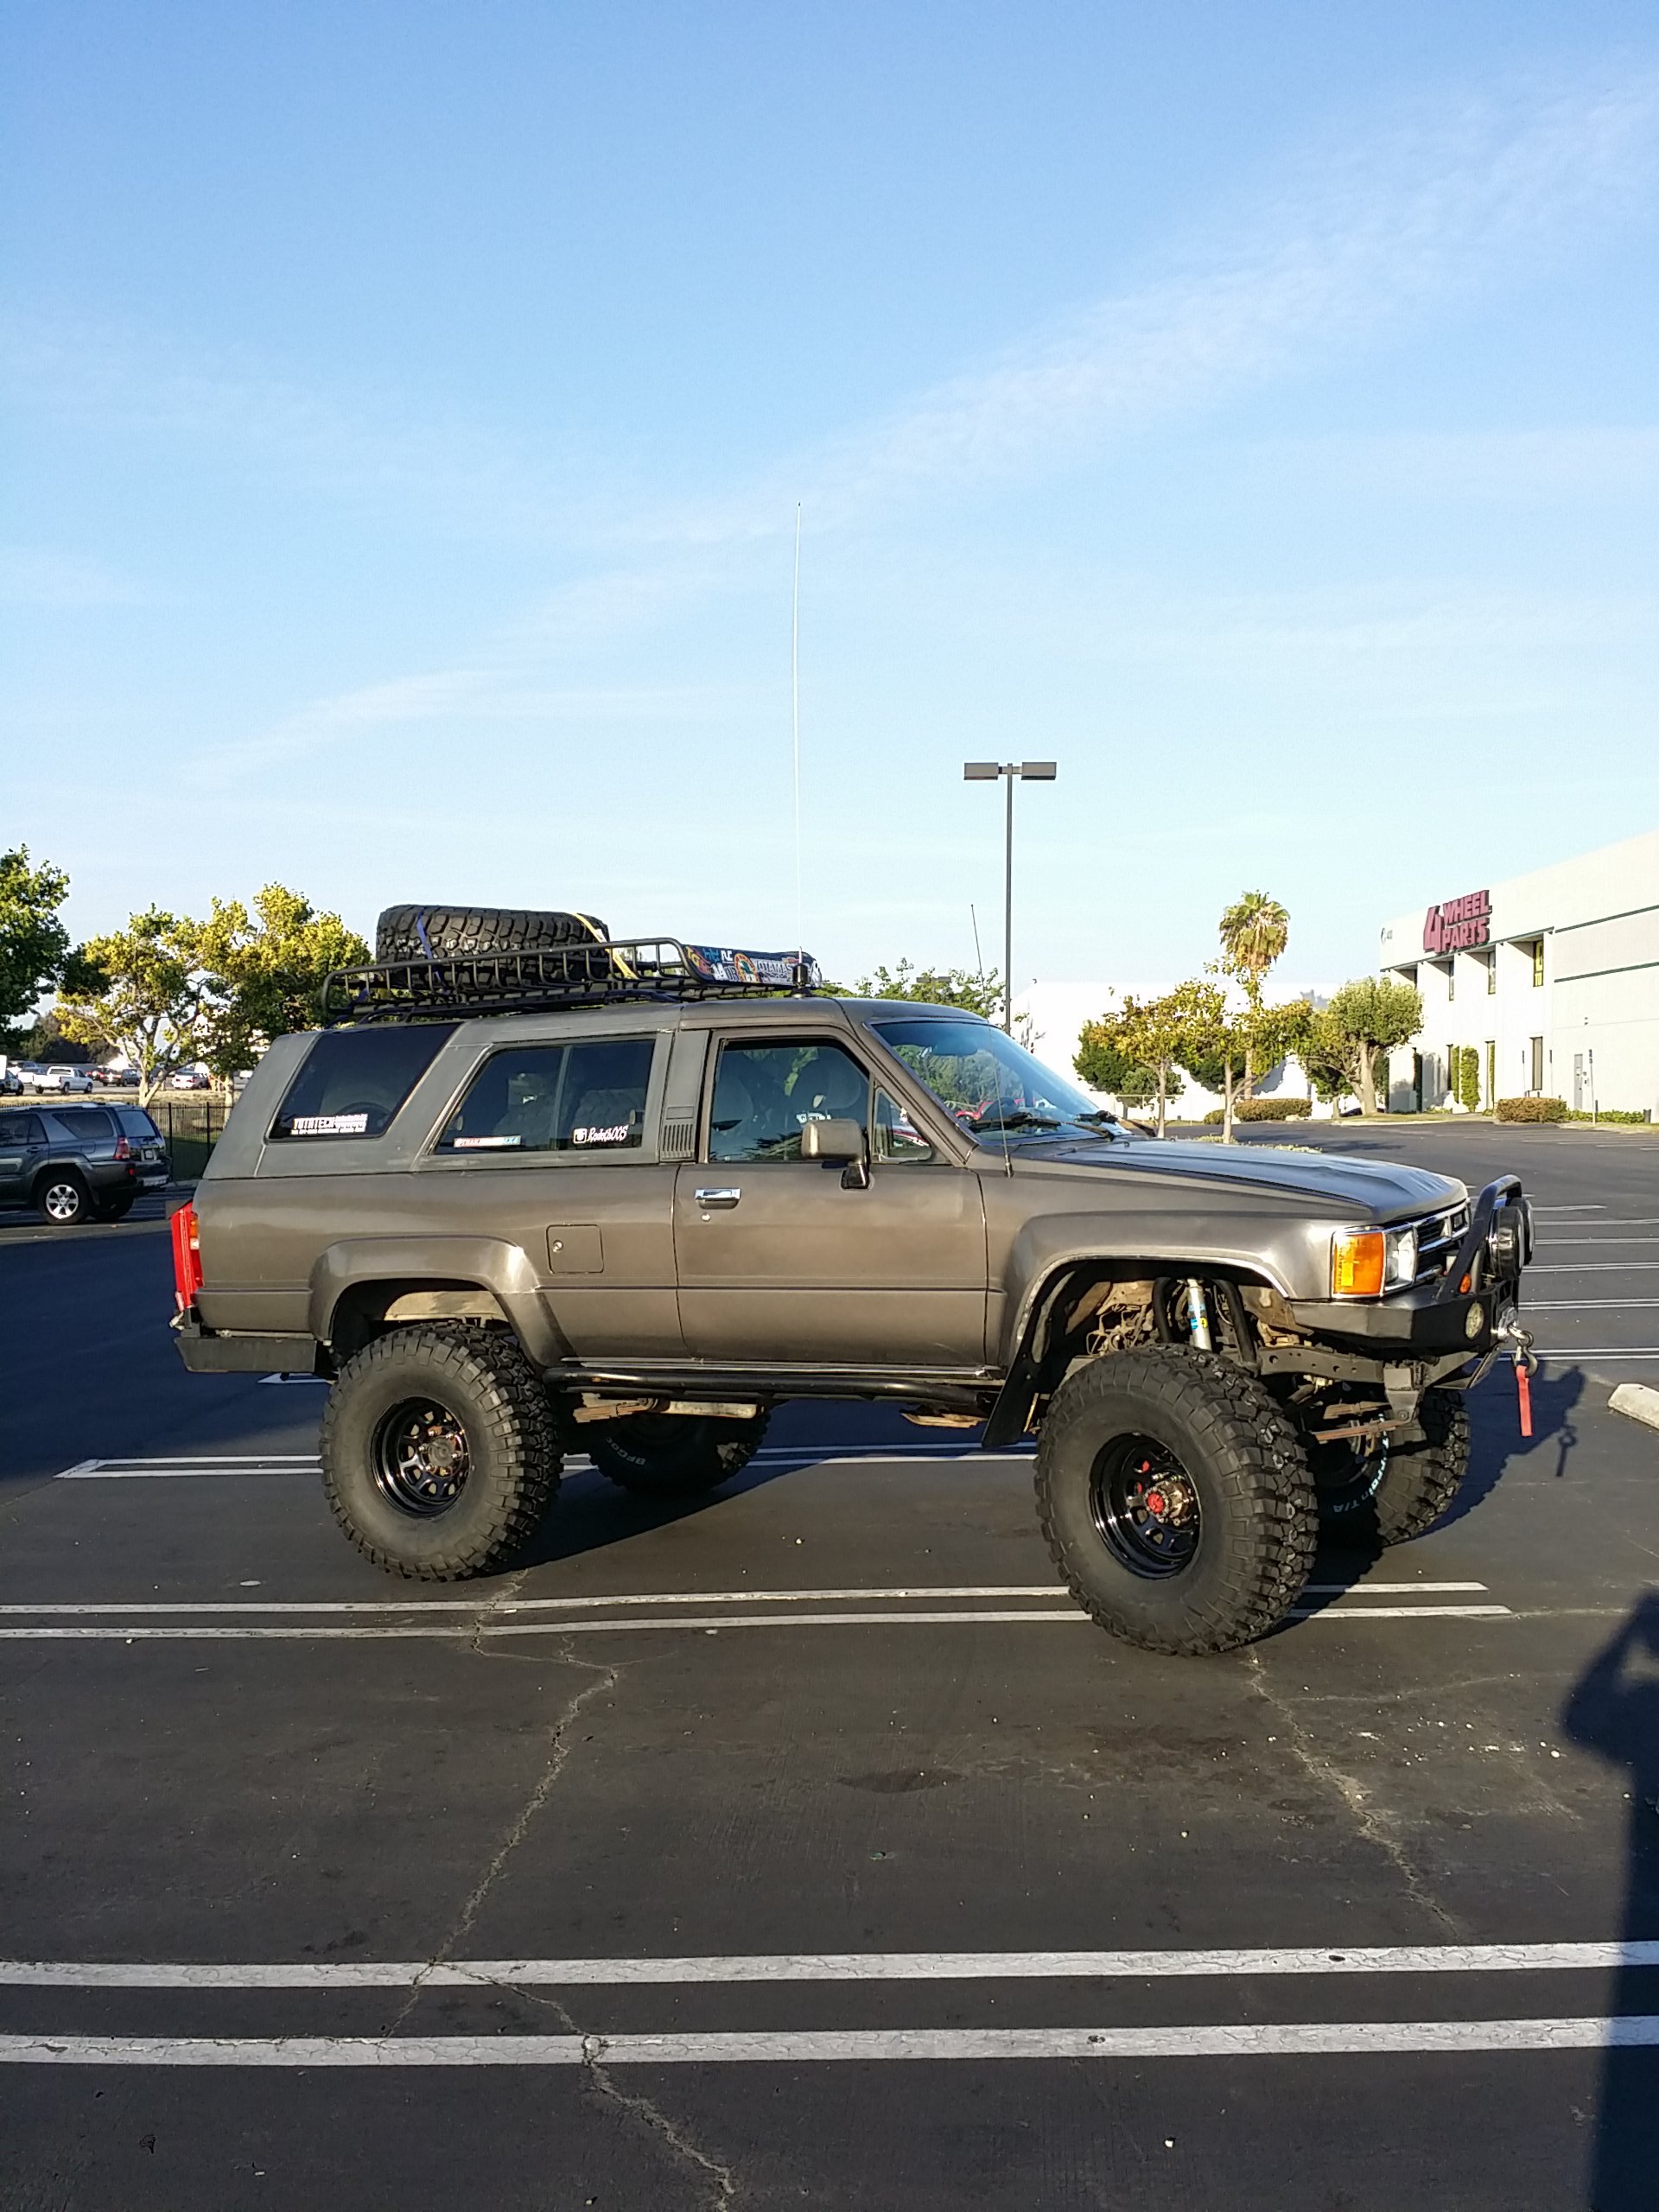
Finally home! The drive home definitely took some getting used to. I know it is only 1 inch higher ground clearance going from 33's to 35's but I sware it felt like I was driving a monster truck! lol
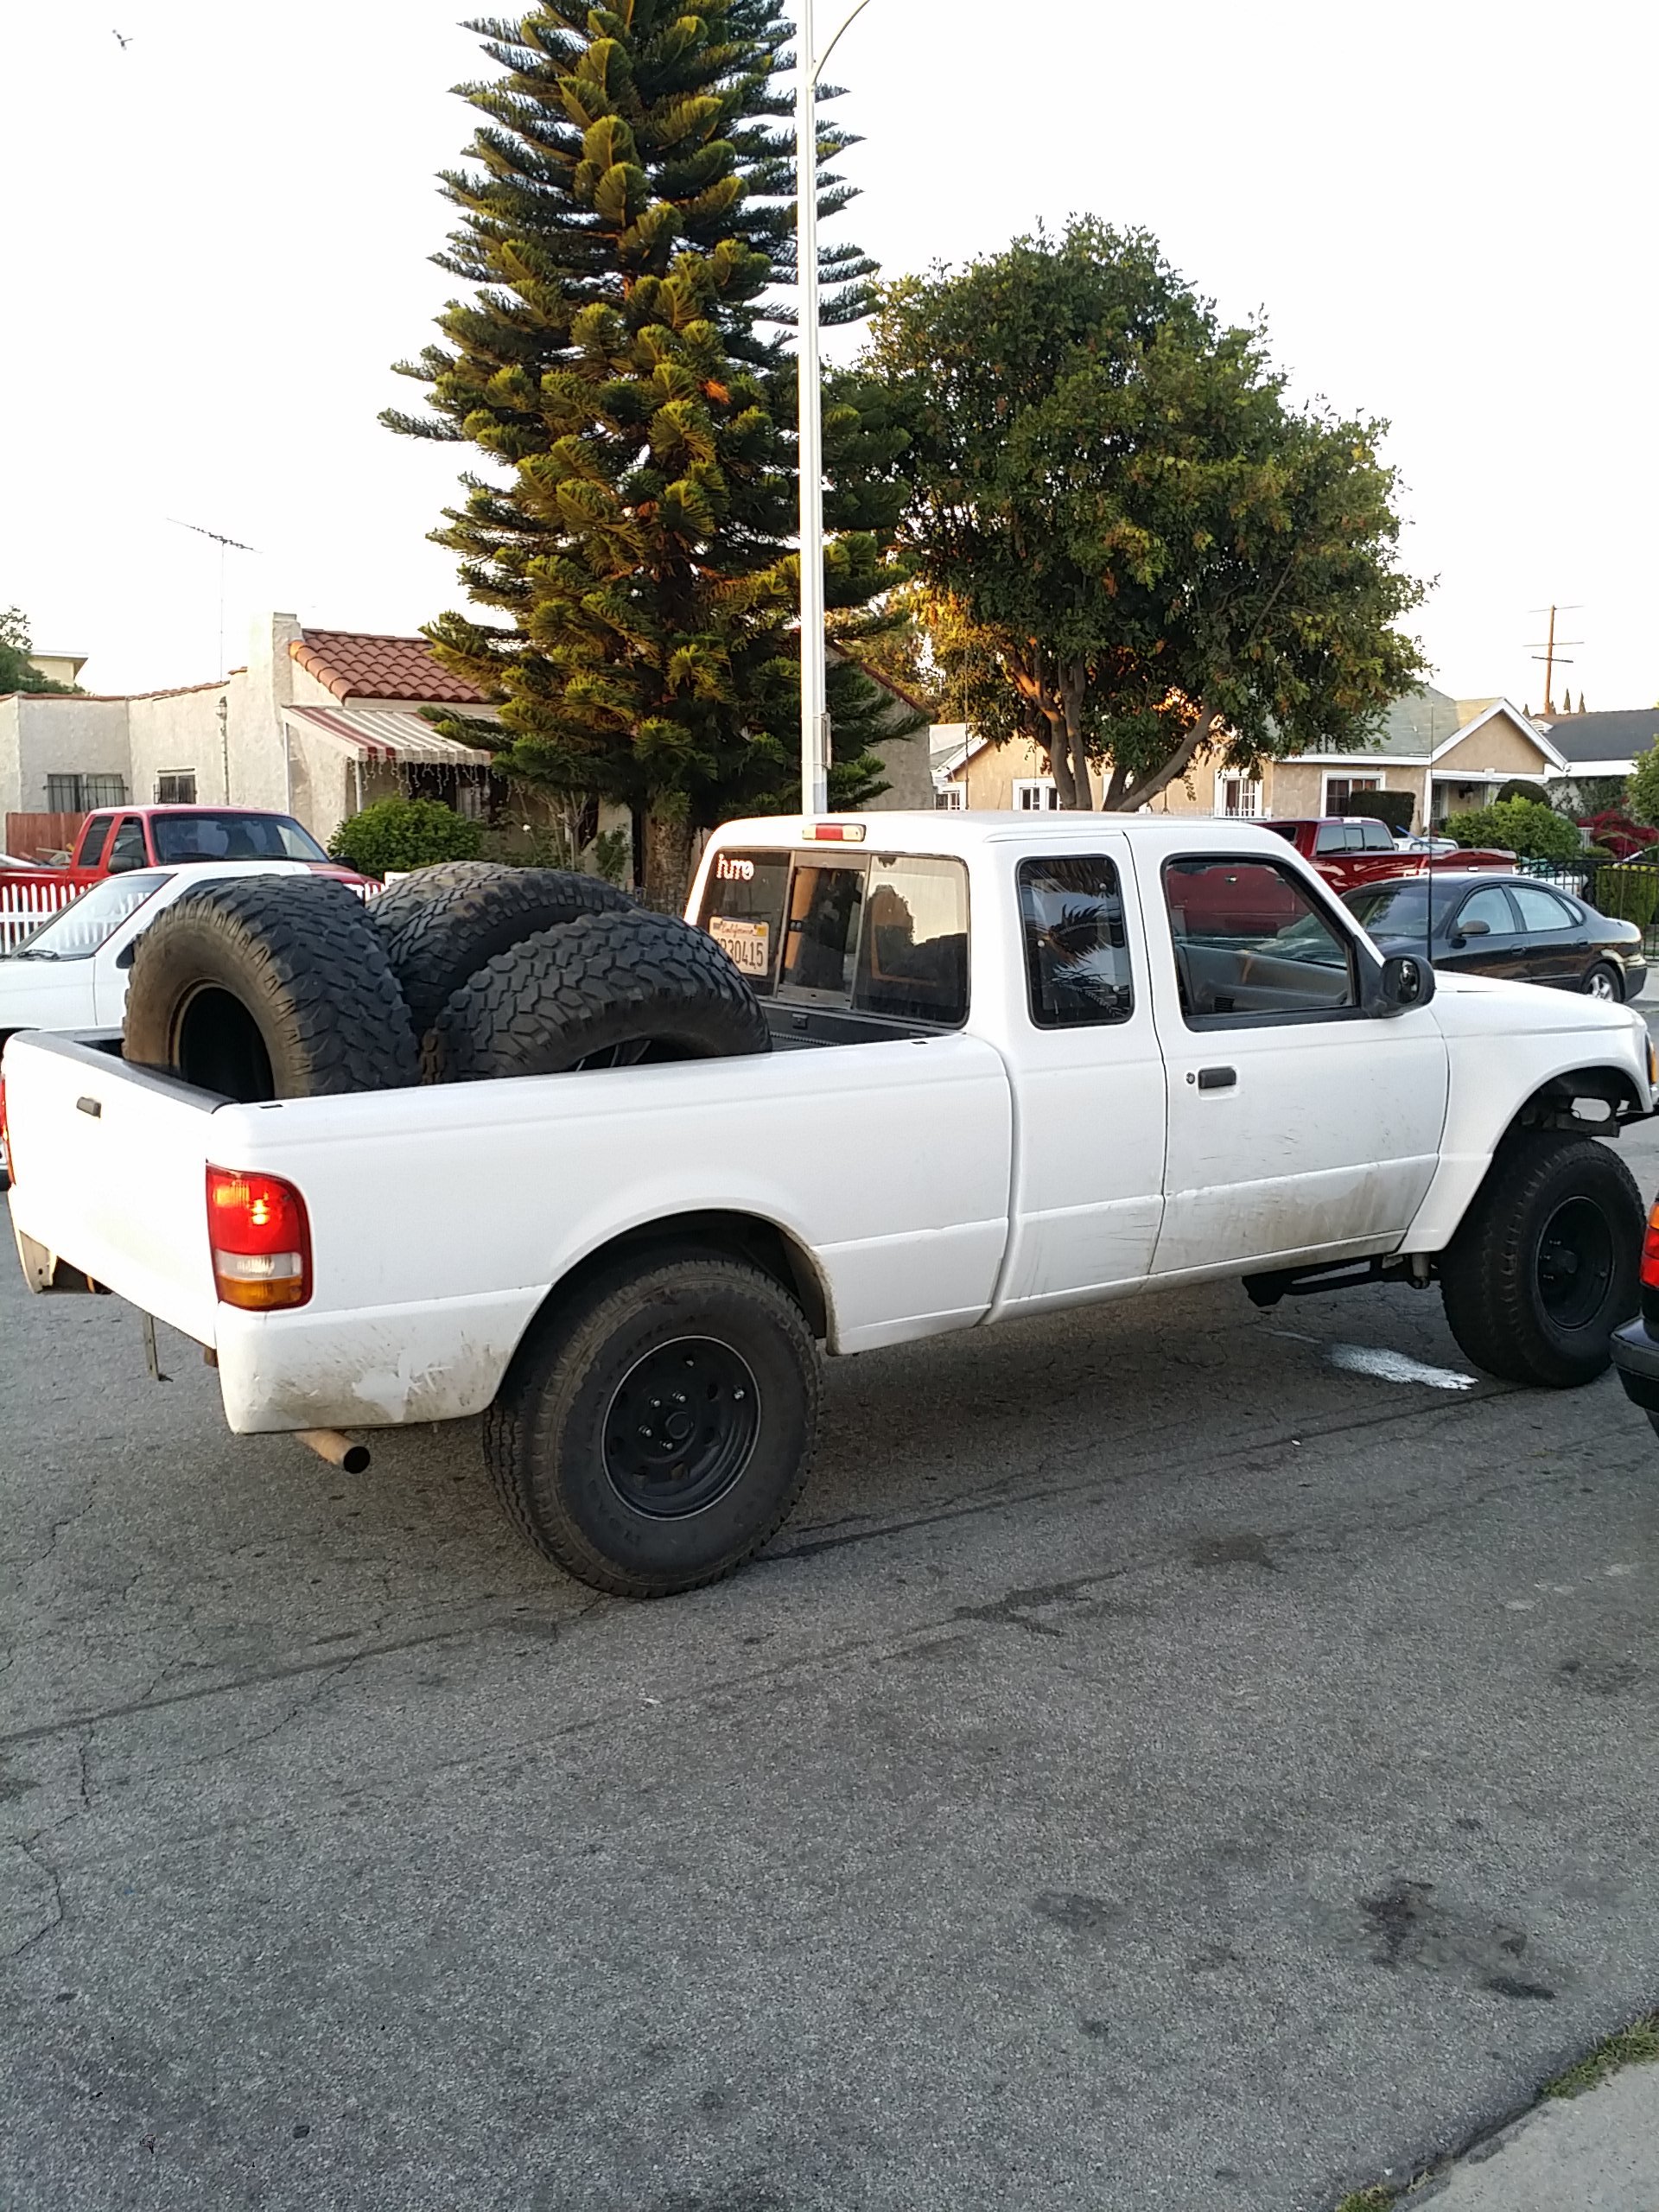
As quickly as I arrived home the buyer from Instagram dropped by about 20min after my arrival to pick up my complete set (5) of 33" tires. IT was 3 procomps and 2 BFG KM1's all 33/12.5/r15. soldthe set for 300. with about 50% tred. that kid got the deal of a lifetime there! He was planning on using it on thiss ford ranger and building it up as a prerunner.
I guess this will do for temporary storage.

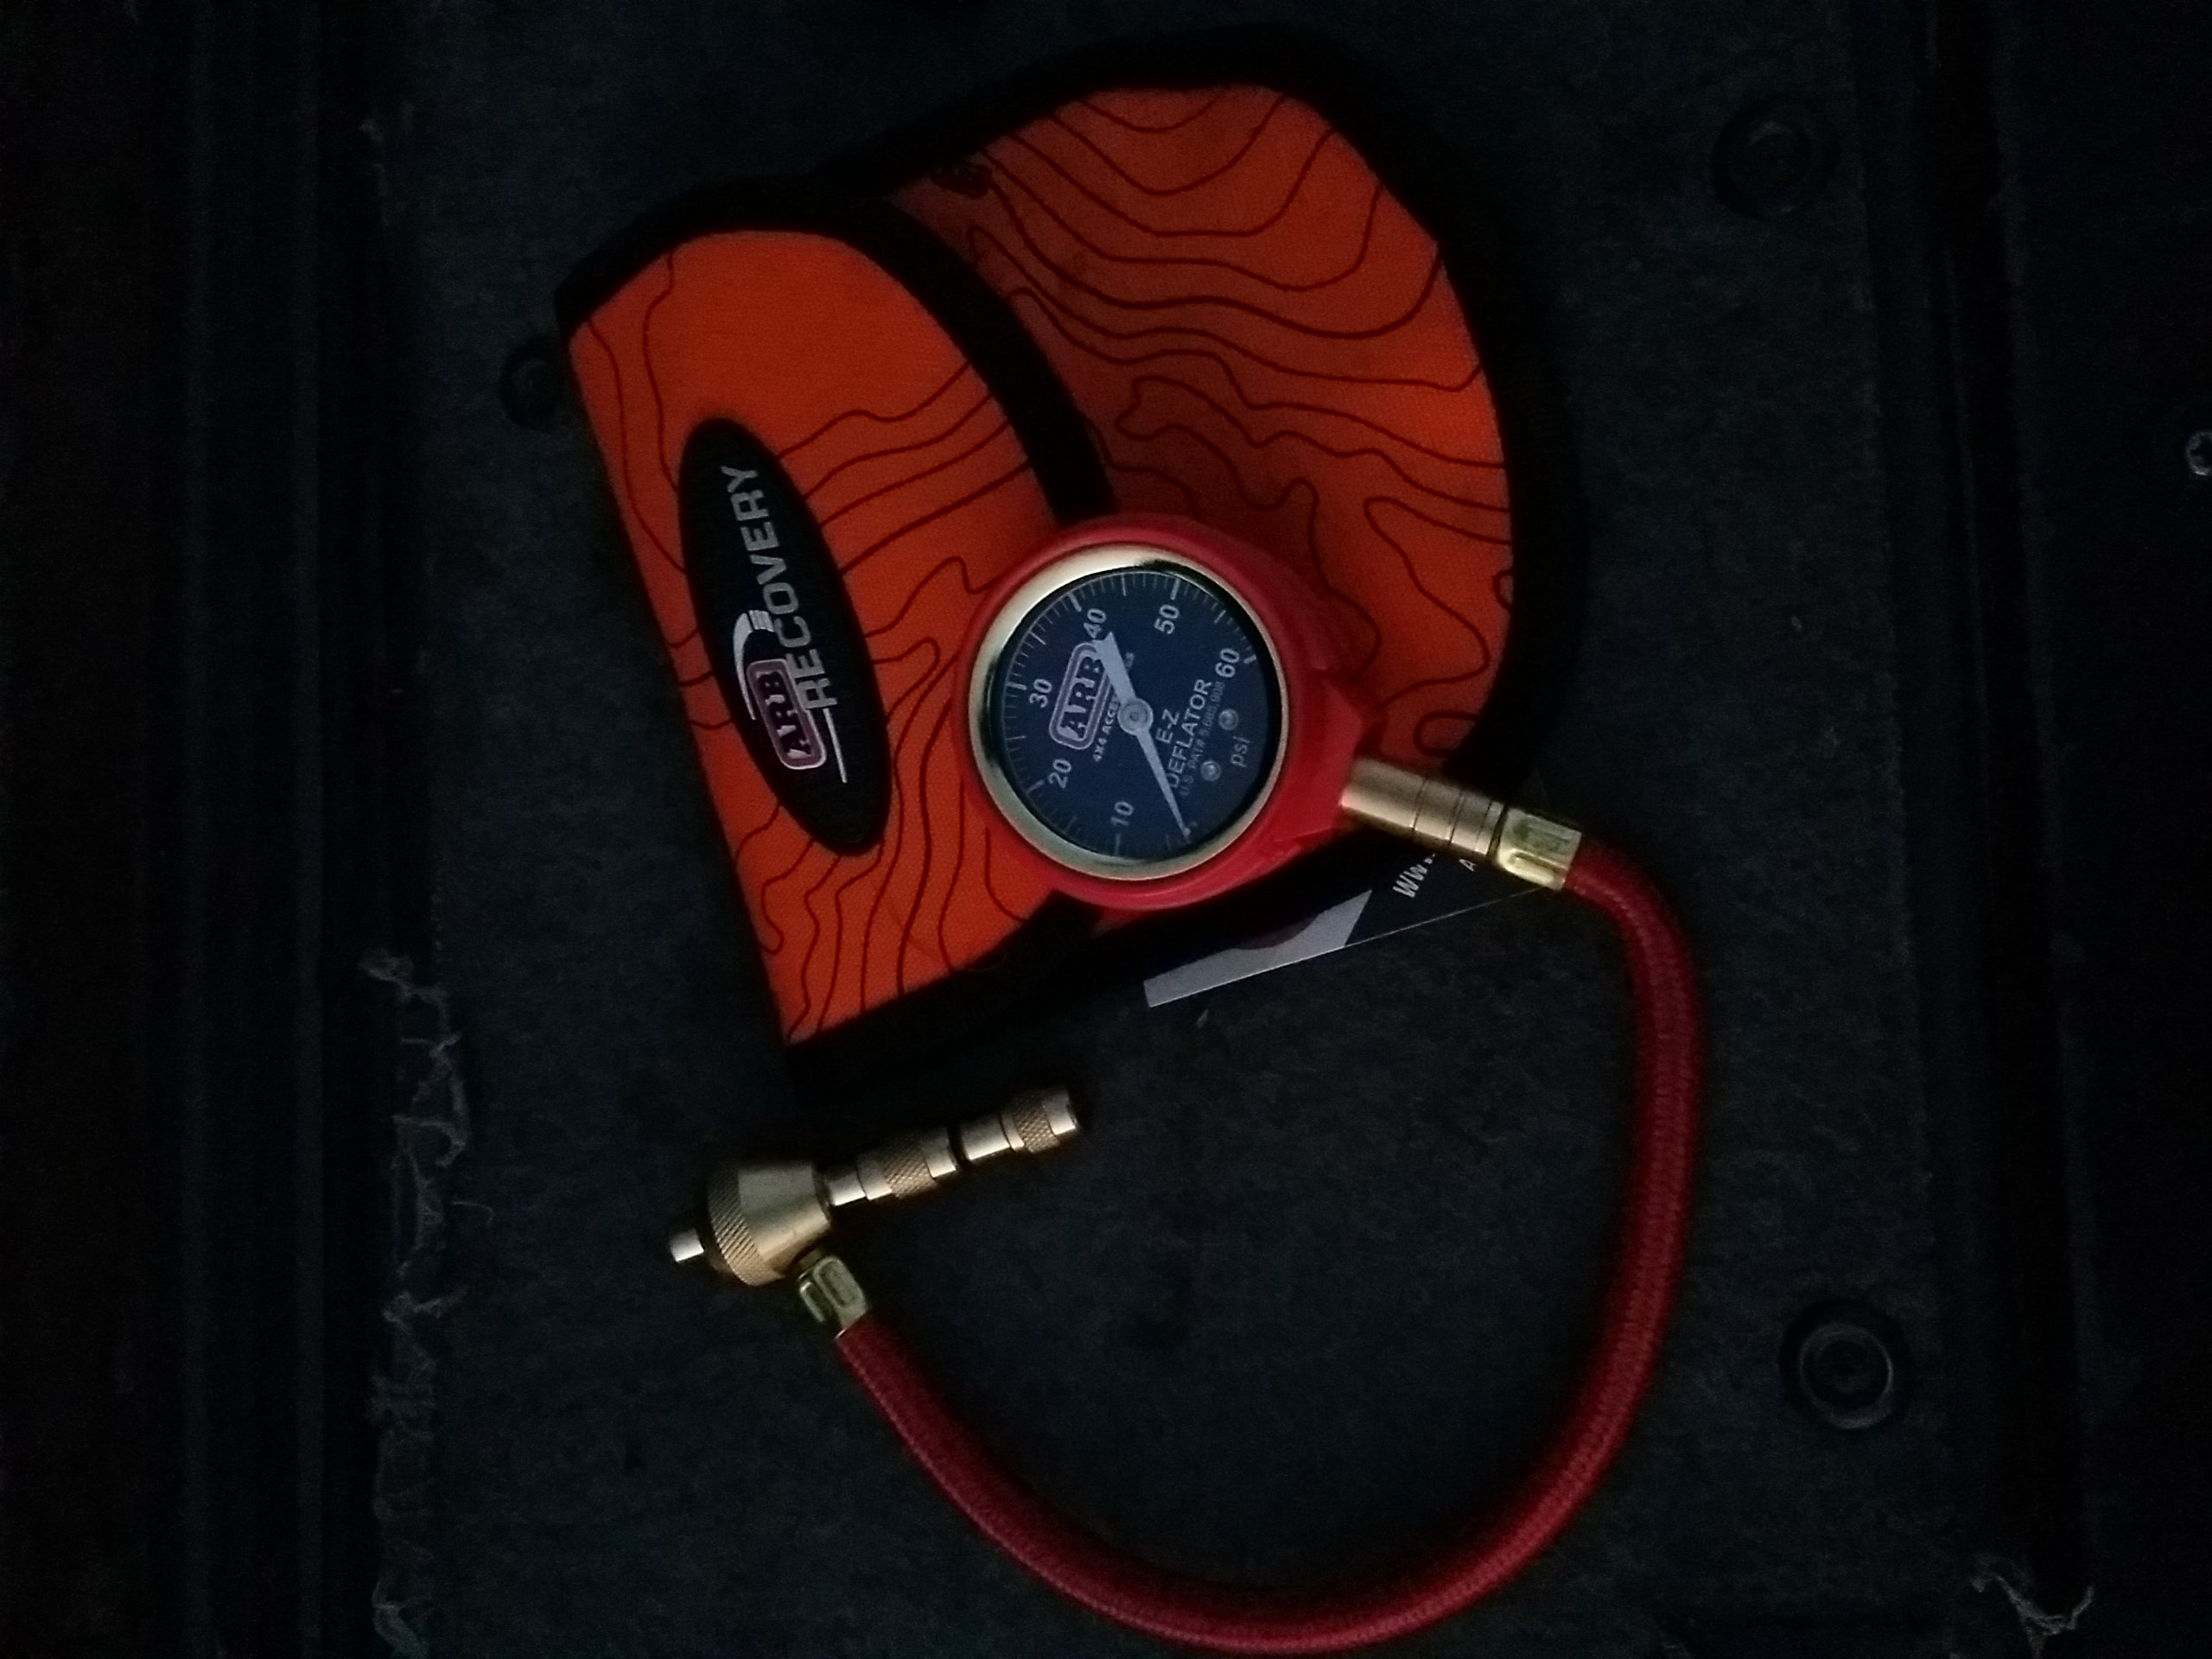
Oh yea also to add to the list of goodies. They gave me a discount for showing up to their store twice this week and both times they ended up being closed! I complained that their online hours are ˟˟˟˟ed up. And told them that they needed to fix the time because I'm sure I am not the only one who has gone during closed hours thanks to the online results. So they gave me a discount and with that $$$ i bought this ARB tire deflator. IM READY FOR THE TRAILS NOW! lol
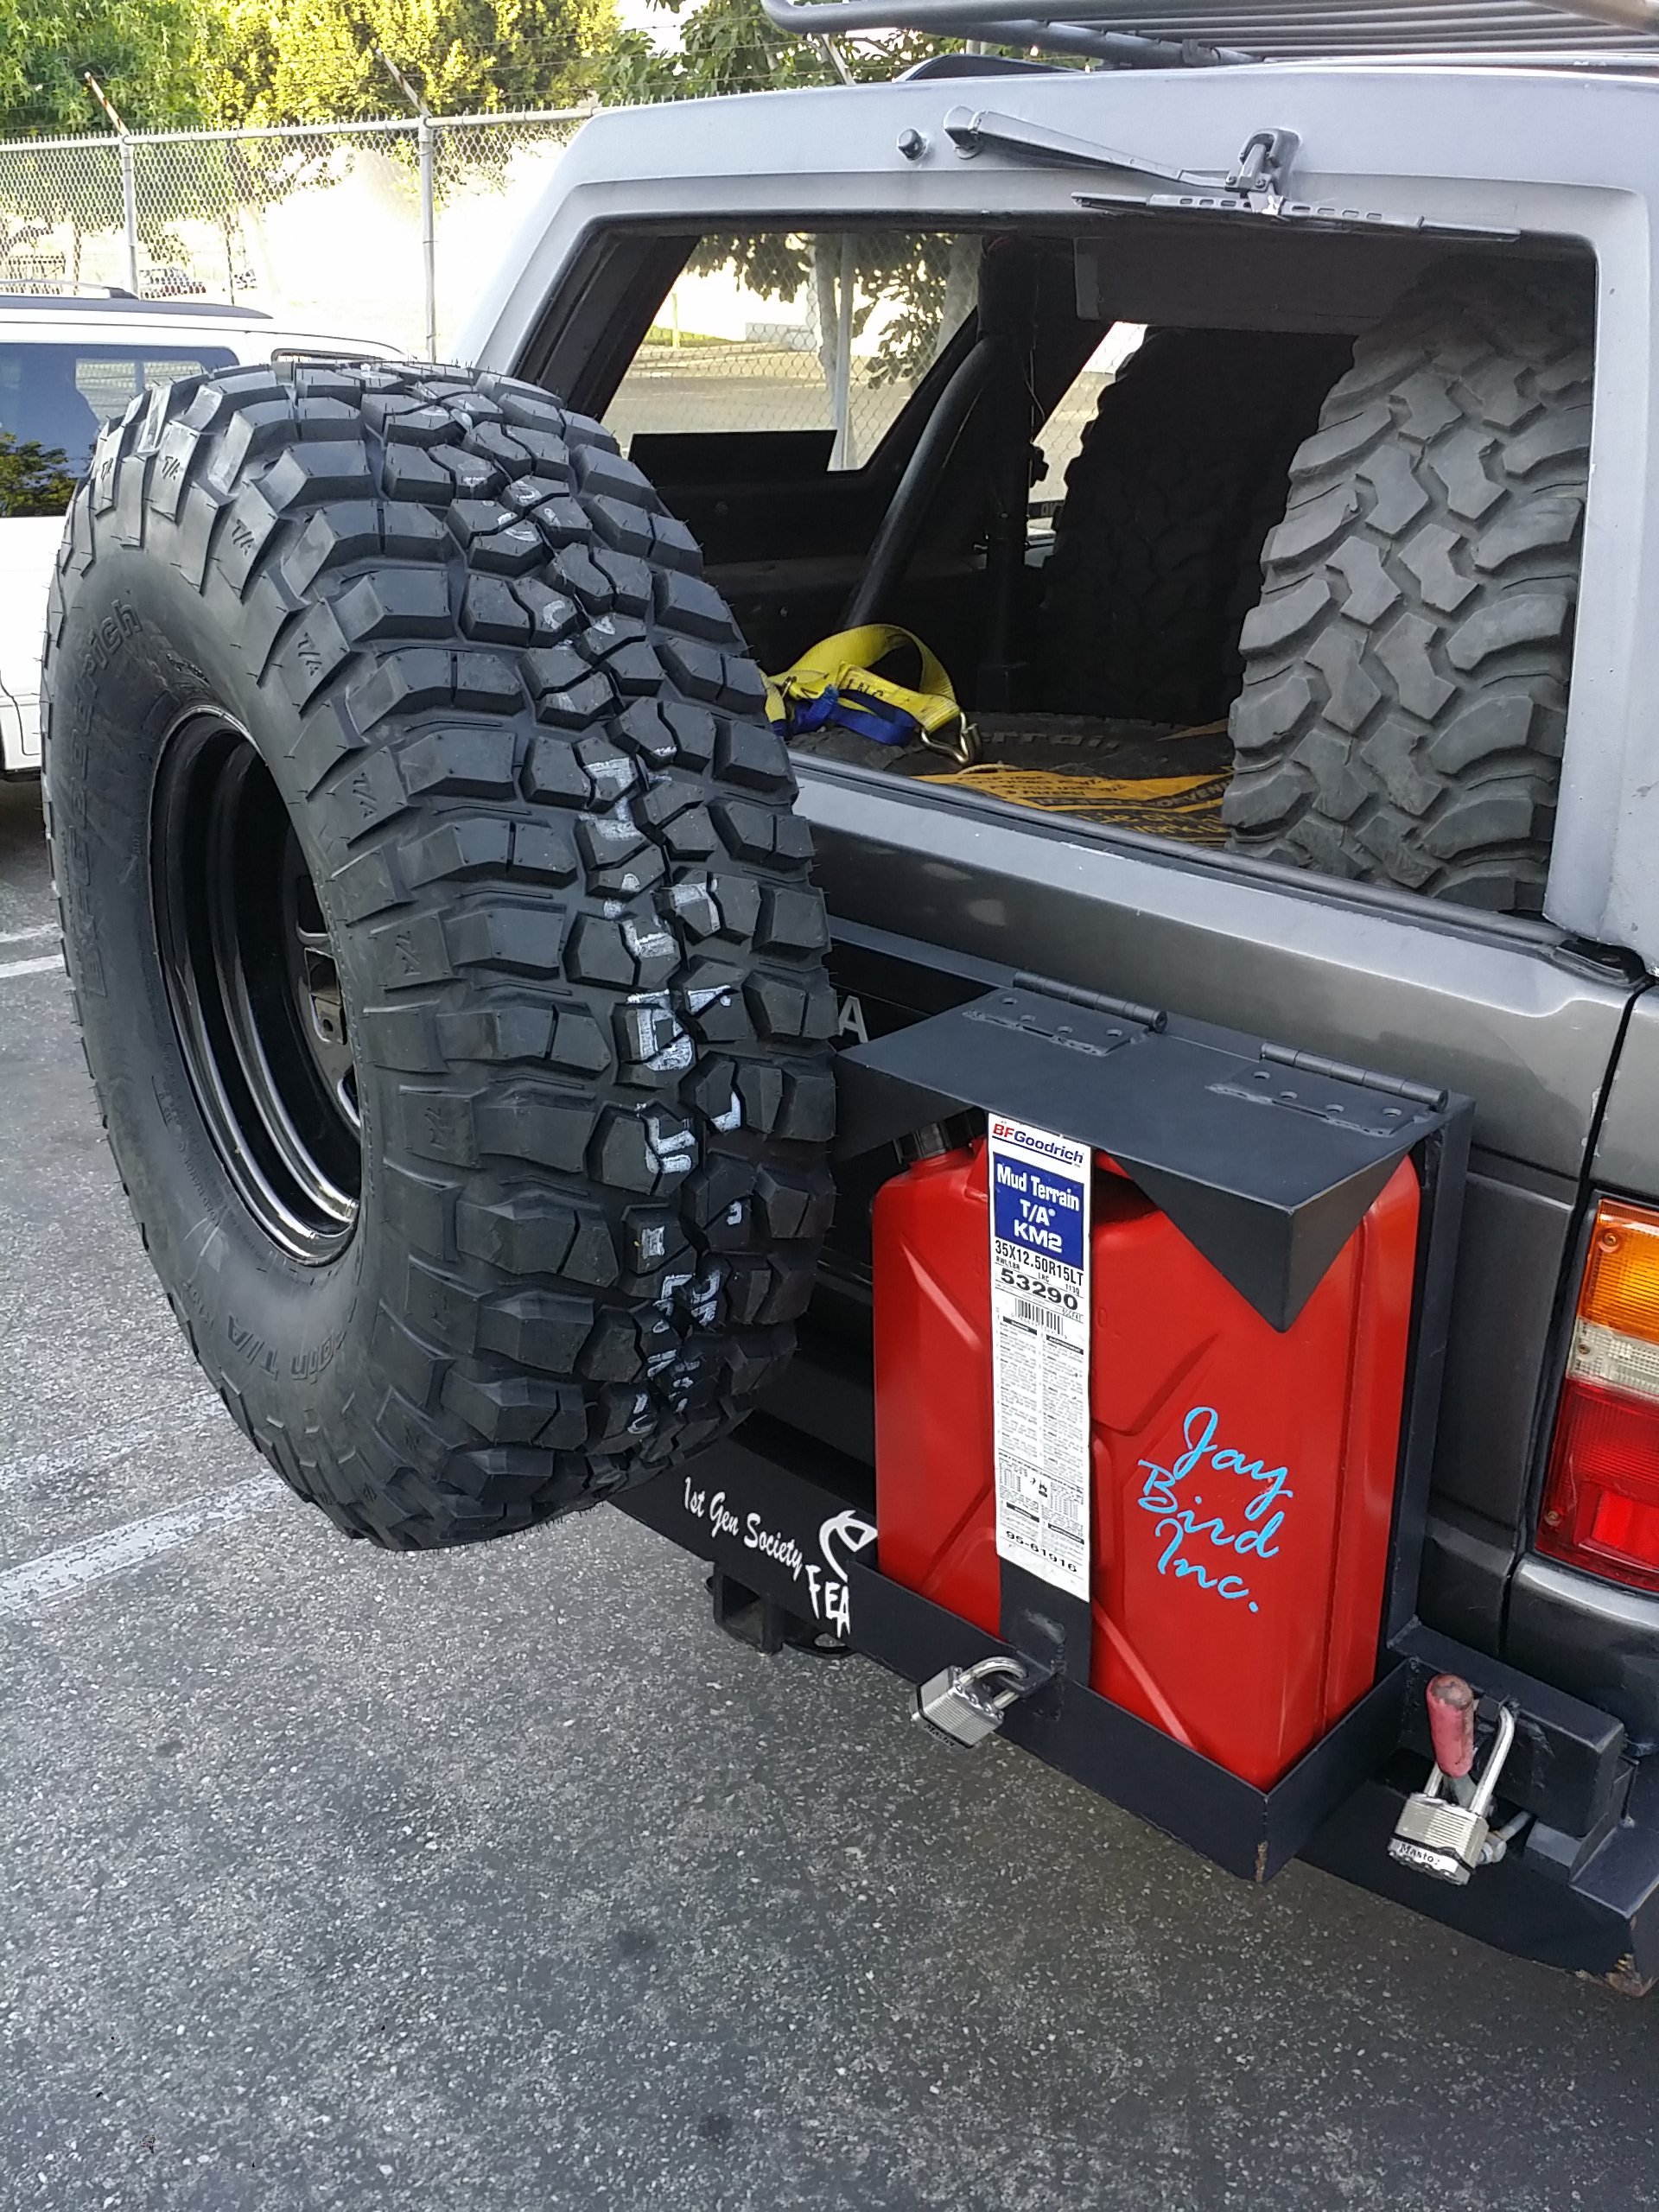
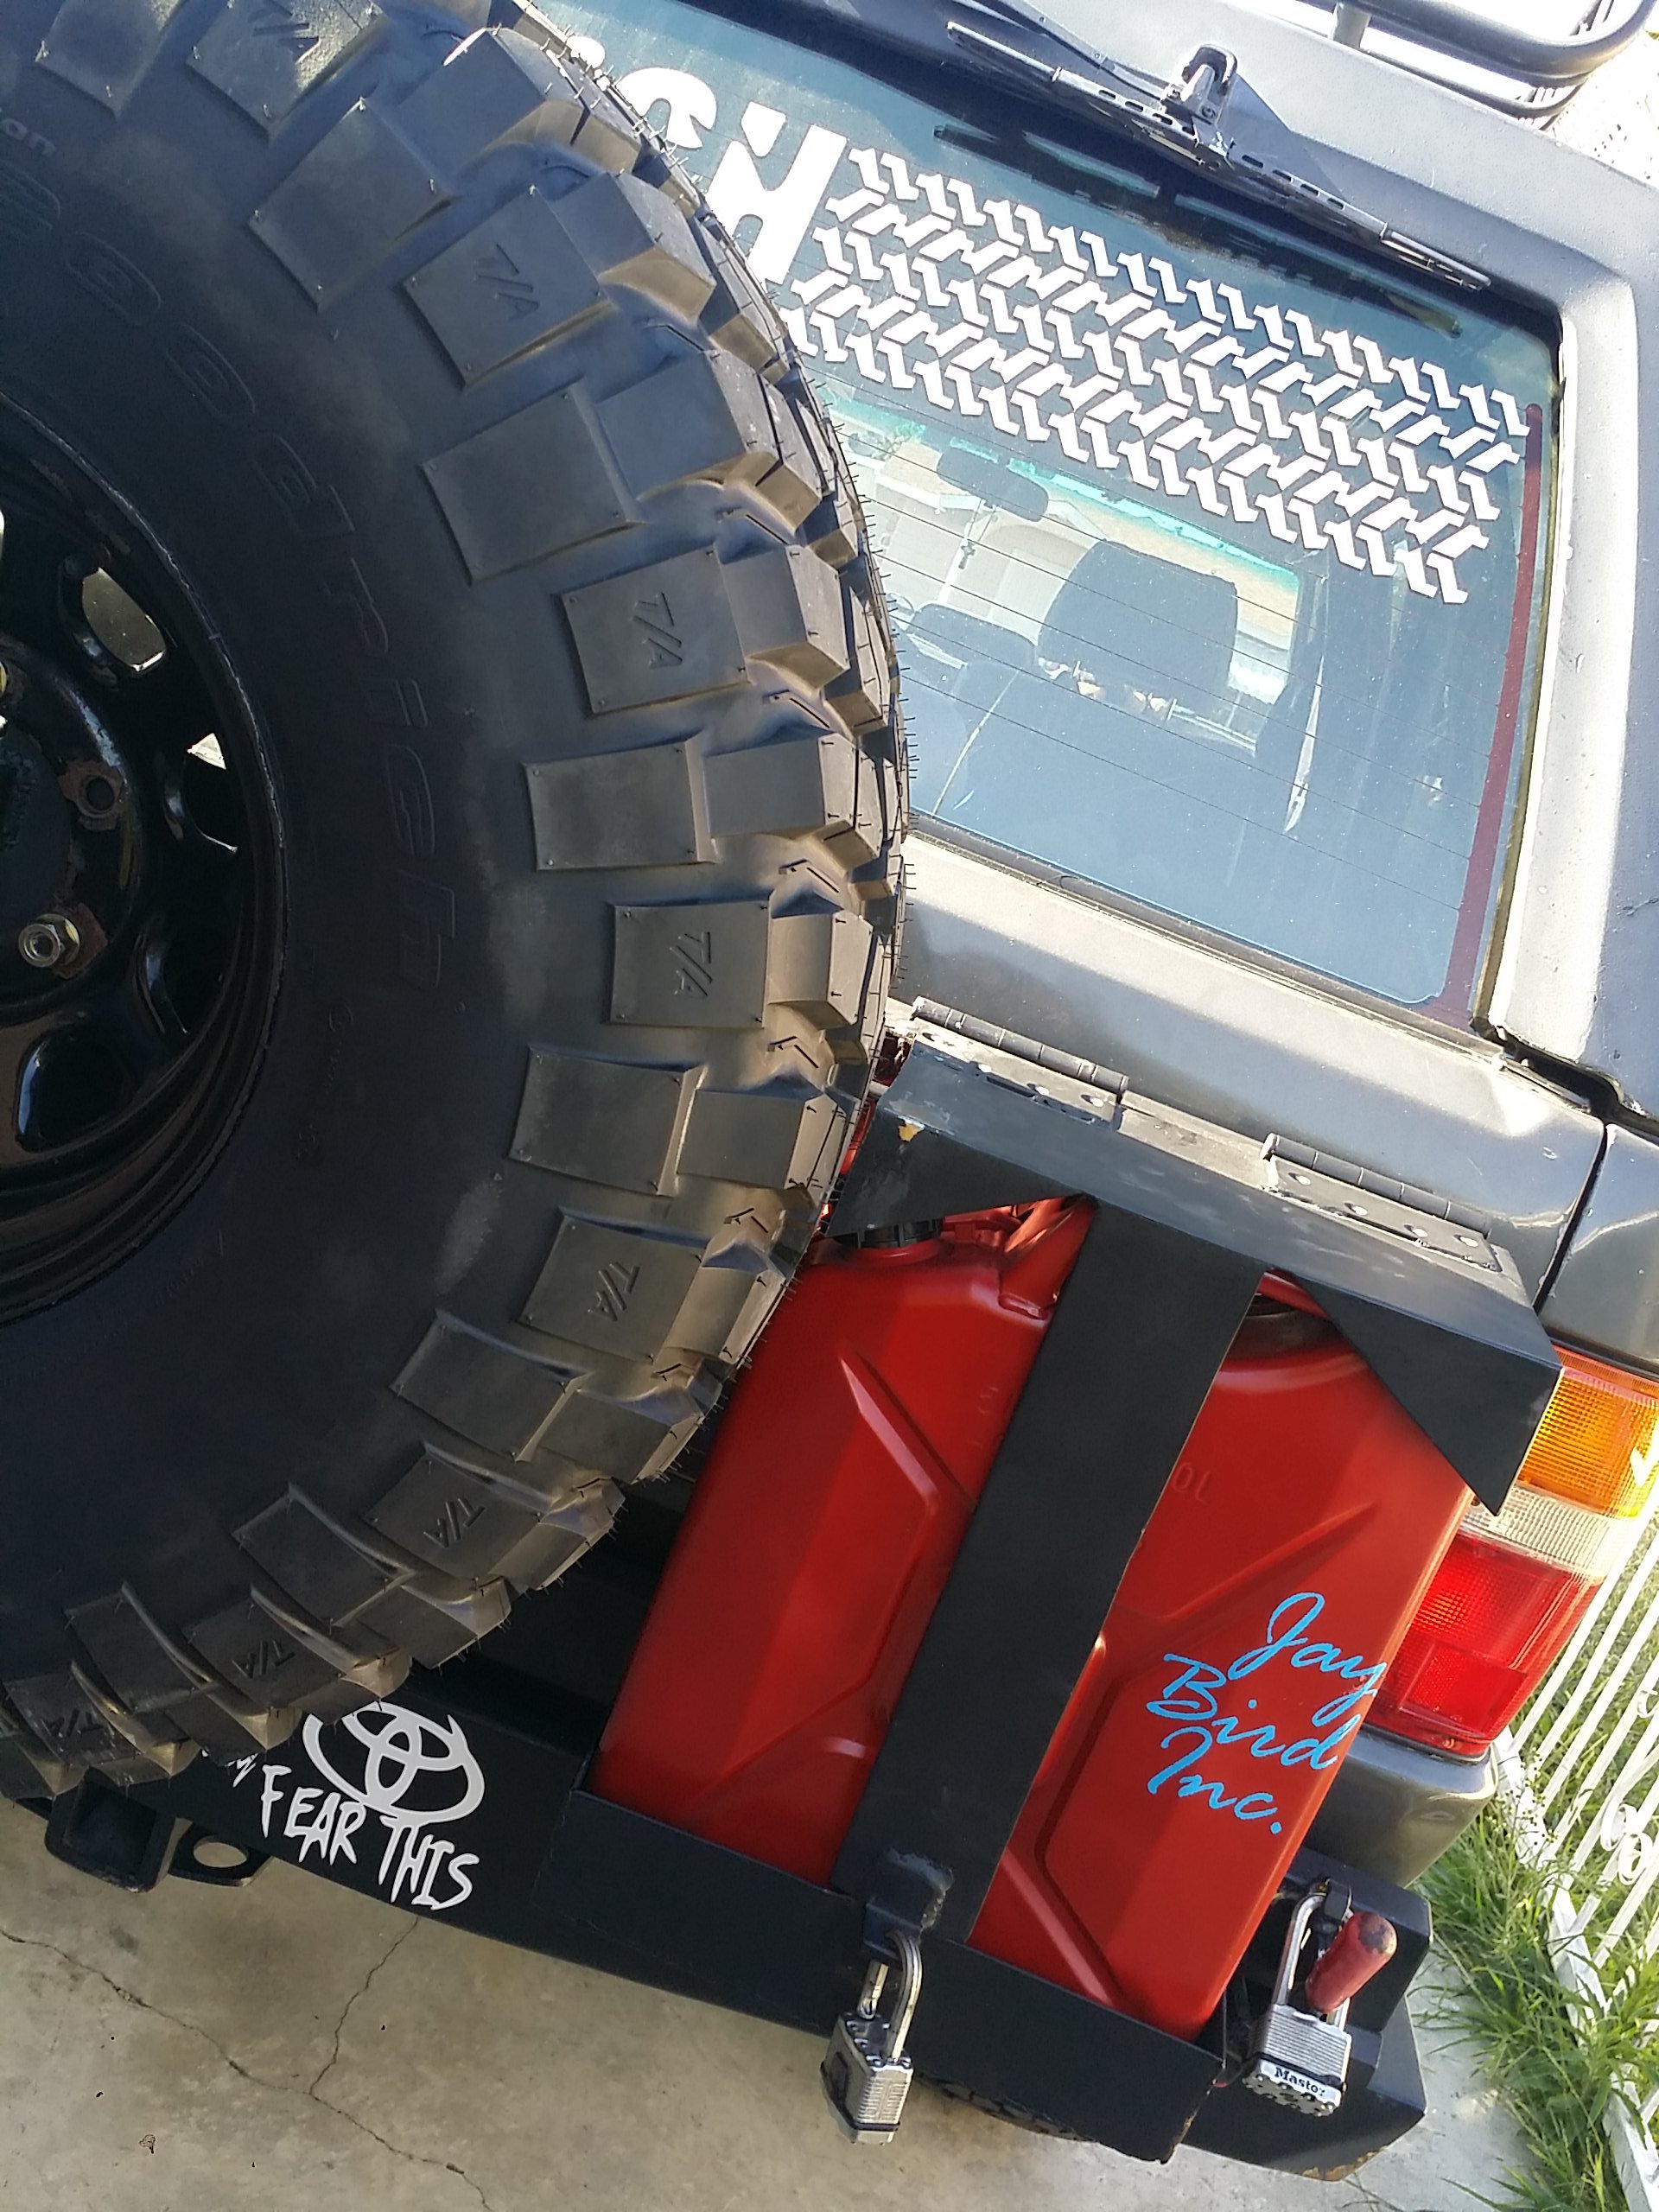
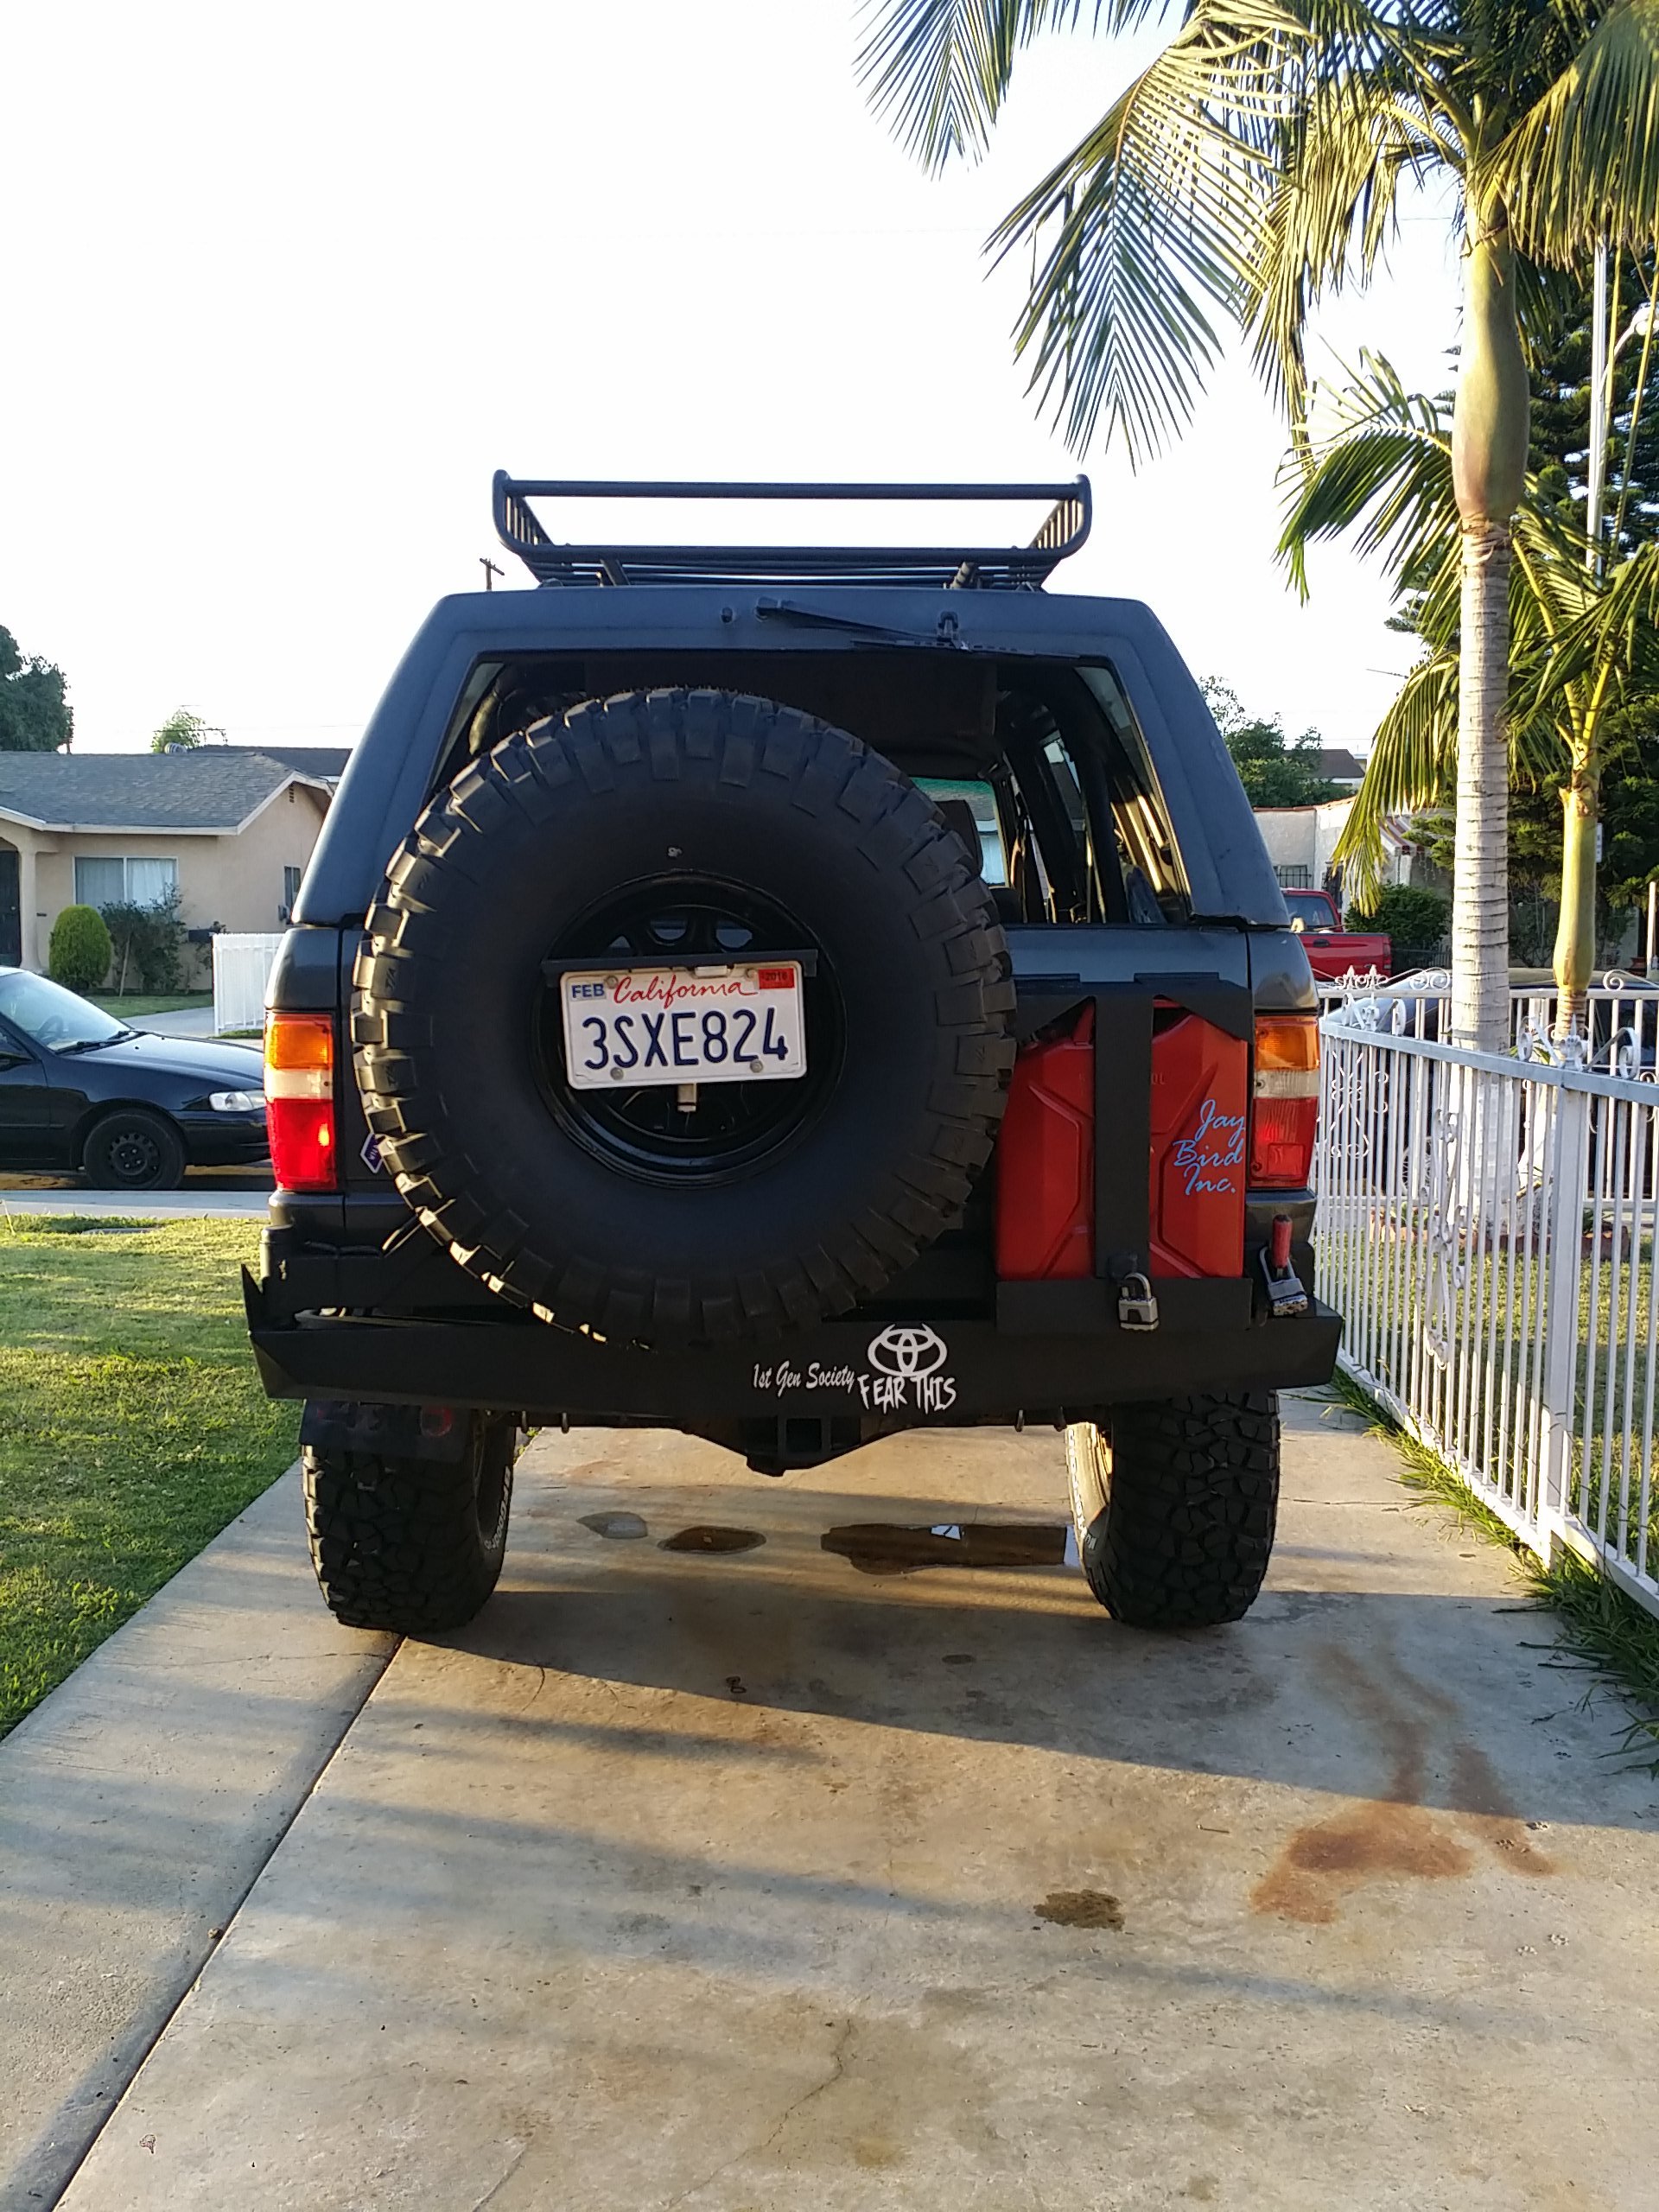
The following day I couldn't take the funny look of not having my spare where I belonged so I started chopping! As you can see here the the tire fits fine. It is just the jerry can securing latch that got in the way. And as you can see the jerry can is also out of the way. All I have to do is cut the top portion closest to the tire about 0.5" to clear the tire.
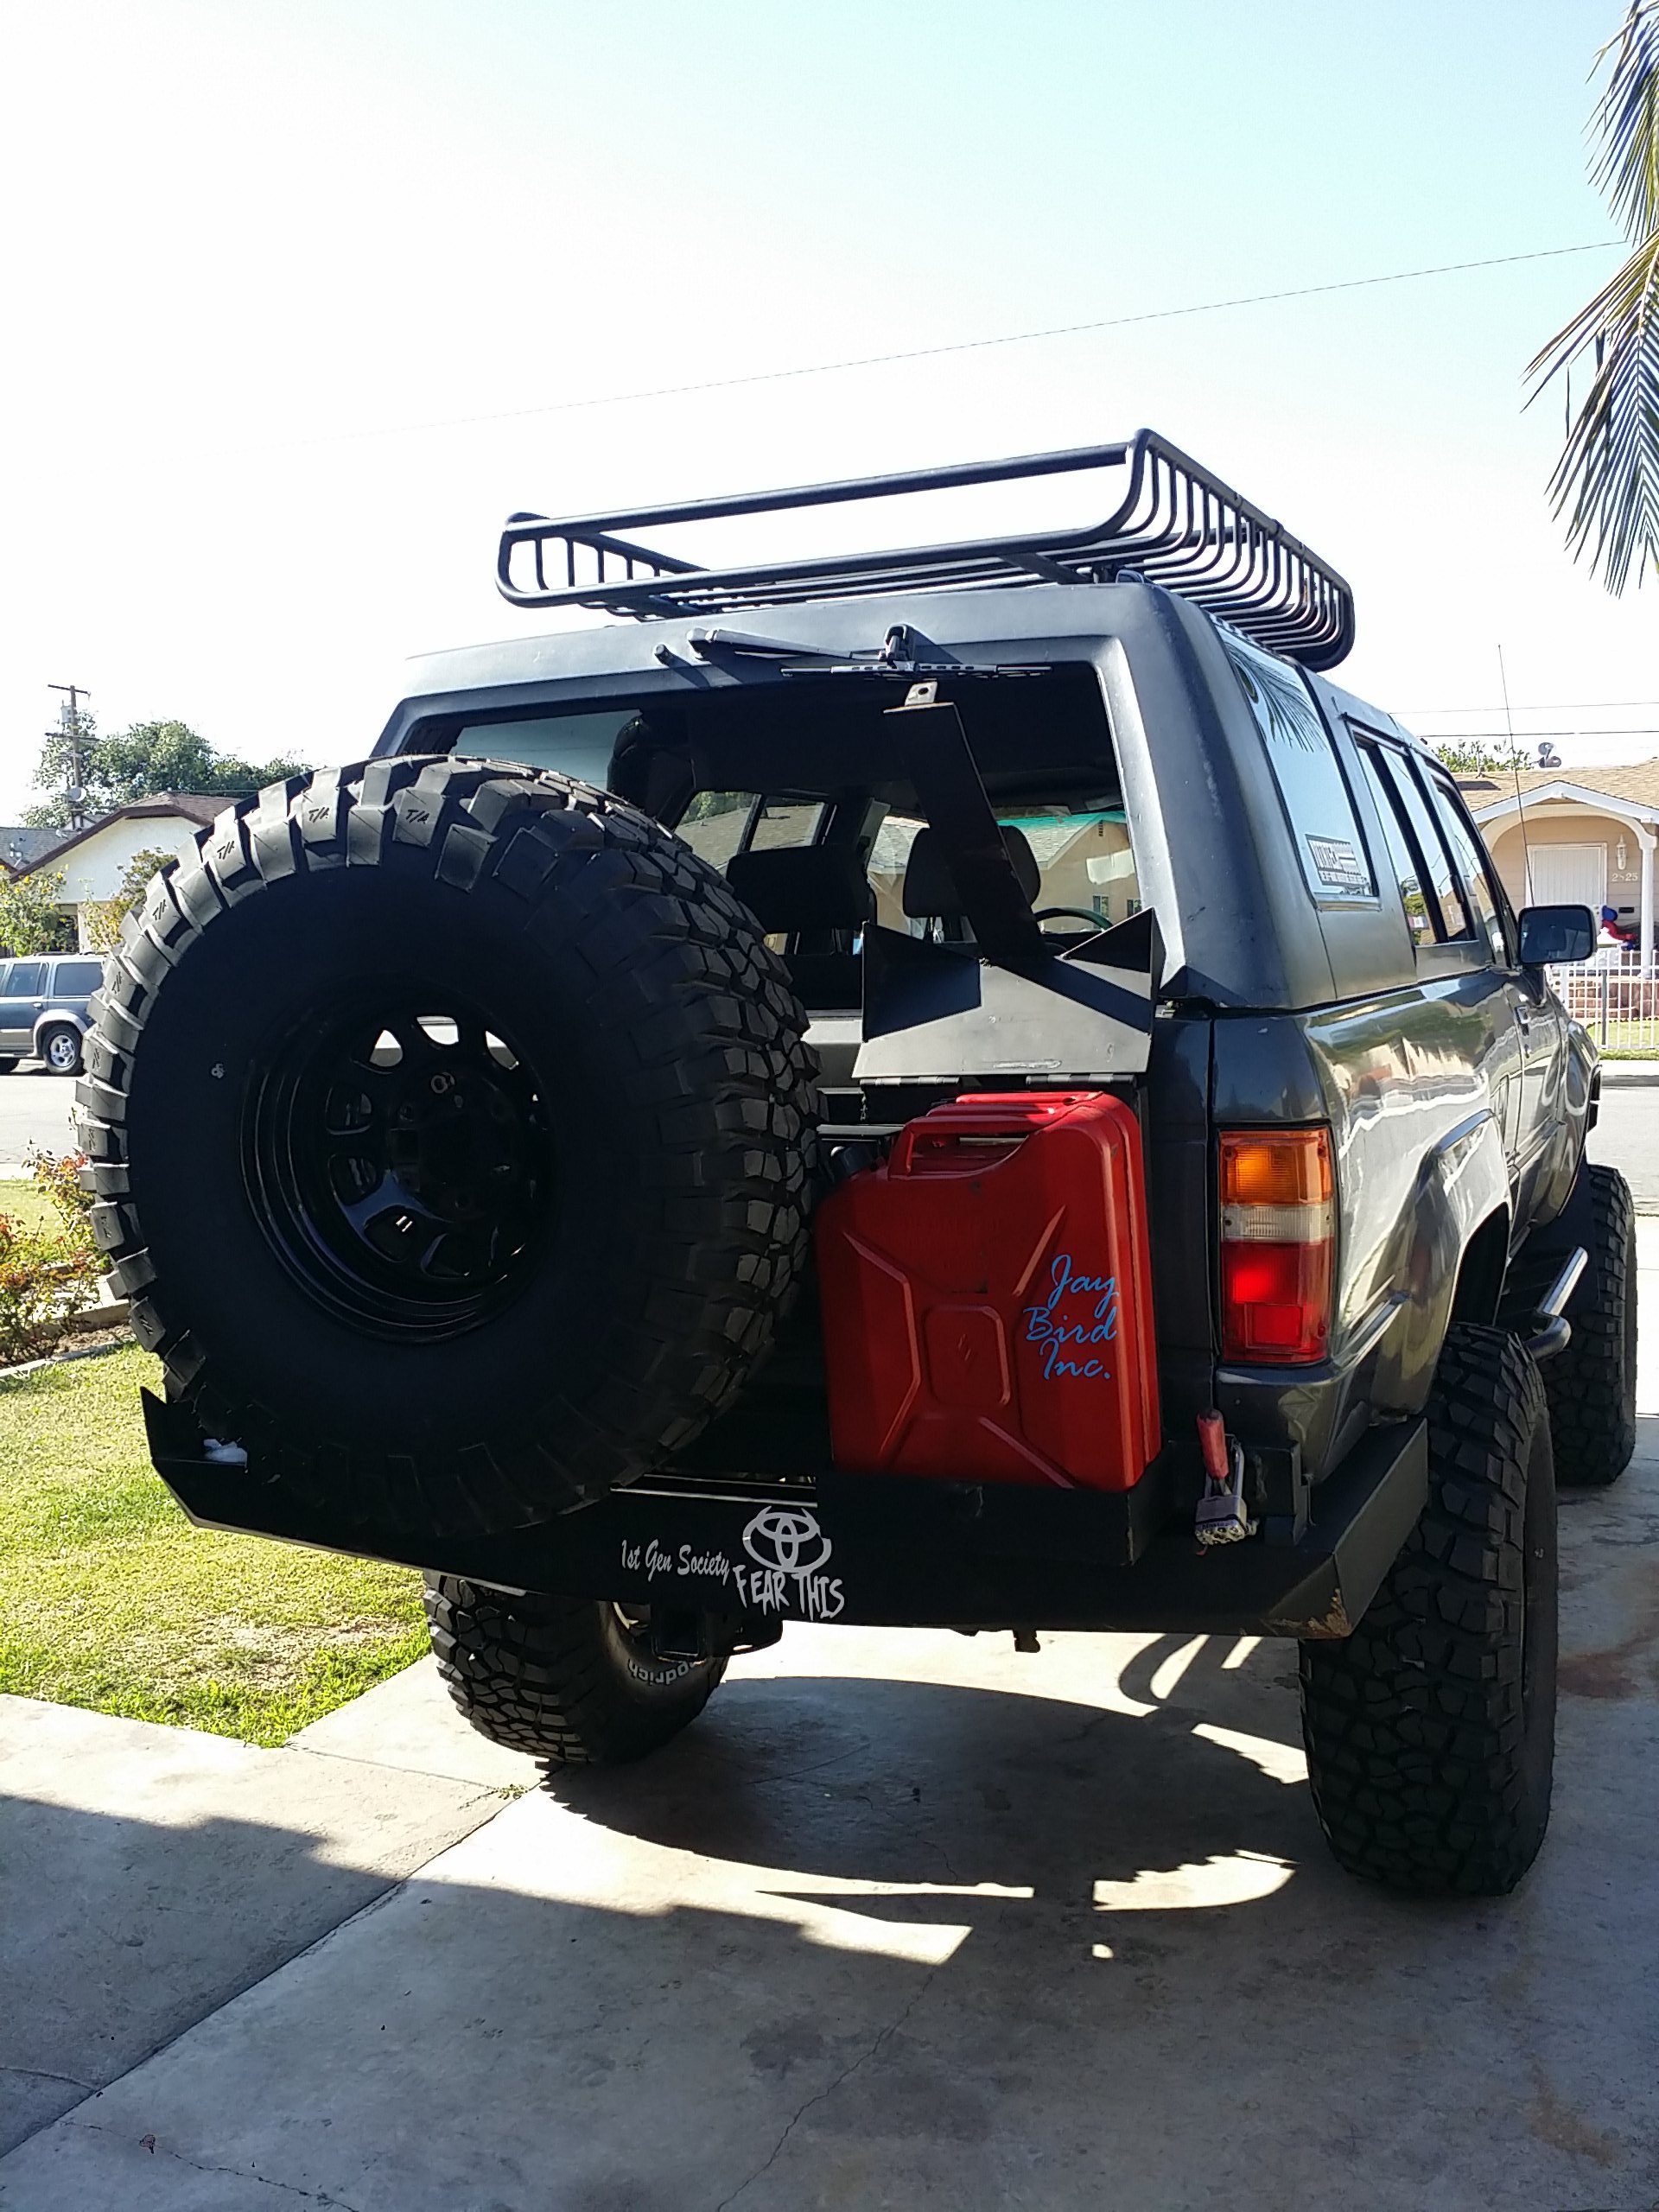
Here you can see I already cut it and it has about 5mm of space between the tire and the jerry can cover
since I was going to have to sand and repaint the portion I cut I figured it was a perfect time to repaint the bumper and slider to fix the paint damage that the exploded tire caused me from freeway incident 1 week earlier.
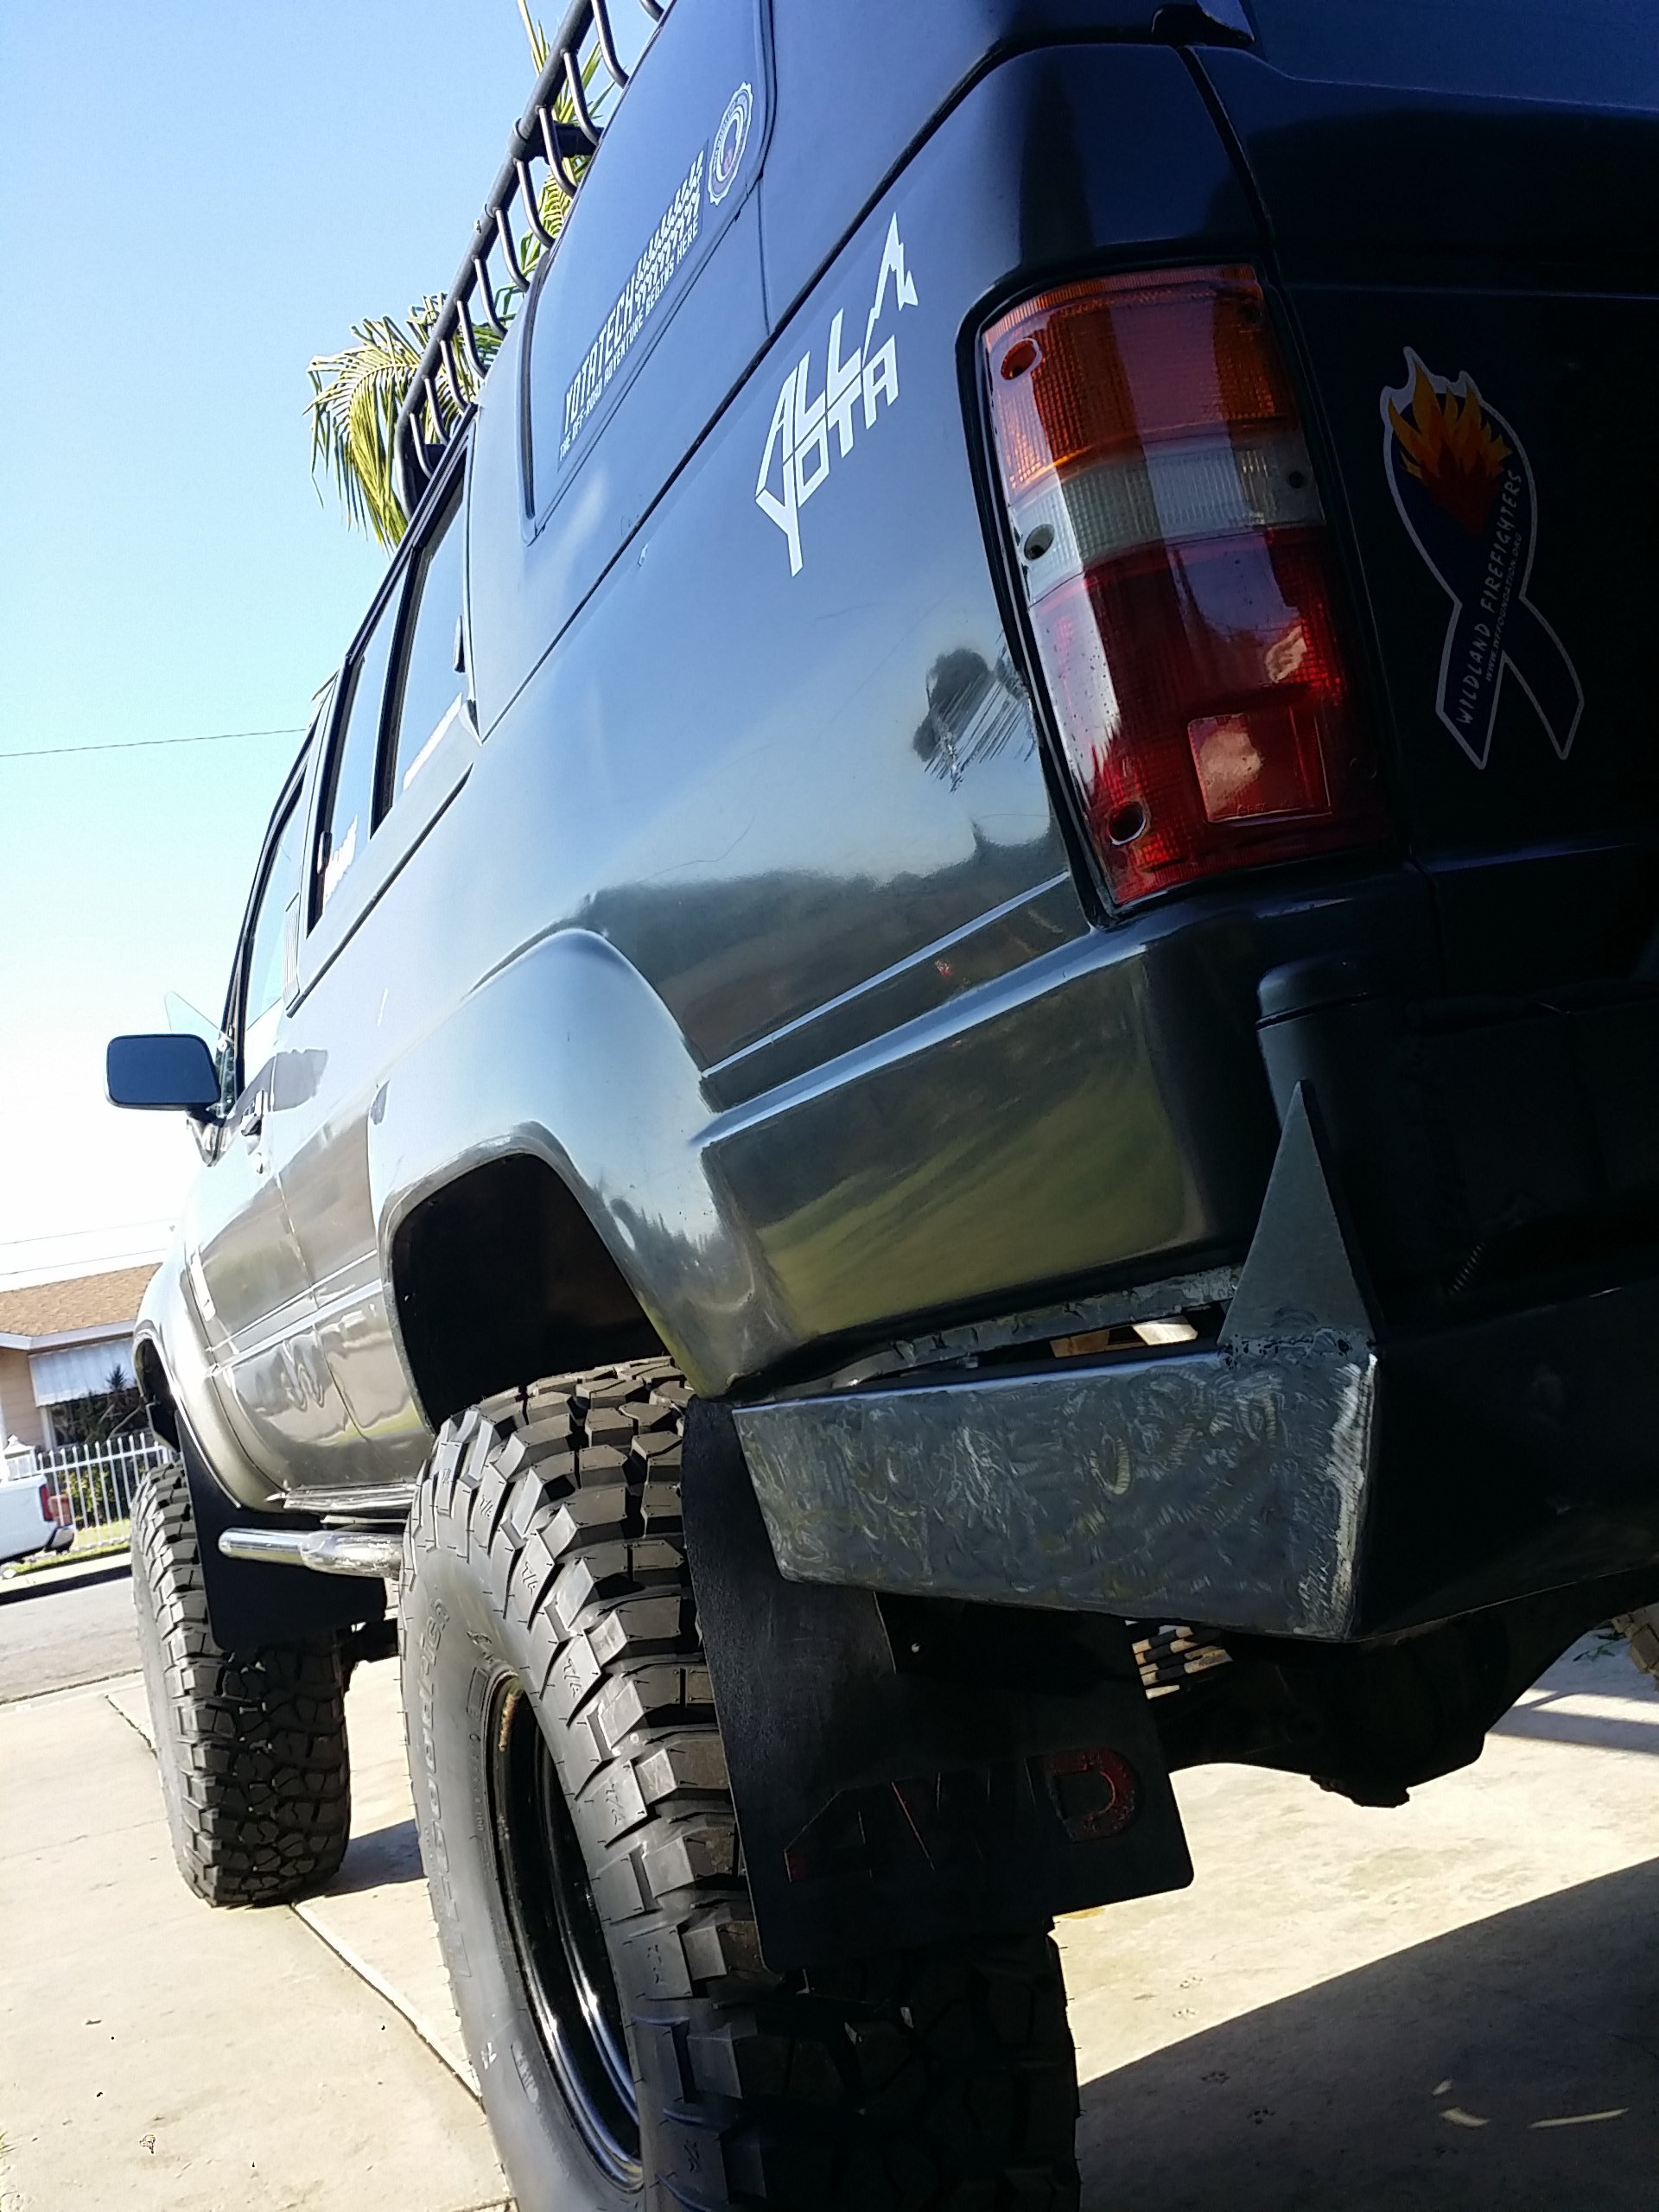
Primed
Done! It's fine for now. I didn't cave the correct grit wire sander wheel so you can see lines under the paint on some parts. But whatever. I'll fix it next time I repaint the all the bumpers and sliders. So long as I have something covering that metal right now to prevent rust.
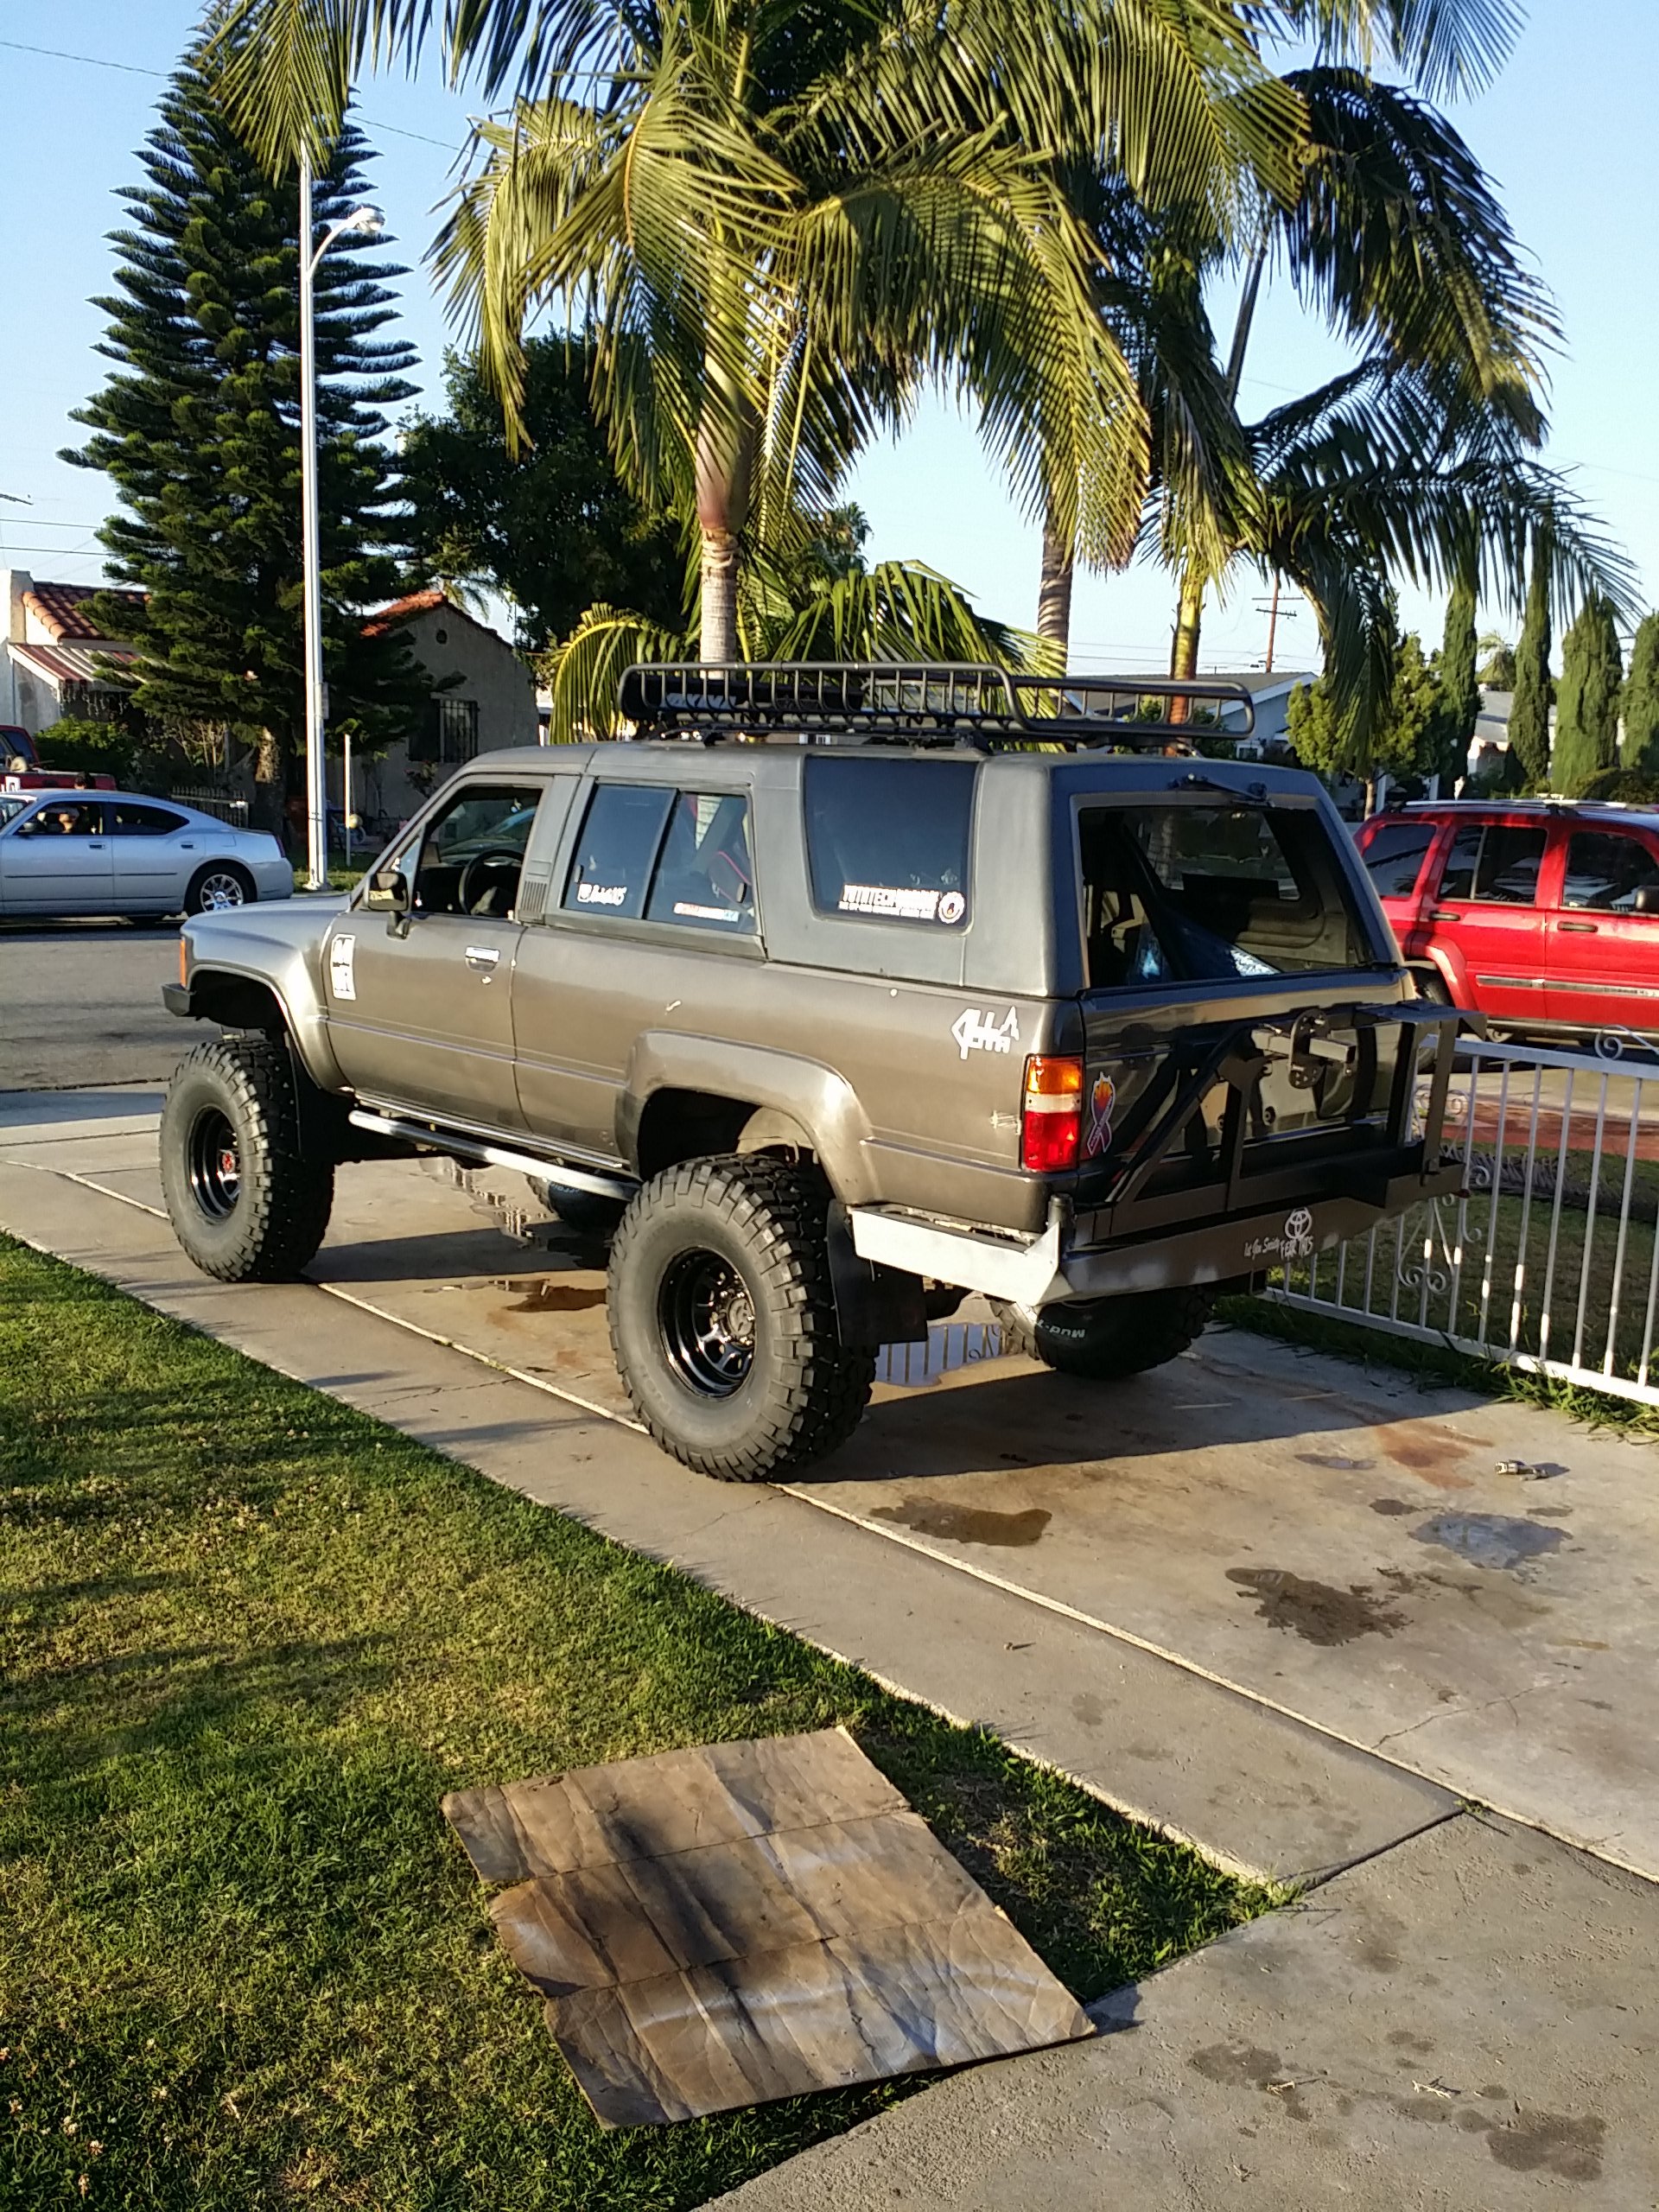
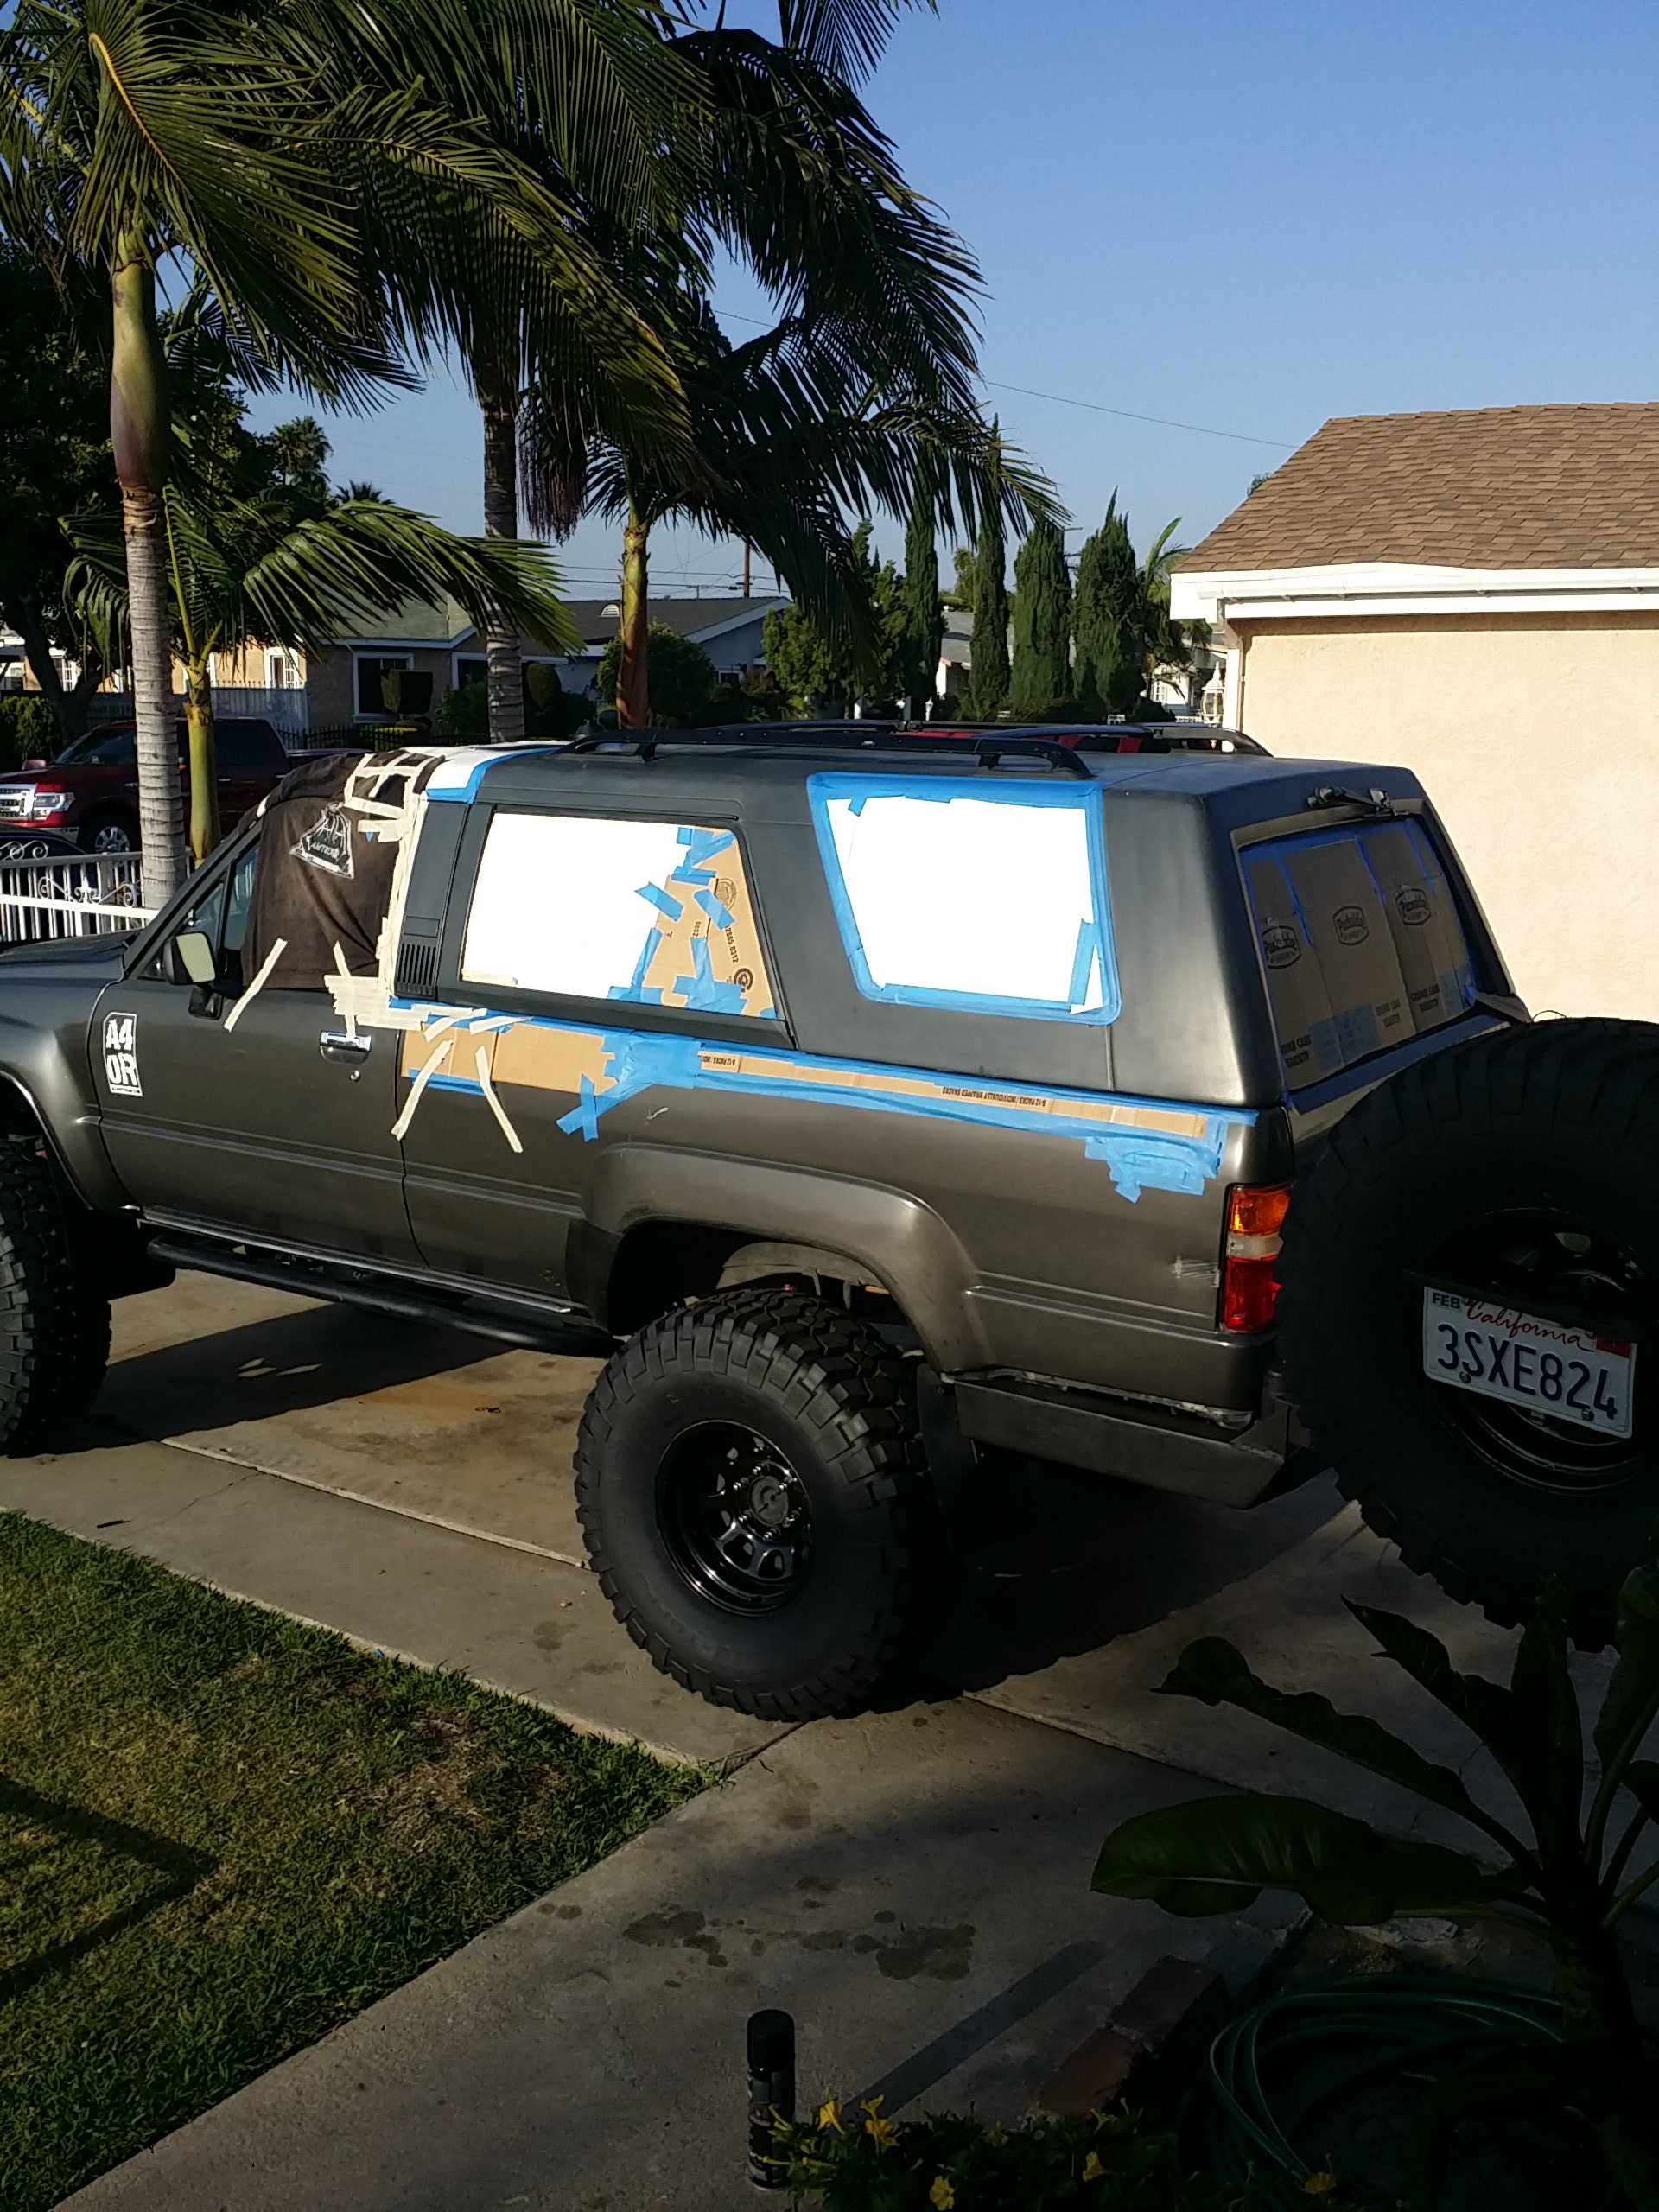
I've been wanting to do this for over 2 years. It isnt very expensive to do but out of shear laziness I have put it off for so long lol I painted the hard top wth Duplicolor bedliner spray cans. The final job came out looking pristine! but i'd soon find out that duplicolor bedliner sucks and its best to stick with Rustoleum bedliner. It' a lot thicker, and can resist rocks a lot betterten the thinner duplicolor. NOt to mention the rustoleum brand hardens nicely and the duplicolor will peel away exposing the underneath hard top once again.
Made a trip to Mark's House (chefyota4x4) for a little visit.
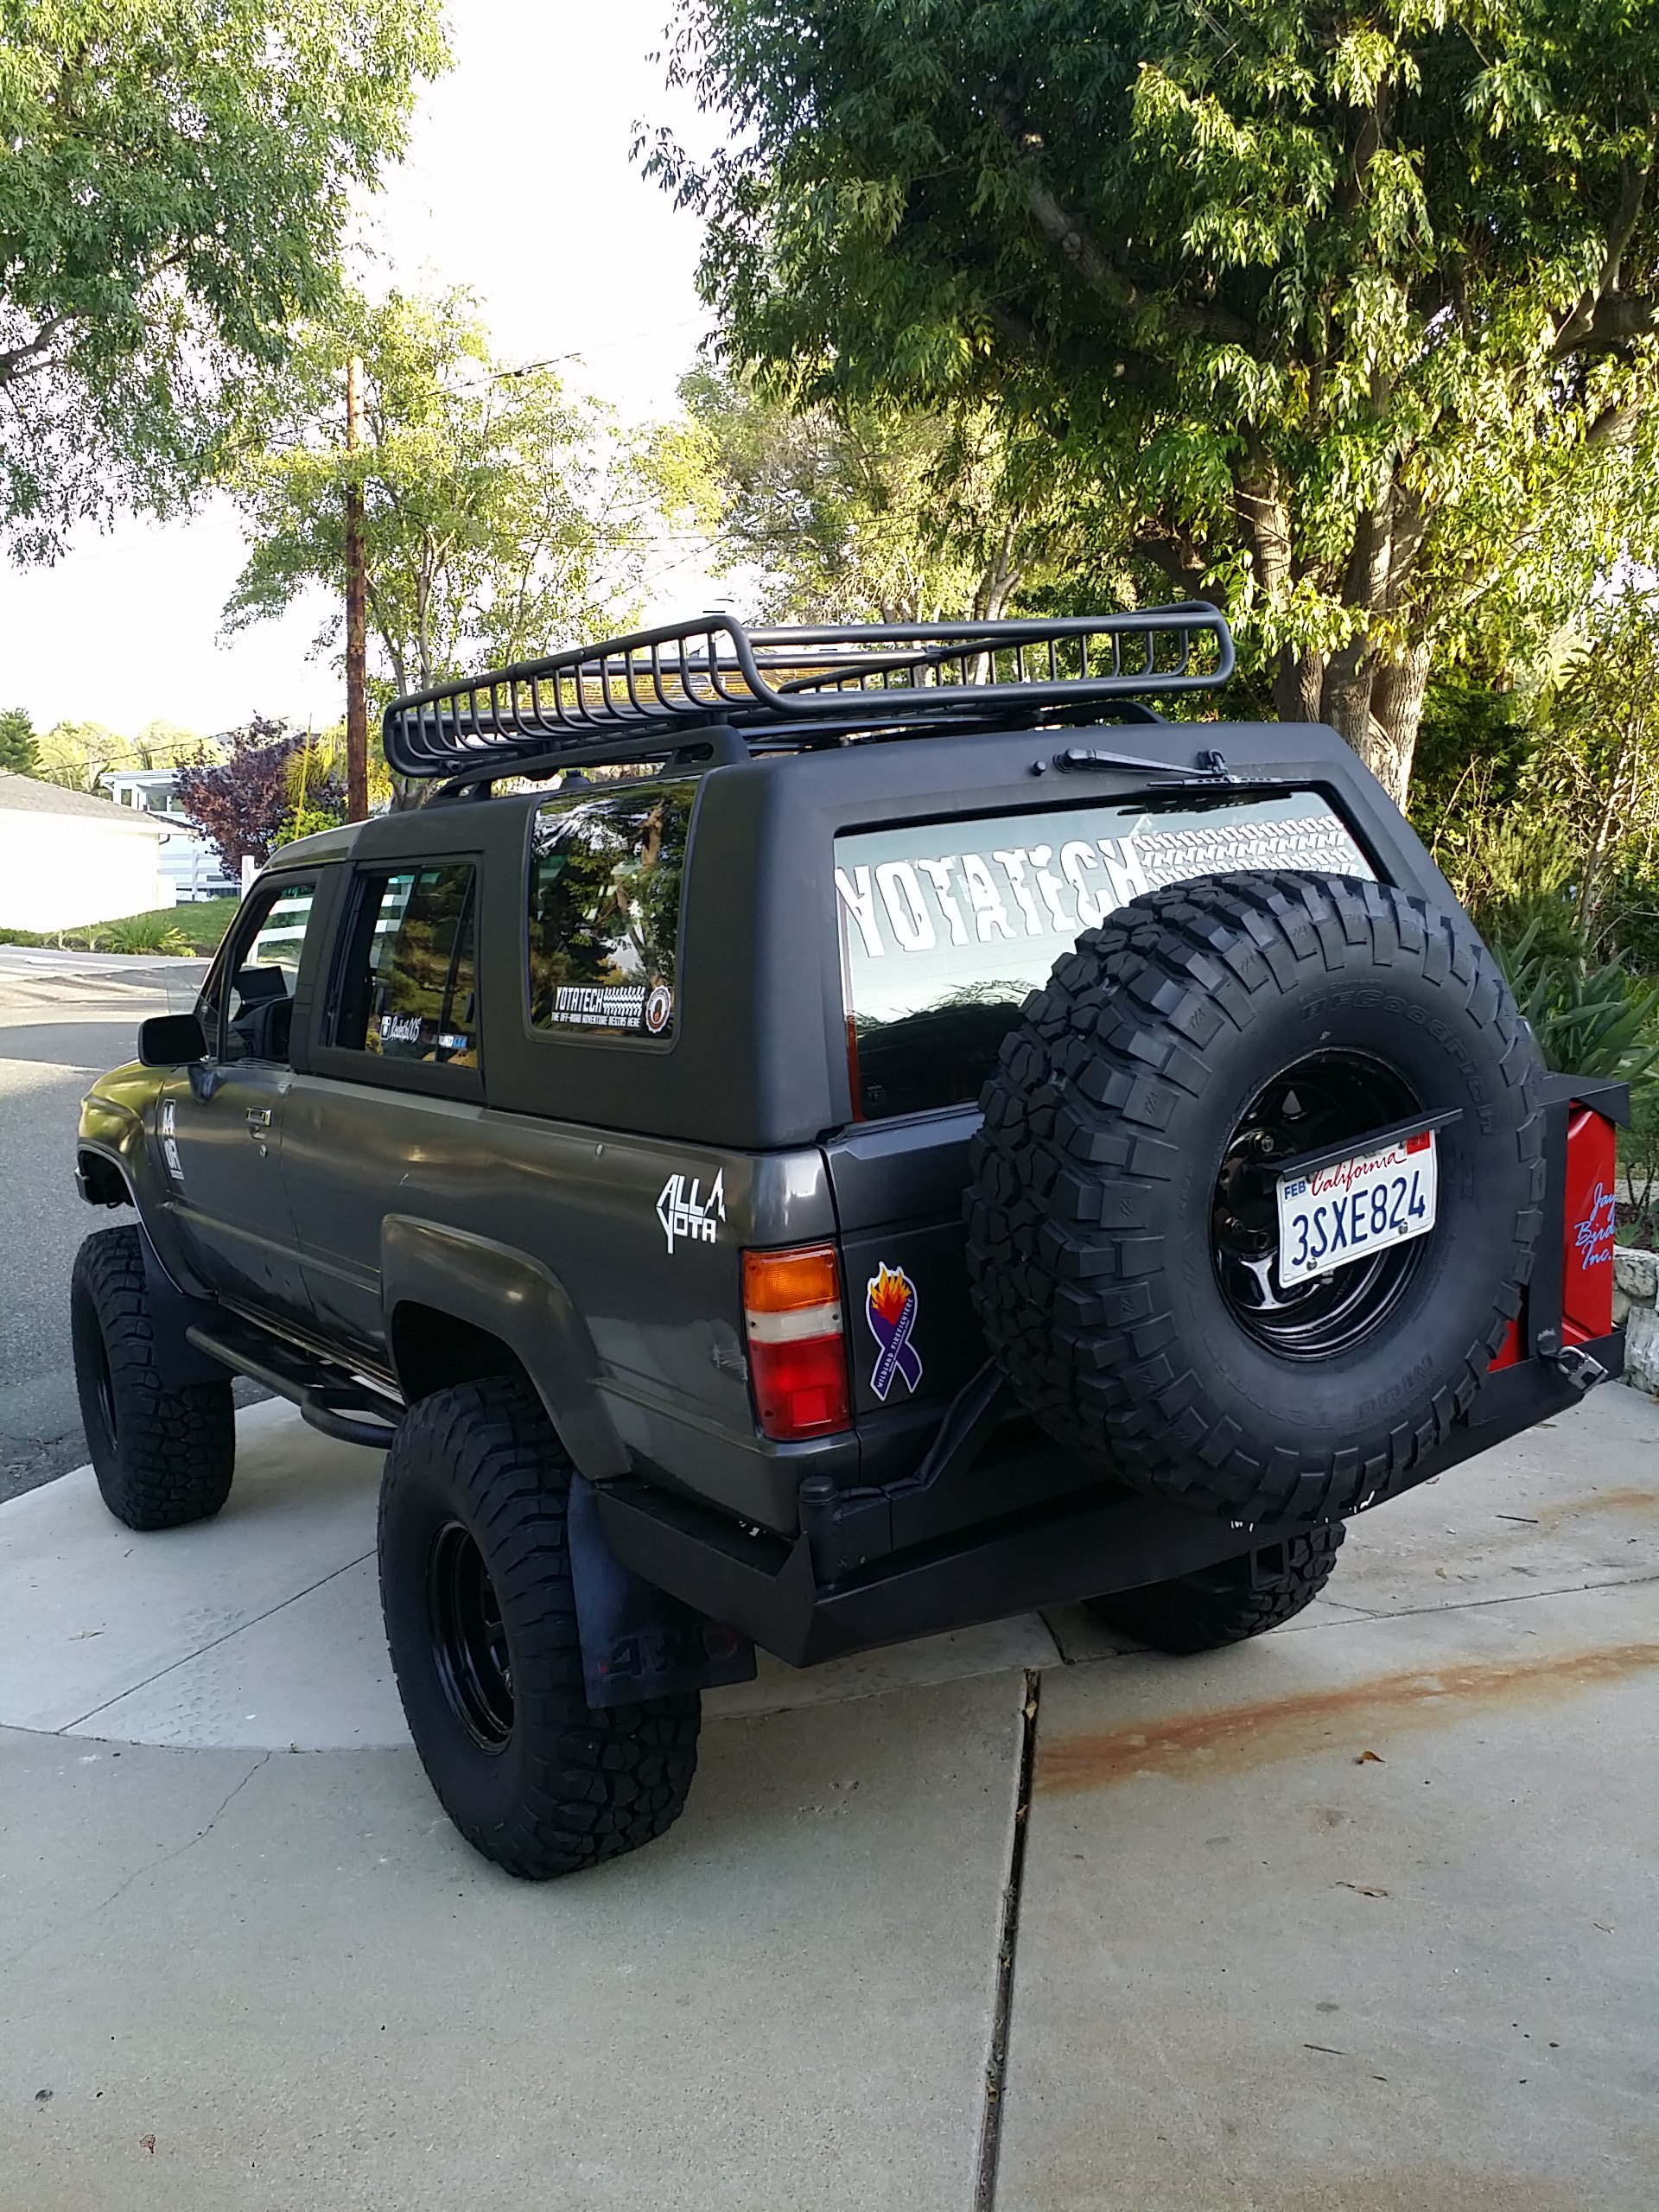
Here's the finished bedliner job on the 4Runner hard top. It looks so clean.
I should have done this years ago when I initially wanted to do it. you can see how nice it came out.

All Mine!

I've never had a set of "new" tires on this truck before. I always get handy downs from friends, Craigslist, or instagram. So this feels pretty nice to be able to have my very own 1st timer tires.
Unfortunately this location does not provide changing out tires for you. And they wont mount the tires unless you bring them the rims off the truck!
For me that was a huge headache because I had a buyer for the set of 5 33's coming down from Ventura CA as I was at the store so I couldn't hold off. That 4wheel parts was gonna close in 1.5hours. so I had to take off the tires myself in the parking lot starting with the spare and one tire at a time. I could only have them mount tires 2 at a time! but it took forever! it was not a pleasant experience. 
CHUNKINESS!!! LOOK AT THAT MEAT!!!

When doing the last tire I ran into a fitment issue. Looks like im gonna have to start cutting stuff to fit the larger tire.

Ready to leave the parking lot tire strapped up on the top roof rack.
She looks mean!


Finally home! The drive home definitely took some getting used to. I know it is only 1 inch higher ground clearance going from 33's to 35's but I sware it felt like I was driving a monster truck! lol

As quickly as I arrived home the buyer from Instagram dropped by about 20min after my arrival to pick up my complete set (5) of 33" tires. IT was 3 procomps and 2 BFG KM1's all 33/12.5/r15. soldthe set for 300. with about 50% tred. that kid got the deal of a lifetime there! He was planning on using it on thiss ford ranger and building it up as a prerunner.

I guess this will do for temporary storage.

Oh yea also to add to the list of goodies. They gave me a discount for showing up to their store twice this week and both times they ended up being closed! I complained that their online hours are ˟˟˟˟ed up. And told them that they needed to fix the time because I'm sure I am not the only one who has gone during closed hours thanks to the online results. So they gave me a discount and with that $$$ i bought this ARB tire deflator. IM READY FOR THE TRAILS NOW! lol

The following day I couldn't take the funny look of not having my spare where I belonged so I started chopping!
As you can see here the the tire fits fine. It is just the jerry can securing latch that got in the way. And as you can see the jerry can is also out of the way. All I have to do is cut the top portion closest to the tire about 0.5" to clear the tire. 
Here you can see I already cut it and it has about 5mm of space between the tire and the jerry can cover

since I was going to have to sand and repaint the portion I cut I figured it was a perfect time to repaint the bumper and slider to fix the paint damage that the exploded tire caused me from freeway incident 1 week earlier.

Primed

Done! It's fine for now. I didn't cave the correct grit wire sander wheel so you can see lines under the paint on some parts. But whatever. I'll fix it next time I repaint the all the bumpers and sliders. So long as I have something covering that metal right now to prevent rust.

I've been wanting to do this for over 2 years. It isnt very expensive to do but out of shear laziness I have put it off for so long lol I painted the hard top wth Duplicolor bedliner spray cans. The final job came out looking pristine! but i'd soon find out that duplicolor bedliner sucks and its best to stick with Rustoleum bedliner. It' a lot thicker, and can resist rocks a lot betterten the thinner duplicolor. NOt to mention the rustoleum brand hardens nicely and the duplicolor will peel away exposing the underneath hard top once again.

Made a trip to Mark's House (chefyota4x4) for a little visit.

Here's the finished bedliner job on the 4Runner hard top. It looks so clean.
I should have done this years ago when I initially wanted to do it. you can see how nice it came out.


