When you click on links to various merchants on this site and make a purchase, this can result in this site earning a commission. Affiliate programs and affiliations include, but are not limited to, the eBay Partner Network.
I am a little behind on keeping up with YotaTech, but just read though this build thread.
You are doing a great job!
Beautiful work!
Thank you Jake, it's great to see this kind of feedback! Much appreciated. I wasn't planning on having to do all this work, but in this case life gave me a lemon, so time to make some lemonade .
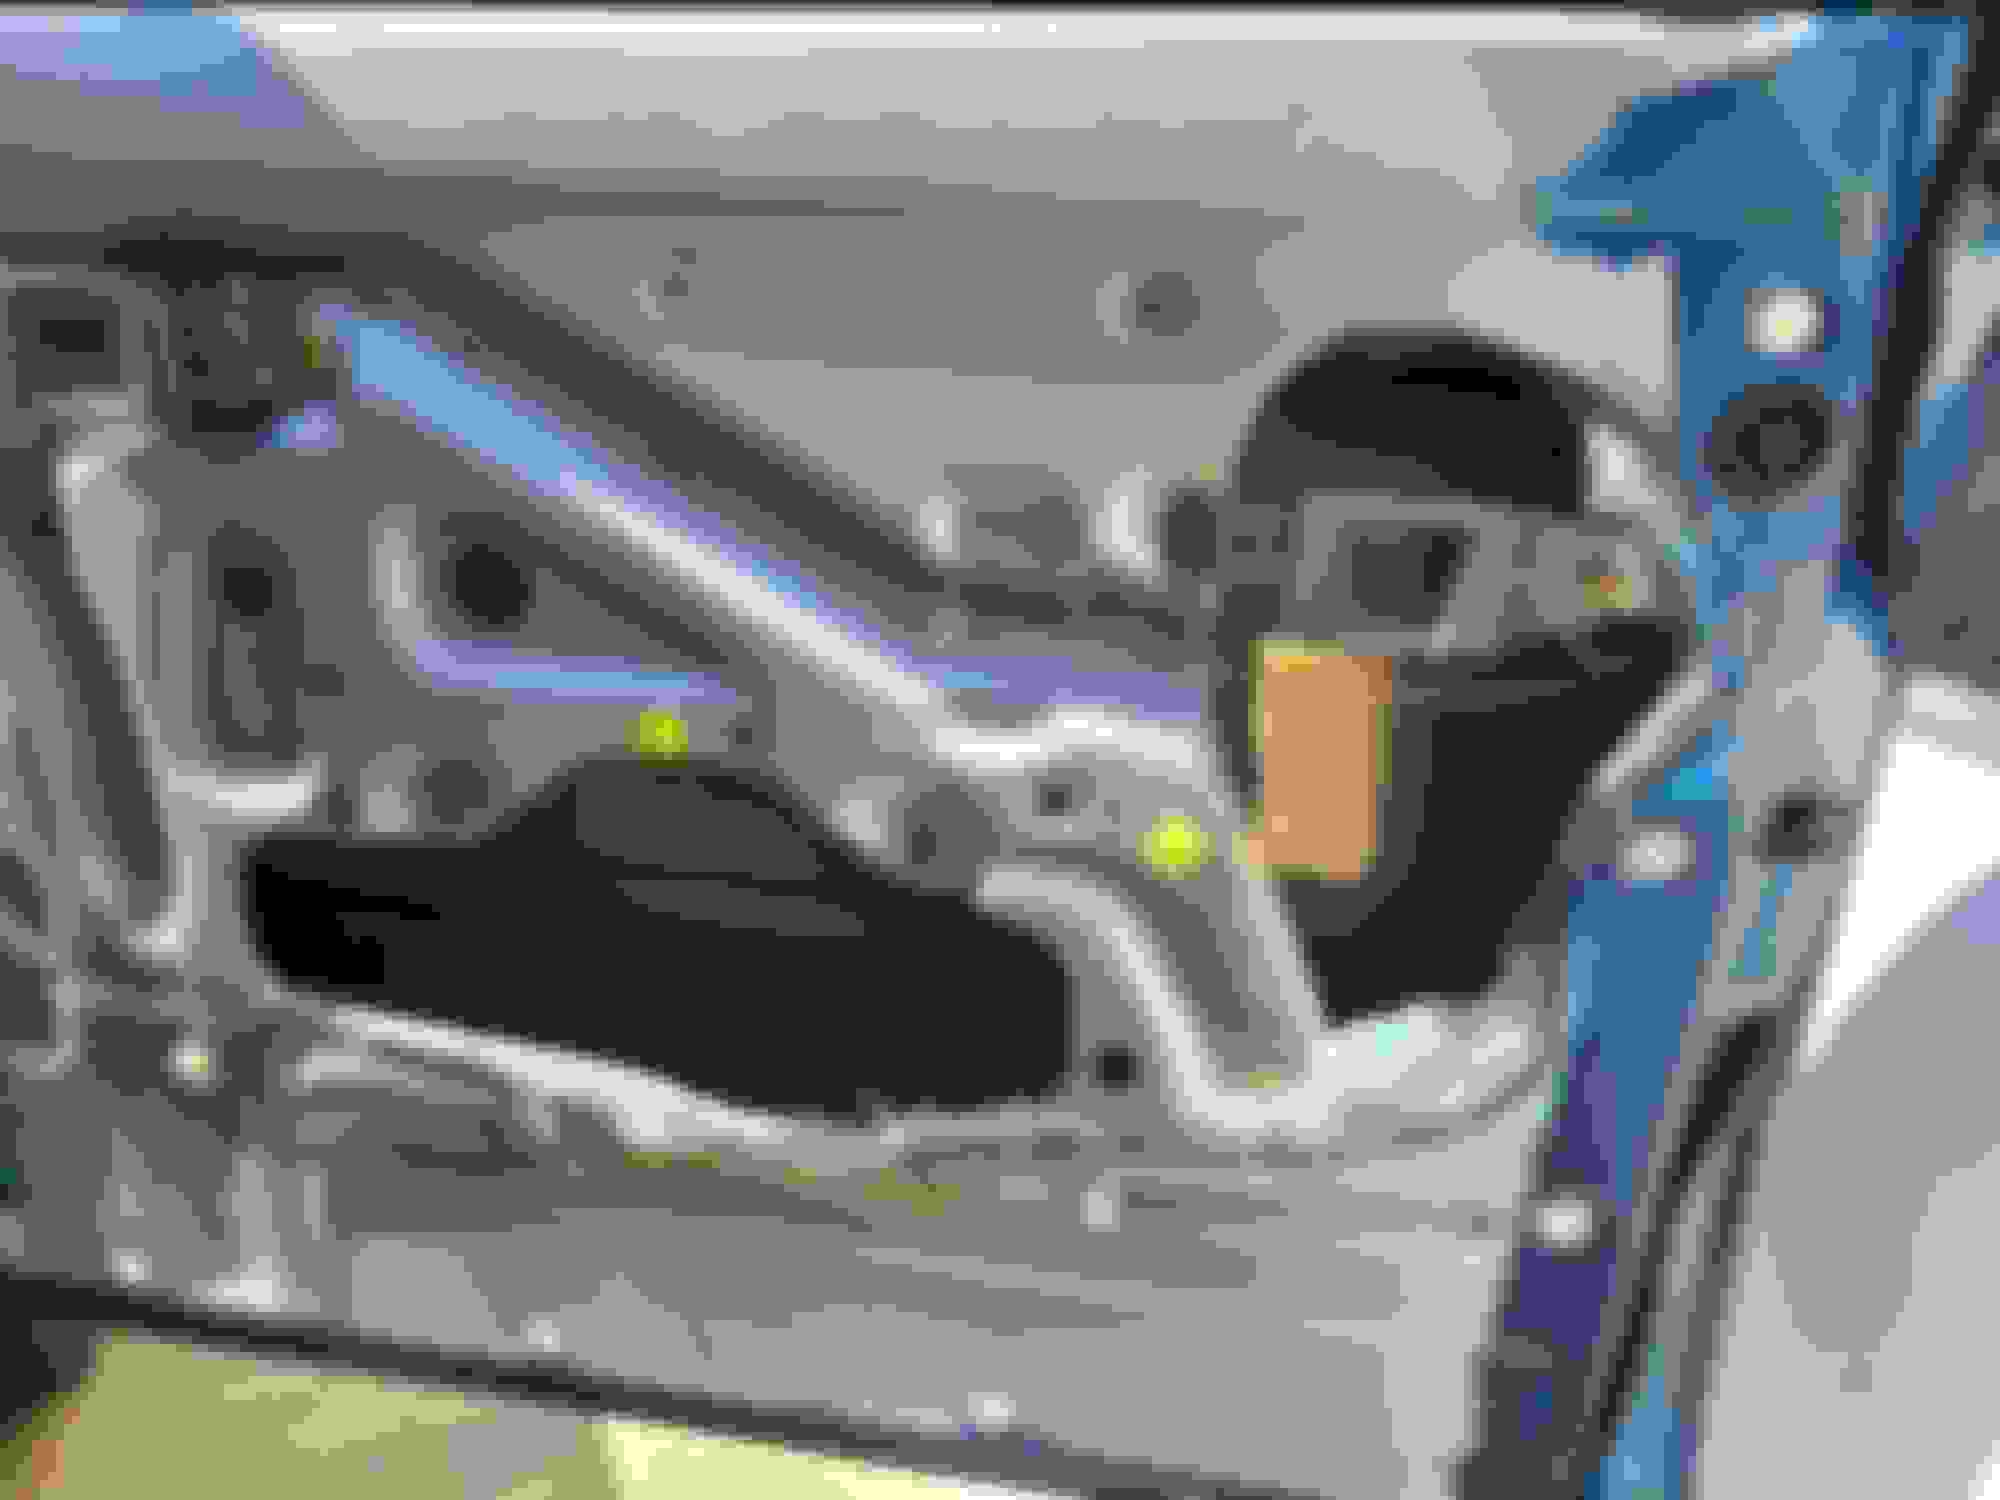
The plastic liner on the doors was ripped off at some point, so I made my own using some 4 mil plastic, and attached using 3M windshield butyl caulk. Came out really well.
Before:
After:
Unfortunately both fiber panels have seen better days, especially with all the water damage, and the clips don't hold them in place any more. So I am taking them in to the local upholstery shop to get redone. Fun fact, the upholsterer used to work in Toyota's design department in the 80's and 90's.
You mean you didn't paint the inside of the door while you had the panel off???
I have seen some folks on FB selling laser-cut boards to replace these panels. I've thought that if you could get some plastic panels to just replace the fiberboard part and then reattach the upholstery that would be ideal. My 1st gen desperately needs this too since both panels are held on with like 2 clips LOL
I know, buddy, I'm getting lazy in my old age! Part of the issue is that we're in the process of moving from CA to OR, so much of my stuff (including paint) is packed up (yes, I know you can't move paint in a moving truck, we're moving it with our personal belongings, much to my wife's surprise ). I might touch them up later, once we're settled. Really, the PO did a half assed job with the color change - looks good from 20 feet away, but peel anything back, and you see the old paint. At least the old color was silver, so it's not as shocking as if it were say red.
I saw those guys selling ABS boards, but they're like $200, and are not cut exactly like the OEM panel, so there are no slots for the push fasteners, just holes. I could convert them I suppose, and was half way out the door to pick up a set (the vendor is 5 miles from me), but then the upholstery guy gave me a quote to redo mine for $220 complete. I couldn't resist. Although he hasn't finished them yet, so the jury is out.
Another small update in the restoration process. I replaced the rusting headlight adjusting screws and painted-over plastic mounting tabs with new OEM parts.
I also replaced one mangled headlight ring with a new piece:
Another small step - the interior fuse box cover was missing, so I sourced a used one from ebay. As a result, I have a nice cover, and also noticed that Seller used the wrong fuses in some locations. One more thing for me to fix.
Last edited by 4Runner4Leon; Oct 3, 2023 at 02:17 PM.
As a result, I have a nice cover, and also noticed that dimwit used the wrong fuses in some locations. One more thing for me to fix.
hopefully it wasn't to mask fuse-blowing from some issue by putting in a bigger fuse...
did you note on one of the recent BaT auctions that said dimwit stated he would be putting another 1st gen up for auction soon? one to stay away from, no doubt.
hopefully it wasn't to mask fuse-blowing from some issue by putting in a bigger fuse...
did you note on one of the recent BaT auctions that said dimwit stated he would be putting another 1st gen up for auction soon? one to stay away from, no doubt.
Yeah, hopefully not. And yes, I did see my seller mention on BAT his "soon to be auctioned" 1st Gen. I don't feel like I can comment on that listing when it goes live, but I totally share your sentiment based on my experience.
Catching up on other things I did recently, here are the cooling system updates.
Replaced old or non-OEM hoses and clamps with new OEM parts.
Bypass hoses and clamps:
New Radiator hoses and clamps (including the new stainless steel pipe, what a great upgrade!):
New Thermostat and gasket:
New CSF 2306 Radiator and cap:
And of course a new shroud (upper and lower) to replace the butchered abomination that was there earlier:
Last but not least, a new Aisin fan:
I still need to replace the heater hoses, and have them on hand, but I'm diagnosing why there's no heat at all (despite a fully open valve), so this is a work in progress.
Last edited by 4Runner4Leon; Sep 24, 2023 at 10:35 AM.
Wow, I'm amazed a lot of that stuff is still available from Toyota. Nice work! I have screwed around with 22REs enough to have seen those little water hoses many times...
Wow, I'm amazed a lot of that stuff is still available from Toyota. Nice work! I have screwed around with 22REs enough to have seen those little water hoses many times...
They seem to have a lot of stuff still available, but more and more is becoming NLA. So I figure I may as well replace things now while I can, right?
Beautiful 4Runner and what a fantastic thread to follow! Love your dedication and attention to detail putting this back together the way Toyota intended. Keep up the great work�really enjoy following along!!
Beautiful 4Runner and what a fantastic thread to follow! Love your dedication and attention to detail putting this back together the way Toyota intended. Keep up the great work�really enjoy following along!!
Thank you so much for the kind words, I truly appreciate it!
I got my upholstery parts back from the shop, and put them in. Two new door cards, plus he re-foamed the headrests (where the foam was so old that it kept disintegrating into orange/brown dandruff and dropping all over the seats), and made me a new console lid cover.
I bought what I thought were the right parts to fix the missing console lid stopper, but some parts didn't quite fit. I was able to install one of the stoppers for the lower lid (the other one had the matching bracket completely broken), but the upper lid uses some weird stopper arrangement that I can't find in any parts catalog. If someone can share a photo of theirs, that would be great.
Parts that I bought:
One stopper for the lower lid installed; the other side is broken:
Upper lid - the bracket I bought has a different mounting interface than my lid:
Thanks Wally! If you get a chance to take some closeup photos of that linkage and mounting bracket, I sure would appreciate it. I saw the picture below on an old BAT auction, it doesn't really show the details in focus:
I didn't know that they had little dividers for that compartment!
Last edited by 4Runner4Leon; Sep 29, 2023 at 01:56 PM.
Back to the engine compartment. I got a set of new Bando belts - I'm not sure they are correct, I got conflicting information from different sources. They all fit, although the AC belt was a bit tough to get on even with the adjuster pulley backed out. Here are the belts I used:
AC and ALT belts:
PS Pump belt:
I used this FSM guidance to tighten the new belts to about 125 lbs:
I also got around to installing the proper retention hardware on the PS Pump pulley:
Last edited by 4Runner4Leon; Sep 29, 2023 at 02:06 PM.


 Aug 27, 2023 | 08:38 AM


 .
.