When you click on links to various merchants on this site and make a purchase, this can result in this site earning a commission. Affiliate programs and affiliations include, but are not limited to, the eBay Partner Network.
Washed and waxed the truck. Has not been waxed ever in my ownership. It really needs a good buffing to bring some more shine out of the paint, but looks ok with just a wax.
Drove it on Friday to run a couple of errands and AC did pretty good. I'm thinking about having the front windows tinted to knock off some of that FL sun.
Thanks Ray, not sure sexy is a term that has ever described my truck but I'll take it.
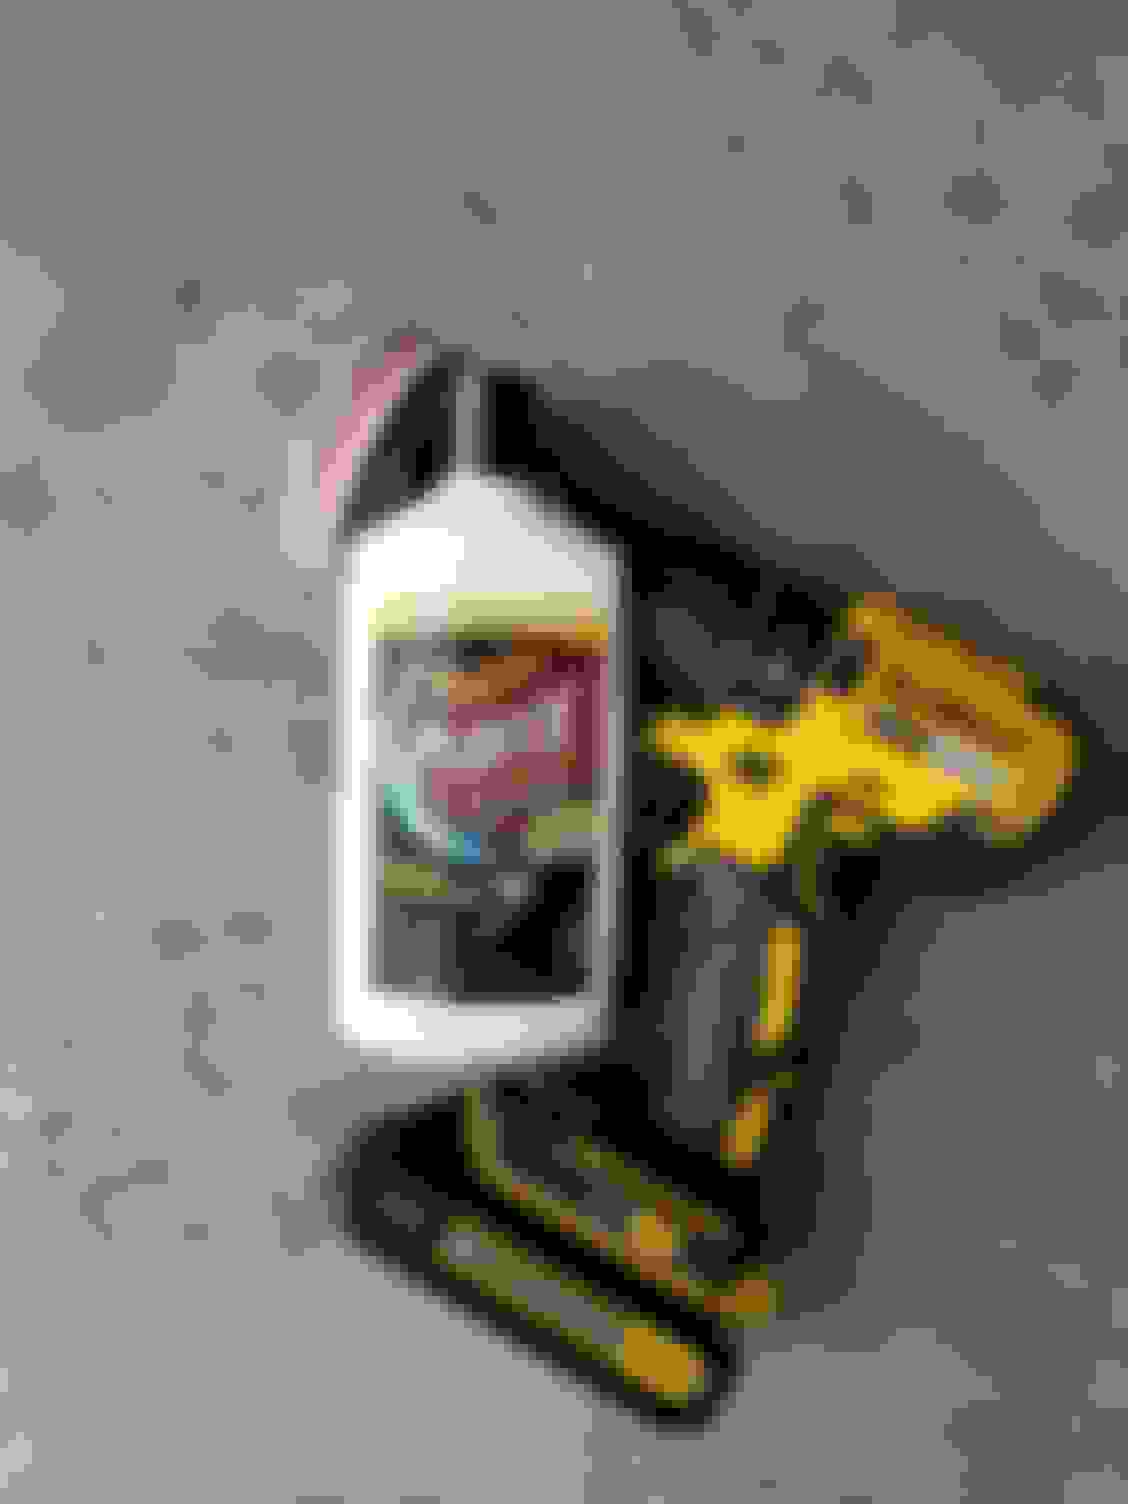
After the wash and wax, my taillights were looking old and faded next to that gleaming paint, so I hit taillights and the front turn signals with some plastic polish. That top yellow part was the most faded, but looks glassy now. Took about 5 minutes per light with this foam pad in the drill.
Another trick that works on that plastic is toothpaste. Not the gel kind, but the regular, white stuff. Like Pepsodent, for example. Polishes that plastic right up, nice and purdy
Pat☺
Another trick that works on that plastic is toothpaste. Not the gel kind, but the regular, white stuff. Like Pepsodent, for example. Polishes that plastic right up, nice and purdy
Pat☺
Makes sense, good tip. I'll have to remember that one.
Several years ago I did a mild refresh of my Warn xd9000i winch. Some new relays, a few seals and bushings, and fully disassembled and greased. I put it back together and all seemed to be working fine. Haven't really had to use the winch at all, but then a few years ago I helped my neighbor pull out a stump and I noticed that the drum brake was not working. As soon as I let of the winch control, the winch would freespool out. That is not good, luckily I was just pulling a stump.
I've been dreading taking that winch back apart, but since I had it off for the AC work I went ahead and started tearing into it. Taking the 90 get off cable off turned out to be the hard part. Once the cable is off, I only had to remove 6 bolts from the solenoid area above drum to get the 2 halves of winch separated. Did not have to even undo any of wiring.
With drum off and brake in my hand, I couldn't see an issue, it looked fine to me. So I kept looking at my assembly and the Warn exploded views and some online photos, when finally I saw an issue. A curly washer was missing on my brake. It goes right under the snap ring here in this picture.
It's been years since I rebuilt this winch, but I had a box where I had stored all the parts while it was apart. I dug out that box, dumped everything and sure enough, that curly washer was there in the box! Removed snap ring, put on washer, put back snap ring, did a test with quick assembly and brake now appears to be working.
If you are looking for the AC Pressure switch from the dealer, it's about $10 which is a better deal considering its coming out of toyota rather than an aftermarket.
If you are looking for the AC Pressure switch from the dealer, it's about $10 which is a better deal considering its coming out of toyota rather than an aftermarket.
88645-12020
Hey longtime! How are you? Yeah, glad I have the AC working, but the pressure switch was one thing I did not change...wish I had and I really don't know why I didn't.
Truck now has 196,000 miles and one thing I don't think I've ever done on this truck is front wheel bearings. So I ordered a set on eBay, came with all 4 Koyo bearings and 2 seals.
I don't have any pics mid job because that is a greasy messy job and I was up to my elbows in grime.
Filled up my gas tank the other day. When I went to open the fuel door after pulling the release cable, noticed the door was a bit hard to open. Once it opened I saw this little plastic thing broken in 2 pieces and kind of wedged in the hinge, so I pulled out the 2 pieces, opened fuel door all the way, filled up and went on my way.
Quick browsing on toyotapartsdeal, I think this little thing is fuel door spring, 77360-24010. Less than $4 part, but for seems to open when I pull release even without this little spring.
Aside from that, I was looking closer at my fuel door. It has never really lined up nicely with the body, not that my truck has pristine body. But for was always pushed in on lower hinge side corner.
And then upon closer inspection, I think I see why, my hinge is broken at bottom. You can see in this picture at bottom of hinge pin, the tab that comes from mounting bracket and wraps around hinge pin is broken. May have always been, I'm not sure. I don't see these parts available from Toyota, anybody find replacement fuel doors out there?
I see that toyotafiberglass has truck fuel doors, but don't see 4runner, but didn't matter because he said he needs your hinge as a core. My hinge is the problem.
It looks like the typical hinge crack or overstress either from binding due to rust or overextention when fueling up.
Got a mig welder? I think you could remove it, fix the hinge and then shim the mounting bolts with some very small flat washers for door alignment as i did when i did my bodywork.
It looks like the typical hinge crack or overstress either from binding due to rust or overextention when fueling up.
Got a mig welder? I think you could remove it, fix the hinge and then shim the mounting bolts with some very small flat washers for door alignment as i did when i did my bodywork.
Well Thomas, I do have a crappy HF flux core welder, and I guess there is nothing to lose since this hinge is shot. I might give that a try, thanks, not a bad idea. And good call on the shimming, I might have to look back thru your thread.
Took the truck and the family over to west coast of FL to a place called Lazy Springs to do some light offroading...South Florida is FLAT, so this place has some small sand and rock mounds you can drive on. We primarily went there to rent a UTV and let my son do some offroading of his own.
The UTV was a blast, and we took my 4Runner up and down most of the mounds, they were not huge but they were pretty steep. In this pic, my wife was driving.
One thing that was great was having working AC, it was a hot day, and the AC did pretty good job keeping us cool.
Driven the truck quite a bit now in the South Florida heat and humidity and honestly AC does pretty well. The air blowing out is cold for sure, but I think having a black soft top is not optimal for keeping in the cold air.
One thing I always wanted to do was replace the lower lip on the fan shroud, just in case it helps air flow when sitting still. Ordered this from Toyota, along with the 2 clips to attach it.
Part number for the lower fan shroud is 16712-54050 and the clips are 90468-06013 (you need 2 clips).
While on the subject of keeping the truck cool, I think I might go back to the tint shop and have the front windshield tinted. I can feel the intense sun through the glass while driving.
Also just noticed the other day that my lowest fan speed dies not work, so I suspect the blower resistor is burned out. Have to pull it and check it.
Last edited by coryc85; Jun 2, 2021 at 11:55 AM.
Reason: Adding part numbers
Cory nice in keeping the truck up. Light wheeling in Florida, I use to head up to Ocala where state allowed and would wonder into some old sink holes which had trails running through them back in the days.
As for your blower resister they blow out every now and then for what ever reason, but was always way cheaper to buy at the dealer than anywhere else.
"88635-89103" - I know I paid just under $10 for the last one I bought which was years ago and since they were so cheap I bought and extra one. Back in the days with my 86 I was told by the service manager whom I was acquaintance with that moisture had to do with it.I don't know how true that was, but it happened a few times on the 86 over several years. He also had the best alignment guy who did everything by string, my tires lasted me longer than 5 years back then, Today with all the computer alignment they have it seems my tires would last a lot less.
Forgot to mention that winshield tinting is limited to the AS-1 line where ever that is on these trucks, but as a reference I was told 5" from the top.
Good to hear from you! Yeah I used to go to Ocala quite a bit (5 hour drive!) but as you probably noticed it got more and more restrictive and just wasn't worth a 5 hour drive for me just to hit some dirt roads. There were a few quarries that locals up there knew about A pit and B bit that I can remember, and those were pretty fun.
Thanks for the info on the blower resistor, I'll have to pull mine and check it first.
For the windshield tint, yeah legally I guess you are right, however many people have the entire front windshield tinted just a little bit, I just need to knock down some of that intense sun.
Pulled out a set of Aisin hubs from my stash of extra parts and thought I would do a thorough rebuild on these. I cleaned them up and fully disassembled them, then greased the parts and put them back together. Painted the hub dials also. And once I had them fully apart, I ordered new orings for dials, then new gaskets both for dial to hub body and hub body to truck. And heck while I was ordering parts I went ahead and ordered all 12 new hub dial bolts. Ordered all from megazip, so it took probably 1.5 months to show up, but finally it did. My new bolts would not thread into most of the holes on one hub, looks like someone had beat on the hub and deformed holes. I used a M6 x1 tap and ran the tap down all the holes and now I can thread in all bolts.
Still need to put these on the truck, hopefully this weekend.

 Aug 29, 2020 | 02:16 PM