
Chefyota4x4's Ruby R3dRuM to "Suzy-Q the Silverback" Body Swap Thread!

 Mar 29, 2014 | 08:20 AM
#205
Thread Starter
Registered User
iTrader: (5)
Joined: Jun 2009
Posts: 19,281
Likes: 21
From: Lake Havasu, AZ
Out and about.....
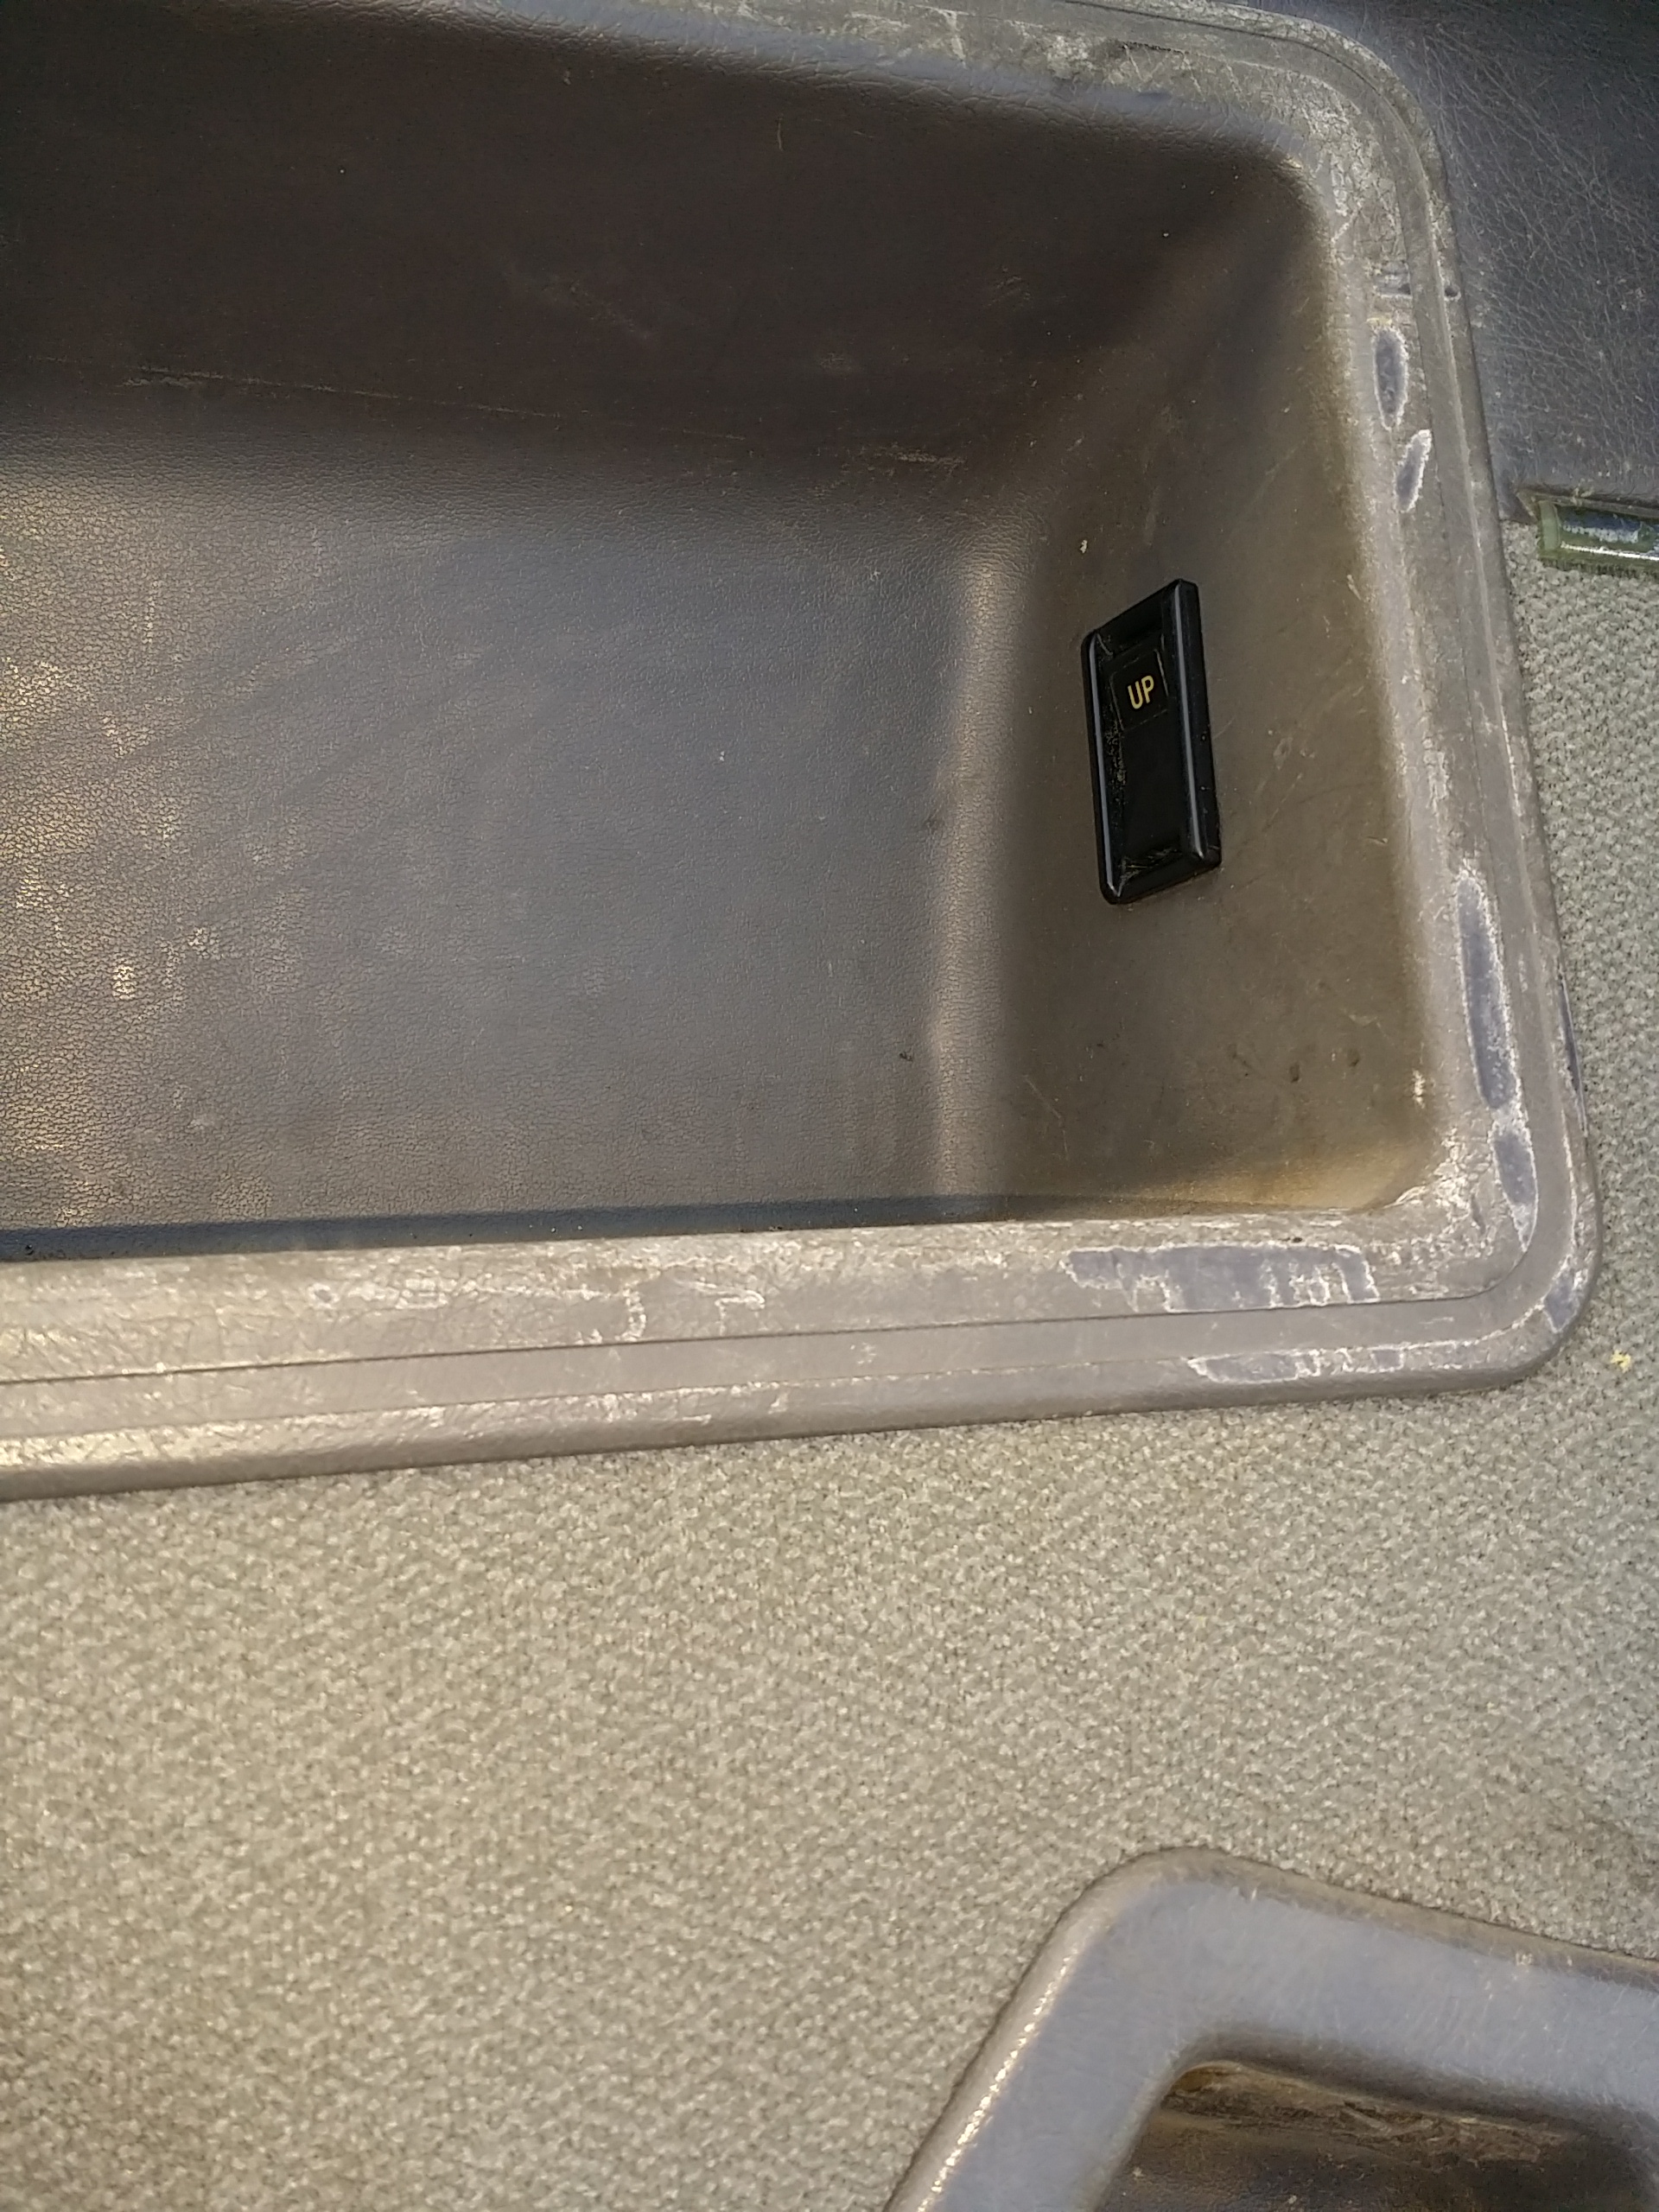
Why aren't myself A, "DARN, I GOTTA GO!"- at 3am-MOD Switch for the back window ....lol. ...
CB run... Just need to weld on a bracket to mount my fire stick to the bumper this time. I like it in the tailgate area but the problem is it is not staying secure and once the back out and not to mention I have to put holes in this perfect chassis in the rear. I'm going to do what Jonnyboy did...
Installed the rear seats...
Swapped over my weatherstripping for the back window glass, from the red tail gate......
Widow almost got me! I'm not sure if it could fight through 9 mil rubber gloves... But it still freaks me out as I am fairly allergic to spiders, anyhow!
Pulled the Topper, solo, so I can put in new headliner and redo my roof rack...
Little cruise last night to pick up food , and I forgot how much I enjoyed rolling without the topper!.... Look at that monkey holding on for dear life! Lol.
******************************
That's it, for now. I will try to give you a more detailed video of how I do this topper to prepare for the side rails.

Why aren't myself A, "DARN, I GOTTA GO!"- at 3am-MOD Switch for the back window ....lol. ...


CB run... Just need to weld on a bracket to mount my fire stick to the bumper this time. I like it in the tailgate area but the problem is it is not staying secure and once the back out and not to mention I have to put holes in this perfect chassis in the rear. I'm going to do what Jonnyboy did...
Installed the rear seats...
Swapped over my weatherstripping for the back window glass, from the red tail gate......
Widow almost got me! I'm not sure if it could fight through 9 mil rubber gloves... But it still freaks me out as I am fairly allergic to spiders, anyhow!
Pulled the Topper, solo, so I can put in new headliner and redo my roof rack...
Little cruise last night to pick up food , and I forgot how much I enjoyed rolling without the topper!.... Look at that monkey holding on for dear life! Lol.
******************************
That's it, for now. I will try to give you a more detailed video of how I do this topper to prepare for the side rails.
Last edited by ChefYota4x4; Mar 29, 2014 at 08:26 AM.
Mar 29, 2014 | 09:56 AM
#206
Nice work Mark, you've really made some quick work out of the body swap! I like your back window switch mod, I bet that comes in real handy on those camping trips! Man I wish I could go topless in Little Red, but we got more snow 2 days ago, and then pouring down rain last night, I don't think Spring will ever get up here lol. Yeah, that little monkey was holding on for his dear life, lol, that was funny!
Last edited by rustED; Mar 29, 2014 at 09:59 AM.
Mar 29, 2014 | 11:18 AM
#207
Thread Starter
Registered User
iTrader: (5)
Joined: Jun 2009
Posts: 19,281
Likes: 21
From: Lake Havasu, AZ
Nice work Mark, you've really made some quick work out of the body swap! I like your back window switch mod, I bet that comes in real handy on those camping trips! Man I wish I could go topless in Little Red, but we got more snow 2 days ago, and then pouring down rain last night, I don't think Spring will ever get up here lol. Yeah, that little monkey was holding on for his dear life, lol, that was funny!
I have to find A toy silverback gorilla to replace that one. I mean I have to stay true to the rig, right? Lol. Hope the weather improves for you


 Apr 1, 2014 | 08:26 AM
#215
Thread Starter
Registered User
iTrader: (5)
Joined: Jun 2009
Posts: 19,281
Likes: 21
From: Lake Havasu, AZ
Yeah, that monkey cracks me up! Just wait, the 14" Silverback Ape to replace it will fit in even better! Lol.... Should be here today or tomorrow!
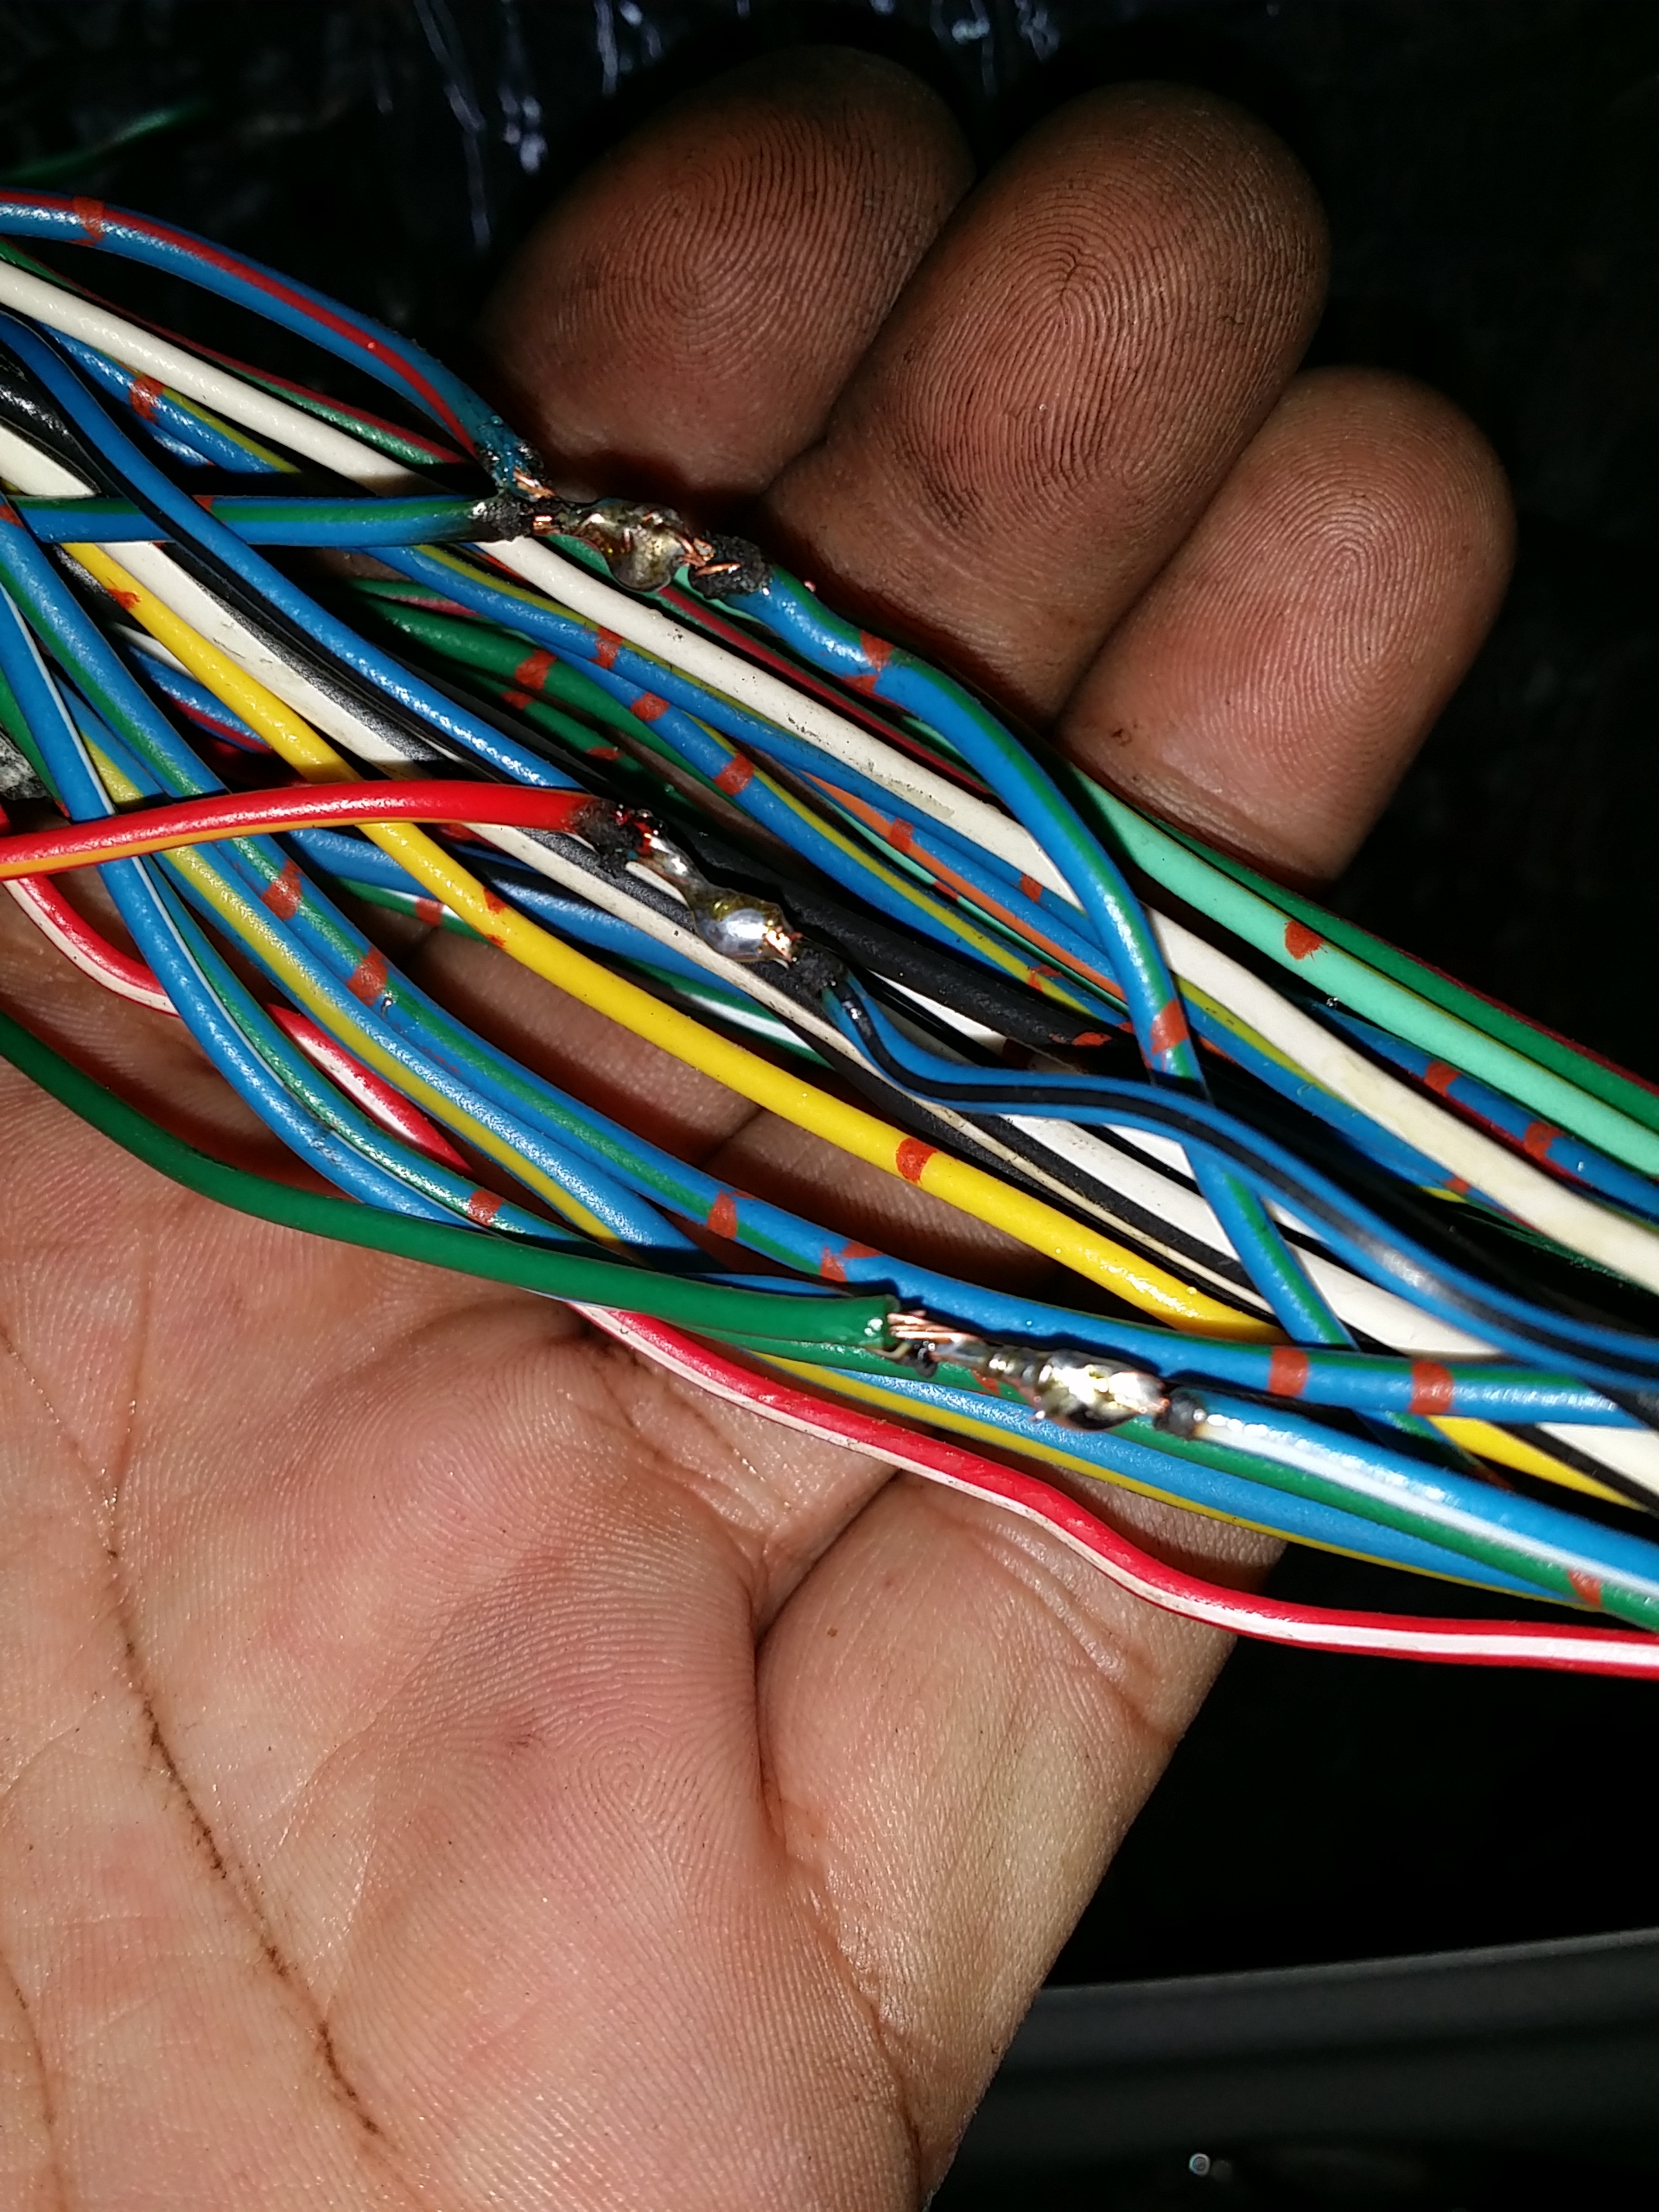
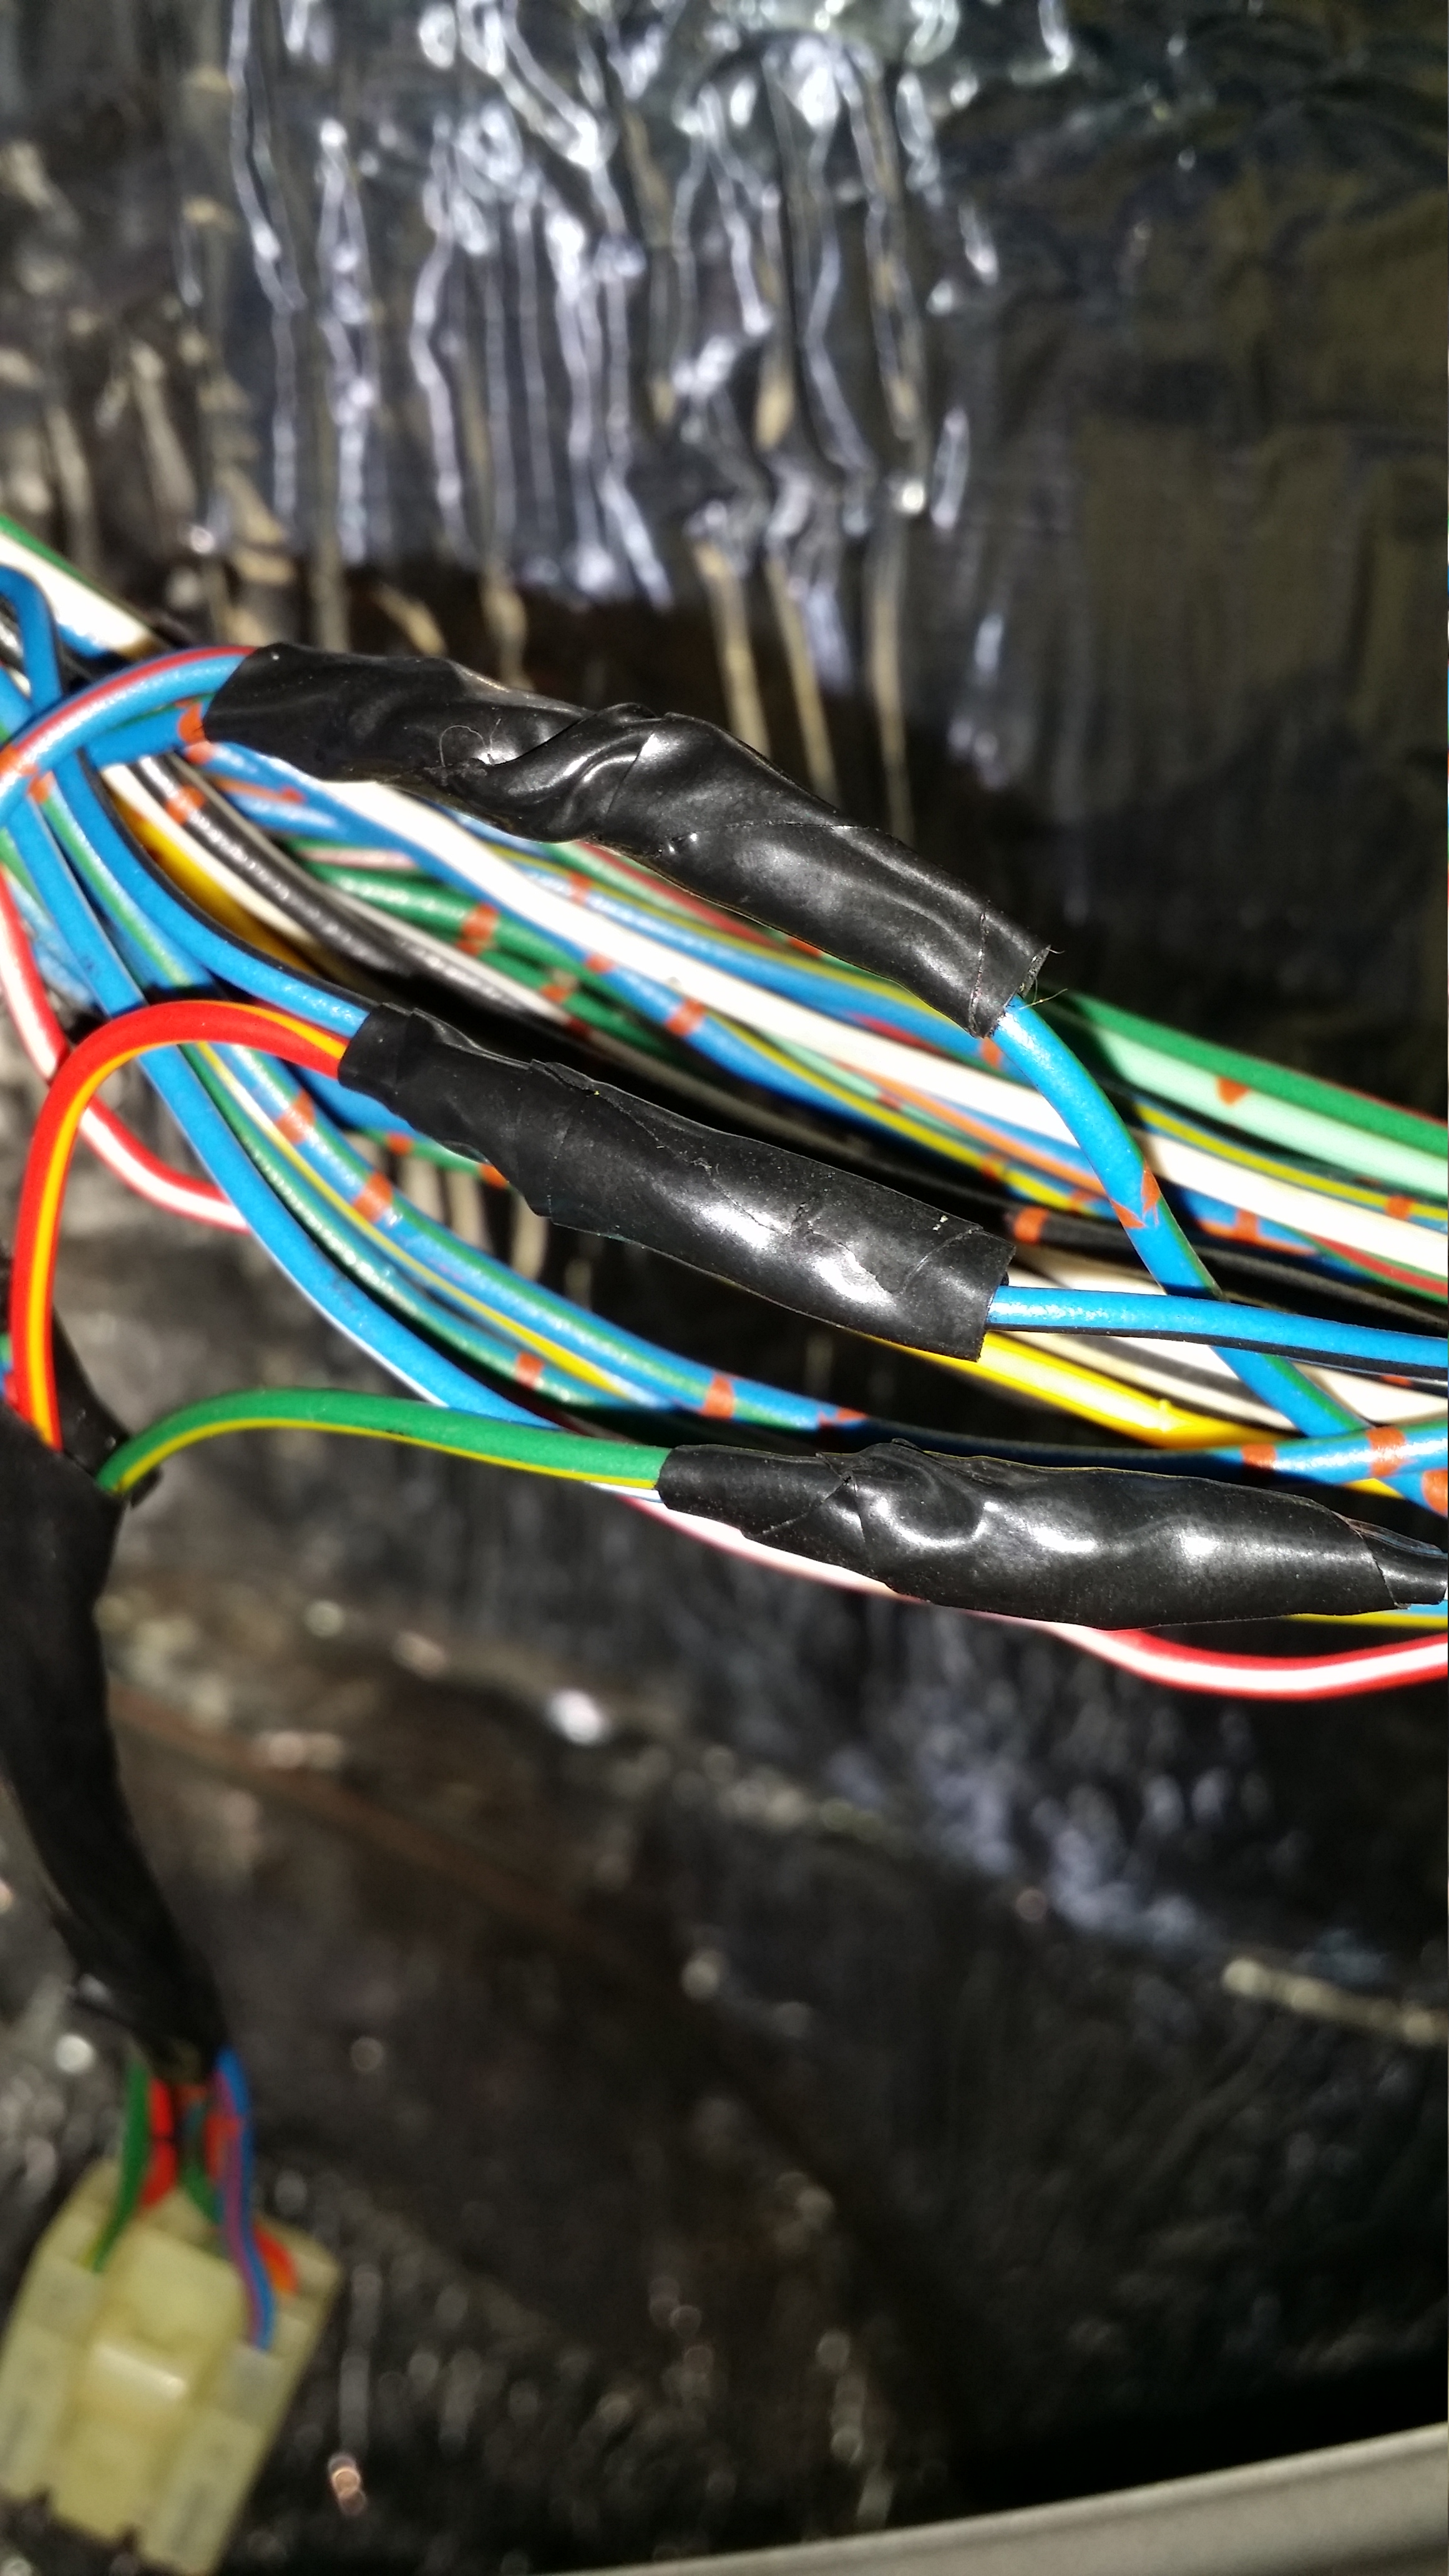
Enjoy the rear switch mod! Thanks to RAD4RUNNER and Bryan89... The did the R&D, I just changed the location a little bit.. The right up the Ray did was just great! Same with Brian... After reading it I fully understood how all of that works and how it was routed. I don't discourage anyone from doing something like 12voltguy.com has available.... Getting rid of all that crap is always an option. I should say bypassing it, because removing it is something I would not do... I think in case I had too many problems right direction, I might like to have it there. However, it's also an option to remove. However, the tail lights and such for the driver side also run down that harness.... So you'd have to pull it all apart, completely, all the way down. Wouldn't be that big of a deal.
Apr 1, 2014 | 09:00 AM
#216
Thread Starter
Registered User
iTrader: (5)
Joined: Jun 2009
Posts: 19,281
Likes: 21
From: Lake Havasu, AZ
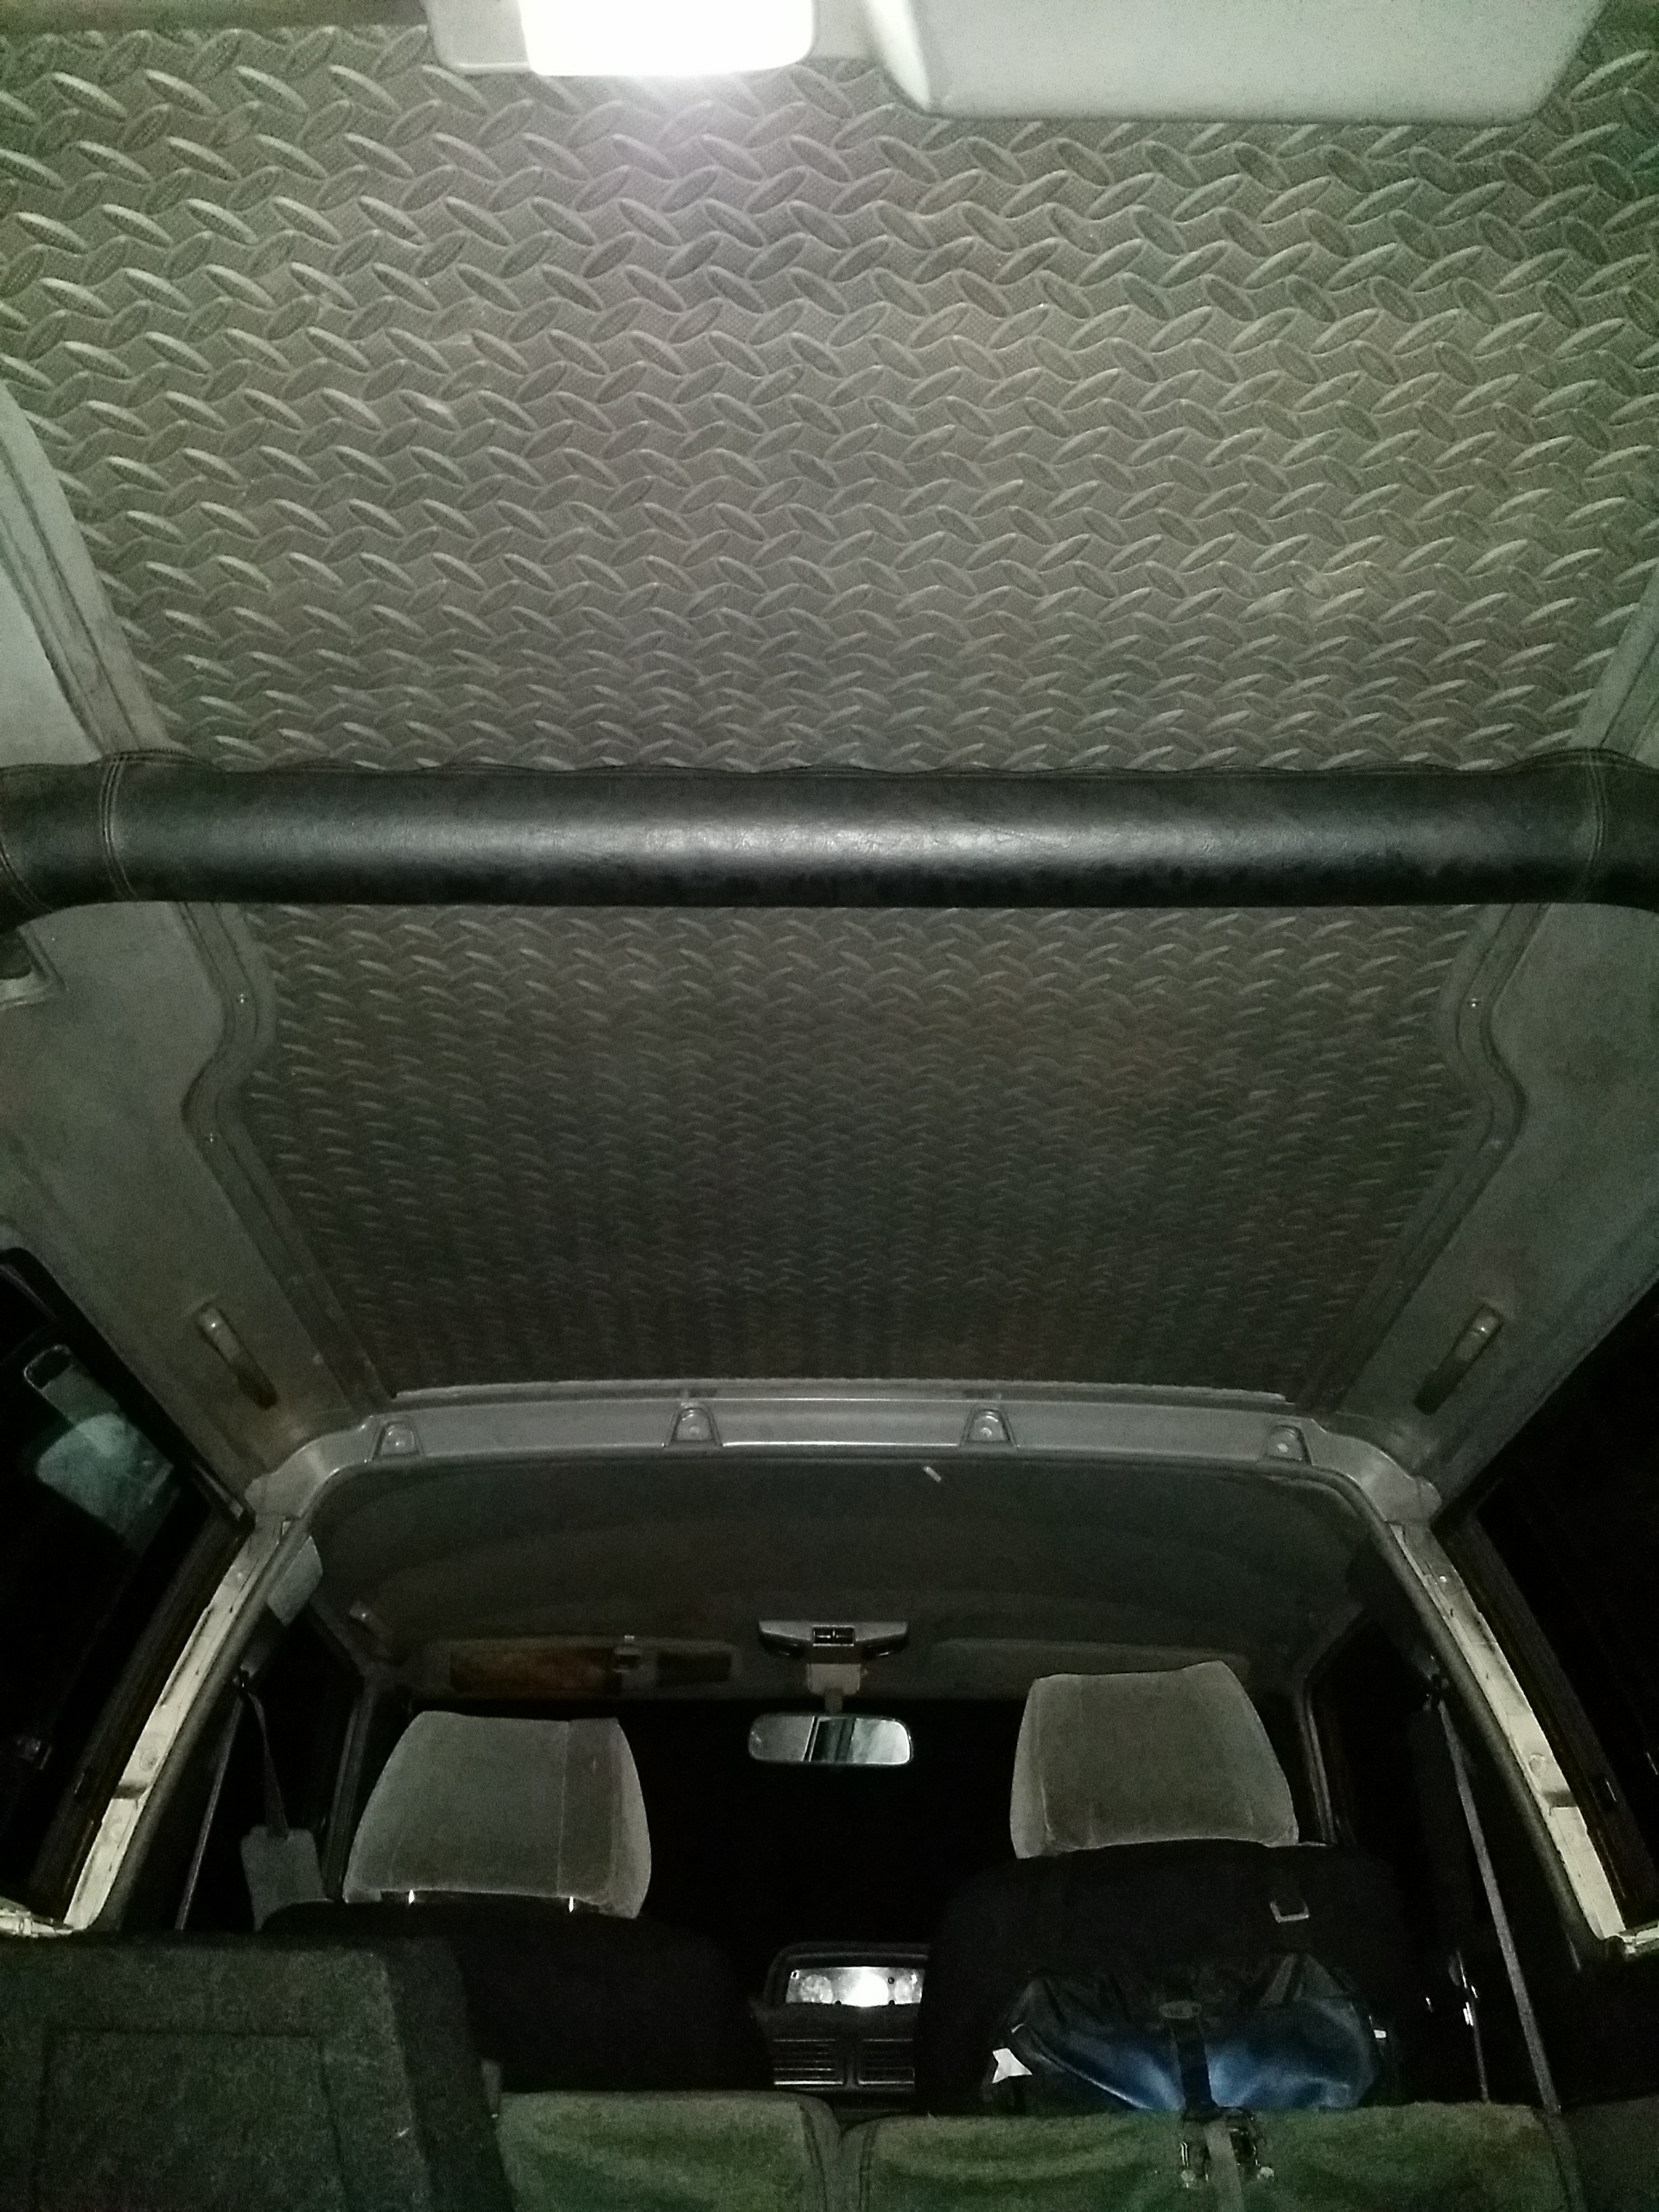
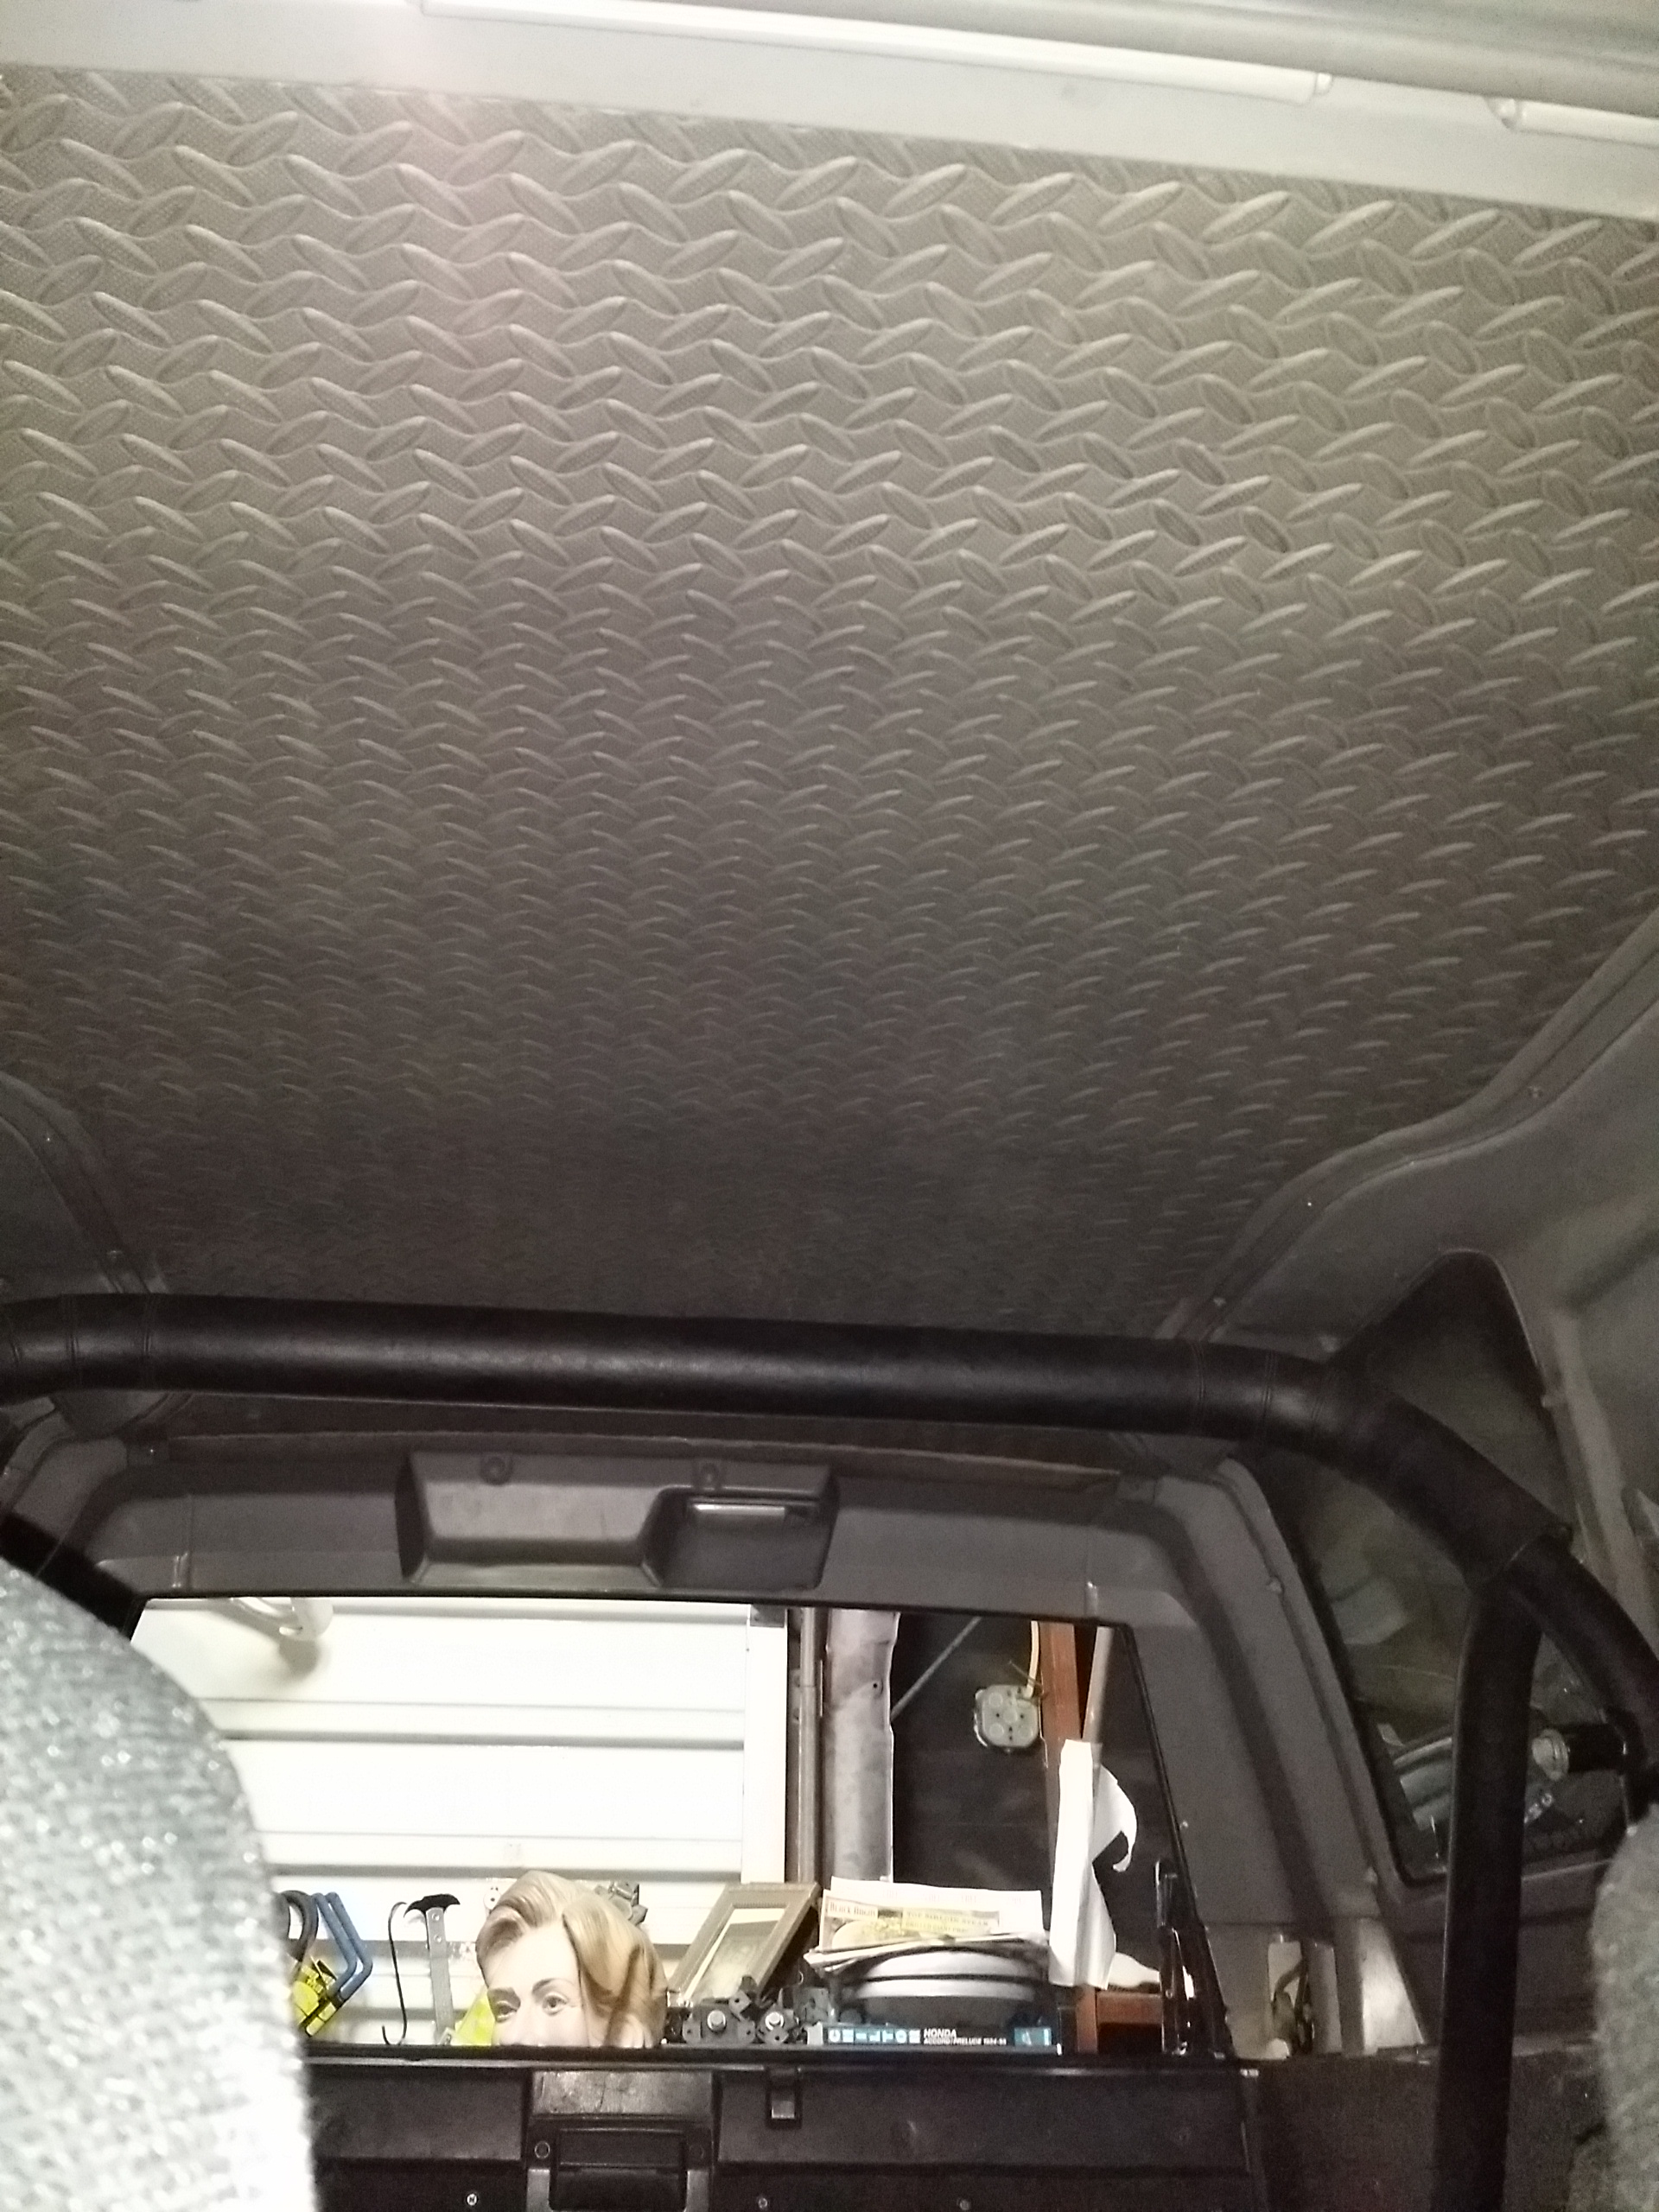
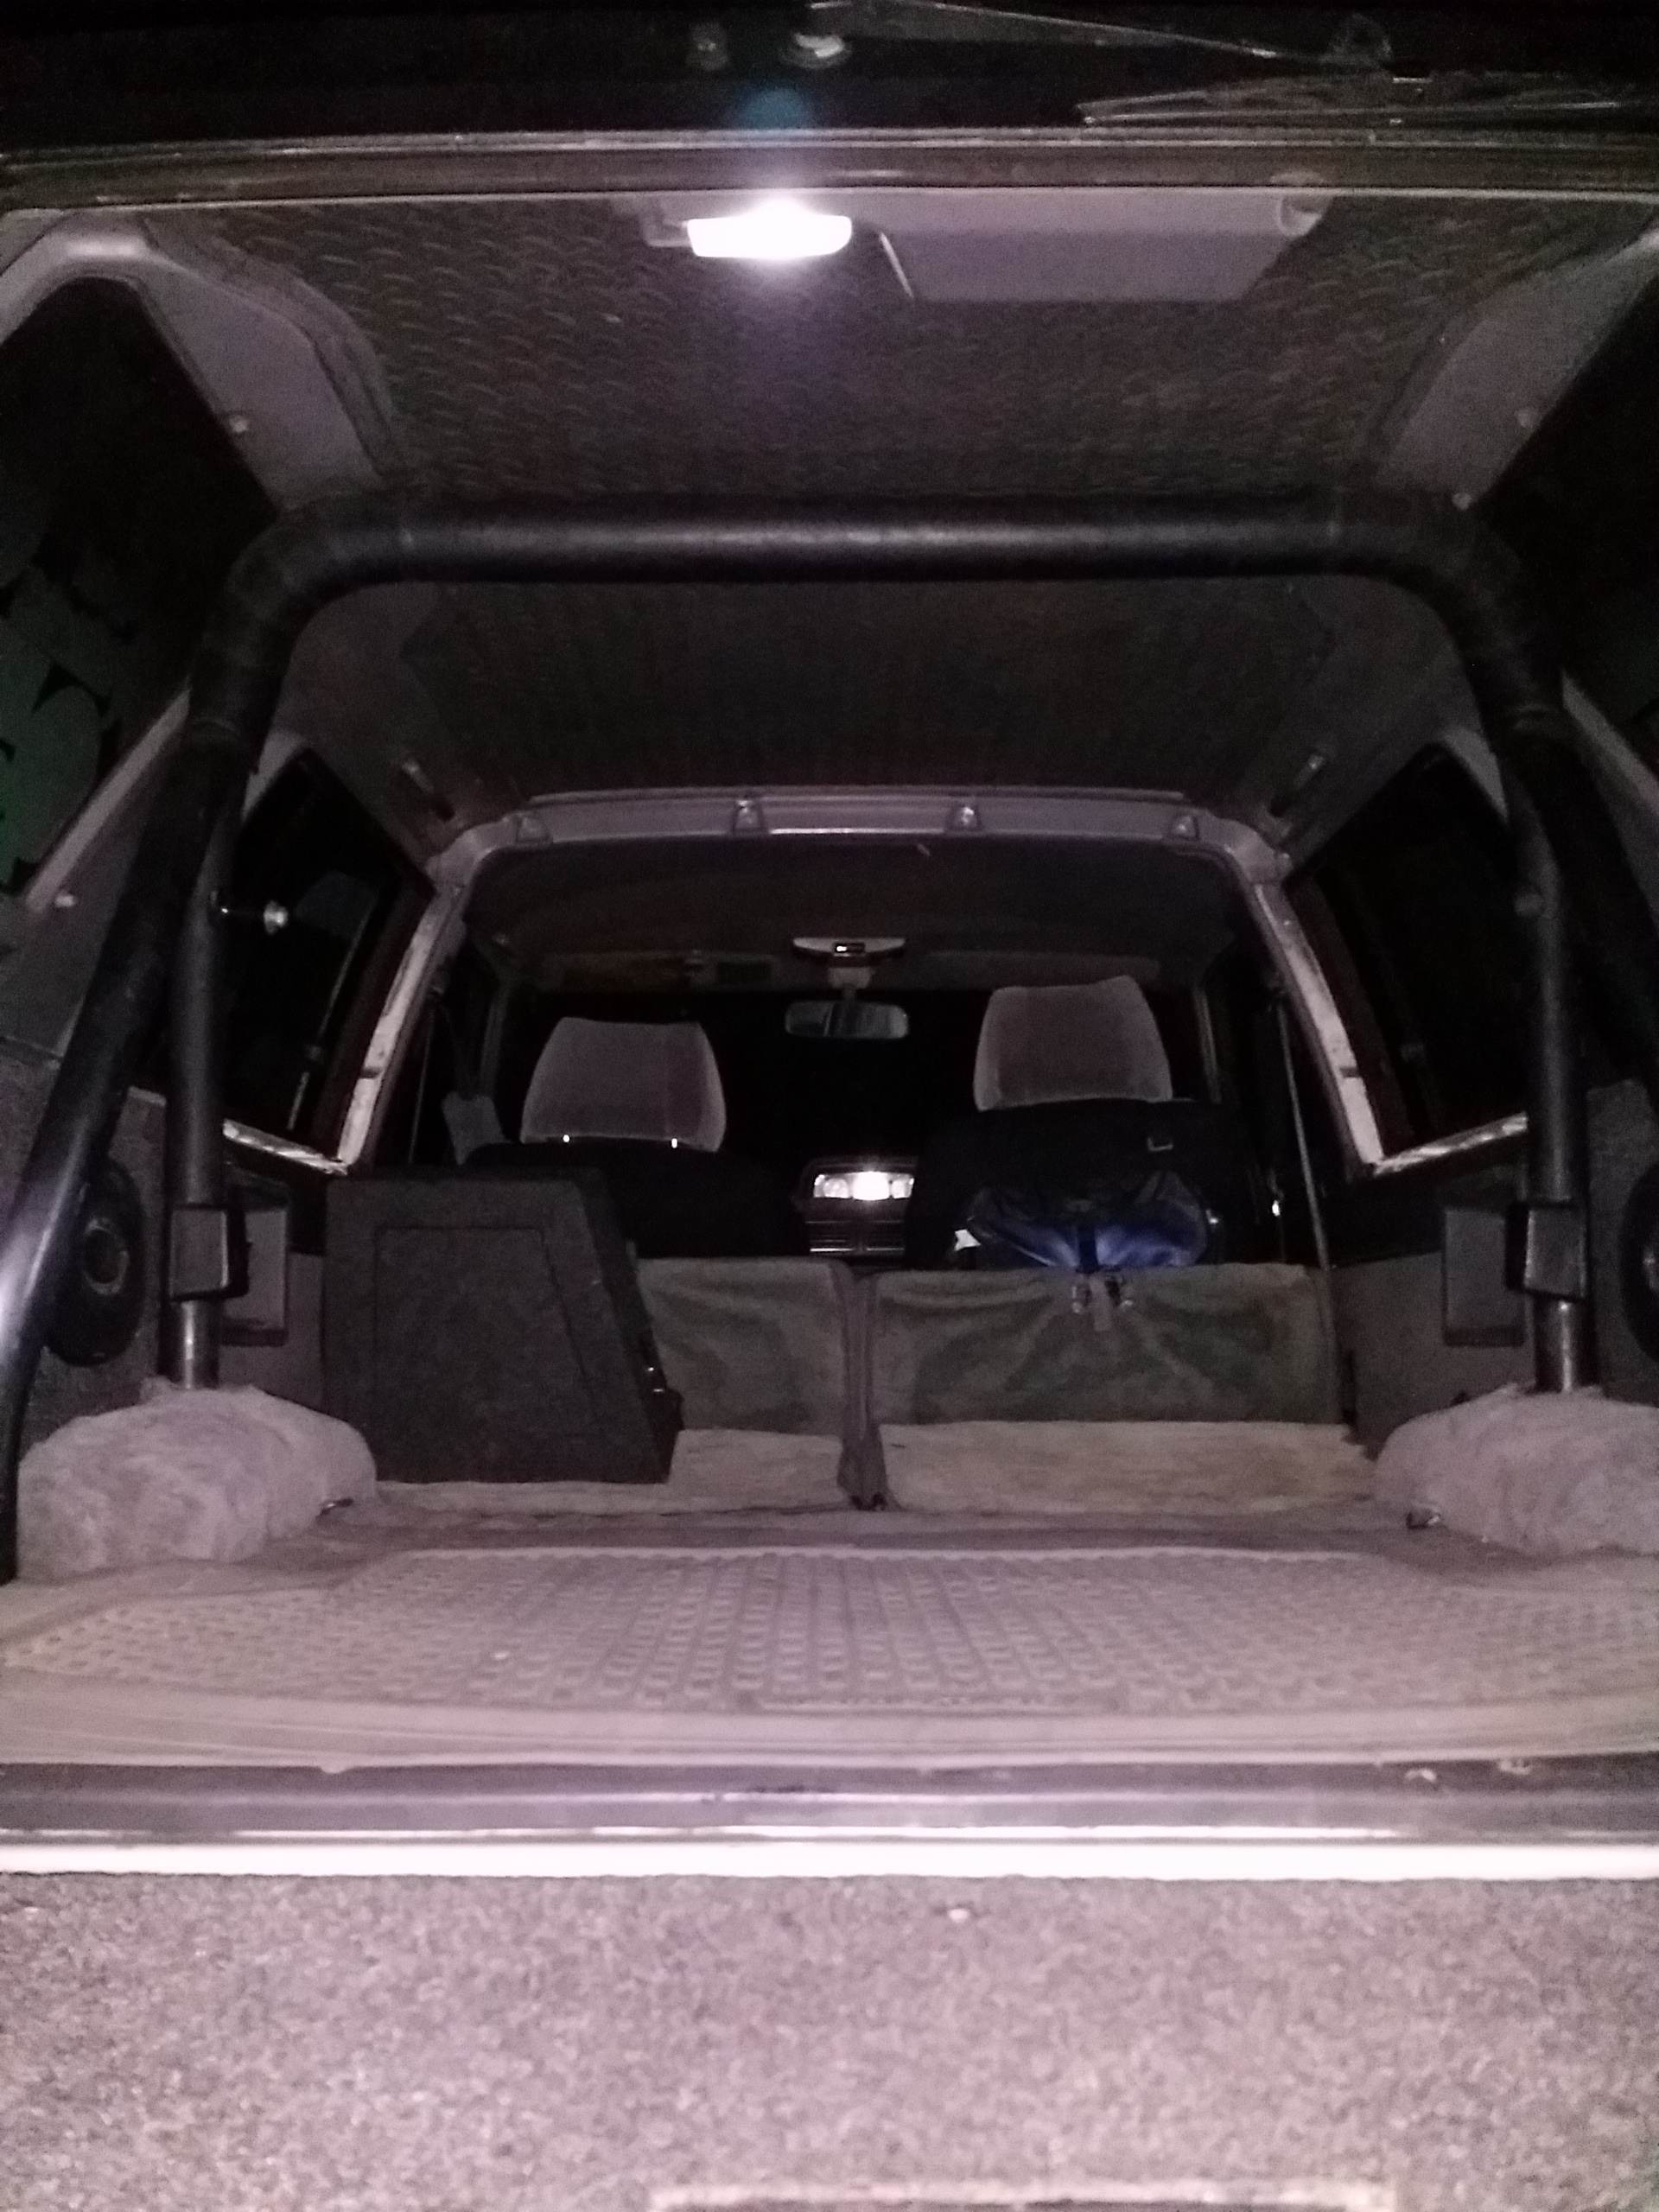
New Headliner....
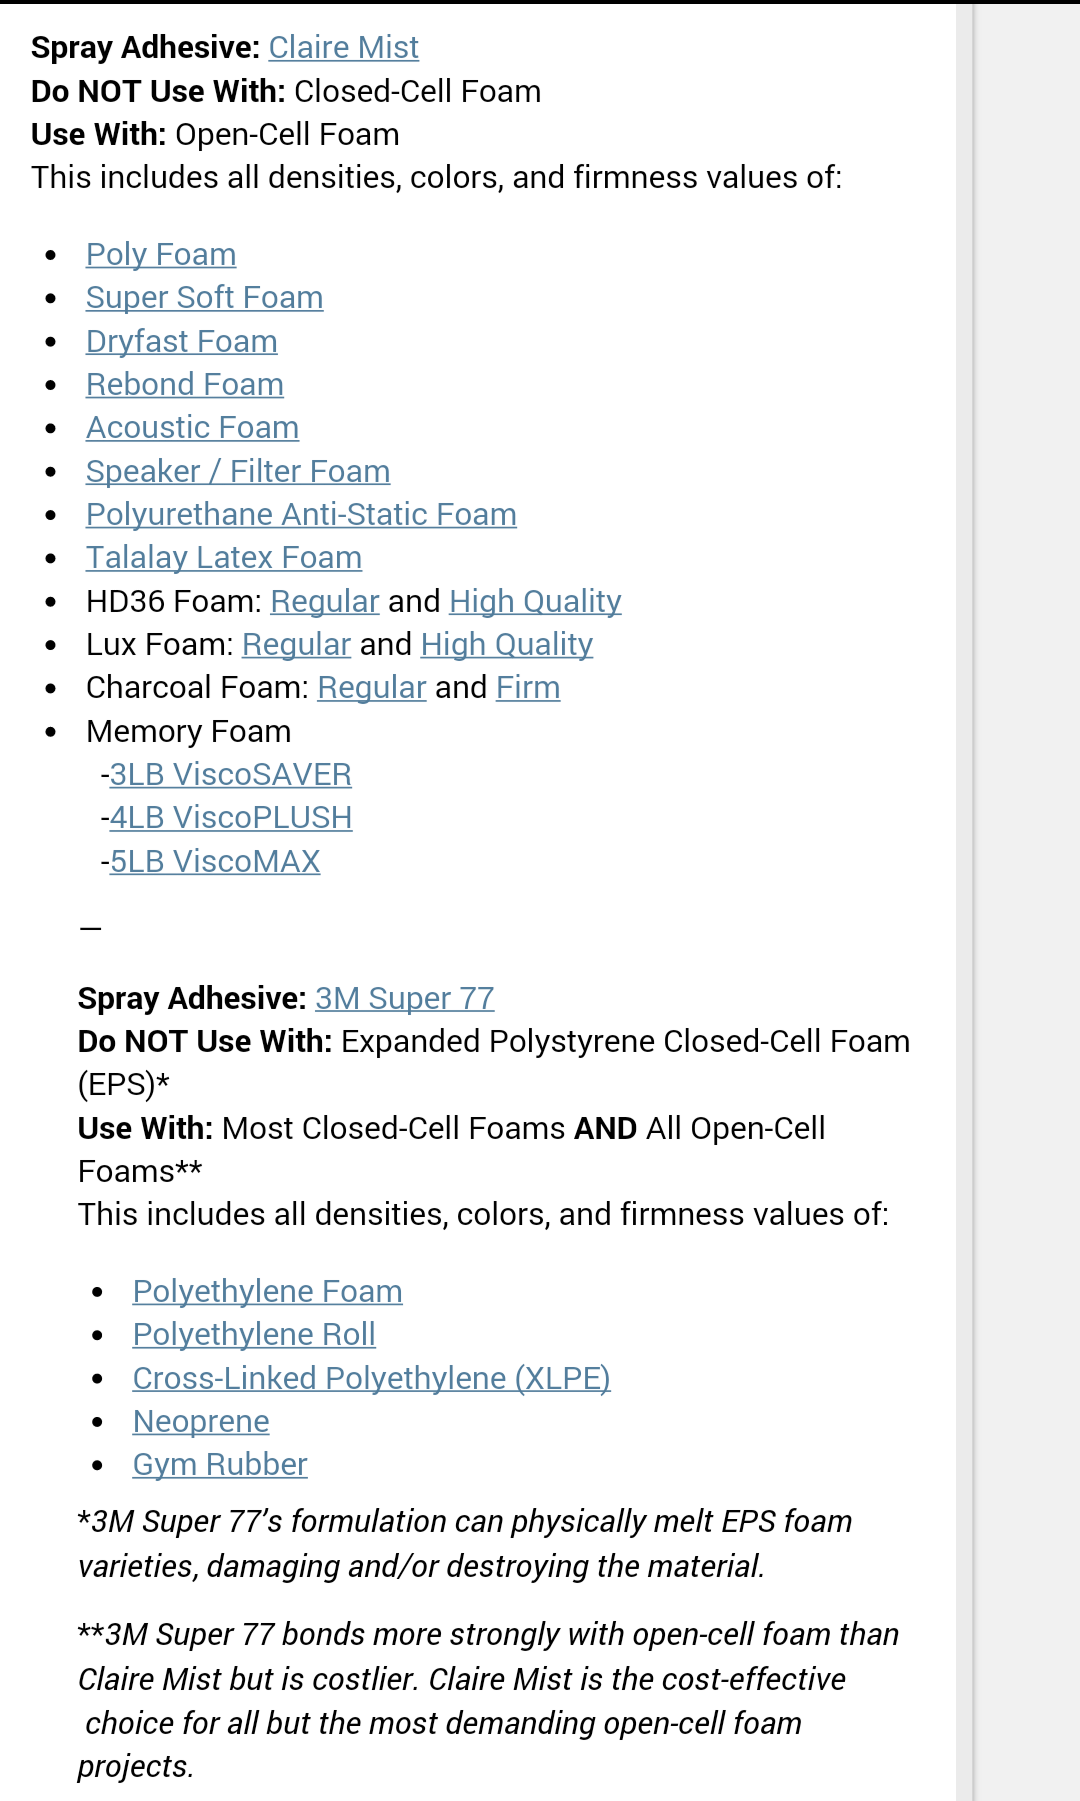
I could be having a problem with that. I was told to use contact cement with the E.V.A.-Closed cell foam.... A lot of very complicated Chemical composition and compatibility issues arise when you're dealing with different types of foam...
http://www.thefoamfactory.com/blog/i...r-bonding-foam

I will pull it out in the Sun and see if it does the same thing as yesterday. Basically what happened was I think it wasn't fully cured yet and he Incredible heat we had yesterday bake the roof and created gas is between shell and the foam. It caused a couple of bubbles to appear. I pulled out of the Sun and they went away. I quickly put pressure using rolls that pushed from the floor back up to the roof, and then, I put it back in the garage. I will try again today. Because it seems to hold everywhere else, I'm hoping that I don't have to pull it off again. But, I am determined to use this as a headliner and I think it's very cool. It should insulate fairly well and make for a little bit less vibration.
Can't thank my good buddy, Jonnyboy, enough! He drove down, once again, 250+ miles, and gave me 1.5 days of help. I know that was tough for him because he's about to move to Utah to relocate for a new job with the Forestry fire fighting department. Very excited for him, but going to miss him hanging out when he can! Especially appreciative of him coming all the way down here when I know that he is tight to be ready 4 the semi and so forth it is picking up all of his stuff. BEST WISHES TO YOU, HOMIE!
We stopped by Burger City Grill, and had myself a phenomenal Aloha burger!...
**************************
I also got you off road lights wiring loom run up to the roof and did a nice clean hole for the grommet. The wires are through and I have a little more play this time... Very excited to wrap that up and install the radio bezel with the switches!
Now I have to do the nerve wracking drilling through the roof to put my nylon spacers in, so I can install the side rails. . More excited than nervous.... Mostly! Lol


I could be having a problem with that. I was told to use contact cement with the E.V.A.-Closed cell foam.... A lot of very complicated Chemical composition and compatibility issues arise when you're dealing with different types of foam...
http://www.thefoamfactory.com/blog/i...r-bonding-foam


I will pull it out in the Sun and see if it does the same thing as yesterday. Basically what happened was I think it wasn't fully cured yet and he Incredible heat we had yesterday bake the roof and created gas is between shell and the foam. It caused a couple of bubbles to appear. I pulled out of the Sun and they went away. I quickly put pressure using rolls that pushed from the floor back up to the roof, and then, I put it back in the garage. I will try again today. Because it seems to hold everywhere else, I'm hoping that I don't have to pull it off again. But, I am determined to use this as a headliner and I think it's very cool. It should insulate fairly well and make for a little bit less vibration.
Can't thank my good buddy, Jonnyboy, enough! He drove down, once again, 250+ miles, and gave me 1.5 days of help. I know that was tough for him because he's about to move to Utah to relocate for a new job with the Forestry fire fighting department. Very excited for him, but going to miss him hanging out when he can! Especially appreciative of him coming all the way down here when I know that he is tight to be ready 4 the semi and so forth it is picking up all of his stuff. BEST WISHES TO YOU, HOMIE!
We stopped by Burger City Grill, and had myself a phenomenal Aloha burger!...

**************************
I also got you off road lights wiring loom run up to the roof and did a nice clean hole for the grommet. The wires are through and I have a little more play this time... Very excited to wrap that up and install the radio bezel with the switches!
Now I have to do the nerve wracking drilling through the roof to put my nylon spacers in, so I can install the side rails. . More excited than nervous.... Mostly! Lol
Apr 1, 2014 | 01:33 PM
#217
Registered User
Joined: Apr 2013
Posts: 72
Likes: 0
From: St joe missouri
New Headliner.... I could be having a problem with that. I was told to use contact cement with the E.V.A.-Closed cell foam.... A lot of very complicated Chemical composition and compatibility issues arise when you're dealing with different types of foam... http://www.thefoamfactory.com/blog/i...r-bonding-foam I will pull it out in the Sun and see if it does the same thing as yesterday. Basically what happened was I think it wasn't fully cured yet and he Incredible heat we had yesterday bake the roof and created gas is between shell and the foam. It caused a couple of bubbles to appear. I pulled out of the Sun and they went away. I quickly put pressure using rolls that pushed from the floor back up to the roof, and then, I put it back in the garage. I will try again today. Because it seems to hold everywhere else, I'm hoping that I don't have to pull it off again. But, I am determined to use this as a headliner and I think it's very cool. It should insulate fairly well and make for a little bit less vibration. Can't thank my good buddy, Jonnyboy, enough! He drove down, once again, 250+ miles, and gave me 1.5 days of help. I know that was tough for him because he's about to move to Utah to relocate for a new job with the Forestry fire fighting department. Very excited for him, but going to miss him hanging out when he can! Especially appreciative of him coming all the way down here when I know that he is tight to be ready 4 the semi and so forth it is picking up all of his stuff. BEST WISHES TO YOU, HOMIE! We stopped by Burger City Grill, and had myself a phenomenal Aloha burger!... ************************** I also got you off road lights wiring loom run up to the roof and did a nice clean hole for the grommet. The wires are through and I have a little more play this time... Very excited to wrap that up and install the radio bezel with the switches! Now I have to do the nerve wracking drilling through the roof to put my nylon spacers in, so I can install the side rails. . More excited than nervous.... Mostly! Lol
 Apr 3, 2014 | 03:51 AM
#220
Registered User


Joined: Mar 2012
Posts: 7,130
Likes: 683
Great progress, Mark!
Yeah, guys, rear window control from the rear deck, makes great sense, so that was one of my first mods.
The two extra wires from the connector are simply for switch illumination...
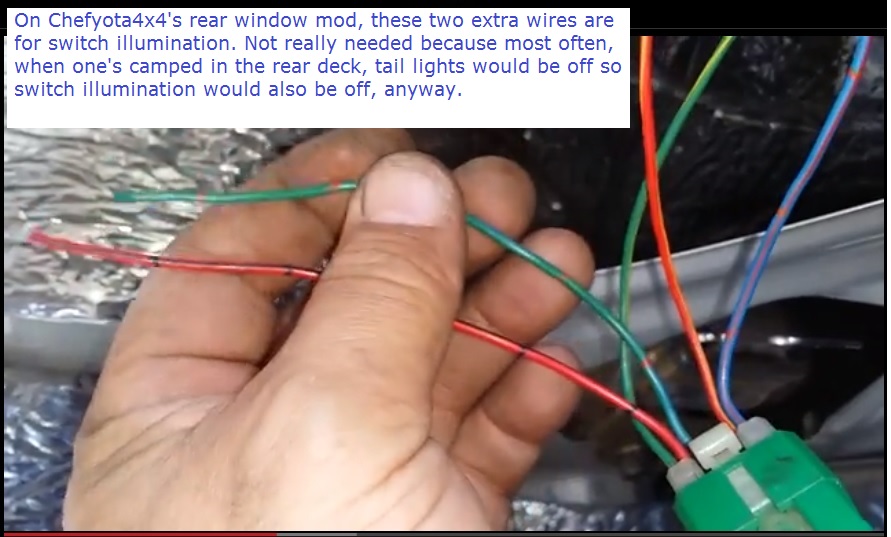
My write-up's here.
Greetings from finish line of the 14th Philippine Hobie Challenge!
Yeah, guys, rear window control from the rear deck, makes great sense, so that was one of my first mods.
The two extra wires from the connector are simply for switch illumination...
My write-up's here.
Greetings from finish line of the 14th Philippine Hobie Challenge!


