
Chefyota4x4's Ruby R3dRuM to "Suzy-Q the Silverback" Body Swap Thread!
 Mar 23, 2014 | 11:52 PM
#181
Thread Starter
Registered User
iTrader: (5)
Joined: Jun 2009
Posts: 19,281
Likes: 20
From: Lake Havasu, AZ
Quick burst to catch y'all up! Thanks again guys, I appreciate it the support and rooting on!.....
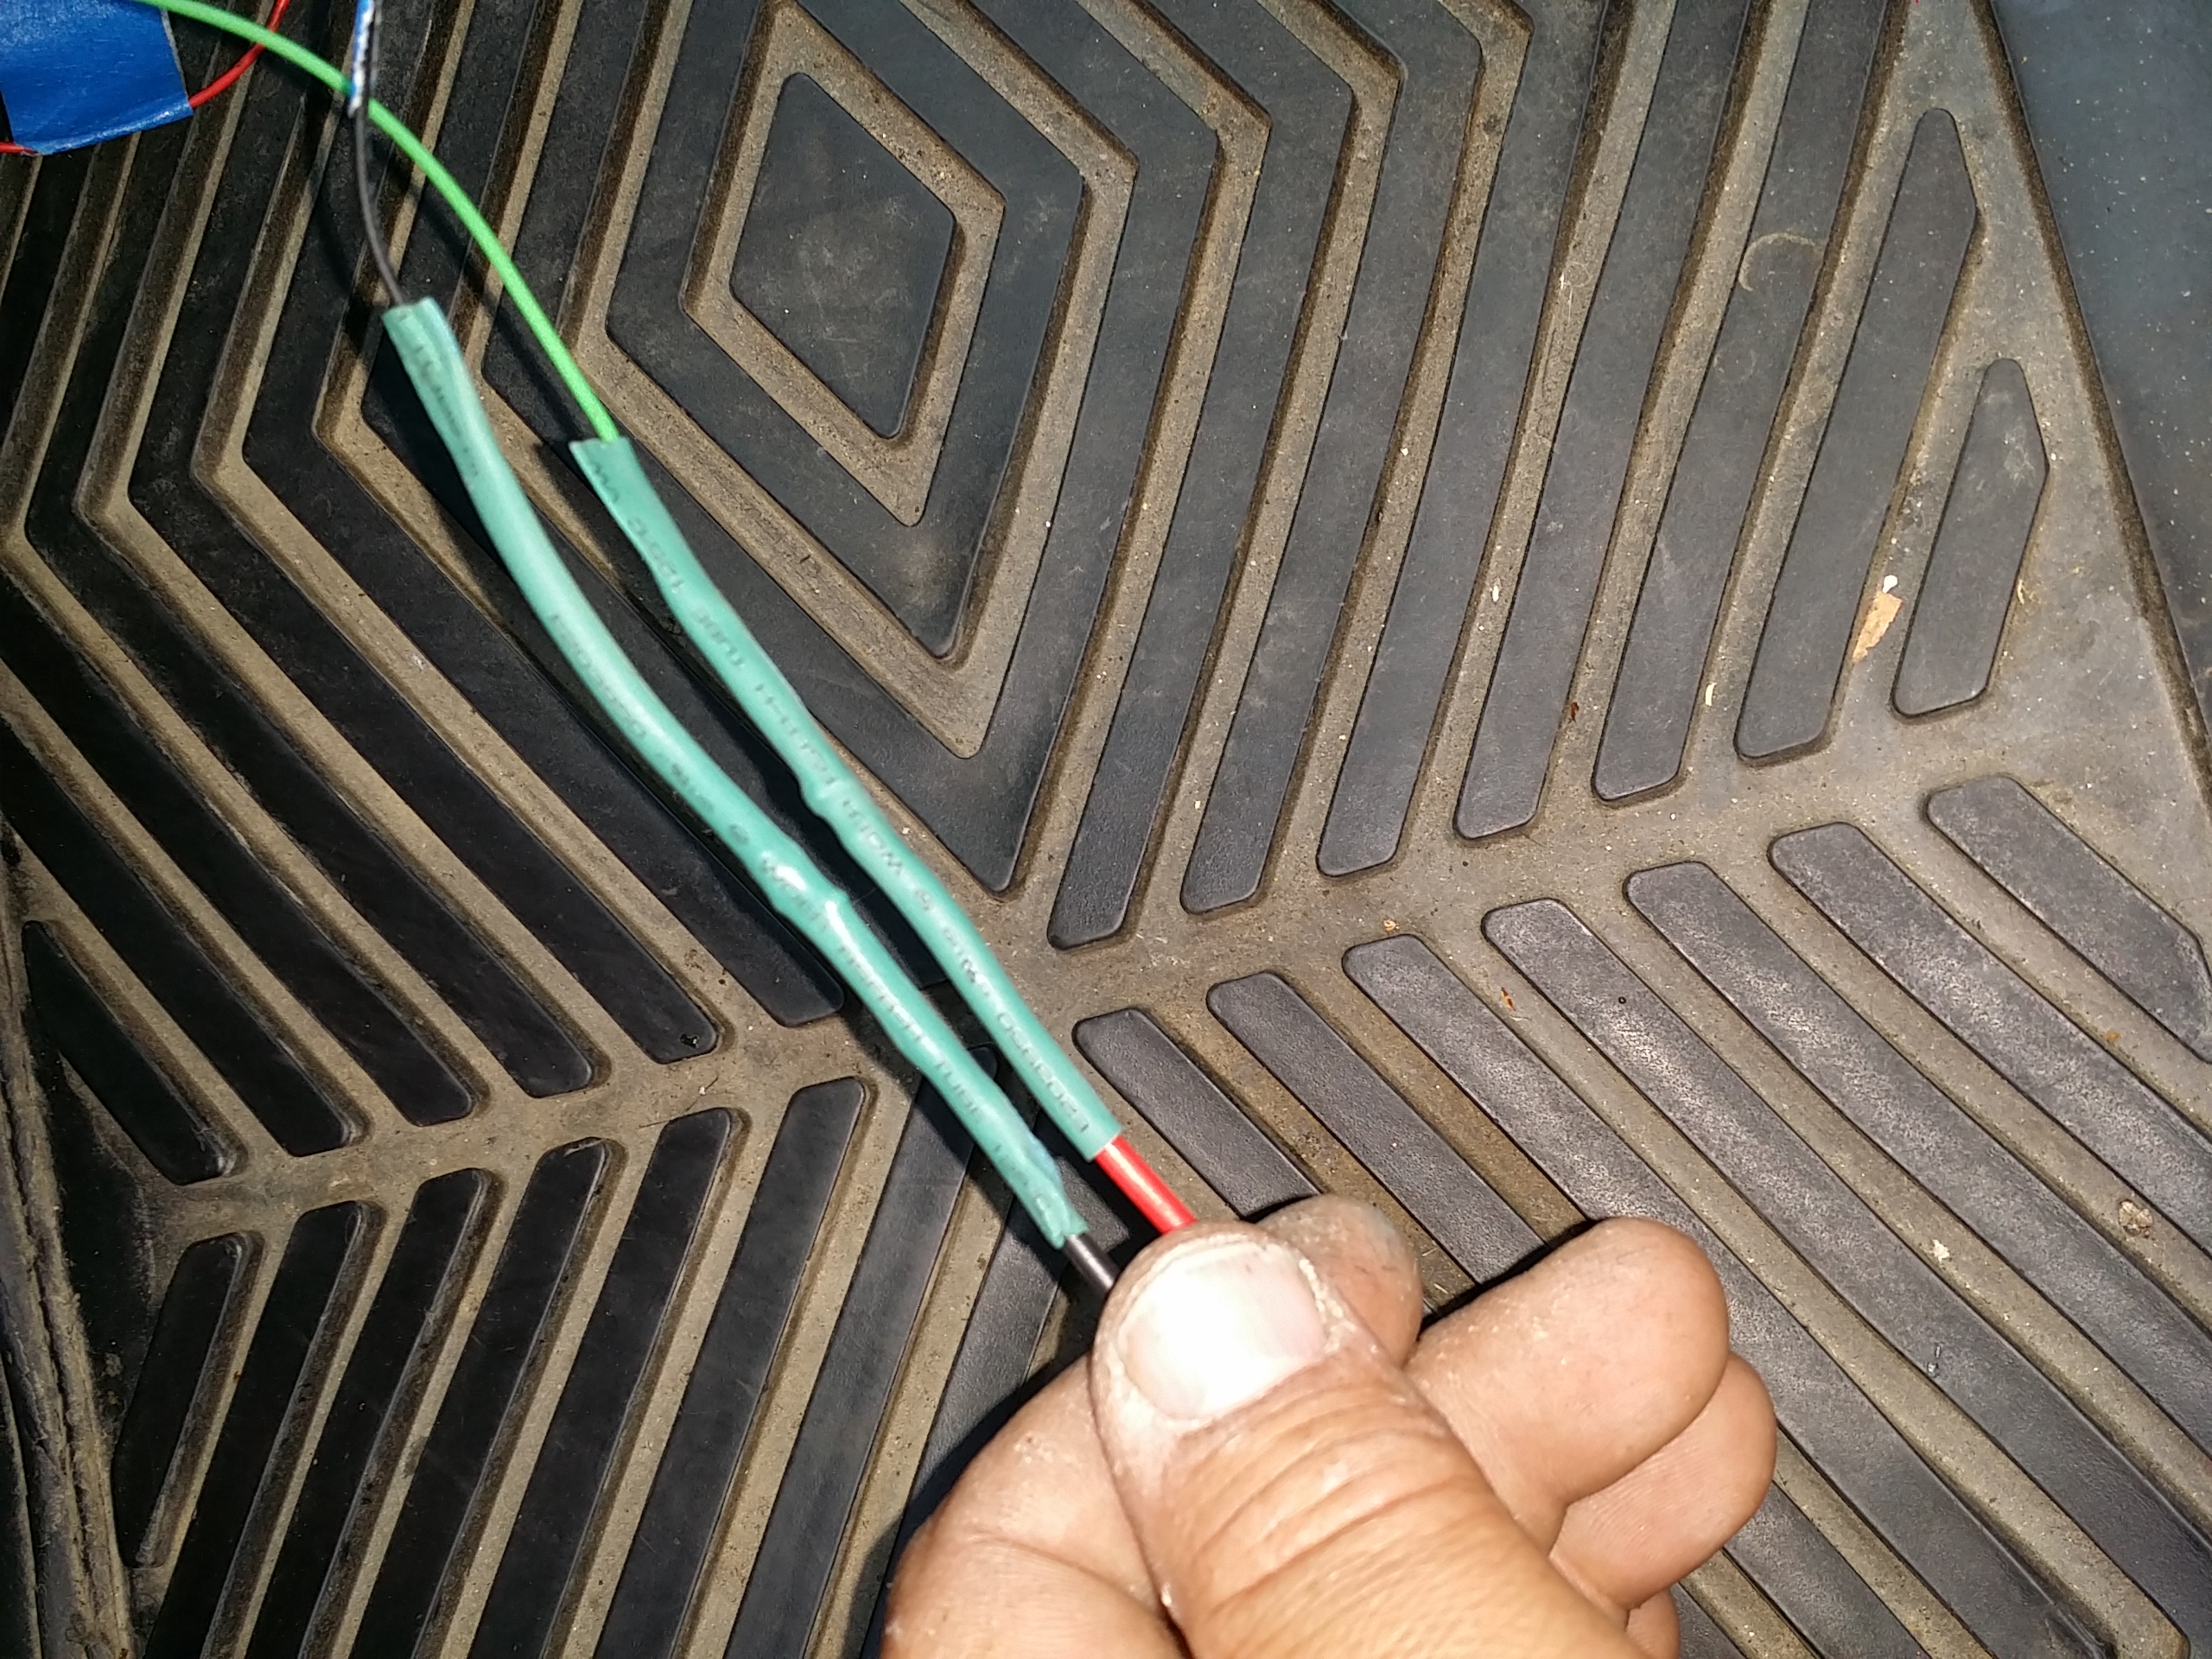
First of all, I just want to share that I am grateful everyone who has helped me with electrical stuff. I have really got a decent grasp on this now and I have wired everything in with solder and rap and it is running really clean throughout the truck. Nothing to be ground on with the feet or just laying everywhere inside the panels. It is tight! Thanks again guys!....
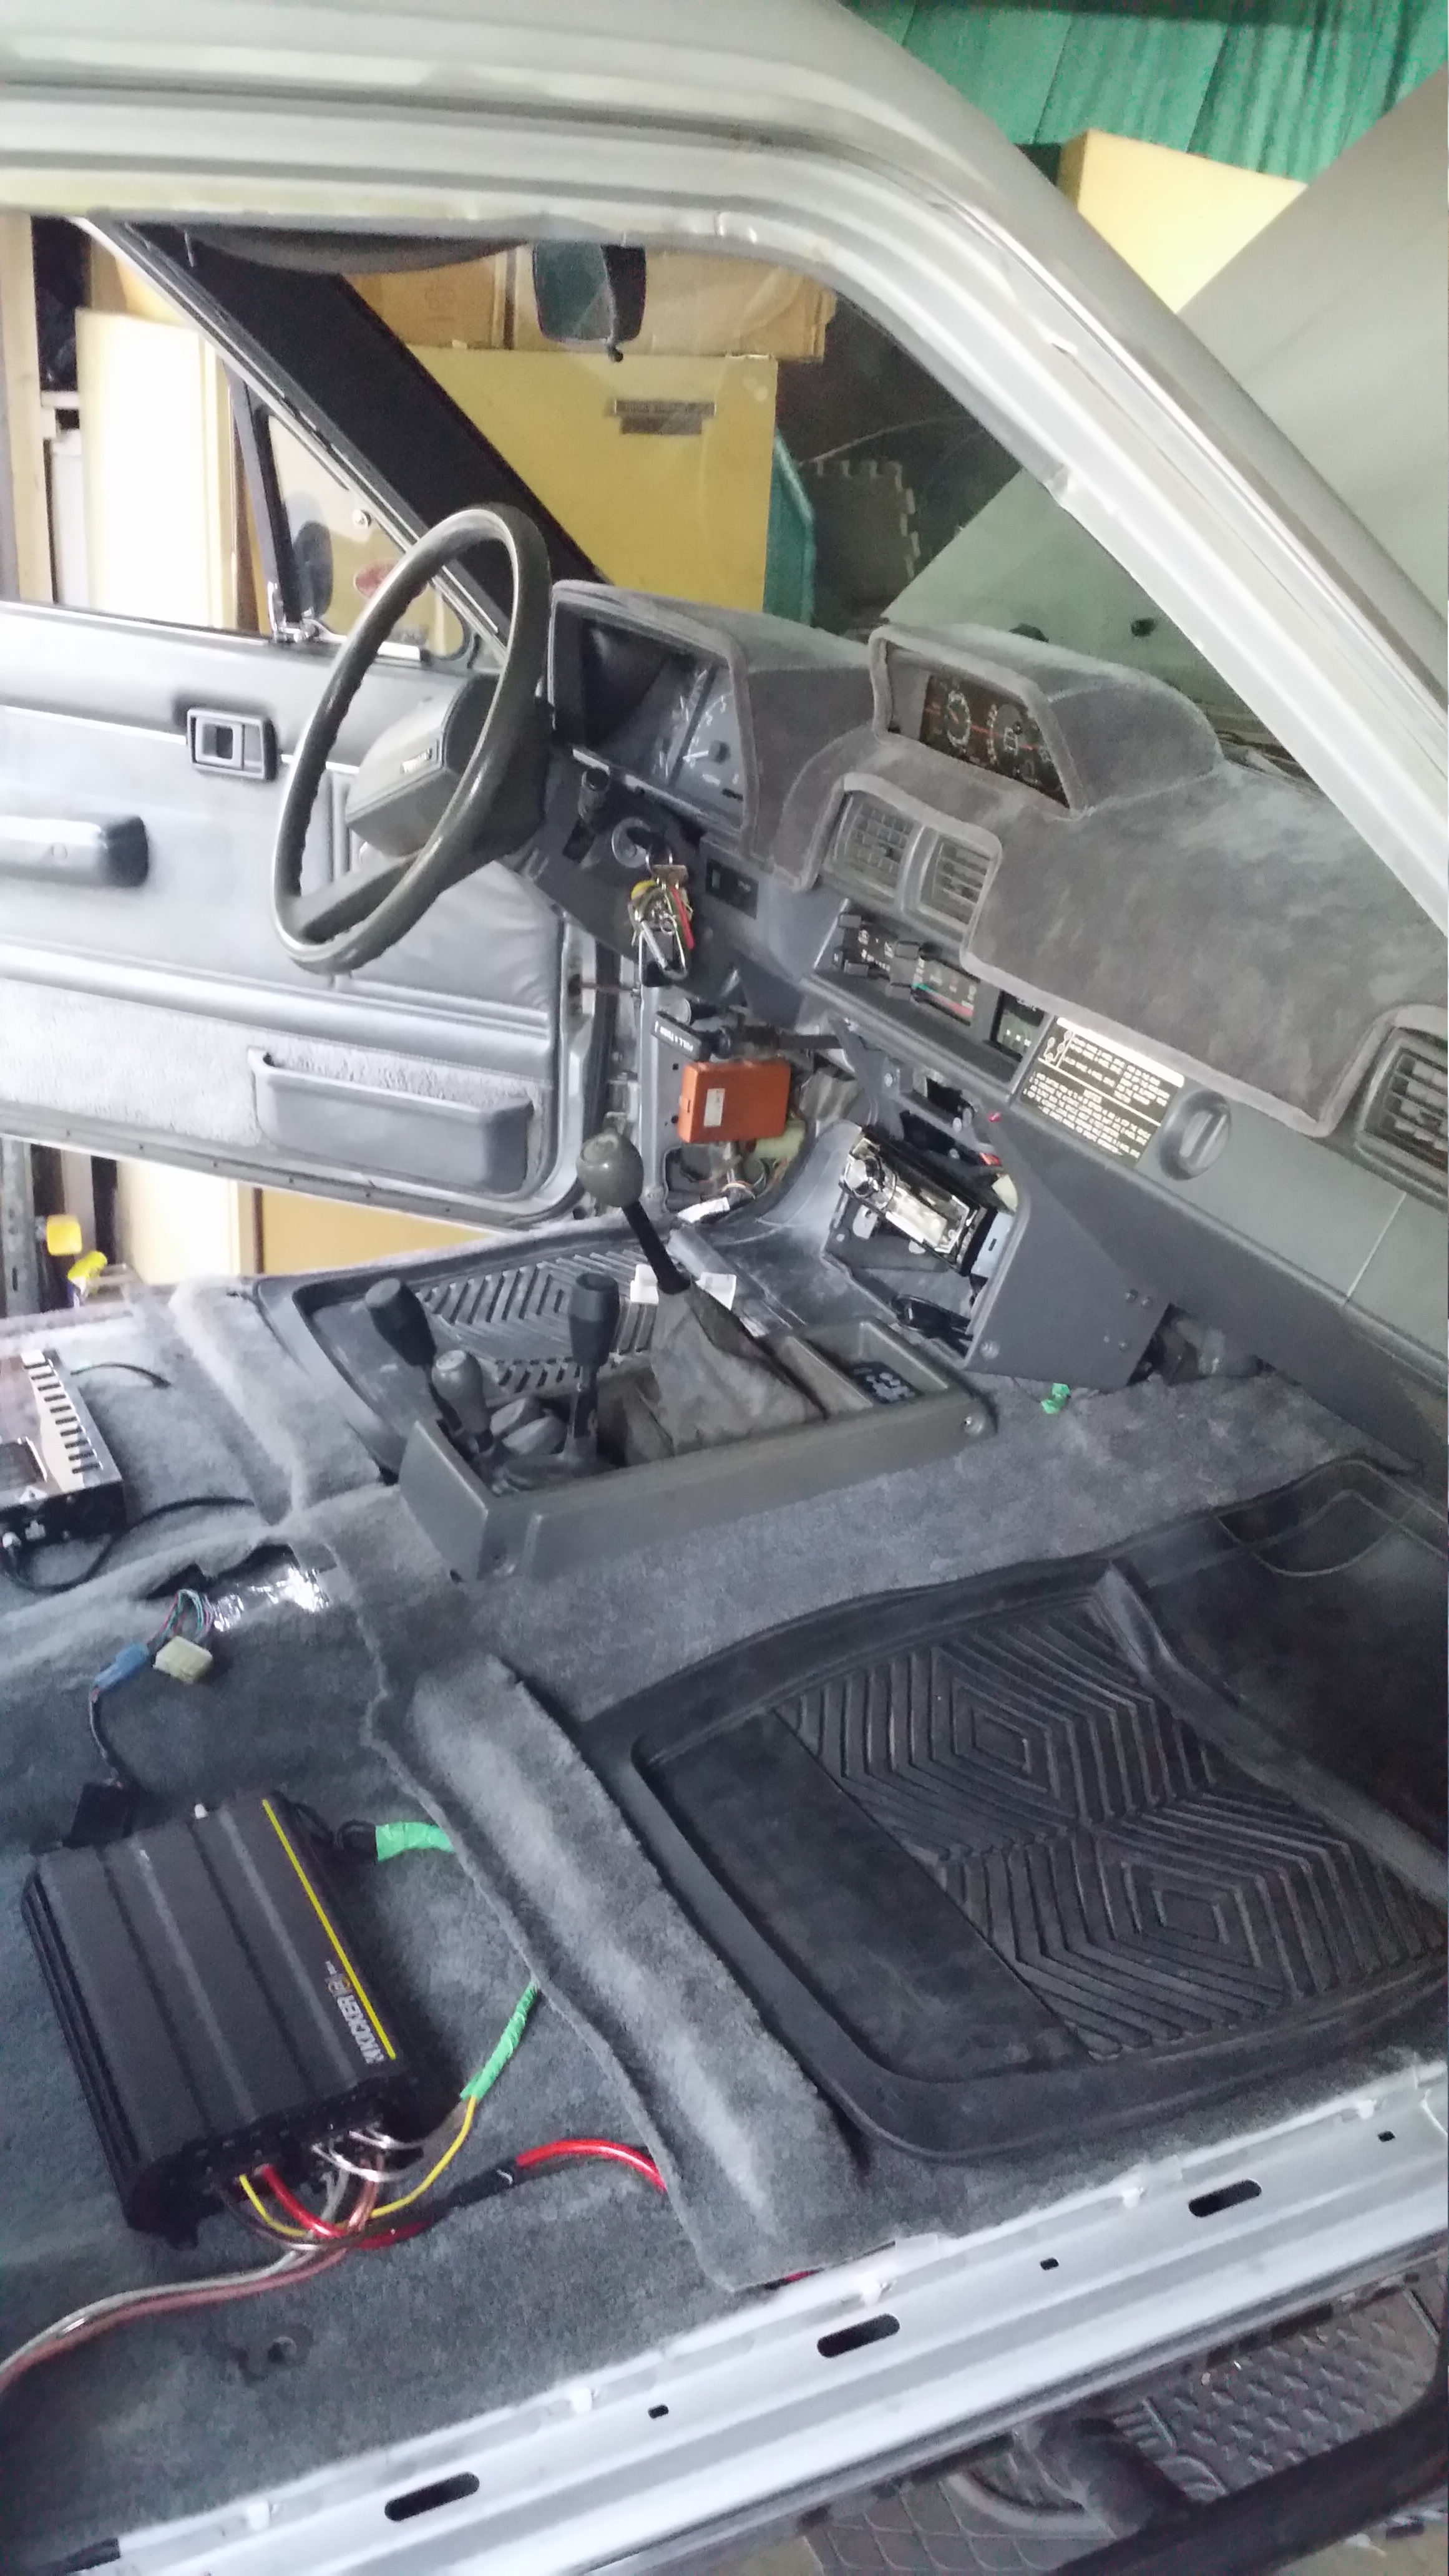
One of the videos is about 15 minutes where I explained about how to take the dash of and put it back on and why I was having the problems with the connectors, exactly ! It also explains a few other things.... I'm just going to post everything in a flurry as I'm very tired.....
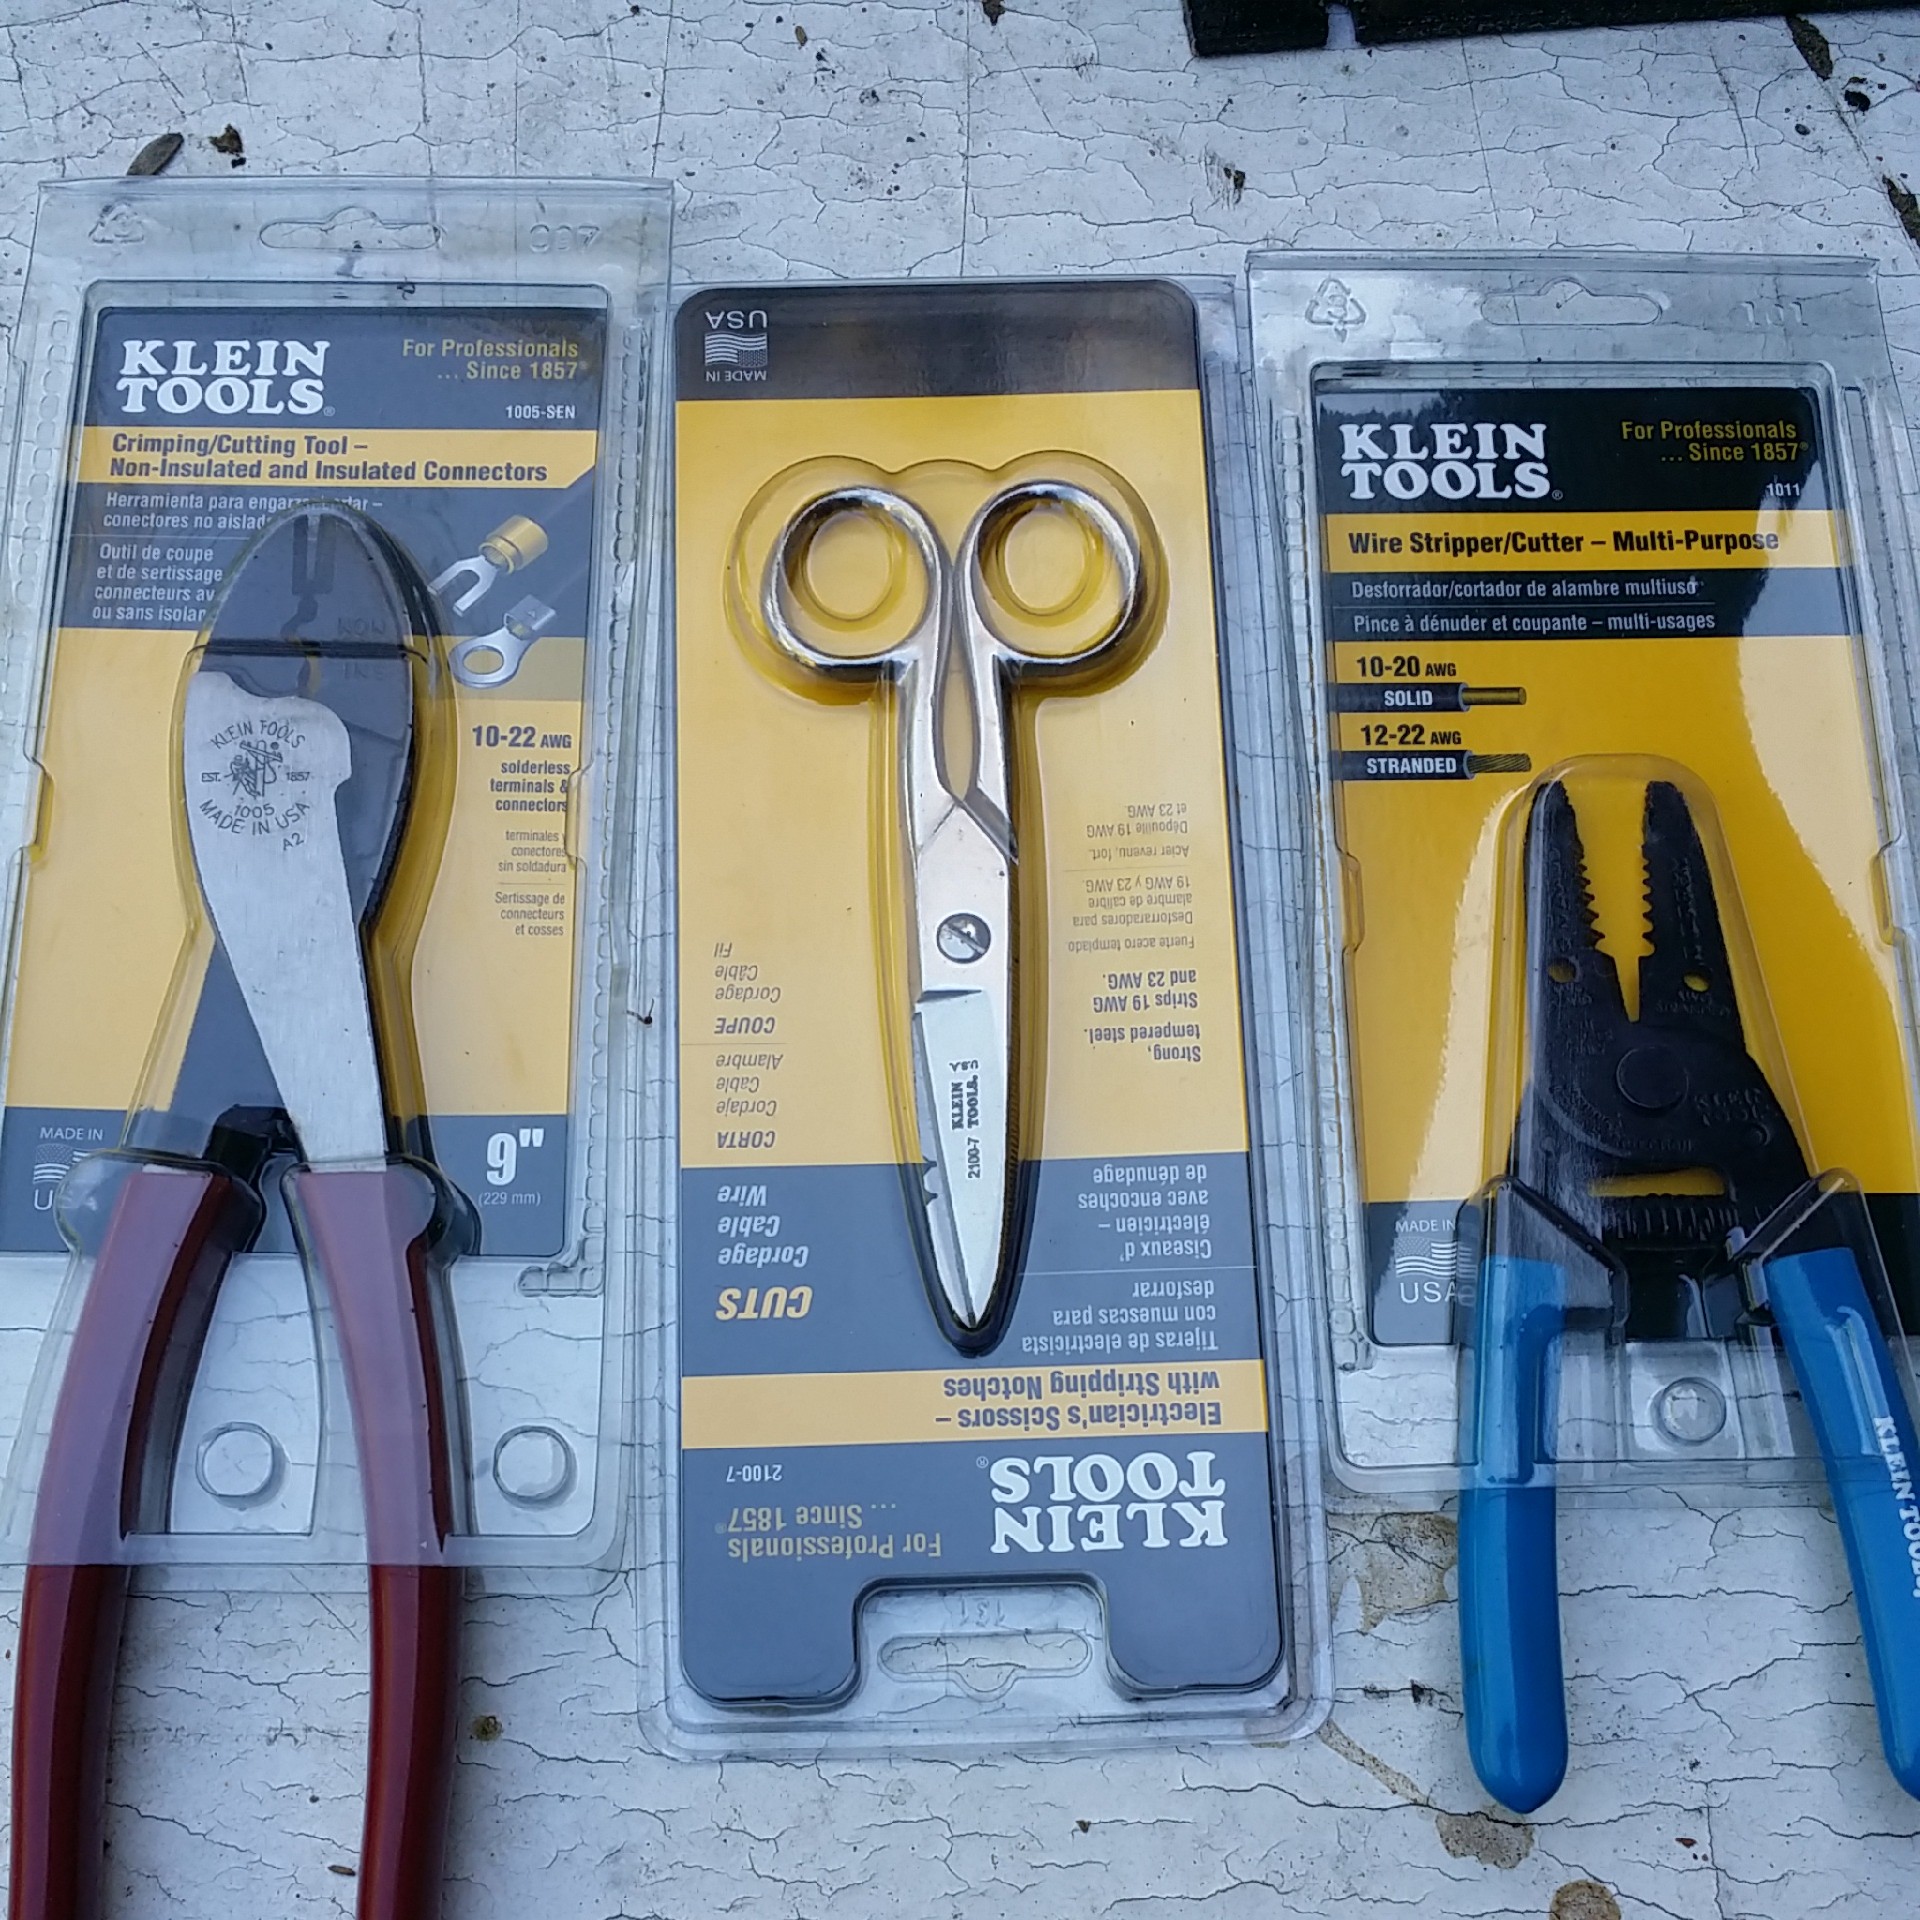
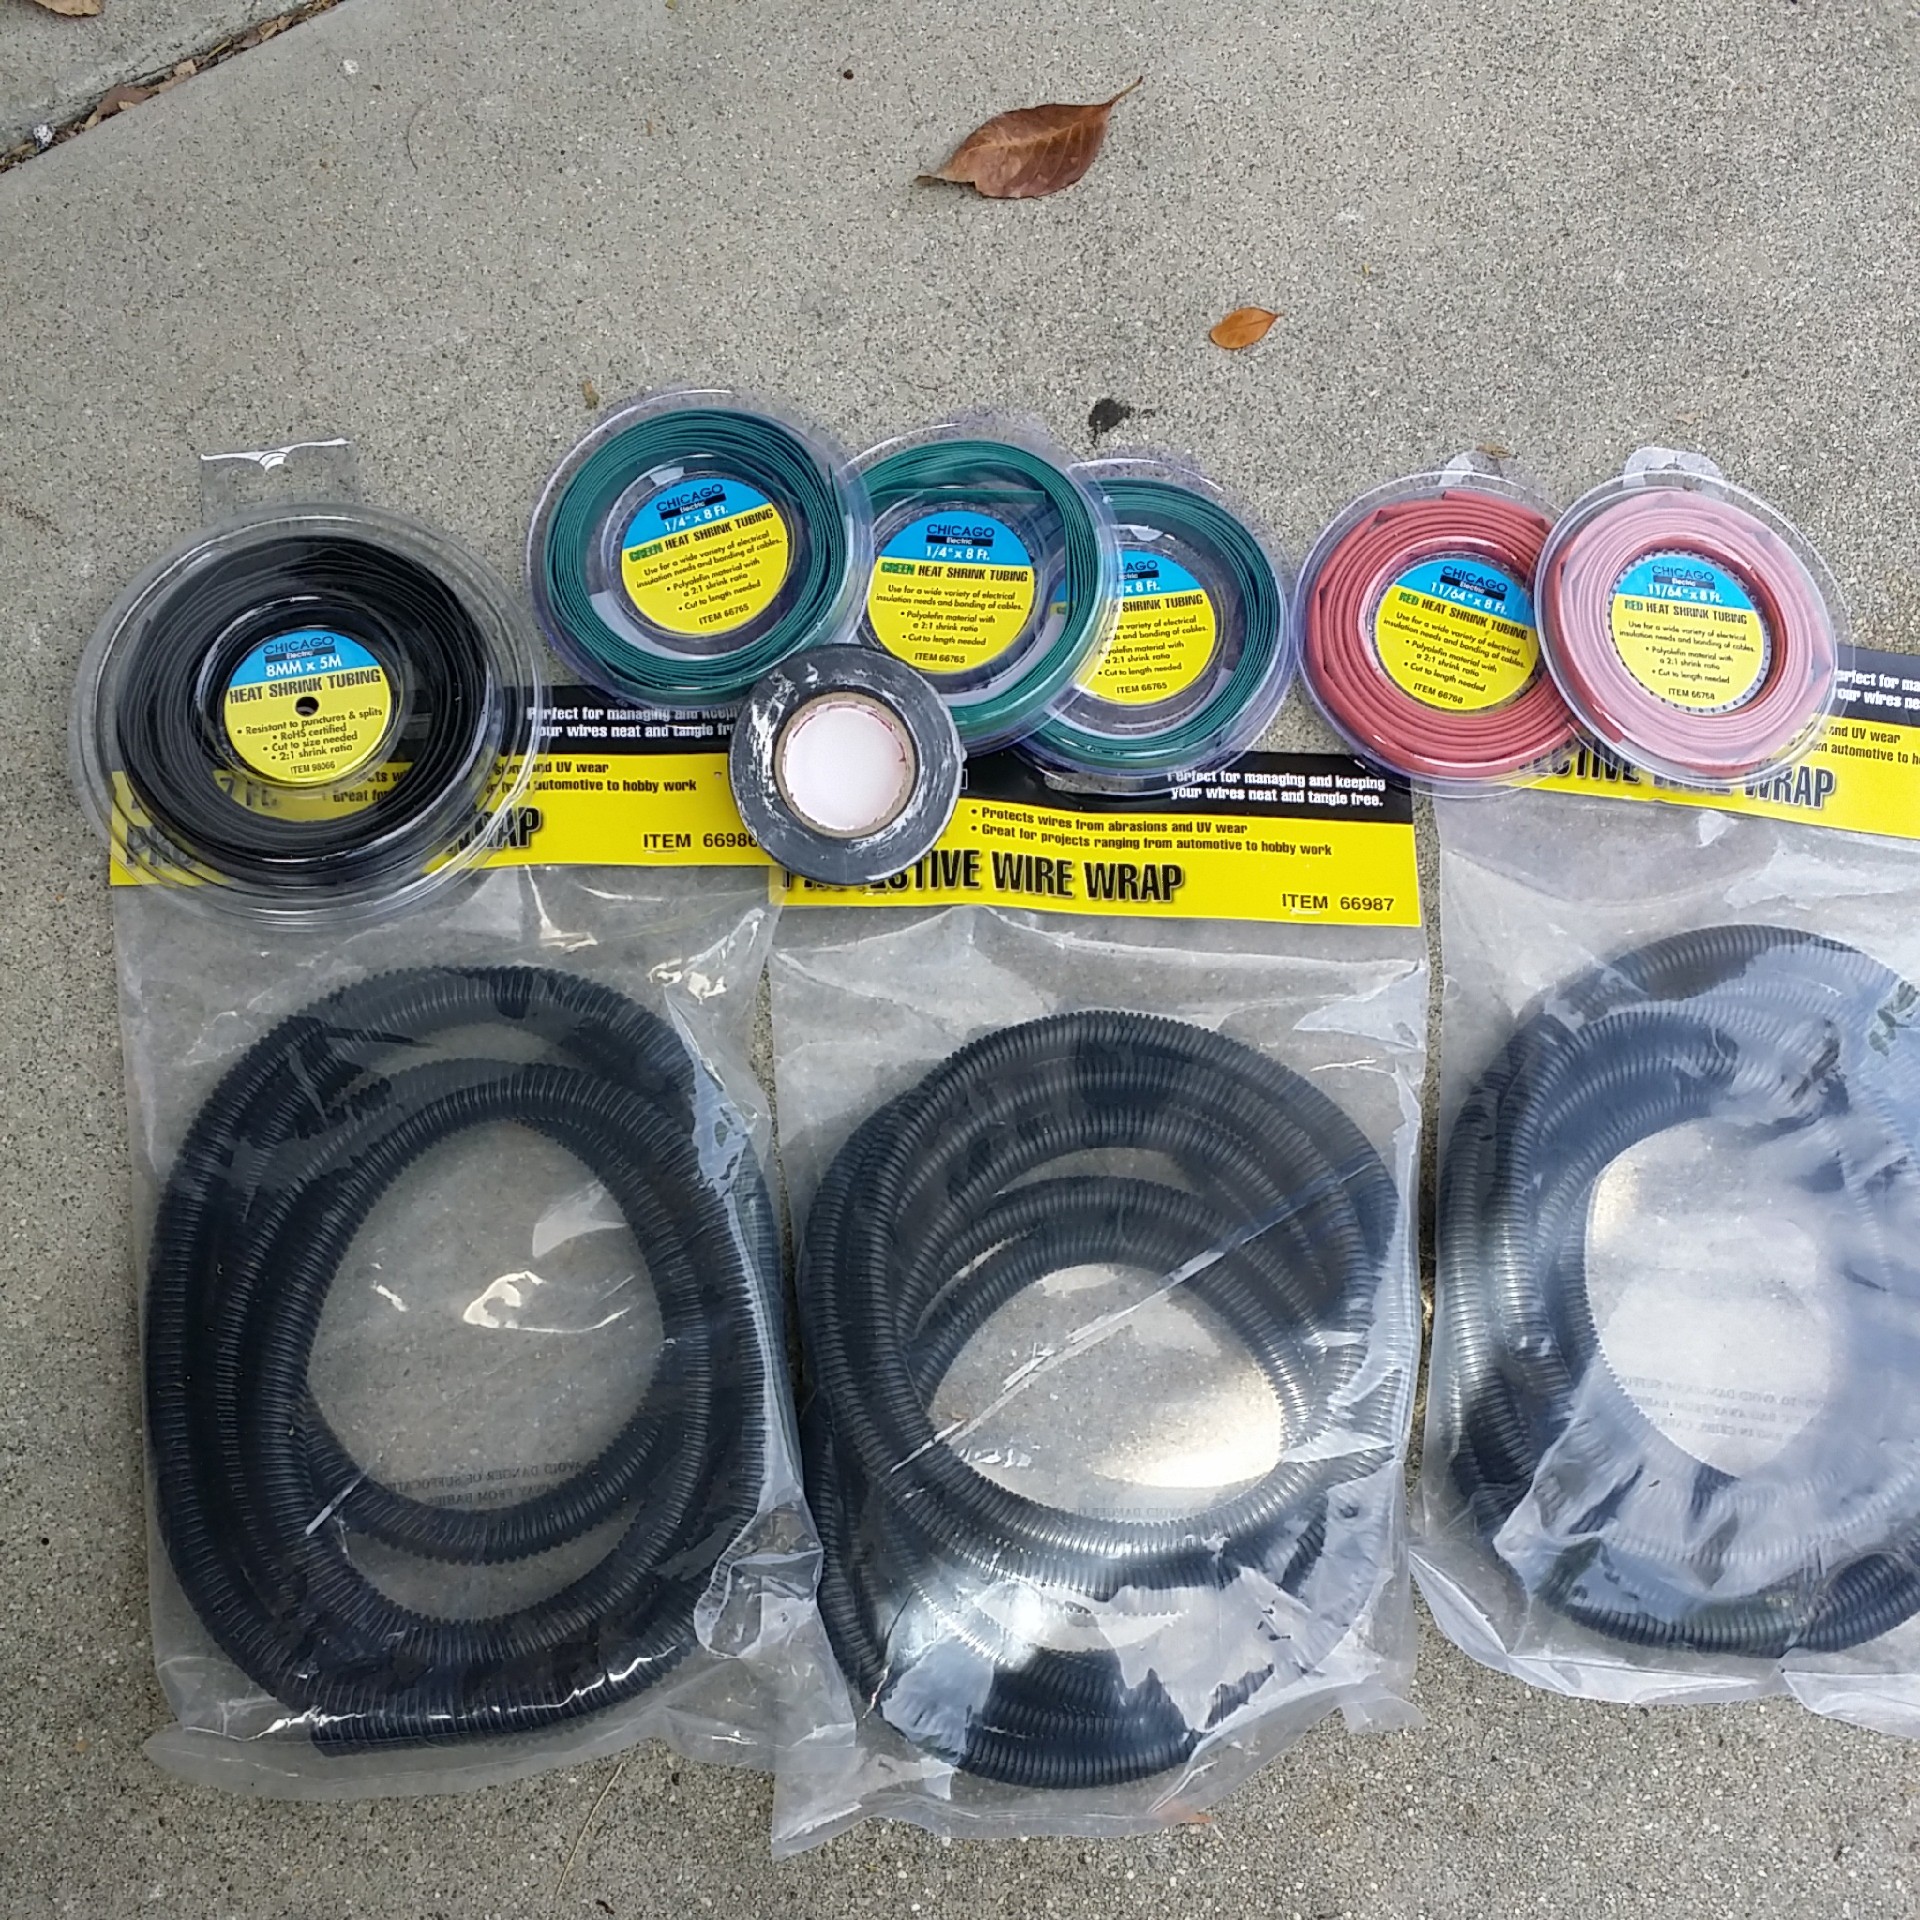
After having my previous 30 stolen, I gladly went back with my gift card for my birthday and grab these, after getting absolutely sick of using the crappy to average stuff that I had. I do miss my snap on crimper, but this thing is fantastic and makes warm butter of what was frozen ice milk! Lol.....
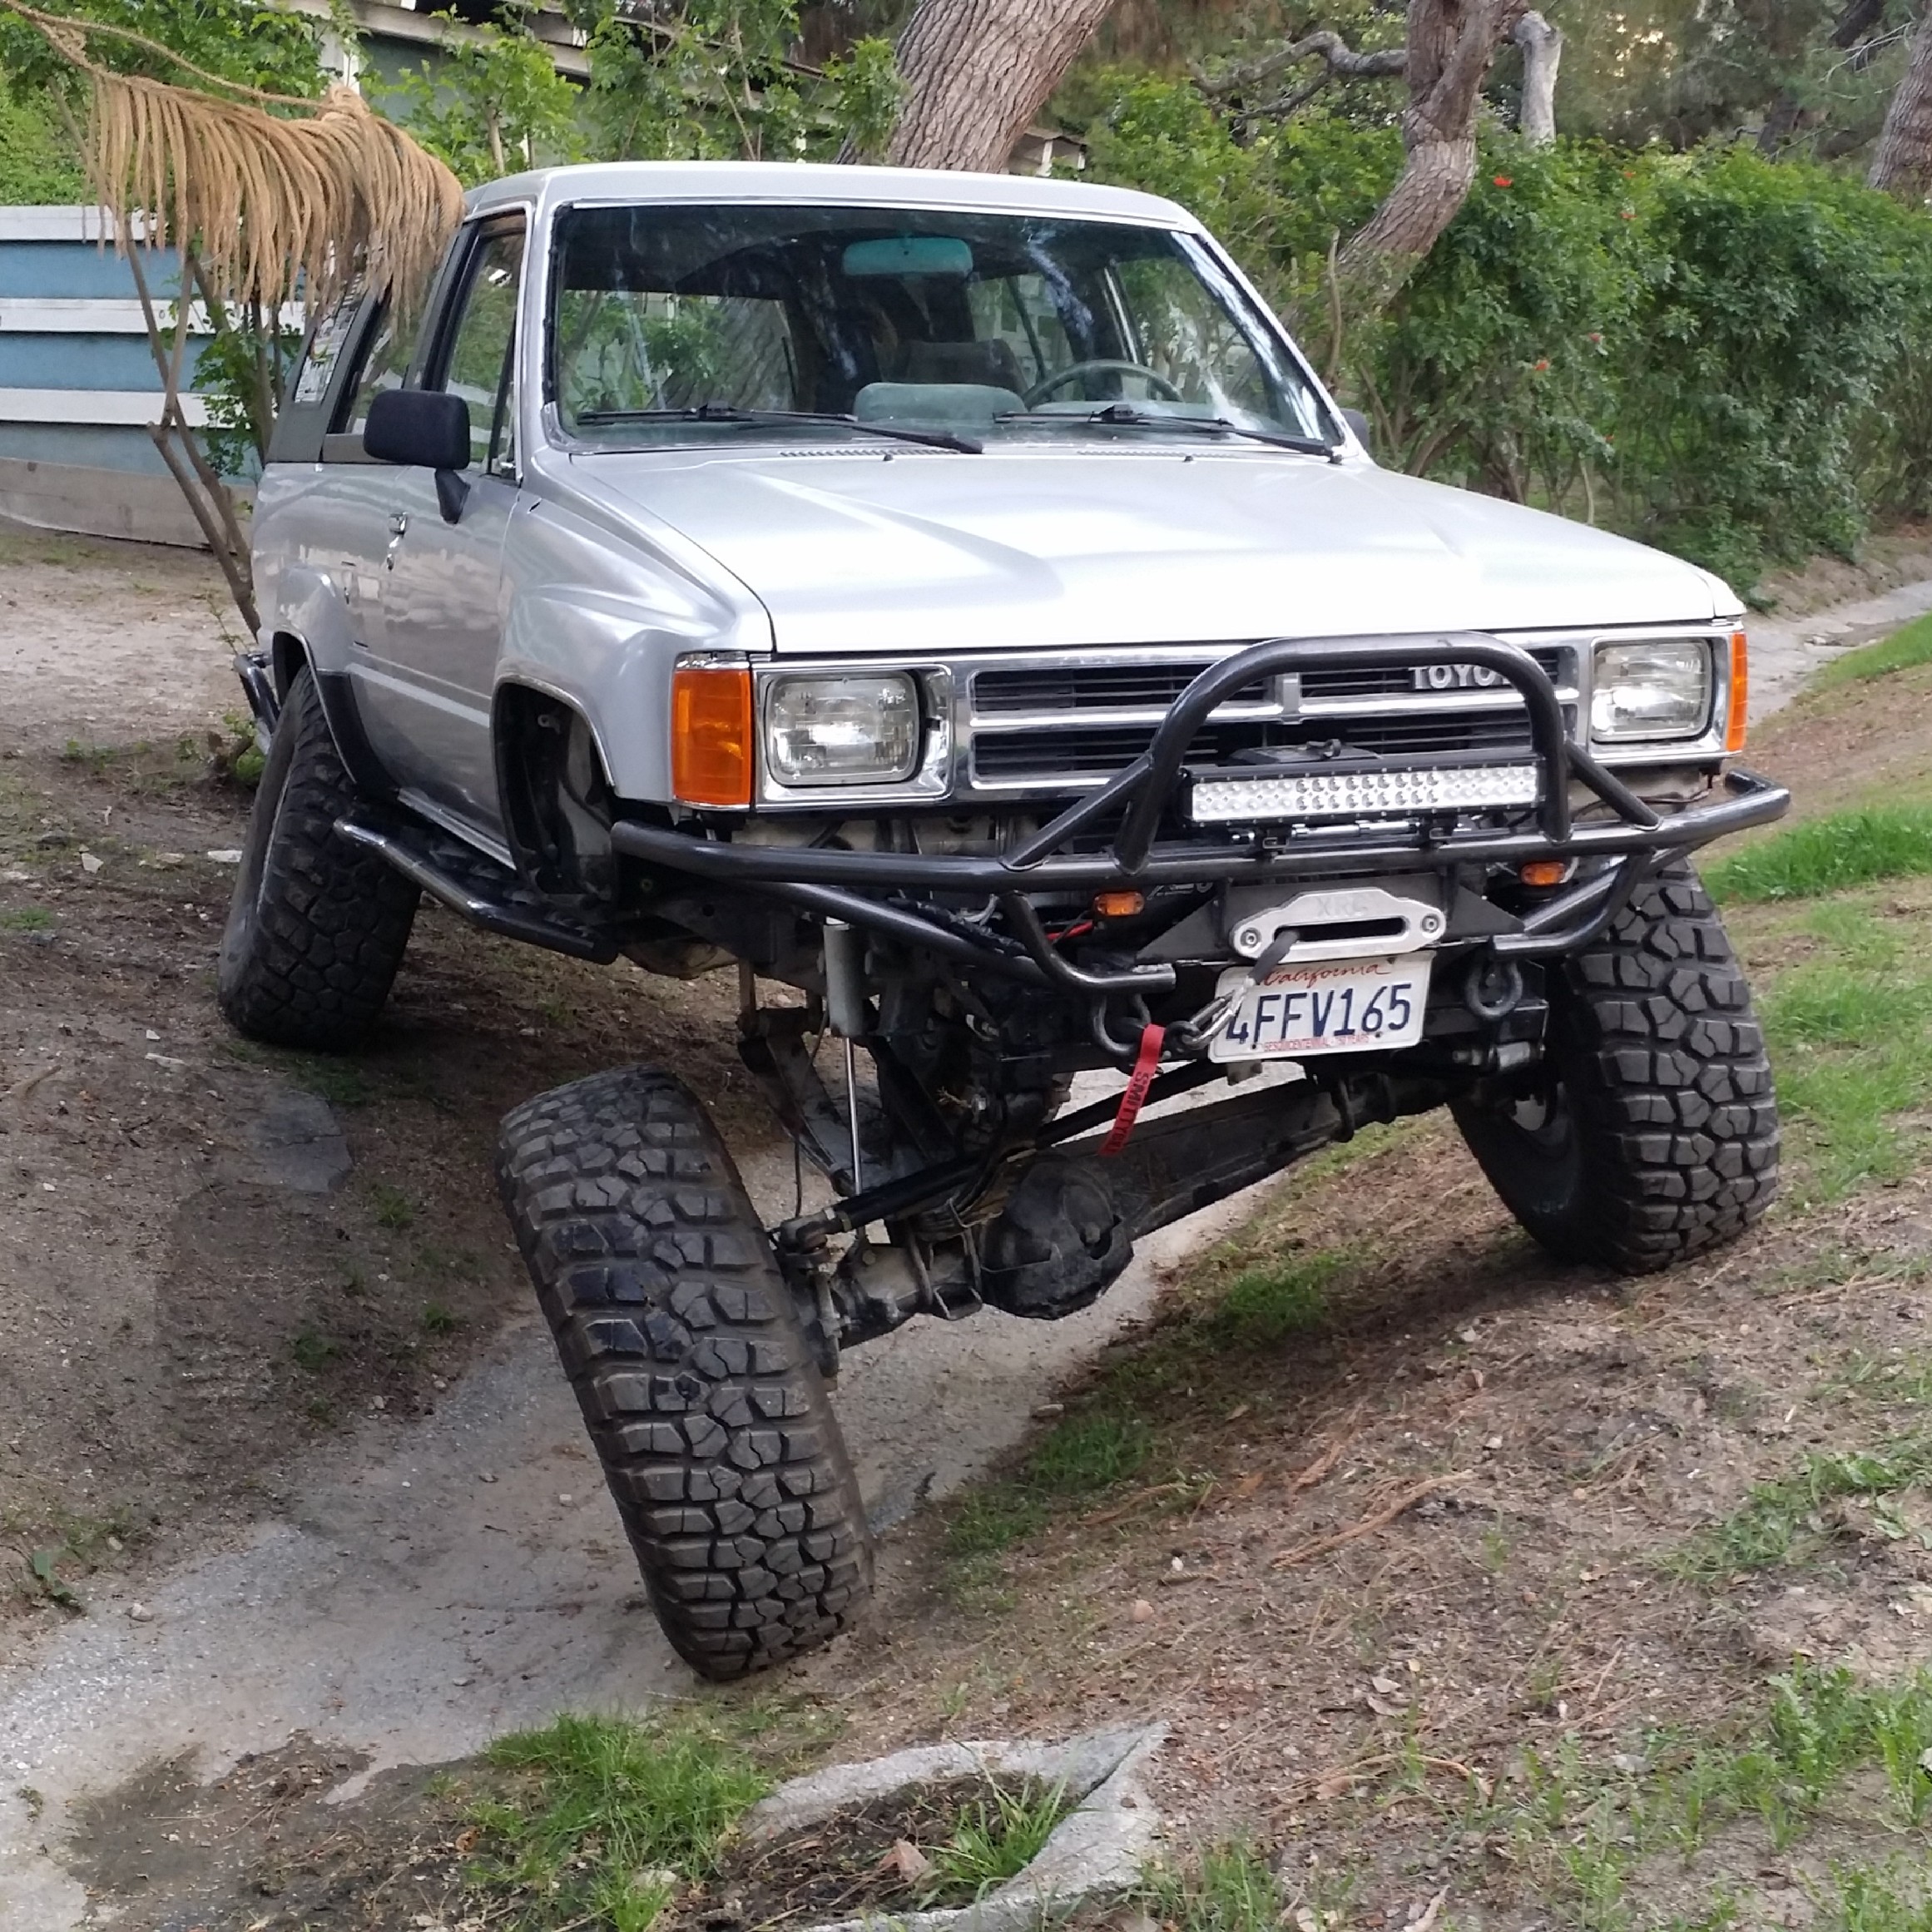
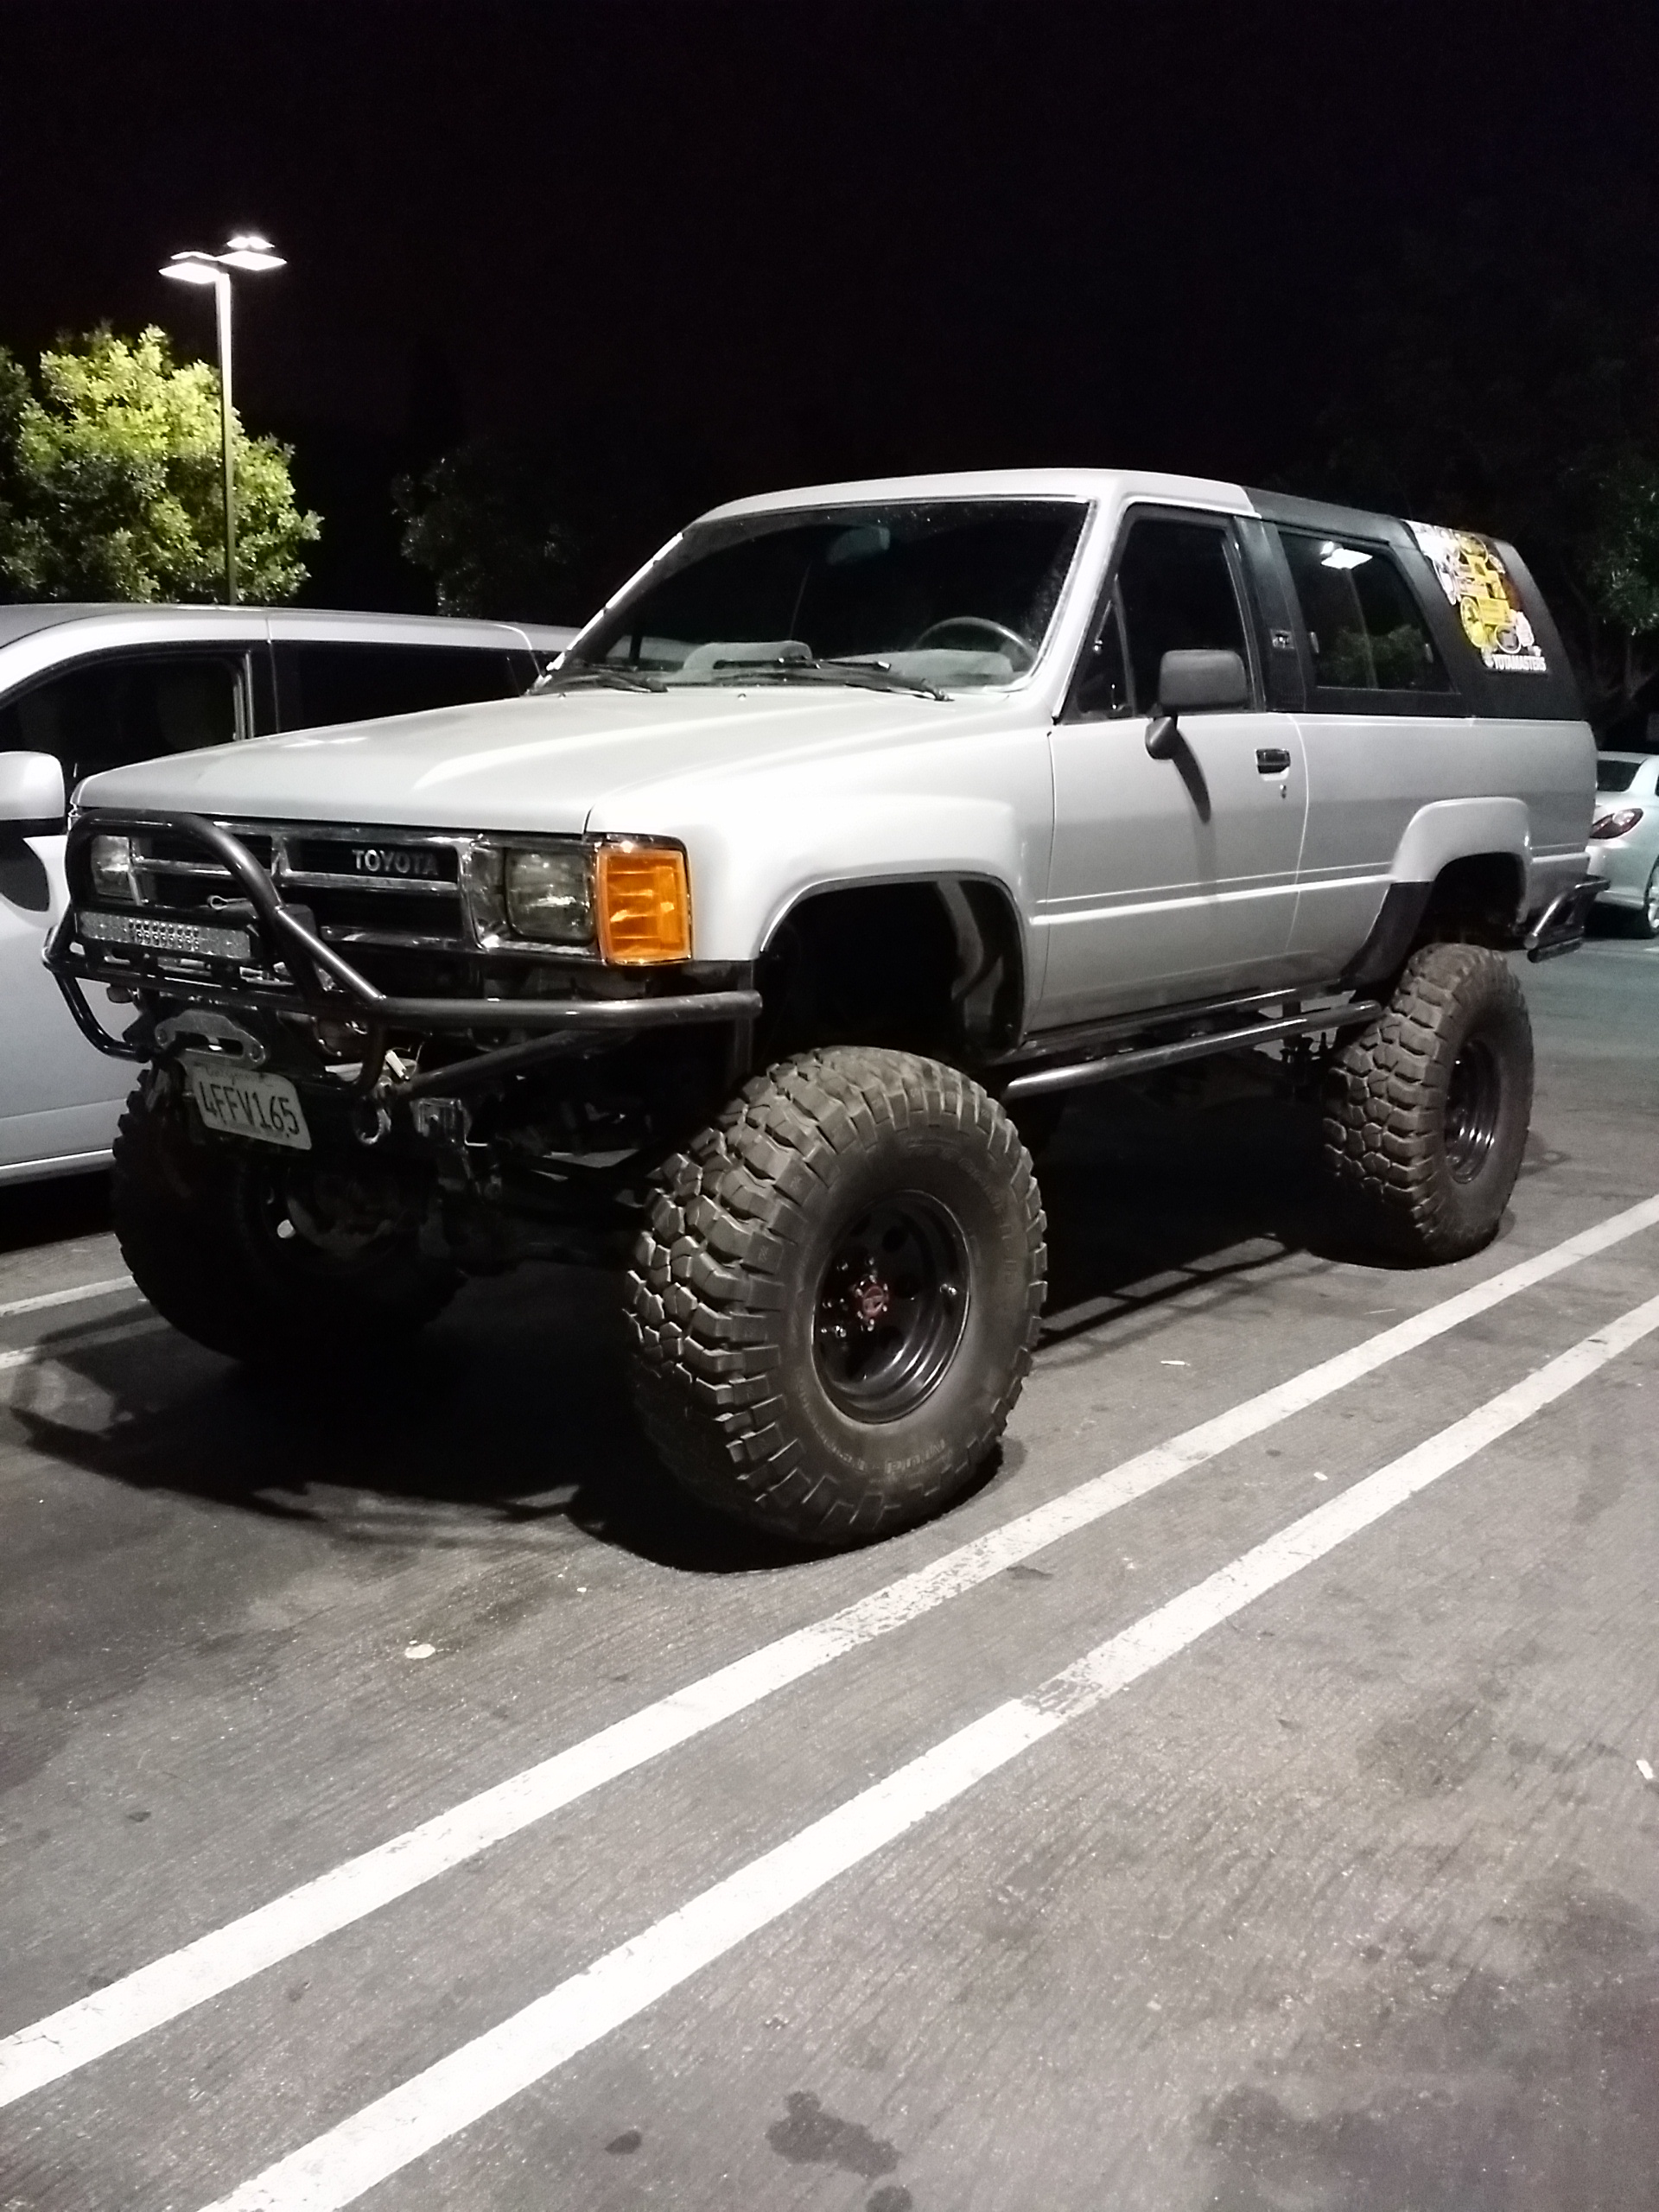
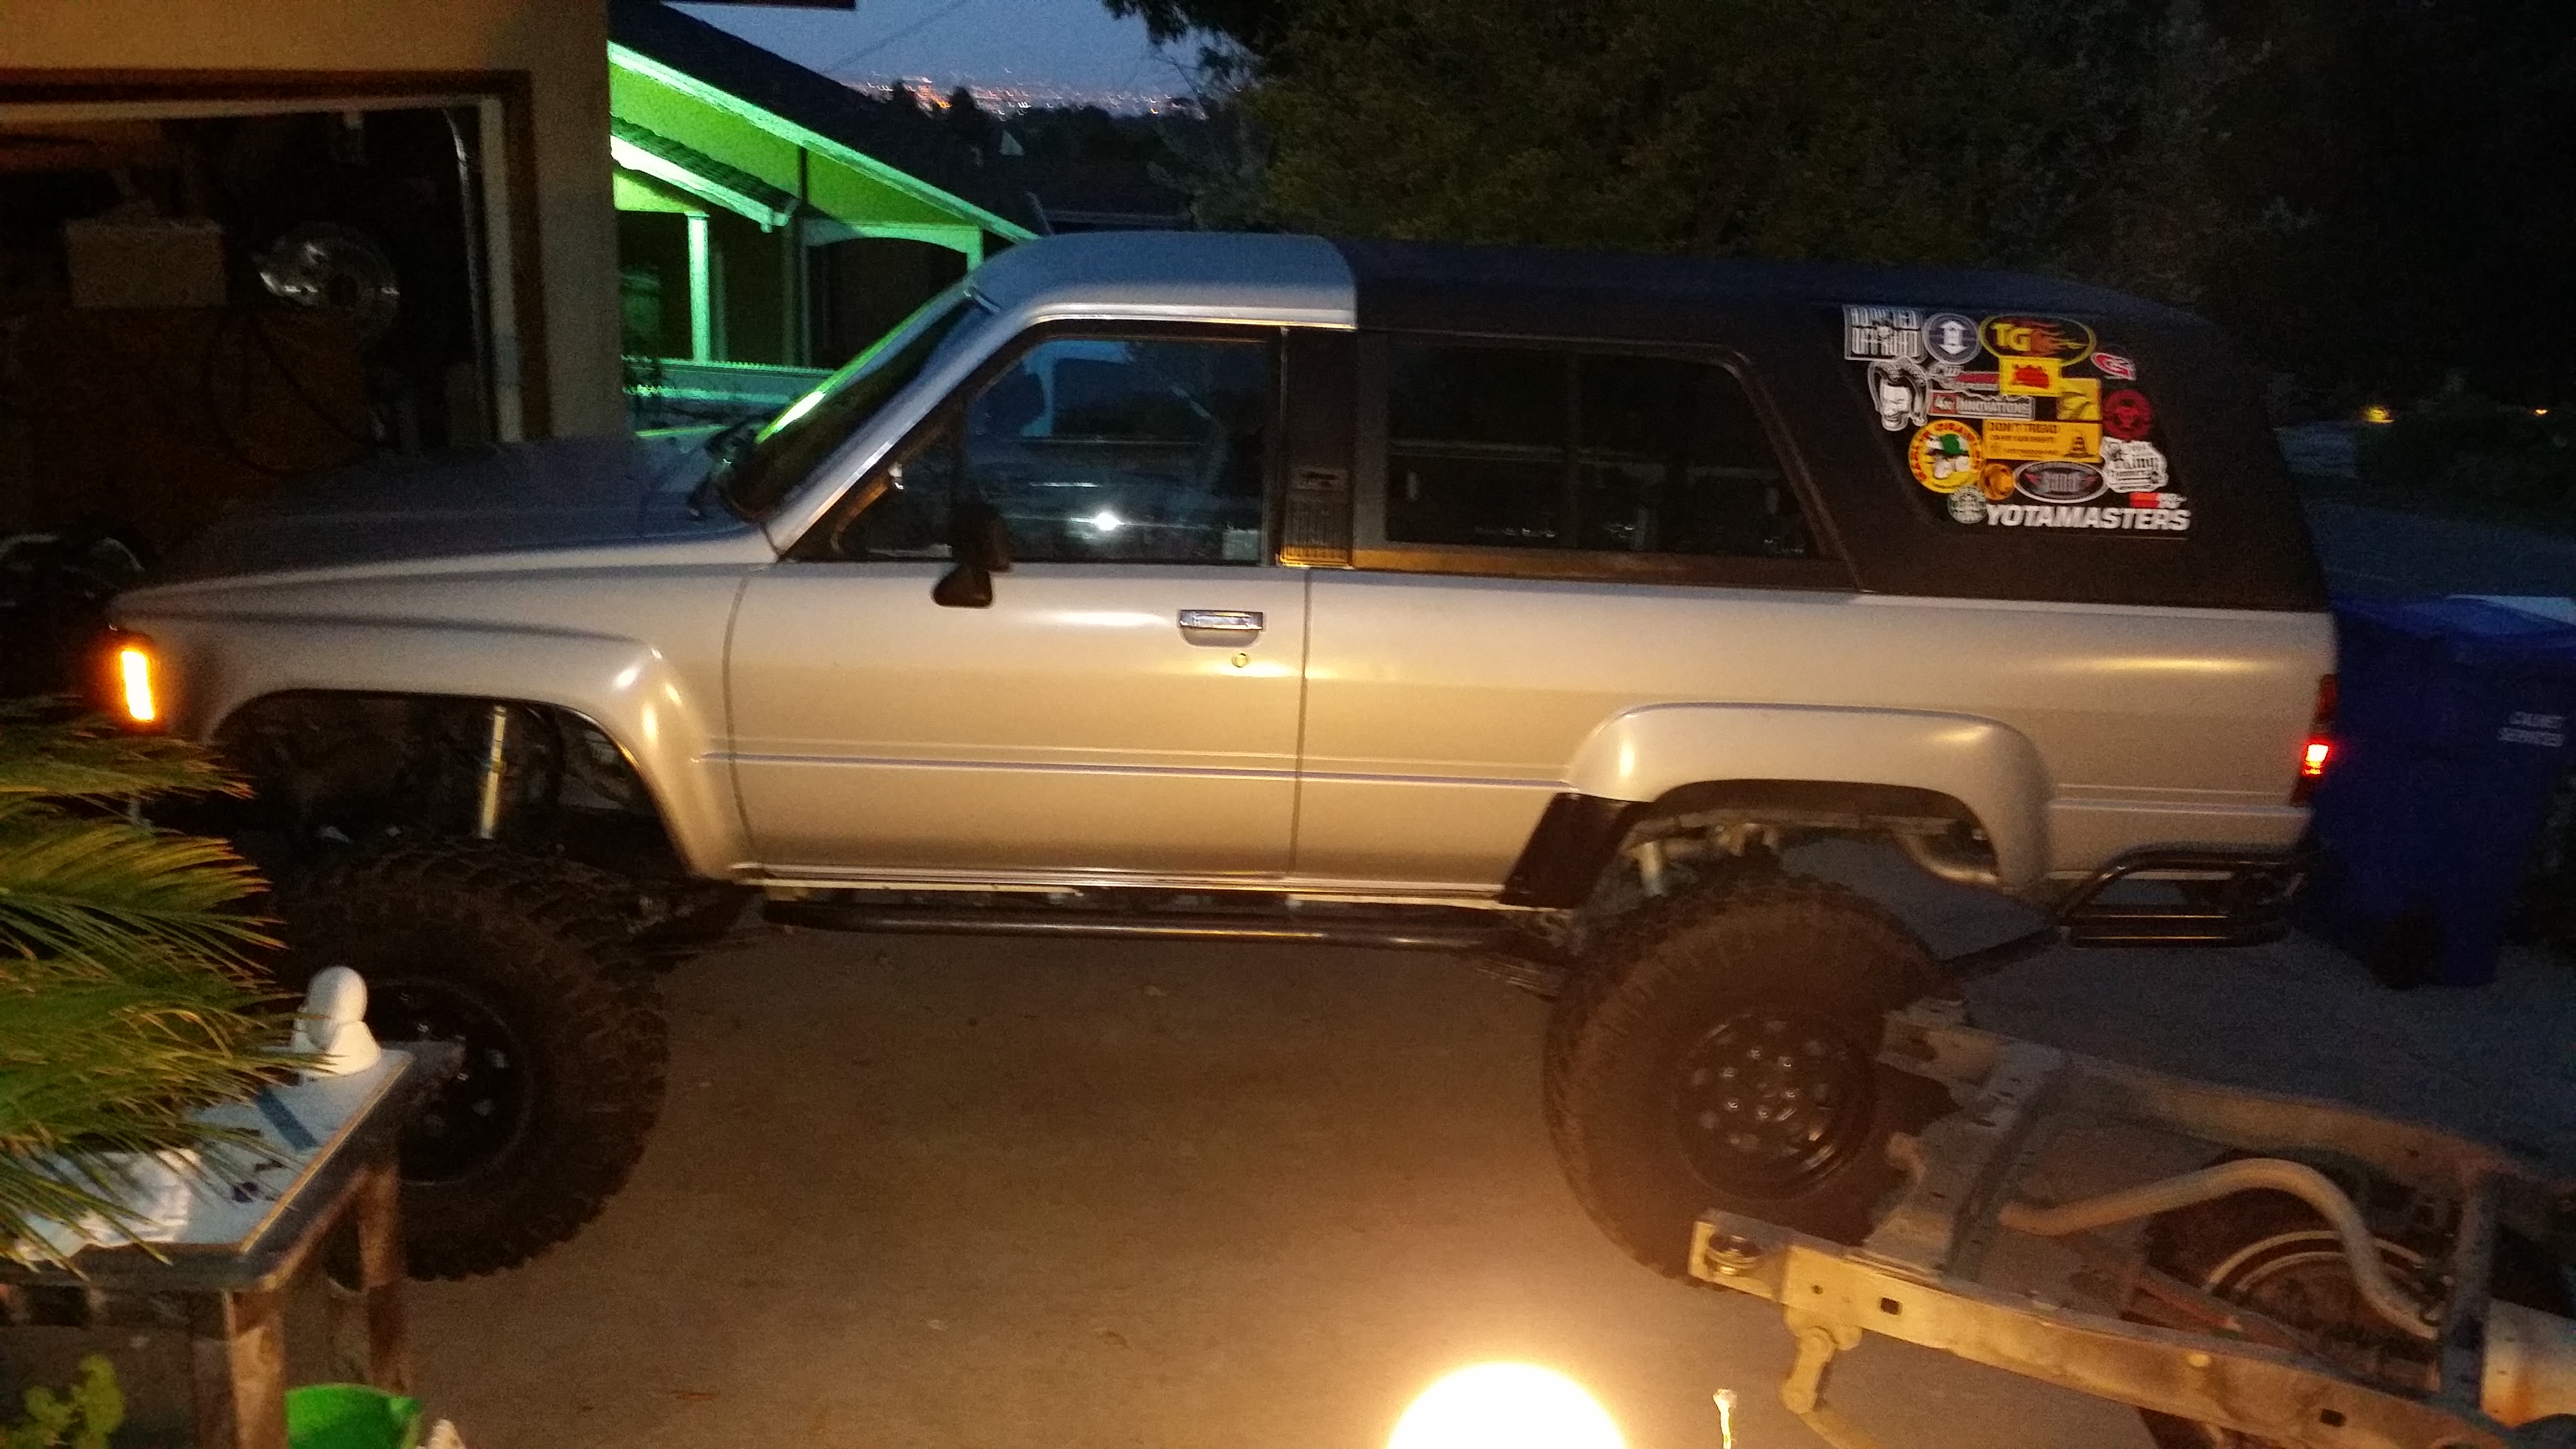
The missing flex shot of the elusive.... Suzy-Q the Silverback... Lol...
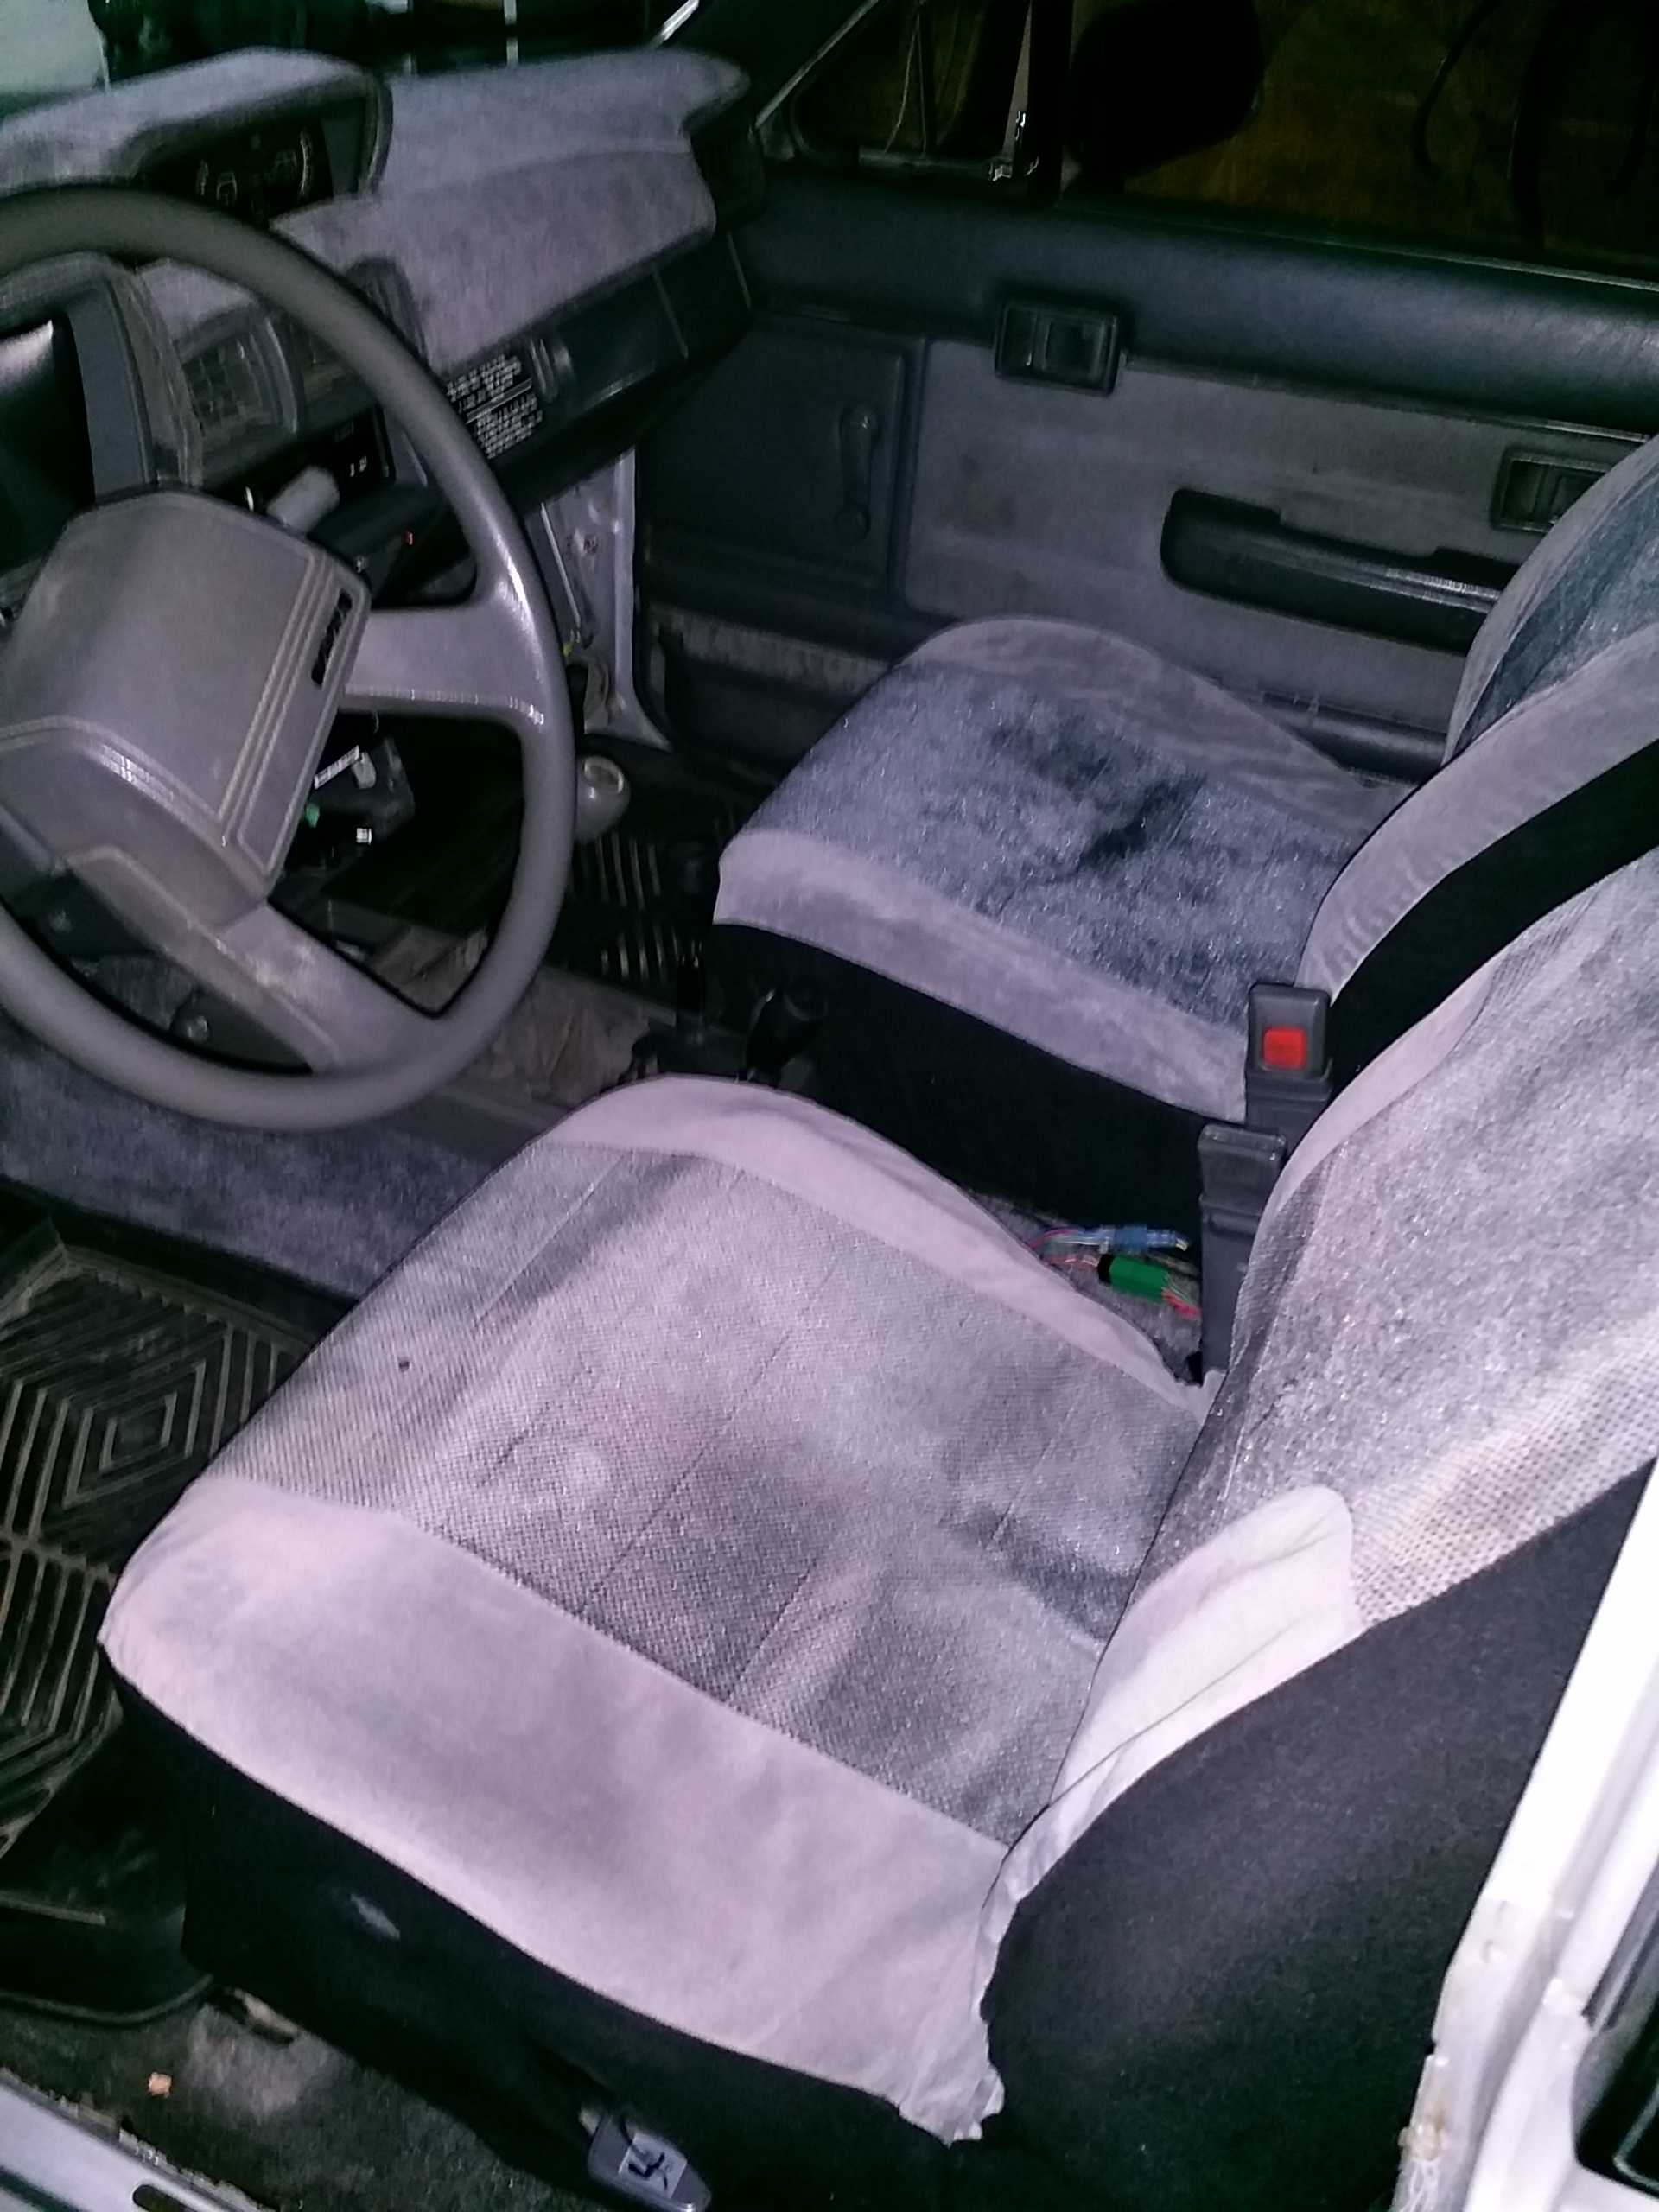
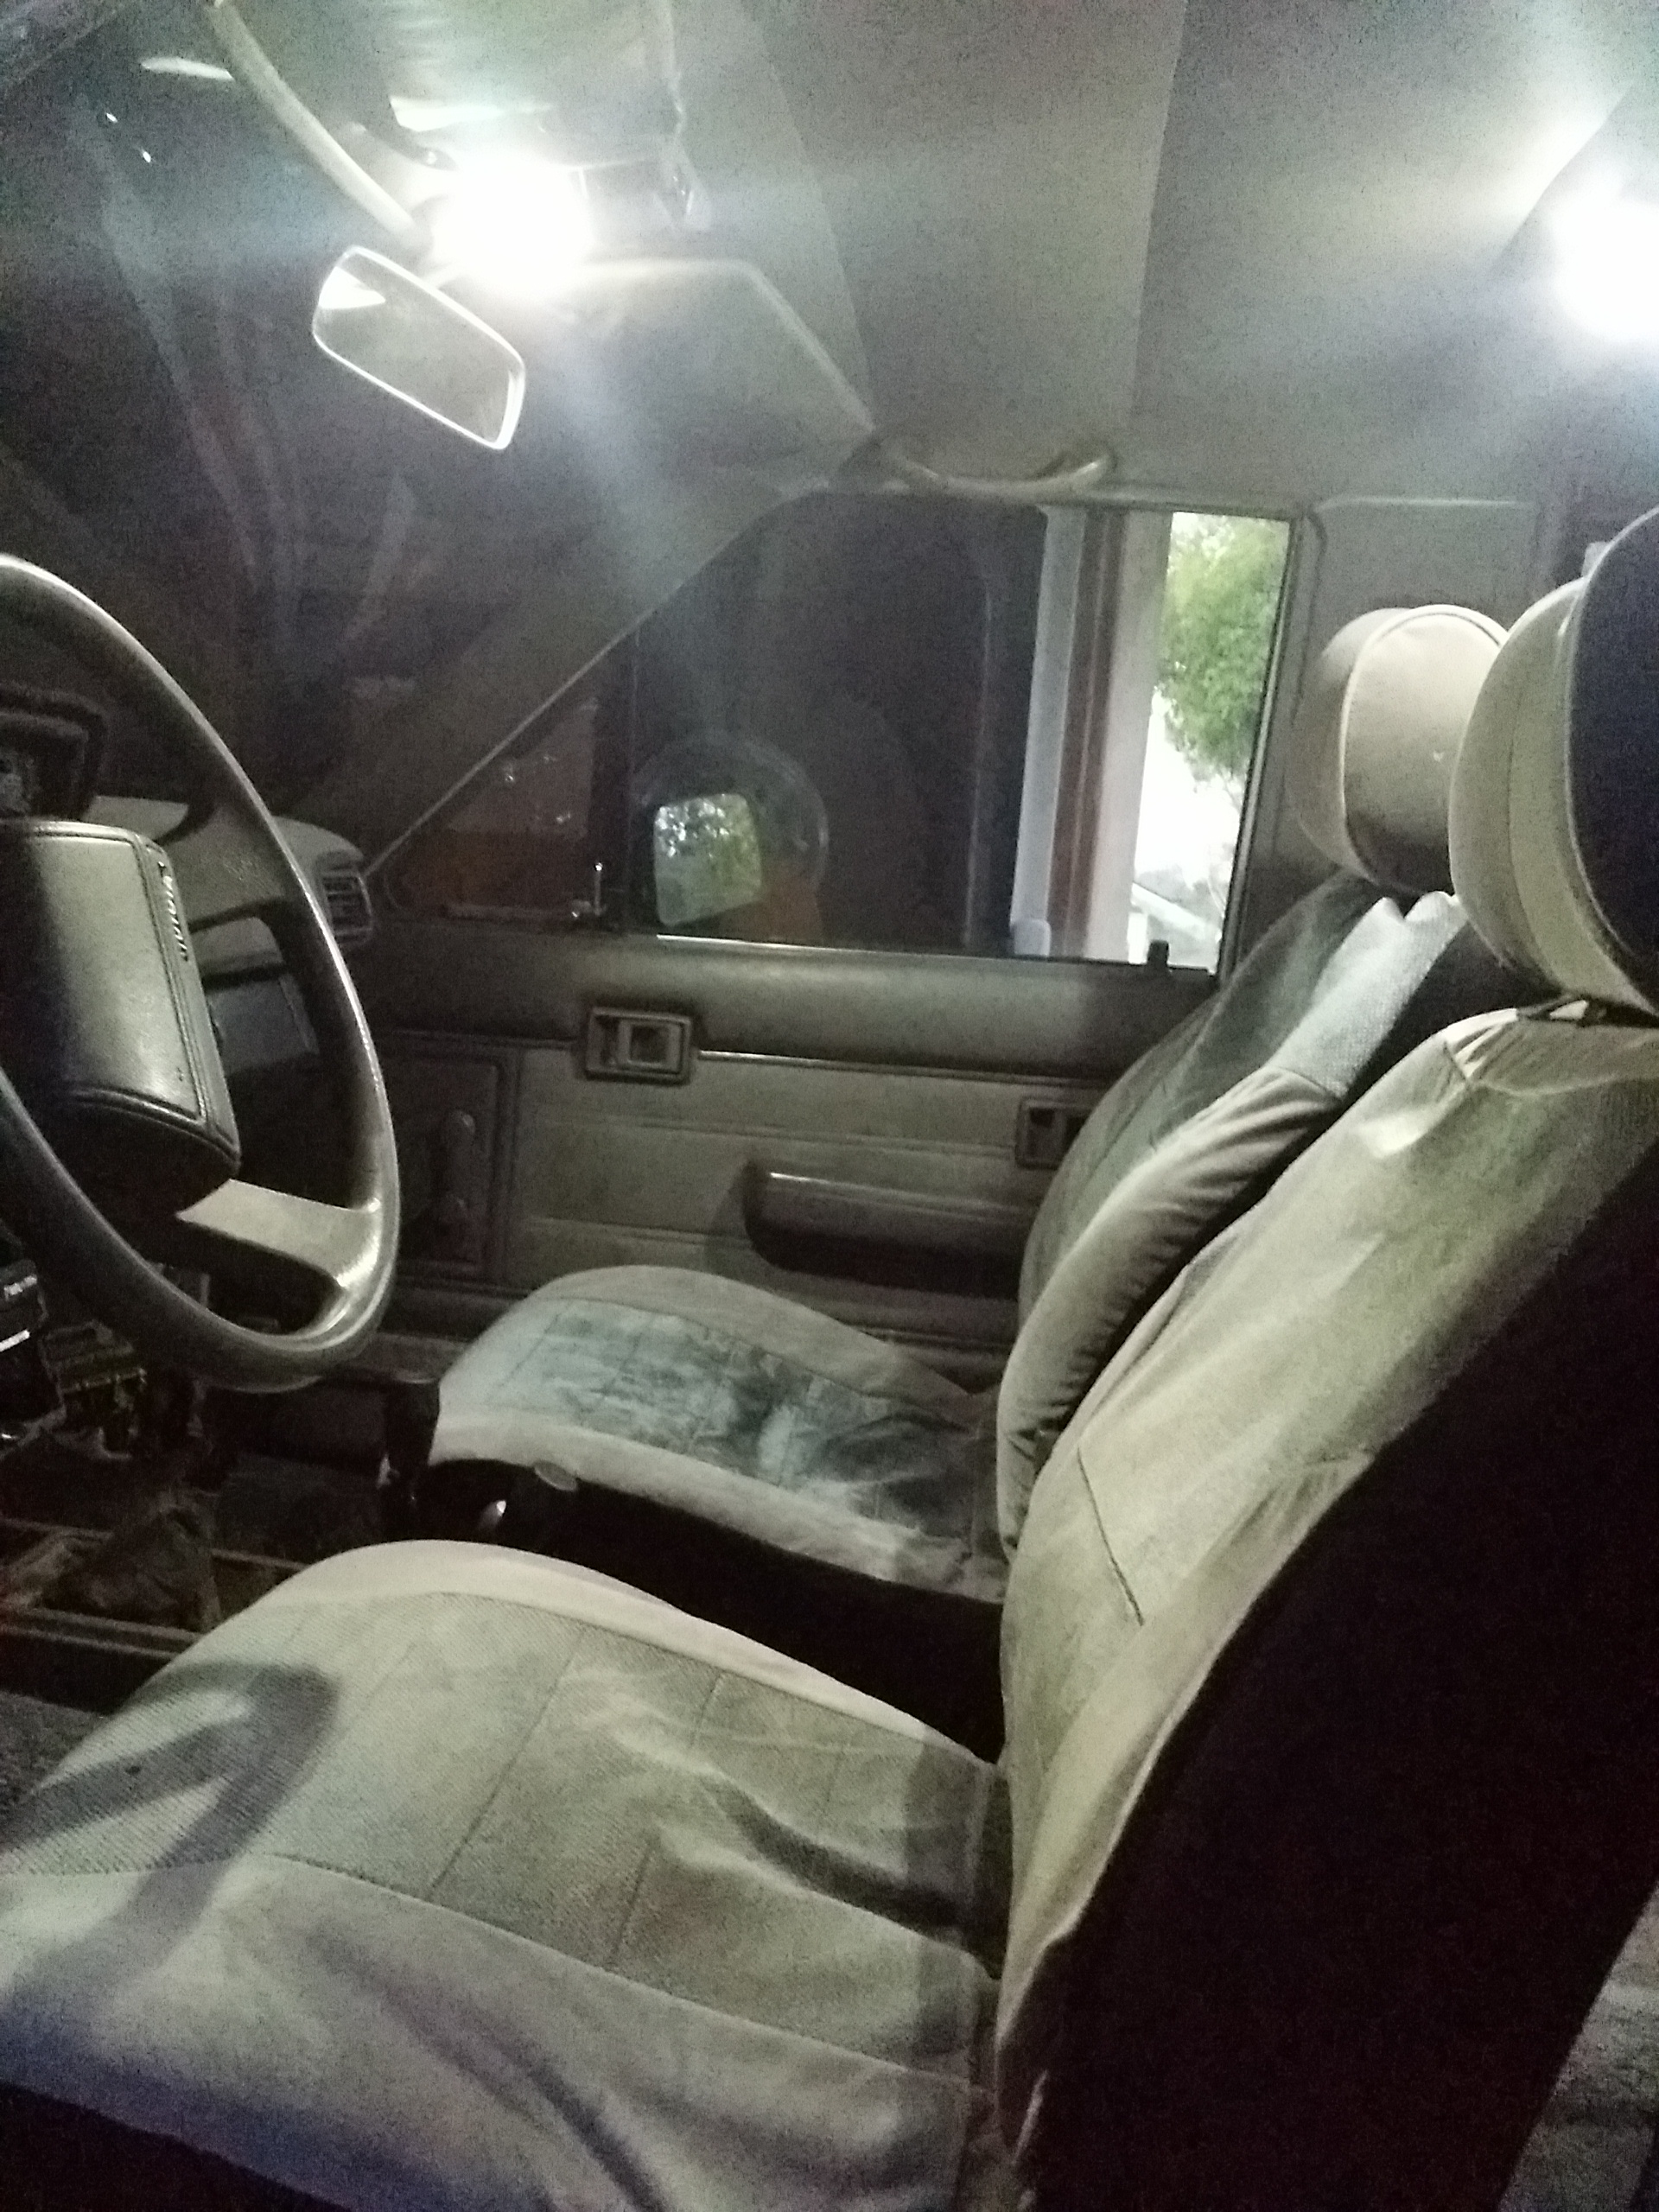
Clean carpet back in! I am very ecstatic how clean it came out...& Amps mounted and wired cleanly...
Coming together...
Tried to take this beauty out of my visor, to tape up a couple pieces, and it disintegrated. I managed to get it back together as best as I could. Call me nostalgic about this stuff, whatever, I enjoy it...

Let there be light...'ssssss. Lol.... Back in, with the rear view mirror light wired and cleanly to the dome light circuit coming up the driver side a pillar....
First time cruising around and taking her out to dinner! Lol....
Trip to the post office to ship off some parts...
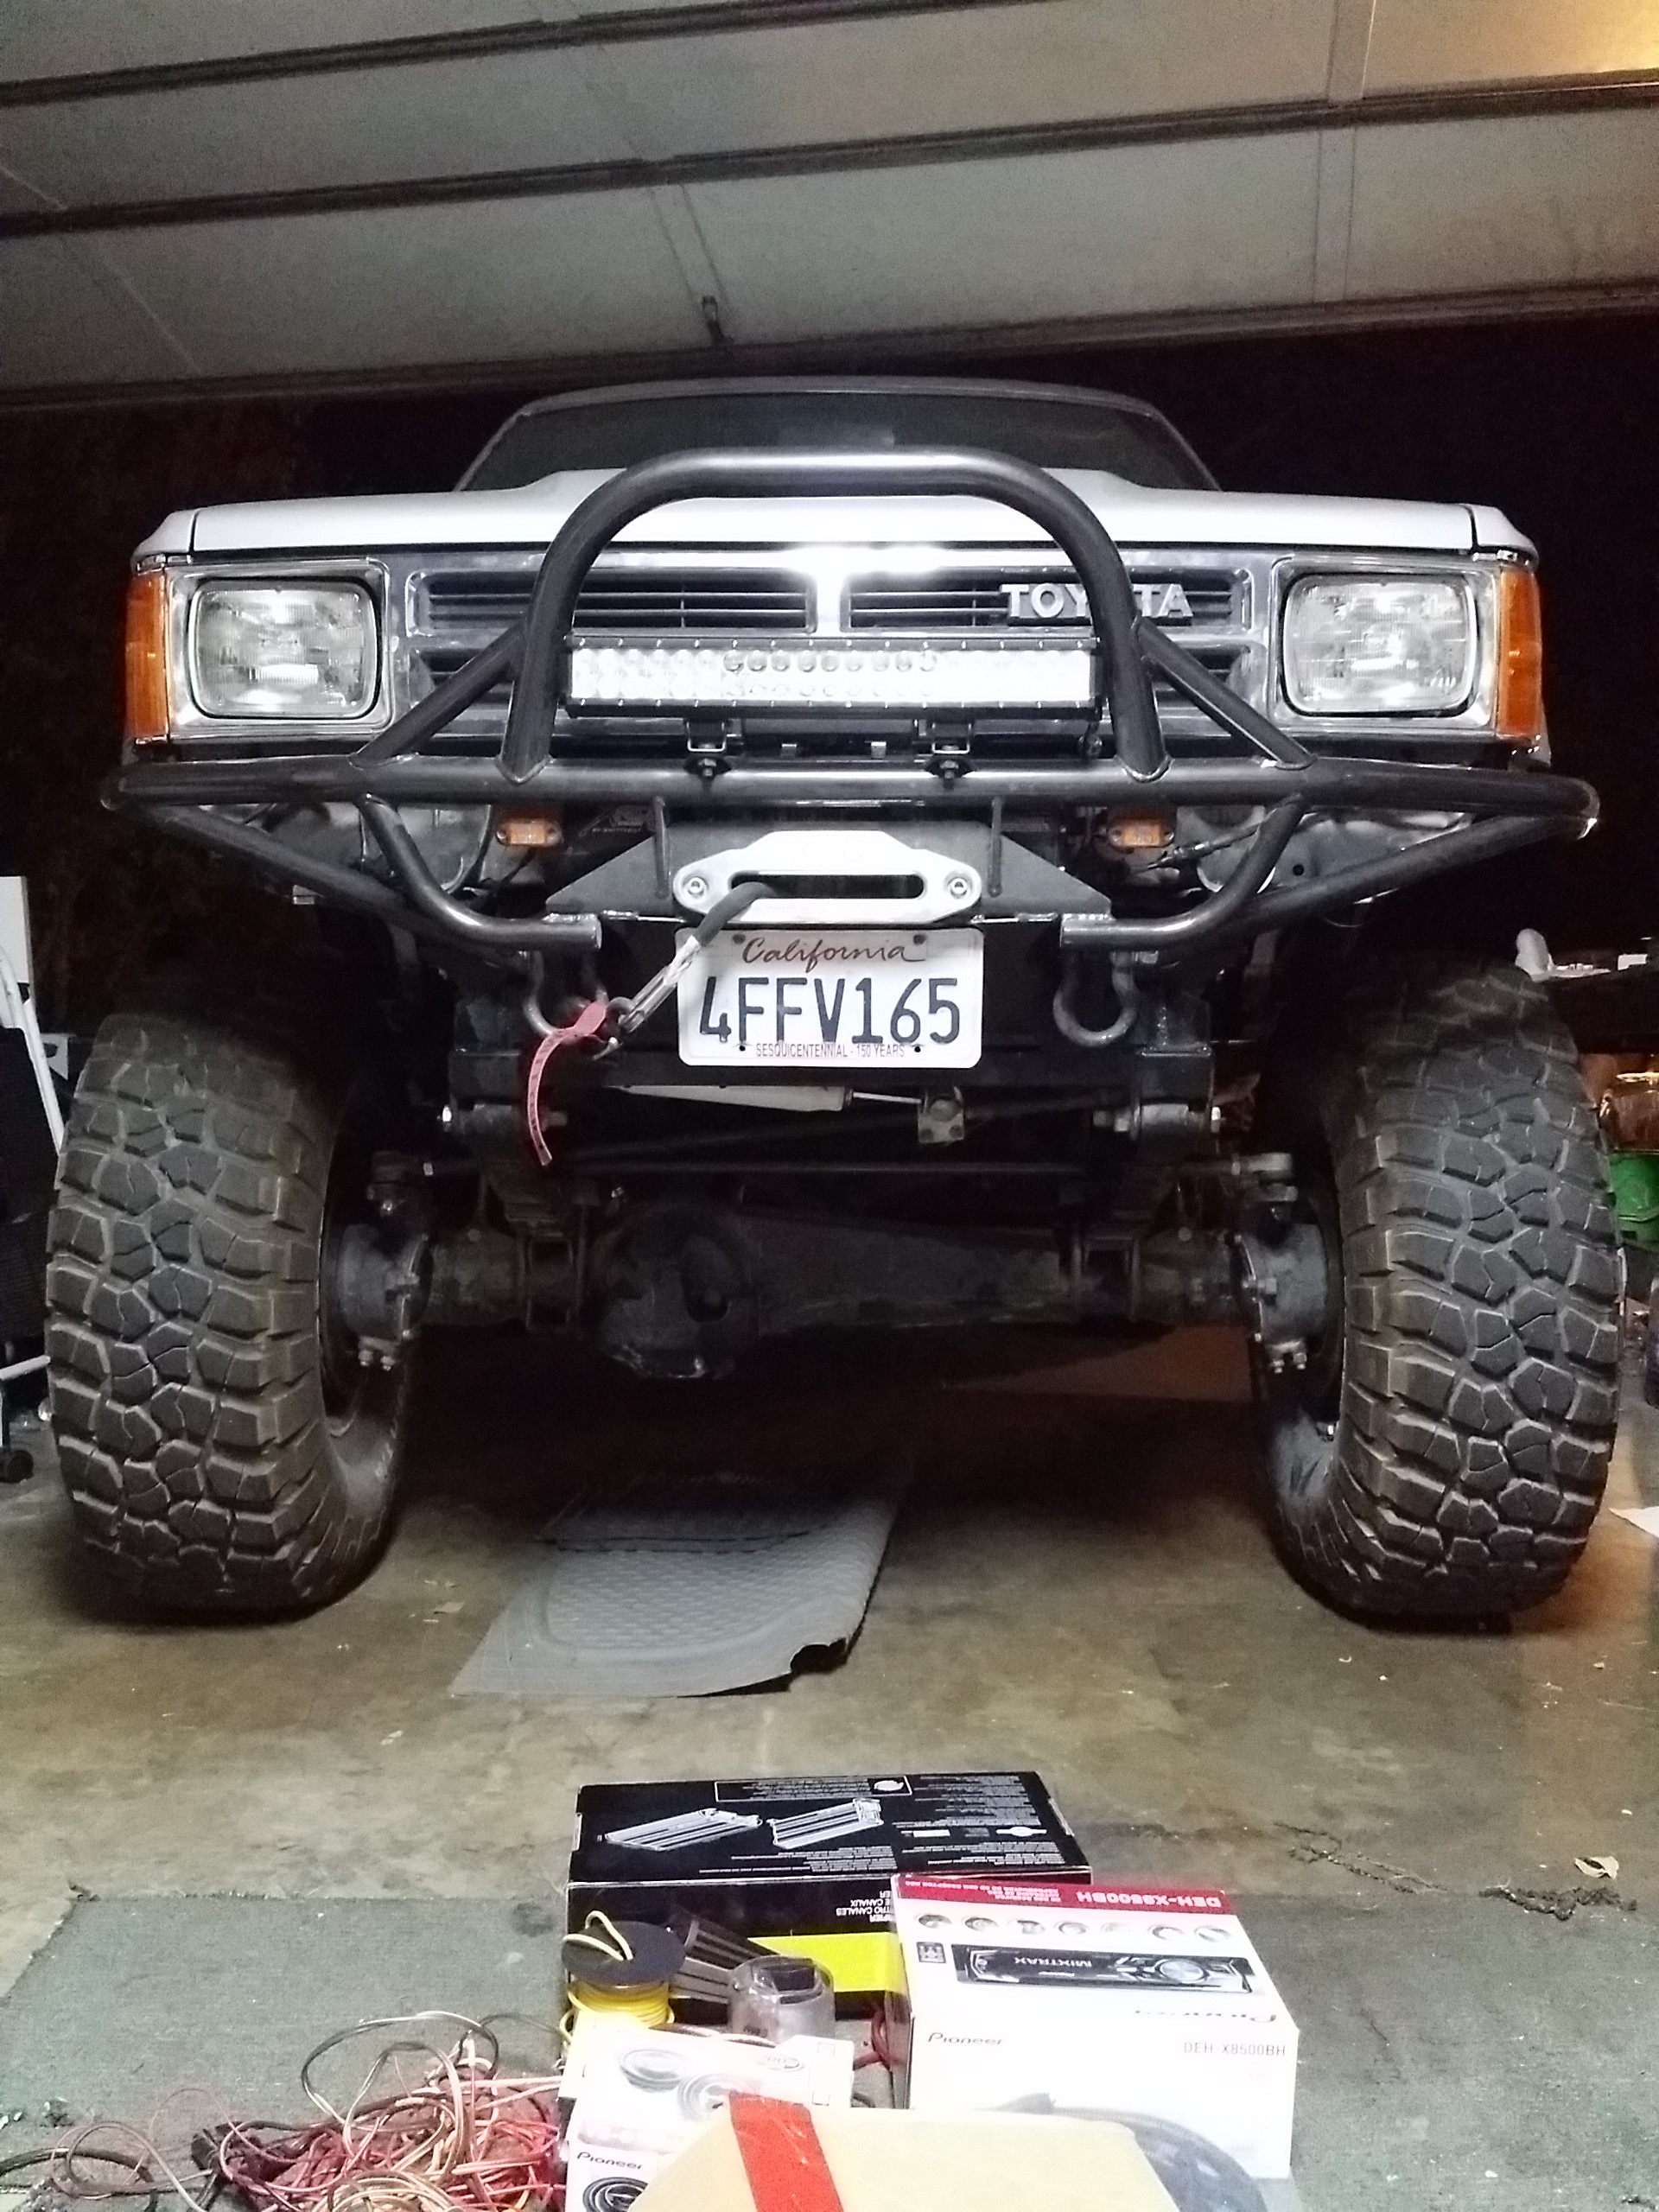
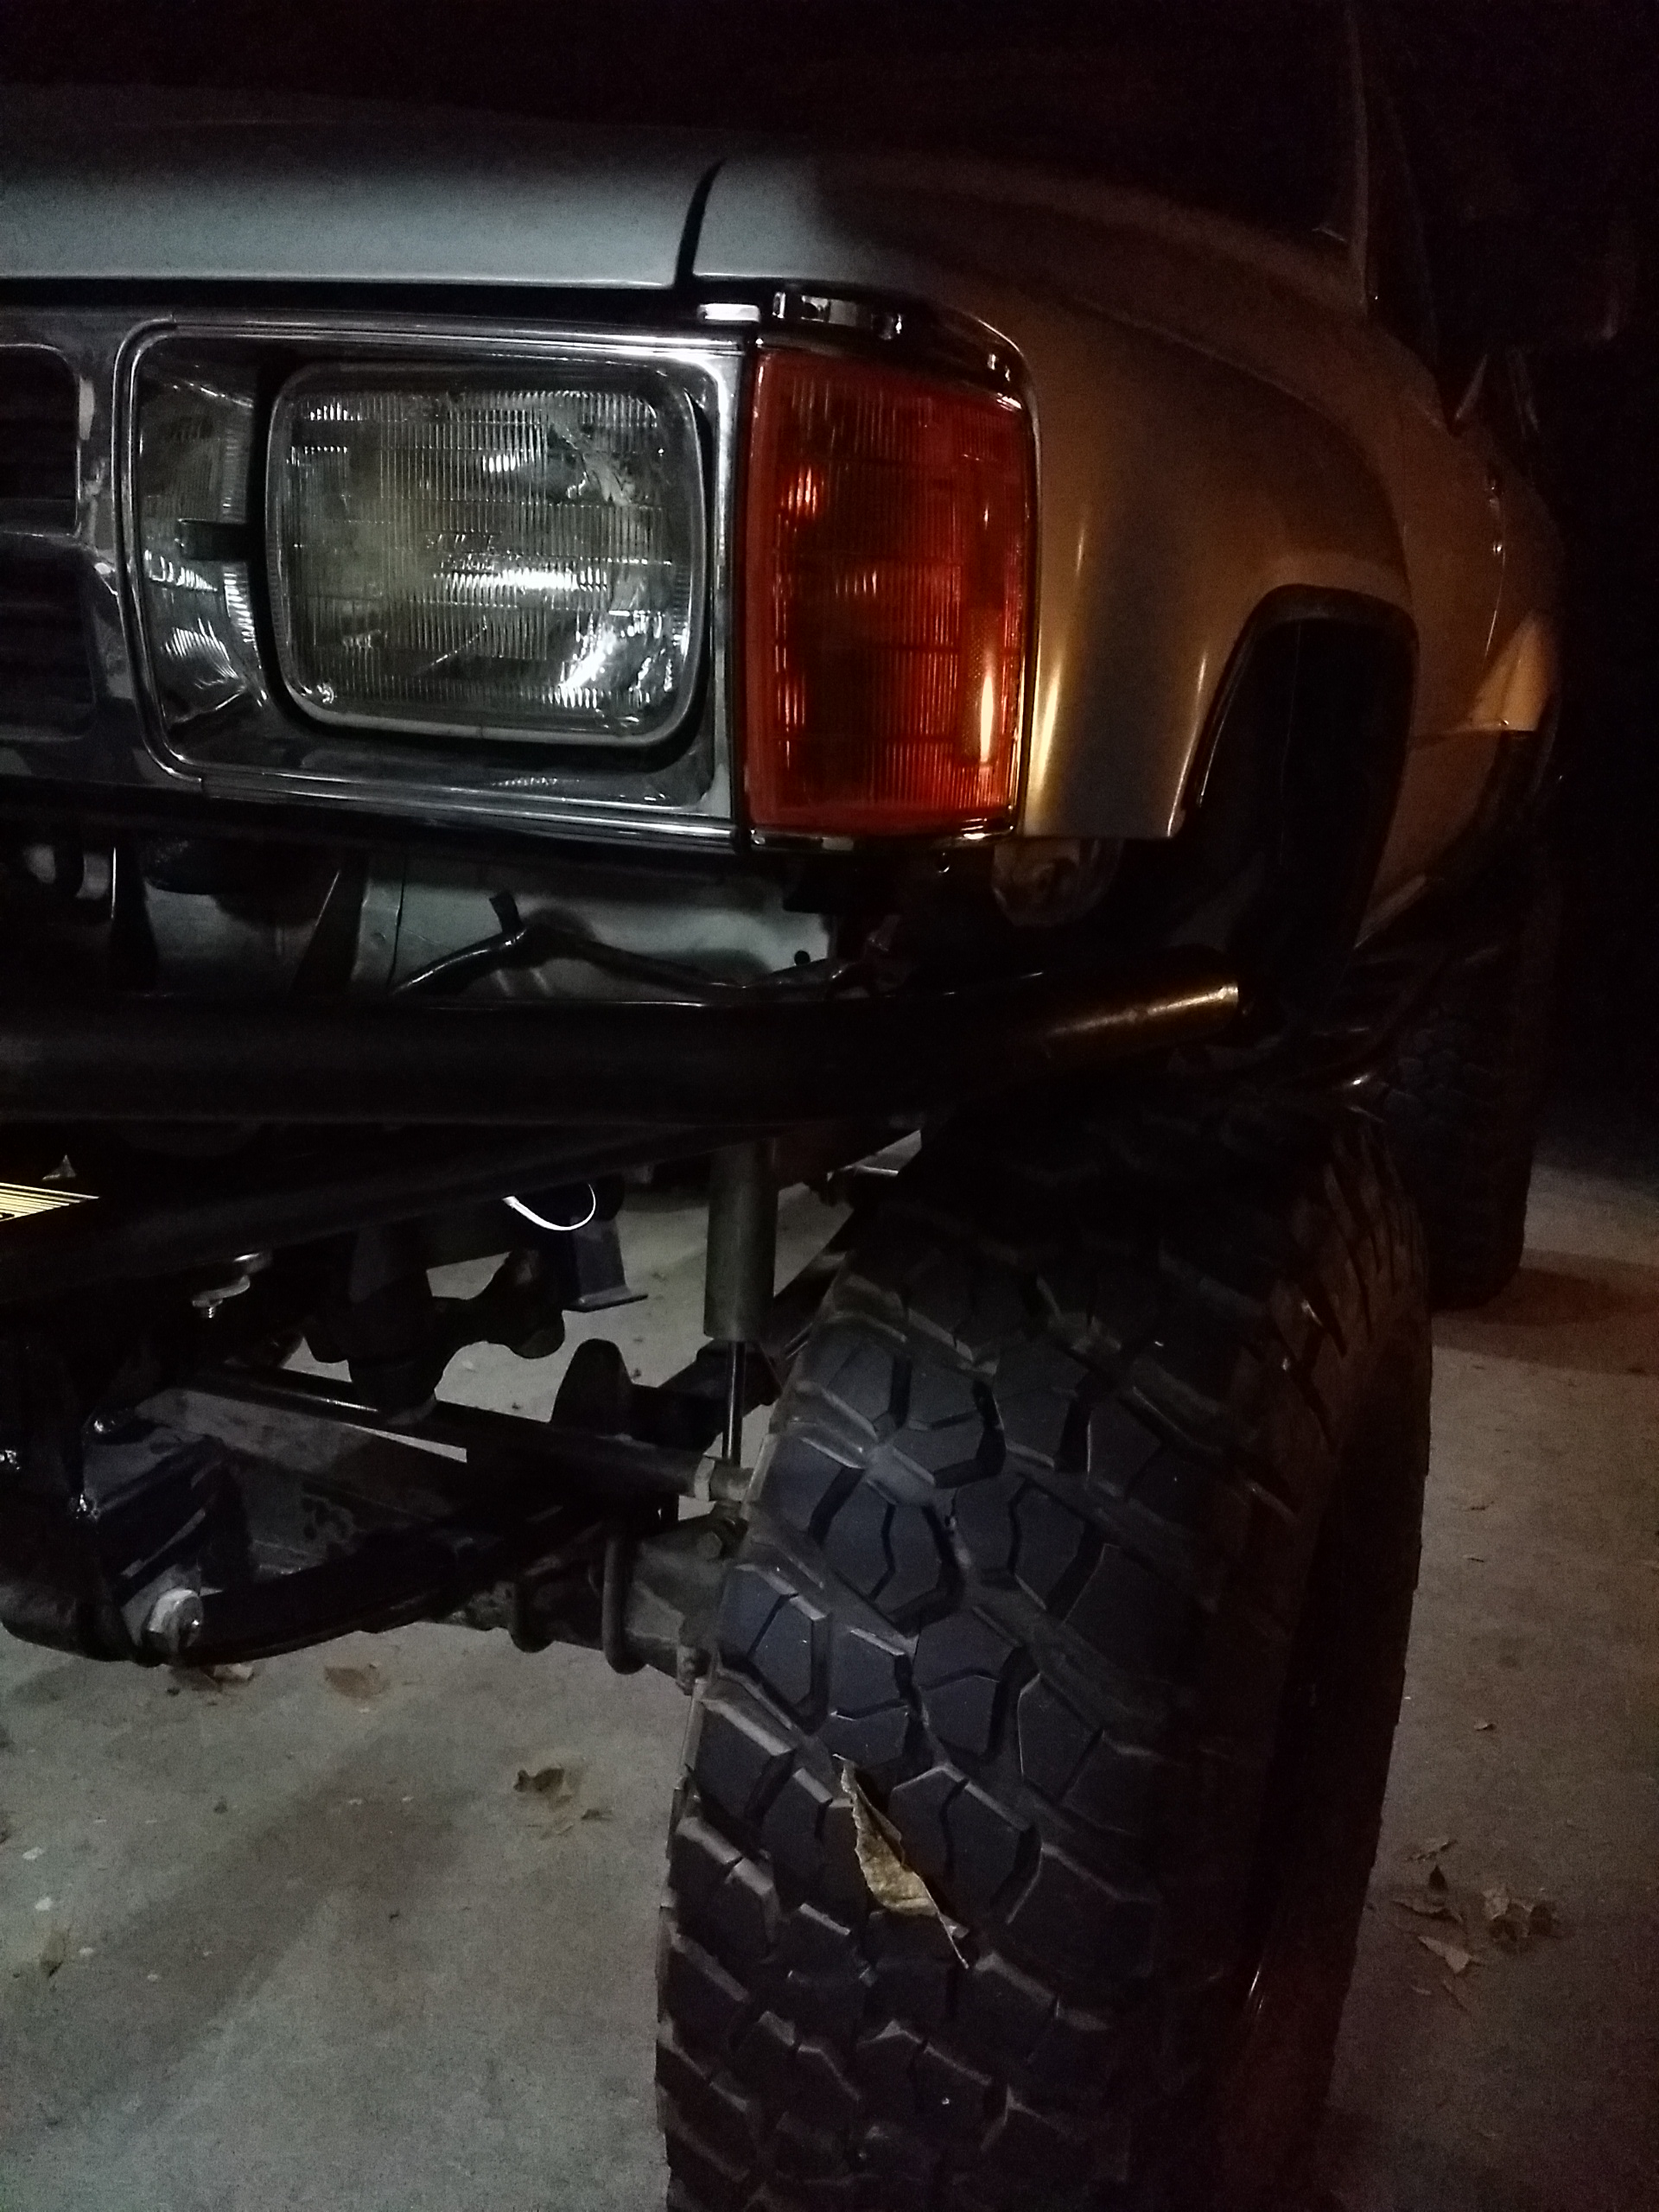
Here you can see where exactly the bumper up front is tweak, and why we couldn't leave the fender on one dropping the body down.... It basically pushed it in and up on the right side. I already have someone that is willing to fix it at a frame shop...
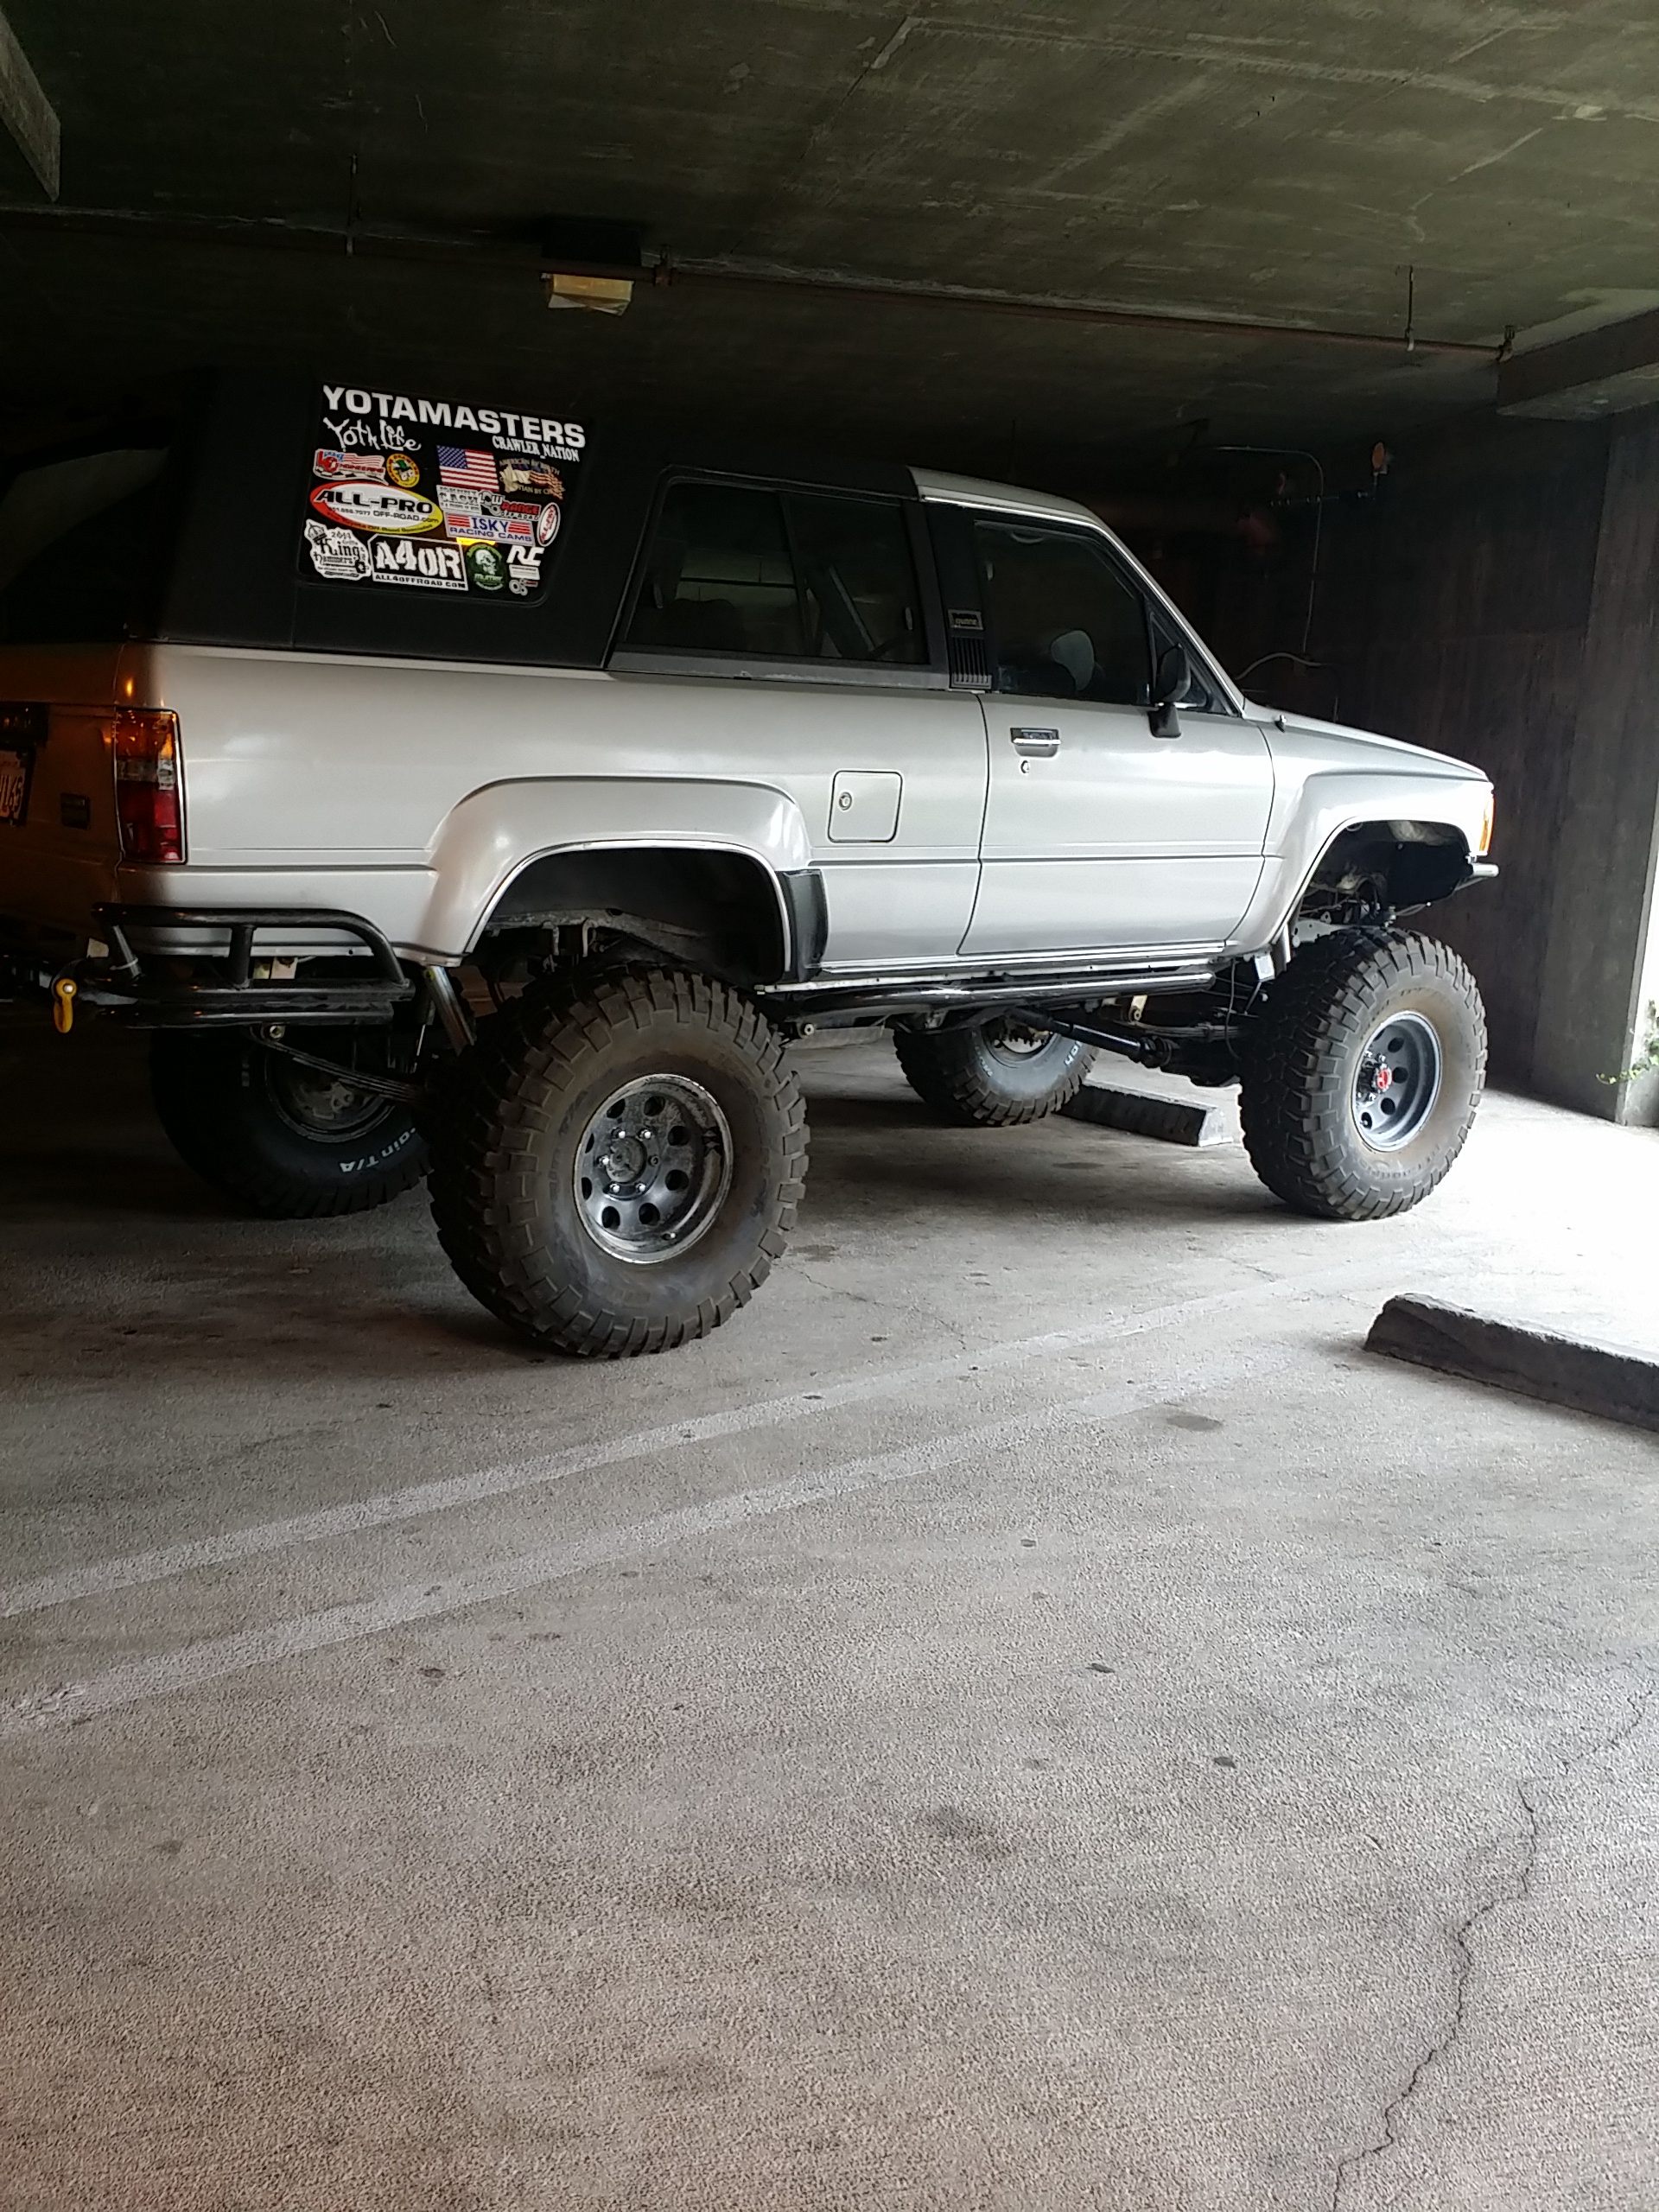
A little shot from above....
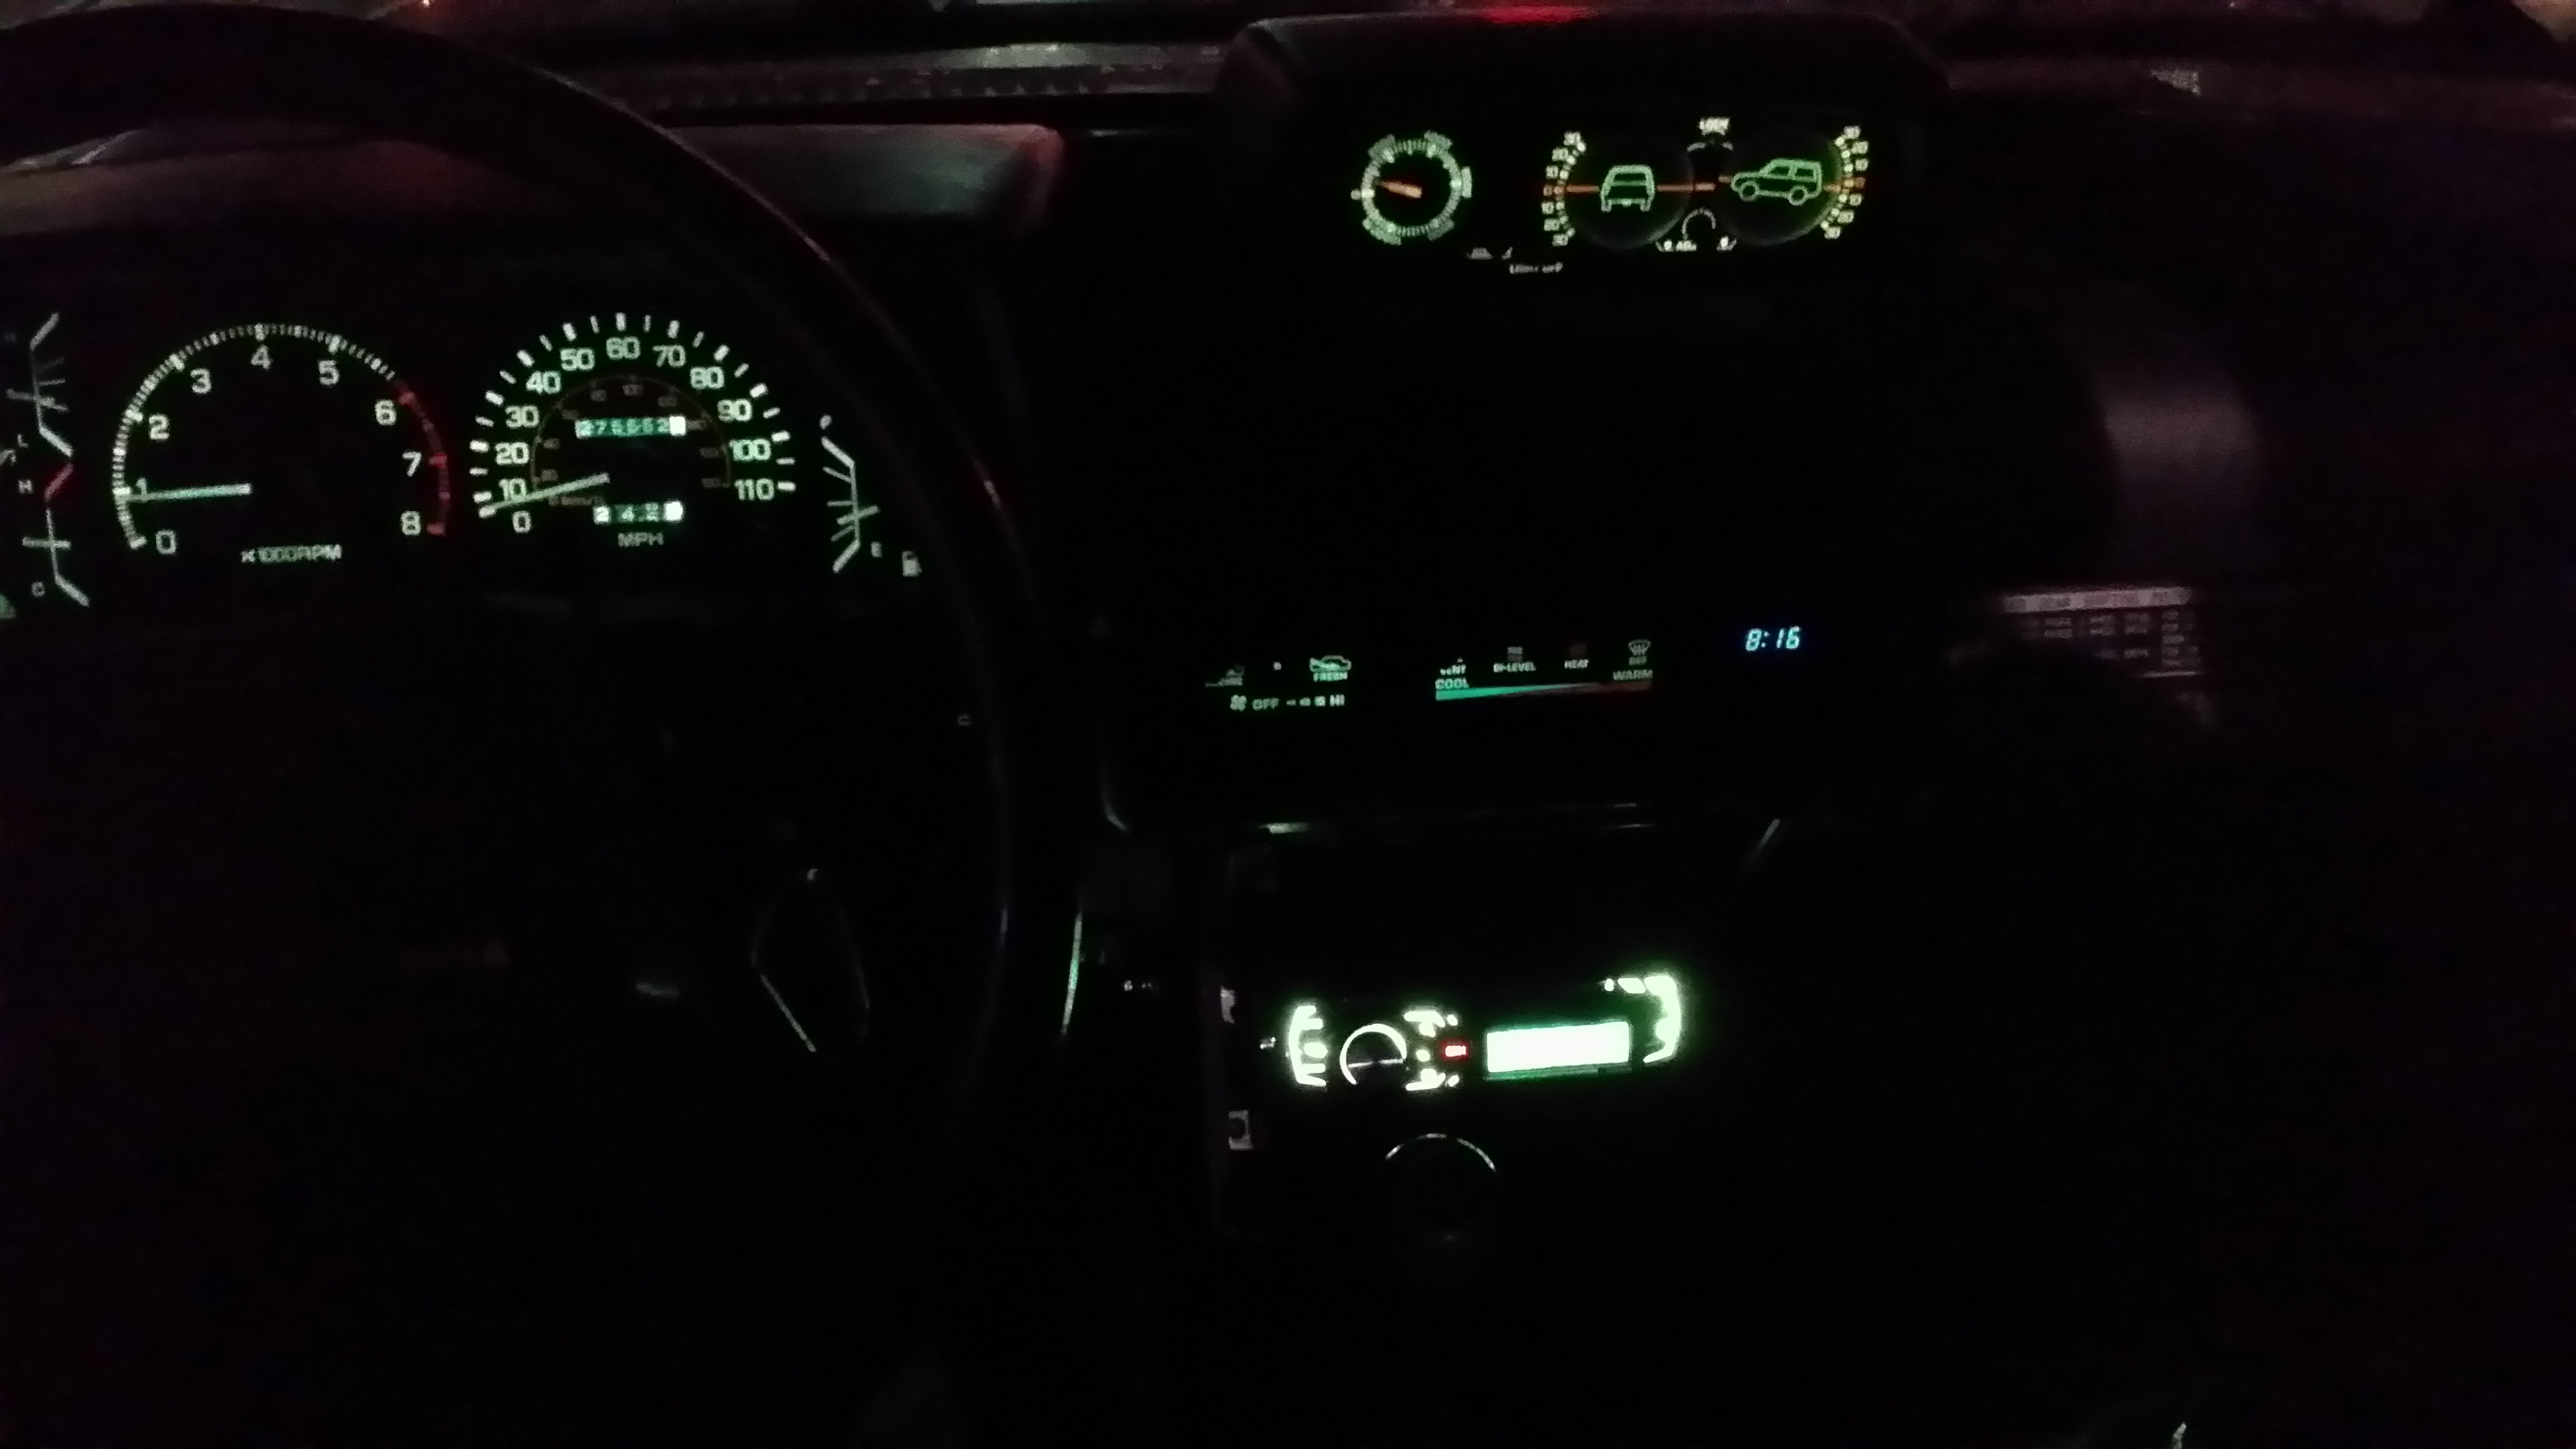
Incline meter, clock and glove box light, all working as they are supposed to! .....
.....
Absolutely love this Rubbermaid glove box organizer!
Grabbed more than I needed to run groups of wires through the back , to the front, and man did it come out cleanly....
Vids;
Electrical drain and Weird lighting, Solved!...
Homeless connectors home found! Lol.....
Likely going to switch to this switch for the onboard air.... ķ I have four of them total, so I could run the onboard air and all free of my offer a light switch is in the same spot that I have 3 soft touch led switches by chest switching to the 89 radio bezel....?????? Thoughts ??????.....
OBA....
Re-upped my annuals....

Grabbed one of these as well ( I'm already a member of the calling the police and firefighters fund )...

***********************************
I also wanted to mention that I will be selling tons of stuff, half of which is already sold.... Here's an example...
All bushings are mint and washers are there....
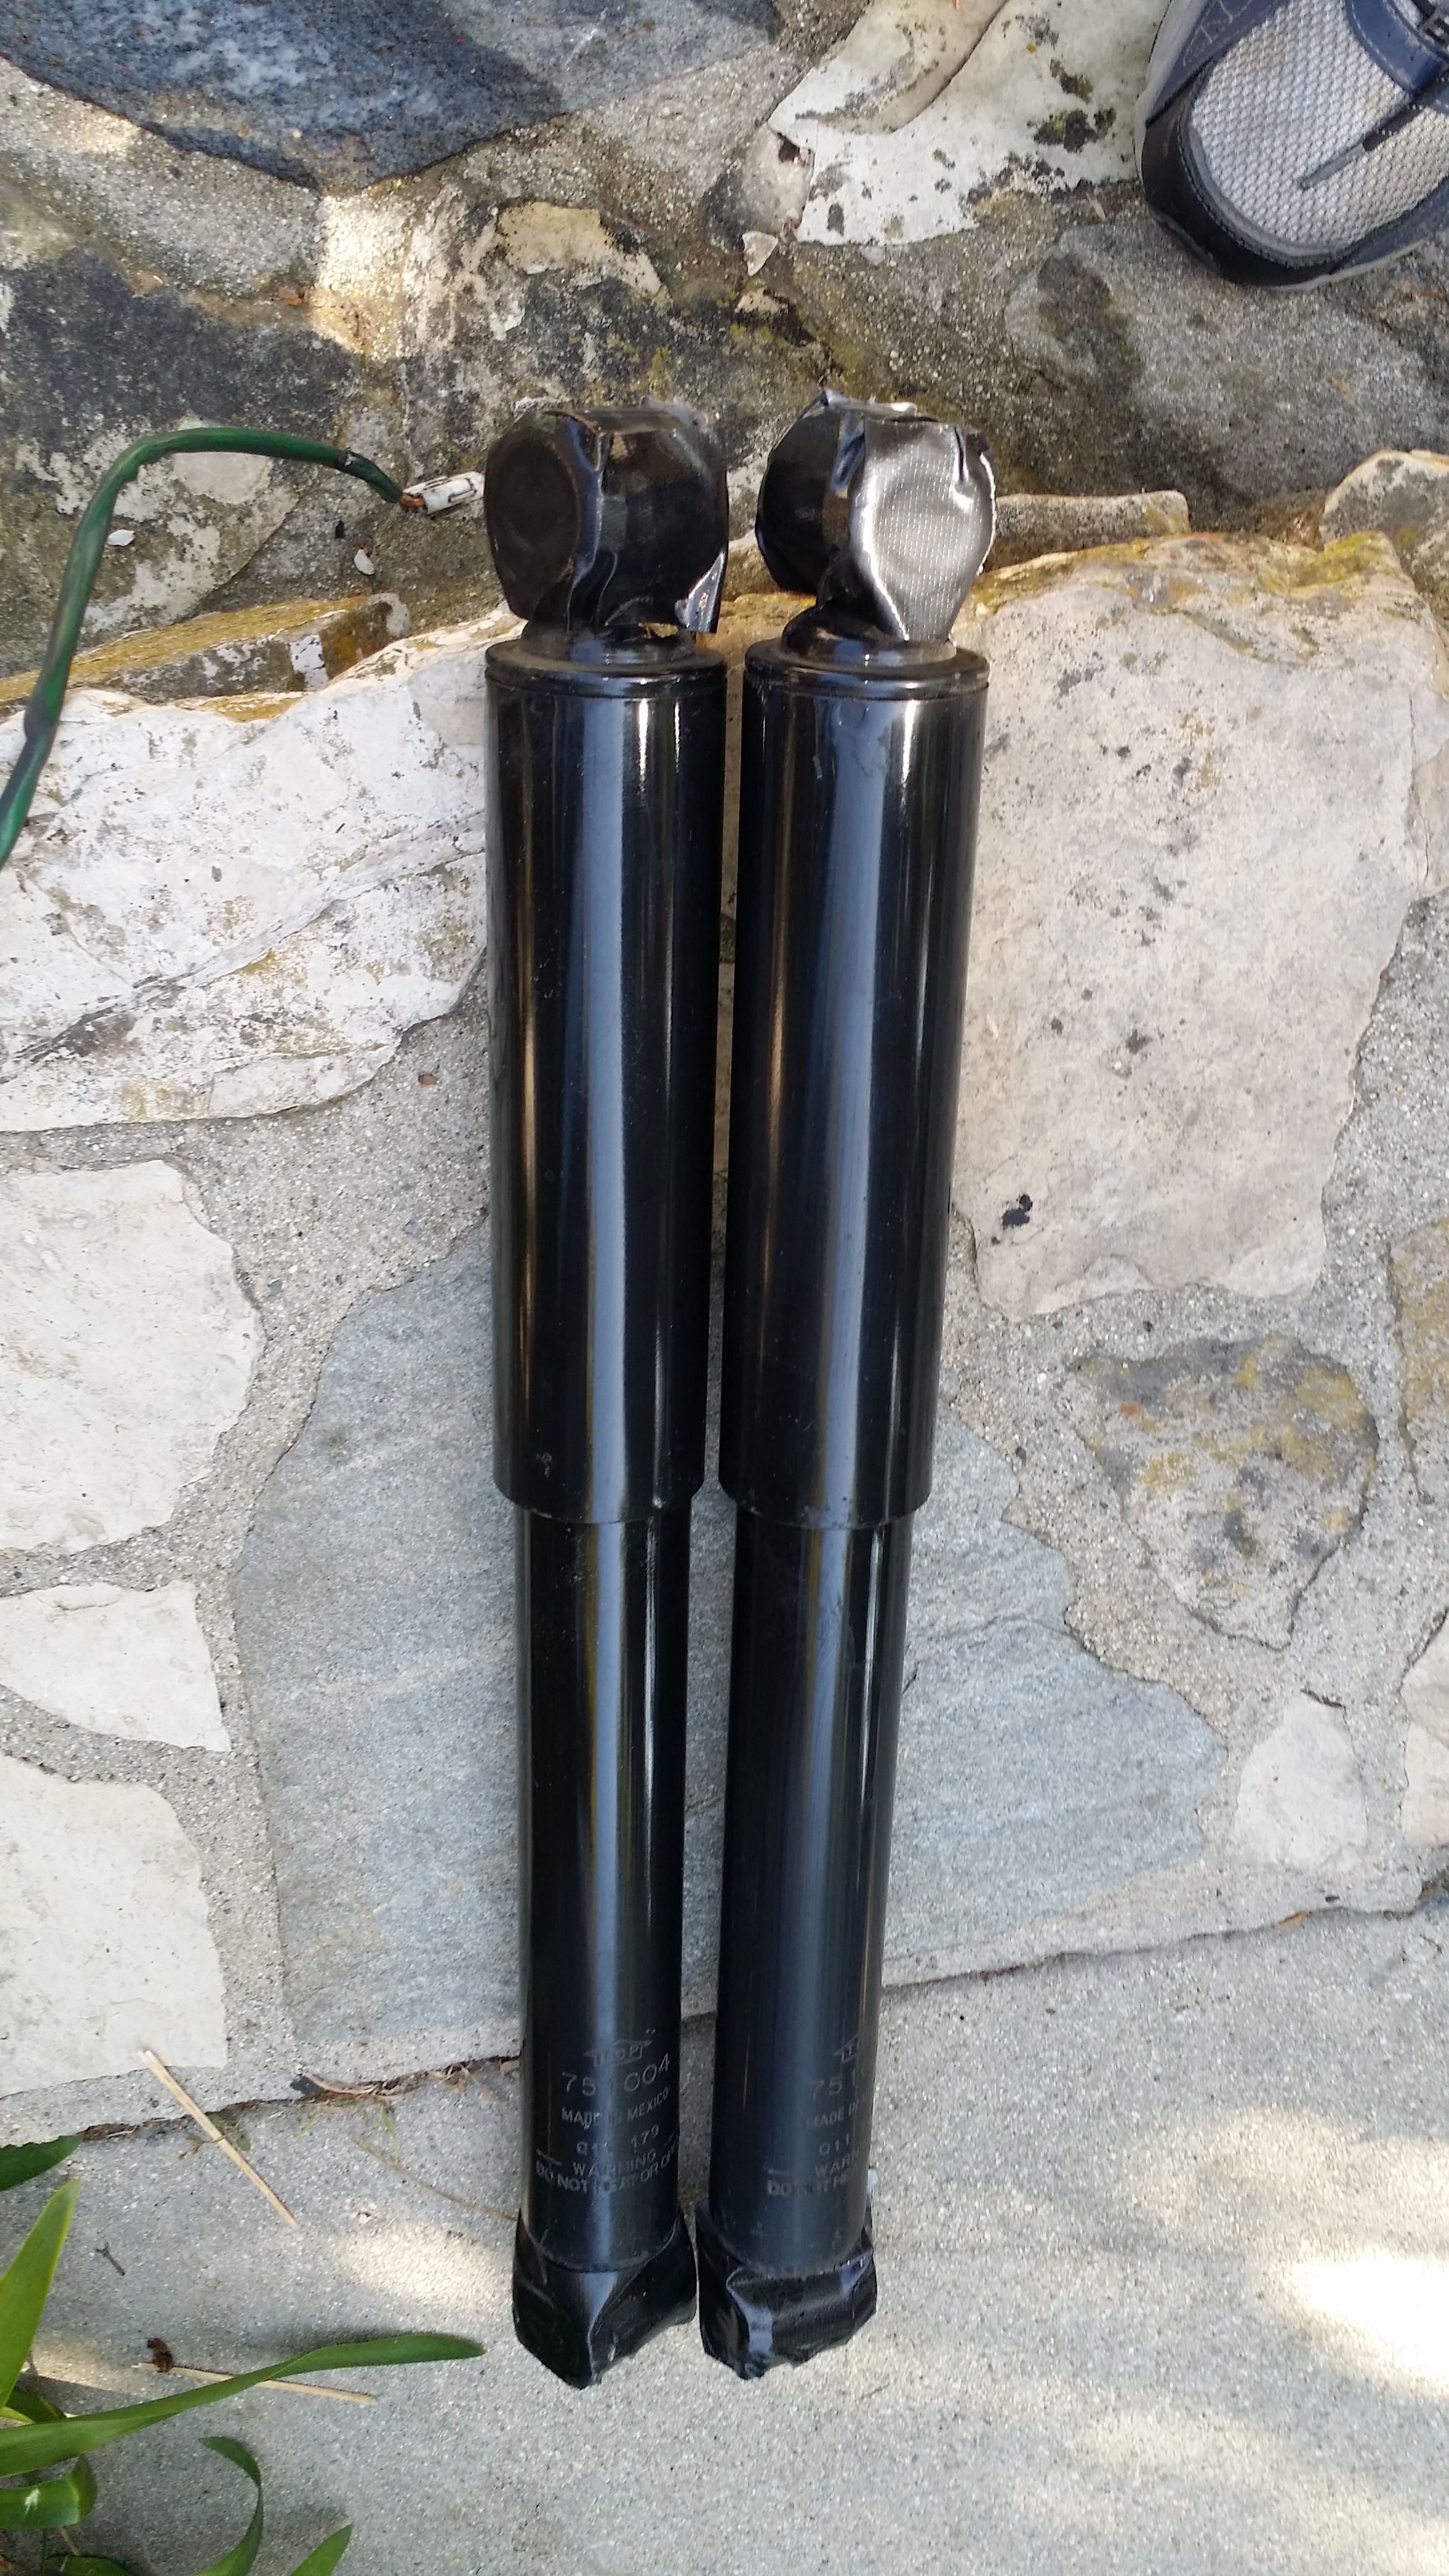
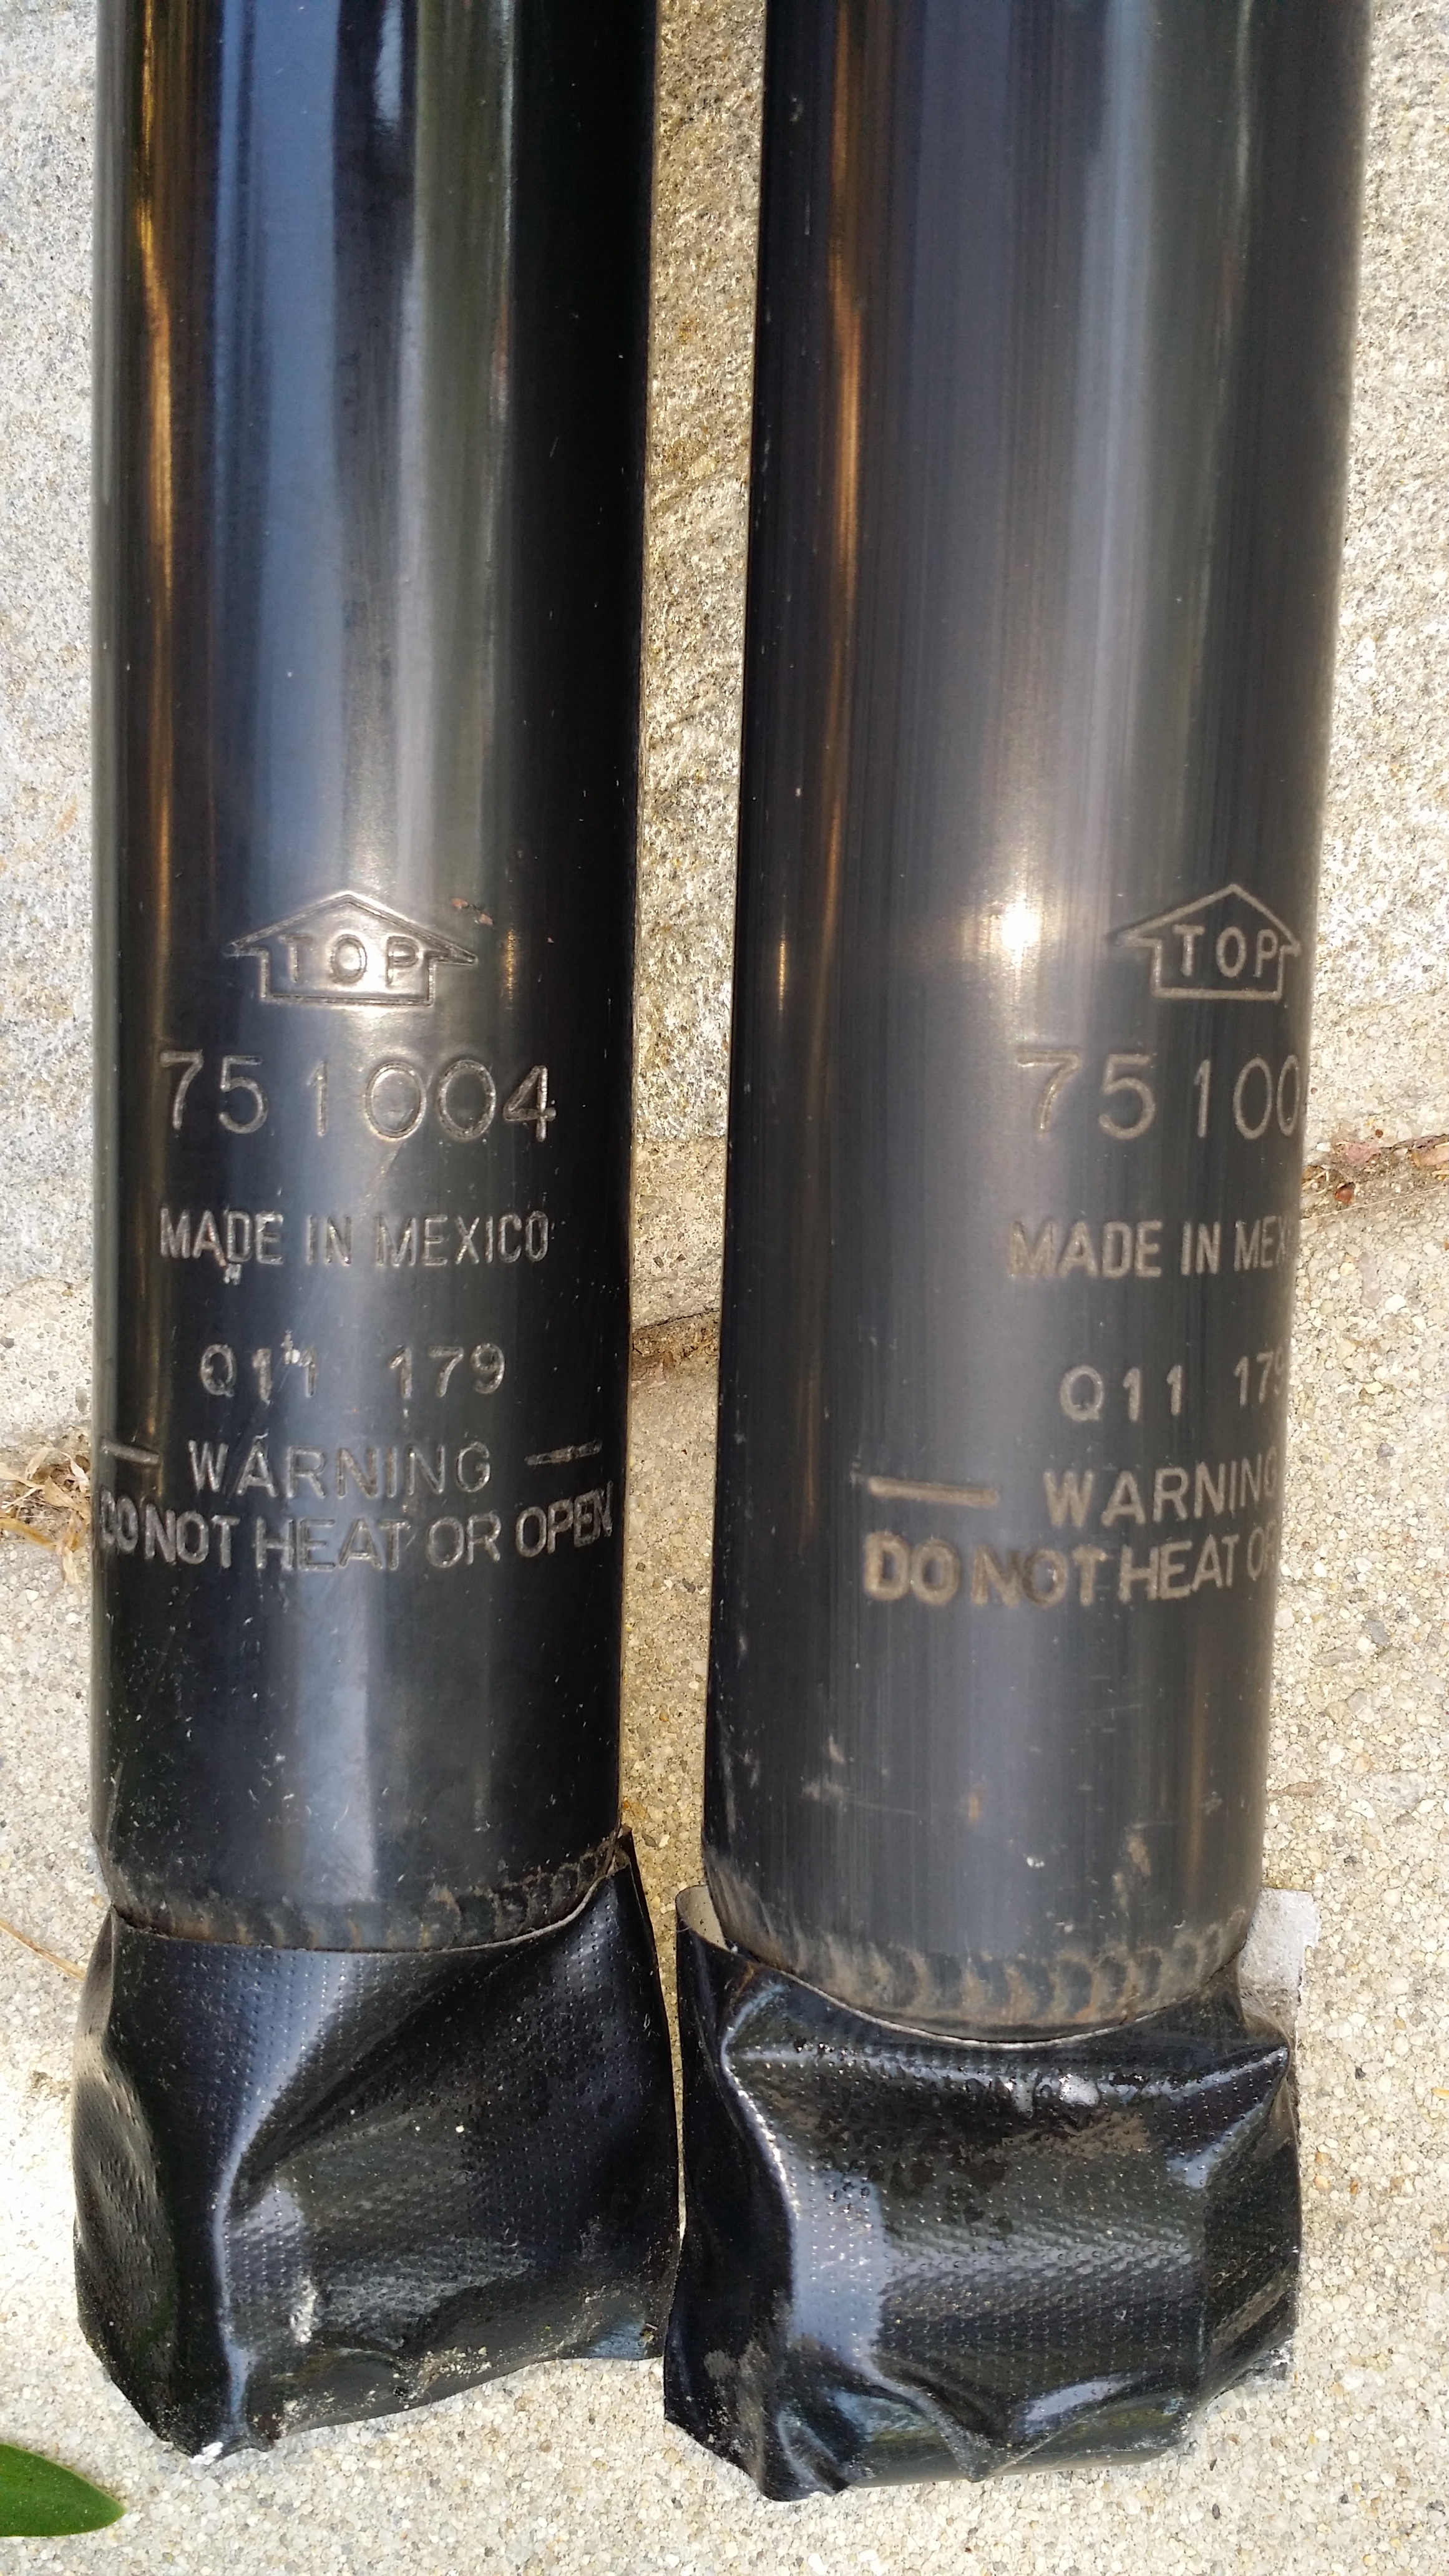
Sold -->
21$ shipped? -->
Etc.....
First of all, I just want to share that I am grateful everyone who has helped me with electrical stuff. I have really got a decent grasp on this now and I have wired everything in with solder and rap and it is running really clean throughout the truck. Nothing to be ground on with the feet or just laying everywhere inside the panels. It is tight! Thanks again guys!....
One of the videos is about 15 minutes where I explained about how to take the dash of and put it back on and why I was having the problems with the connectors, exactly ! It also explains a few other things.... I'm just going to post everything in a flurry as I'm very tired.....
After having my previous 30 stolen, I gladly went back with my gift card for my birthday and grab these, after getting absolutely sick of using the crappy to average stuff that I had. I do miss my snap on crimper, but this thing is fantastic and makes warm butter of what was frozen ice milk! Lol.....

The missing flex shot of the elusive.... Suzy-Q the Silverback... Lol...

Clean carpet back in! I am very ecstatic how clean it came out...& Amps mounted and wired cleanly...

Coming together...

Tried to take this beauty out of my visor, to tape up a couple pieces, and it disintegrated. I managed to get it back together as best as I could. Call me nostalgic about this stuff, whatever, I enjoy it...


Let there be light...'ssssss. Lol.... Back in, with the rear view mirror light wired and cleanly to the dome light circuit coming up the driver side a pillar....

First time cruising around and taking her out to dinner! Lol....

Trip to the post office to ship off some parts...

Here you can see where exactly the bumper up front is tweak, and why we couldn't leave the fender on one dropping the body down.... It basically pushed it in and up on the right side. I already have someone that is willing to fix it at a frame shop...

A little shot from above....

Incline meter, clock and glove box light, all working as they are supposed to!
.....
Absolutely love this Rubbermaid glove box organizer!

Grabbed more than I needed to run groups of wires through the back , to the front, and man did it come out cleanly....


Vids;
Electrical drain and Weird lighting, Solved!...
Homeless connectors home found! Lol.....
Likely going to switch to this switch for the onboard air.... ķ I have four of them total, so I could run the onboard air and all free of my offer a light switch is in the same spot that I have 3 soft touch led switches by chest switching to the 89 radio bezel....?????? Thoughts ??????.....
OBA....
Re-upped my annuals....

Grabbed one of these as well ( I'm already a member of the calling the police and firefighters fund )...

***********************************
I also wanted to mention that I will be selling tons of stuff, half of which is already sold.... Here's an example...
All bushings are mint and washers are there....


Sold -->

21$ shipped? -->

Etc.....
Last edited by ChefYota4x4; Mar 24, 2014 at 08:20 AM.
Mar 24, 2014 | 08:28 AM
#182
Thread Starter
Registered User
iTrader: (5)
Joined: Jun 2009
Posts: 19,281
Likes: 20
From: Lake Havasu, AZ
UPDATE ^^^^^
And, now moving on to Finishing up the CB install, Offroad lights, adding 12V outlets, rear panels, inverter and finally, the Power Window/Door lock and mirror stuffs (Ughhhh! Lol) ....
And, now moving on to Finishing up the CB install, Offroad lights, adding 12V outlets, rear panels, inverter and finally, the Power Window/Door lock and mirror stuffs (Ughhhh! Lol) ....
 Mar 24, 2014 | 06:46 PM
#185
Registered User
Joined: Dec 2006
Posts: 383
Likes: 0
From: Las Cruces, NM
Holy Cow! I'm so out of the loop - so much has been done since we last talked about engine swaps! Geez man you get busy! Good work!
Good job on getting some proper electrical tools. Thumbs up!
Good job on getting some proper electrical tools. Thumbs up!
Mar 24, 2014 | 11:35 PM
#187
That is quite an accomplishment in that short of time, you have done a great job. I will try an call you tomorrow. I had some long hours and it finally caught up with me. Tomorrow is cold and I am going to keep the couch warm. Not working on anything tomorrow.
I know you use the silicone for the window tracks. Another thing I have found is at the bottom of the tracks, roughly half way down the door, the tracks tend to separate from the window channel or split out. I use that 3M stuff that is some tough glue to hold them back into place. Check to make sure the rubber is seated in the channel like it should be. Sometimes the window will jump over the rubber and that can make it difficult for it to roll up and down.
I work the silicone into the rubber very well and about once or twice a year I do it again. I have seen it where the window cranks nearly strip out and then add the silicone and you can operate it with two fingers. I bet it is the tracks has moved over the window or the silicone needs to be added.
Last edited by Terrys87; Mar 25, 2014 at 12:00 AM.
Mar 25, 2014 | 02:56 PM
#188
Contributing Member
Joined: Nov 2010
Posts: 5,125
Likes: 4
From: Columbia River Gorge, Oregon...east side
The Silverback is looking great, Chef! You've got an amazing amount of work down very quickly. 
How much grief is Cali DMV going to give you for the body swap? It seems like they (State laws and regs) make everything difficult for you guys down there.
How much grief is Cali DMV going to give you for the body swap? It seems like they (State laws and regs) make everything difficult for you guys down there.
Mar 25, 2014 | 07:00 PM
#190
Contributing Member
Joined: Jul 2010
Posts: 709
Likes: 1
From: San Jose, CA
I don't think that it is any of their business. What are you going to do about the doorpost VIN?


 Mar 26, 2014 | 09:54 AM
#193
Thread Starter
Registered User
iTrader: (5)
Joined: Jun 2009
Posts: 19,281
Likes: 20
From: Lake Havasu, AZ
Grrrrrrrrrroooaaaarrrrr! .....hehe... More like a meow compared to some guys, but I think I'm doing pretty well! Lol.
Oh yeah... I totally forgot. It seems like everytime I tried to fix my signature there wasn't enough room. I'm not even sure how to do that from my cell phone. I will try to get on my laptop or PC later. See if I can dig up some recall on that! Lol. Thanks for reminding me buddy!
Thanks as always for your help man! & I appreciate the props!
Yes! Insert circus music here, where 22 dwarf clowns get out of a mini cooper! Lol.
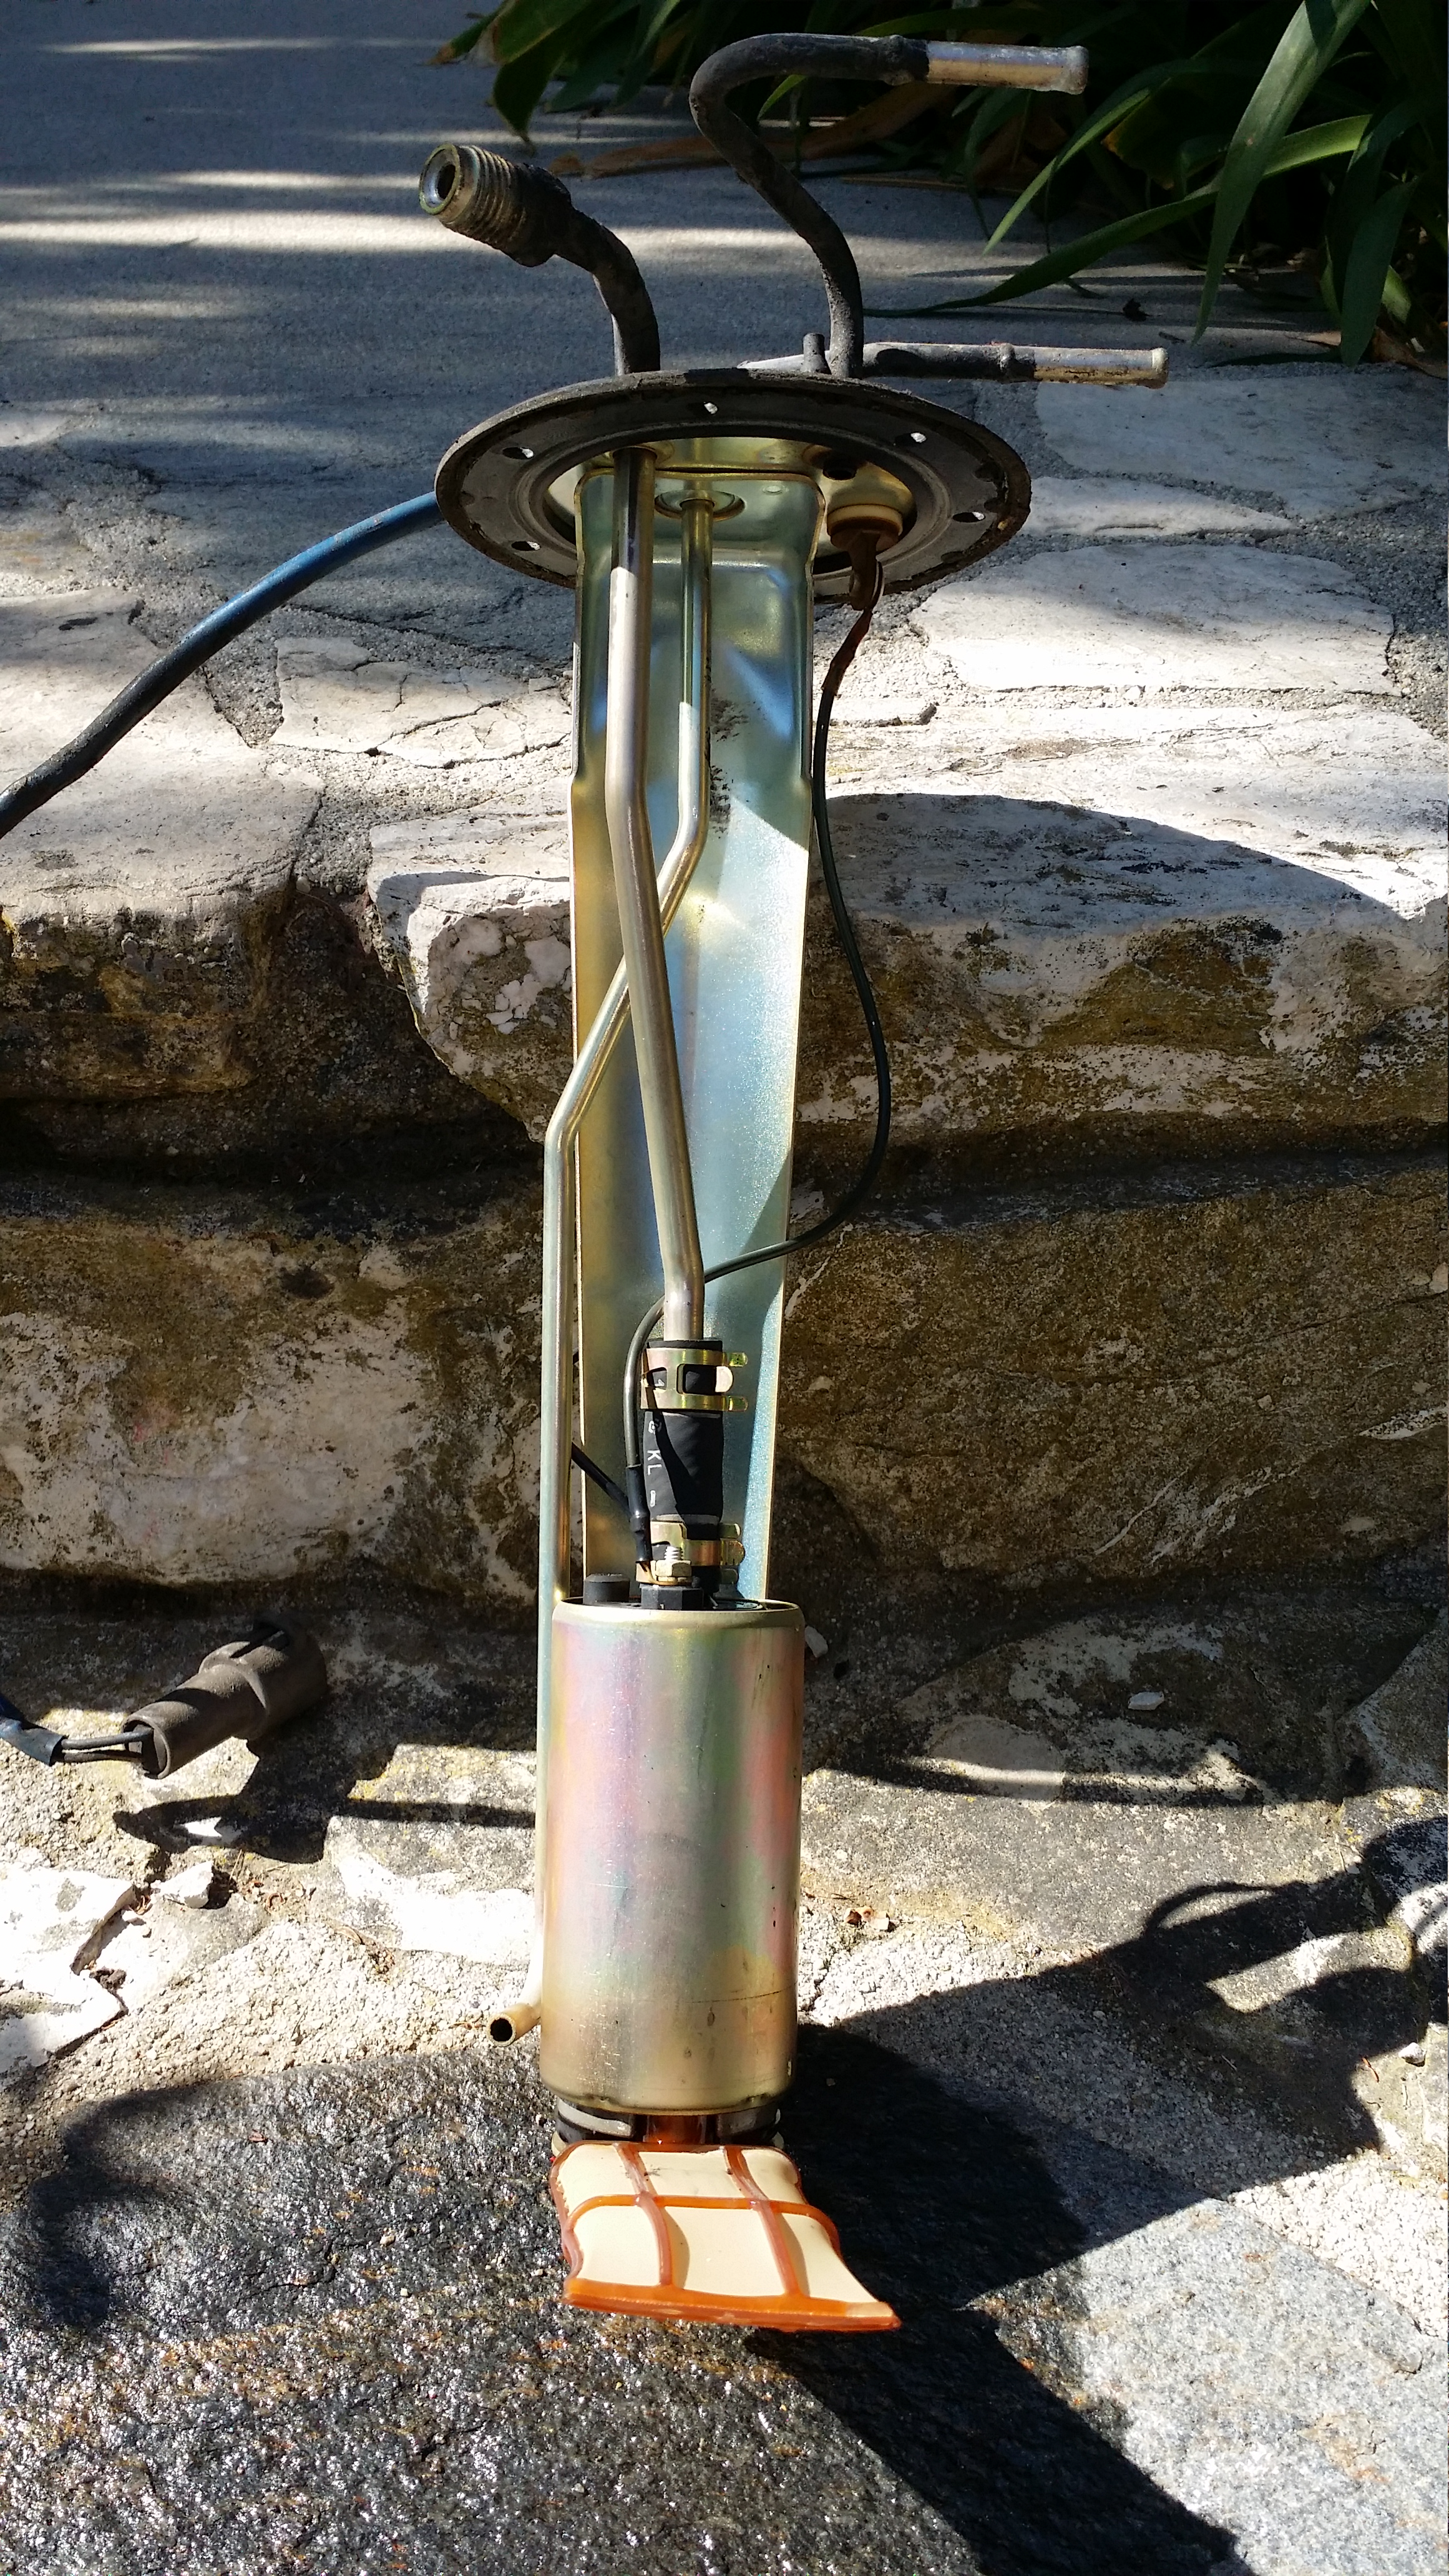
Yeah I'm not sure what it is but I'm going to take a good look before I take it apart. I have to get in all my electrical stuff and cut the holes in the doors and Chassis for the power windows and door locks. I would really love to figure out why the passenger window was always slow. If I remember correctly it worked flawlessly with the aftermarket switch that I bought which is brown and way too big and cannot be fitted with the original Toyota housing of grey. I will test it out real quick to see. My only worry is that the linkage or aperature in any way inside was damaged in the accident. :-( ..... In the end it will be well worth it. I'm thinking of leaving the mirrors out of it for now. Even when I find a really tight Electrical mirror, they seem to get shaky in no time and get sloppy and vibrational! They always work, its just a specially the drivers one always gets too shaky to wear its almost useless when on the road... Lol. These standard ones don't budge a freaking mm. I do love that. I will simply put my little round dome sticky mirrors on like I had before. Just for now anyway.
Grateful for the compliment, RW! It shouldn't be complicated at all. I'm working on it
Haha. .. You work a respectful amount on your rig buddy! It's definitely want to be proud of her! &...Thanks a lot man
There isn't one. It was a sticker, but it's simply just says Toyota a bunch of times which I'm assuming was part of the laminant.
Appreciated! Its been quite the labor of love! Lol.
Hahaha .. That cracks me up buddy! I've been trying to think of away to design a sticker, but with the entire silverback in an aggressive stance. Lol.
Yes! Insert circus music here, where 22 dwarf clowns get out of a mini cooper! Lol.
That is quite an accomplishment in that short of time, you have done a great job. I will try an call you tomorrow. I had some long hours and it finally caught up with me. Tomorrow is cold and I am going to keep the couch warm. Not working on anything tomorrow.
I know you use the silicone for the window tracks. Another thing I have found is at the bottom of the tracks, roughly half way down the door, the tracks tend to separate from the window channel or split out. I use that 3M stuff that is some tough glue to hold them back into place. Check to make sure the rubber is seated in the channel like it should be. Sometimes the window will jump over the rubber and that can make it difficult for it to roll up and down.
I work the silicone into the rubber very well and about once or twice a year I do it again. I have seen it where the window cranks nearly strip out and then add the silicone and you can operate it with two fingers. I bet it is the tracks has moved over the window or the silicone needs to be added.
I know you use the silicone for the window tracks. Another thing I have found is at the bottom of the tracks, roughly half way down the door, the tracks tend to separate from the window channel or split out. I use that 3M stuff that is some tough glue to hold them back into place. Check to make sure the rubber is seated in the channel like it should be. Sometimes the window will jump over the rubber and that can make it difficult for it to roll up and down.
I work the silicone into the rubber very well and about once or twice a year I do it again. I have seen it where the window cranks nearly strip out and then add the silicone and you can operate it with two fingers. I bet it is the tracks has moved over the window or the silicone needs to be added.
Hahaha .. That cracks me up buddy! I've been trying to think of away to design a sticker, but with the entire silverback in an aggressive stance. Lol.
Mar 26, 2014 | 10:25 AM
#194
Thread Starter
Registered User
iTrader: (5)
Joined: Jun 2009
Posts: 19,281
Likes: 20
From: Lake Havasu, AZ
Okay, so another larger posts just to update everything. It's too hard for me within the day to post to Instagram and then come over here and post and then upload everything to YouTube... So I just do everything when I can sit down for a few minutes like today, well waiting on a call....
**************************************
I'm actually since added more, and have two more to add for my off road lights and auxiliary power to the front cabin...

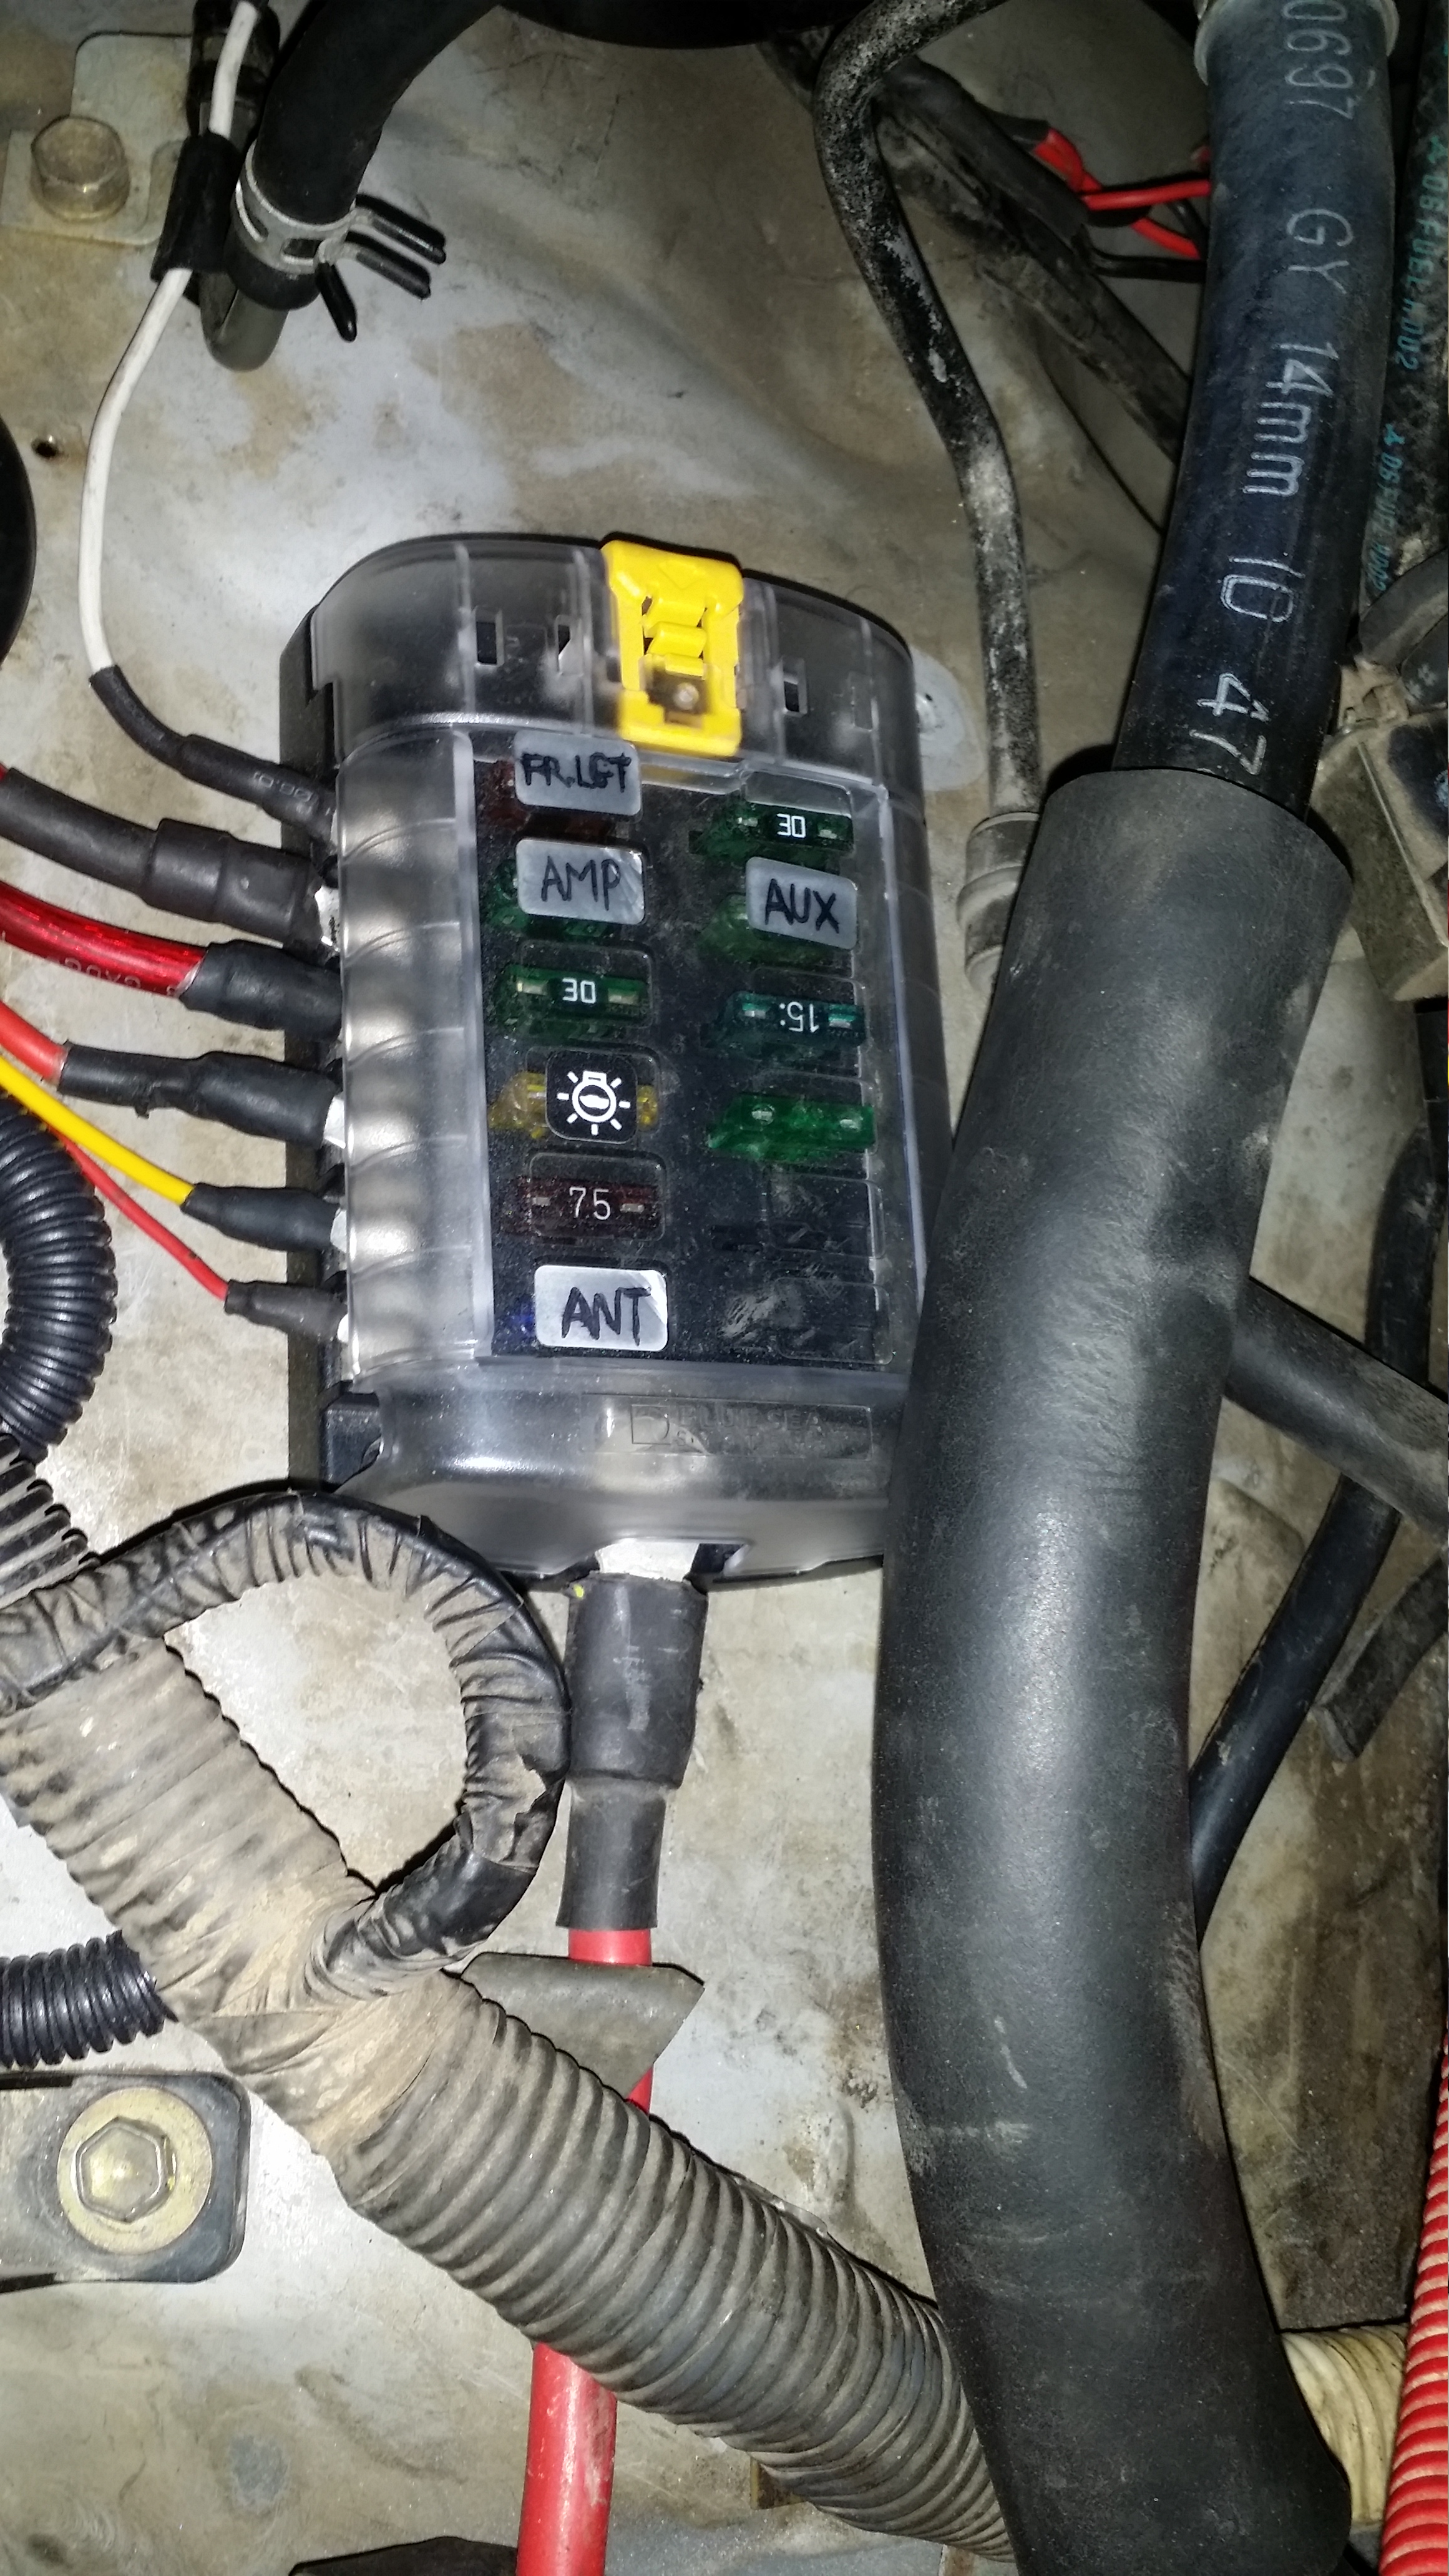
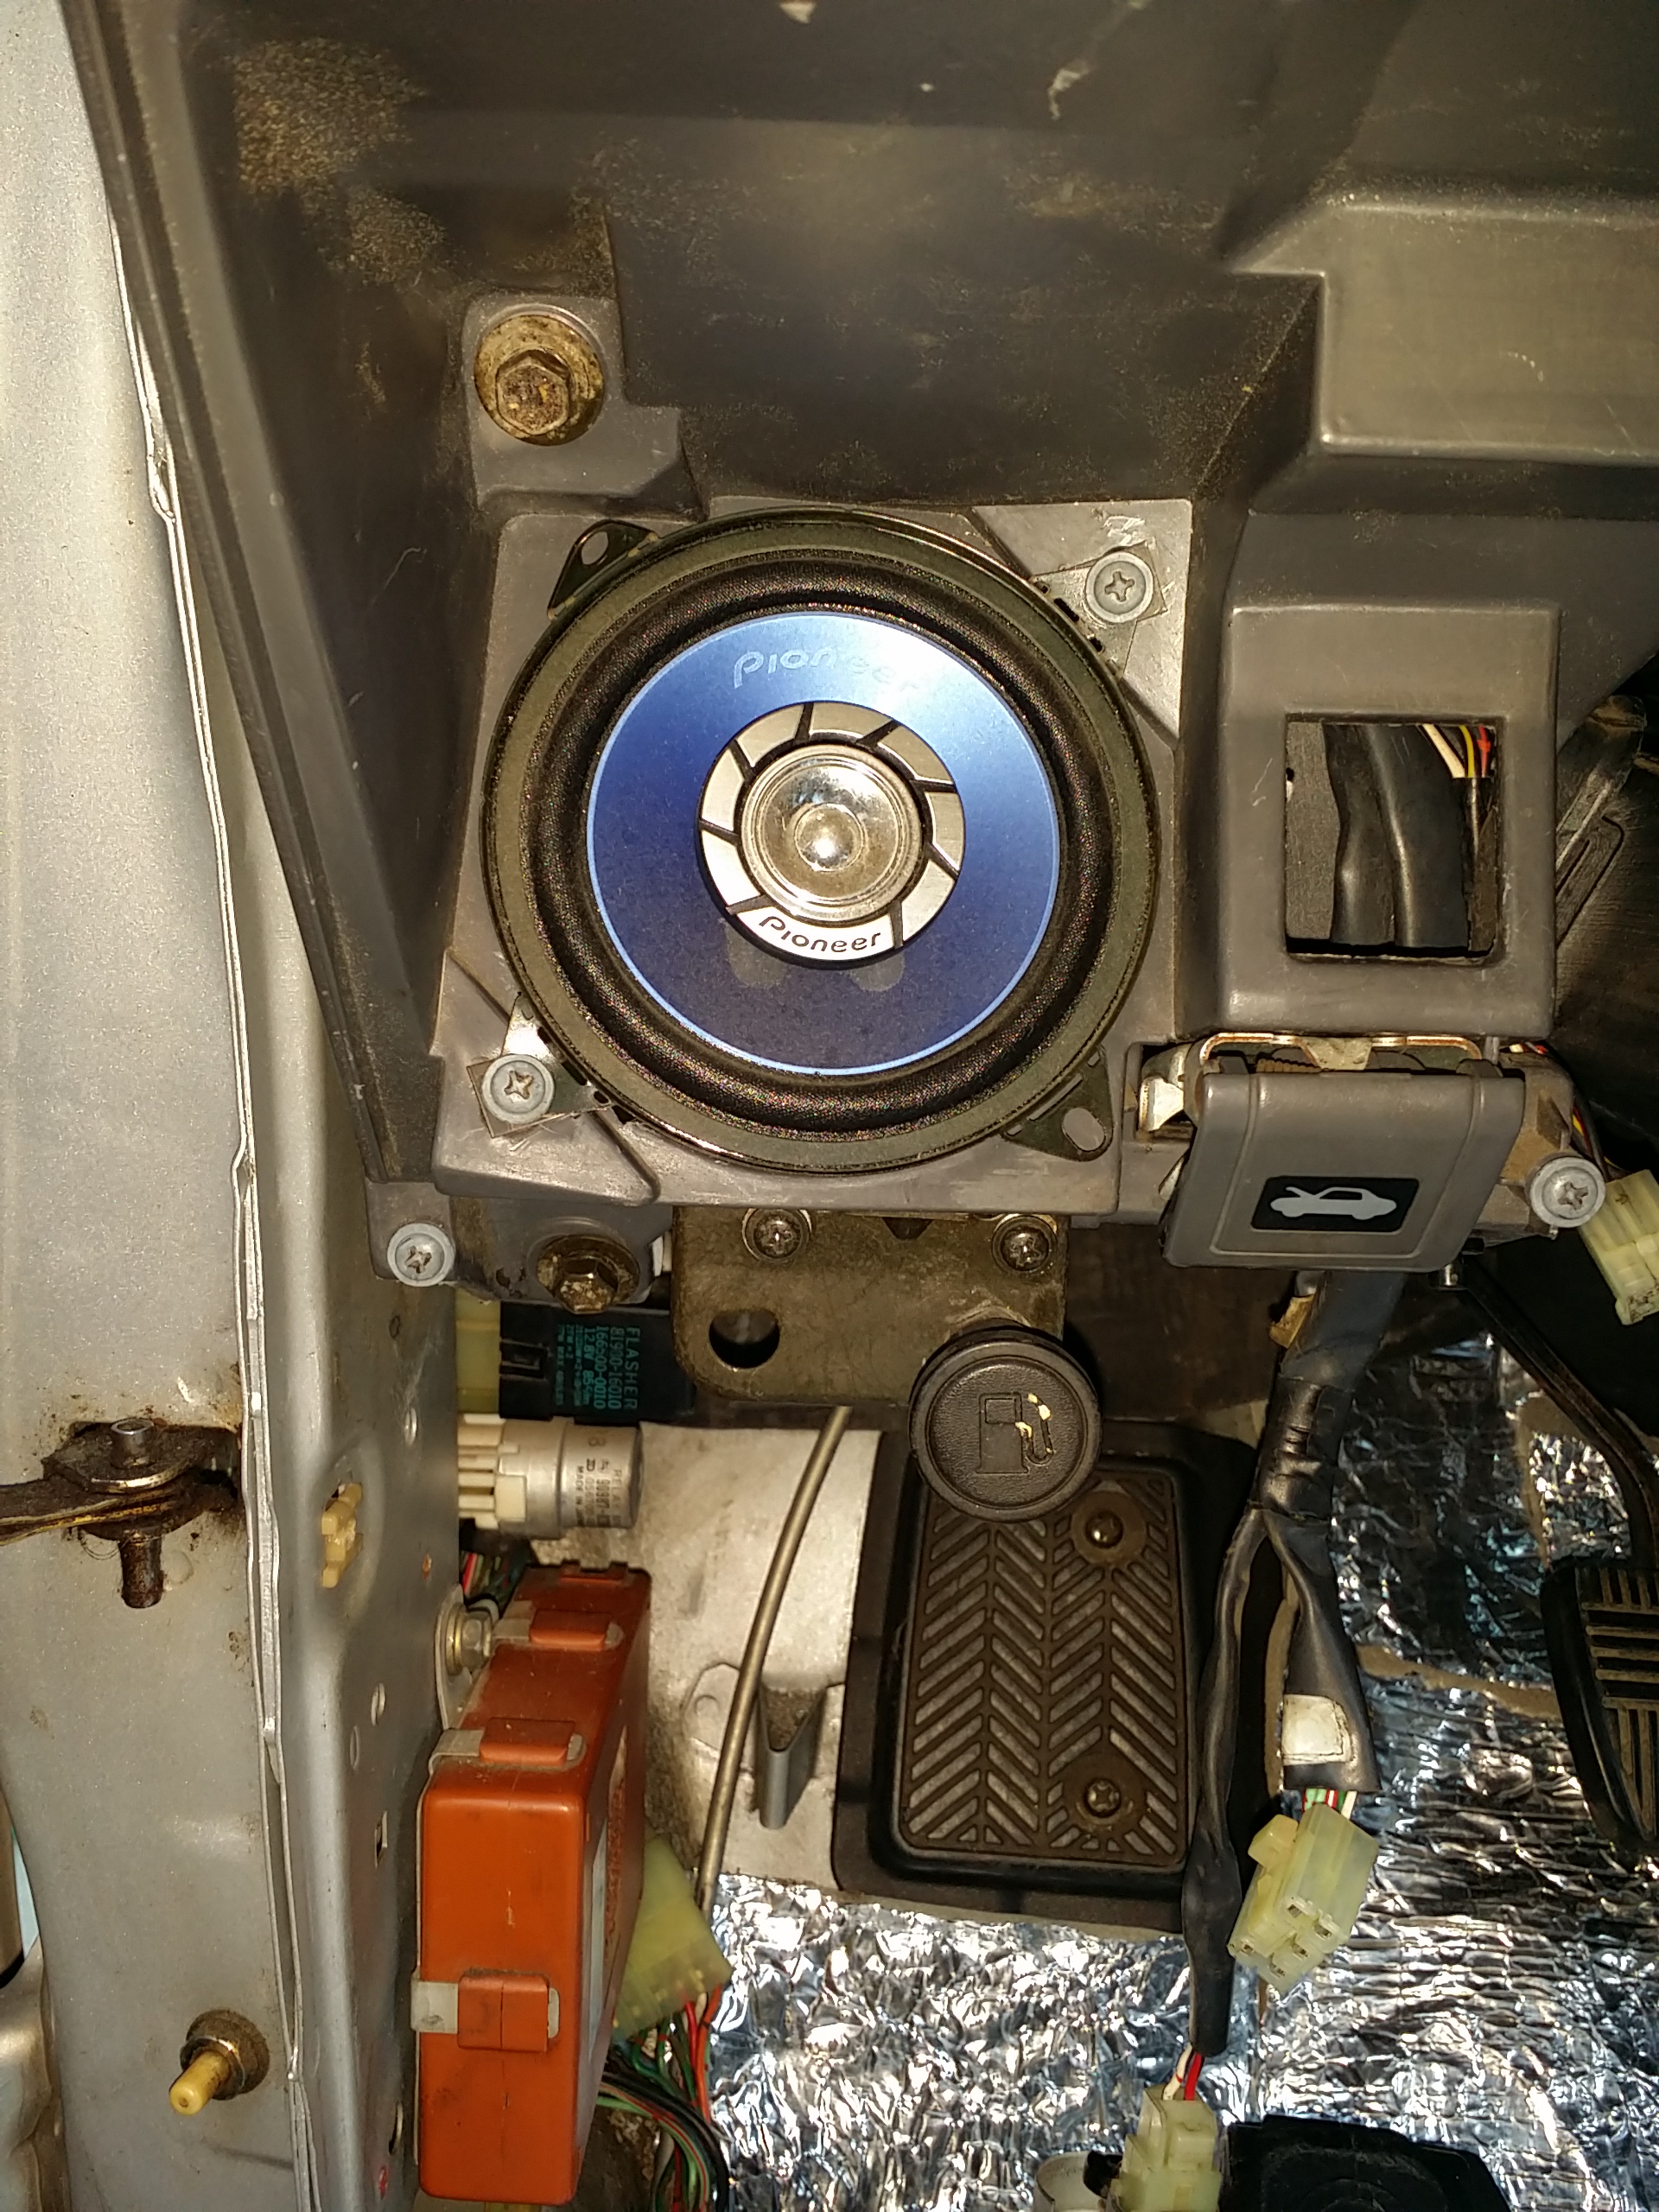
Got my electrical organized a lot better!....

Permanently mounted my rock light remote relay on the firewall below the wiper motor( I'm thinking of adding another one 2 run some separate interior and engine bay lighting. .... I want my engine bay lights to come on either when opening the hood, by switch or by remote switch.)....
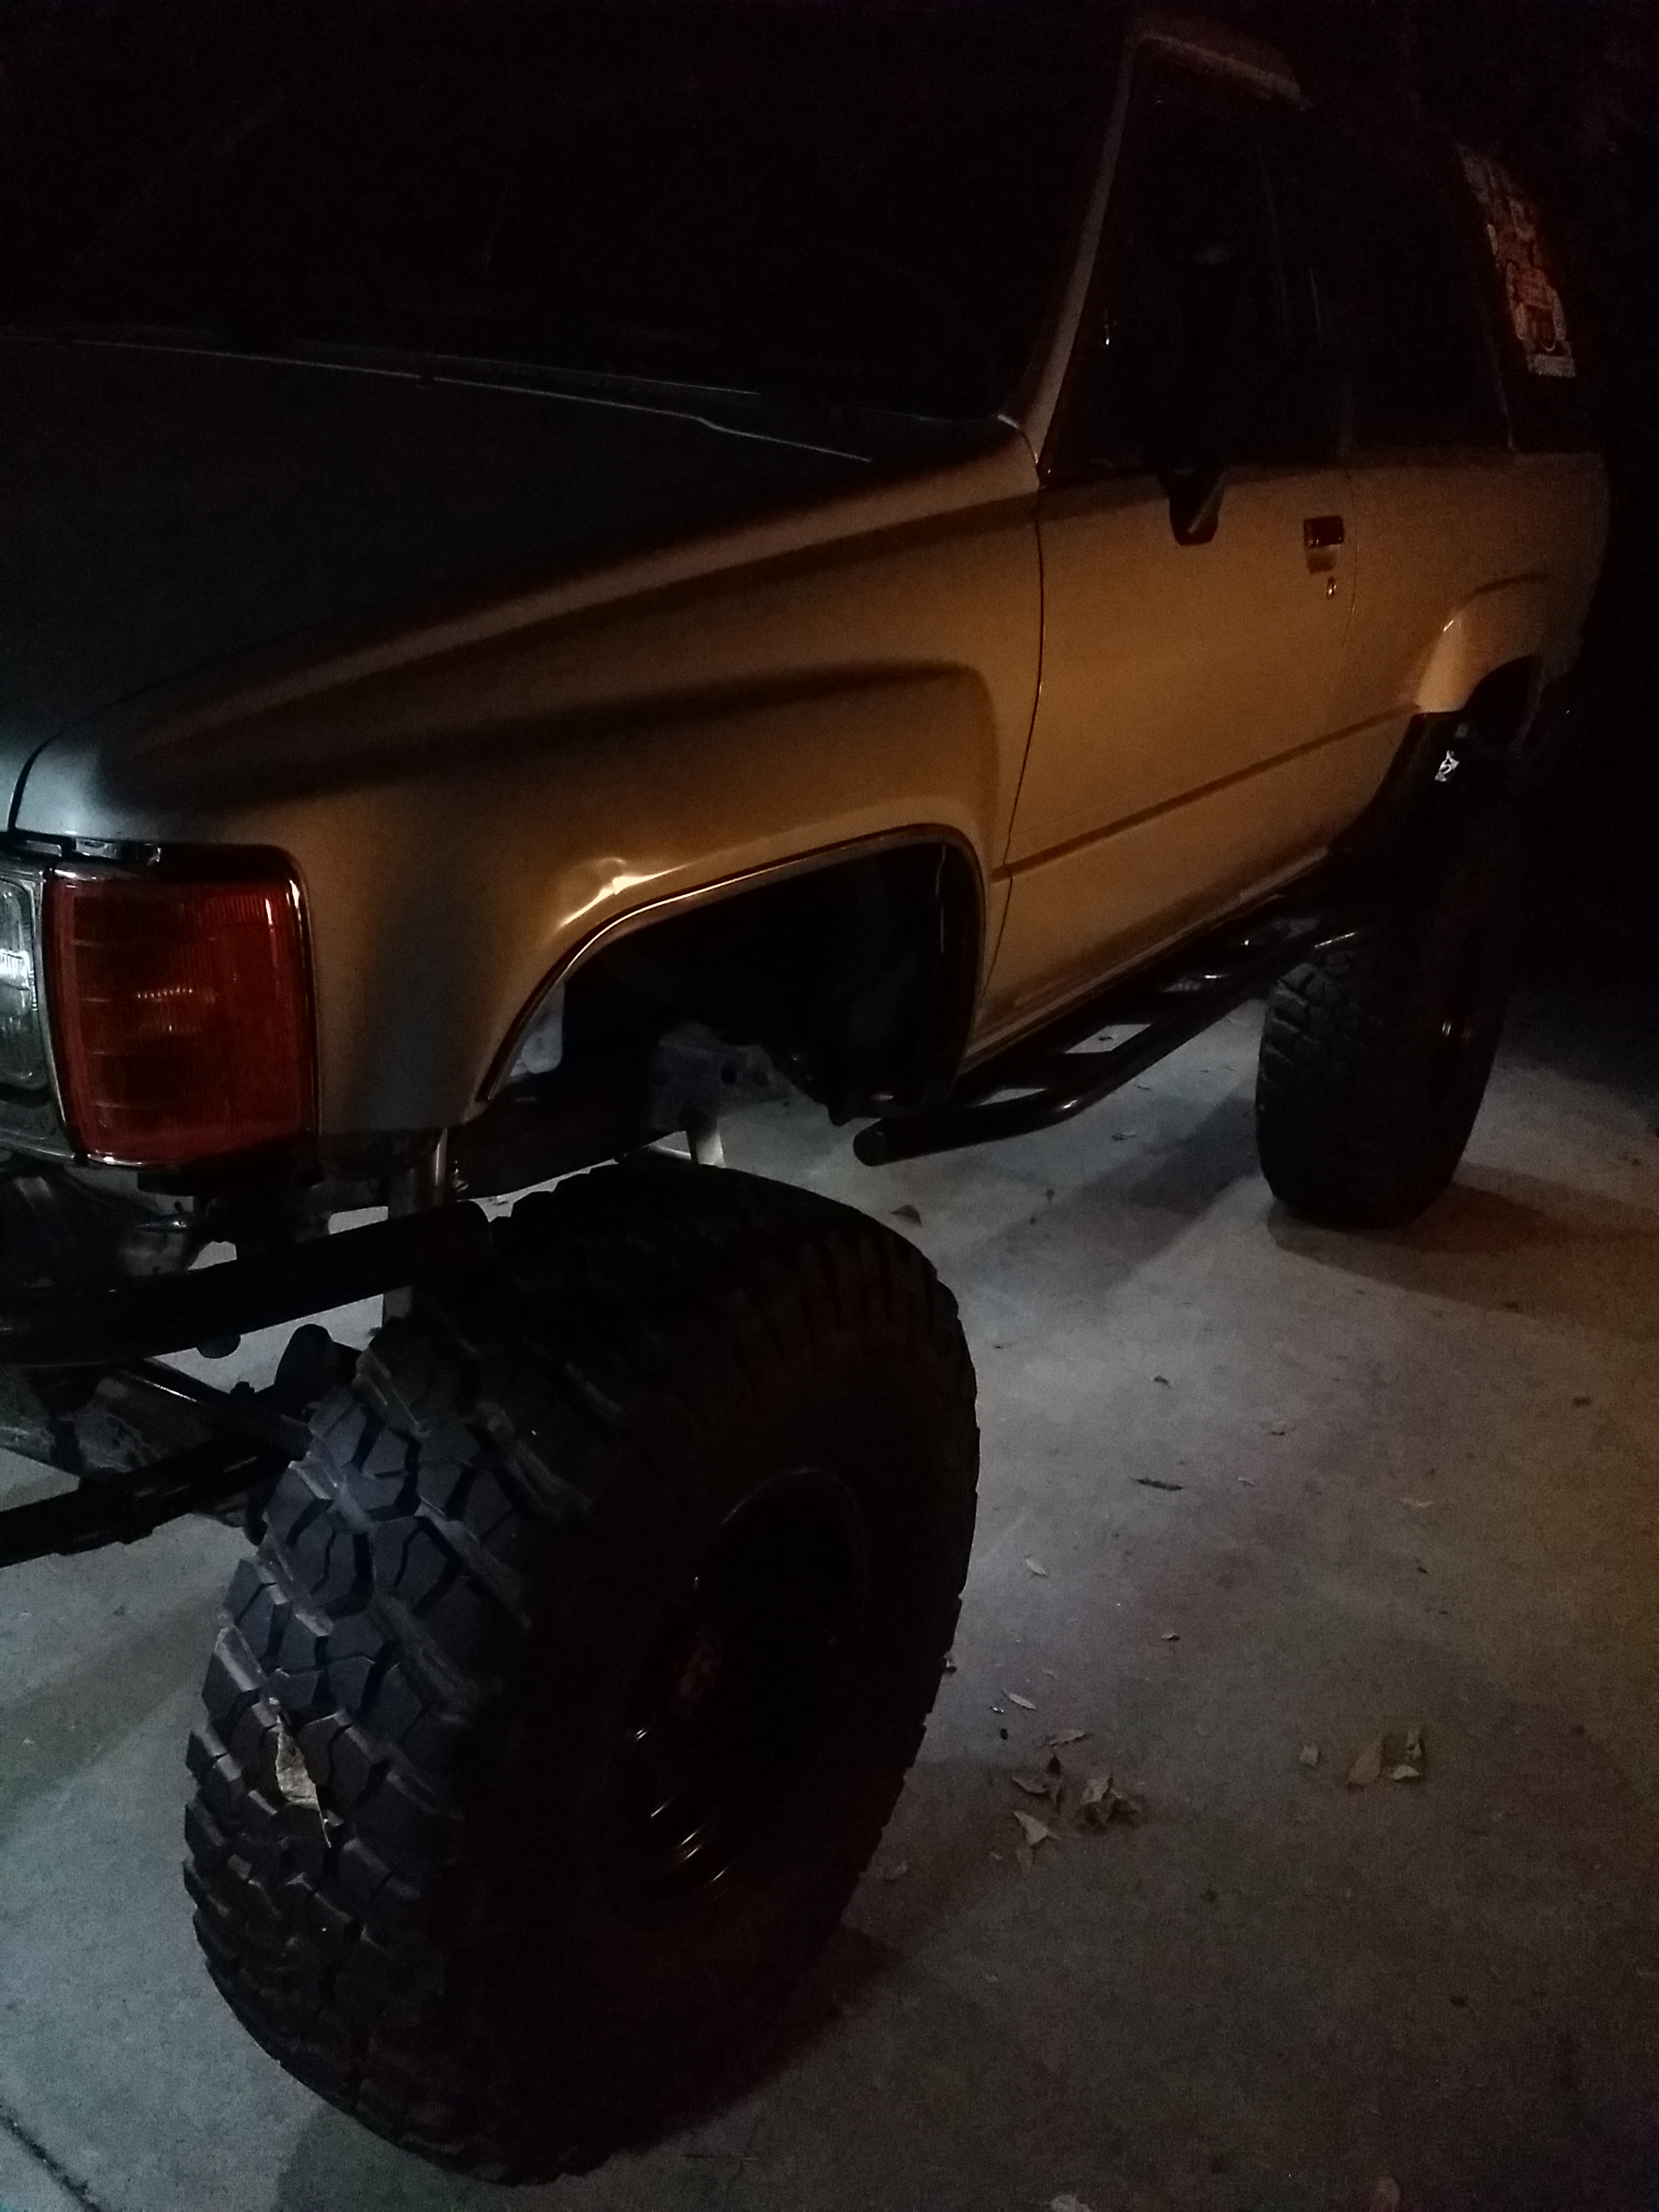
She's coming along. The silver is really growing on me. I can't seem to get this new phone to accurately portray the light. Anyone who has been with me in the pitch black knows how bright these rock lights are. They're not blindingly bright, but they are definitely brighter than this....
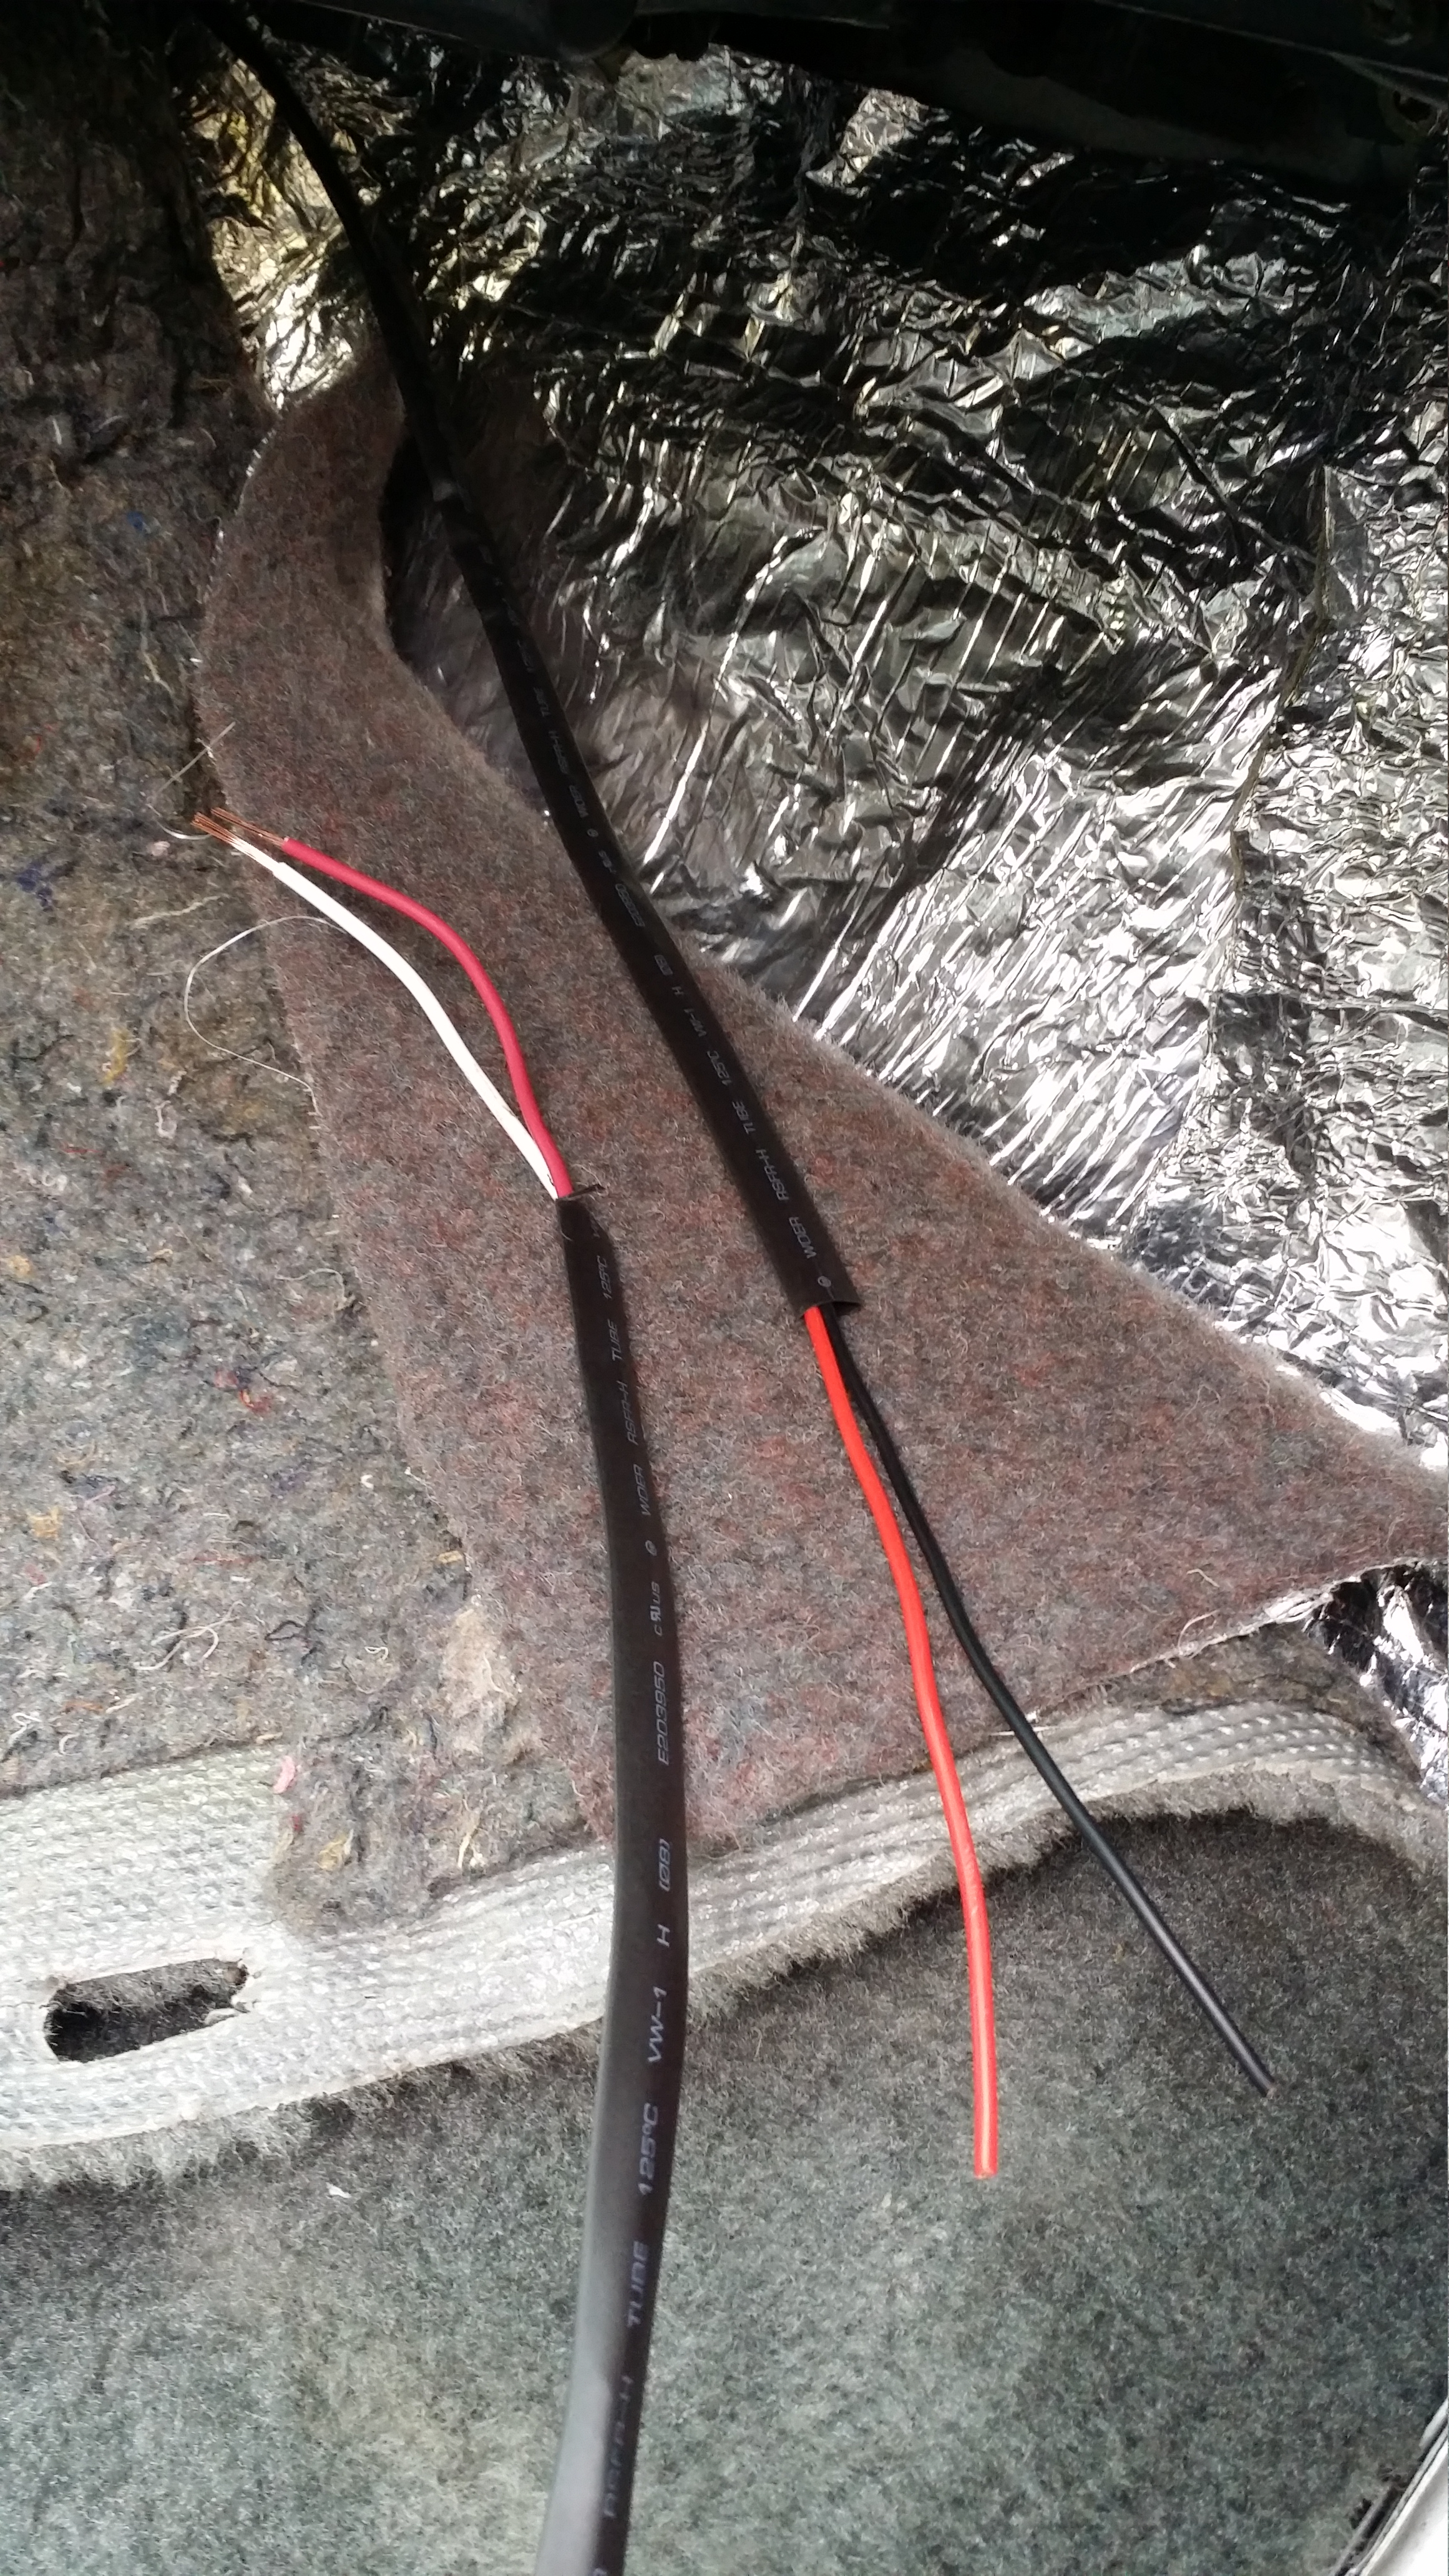
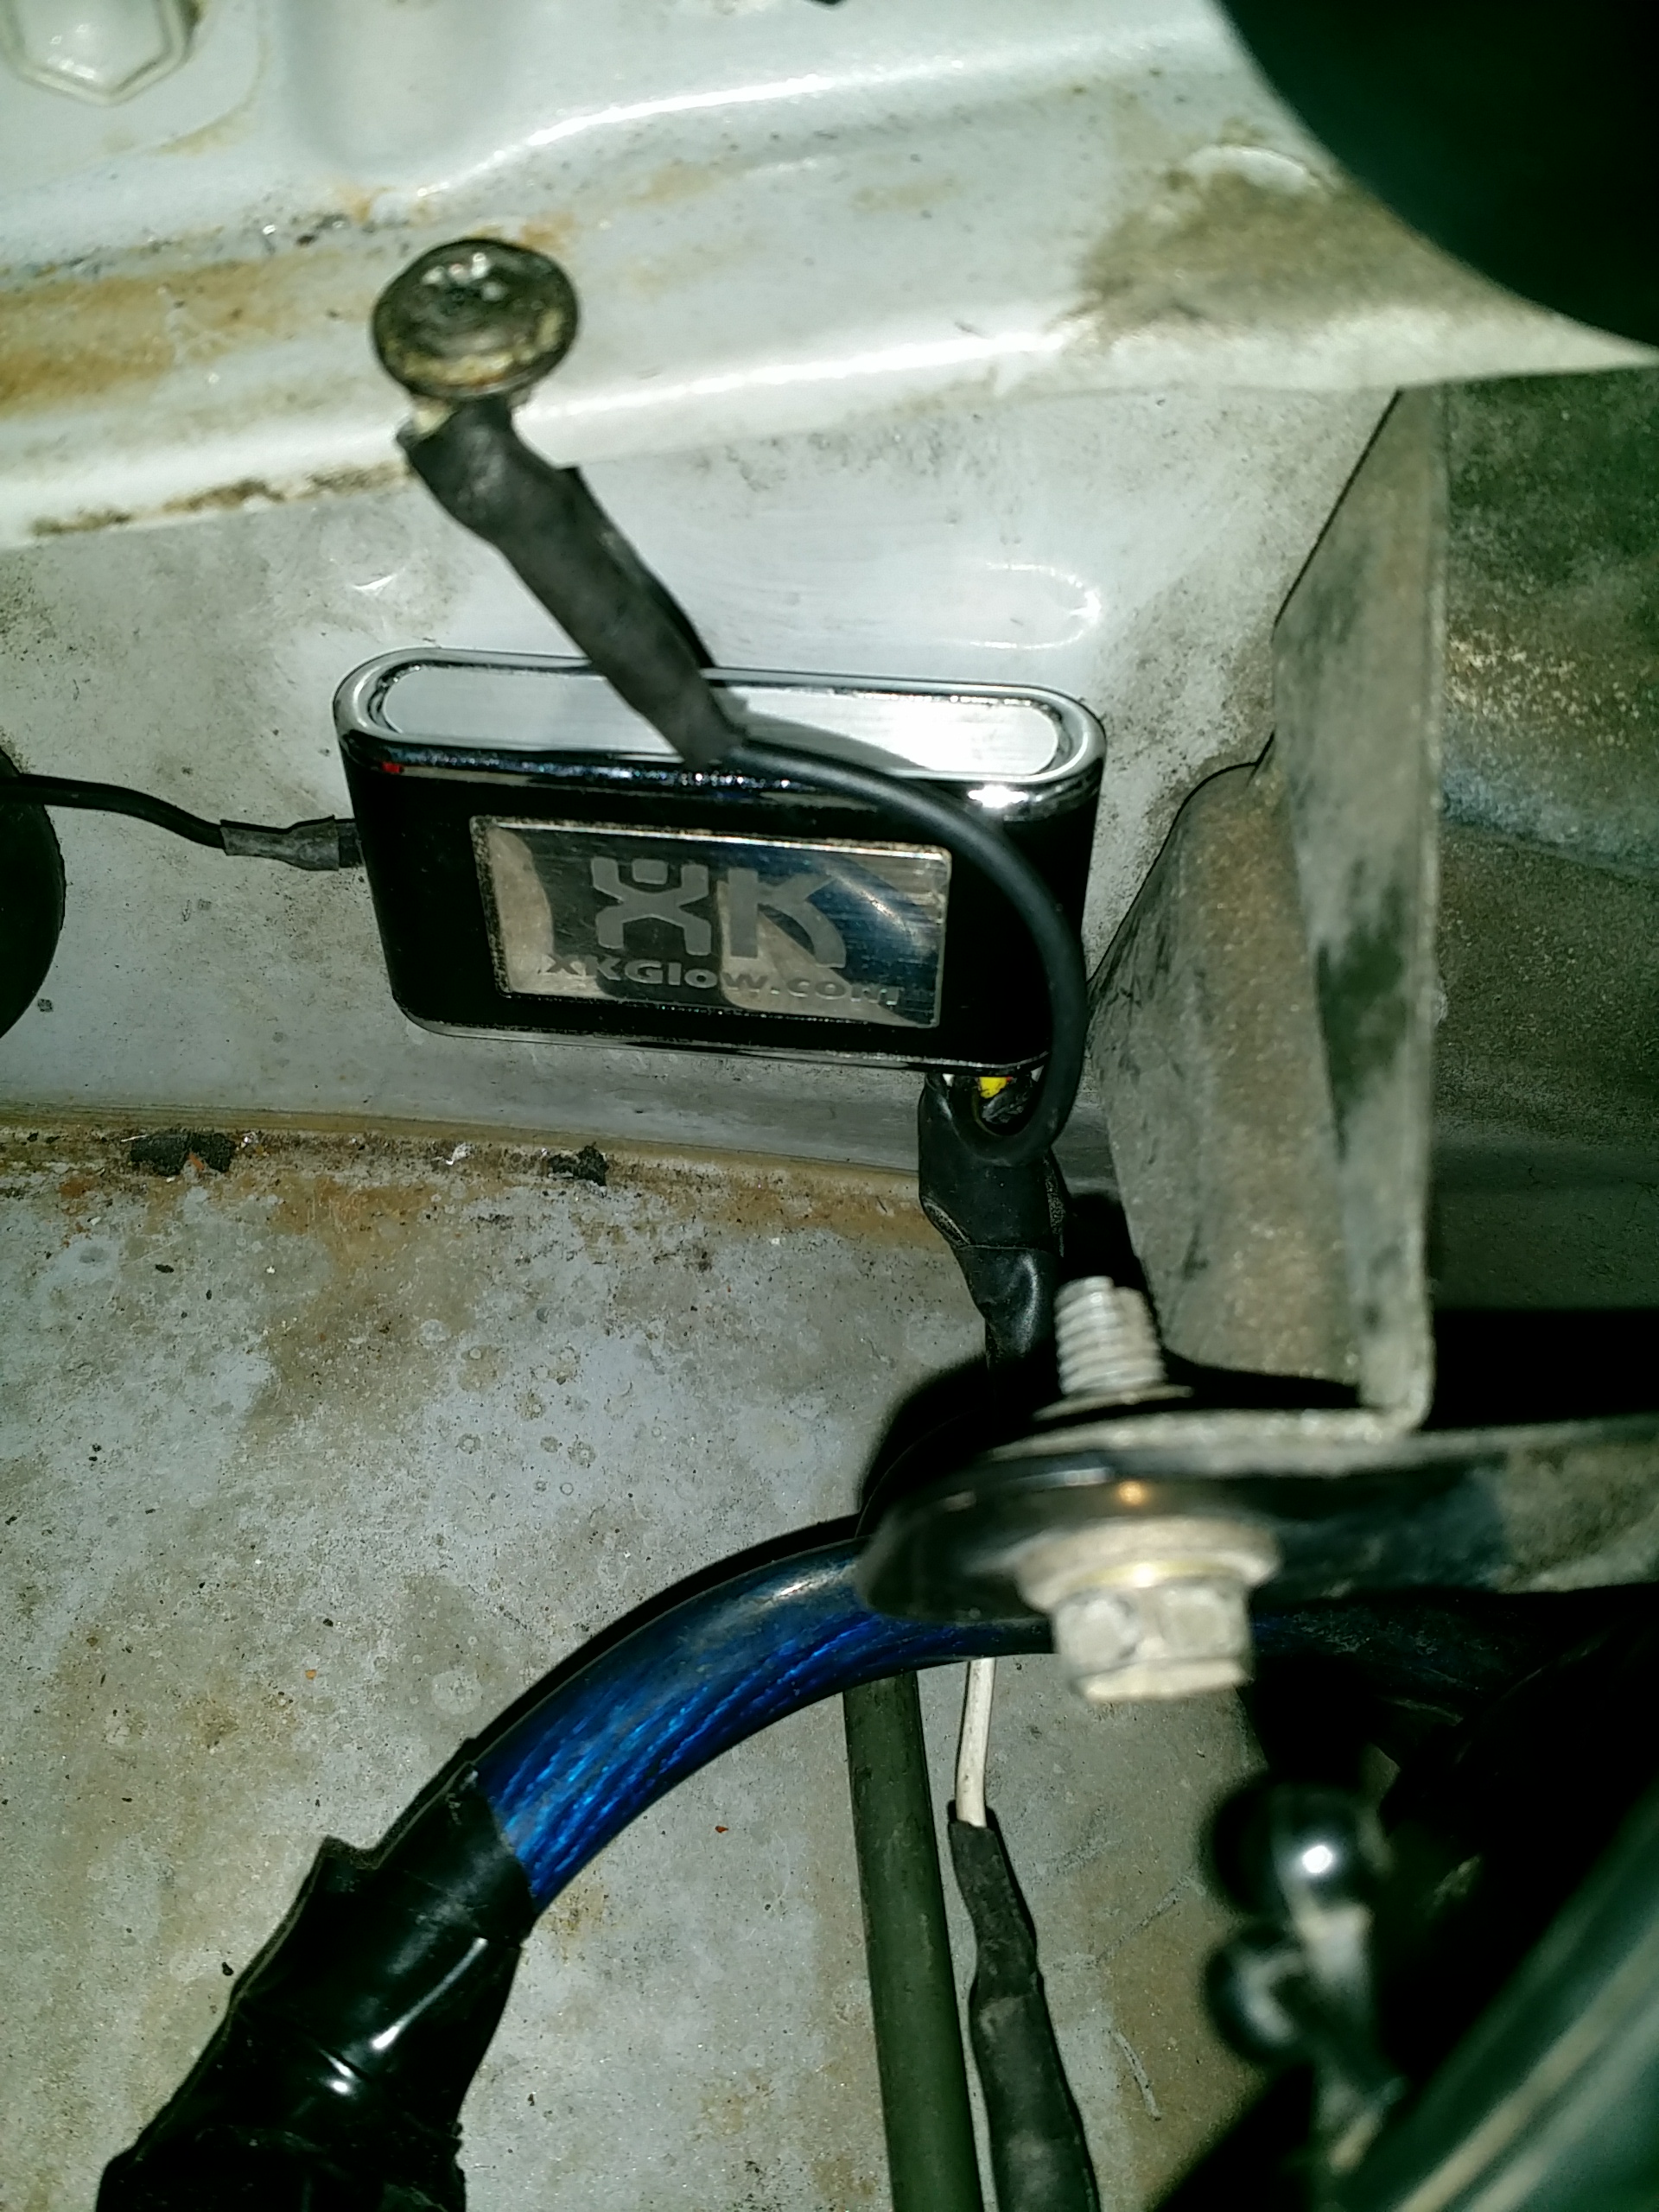
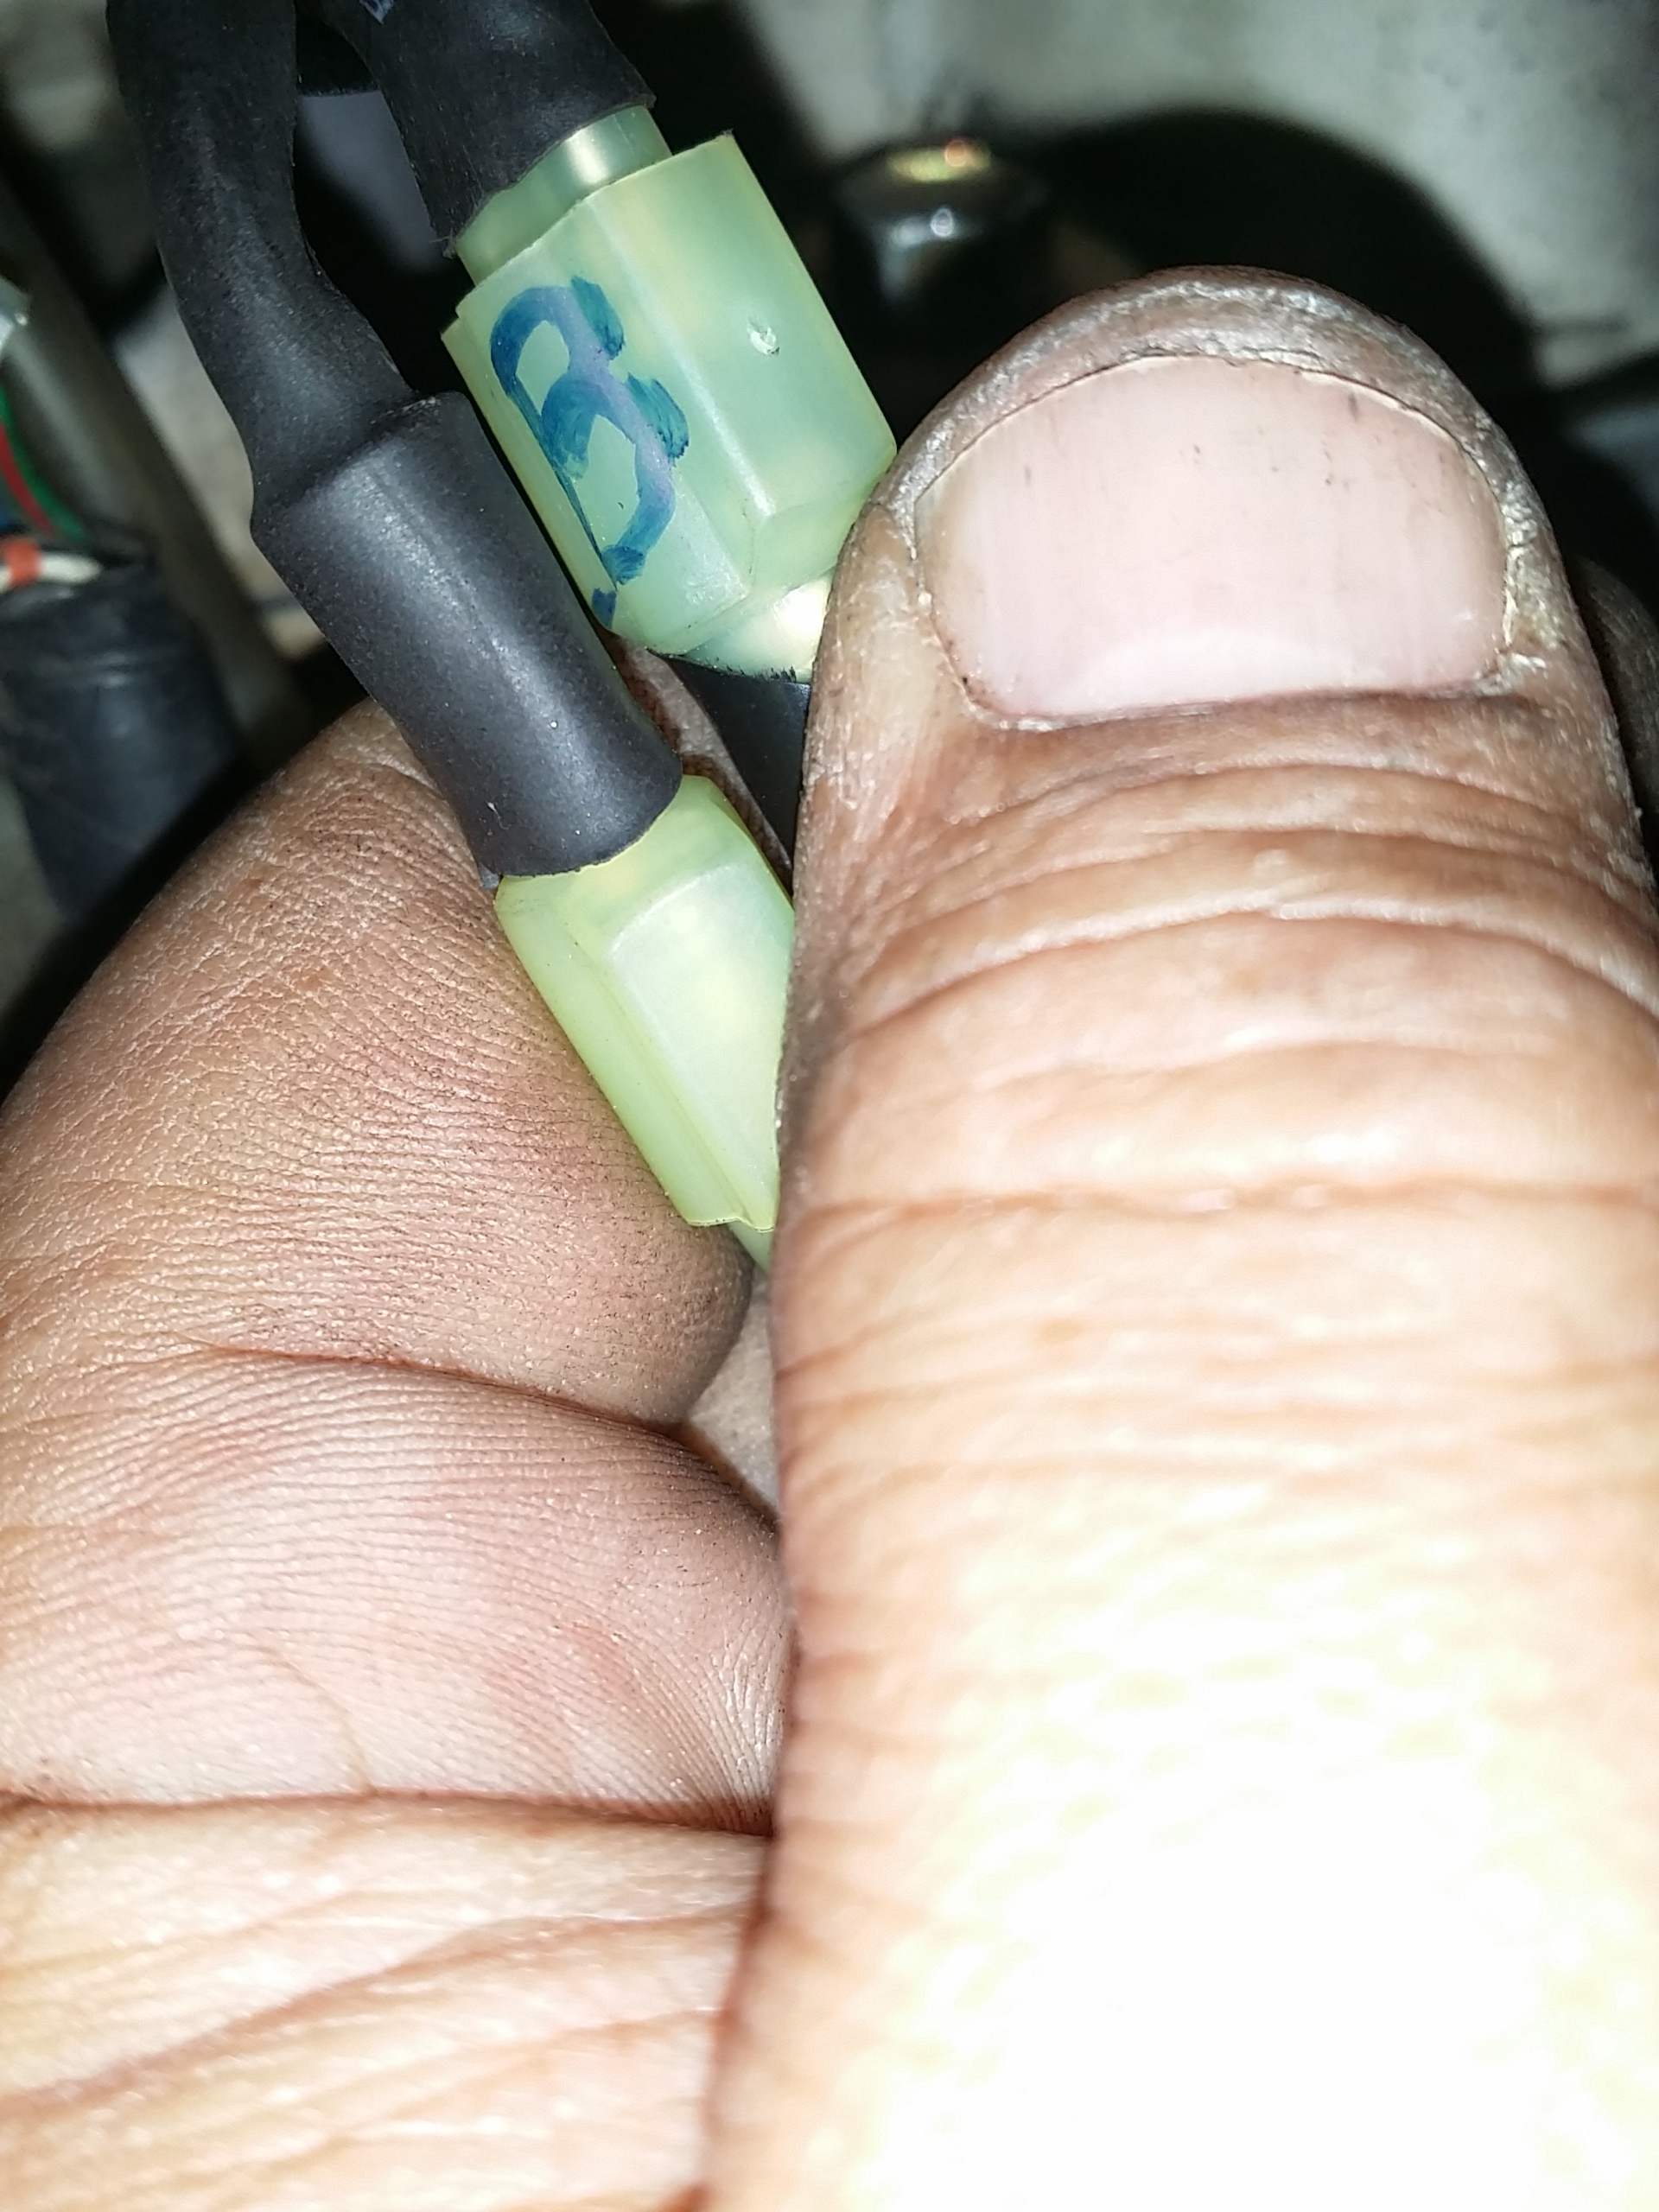
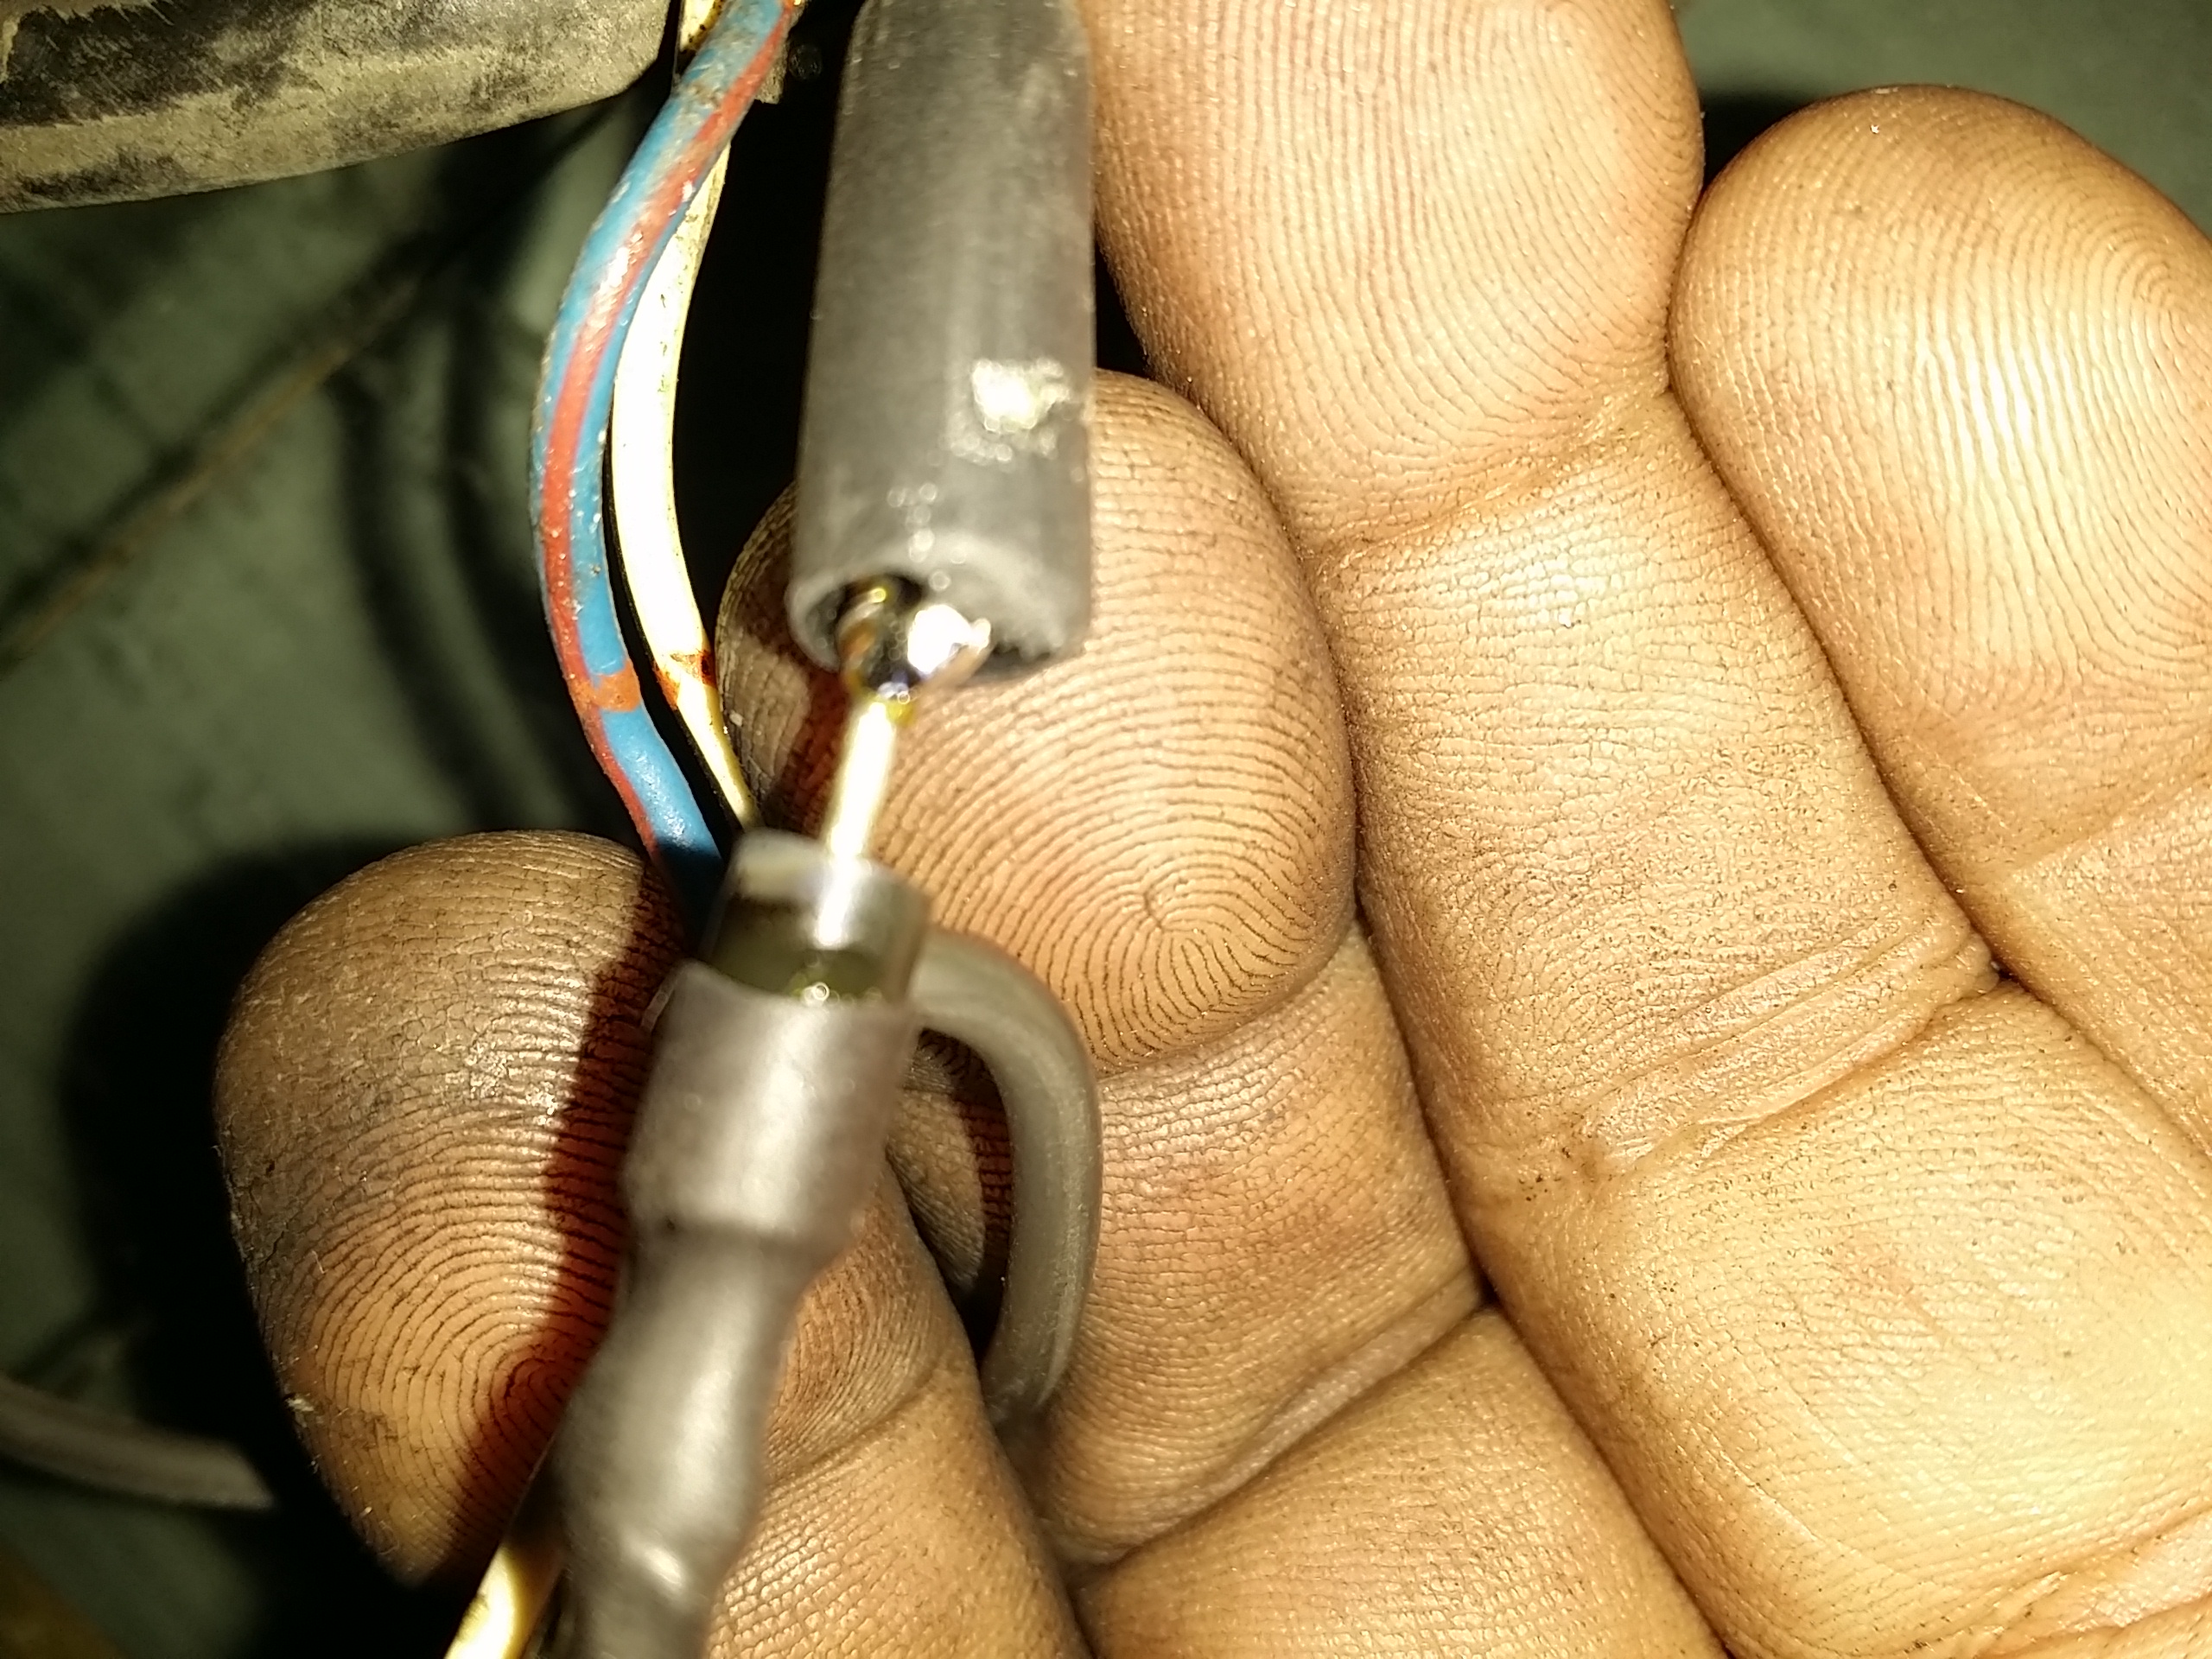
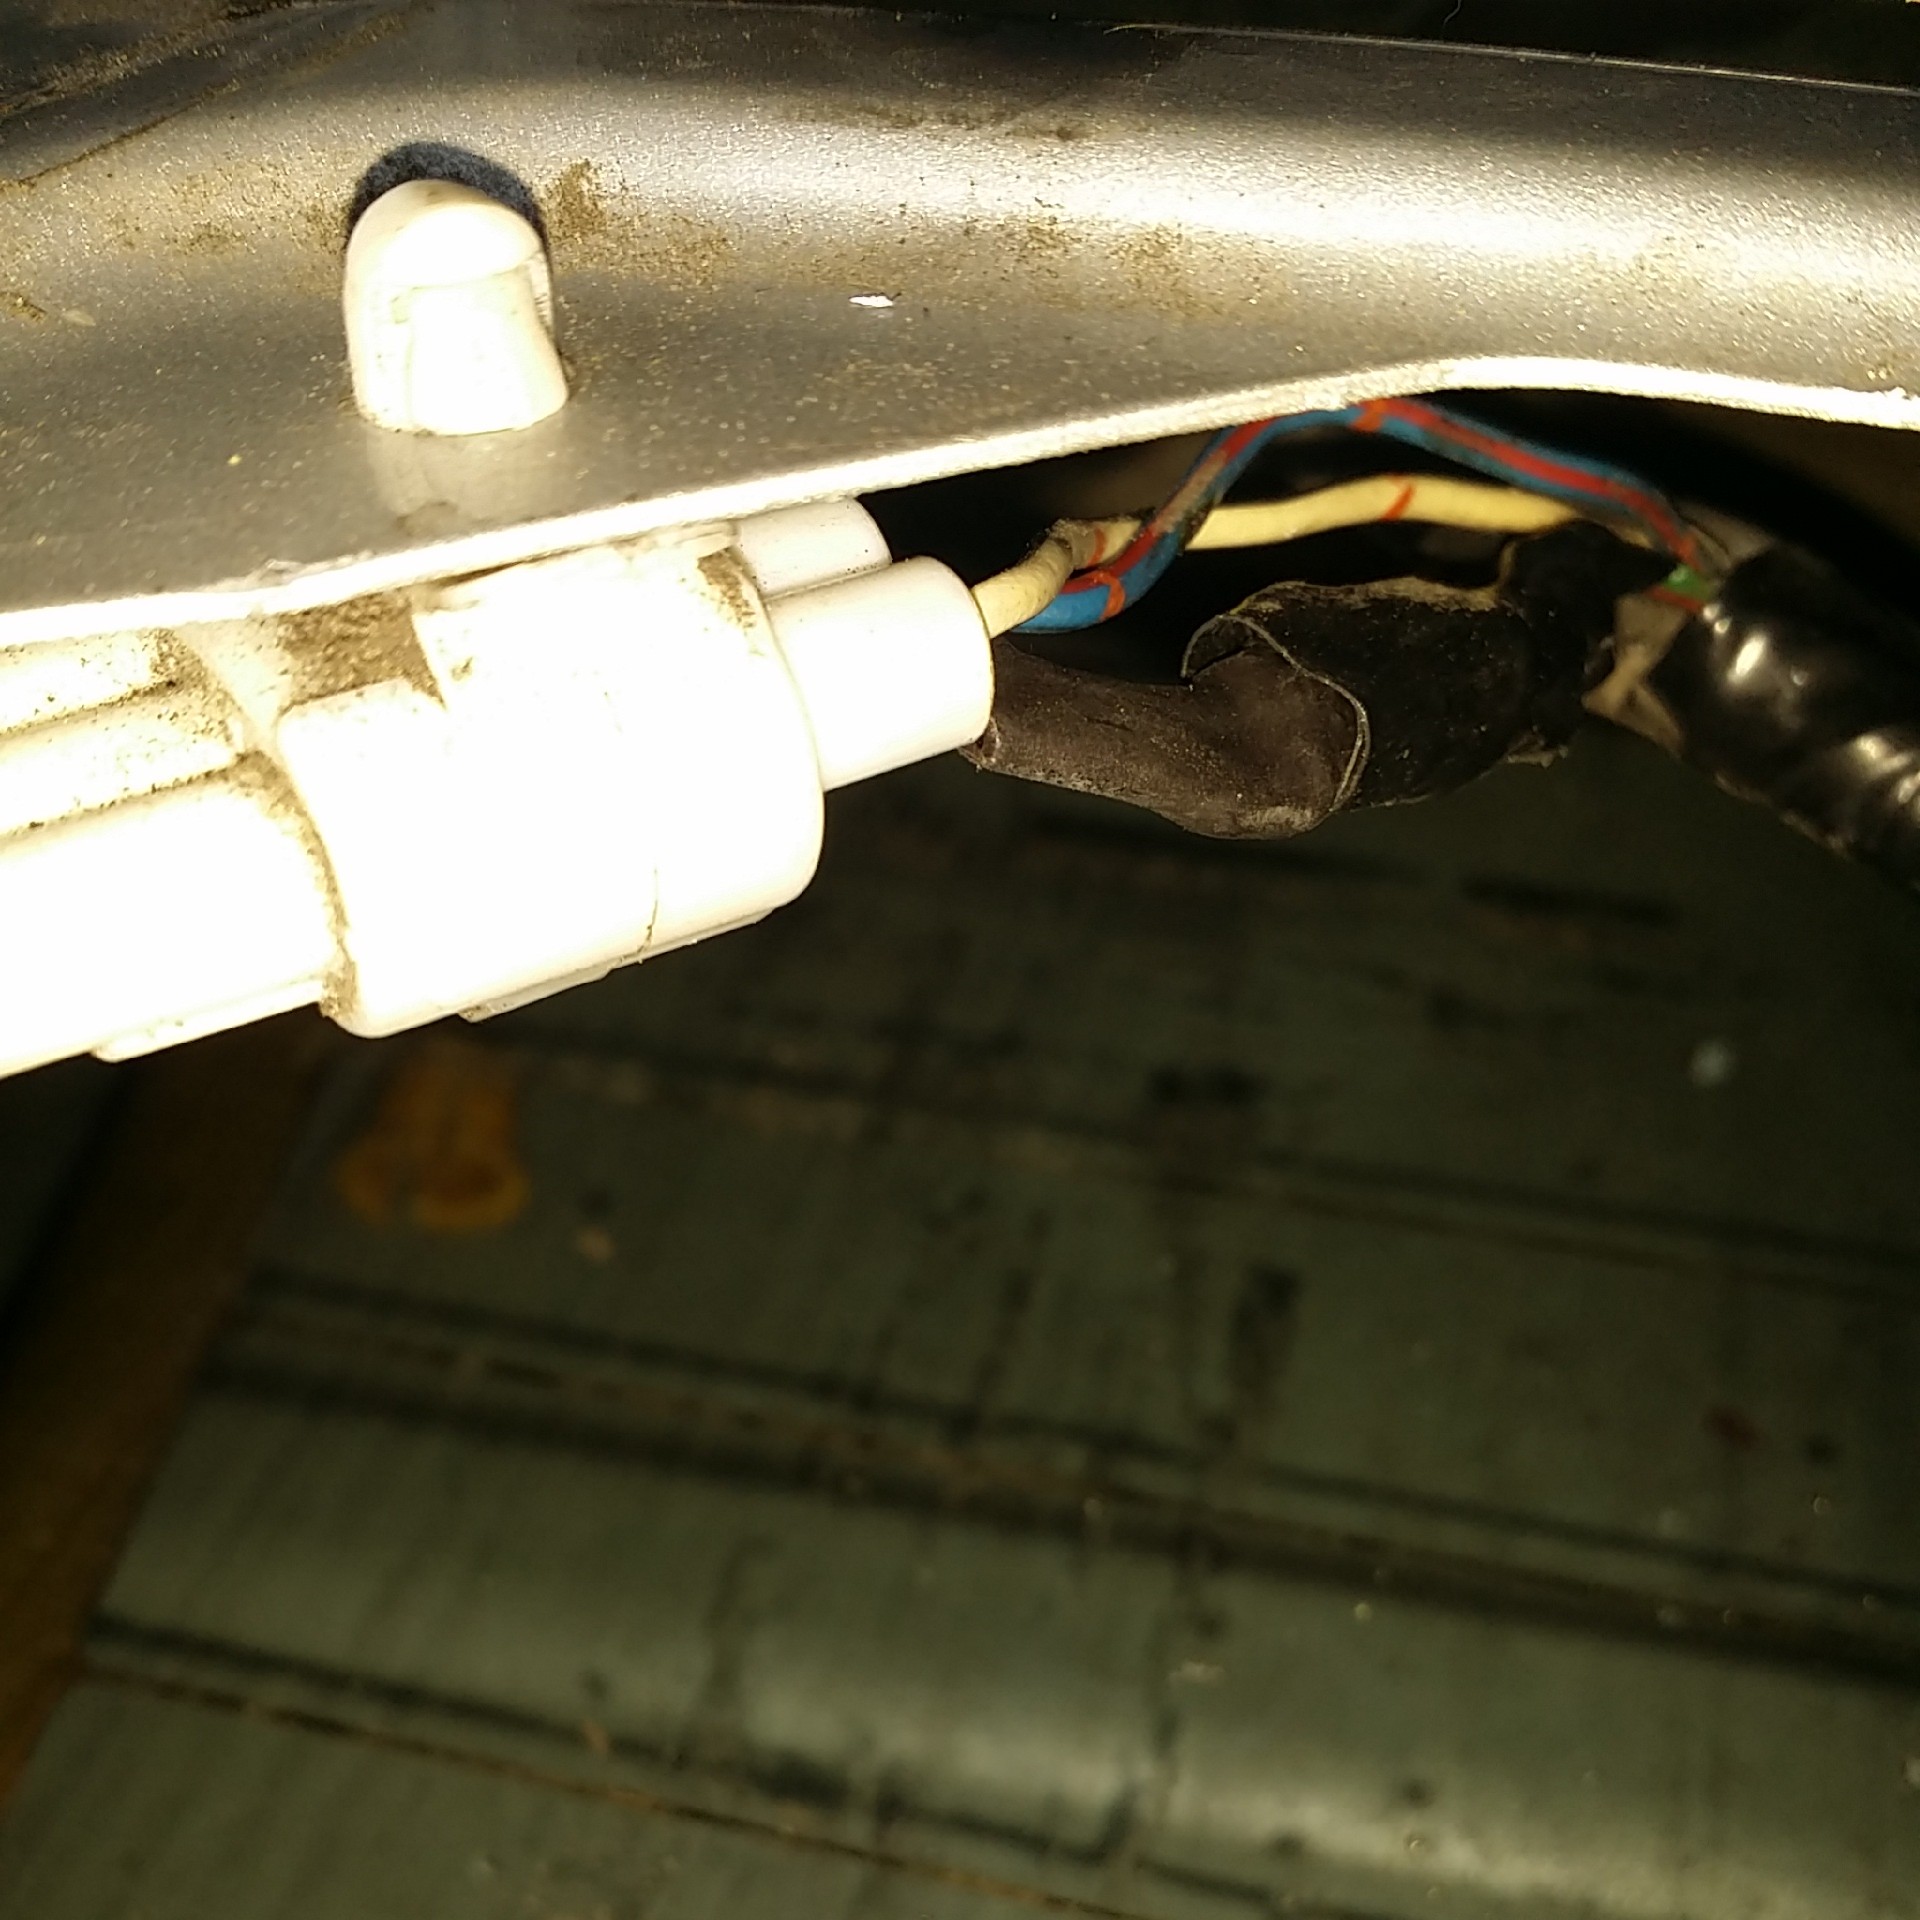
Wired in my door lock detection switch diode to this new to me harness and ran all the wiring and all of the lights are ready to go. This connector is the one coming from the rear wiper cover... Holy crap what a nightmare! I forgot how difficult it was to feed those wires through. It literally became an agonizing on my back reaching up for about 45 minutes till I finally got it on around the 25th try using tie up wire...
3A diode( once again, total credit going to
BRYAN89 of ih8mud.com , and also is a member on here... So grateful that he took the time to post this!) ...

Diode, soldered in and about to be heat shrunk....
All wrapped up & snapped back into its home....
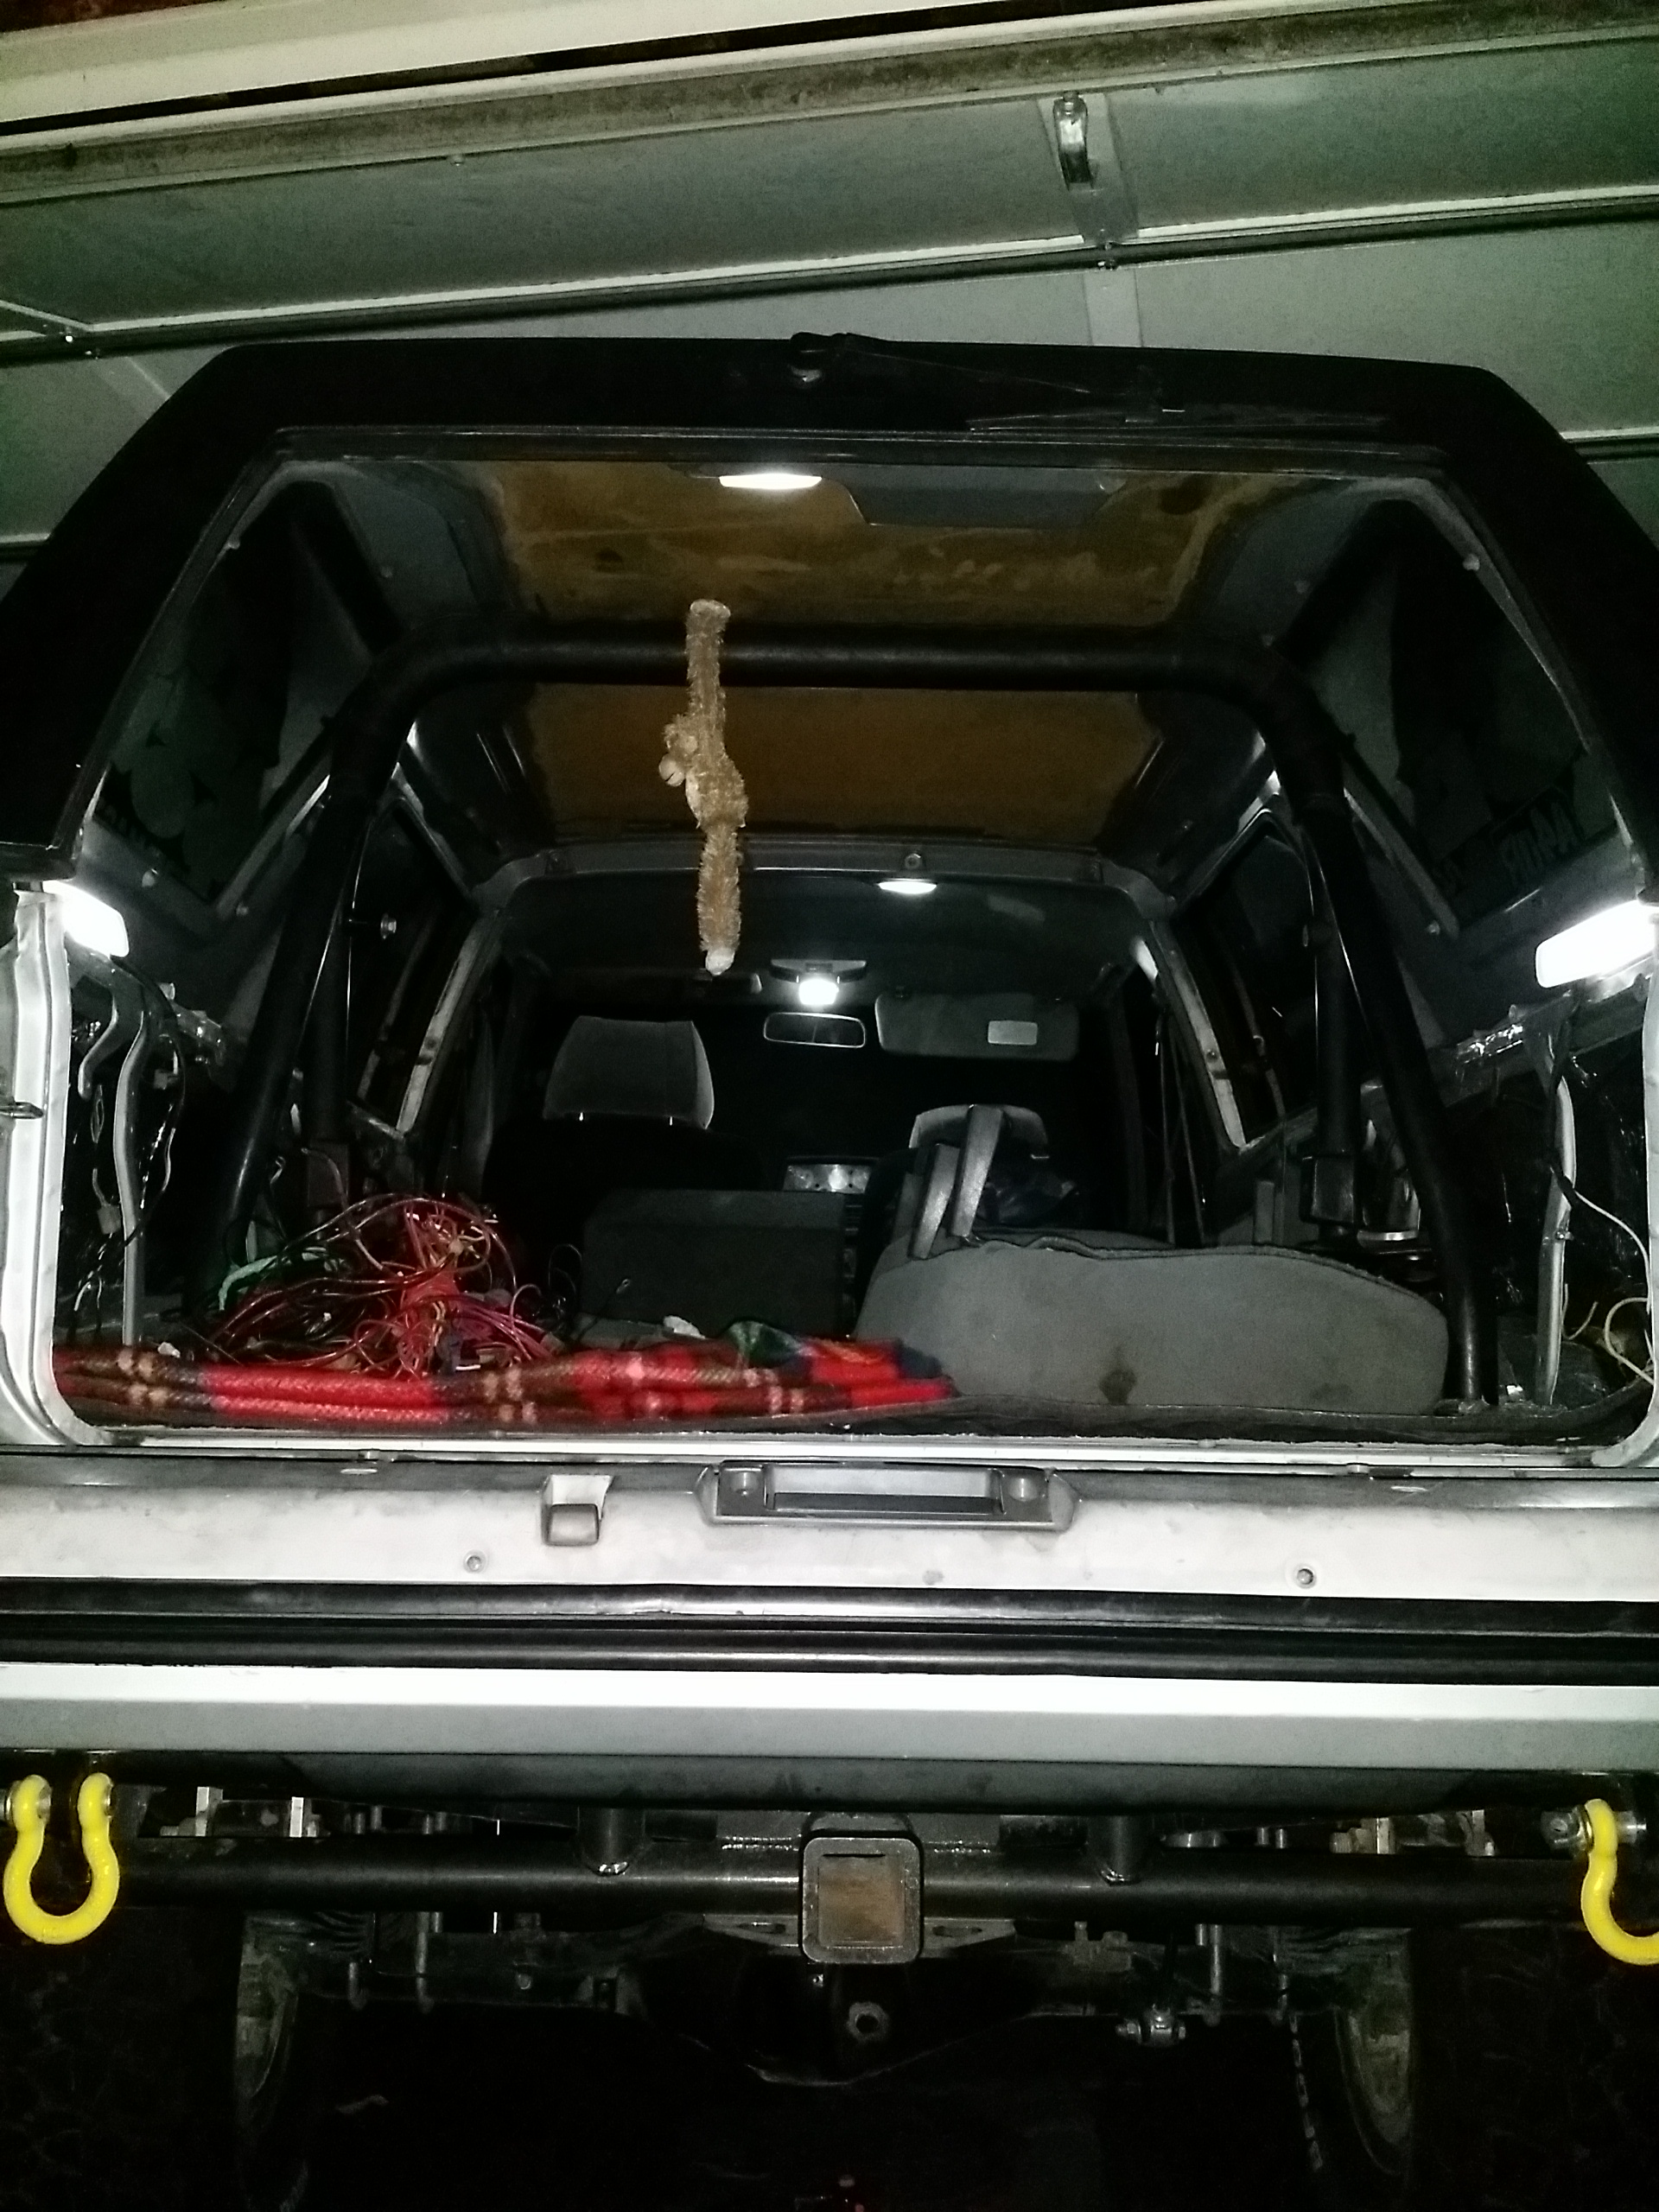
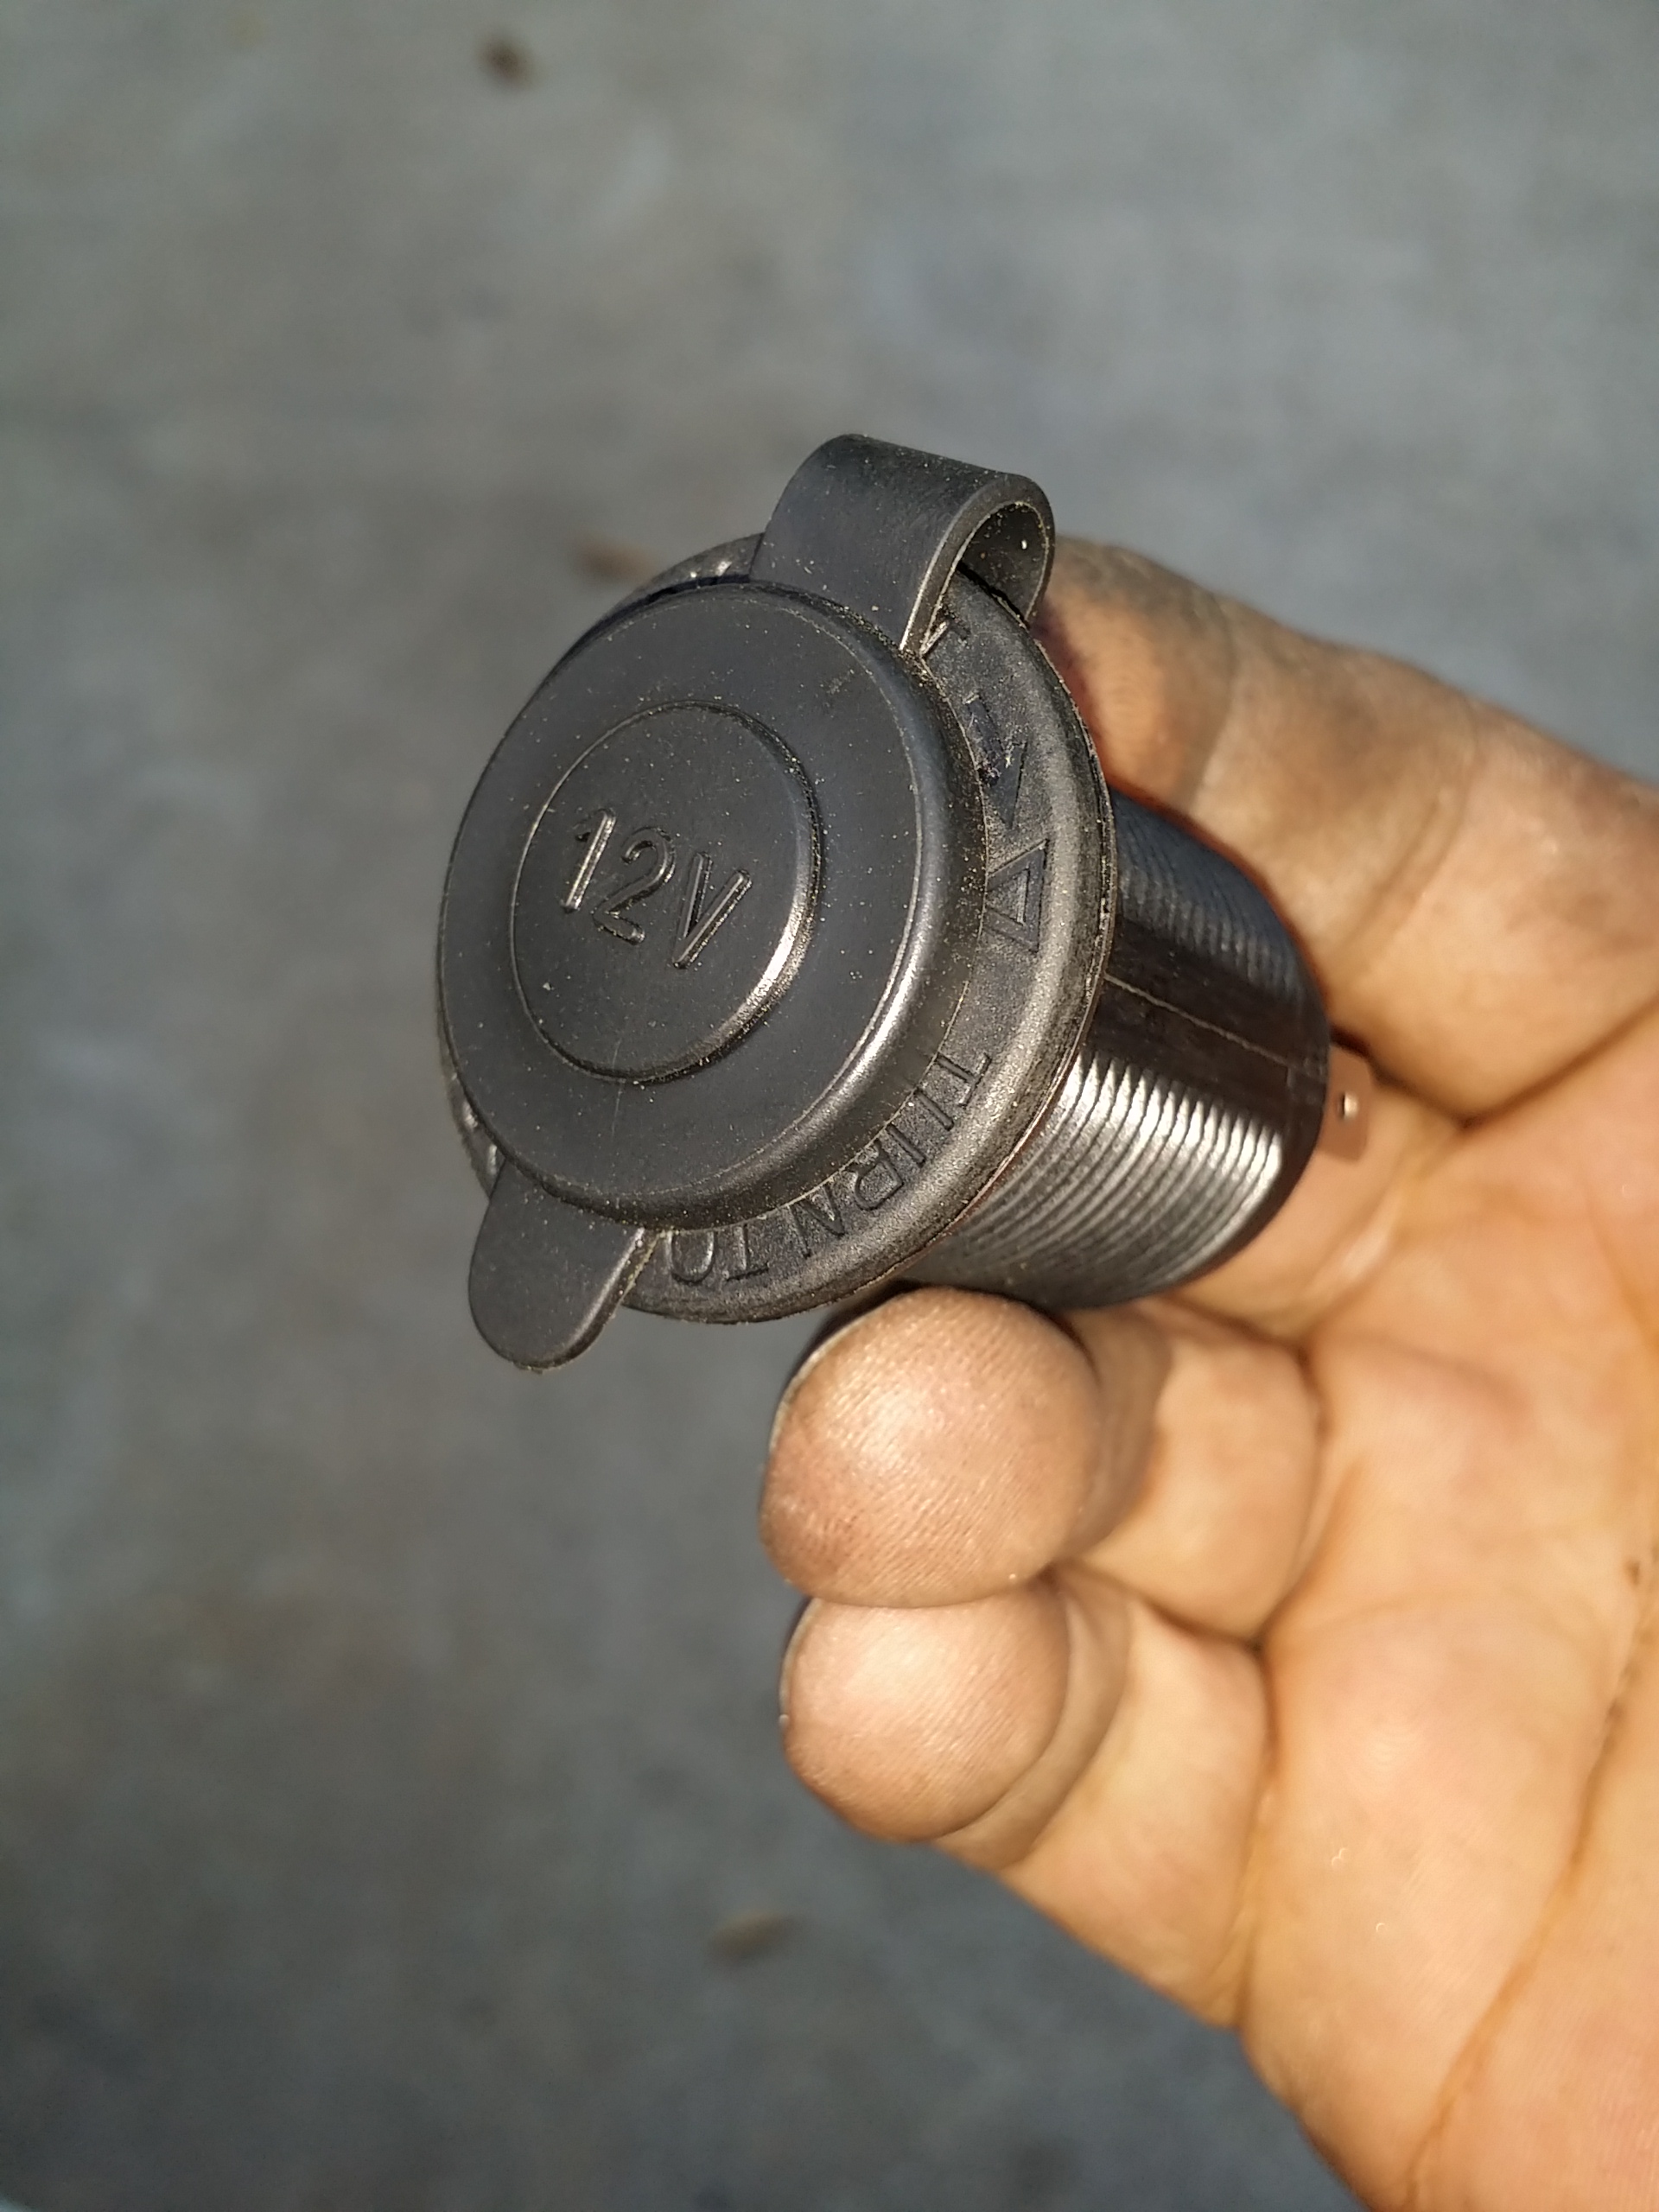
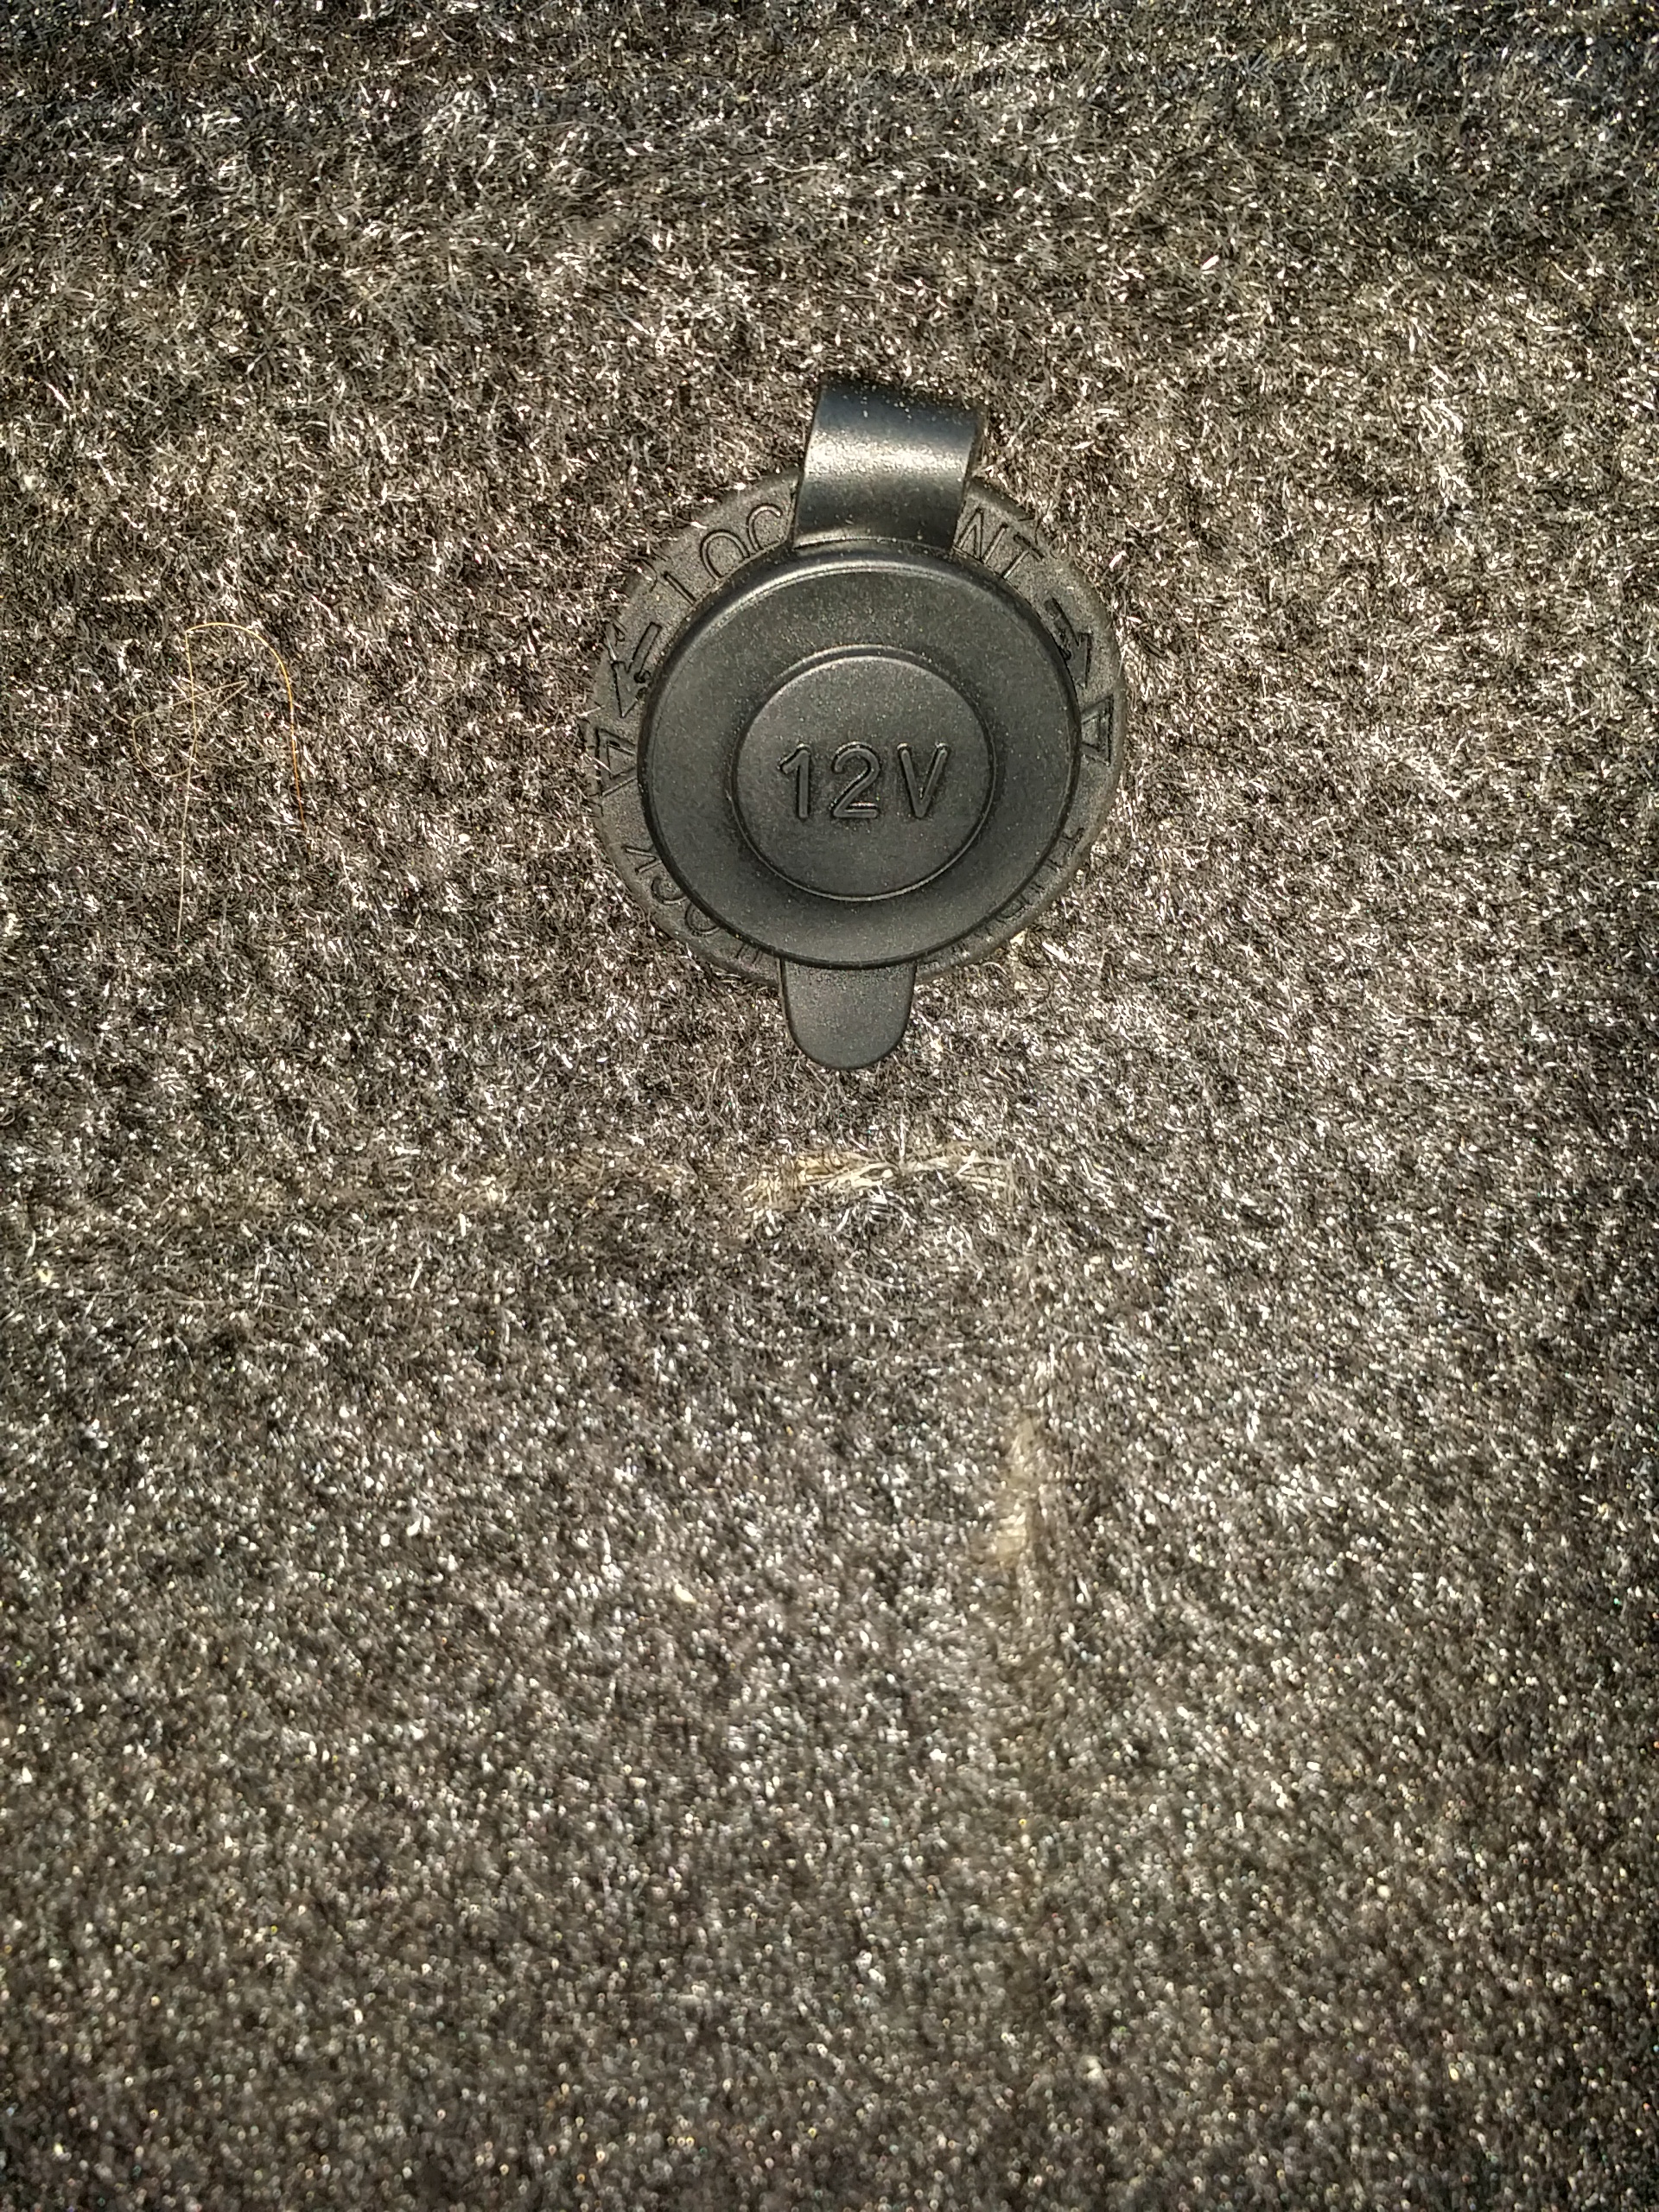
Finally added a nice 12 volt auxiliary plug in the cargo area right by the Bach gate...
Just a little video I posted to explain to people that they don't need to toss their factory hold down just because they're battery is not as tall anymore. Obviously is not being as wide takes a little more creativity then putting a spacer on the bottom... But not much, lol.
20" light wiring run and ready to install the relays for all the lights. I have to cut a hole in the roof, this is something I'm not looking forward to but it must be done. I actually have a way to make sure it is very sealed up... I will report on that later...
Just another day time shot that I was getting caught up and doing a summary...
**************************************
I'm actually since added more, and have two more to add for my off road lights and auxiliary power to the front cabin...
Got my electrical organized a lot better!....

Permanently mounted my rock light remote relay on the firewall below the wiper motor( I'm thinking of adding another one 2 run some separate interior and engine bay lighting. .... I want my engine bay lights to come on either when opening the hood, by switch or by remote switch.)....

She's coming along. The silver is really growing on me. I can't seem to get this new phone to accurately portray the light. Anyone who has been with me in the pitch black knows how bright these rock lights are. They're not blindingly bright, but they are definitely brighter than this....


Wired in my door lock detection switch diode to this new to me harness and ran all the wiring and all of the lights are ready to go. This connector is the one coming from the rear wiper cover... Holy crap what a nightmare! I forgot how difficult it was to feed those wires through. It literally became an agonizing on my back reaching up for about 45 minutes till I finally got it on around the 25th try using tie up wire...

3A diode( once again, total credit going to
BRYAN89 of ih8mud.com , and also is a member on here... So grateful that he took the time to post this!) ...

Diode, soldered in and about to be heat shrunk....

All wrapped up & snapped back into its home....


Finally added a nice 12 volt auxiliary plug in the cargo area right by the Bach gate...


Just a little video I posted to explain to people that they don't need to toss their factory hold down just because they're battery is not as tall anymore. Obviously is not being as wide takes a little more creativity then putting a spacer on the bottom... But not much, lol.
20" light wiring run and ready to install the relays for all the lights. I have to cut a hole in the roof, this is something I'm not looking forward to but it must be done. I actually have a way to make sure it is very sealed up... I will report on that later...
Just another day time shot that I was getting caught up and doing a summary...
Last edited by ChefYota4x4; Mar 26, 2014 at 10:27 AM.
Mar 26, 2014 | 03:49 PM
#196

Registered User
Joined: Sep 2013
Posts: 23
Likes: 0
From: Castro Valley, CA
Hi Mark, Just wanted to thank you for posting the 14 1/2 min video on wiring gremlin! Helped me solve one of my problems. You also mentioned the clock light diming when you turn on the lights. Reading from my original 87 Runner Owners Manual on the clock it says "When the tail lights are turned on, the brightness of the time indication will be reduced." It does not give a reason why, just that sentence. Anyway thanks again for your excellent narrative on Suzy Q.
Morgan
Morgan
Mar 26, 2014 | 10:39 PM
#197
Registered User
Joined: Aug 2011
Posts: 592
Likes: 0
From: Canon City, Colorado
DANG Mark!! Your progress and completion on Suzy is amazing!! You got that swap done faster then a kid cleaning there room so they could get a new toy haha. Great work. Any plans to use the old frame and body to make a buggy? Maybe a set of 3/4 ton axles and a V8.
Mar 27, 2014 | 10:06 AM
#198
Thread Starter
Registered User
iTrader: (5)
Joined: Jun 2009
Posts: 19,281
Likes: 20
From: Lake Havasu, AZ
Hi Mark, Just wanted to thank you for posting the 14 1/2 min video on wiring gremlin! Helped me solve one of my problems. You also mentioned the clock light diming when you turn on the lights. Reading from my original 87 Runner Owners Manual on the clock it says "When the tail lights are turned on, the brightness of the time indication will be reduced." It does not give a reason why, just that sentence. Anyway thanks again for your excellent narrative on Suzy Q.
Morgan
Morgan
Not sure yet, but likely just getting it out of here. I would love to build something off that frames and ditch the 3.0 Android train, maybe a long travel buggy... I just don't have the time. I just want to get back on the road and take some trips and enjoy my life. Not that I don't enjoy this, but I don't want to spend every minute of my spare time building something like that at the moment. I would rather find another one complete and try to use the red body to make a shortly crawler. Lol. But who knows, I've been known to change my mind before. Lol. Thanks a lot brother!
Mar 27, 2014 | 10:09 AM
#199
Thread Starter
Registered User
iTrader: (5)
Joined: Jun 2009
Posts: 19,281
Likes: 20
From: Lake Havasu, AZ
Thanks again, so much, for pointing out that tiny little thing that you saw in my picture, which I didn't even notice... Damn! Lol.
Mar 27, 2014 | 01:56 PM
#200
Registered User
Joined: May 2012
Posts: 185
Likes: 0
From: Dublin, Ga
Hey mark got any pics of what u did for the shifter plate for the five speed In finishing up my swap and haven't decided how to mount the boot with the gap in the middle
:edit:
Never mind found the pics of what u did my bad
:edit:
Never mind found the pics of what u did my bad
Last edited by 87hoerunner; Mar 27, 2014 at 04:38 PM.


