
Chefyota4x4's Ruby R3dRuM to "Suzy-Q the Silverback" Body Swap Thread!
 Apr 5, 2014 | 10:24 PM
#241
Thread Starter
Registered User
iTrader: (5)
Joined: Jun 2009
Posts: 19,281
Likes: 20
From: Lake Havasu, AZ
Nice work on the headliner, it looks really good! I really like the soft top, I want to get one of those BAD!!! The weather up here is to unpredictable in the spring and early summer, I got caught in the rain a couple times last year running without the top, it's no fun, lol.
Hey Mark, I was wondering if you could do me a favor (when you have the time). I was wondering if I could get your front and rear clearance measurements between the tire or rim and the fender well. I'm planning on getting AllPro's rear lift kit for my 4runner, and am unsure whether to go with their 5" or 6" lift. Right now mine sits lower in the rear and I want it to be level. The clearance measurement on the front of mine is aprox 20-1/4" from the lip of the wheel/rim to the lip of the fender (or 10-1/2" from the top of the tire to the lip of the fender).Sorry if you already posted this info and I missed it! Again, there's no hurry, I know your busy, it will probably be a month or so before I'm ready to place an order, I just want to make sure I get the spring height right the first time, thanks buddy!
Hey Mark, I was wondering if you could do me a favor (when you have the time). I was wondering if I could get your front and rear clearance measurements between the tire or rim and the fender well. I'm planning on getting AllPro's rear lift kit for my 4runner, and am unsure whether to go with their 5" or 6" lift. Right now mine sits lower in the rear and I want it to be level. The clearance measurement on the front of mine is aprox 20-1/4" from the lip of the wheel/rim to the lip of the fender (or 10-1/2" from the top of the tire to the lip of the fender).Sorry if you already posted this info and I missed it! Again, there's no hurry, I know your busy, it will probably be a month or so before I'm ready to place an order, I just want to make sure I get the spring height right the first time, thanks buddy!
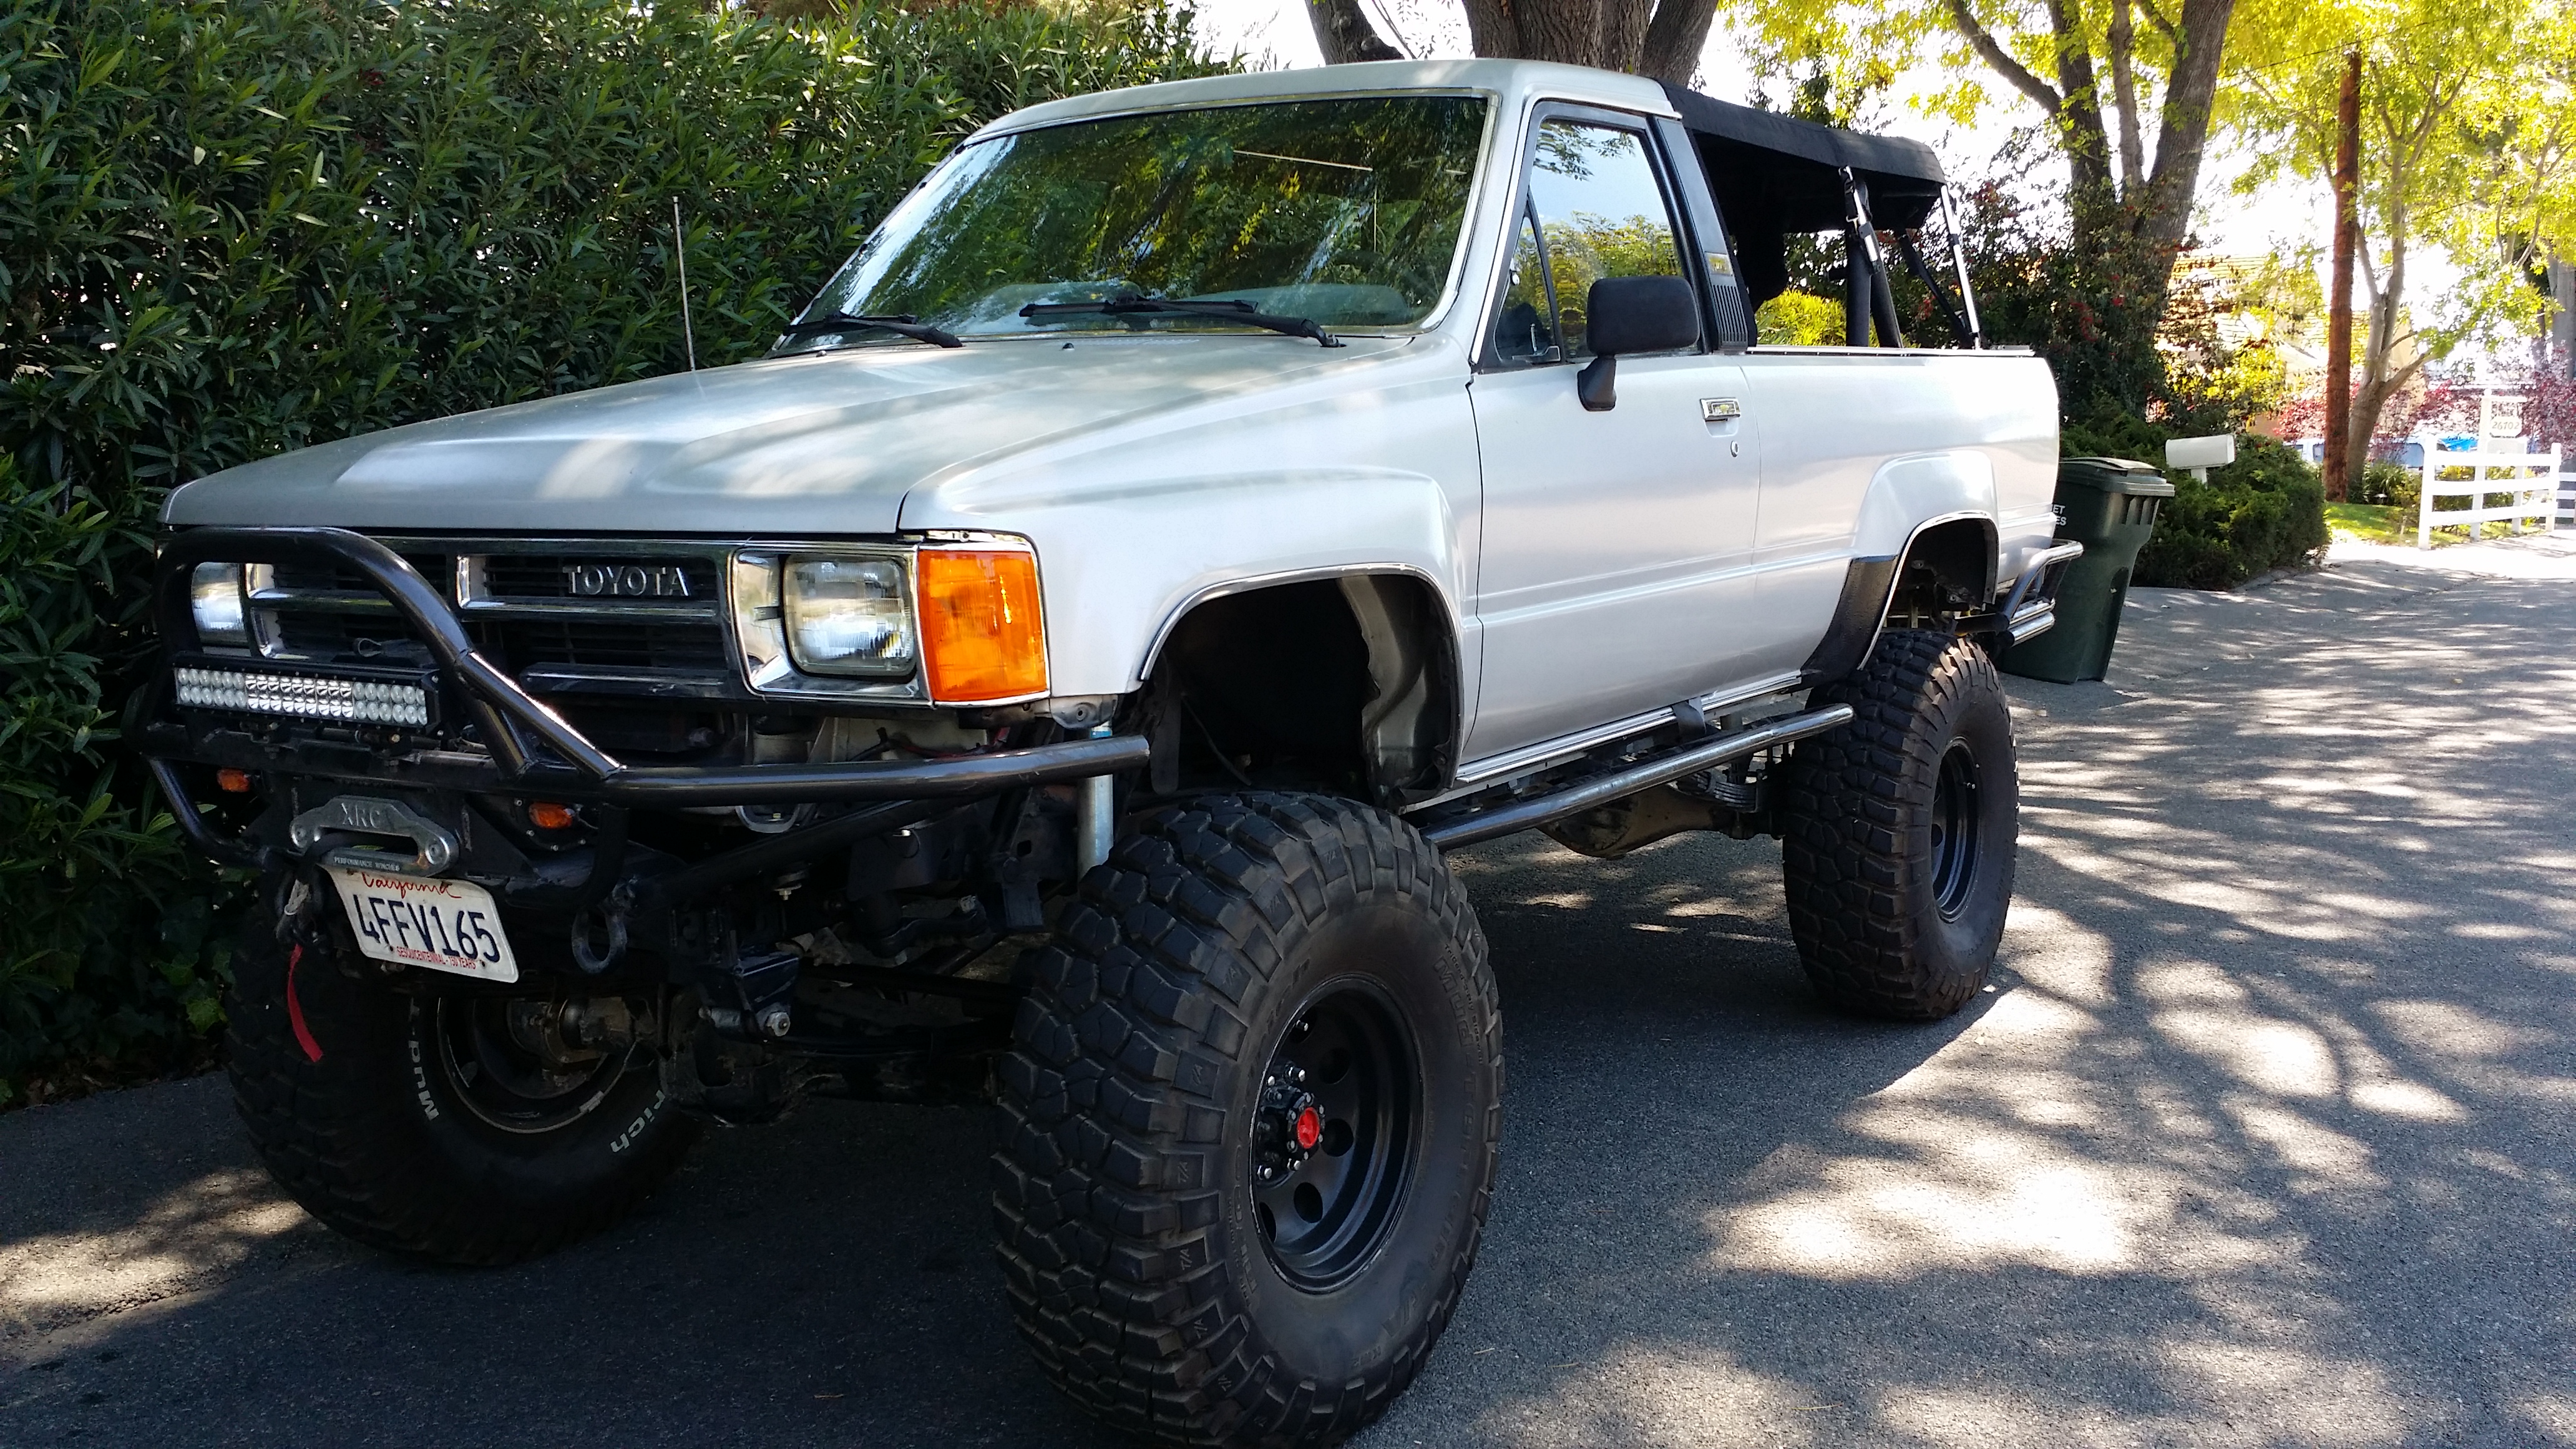
Front / rear wheel top to top of wheel well ... 21"/19" ....
Realistically, it's 20"/18"
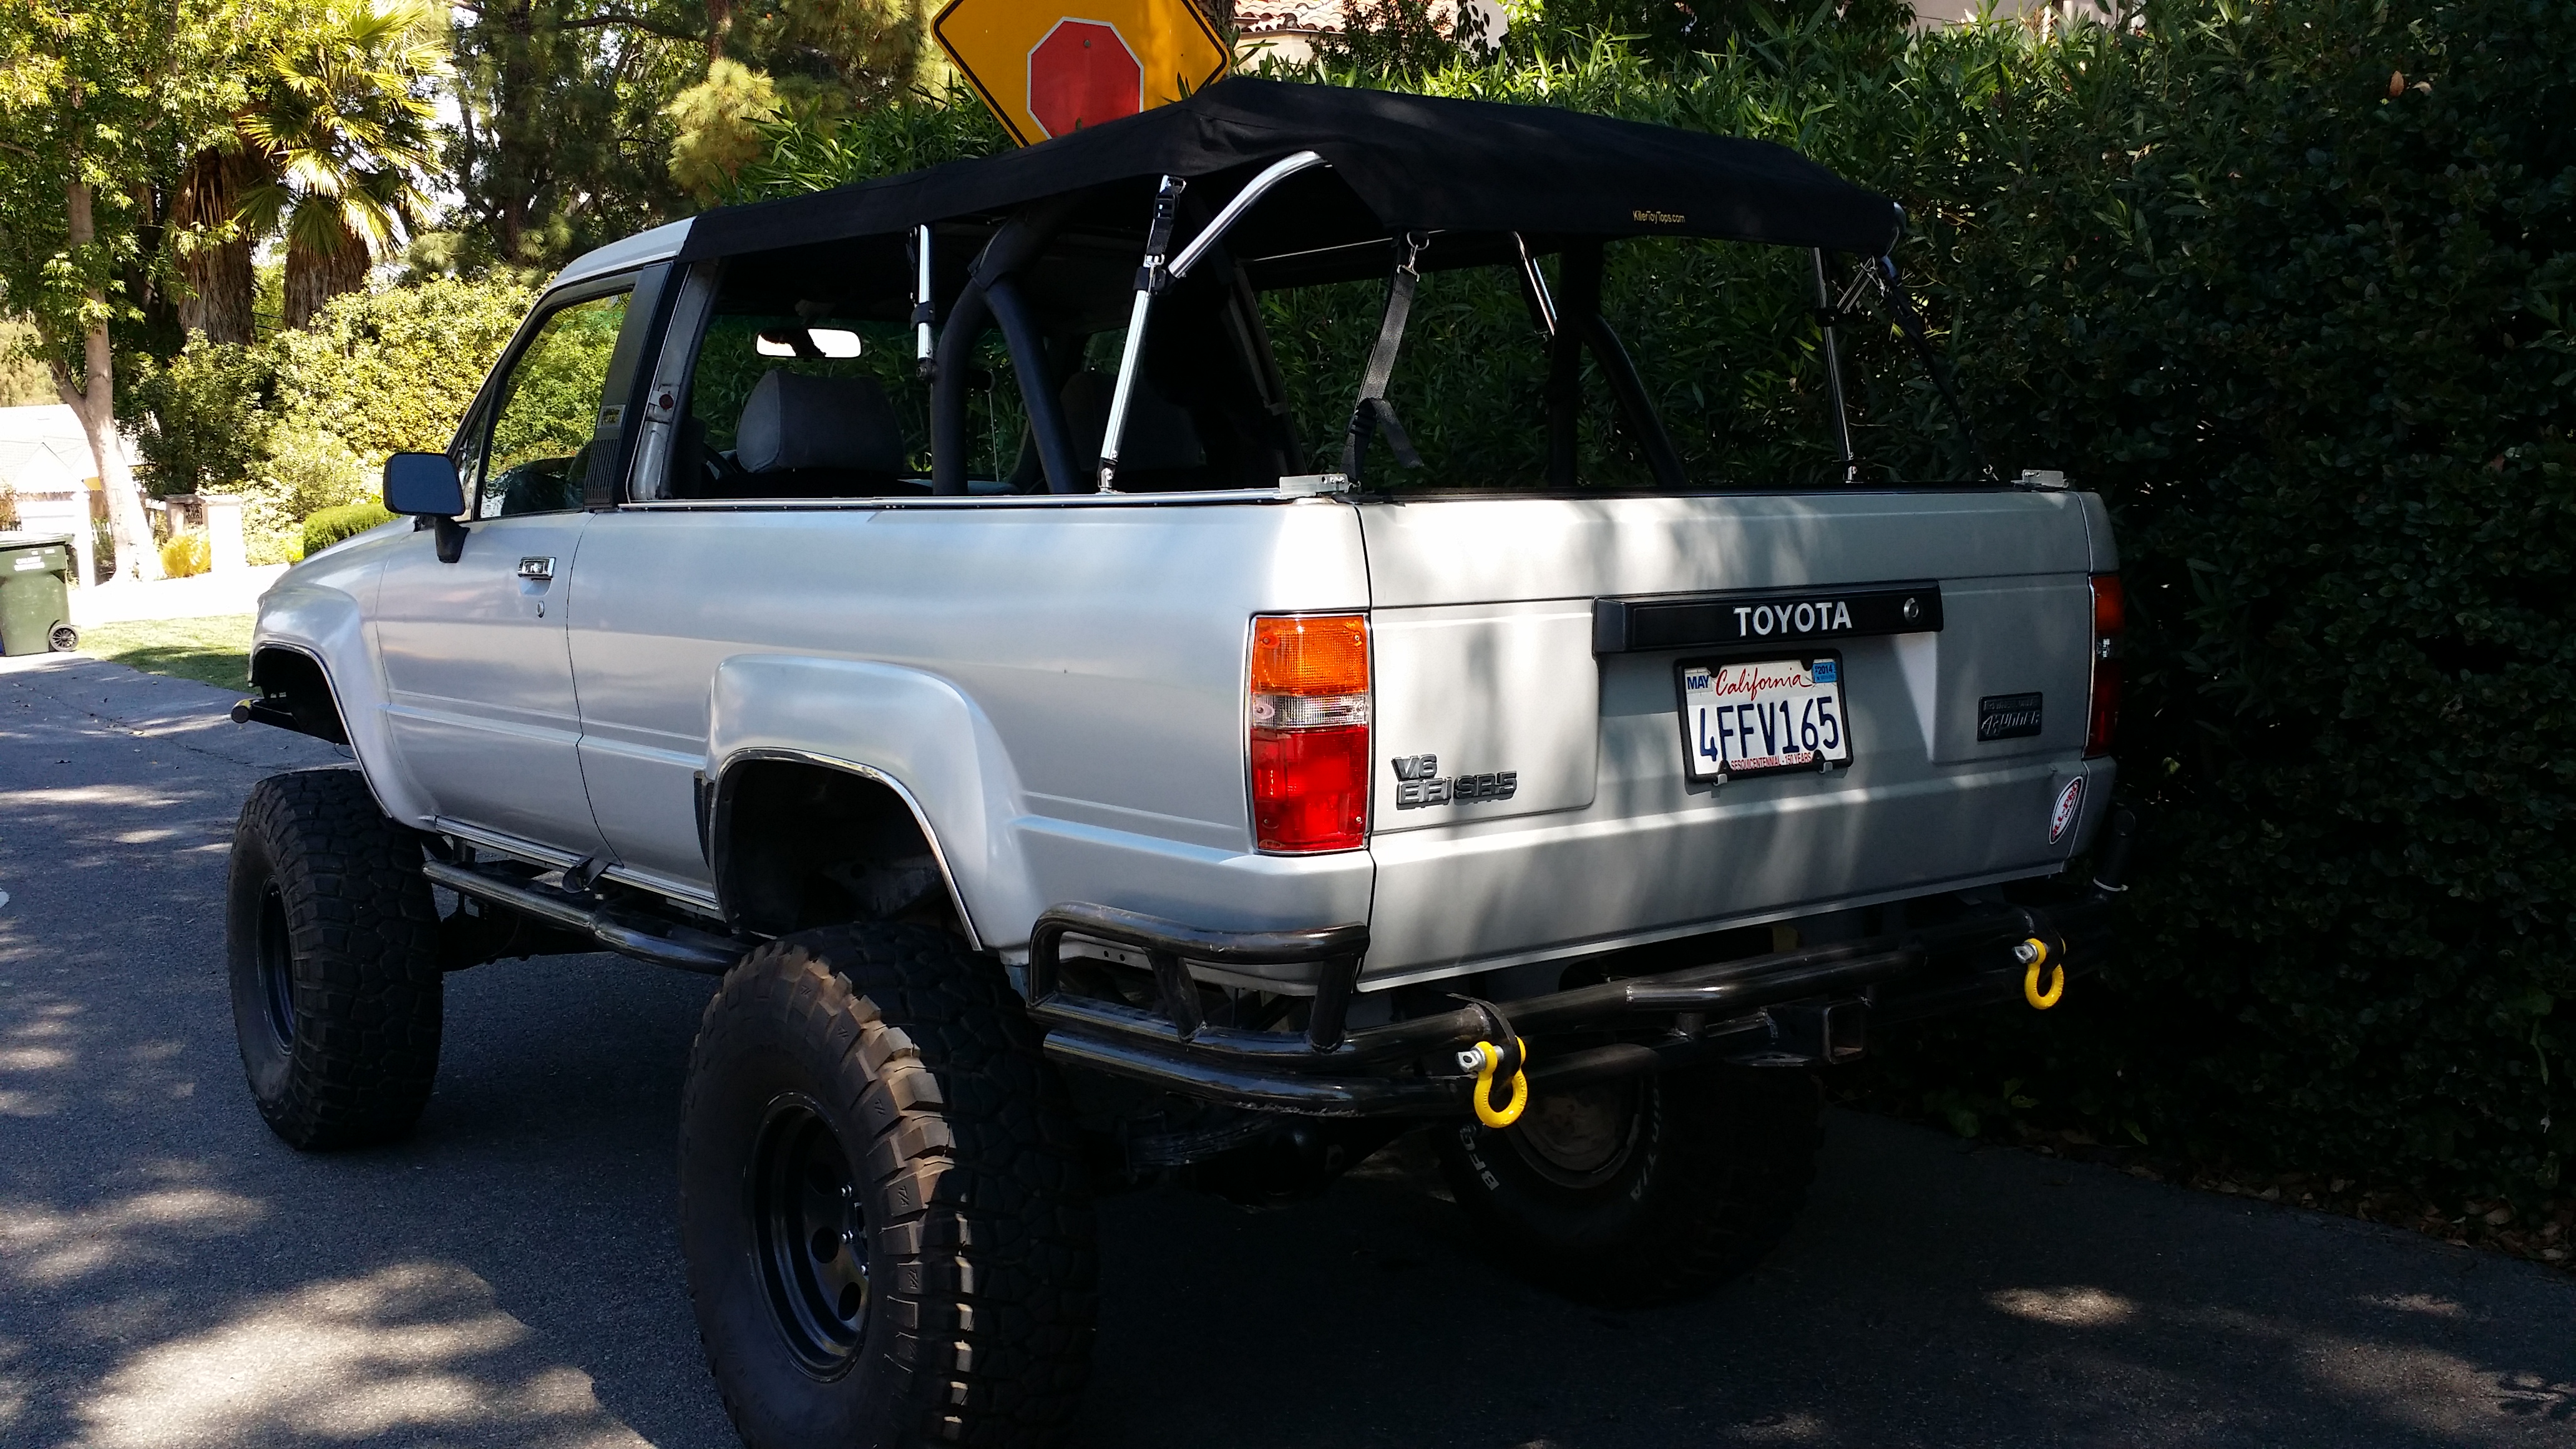
Also! ; I'm taking this measurement with the shell off/Killer Toy Top on.
 Apr 5, 2014 | 11:26 PM
#242
Thread Starter
Registered User
iTrader: (5)
Joined: Jun 2009
Posts: 19,281
Likes: 20
From: Lake Havasu, AZ
Just had to share. Great video! At some point, I will be visiting Jonnyboy, out in Utah, where he took a new job. Definitely going to have to hit some of this up! SOME! Lol......
Apr 5, 2014 | 11:37 PM
#243
Ed, my apologies! I was about to sit back and get ready to crash out for the night and I remembered your request. So I ran out and measured. You have to consider that I added around 1 inch body lift recently in order to compensate for the back bumper otherwise I could never get the fender back on for now....
Front / rear wheel top to top of wheel well ... 21"/19" ....
Realistically, it's 20"/18"
Also! ; I'm taking this measurement with the shell off/Killer Toy Top on.
Front / rear wheel top to top of wheel well ... 21"/19" ....
Realistically, it's 20"/18"
Also! ; I'm taking this measurement with the shell off/Killer Toy Top on.
Last edited by rustED; Apr 5, 2014 at 11:43 PM.
Apr 6, 2014 | 09:42 AM
#244
Thread Starter
Registered User
iTrader: (5)
Joined: Jun 2009
Posts: 19,281
Likes: 20
From: Lake Havasu, AZ
HOLLER!.....
My older daughter,,, is trying desperately to get by... She's very independent, but she desperately needs help to get another car. Her ES 300 is running like crap and has all kinds of problems. It's just not worth fixing anymore.( the one I put the hood on)....
If anyone nose of a reasonable car that would be reliable that she could carry her daughter in the backseat, preferably in SoCal, please let me know? Looking for something hopefully around 1000 - 1500 at the most...
Apr 6, 2014 | 08:51 PM
#246
Thread Starter
Registered User
iTrader: (5)
Joined: Jun 2009
Posts: 19,281
Likes: 20
From: Lake Havasu, AZ
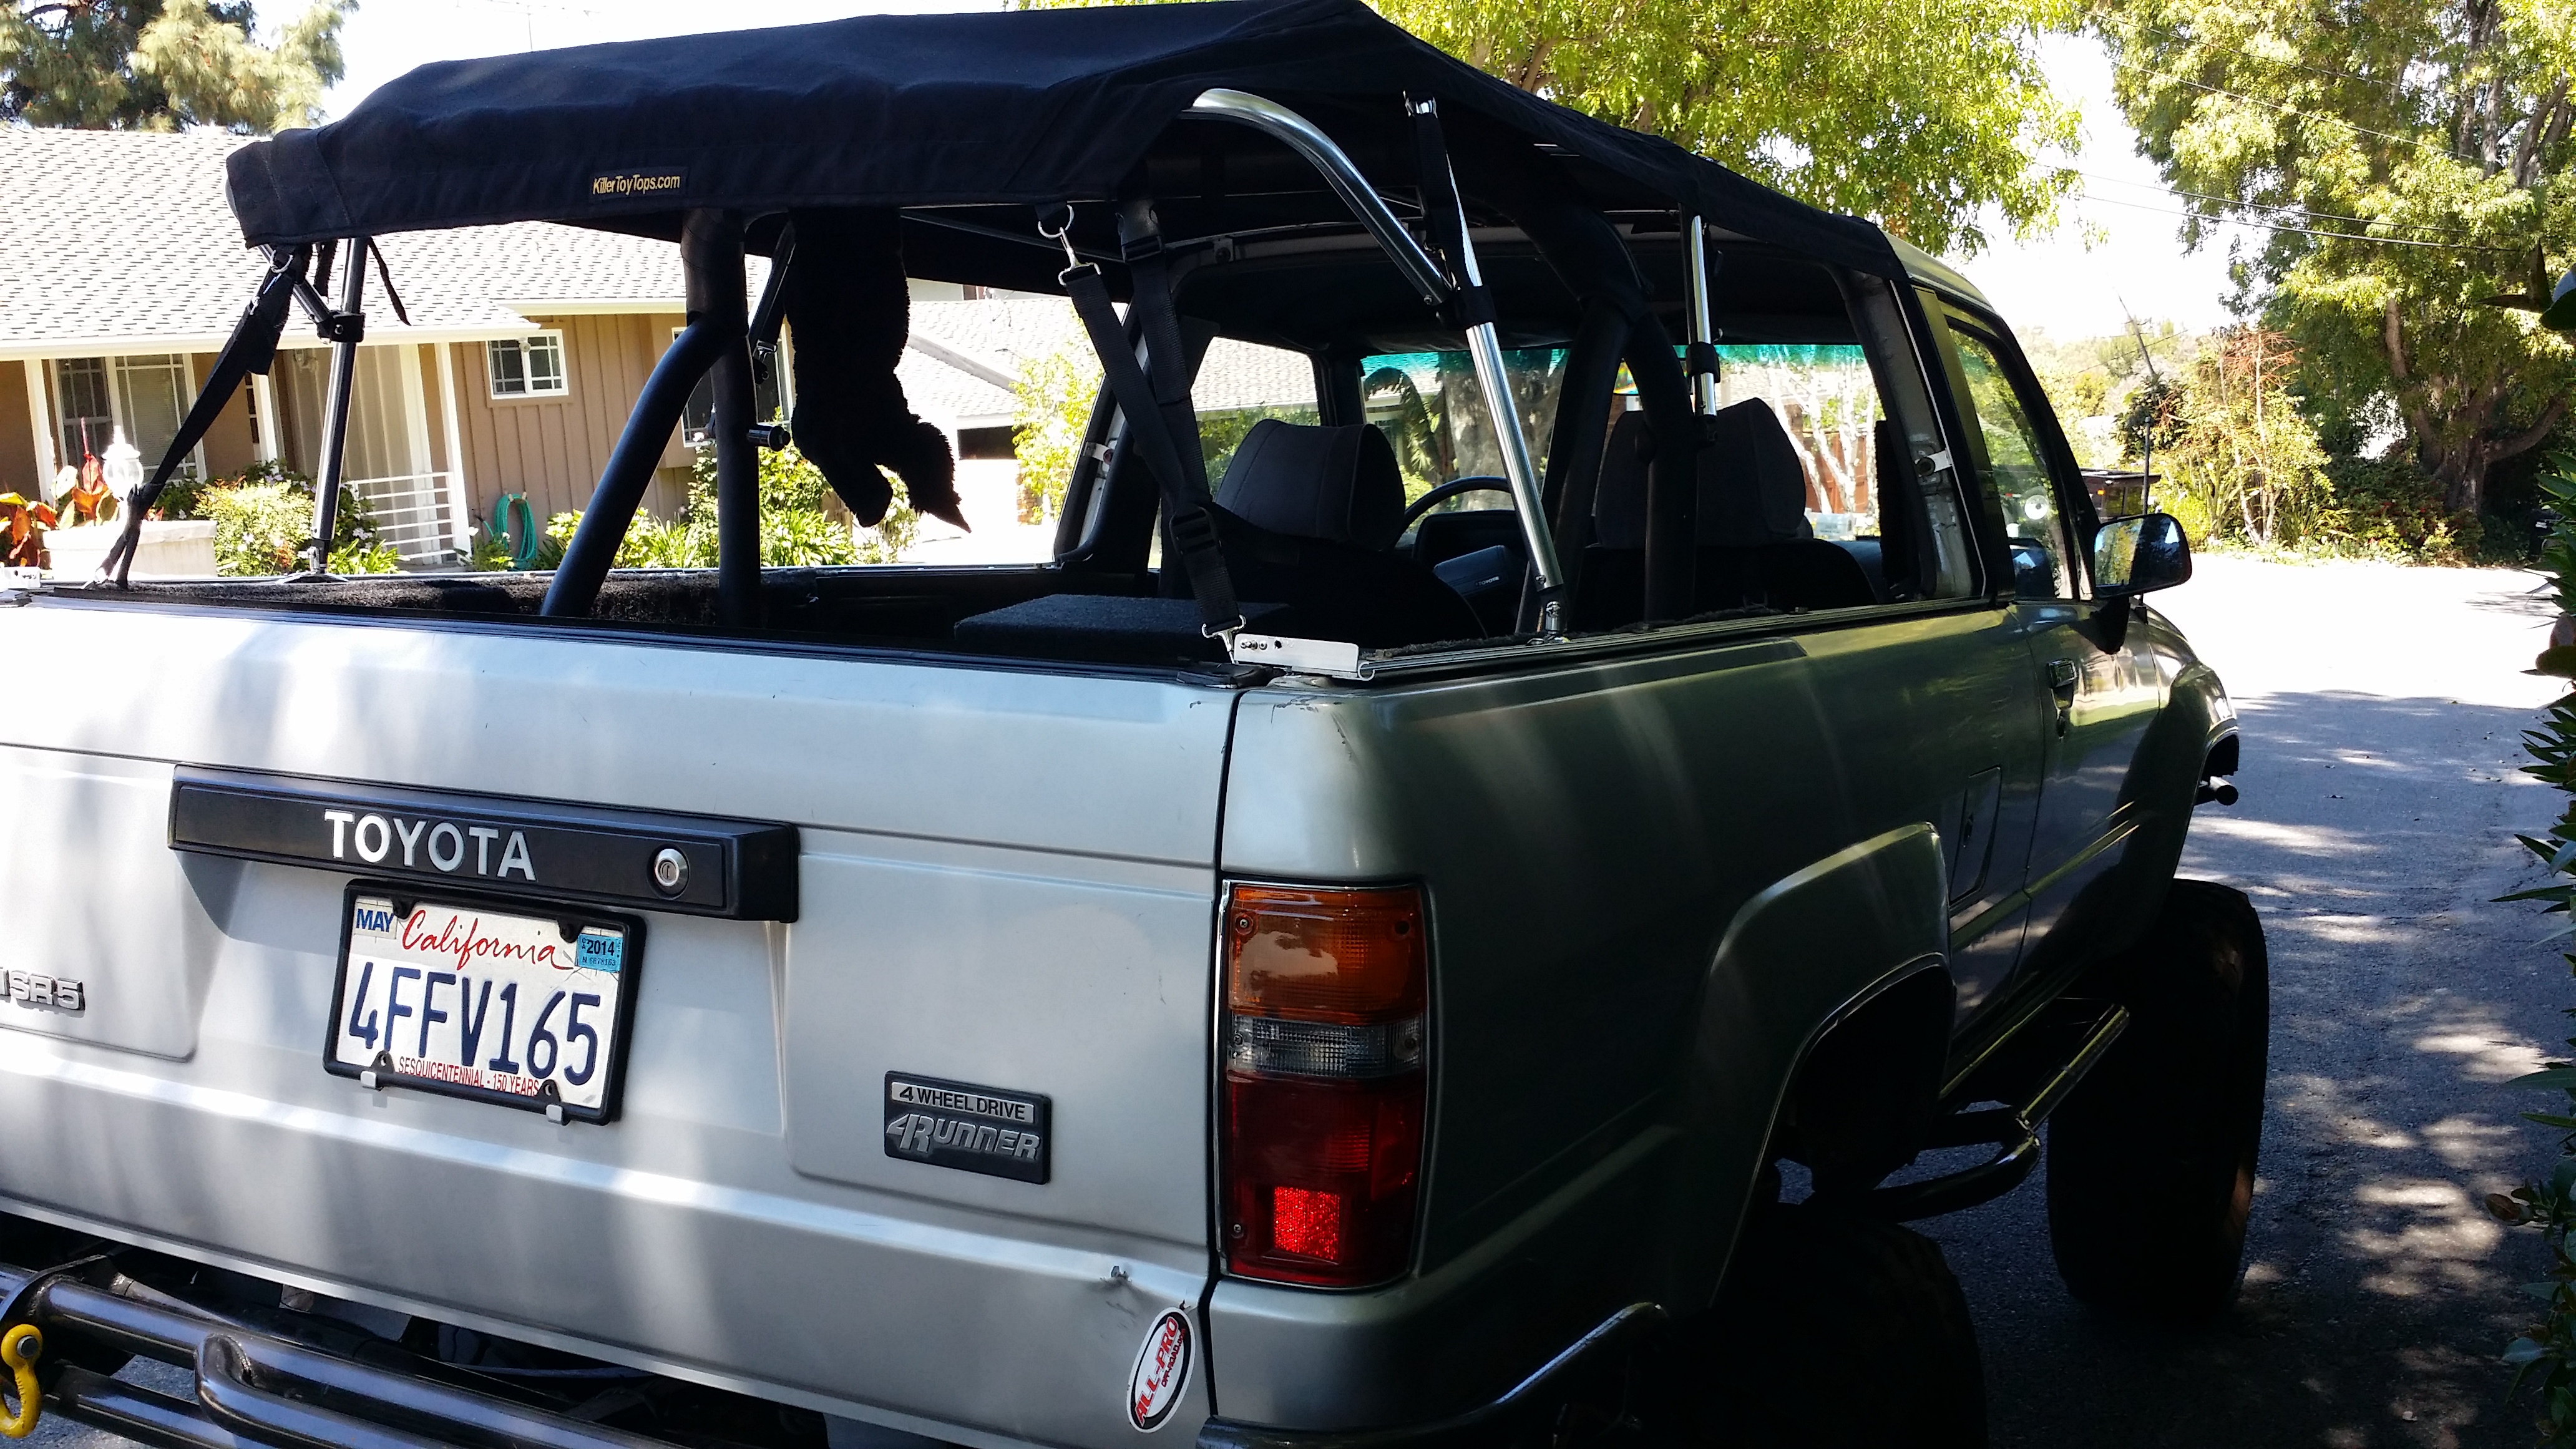
I don't really have any plans to run the rock on the soft top. I'm sure I could find a way to make it work off the front mounting points and the roll bar, but I'm just going to put the hardtop back on for now, especially with a trip to Arizona coming up. I will have to get my A/C done, as well, because my mom just can't deal with the high temps.
Apr 7, 2014 | 12:27 PM
#247
Registered User
Joined: Aug 2011
Posts: 1,507
Likes: 2
From: Fraser Valley, British Columbia
Mark you better give me advanced warning if you head to Moab. It's not that far of a drive that I wont shoot down to wheel with you again.
Moab is so fun.
Be prepared for some damage.
EDIT///
Watched that video. Pretty gnar back flip. I think I'll make my next stinger a bit longer to protect the engine. It's dead easy to make a mistake in Moab. I put Red into the wall there. If I had flopped the other way it would have been bad.
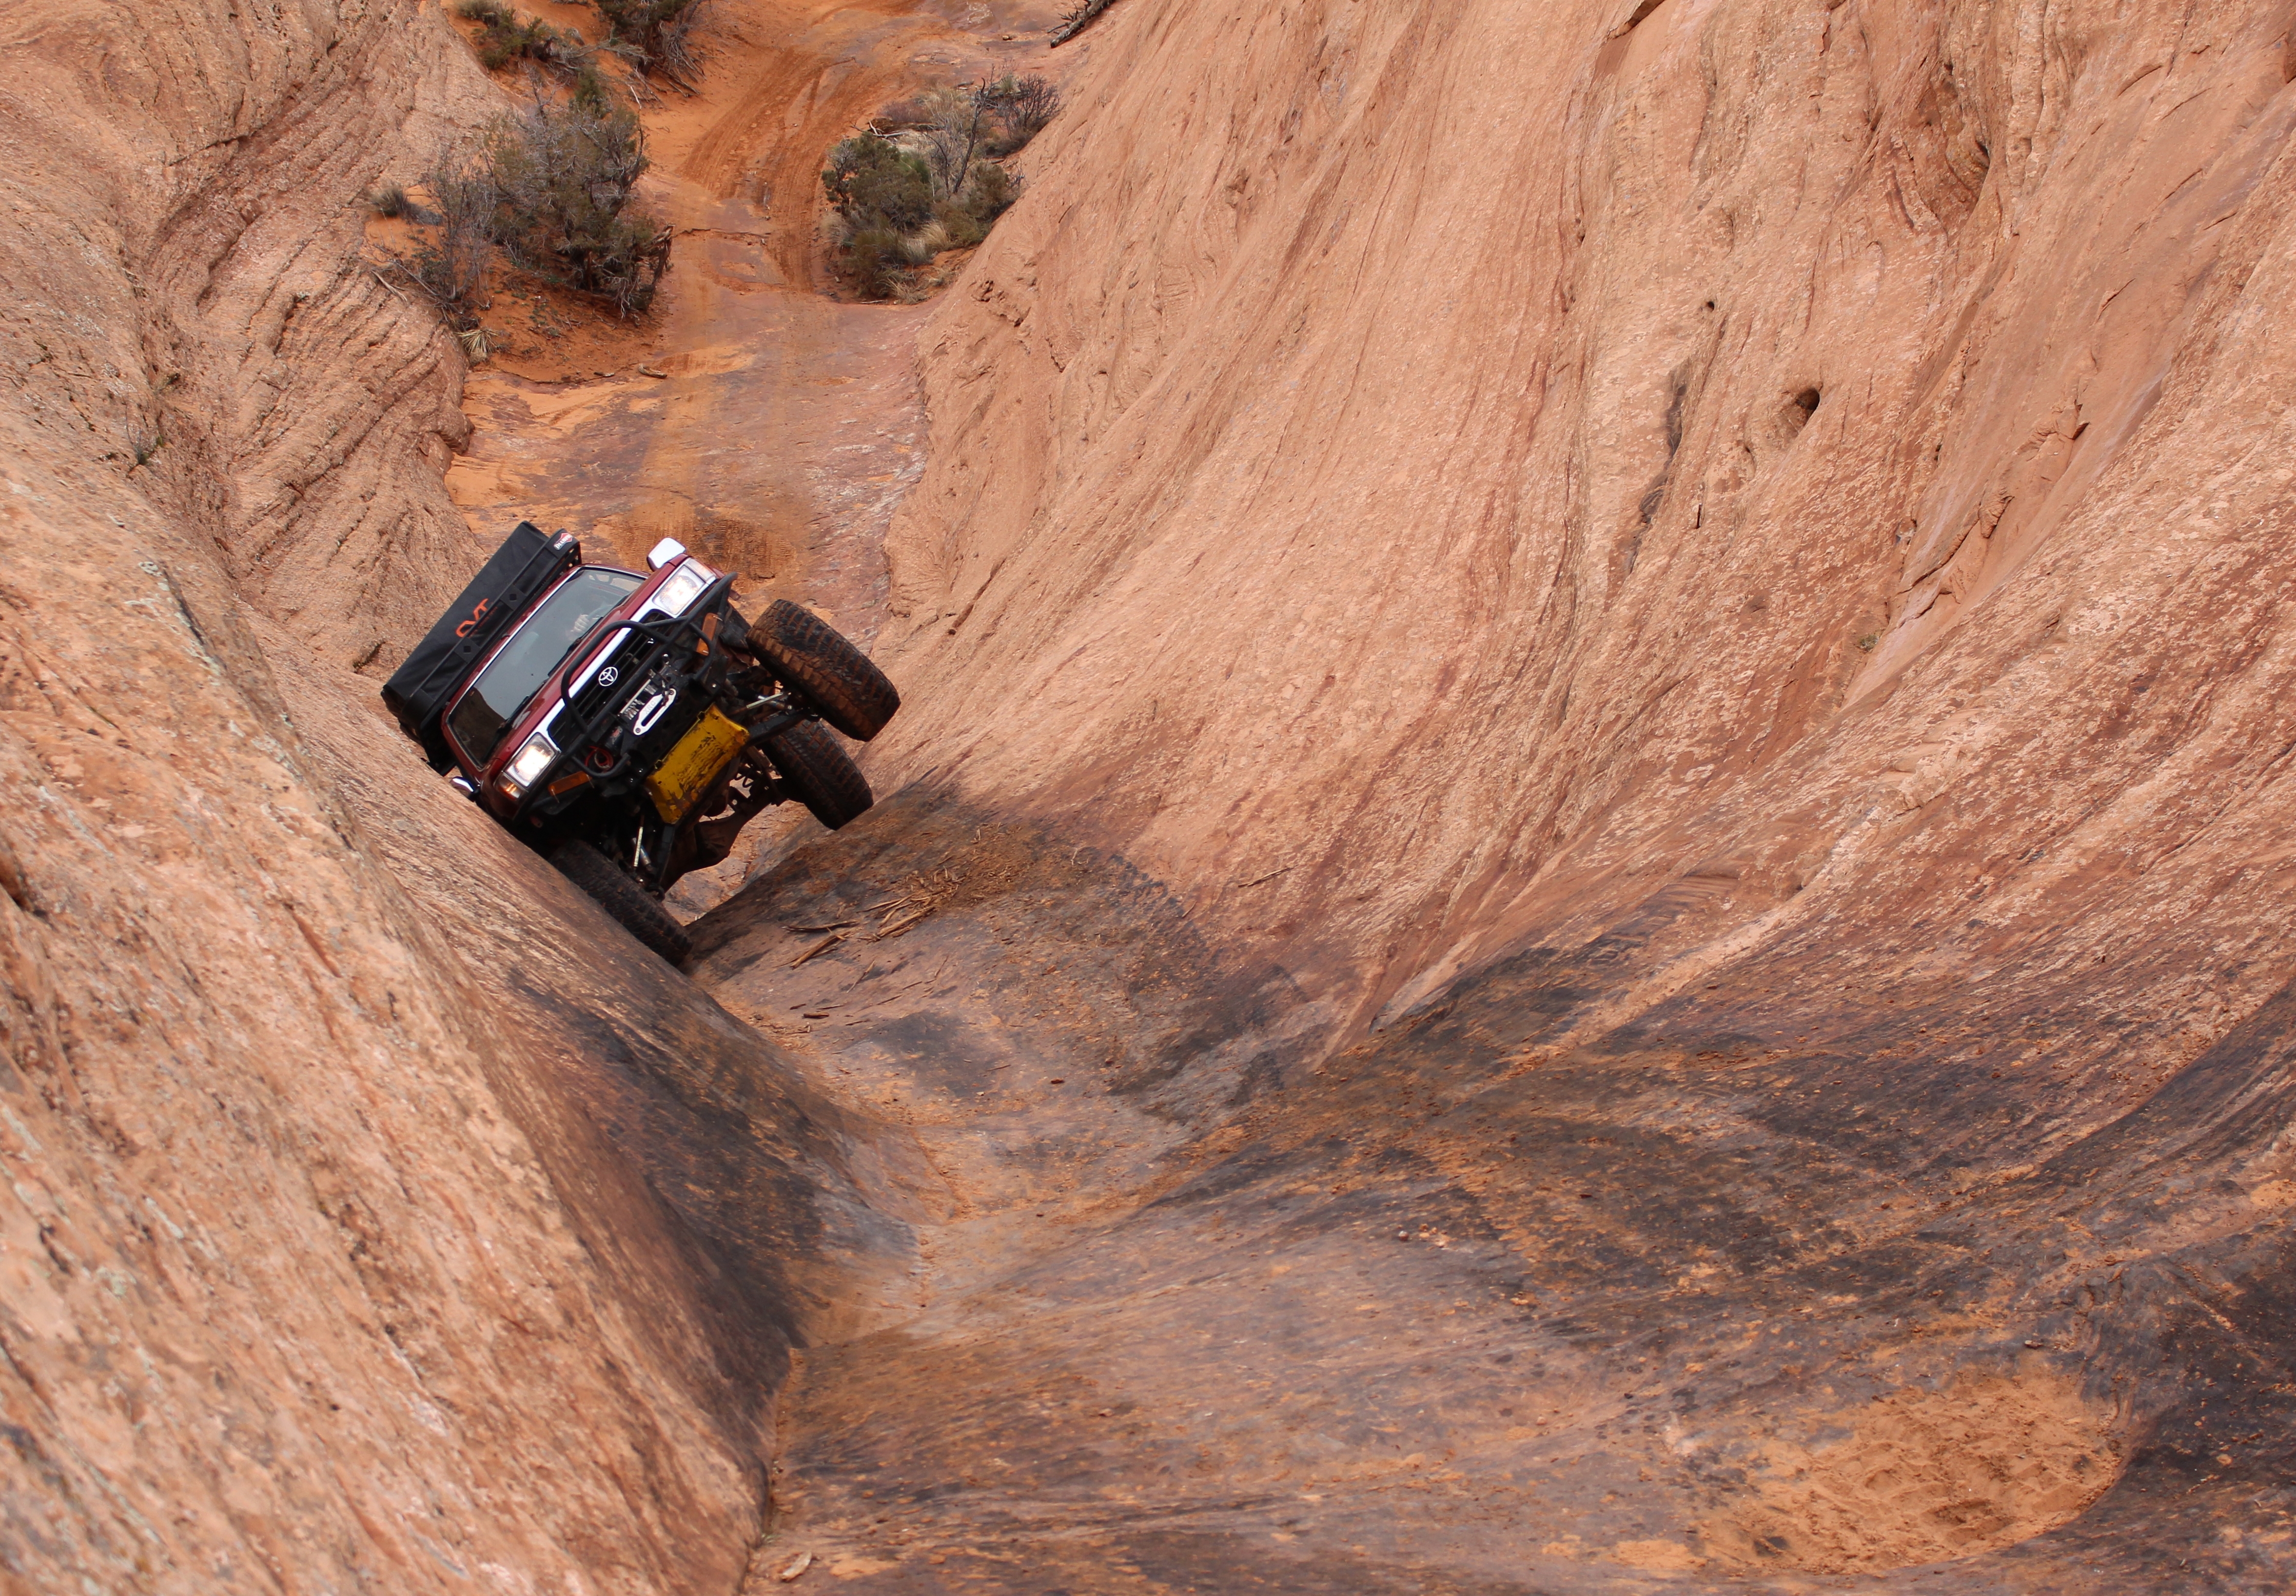
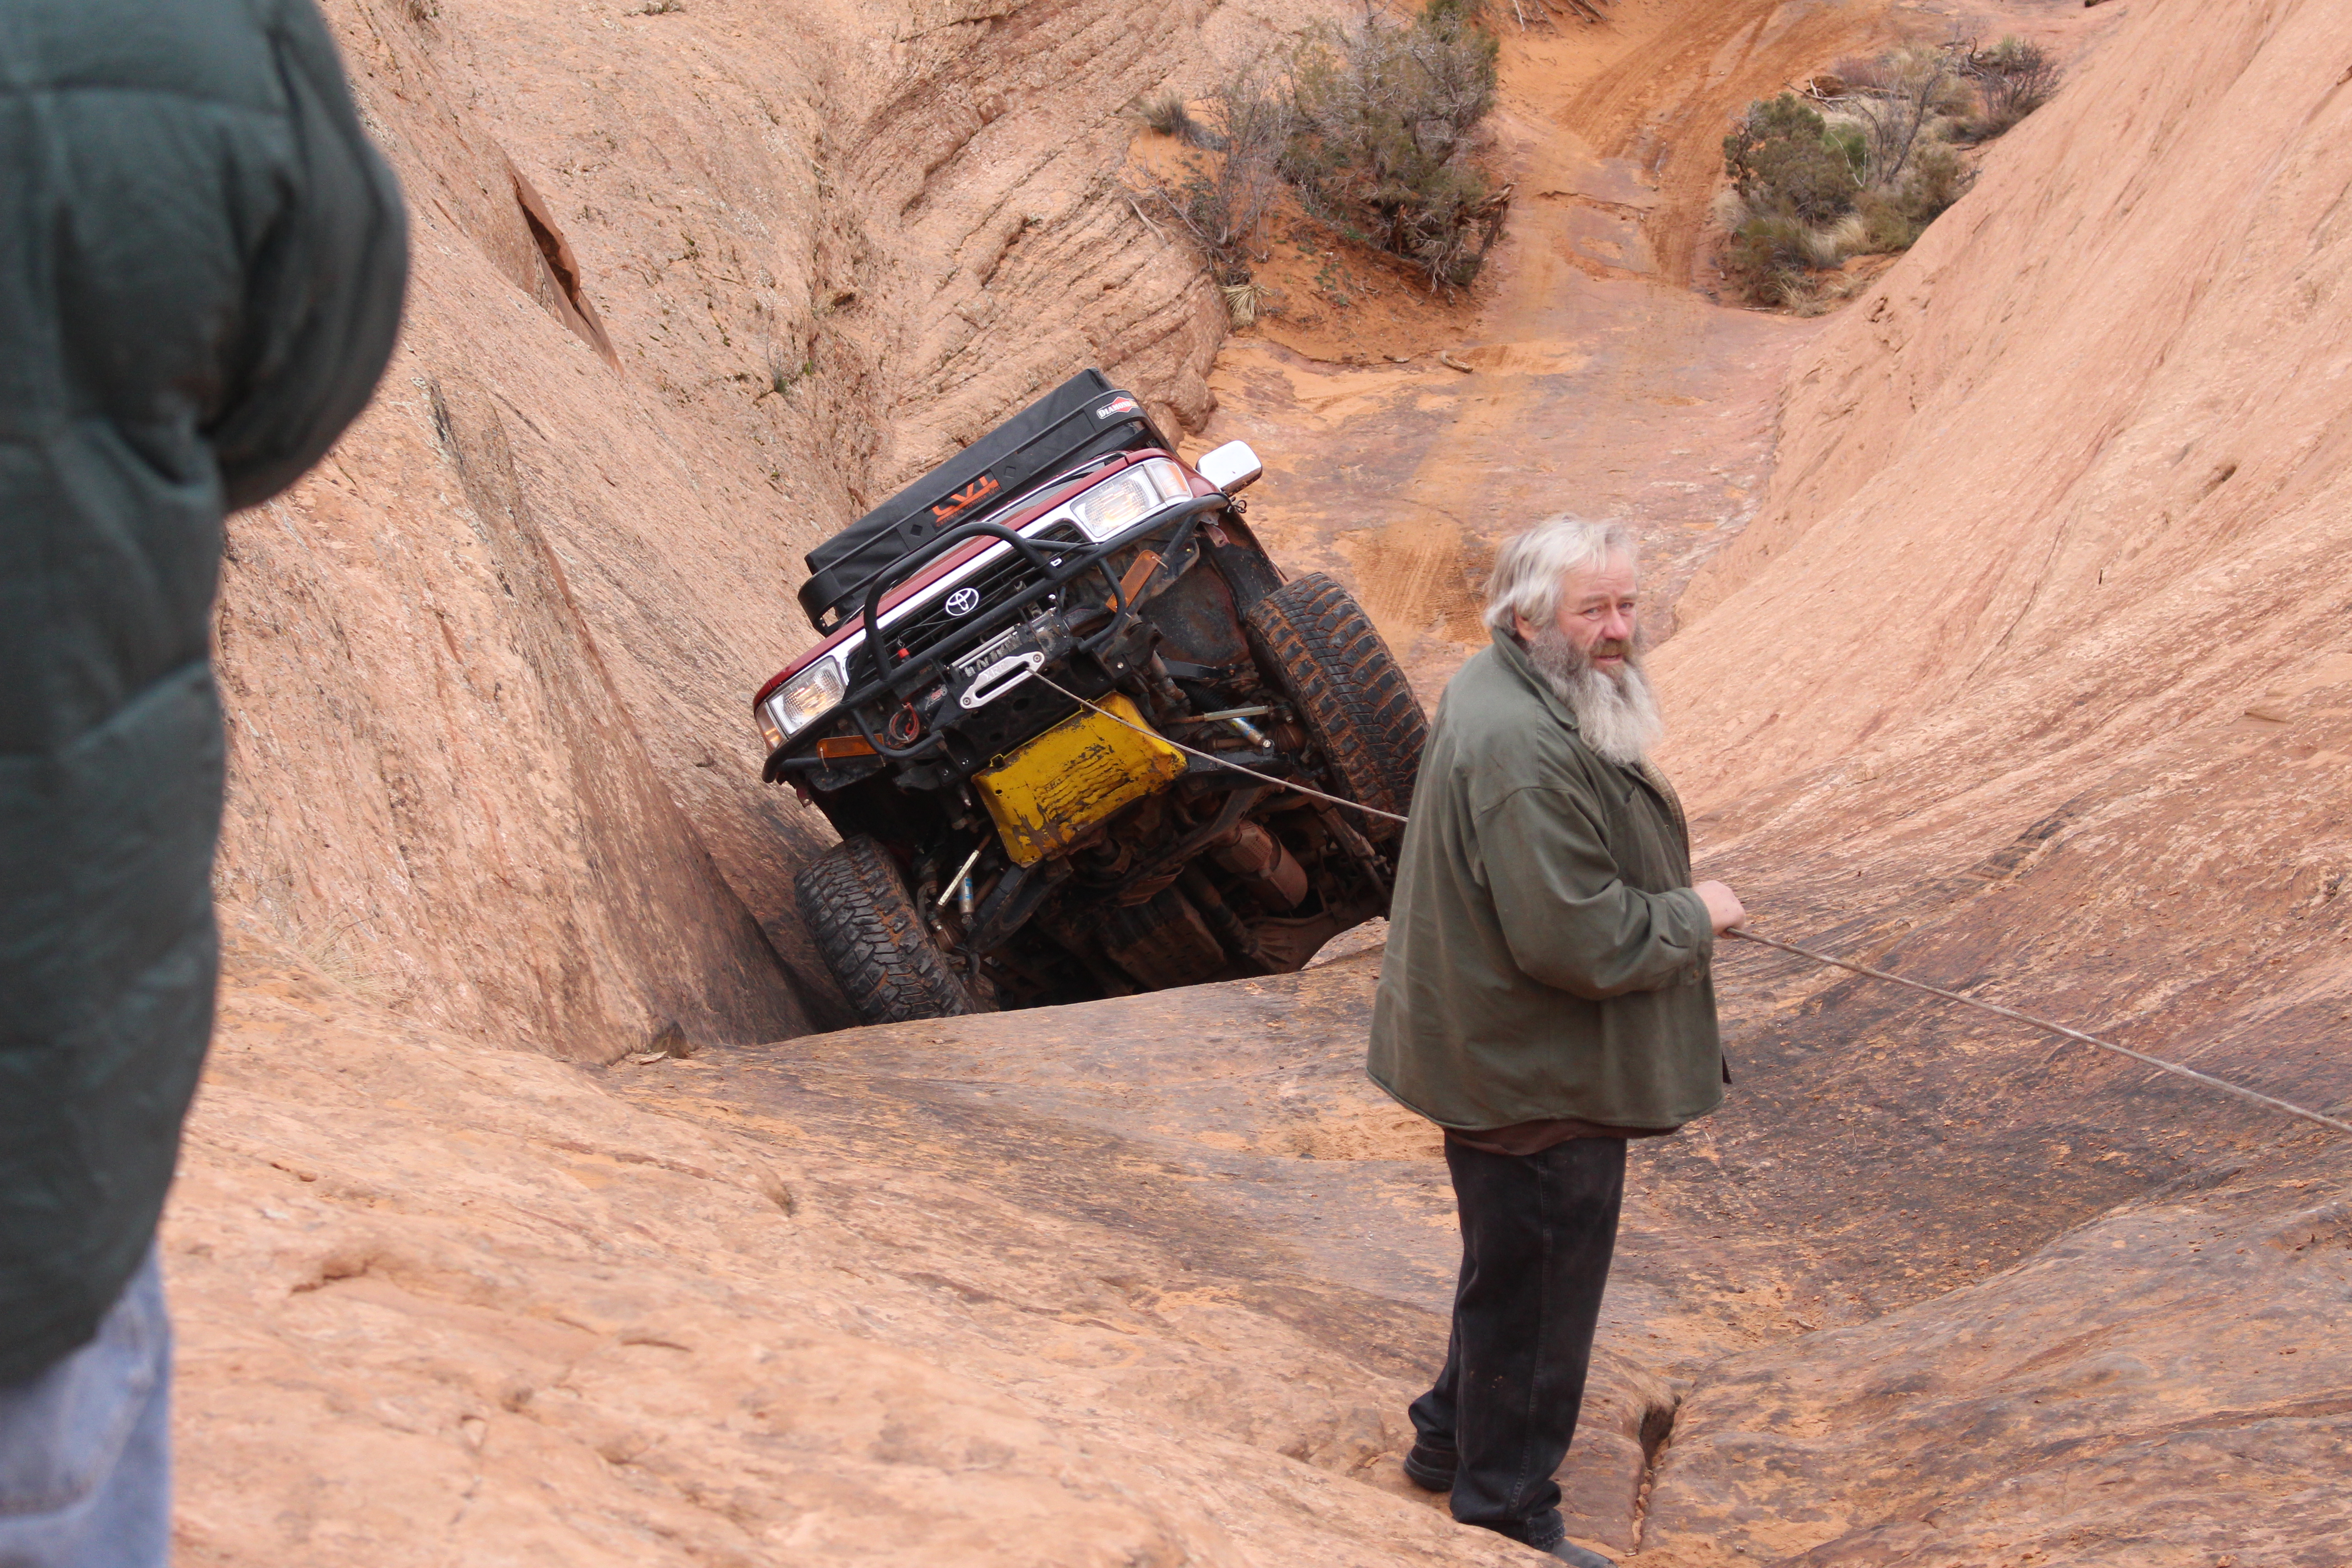
I'll also fix the parking brake. I had to hold it in that position for awhile. My brake leg was shaky before I got out. The bad part of that is I had the part from my parts rig but decided to run without it due to being stupid and lazy. I ran out of time in Yellowknife and then left the parking brake cable in storage....
Lesson learnt. Wheeling with a parking brake is good. Oh and the 150lbs on the roof probably didn't help.
Moab is so fun.
Be prepared for some damage.
EDIT///
Watched that video. Pretty gnar back flip. I think I'll make my next stinger a bit longer to protect the engine. It's dead easy to make a mistake in Moab. I put Red into the wall there. If I had flopped the other way it would have been bad.
I'll also fix the parking brake. I had to hold it in that position for awhile. My brake leg was shaky before I got out. The bad part of that is I had the part from my parts rig but decided to run without it due to being stupid and lazy. I ran out of time in Yellowknife and then left the parking brake cable in storage....
Lesson learnt. Wheeling with a parking brake is good. Oh and the 150lbs on the roof probably didn't help.
Last edited by Red Wagon; Apr 7, 2014 at 12:42 PM.
Apr 7, 2014 | 03:53 PM
#248
just went back and watched that video. the jeep back flip was pretty cool.
I had heard of Area BFE but didn't realize it was privately owned and set up so people could wheel for free...very cool
I had heard of Area BFE but didn't realize it was privately owned and set up so people could wheel for free...very cool
Apr 7, 2014 | 07:19 PM
#250

Registered User
Joined: Apr 2007
Posts: 1,580
Likes: 1
From: Park City, UT
Haha, it is if your willing to take body damage with a side of frame sanding Zach! And Red, the more the merrier! If he's out here within the year, I'll still be ifs, though.
Mark, that video was pretty awesome. My dad got a big kick out of it, too, and called me an idiot for wanting to do that in my Runner.
Mark, that video was pretty awesome. My dad got a big kick out of it, too, and called me an idiot for wanting to do that in my Runner.
Apr 8, 2014 | 05:12 PM
#251
Registered User
Joined: Mar 2011
Posts: 505
Likes: 1
From: Socal
Well I would be willing to give it a shot with a lift, 35s, a winch, and armour. A spare CV would be nice as well...
Anyways if you guys do a trip I can always screw around on the stuff I have clearance for and then spot for you guys the rest of the way. Im supposed to go out to Colorado at some point to visit my cousin... It will never work out on timing but give me a heads up if you guys get something together.
Maybe ill just find a reliable beater tow to up there...
Apr 10, 2014 | 11:12 PM
#252
Thread Starter
Registered User
iTrader: (5)
Joined: Jun 2009
Posts: 19,281
Likes: 20
From: Lake Havasu, AZ
Have a lot of updating to do but just been really busy. I'm having trouble with my photobucket as well. Like I can see the album is there for my homepage, and even open the pictures from there under recent uploads... But when I try to open the album it says it's empty... grrrr! Lol
Apr 11, 2014 | 11:07 AM
#253
Thread Starter
Registered User
iTrader: (5)
Joined: Jun 2009
Posts: 19,281
Likes: 20
From: Lake Havasu, AZ
Well, the most important update of all,...... my "Suzy-Q the Silverback", the new mascot, has arrived! Lol. Okay it's not that important, just fun...

Now, I finally finished the mounting of the roof rack side rails and the wiring to the lights is ready to go whenever I put the rack on. In case anyone wants to know how to do this, I'll gladly share...
1. Take a thousand measurements, I don't give a crap if it takes you 5 times as long, you get one shot at this, obviously, being a fiberglass roof...
2. My measurements from the farthest point out I could go on the roof, in line with the appropriate holes in the crossbars of my rack, left me with a measurement of 34.25" on the dot. The crossbars of my rack are actually fitted with oblong slots for mounting. This allows me as little as 34 inches and up to 35 inches. Obviously my median measurement is 34 and a half.... But these are the same measurements I use last time it worked perfectly keeping me towards the edge of the oblong but not too close. It's stronger there anyway.
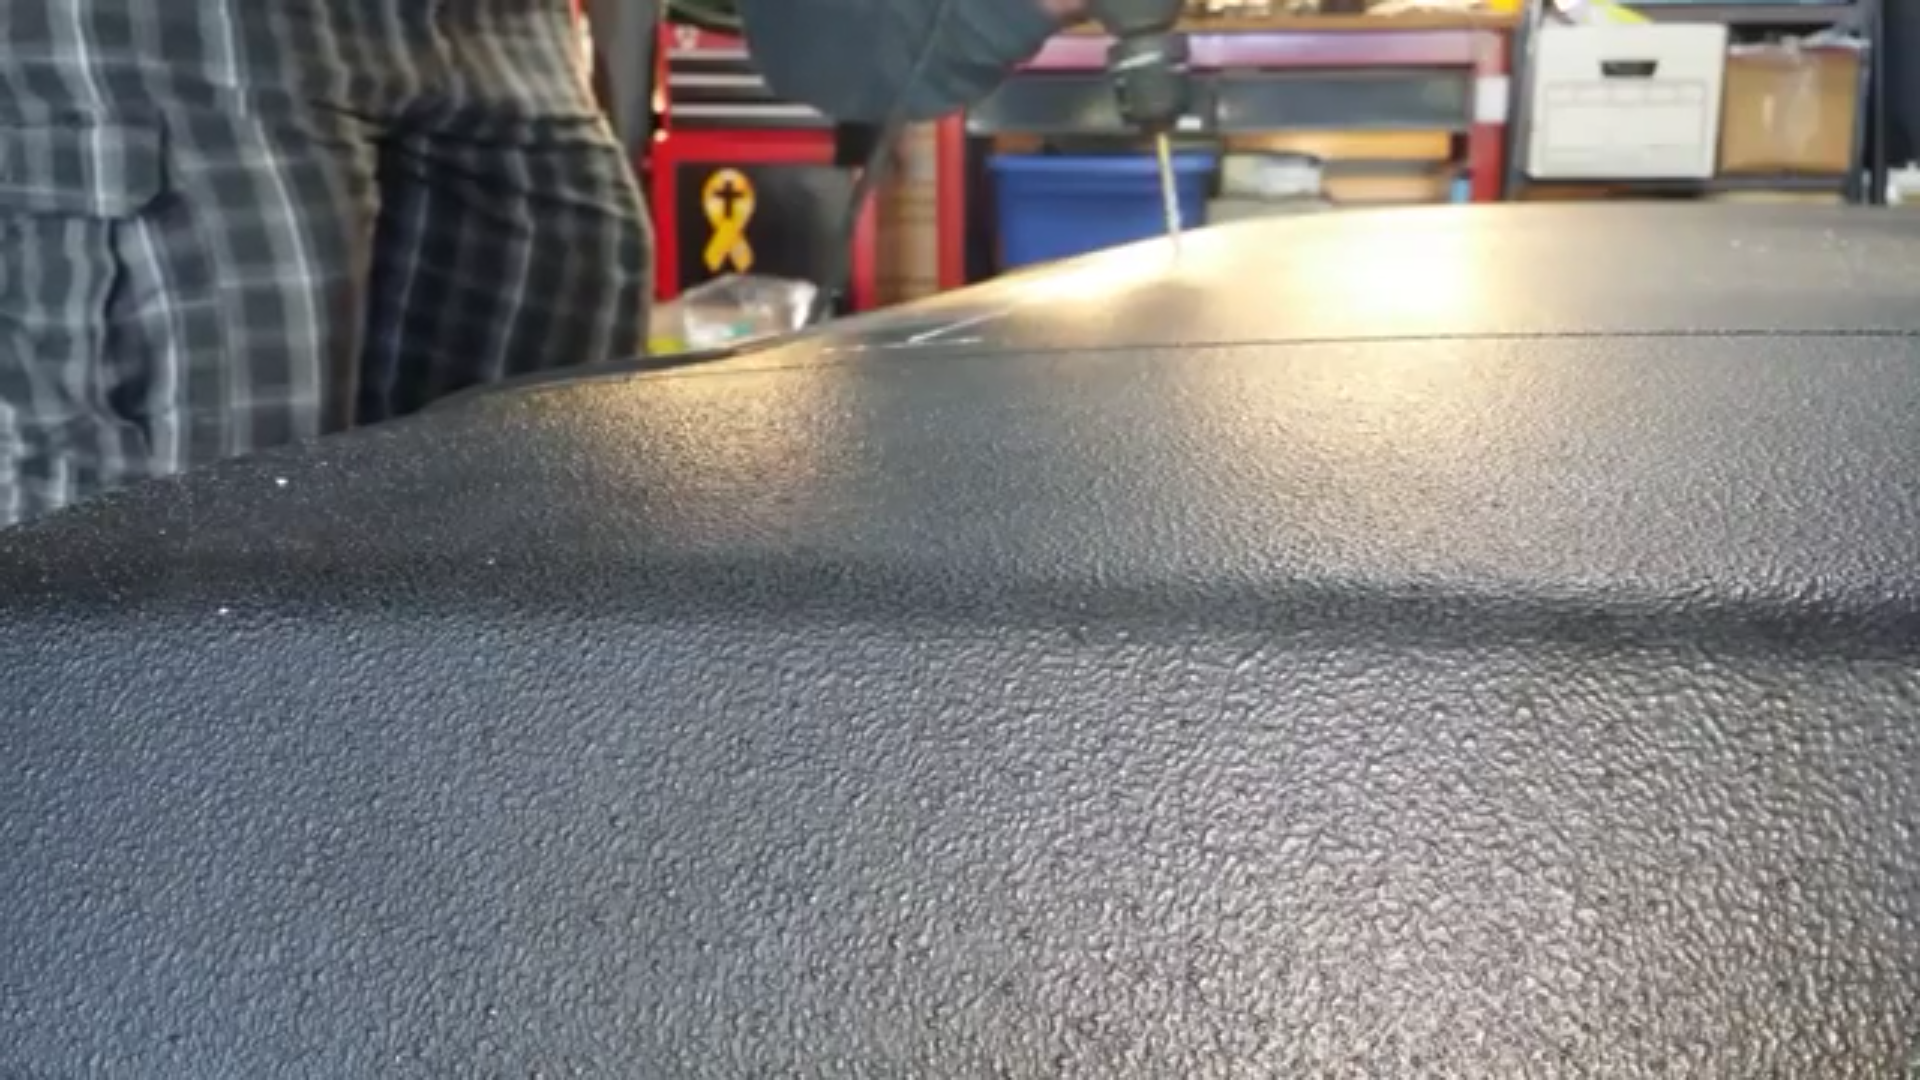
3. The roof is rounded somewhat! Make sure you account for that when you measure, and make your measurement with a straight edge ruler and put two holes in a 48 inch ruler, in my case at 34.25" total measurement... This allowed me to play ball it from above and I basically shine a light through the hole at a perfect perpendicular angle, then mark dead center in the lighted circle. When you measure that same measurement with a tape measure, it gives you almost 36 inches because of the curvature of the roof. I would have been a little short there right? Lol.
4. Make your marks front and rear and center, then make east ridge marking using a paint pen or, as I get off my case, use a Liquid Paper fine point pen.....
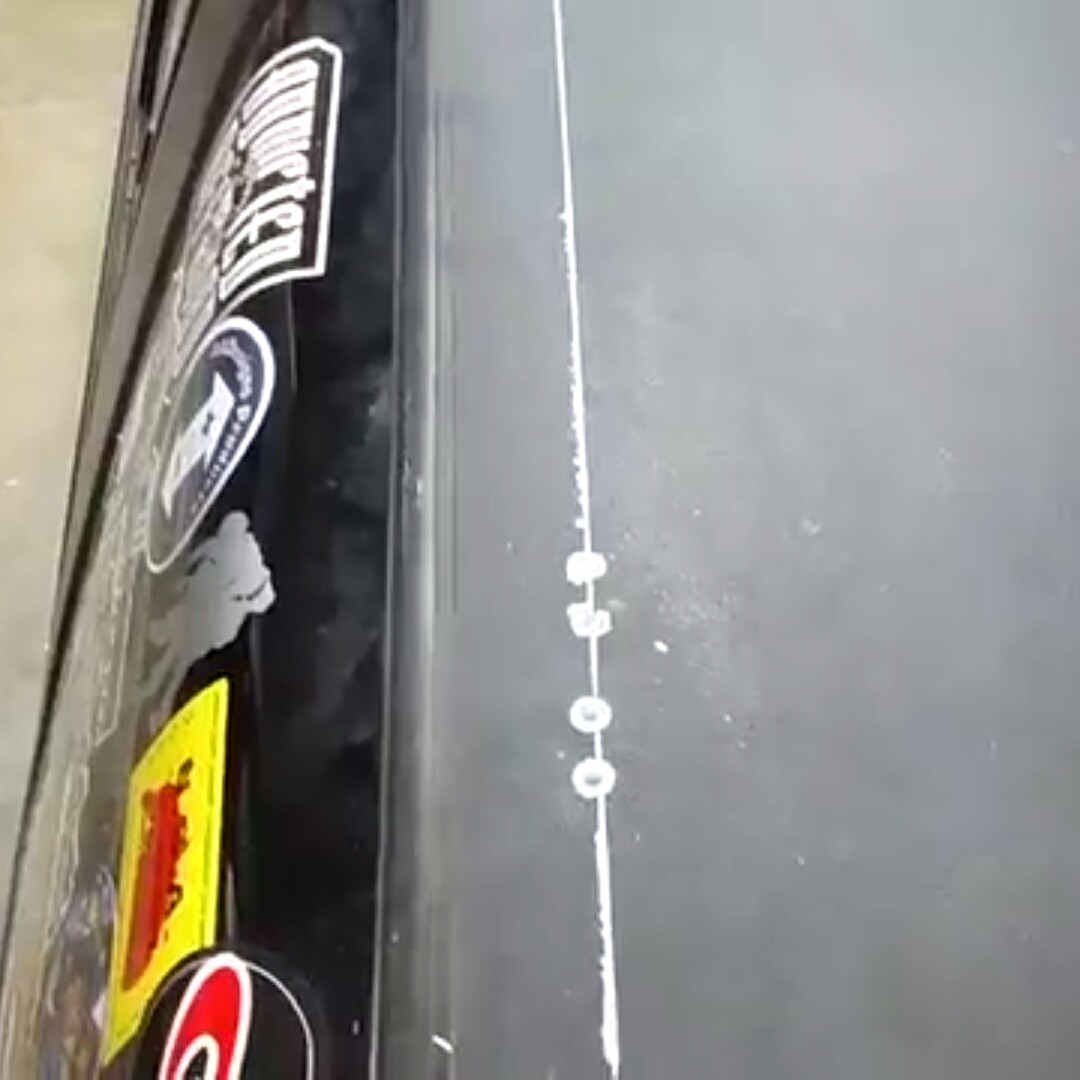
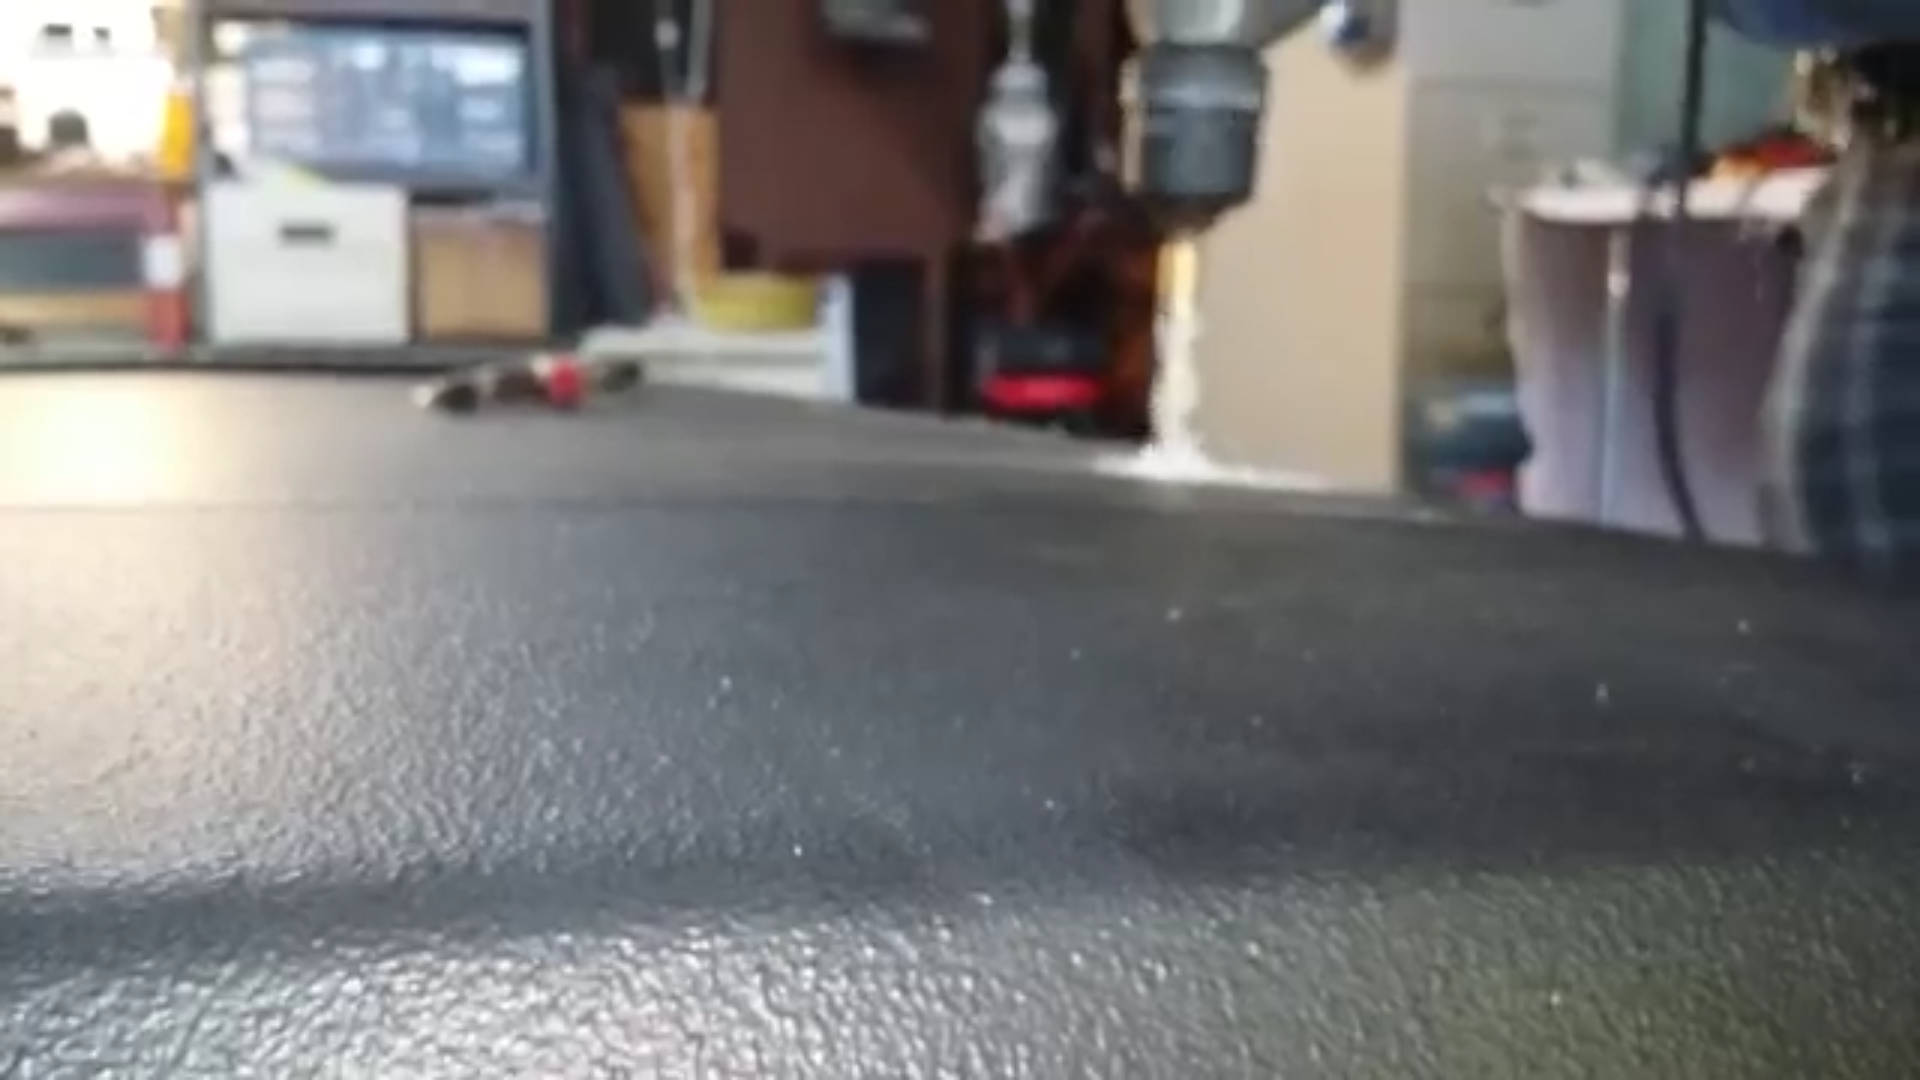
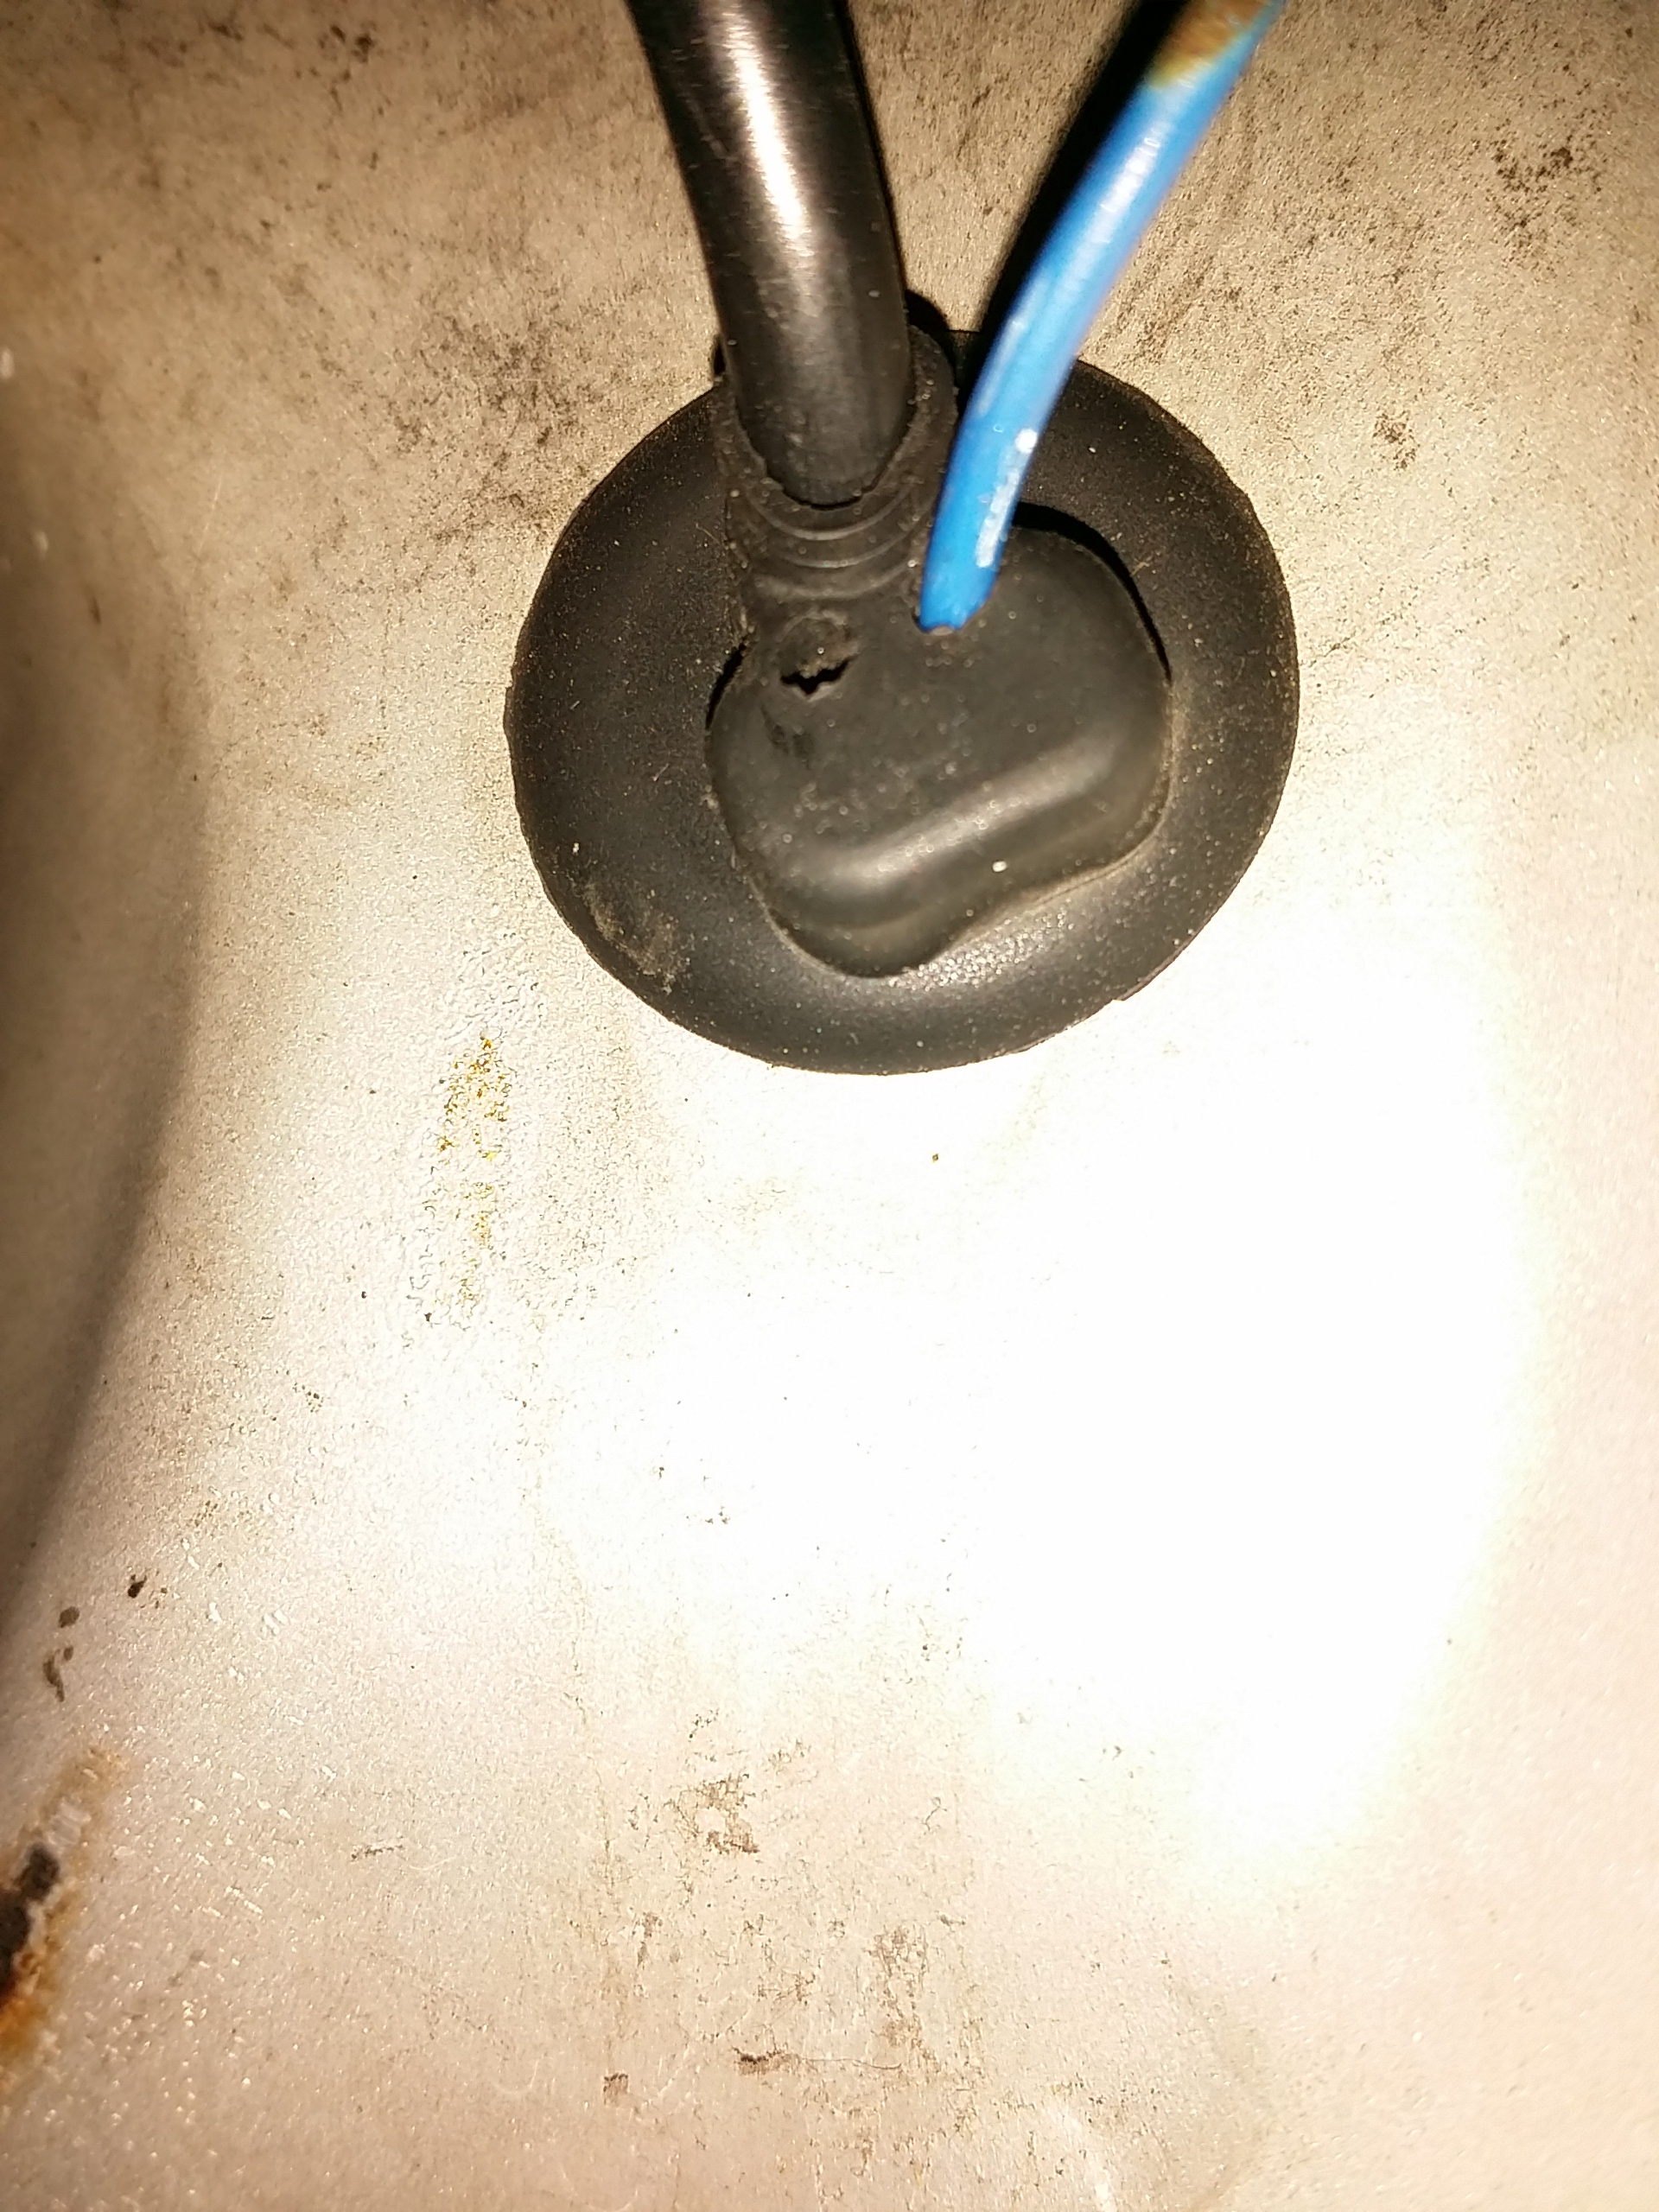
5. Most people will probably use a flat singletrack t track, which will more likely give you a lot more play in where you put the holes. On these fiberglass shells, at the very rear, where you are likely going to go through with at least one hole, the fiberglass is fairly thin but has hey pocket of air between too thin layers which is actually the sickness of the seal for the fixed wrap around glass on the rear most portion of the shell. Here's what it looks like in there.
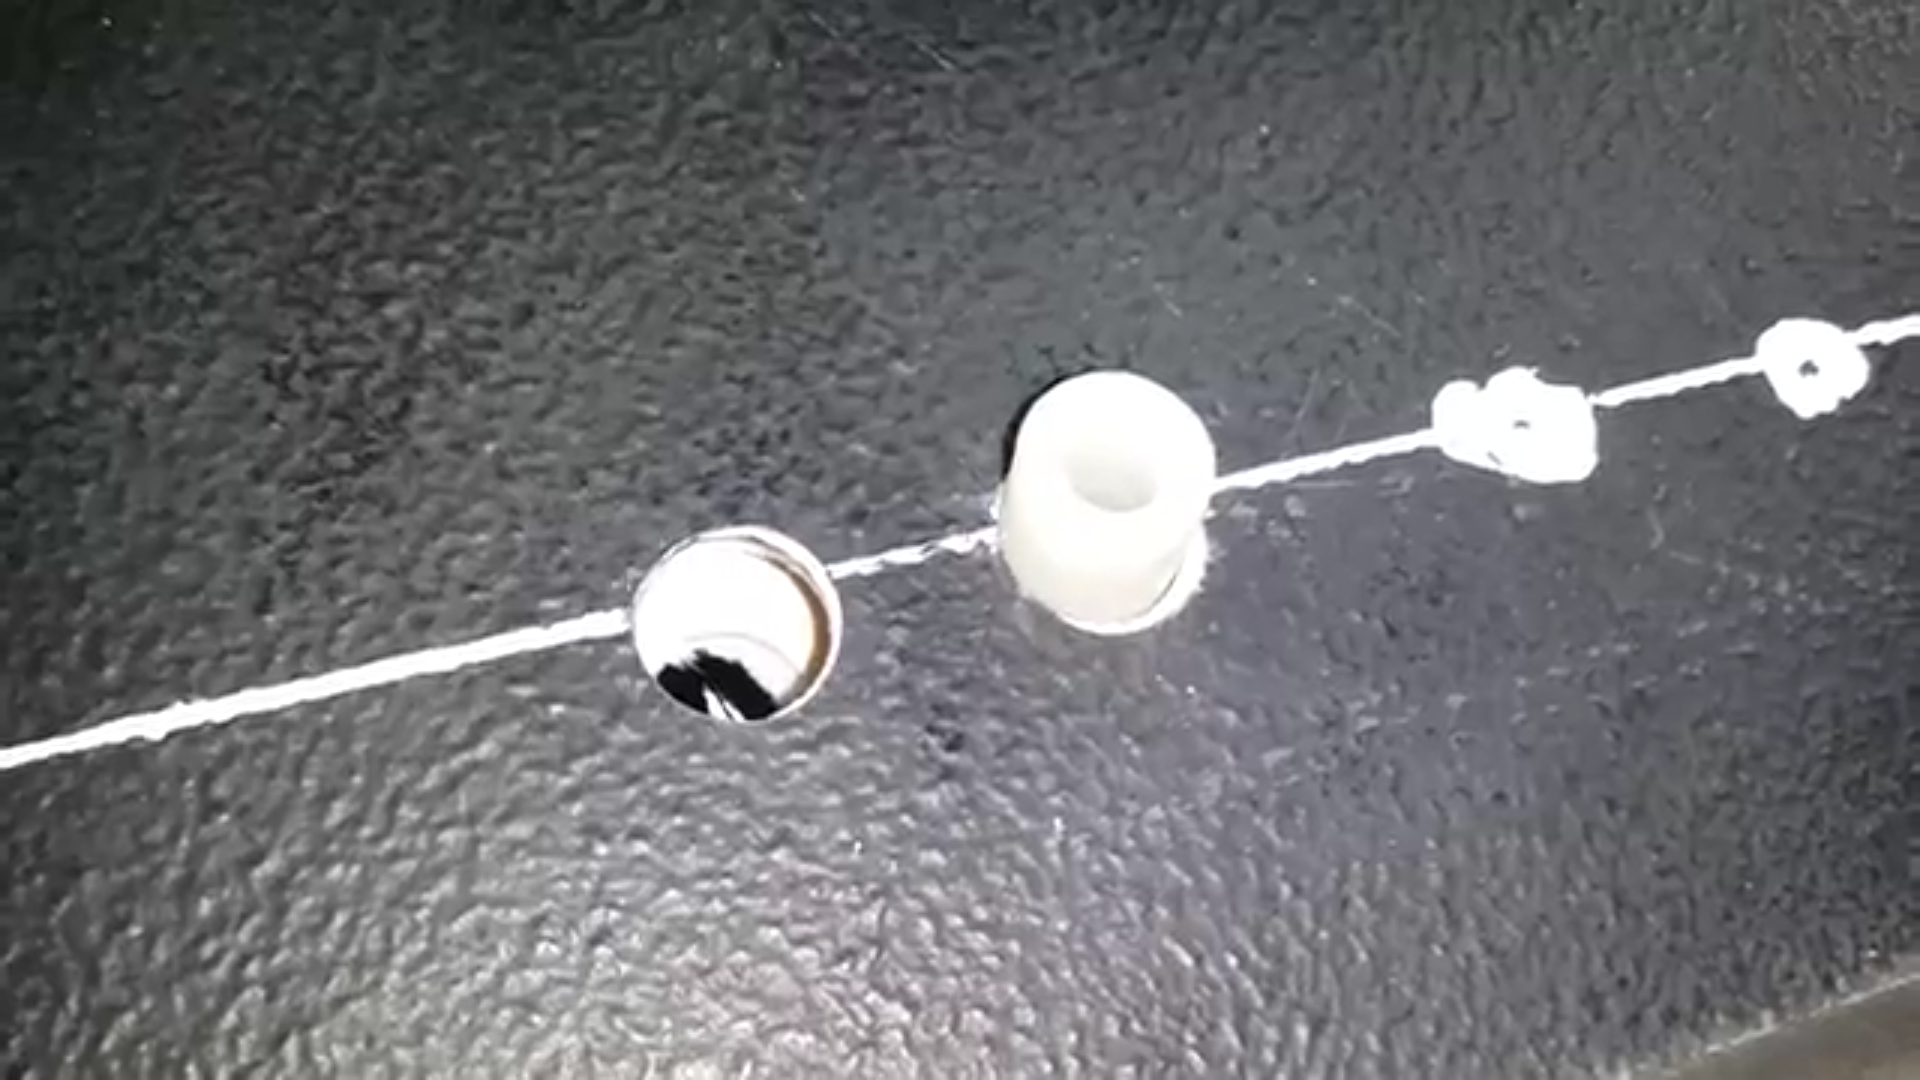
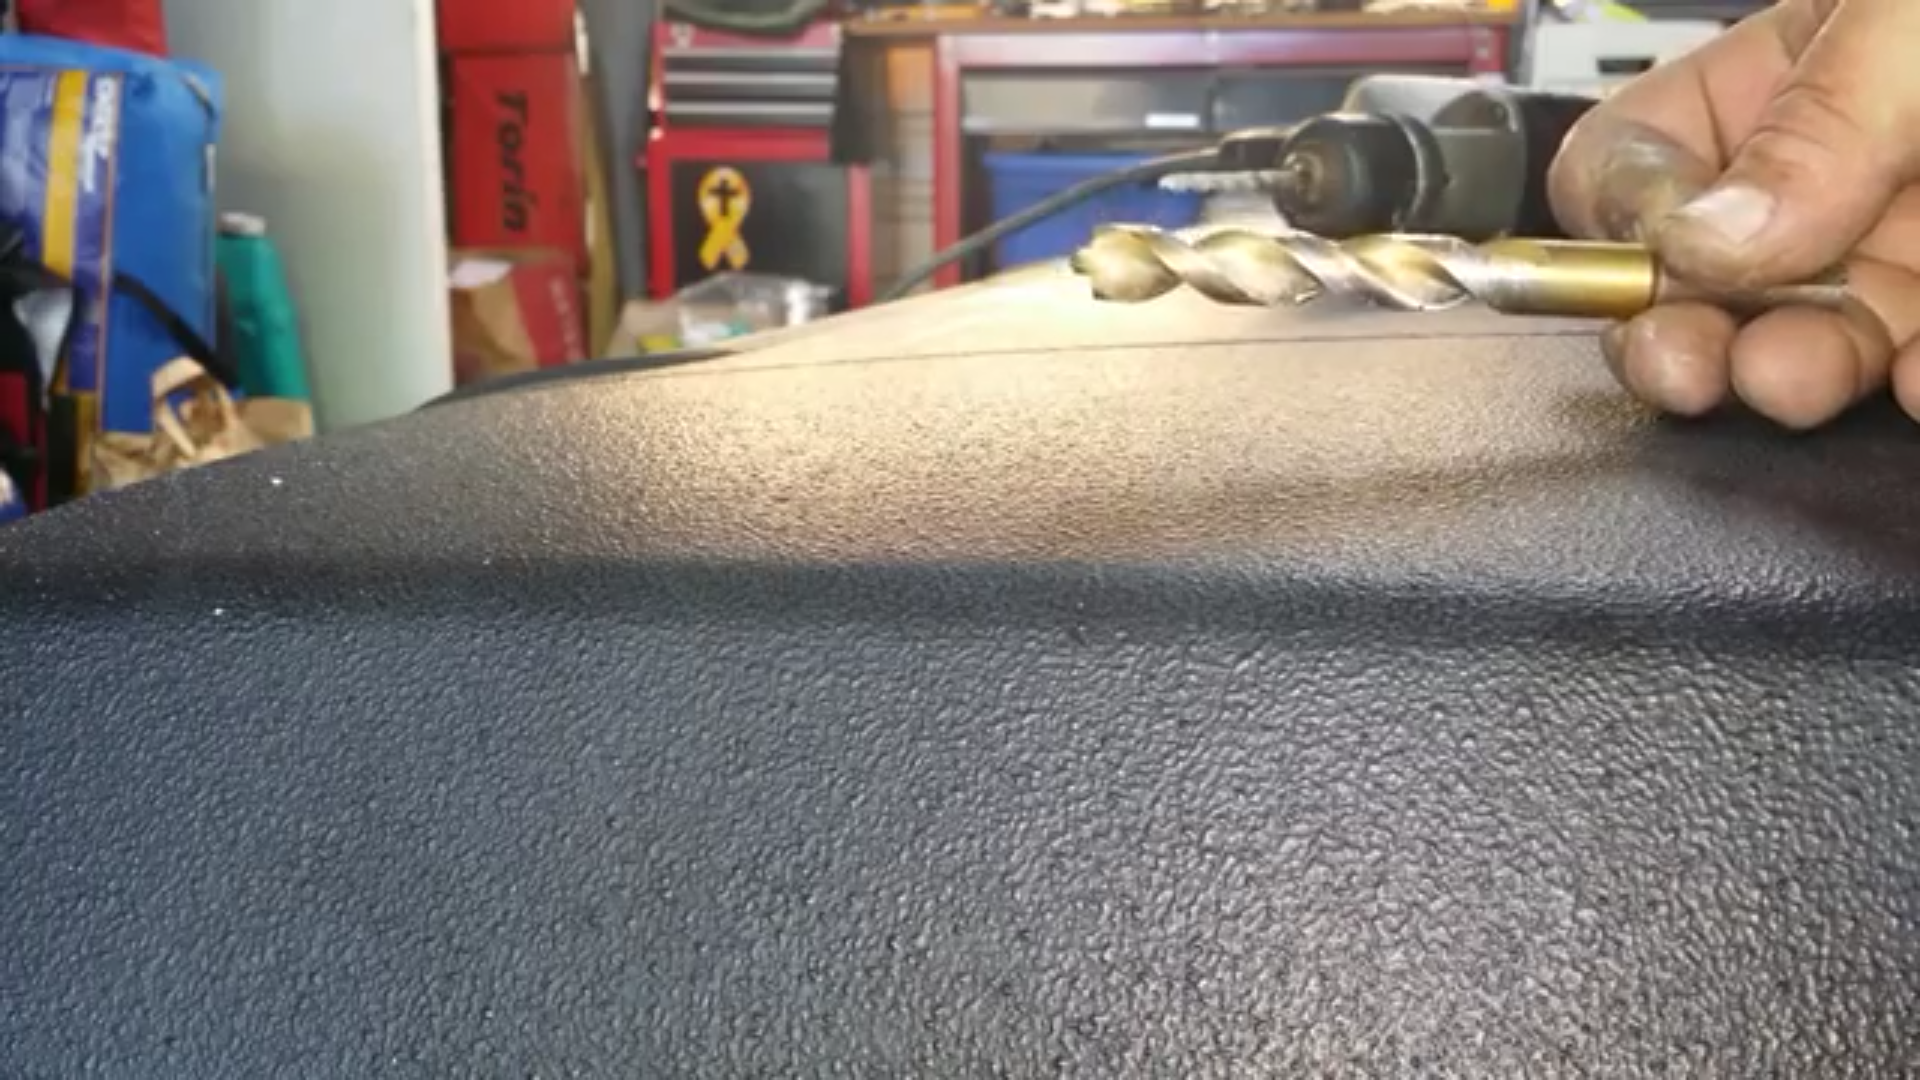
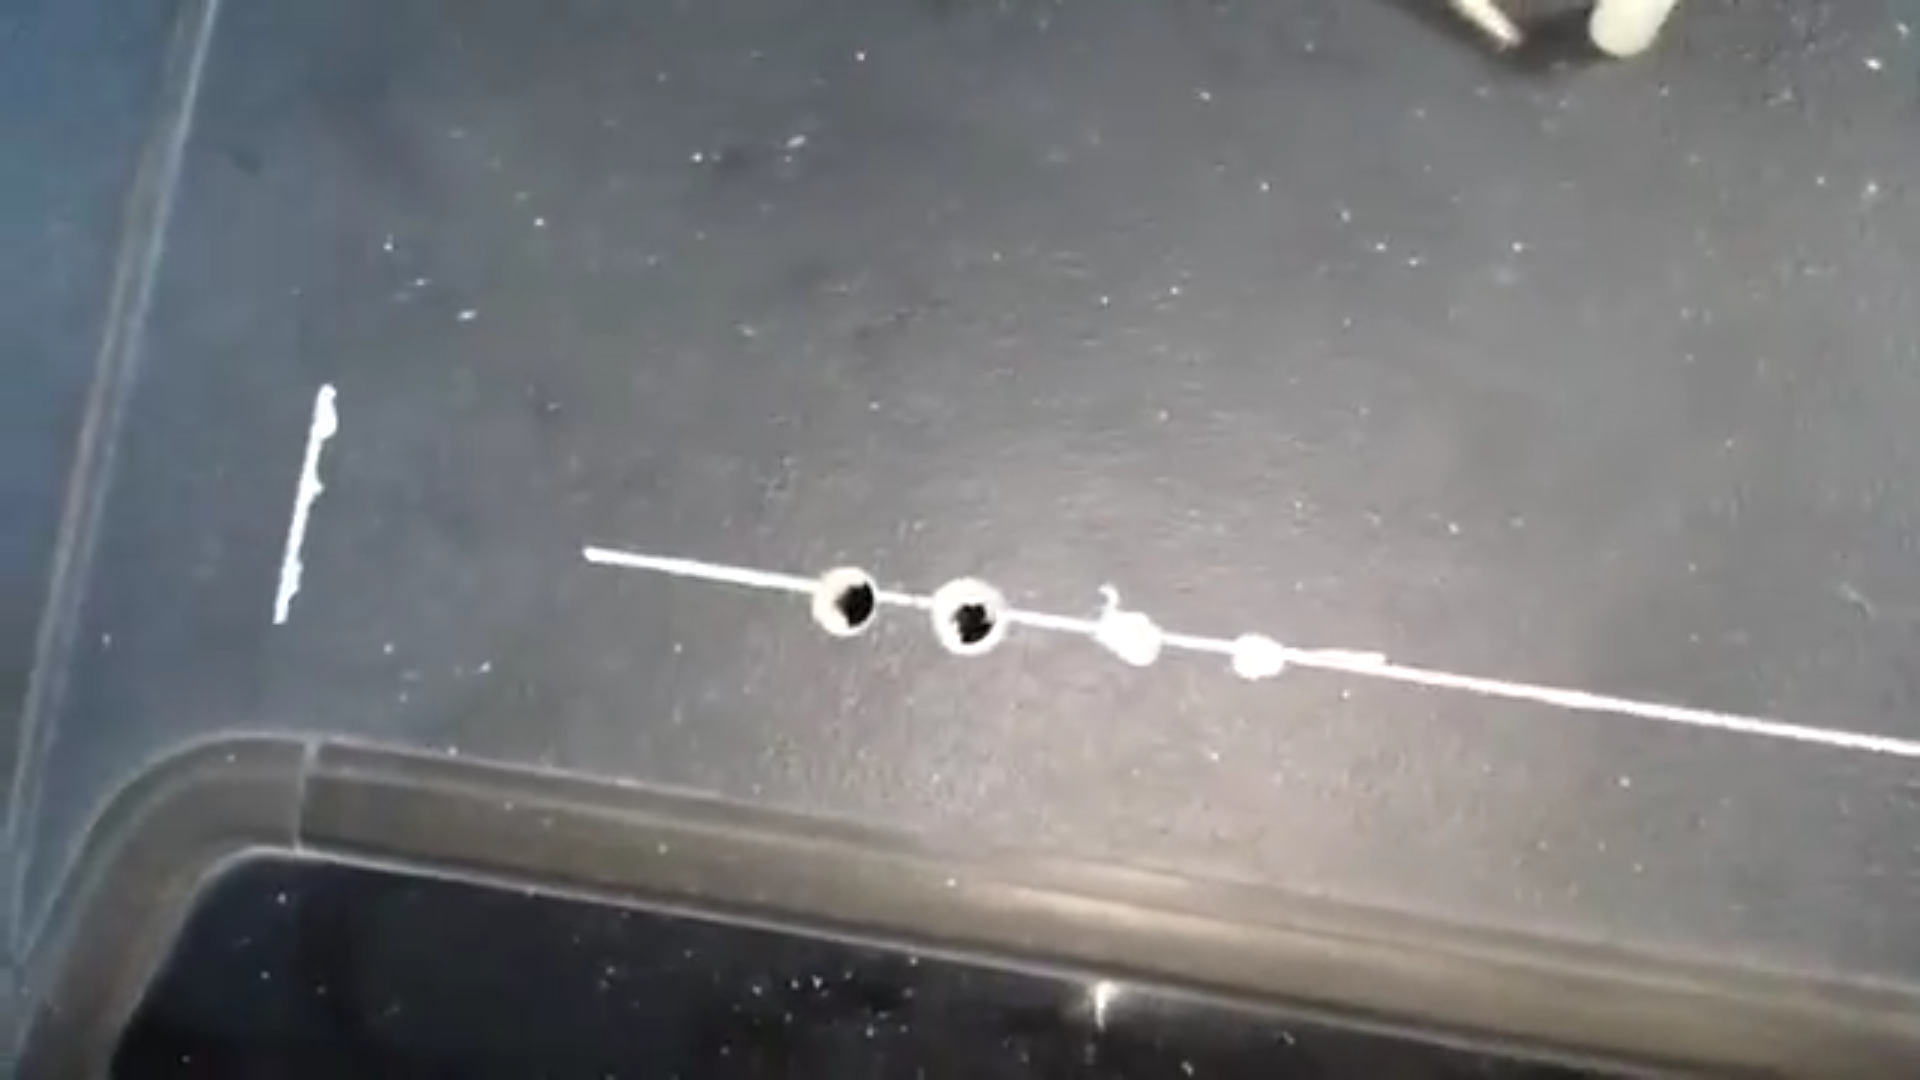
6. After you've measured inside and out, which I did using the edge or seal of the rear glass fixed window to a spot on the underside where that thicker portion with the thin fiberglass is, then measuring from the top from the same point on the window, which I marked by running straight out from the edge of a sticker( all of this should be part of preparing for your street address line that you will make with the paint pen... You have to do this first because the headliner retaining trim is fairly hard metal and will clearly getting the way if you go out too far to the edge, and if you go too far in work toward the center, the show quickly within 4 inches becomes very squishy...)... As I said, after you found these marks where you are going to put your holes, use a punch to make a precise indentation dead center of around a 1/2 inch circle. In these holes you will be using 1/2" X .257 X 1" nylon spacers at the rear ( you will need these exact dimensions spacers in order to use 1/4-20 hardware.... )... I then did a pilot hole with a quarter inch bit, then went straight to the half inch bit. I then used a round file to smooth it out until the nylon spacer fit perfectly and tight.....
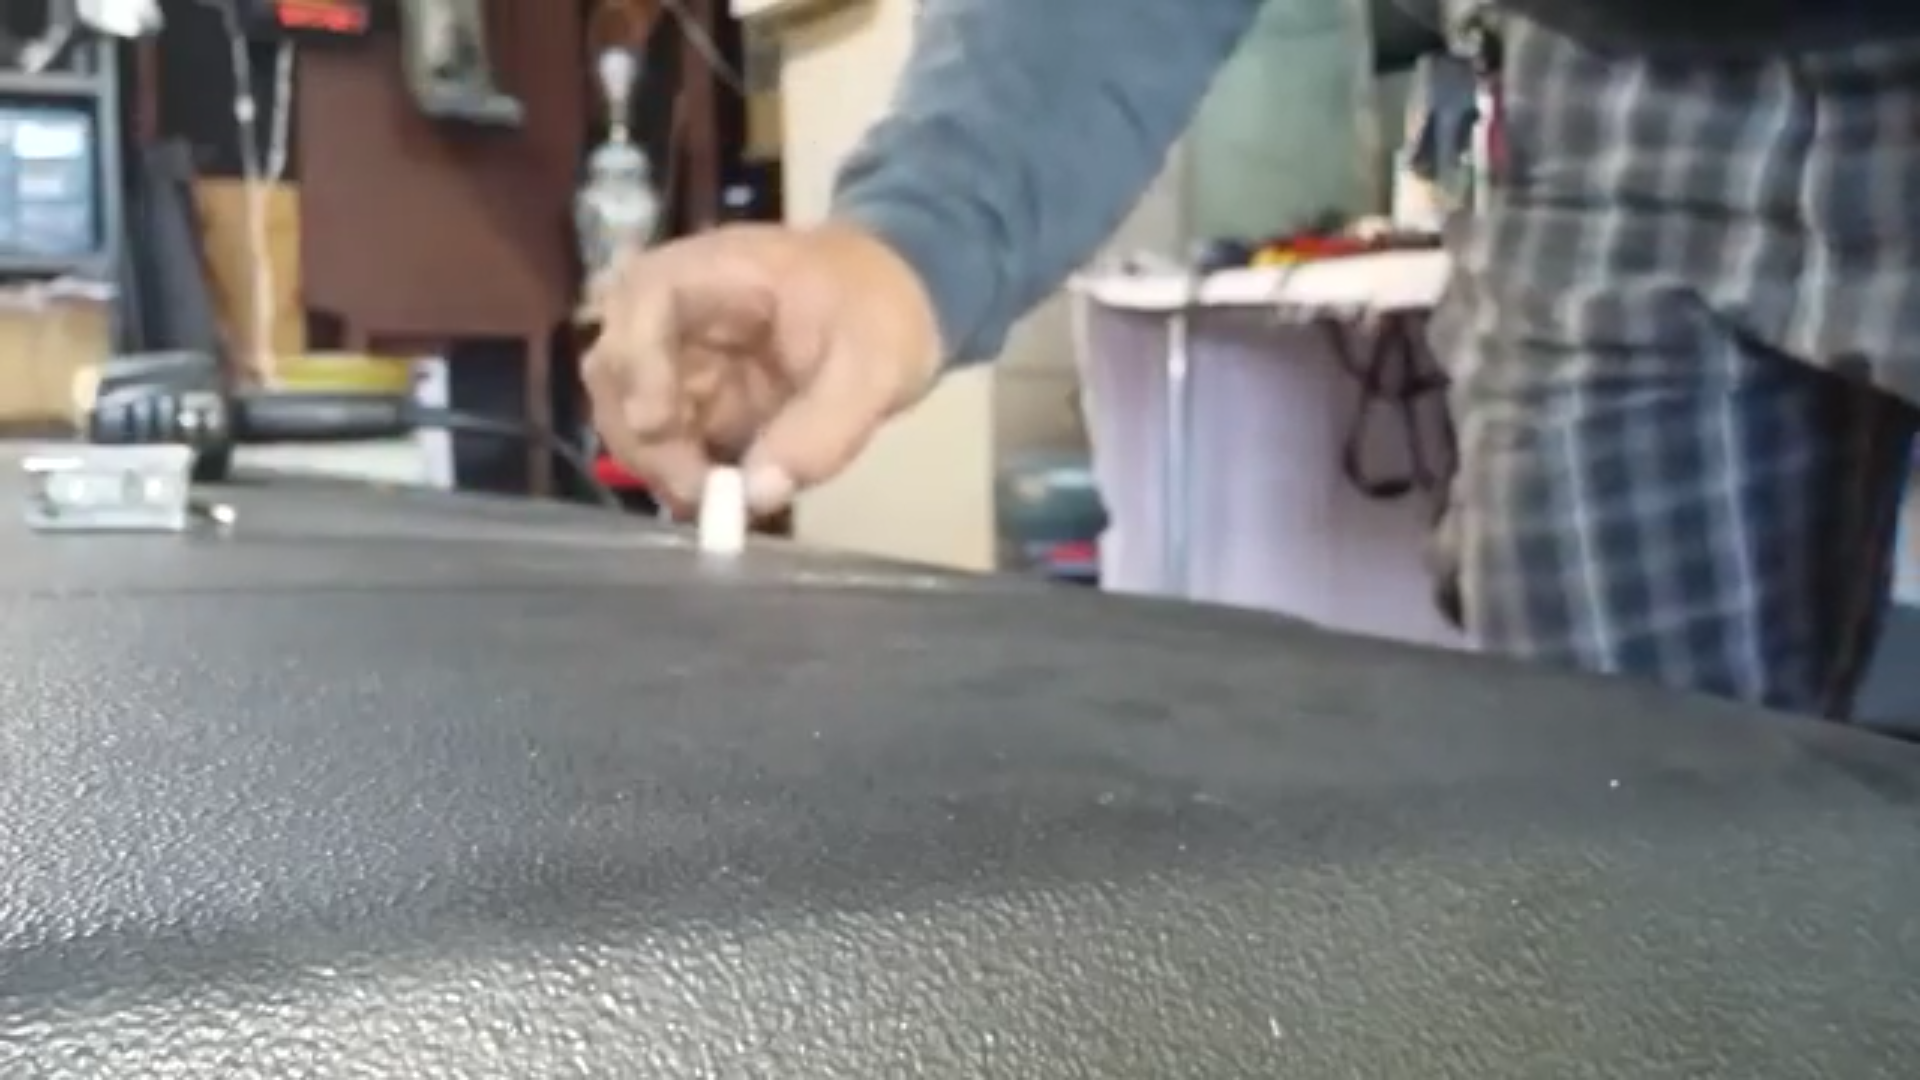
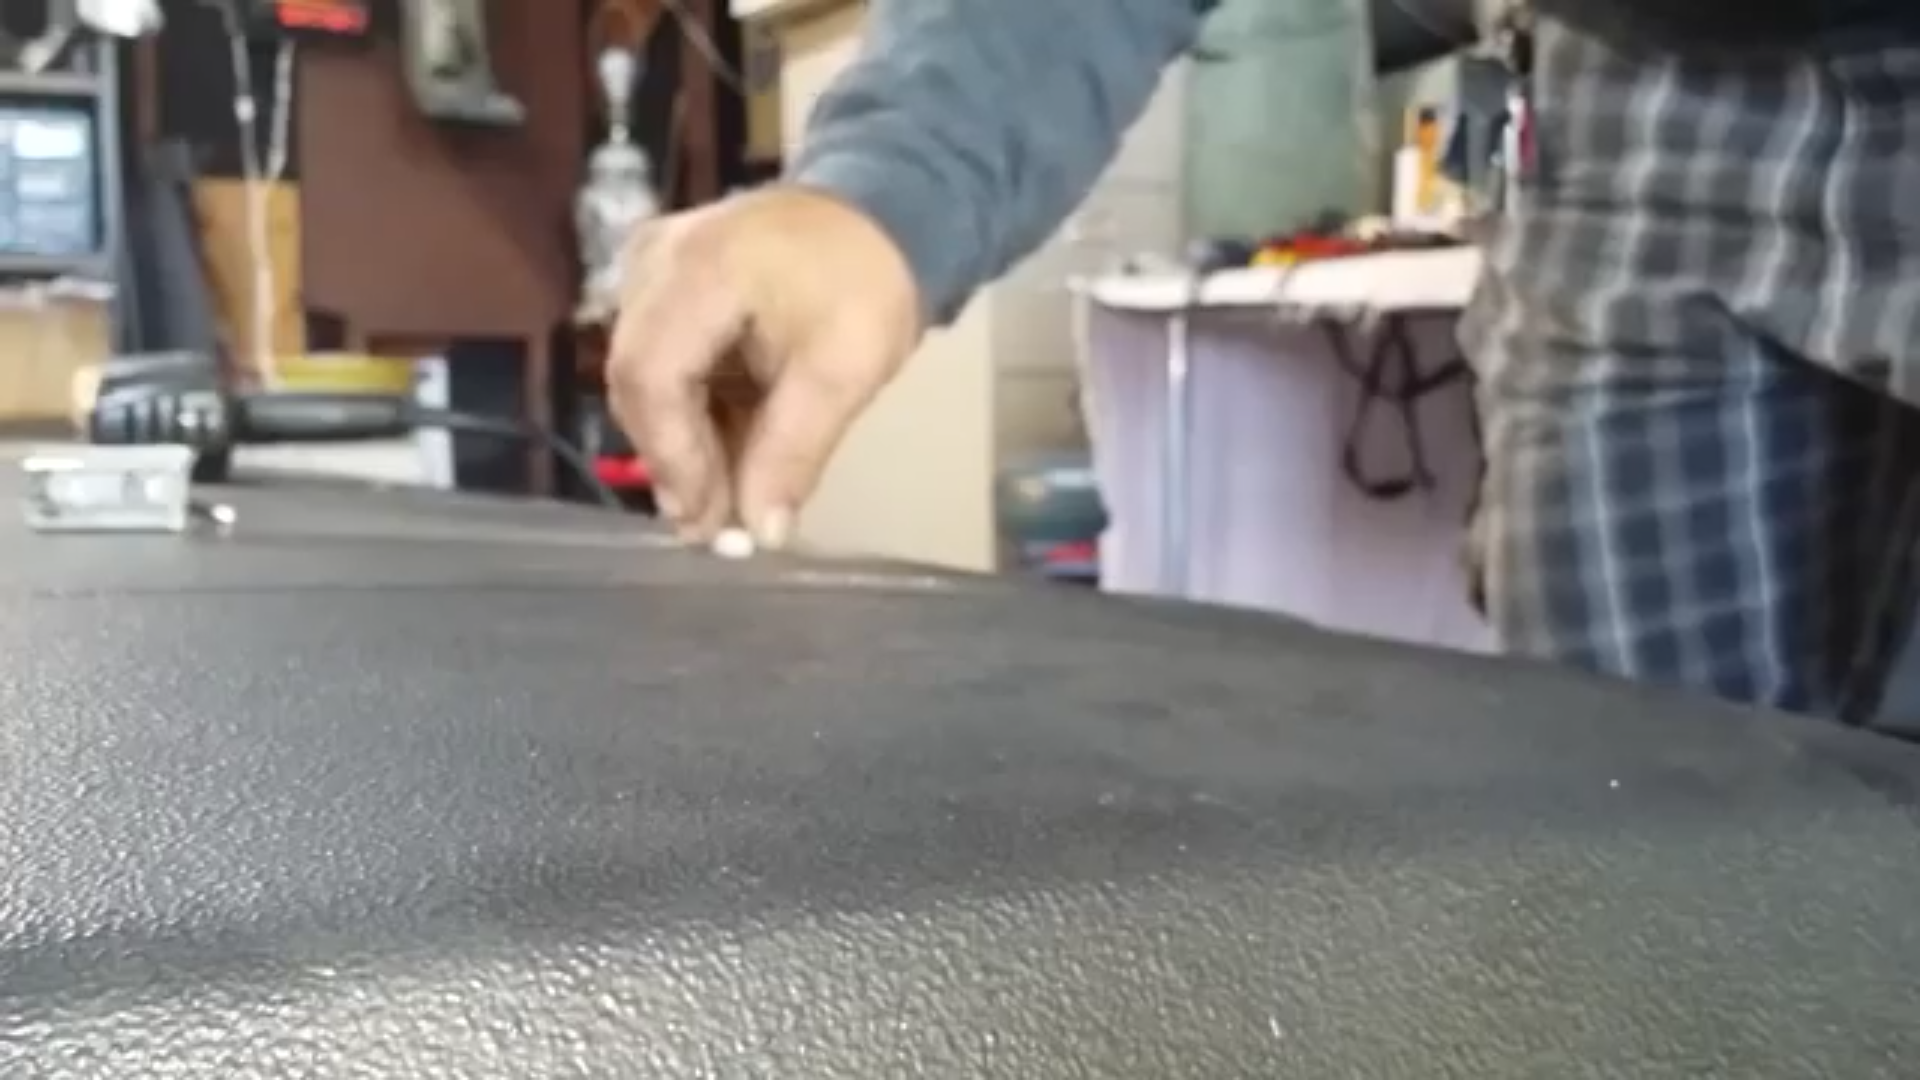
7. By then worked the nylon spacers in before I test fit everything(I lather the outside in Black RTV, then round the top of them/ AND LIFT AND INJECT IT into the journals as well, so the bolt tops seal it up, fully)....
Here is a video that is way too long and kind of all over the place, but I was trying to do it as I went....
The wedge shaped rubber foam seal that I use under the top aluminum flat bar....
Another that shows from underneath. And let me tell you, this is even more solid than the last time. I might change the underside support to one solid piece again, but other than that, it's still so solid that I can pick up the whole shell on one side just buy the side rail....


Now, I finally finished the mounting of the roof rack side rails and the wiring to the lights is ready to go whenever I put the rack on. In case anyone wants to know how to do this, I'll gladly share...
1. Take a thousand measurements, I don't give a crap if it takes you 5 times as long, you get one shot at this, obviously, being a fiberglass roof...
2. My measurements from the farthest point out I could go on the roof, in line with the appropriate holes in the crossbars of my rack, left me with a measurement of 34.25" on the dot. The crossbars of my rack are actually fitted with oblong slots for mounting. This allows me as little as 34 inches and up to 35 inches. Obviously my median measurement is 34 and a half.... But these are the same measurements I use last time it worked perfectly keeping me towards the edge of the oblong but not too close. It's stronger there anyway.
3. The roof is rounded somewhat! Make sure you account for that when you measure, and make your measurement with a straight edge ruler and put two holes in a 48 inch ruler, in my case at 34.25" total measurement... This allowed me to play ball it from above and I basically shine a light through the hole at a perfect perpendicular angle, then mark dead center in the lighted circle. When you measure that same measurement with a tape measure, it gives you almost 36 inches because of the curvature of the roof. I would have been a little short there right? Lol.
4. Make your marks front and rear and center, then make east ridge marking using a paint pen or, as I get off my case, use a Liquid Paper fine point pen.....


5. Most people will probably use a flat singletrack t track, which will more likely give you a lot more play in where you put the holes. On these fiberglass shells, at the very rear, where you are likely going to go through with at least one hole, the fiberglass is fairly thin but has hey pocket of air between too thin layers which is actually the sickness of the seal for the fixed wrap around glass on the rear most portion of the shell. Here's what it looks like in there.

6. After you've measured inside and out, which I did using the edge or seal of the rear glass fixed window to a spot on the underside where that thicker portion with the thin fiberglass is, then measuring from the top from the same point on the window, which I marked by running straight out from the edge of a sticker( all of this should be part of preparing for your street address line that you will make with the paint pen... You have to do this first because the headliner retaining trim is fairly hard metal and will clearly getting the way if you go out too far to the edge, and if you go too far in work toward the center, the show quickly within 4 inches becomes very squishy...)... As I said, after you found these marks where you are going to put your holes, use a punch to make a precise indentation dead center of around a 1/2 inch circle. In these holes you will be using 1/2" X .257 X 1" nylon spacers at the rear ( you will need these exact dimensions spacers in order to use 1/4-20 hardware.... )... I then did a pilot hole with a quarter inch bit, then went straight to the half inch bit. I then used a round file to smooth it out until the nylon spacer fit perfectly and tight.....


7. By then worked the nylon spacers in before I test fit everything(I lather the outside in Black RTV, then round the top of them/ AND LIFT AND INJECT IT into the journals as well, so the bolt tops seal it up, fully)....


Here is a video that is way too long and kind of all over the place, but I was trying to do it as I went....
The wedge shaped rubber foam seal that I use under the top aluminum flat bar....
Another that shows from underneath. And let me tell you, this is even more solid than the last time. I might change the underside support to one solid piece again, but other than that, it's still so solid that I can pick up the whole shell on one side just buy the side rail....
Last edited by ChefYota4x4; Apr 11, 2014 at 07:33 PM.
Apr 11, 2014 | 11:31 AM
#254
Thread Starter
Registered User
iTrader: (5)
Joined: Jun 2009
Posts: 19,281
Likes: 20
From: Lake Havasu, AZ
Just before I removed it to put the hard shell back on.....
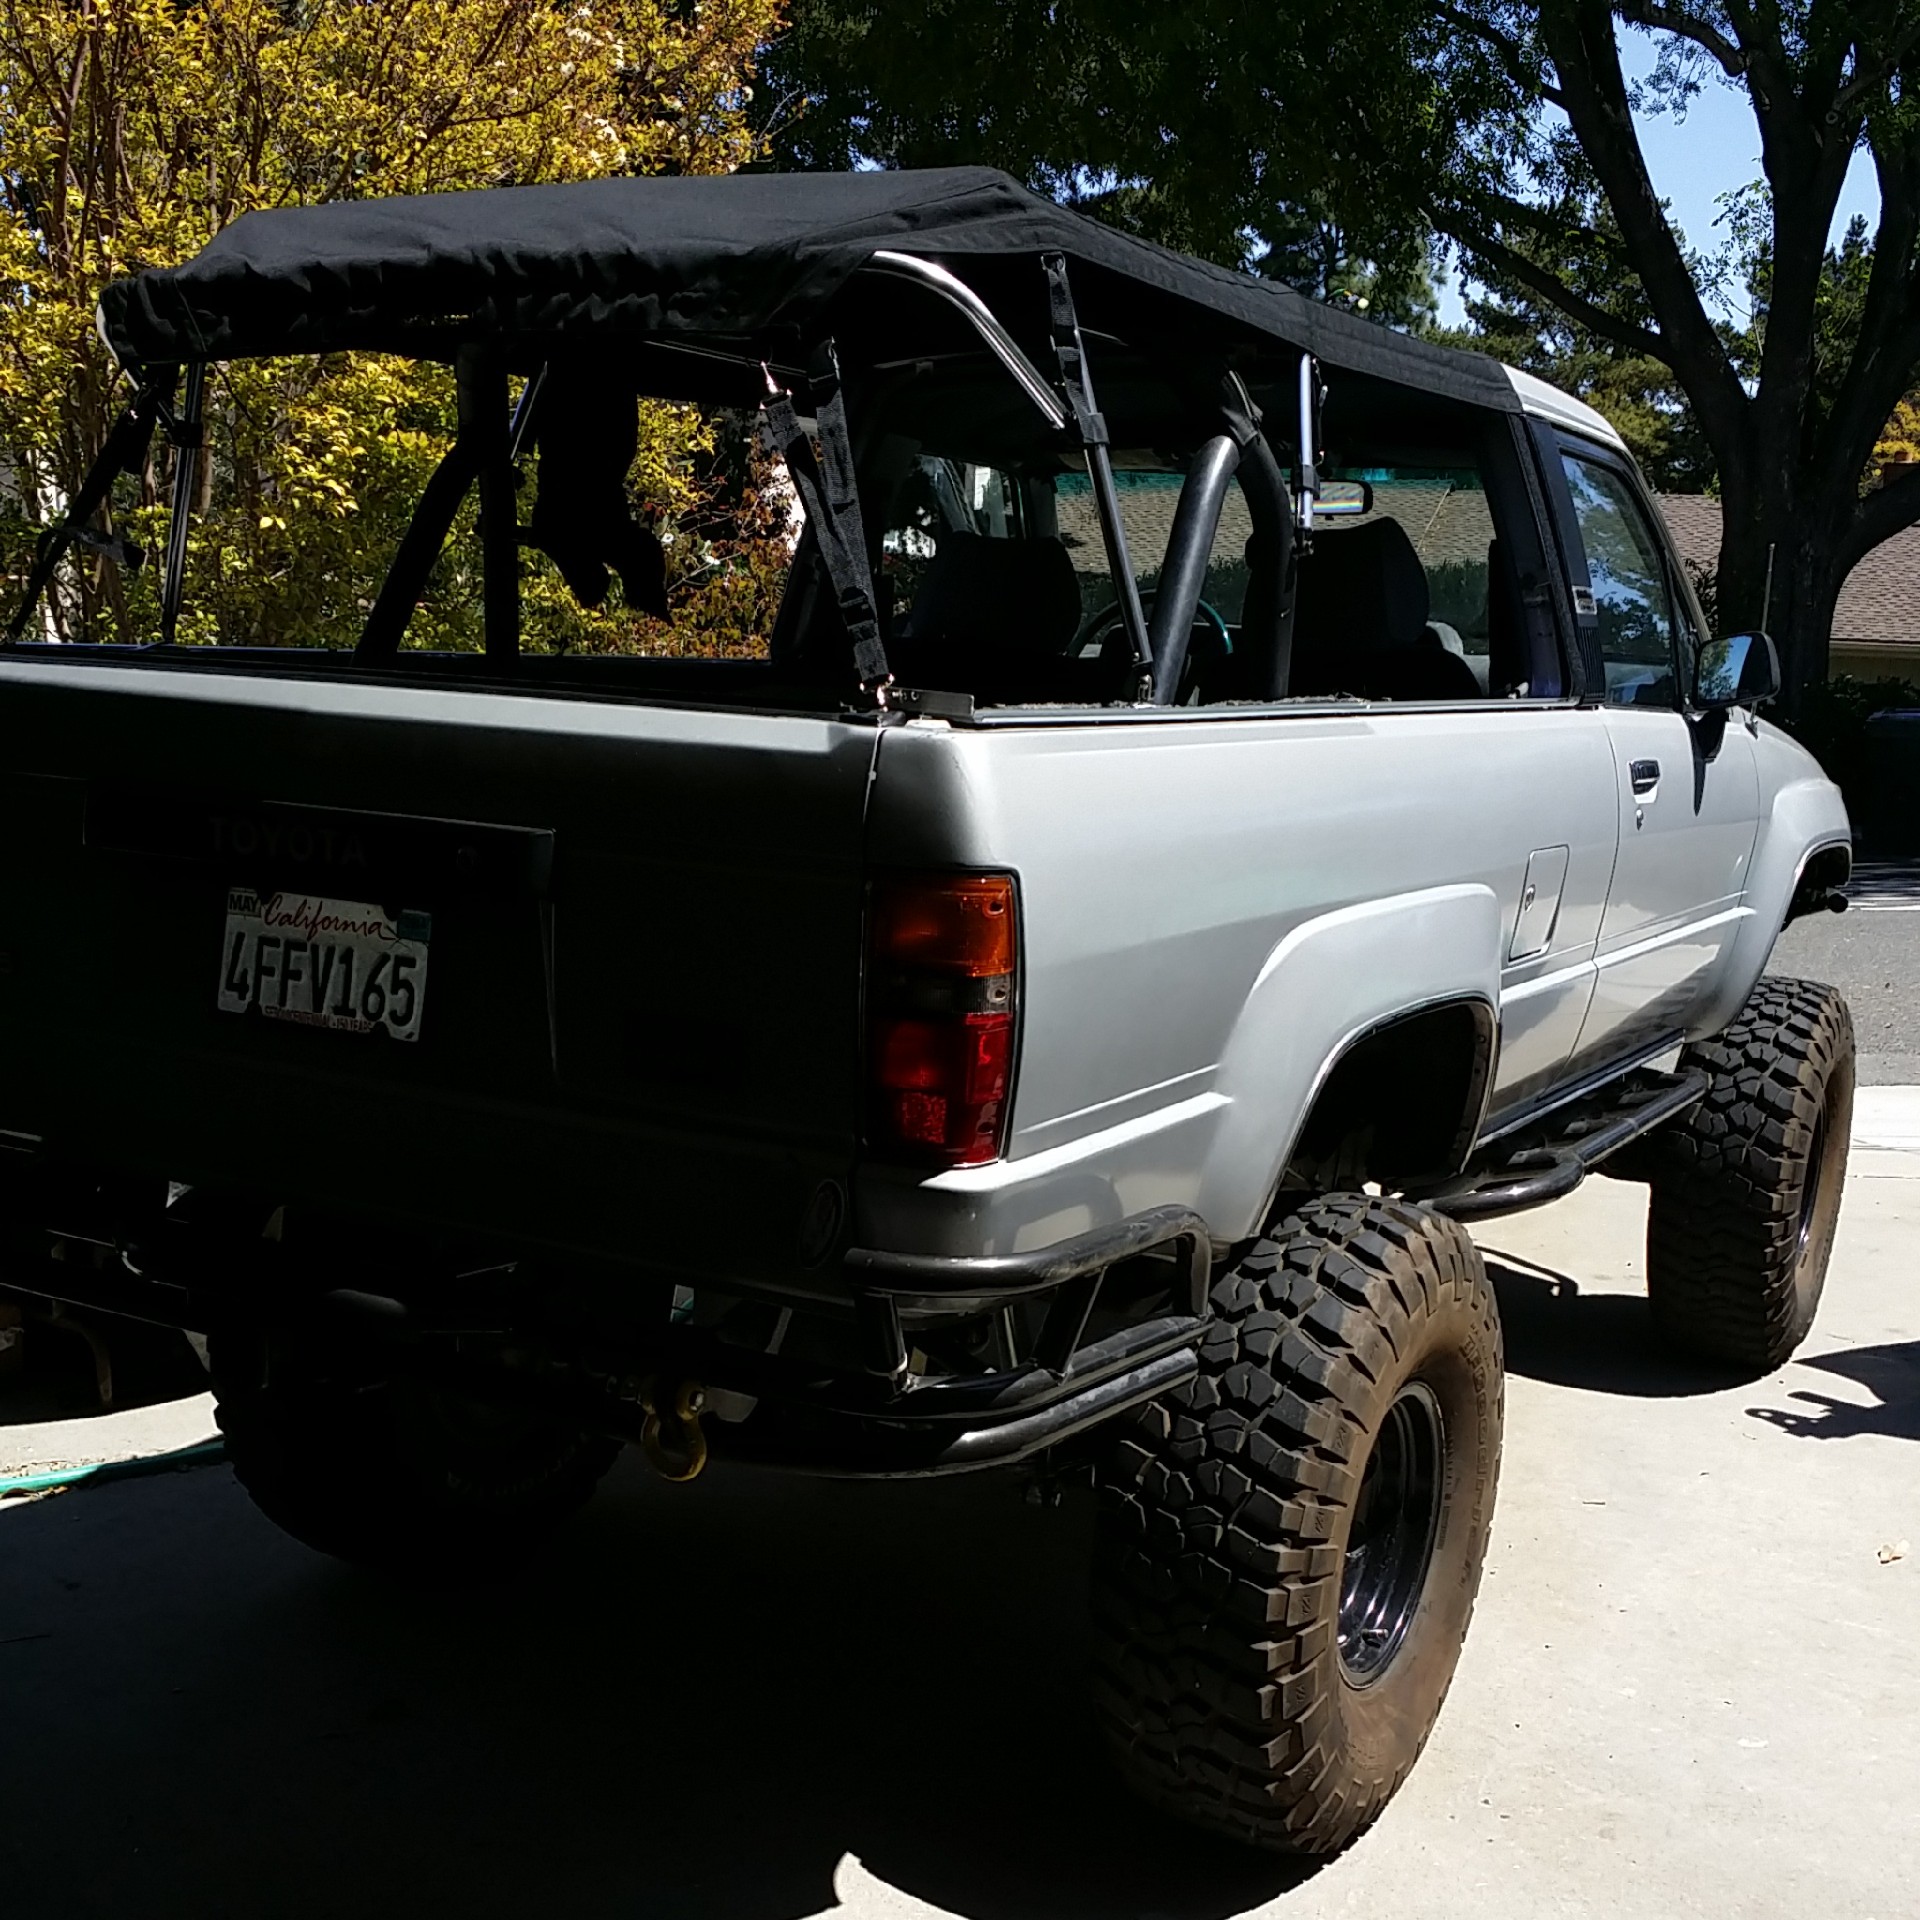
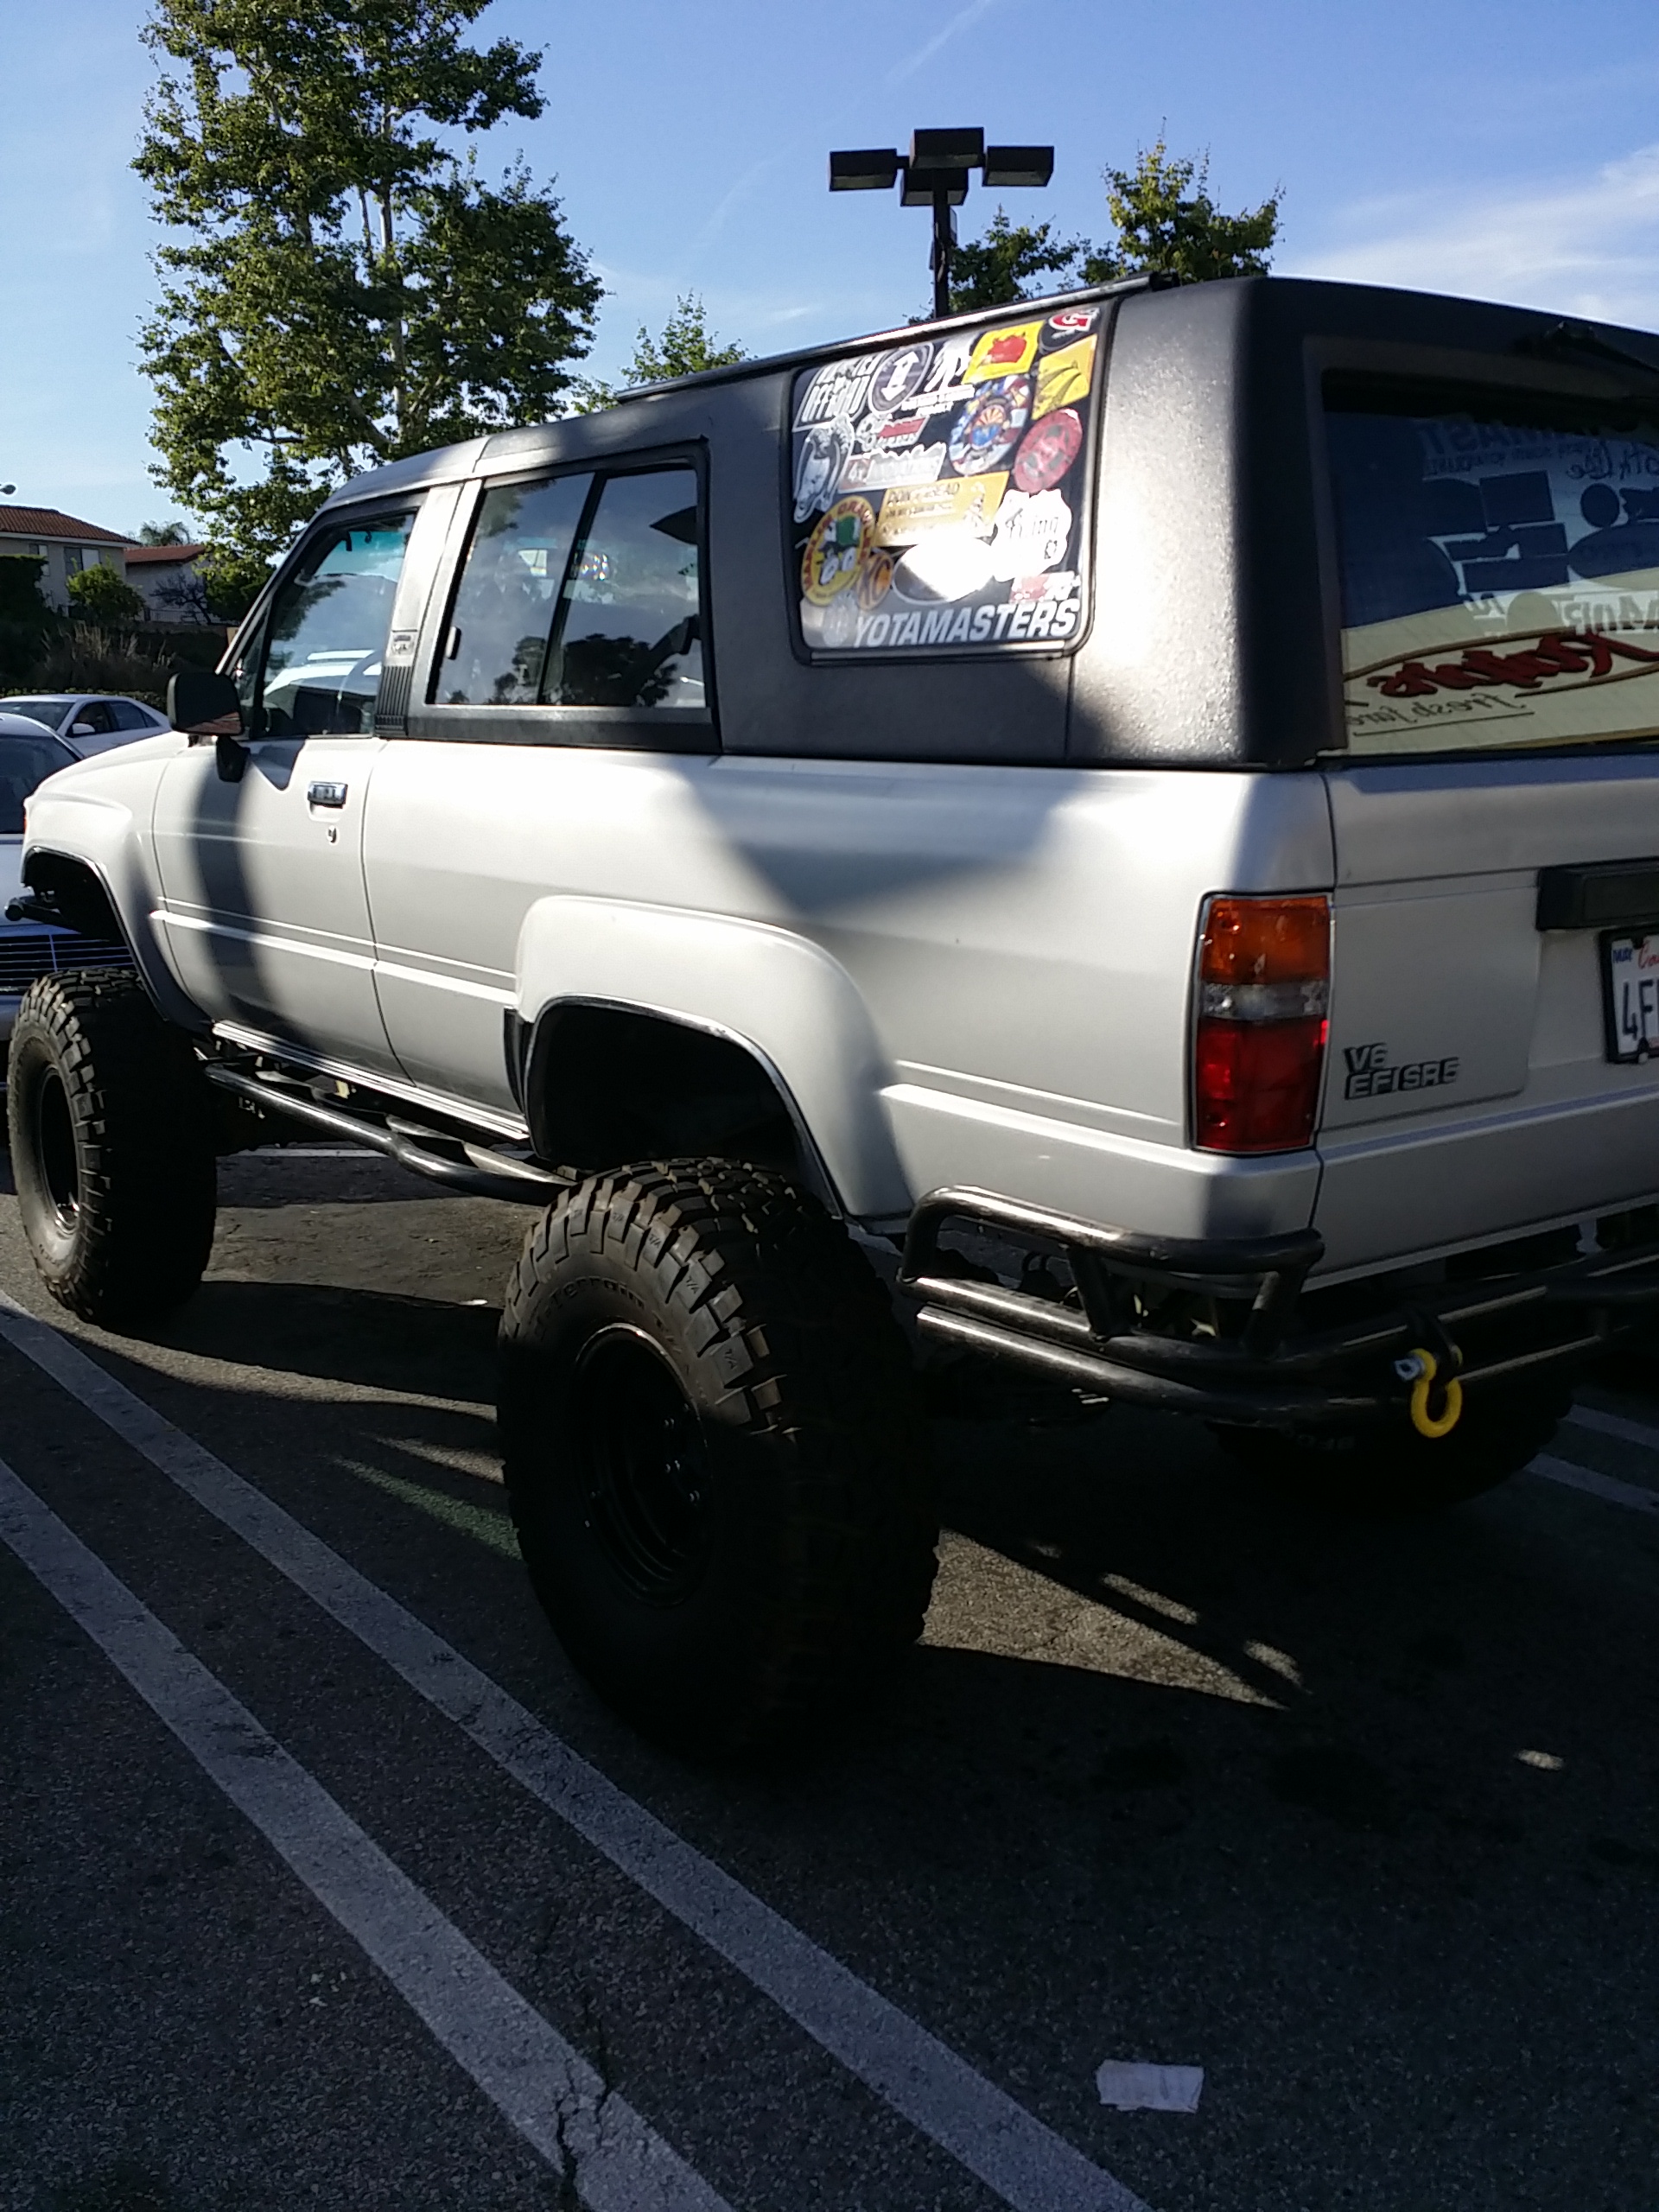
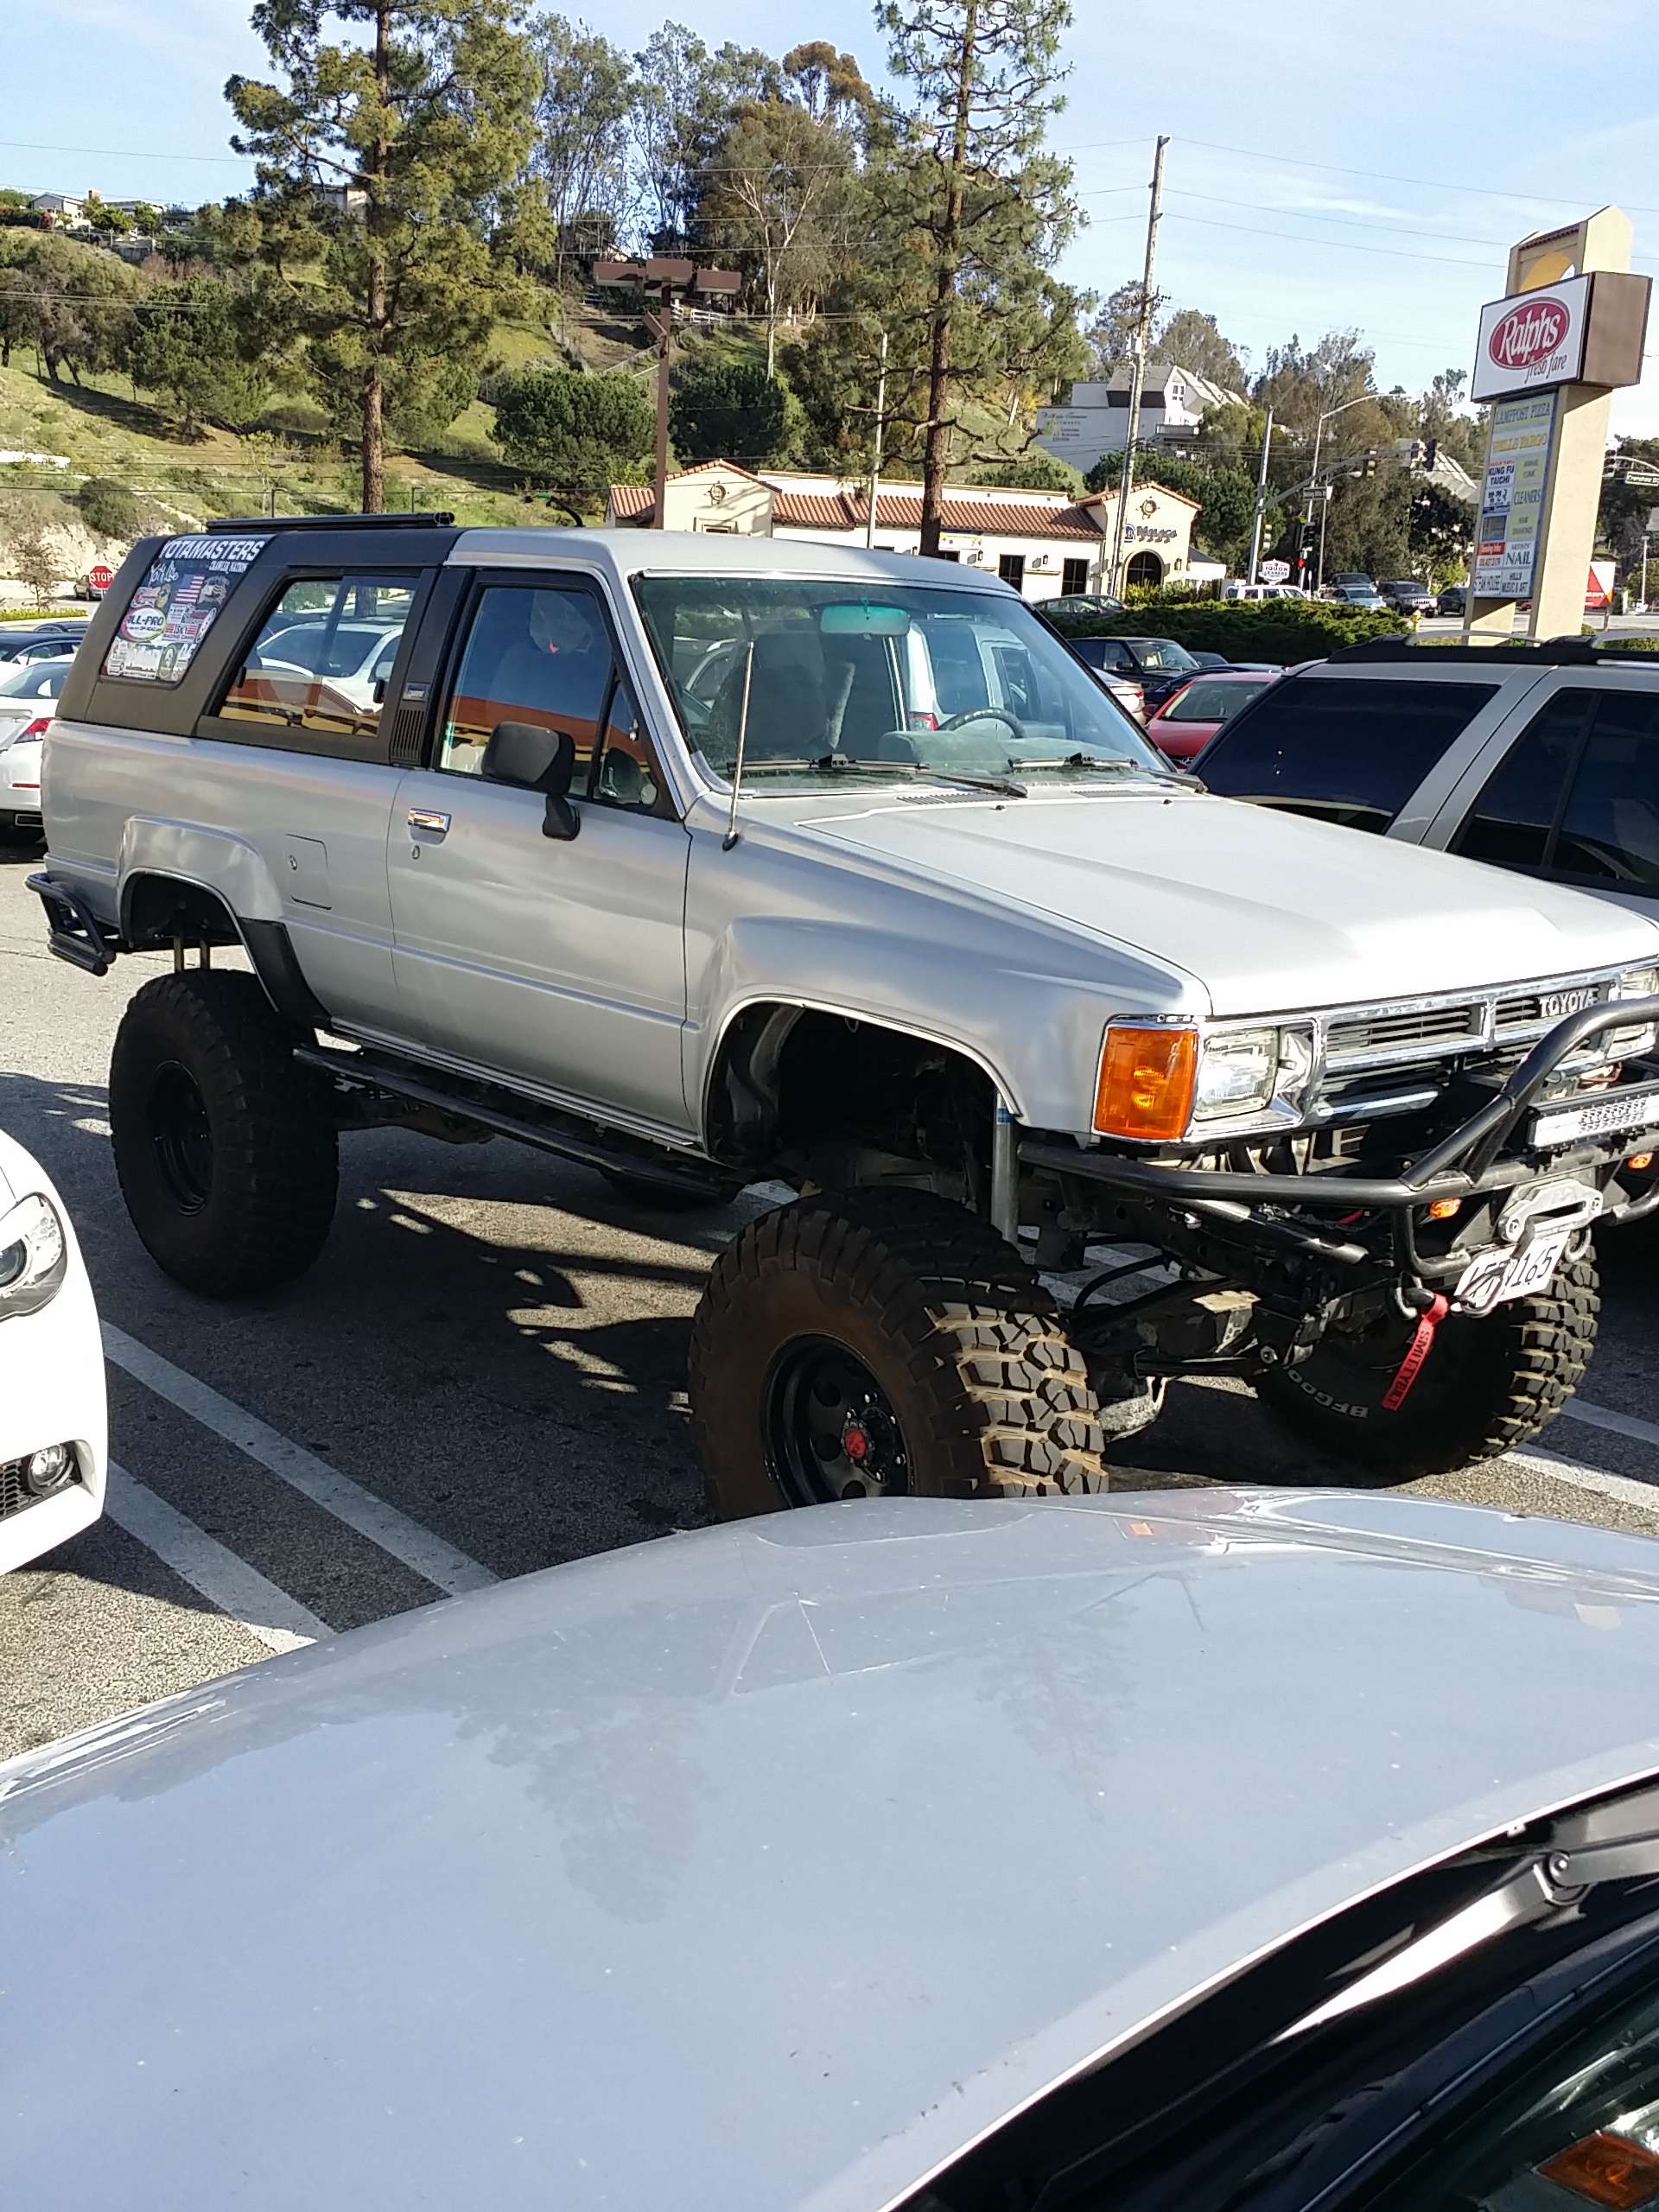
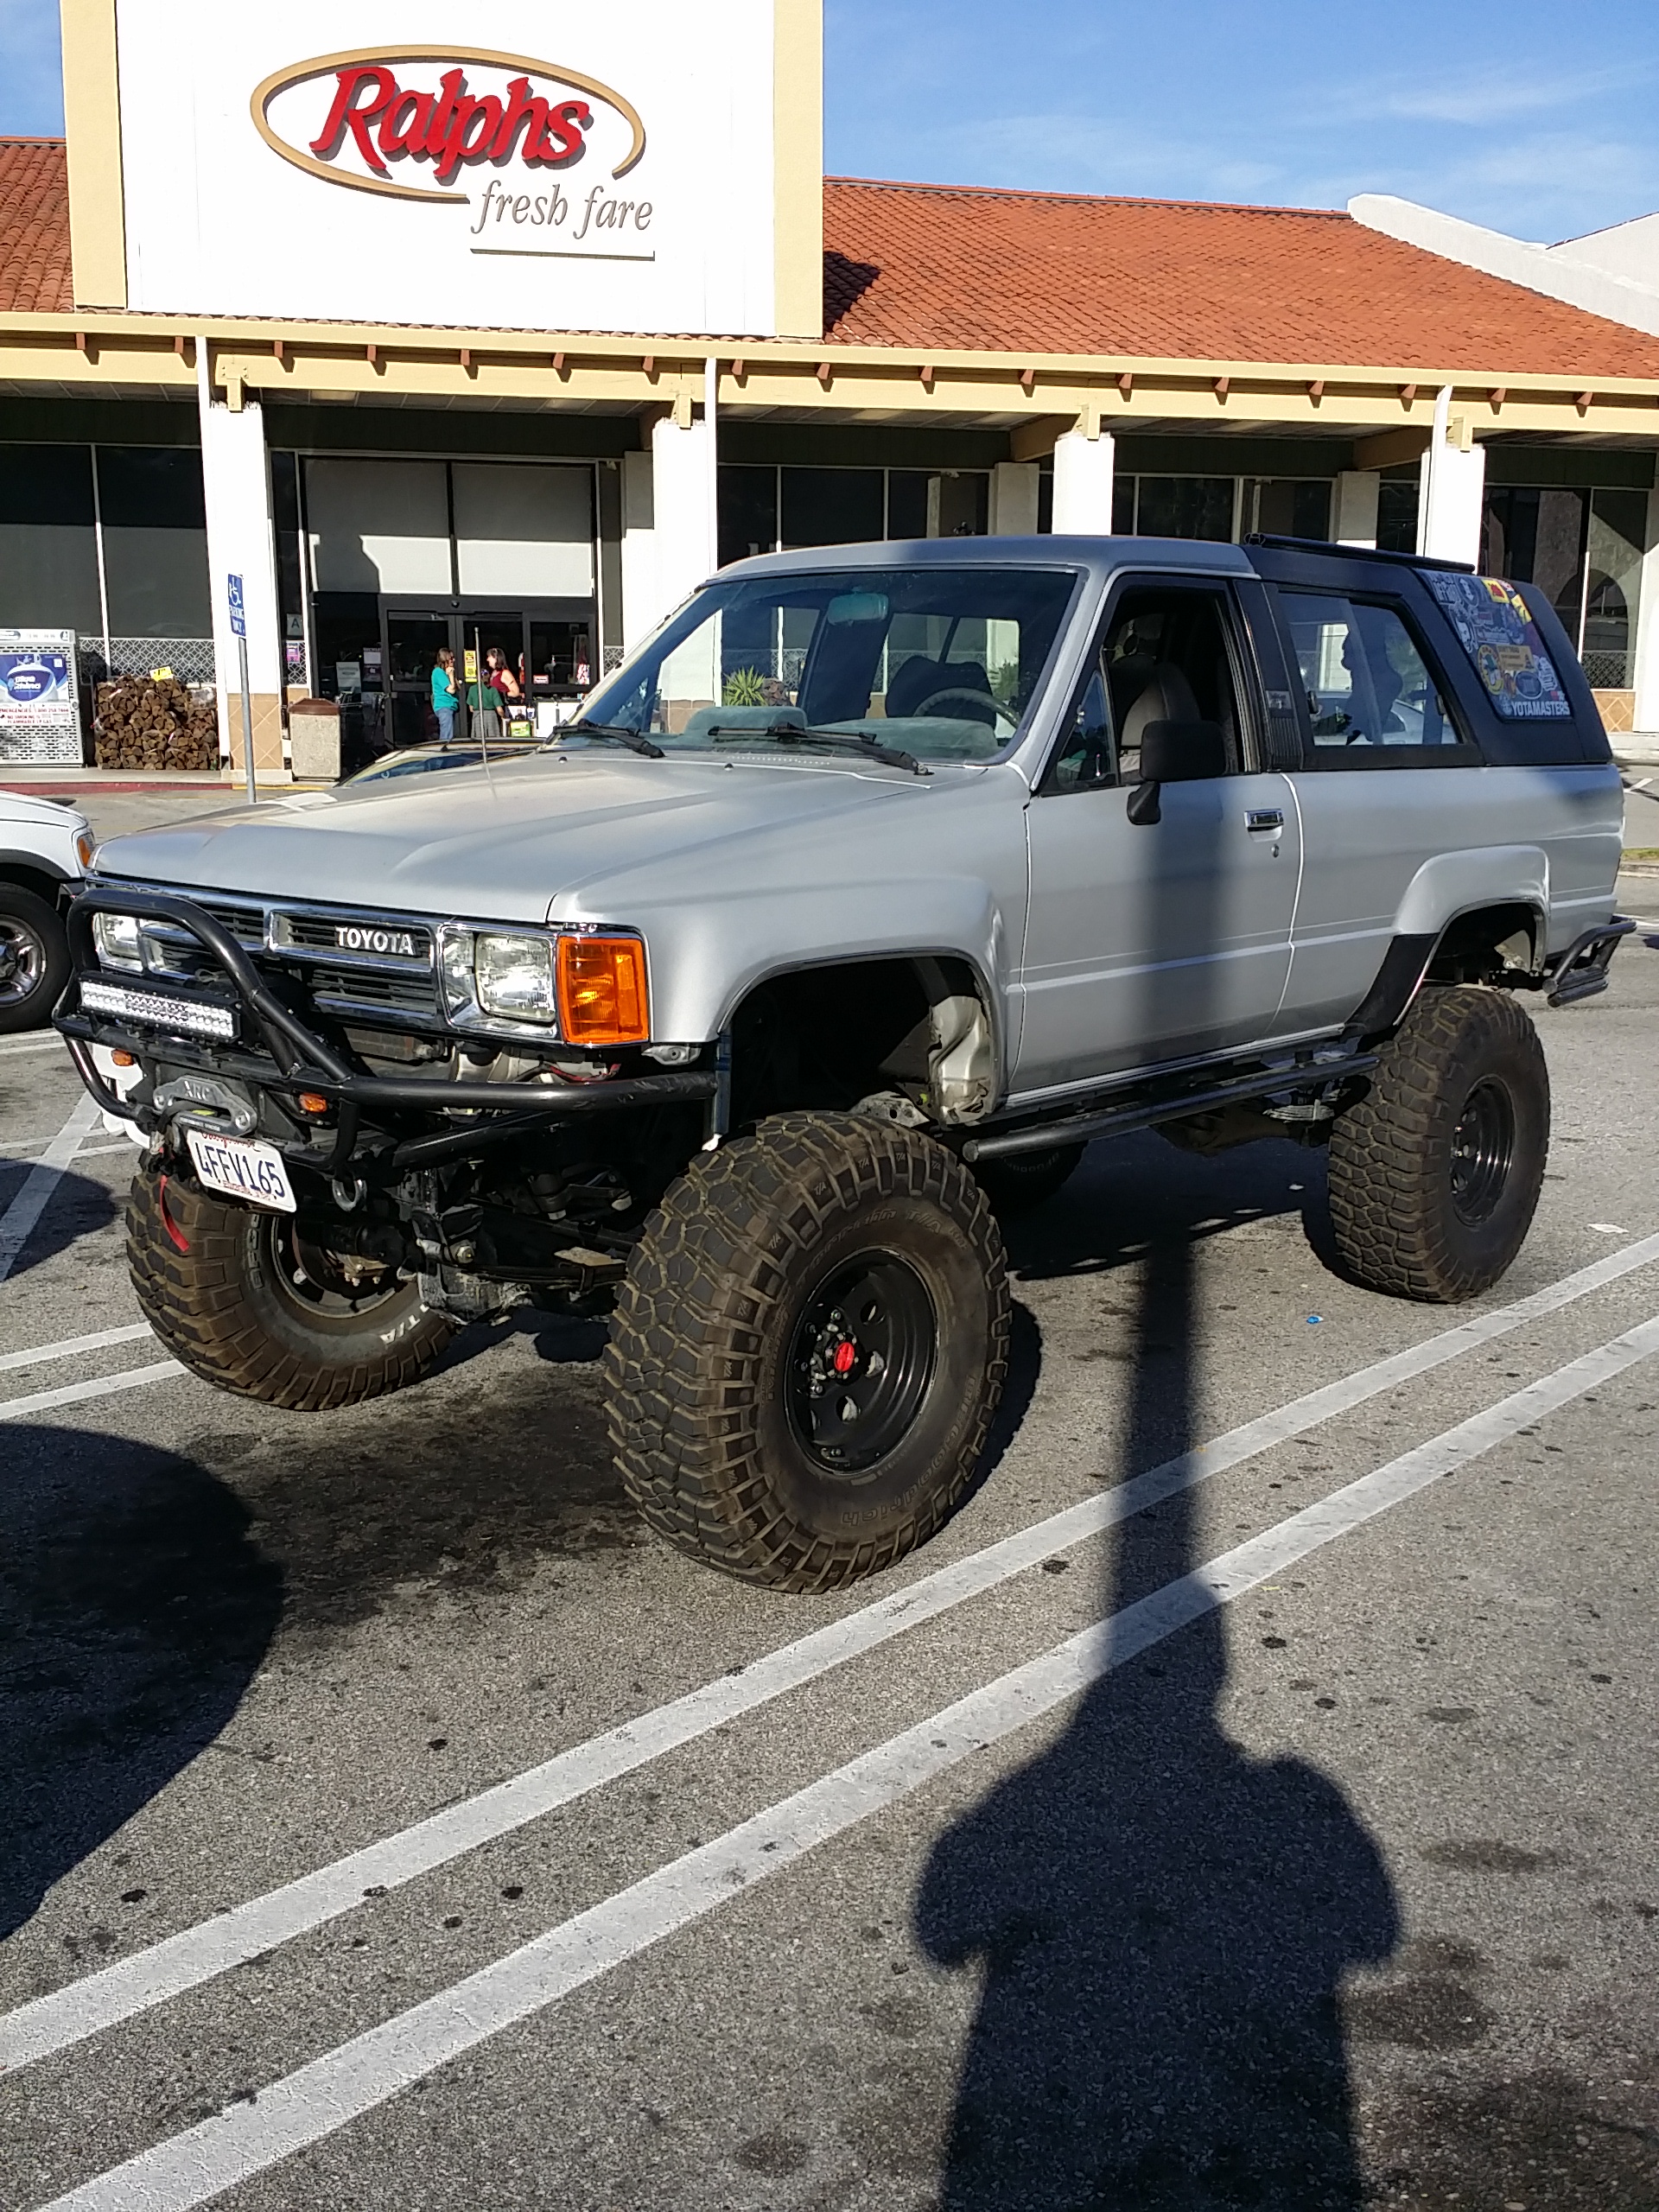
Hardtop back on with side rails mounted, zombie apocalypse roof rack and lighting project wiring done and ready for rack...
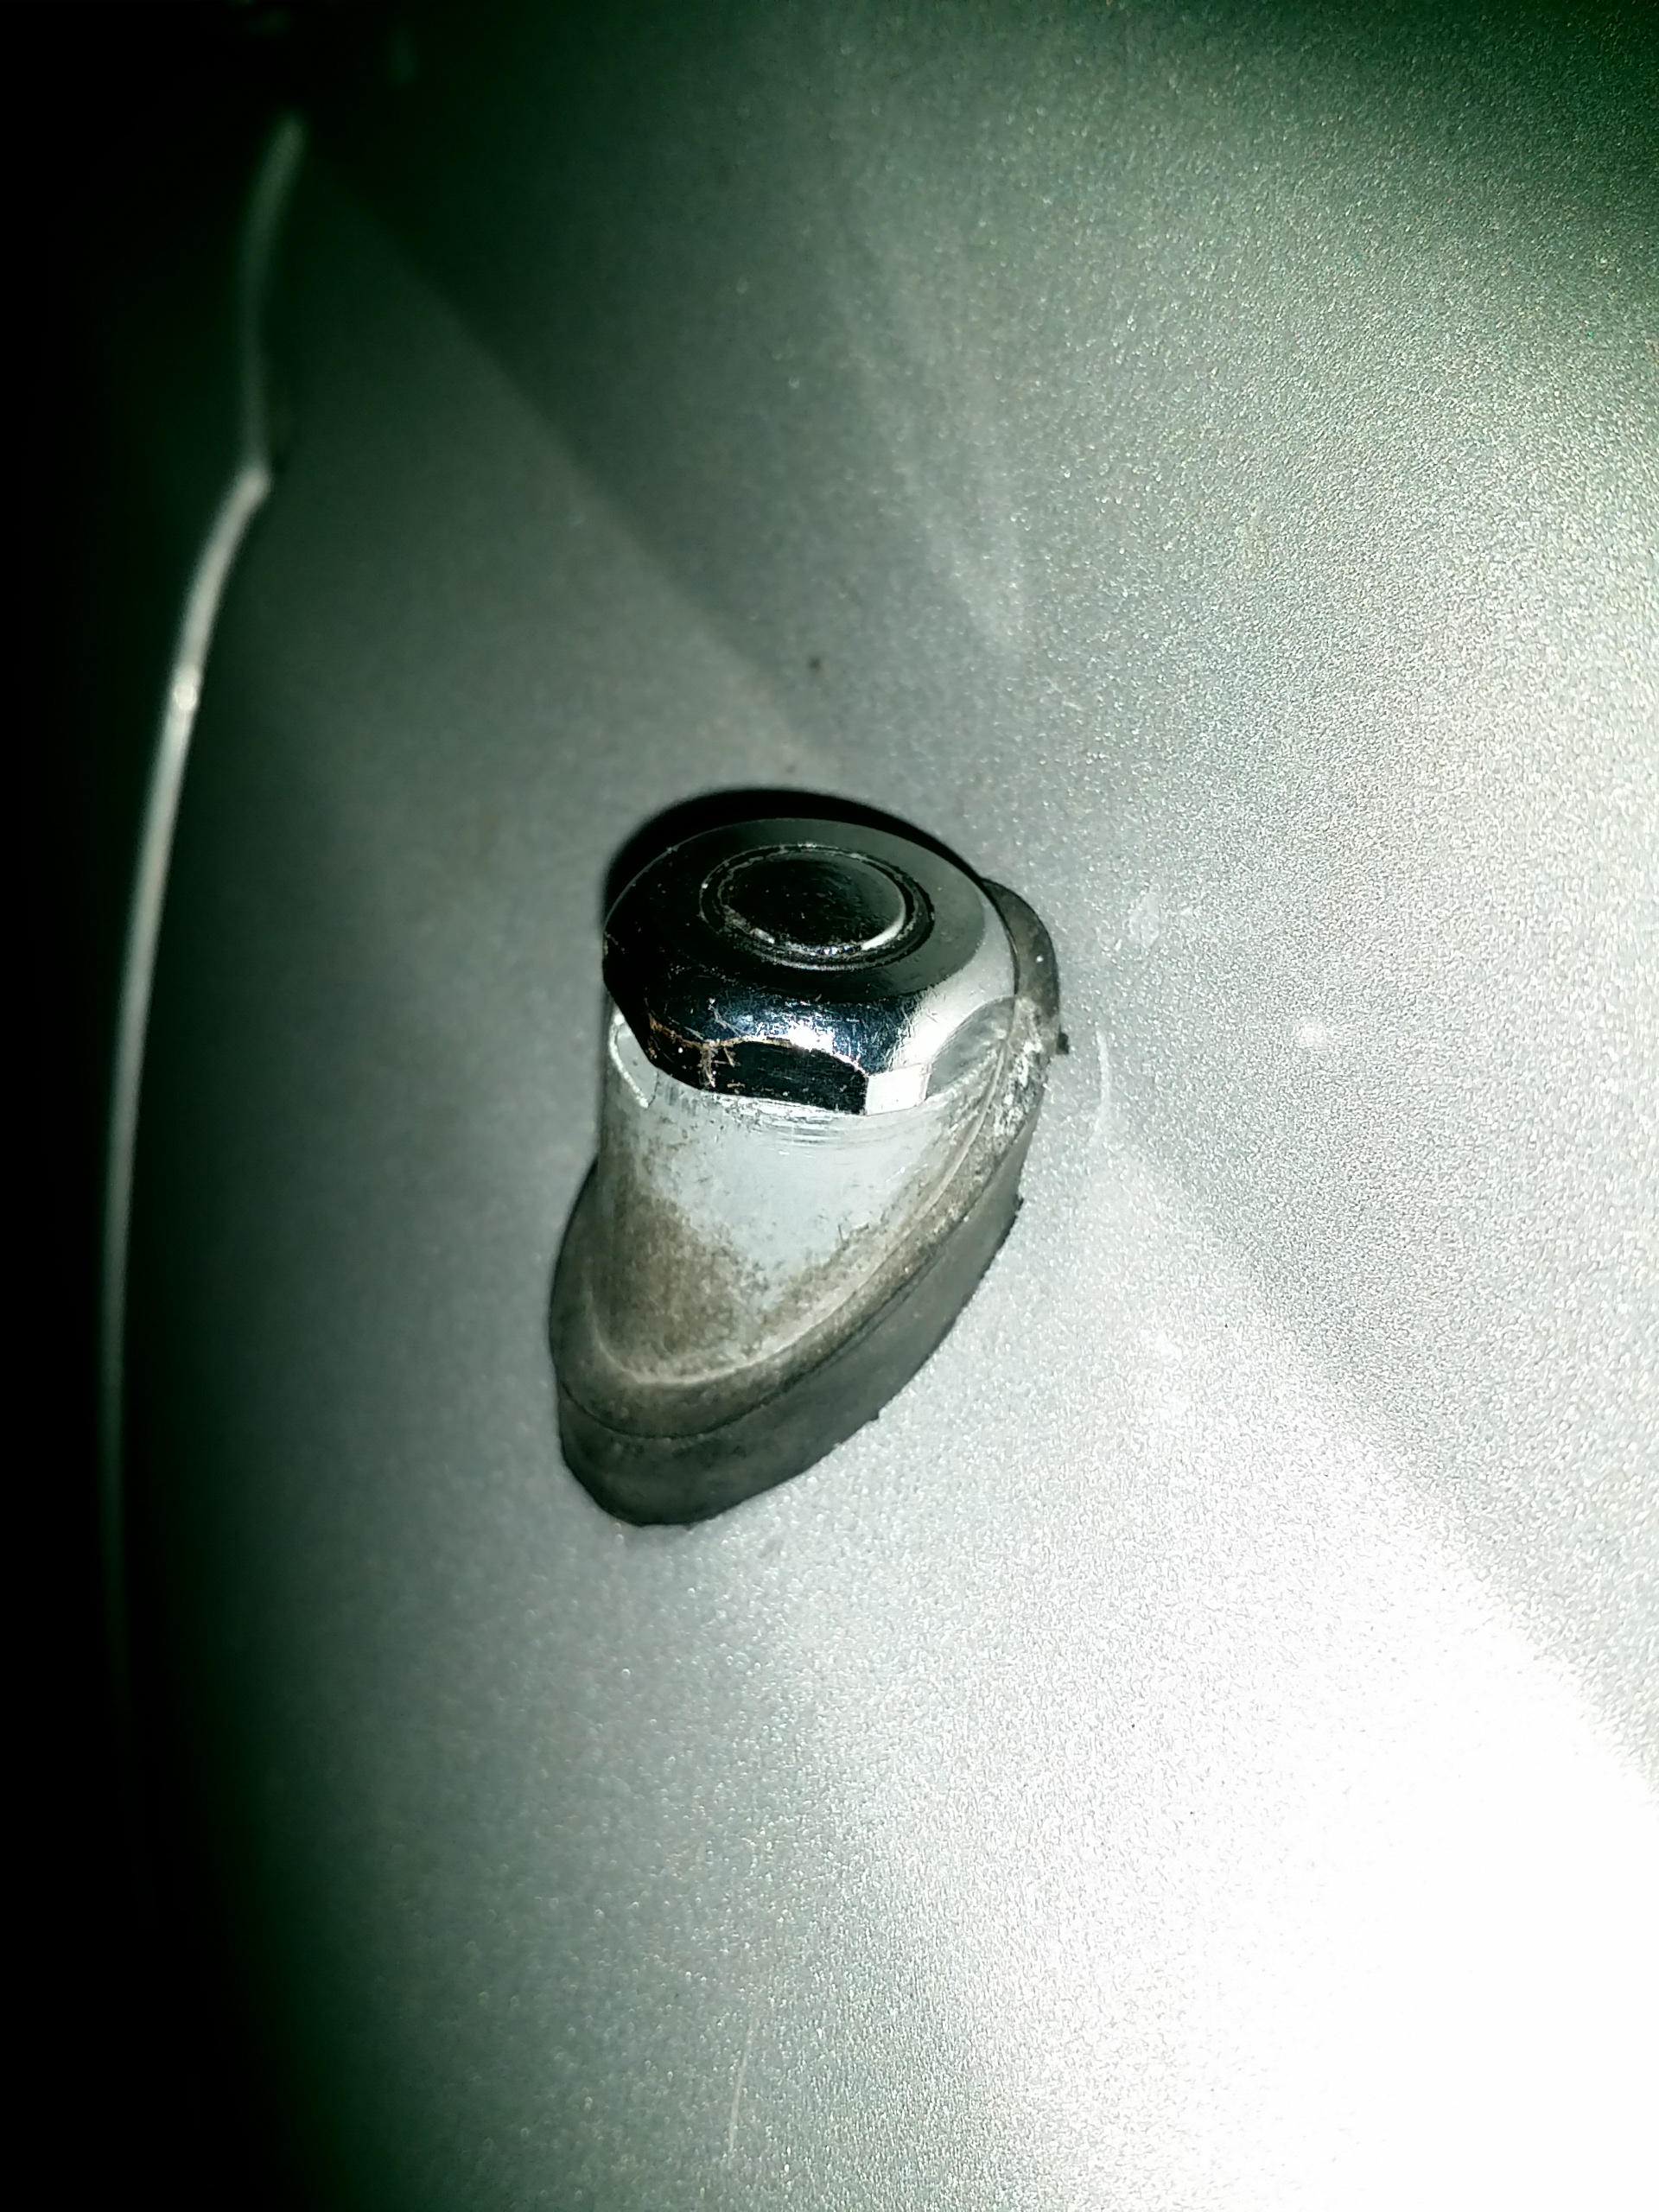
Install the replacement amplified power antenna, as mine was damaged in the rollover... And by my garage or the other day... lol....
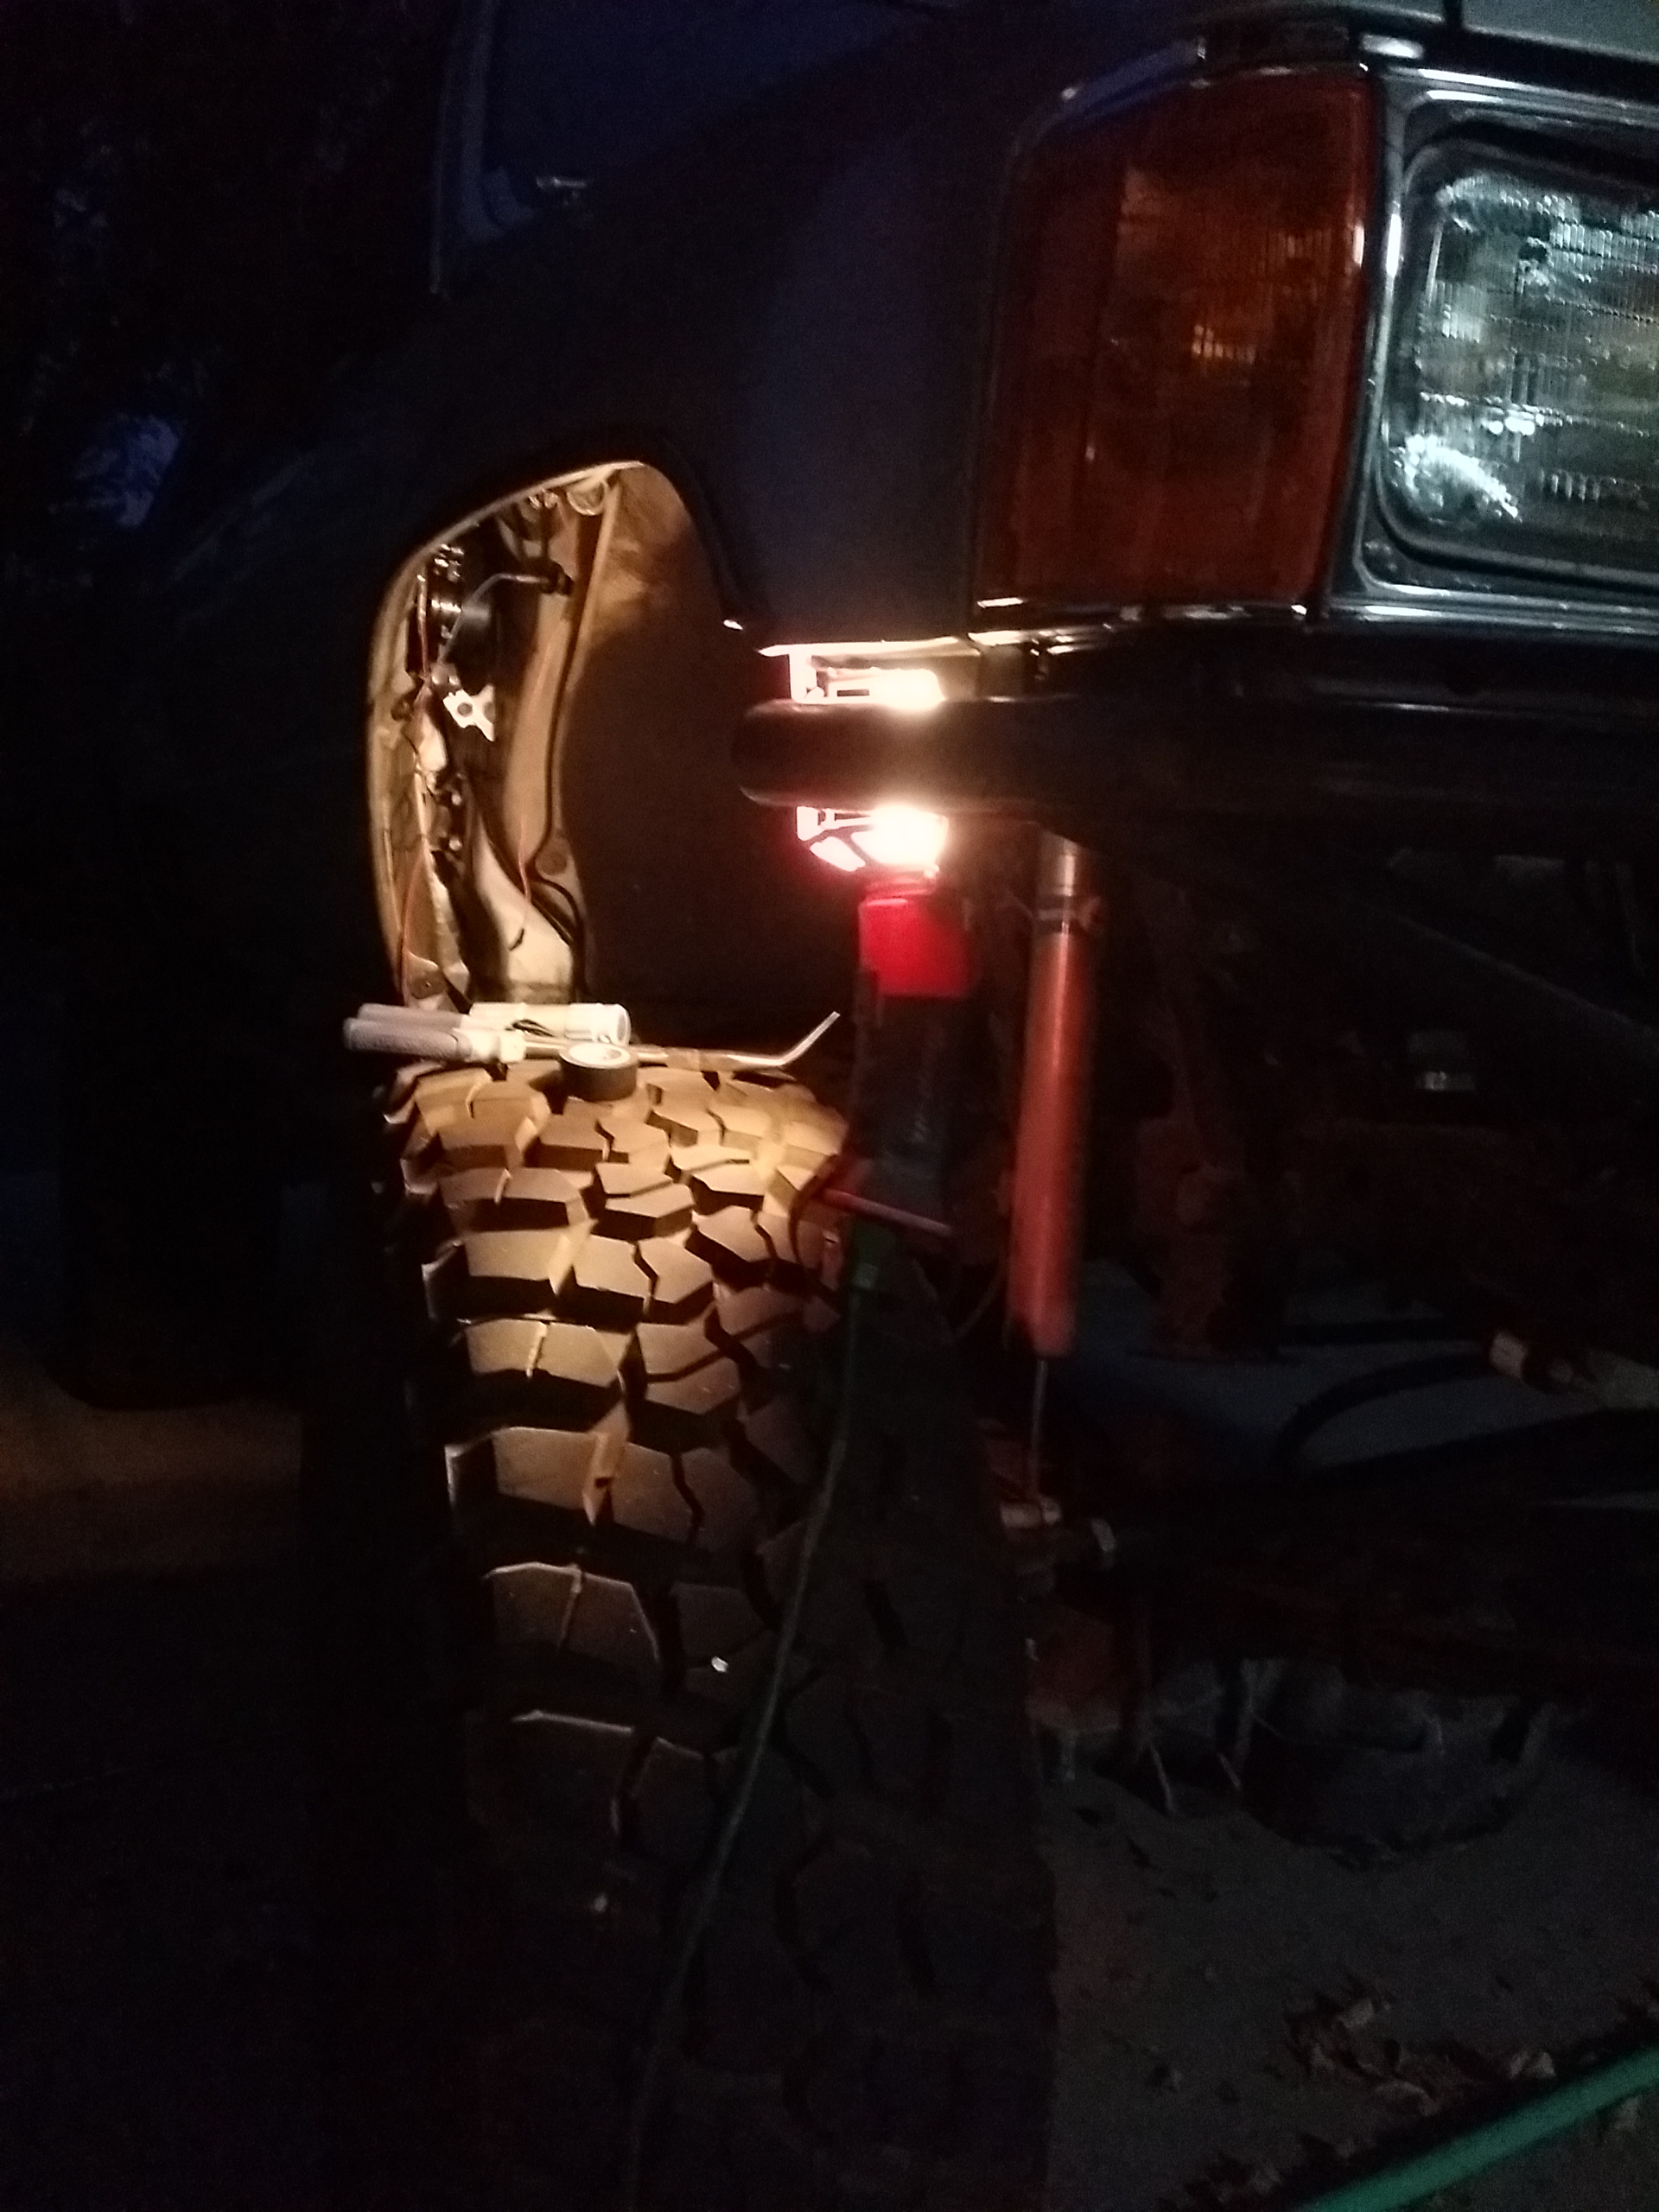
All relays and wearing tight and cleaned up even better than last time, in regards to the off road lights....
AWESOME HONOR to have had the time to cross the path often awesome American Hero, double leg amputee injured veteran, Rob Jones, writing across the entire country, and at this point with just over 400 miles to go!....


Hardtop back on with side rails mounted, zombie apocalypse roof rack and lighting project wiring done and ready for rack...


Install the replacement amplified power antenna, as mine was damaged in the rollover... And by my garage or the other day...
lol.... 


All relays and wearing tight and cleaned up even better than last time, in regards to the off road lights....
AWESOME HONOR to have had the time to cross the path often awesome American Hero, double leg amputee injured veteran, Rob Jones, writing across the entire country, and at this point with just over 400 miles to go!....

 Apr 11, 2014 | 02:23 PM
#257
Thread Starter
Registered User
iTrader: (5)
Joined: Jun 2009
Posts: 19,281
Likes: 20
From: Lake Havasu, AZ
 lol
lol


