
Bump's '90 4Runner Build-Up
 Oct 6, 2014 | 01:35 PM
#162
Thread Starter
Registered User
Joined: Apr 2013
Posts: 478
Likes: 4
From: Louisiana
This was a first, hopefully it holds up.
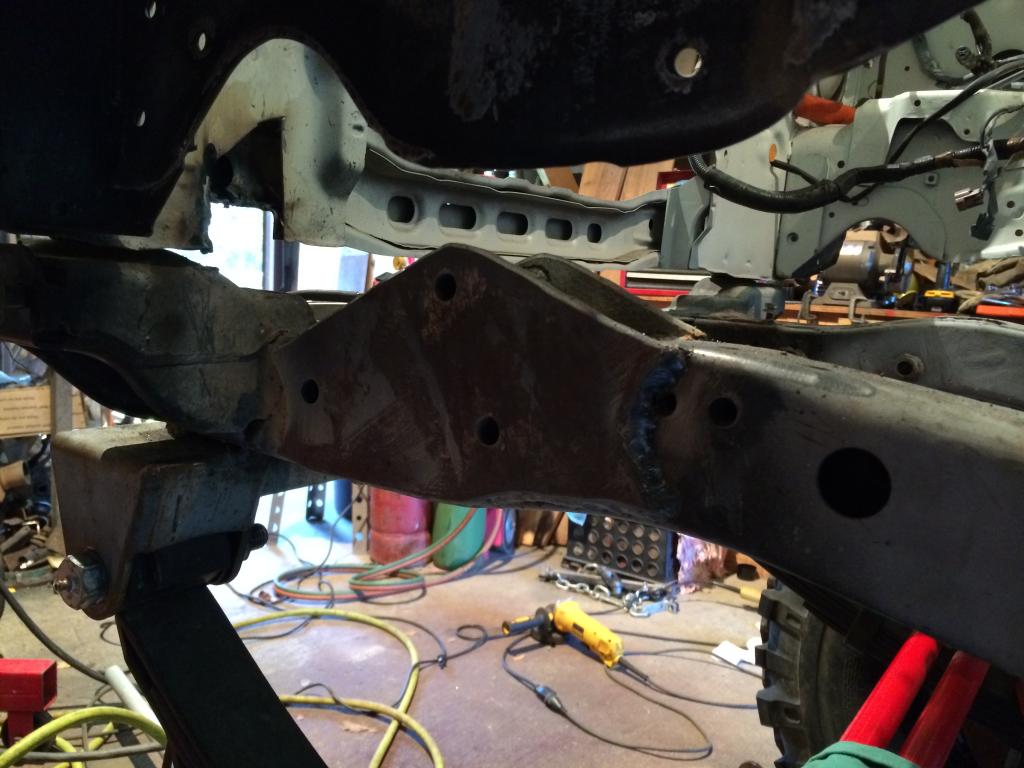
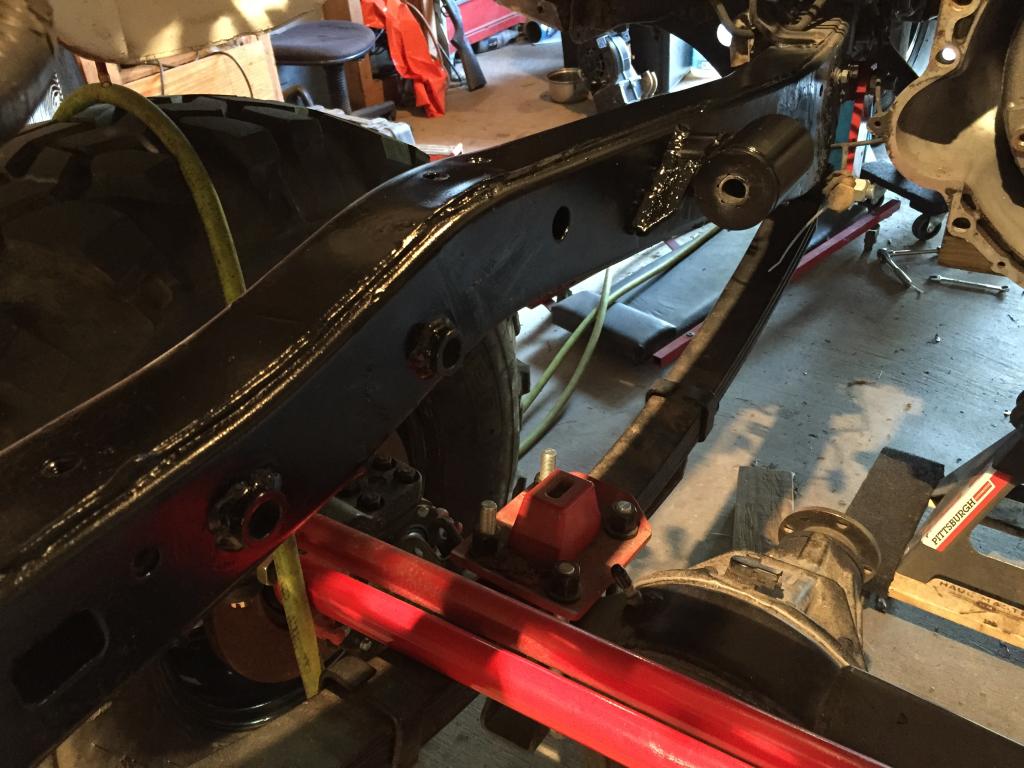
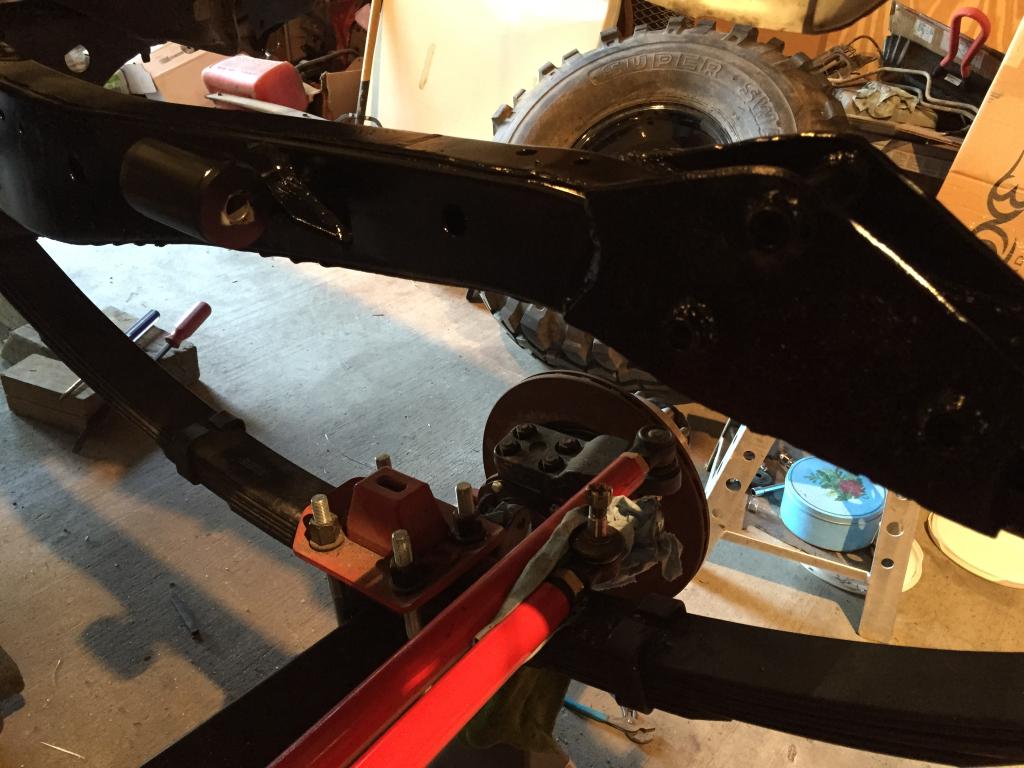
Not much progress has been made. I did get one plate for the steering box cut and mocked into place. I have the drag link set so it should just miss the crank pull and the tie rod. There's times I really wish I would have put a 2" body lift on, but Im gonna make it work without it lol. Just have to cut one more plate, cut the frame sleeves, and weld it up.
What do yall think?

I wont be able to do too much on it until next weekend. This weekend Im going to buy my duramax back (meaning going to buy my wife a car so I can drive it again versus driving my old 98 gmc Ive had for 11 years lol). The plan is to get the steering box mounts tacked into place and then pull the drivetrain to weld everything up. Once that's back in, its time to start putting stuff in for good.
Oct 21, 2014 | 12:02 PM
#163
Thread Starter
Registered User
Joined: Apr 2013
Posts: 478
Likes: 4
From: Louisiana
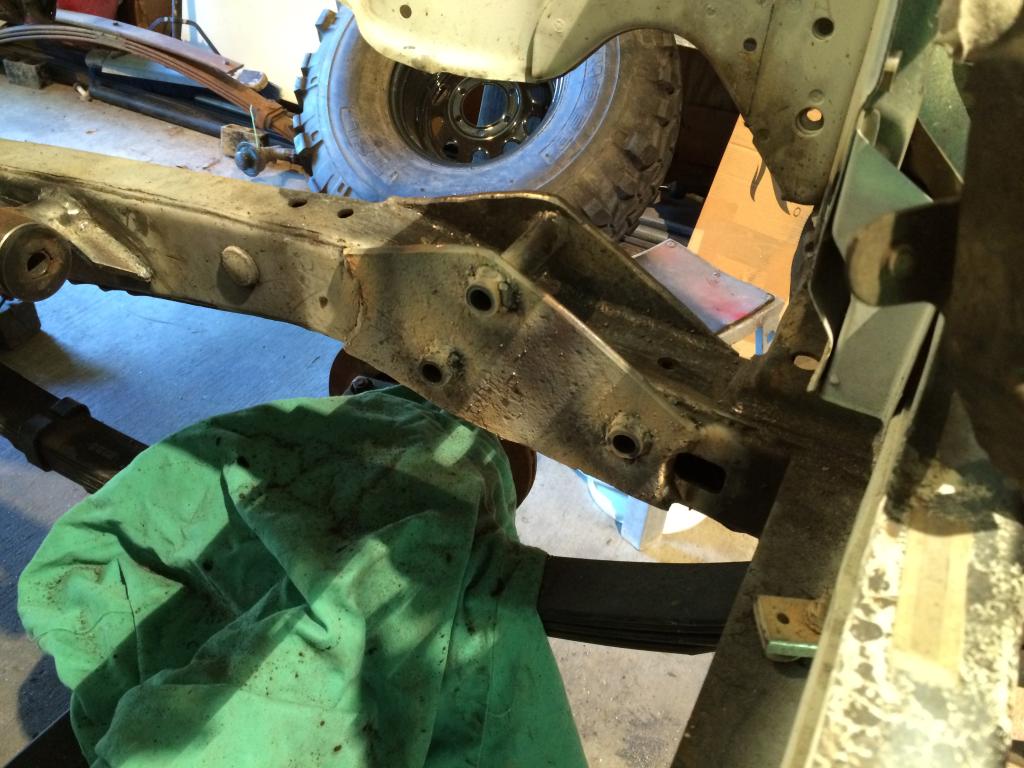
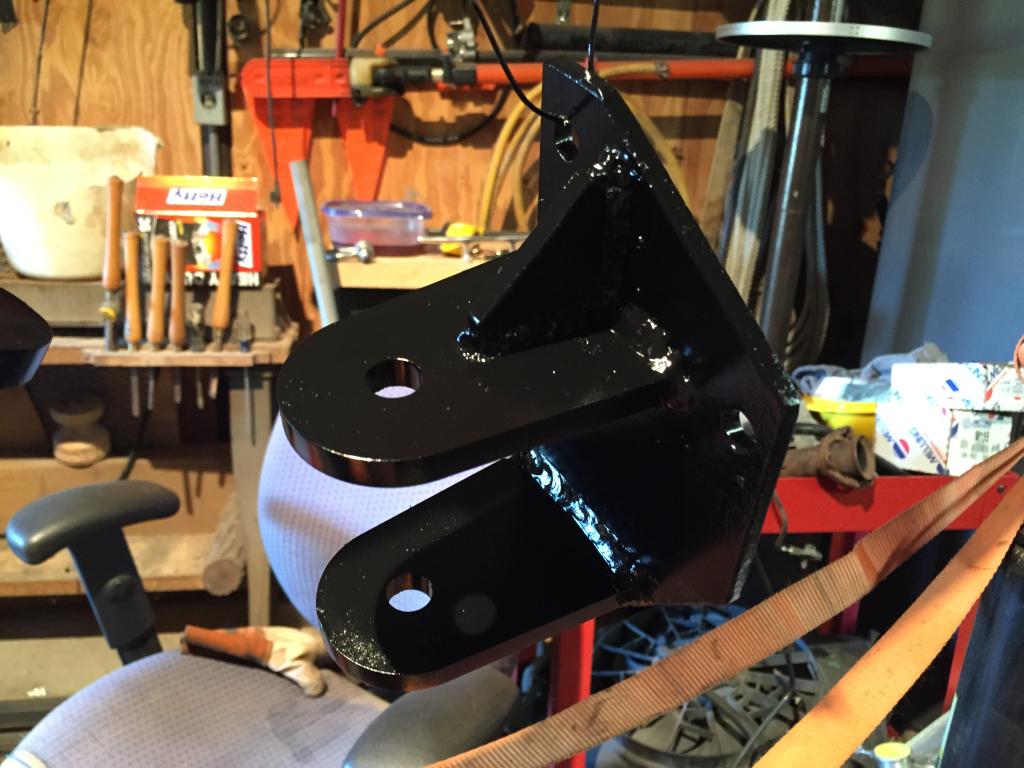
A little more progress was made. I got the motor mounts and steering box mounts welded. Going to put a little paint on it this evening and throw the 4.3 back in there tomorrow. Then I can start putting all the parts back on the motor and before to long Ill be wiring it up. Heres a few pics for those that are following...


 Oct 23, 2014 | 12:45 PM
#168
Thread Starter
Registered User
Joined: Apr 2013
Posts: 478
Likes: 4
From: Louisiana
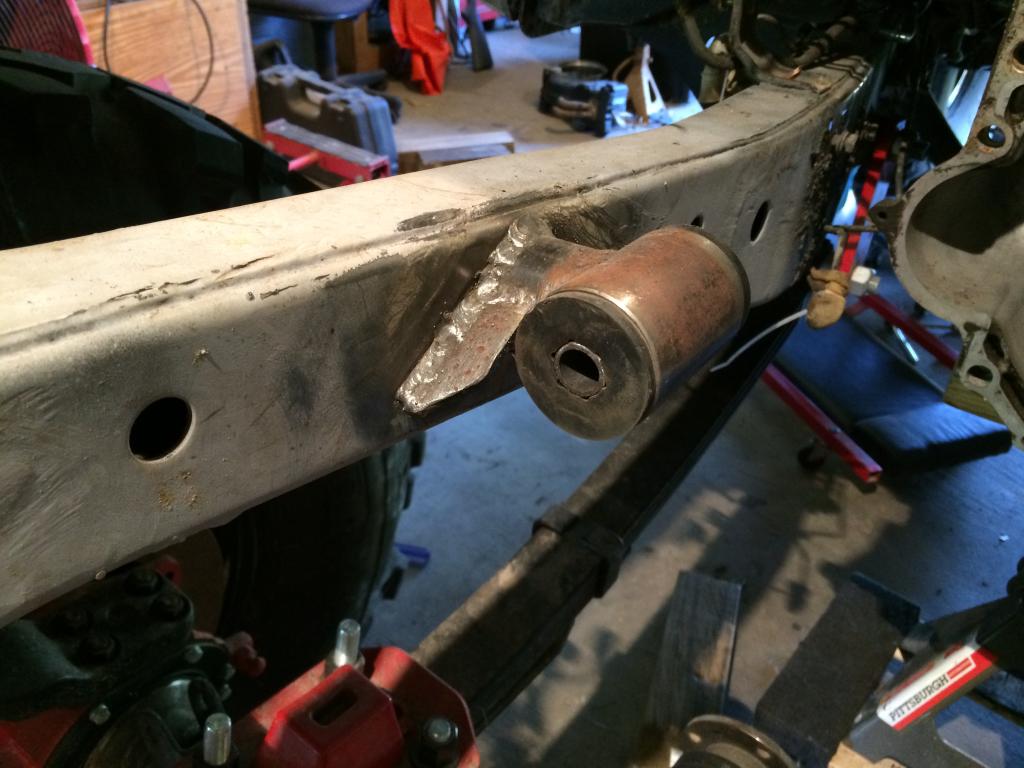
And just because, here is some pics of the mounts with paint on them...
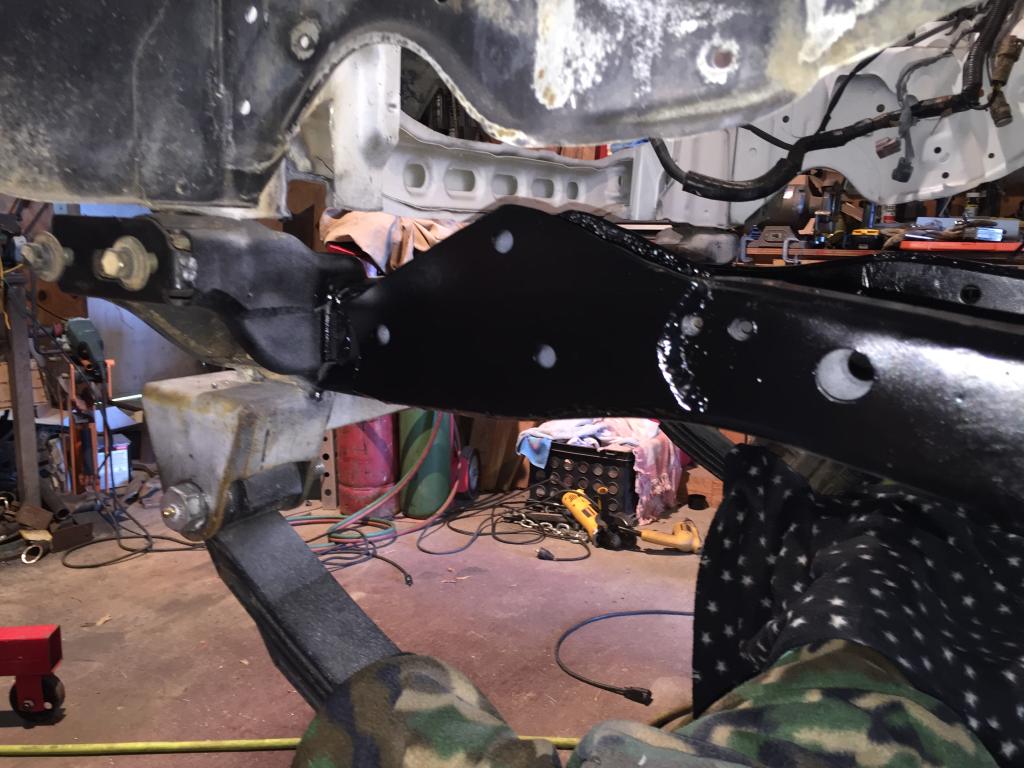
The motor is back in now. Ill probably start putting all the accessories back on it this evening. That way it will start looking like a motor again lol.


The motor is back in now. Ill probably start putting all the accessories back on it this evening. That way it will start looking like a motor again lol.
Oct 28, 2014 | 04:37 PM
#169
Registered User
Joined: Dec 2008
Posts: 2,391
Likes: 1
From: tecumseh nebraska
Looking great!!I'm liking how low your engine will set with those mounts ,mine seem like it may end up setting to high. So are you gonna run a factory harness,and what fuel system??
By the way your avatar pic is nice!!
By the way your avatar pic is nice!!
Oct 29, 2014 | 04:02 AM
#170
Thread Starter
Registered User
Joined: Apr 2013
Posts: 478
Likes: 4
From: Louisiana
Thanks. The motor is a little too low for me. Id like for the trans pan to be level with the bottom of the frame but that would require a body lift (which I don't want, but would make a lot of things easier I think). So the motor is staying where its at. Your using the AA mounts huh? I would think you could put them where you want. I am going to use the factory harness and Im going to modify it myself. That way all my wires will be the correct length and routed how I want. Hopefully it wont look like a hack job. Ive never messed with a wiring harness, just wired up stereos/lights/etc. My plan for the fuel system is to put a gm fuel pump on the Toyota sending unit and use the Toyota fuel lines. I was actually looking at how my lines where gonna work out the other day. I think Im going to cut both the feed and return lines down by the frame and run rubber FI hose to the GM hard lines at the motor.
Ive been in contact with some ppl about getting my computer reprogrammed Im hoping to send that off either this week or next. I also need to start ordering some more parts (fuel pump, wiring supplies, trans/PS coolers, exhaust parts, etc).
Oct 29, 2014 | 04:49 PM
#171
Registered User
Joined: Dec 2008
Posts: 2,391
Likes: 1
From: tecumseh nebraska
Sounds like you have a good plan.great idea on using the m pump on the toy housing if it will fit.I'm also gonna try and use my factory harness but many people have said save the headache and go aftermarket.well see how it goes.
Oct 30, 2014 | 04:13 AM
#172
Thread Starter
Registered User
Joined: Apr 2013
Posts: 478
Likes: 4
From: Louisiana
Yeah the gm pump will fit. There have been several ppl do it that way. If I wasn't going to modify my factory harness myself, I would just send it off to be modified. I don't think I would buy a new aftermarket harness. For one they are really expensive for my motor lol.
Nov 18, 2014 | 05:18 PM
#174
Registered User


Joined: Oct 2009
Posts: 4,832
Likes: 332
From: Northfield, Vermont
Ive been looking like hell for a DIY harness thread for the 4.3 for trimming down the stock harness. No luck so far. I plan on swapping over the whole chevy wiring and removing everything toyota electrical. Just trying to trim it down to the basics.
What type of fuel injection is the 98 engine?
What type of fuel injection is the 98 engine?
Last edited by rattlewagon; Nov 18, 2014 at 05:21 PM.
Nov 18, 2014 | 06:57 PM
#175
Thread Starter
Registered User
Joined: Apr 2013
Posts: 478
Likes: 4
From: Louisiana
I'm running the 4l60e with a toy case.
There's been some good threads on the tbi system. The 98 is a CSFI. I can't really can't find any good threads on them. I plan to detail it pretty good when I do mine. There really shouldn't be a lot to it tho. LT1swap.com has some pretty info on it too.
Ive been looking like hell for a DIY harness thread for the 4.3 for trimming down the stock harness. No luck so far. I plan on swapping over the whole chevy wiring and removing everything toyota electrical. Just trying to trim it down to the basics.
What type of fuel injection is the 98 engine?
What type of fuel injection is the 98 engine?
Nov 19, 2014 | 05:31 PM
#176
Registered User
Joined: Dec 2008
Posts: 2,391
Likes: 1
From: tecumseh nebraska
I'm running the 4l60e with a toy case.
There's been some good threads on the tbi system. The 98 is a CSFI. I can't really can't find any good threads on them. I plan to detail it pretty good when I do mine. There really shouldn't be a lot to it tho. LT1swap.com has some pretty info on it too.
There's been some good threads on the tbi system. The 98 is a CSFI. I can't really can't find any good threads on them. I plan to detail it pretty good when I do mine. There really shouldn't be a lot to it tho. LT1swap.com has some pretty info on it too.
Nov 25, 2014 | 05:14 AM
#178
Thread Starter
Registered User
Joined: Apr 2013
Posts: 478
Likes: 4
From: Louisiana
A small update of a few things I have done over the past week.
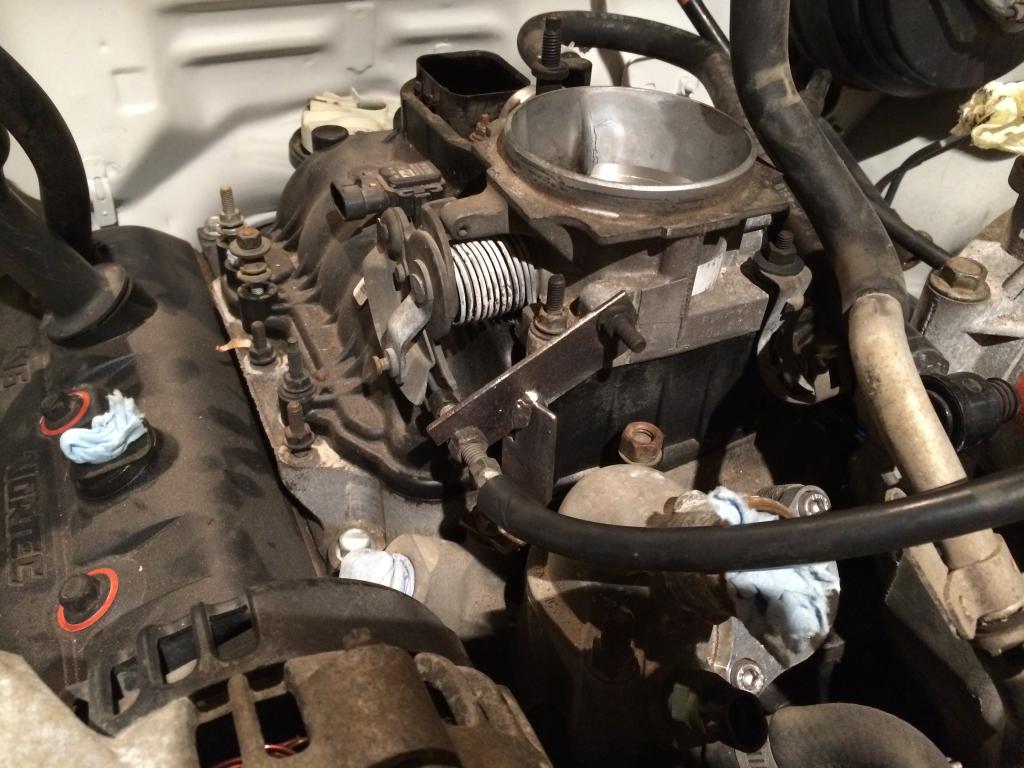
I made a new throttle cable bracket. I was going to modify the GM one, but decided this will be easier. Still needs to be cleaned up and painted.
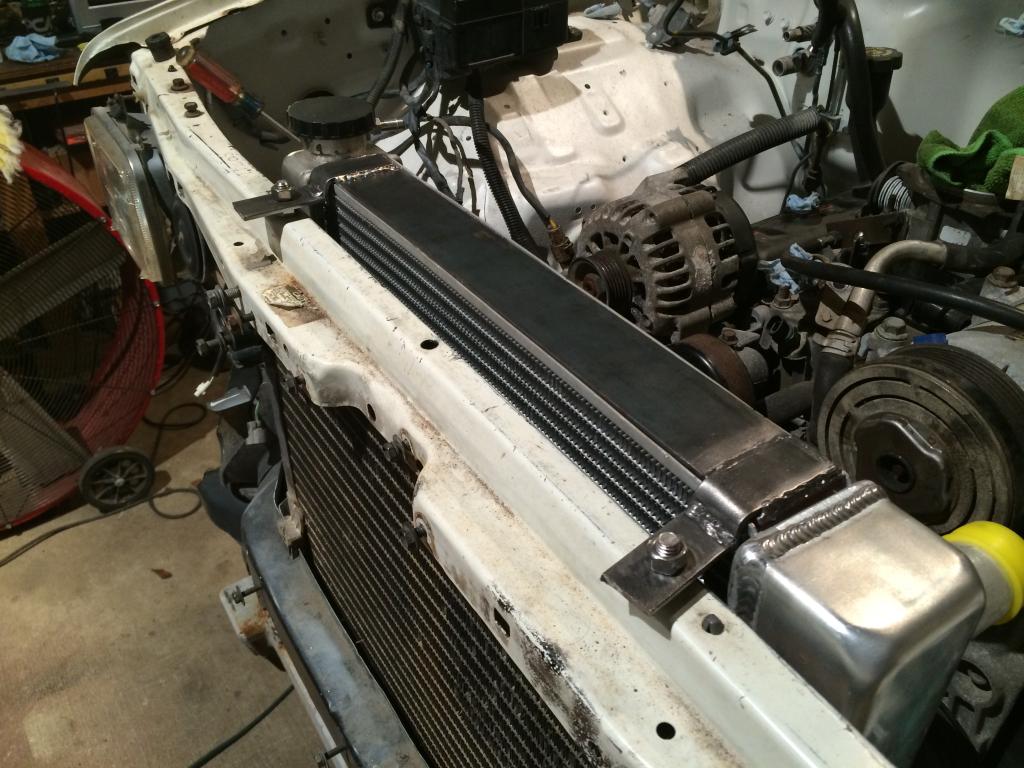
I also got the radiator mounted. I still need to redo some welds ( I was struggling for some reason with the 1/8" material) and do some clean up of it. I didn't get a pic of the lower mounts, but I will when I pull them out to cleanup and paint. Im going to have to modify my hood to fit the studs, but I would rather do that then try to fight getting nuts under there to bolt to.
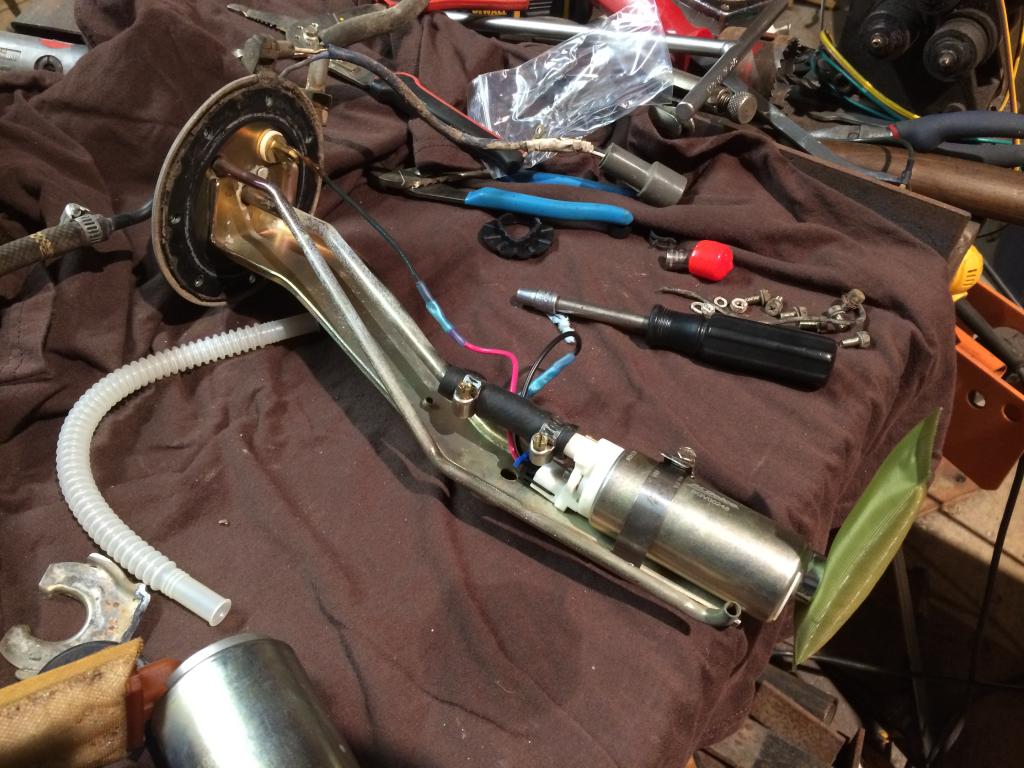
I also mounted the GM fuel pump in the tank. All I did was cut about 3/4" off the bottom of the mount and hose clamp the fuel pump in place. You can actually see main piece I cut off the mount. Its the C shaped thing in the lower left of the pic. That held the factory pump in place, but the GM pump that I bought wouldn't work with that.
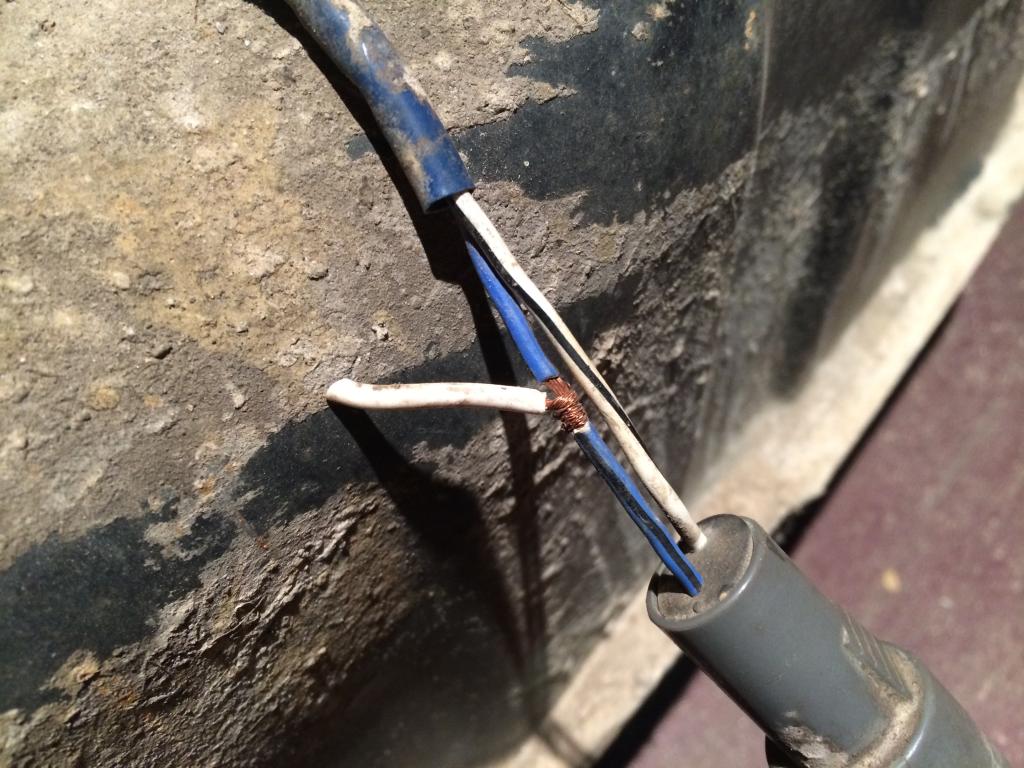
I also may have found what was causing some of my issues with the 3.0. This "splice" is on the power wire going to the fuel pump. The splice part was covered with tape, but the end of the wire was just sticking out not going to anything. I don't know if I would have ever found that if I was trying to fix the 3.0 lol
 Nov 25, 2014 | 05:23 PM
#180
Thread Starter
Registered User
Joined: Apr 2013
Posts: 478
Likes: 4
From: Louisiana
Thanks. Yup motor is in for good I hope. I put the new oil pump on, bolted the torque convertor to the flex plate, and bolted the started in lol.
I started in the crossmember for the gas tank but had a small shop fire so that set me back lol.
I started in the crossmember for the gas tank but had a small shop fire so that set me back lol.


