When you click on links to various merchants on this site and make a purchase, this can result in this site earning a commission. Affiliate programs and affiliations include, but are not limited to, the eBay Partner Network.
Tried this method. May work for some people but my clutch let's loose first. Tried hammering on the bar as well and still no go. The bar was actually bending from the pressure.
I'm gonna cut the flange off and replace the bolt.
Man you're really tearing into this project, I like it! Glad you were able to get the crankshaft pulley bolt out finally, that got to be a relief. What's your plan for the core support/inner fender, are you going to replace it from a donor truck? Nice work so far!
I am going to make the inner fender myself. I decided not to do the afm and battery swap. All i have to do is weld in a flat space for the battery and fill in the edges with metal.
On the core support i just cut a small section out. I'll use rust converter and paint to seal up the surface rust inside and then patch over it.
For strength i will use angle iron against the core support and probably add a cross piece so it will hold the battery up. The inner fender doesn't need to be shaped perfectly imo,just functional as a battery holder.
Sounds like you have a good plan to fix the inner fender/battery holder area. I lucked out there, mine isn't rusted out. Mine has alot of the other issues that you've already addressed, I need to replace the driverside window regulator, remove the inner trim panels that the seat belts go through, mine are falling apart too. I need to fix some rust in the passenger side rear wheel well.
Mine ran hot the other night on my way home from work, I didn't even realize my heater was blowing cold till I was almost home. My thermostat must have got stuck, it didn't boil over, no evidence (yet) of a blown headgasket, I'm hoping I got lucky!
A stuck thermostat won't cause a no heat issue as far as i know. I would check the coolant for oil contamination or other nasty build up.
The nice thing about our trucks is the interior panels and exterior paint match so well that we can remove the cracking plastic and boom. Instant color match
Last edited by 92ehatch; Jan 25, 2016 at 02:34 PM.
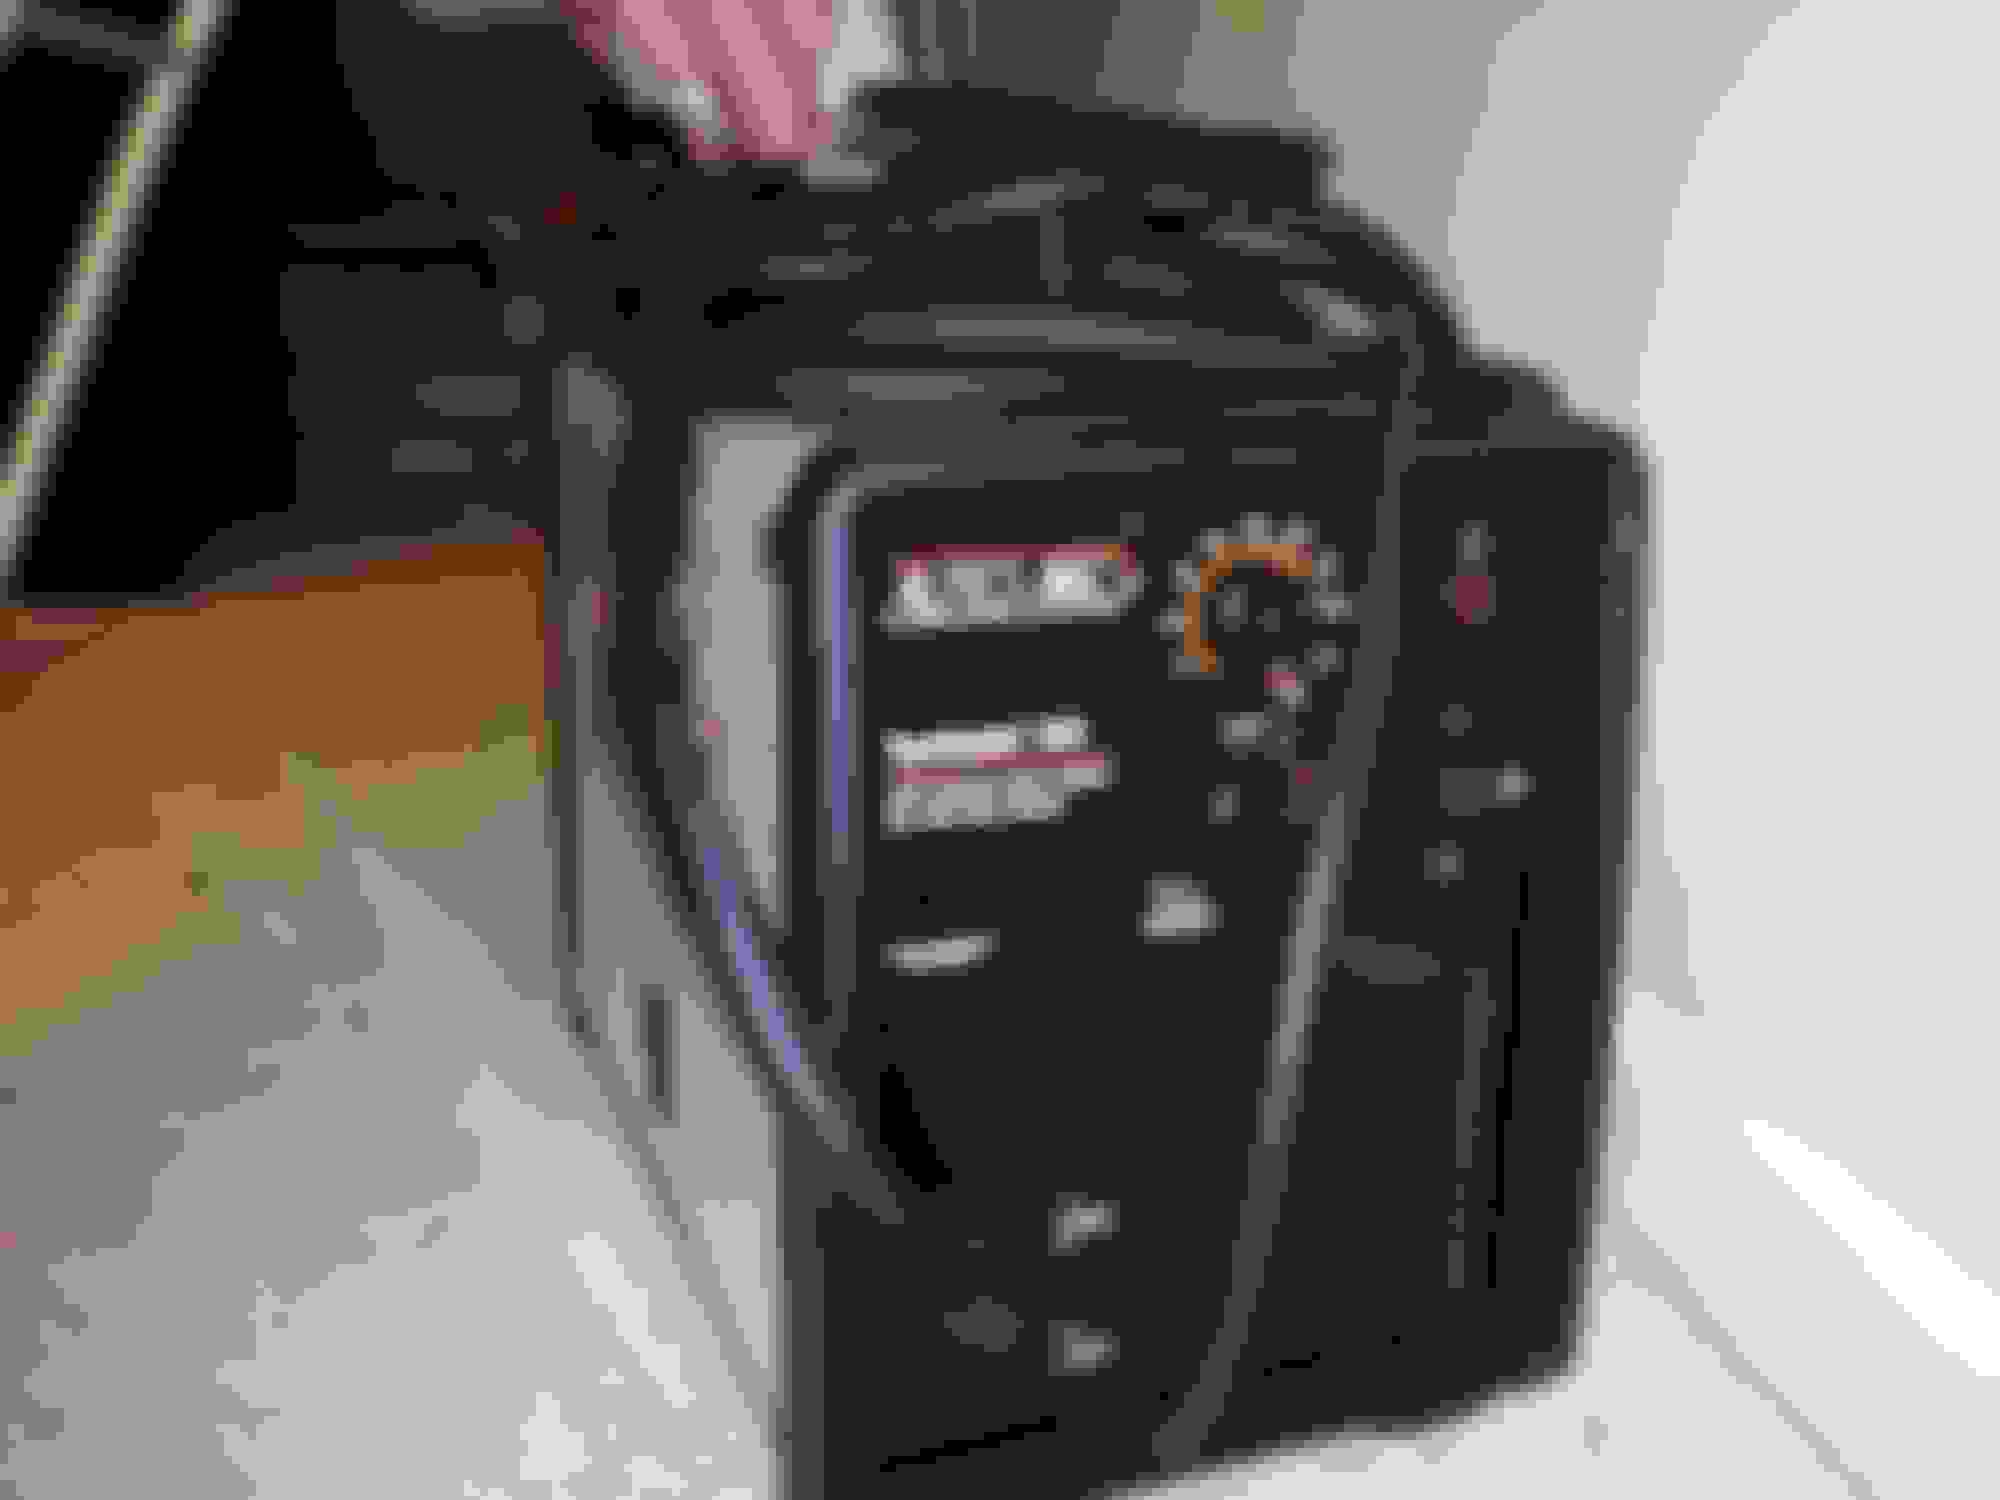
So i finished the mock up on the transformer stick welder.
I don't have my multimeter to check amp reading but i couldn't help but test it.
I took some scrap metal and with no welding helmet or anything just turned my head and struck it a few times. Ill advised, kids don't try this at home.
Other than burning some holes in the sheet metal it works.
Yall can laugh at the welds if you want to. I'm a first timer and was not even looking at the piece haha.
Last edited by 92ehatch; Jan 26, 2016 at 06:02 PM.
Well crap. Welder runs at around 90 amps which is ok.
However my 120v supply is drawing 44amps. The circuit breaker will not like that.
I could get wire and run a 240v supply in the garage and rewire my diy welder. Orrrrrr. Just buy a cheap welder and call this one a success and a failure. Success because it works failure because i ain't spending more money on it.
Back to the mechanics for now, I'll figure the patch panels out later
Work was hell this week but i did manage to get ahold of some panels from a ge dryer and washer to make patch panels out of.
My first was the hole in the radiator support. I think i did more grinding than welding. The metal was so thin i had alot of burn through and a really hard time dialing in what i was doing.
Today went well. I'm almost done with the inner fender. The last part has taken some thinking and a little help with basic shapes told me to use triangles to make the last section.
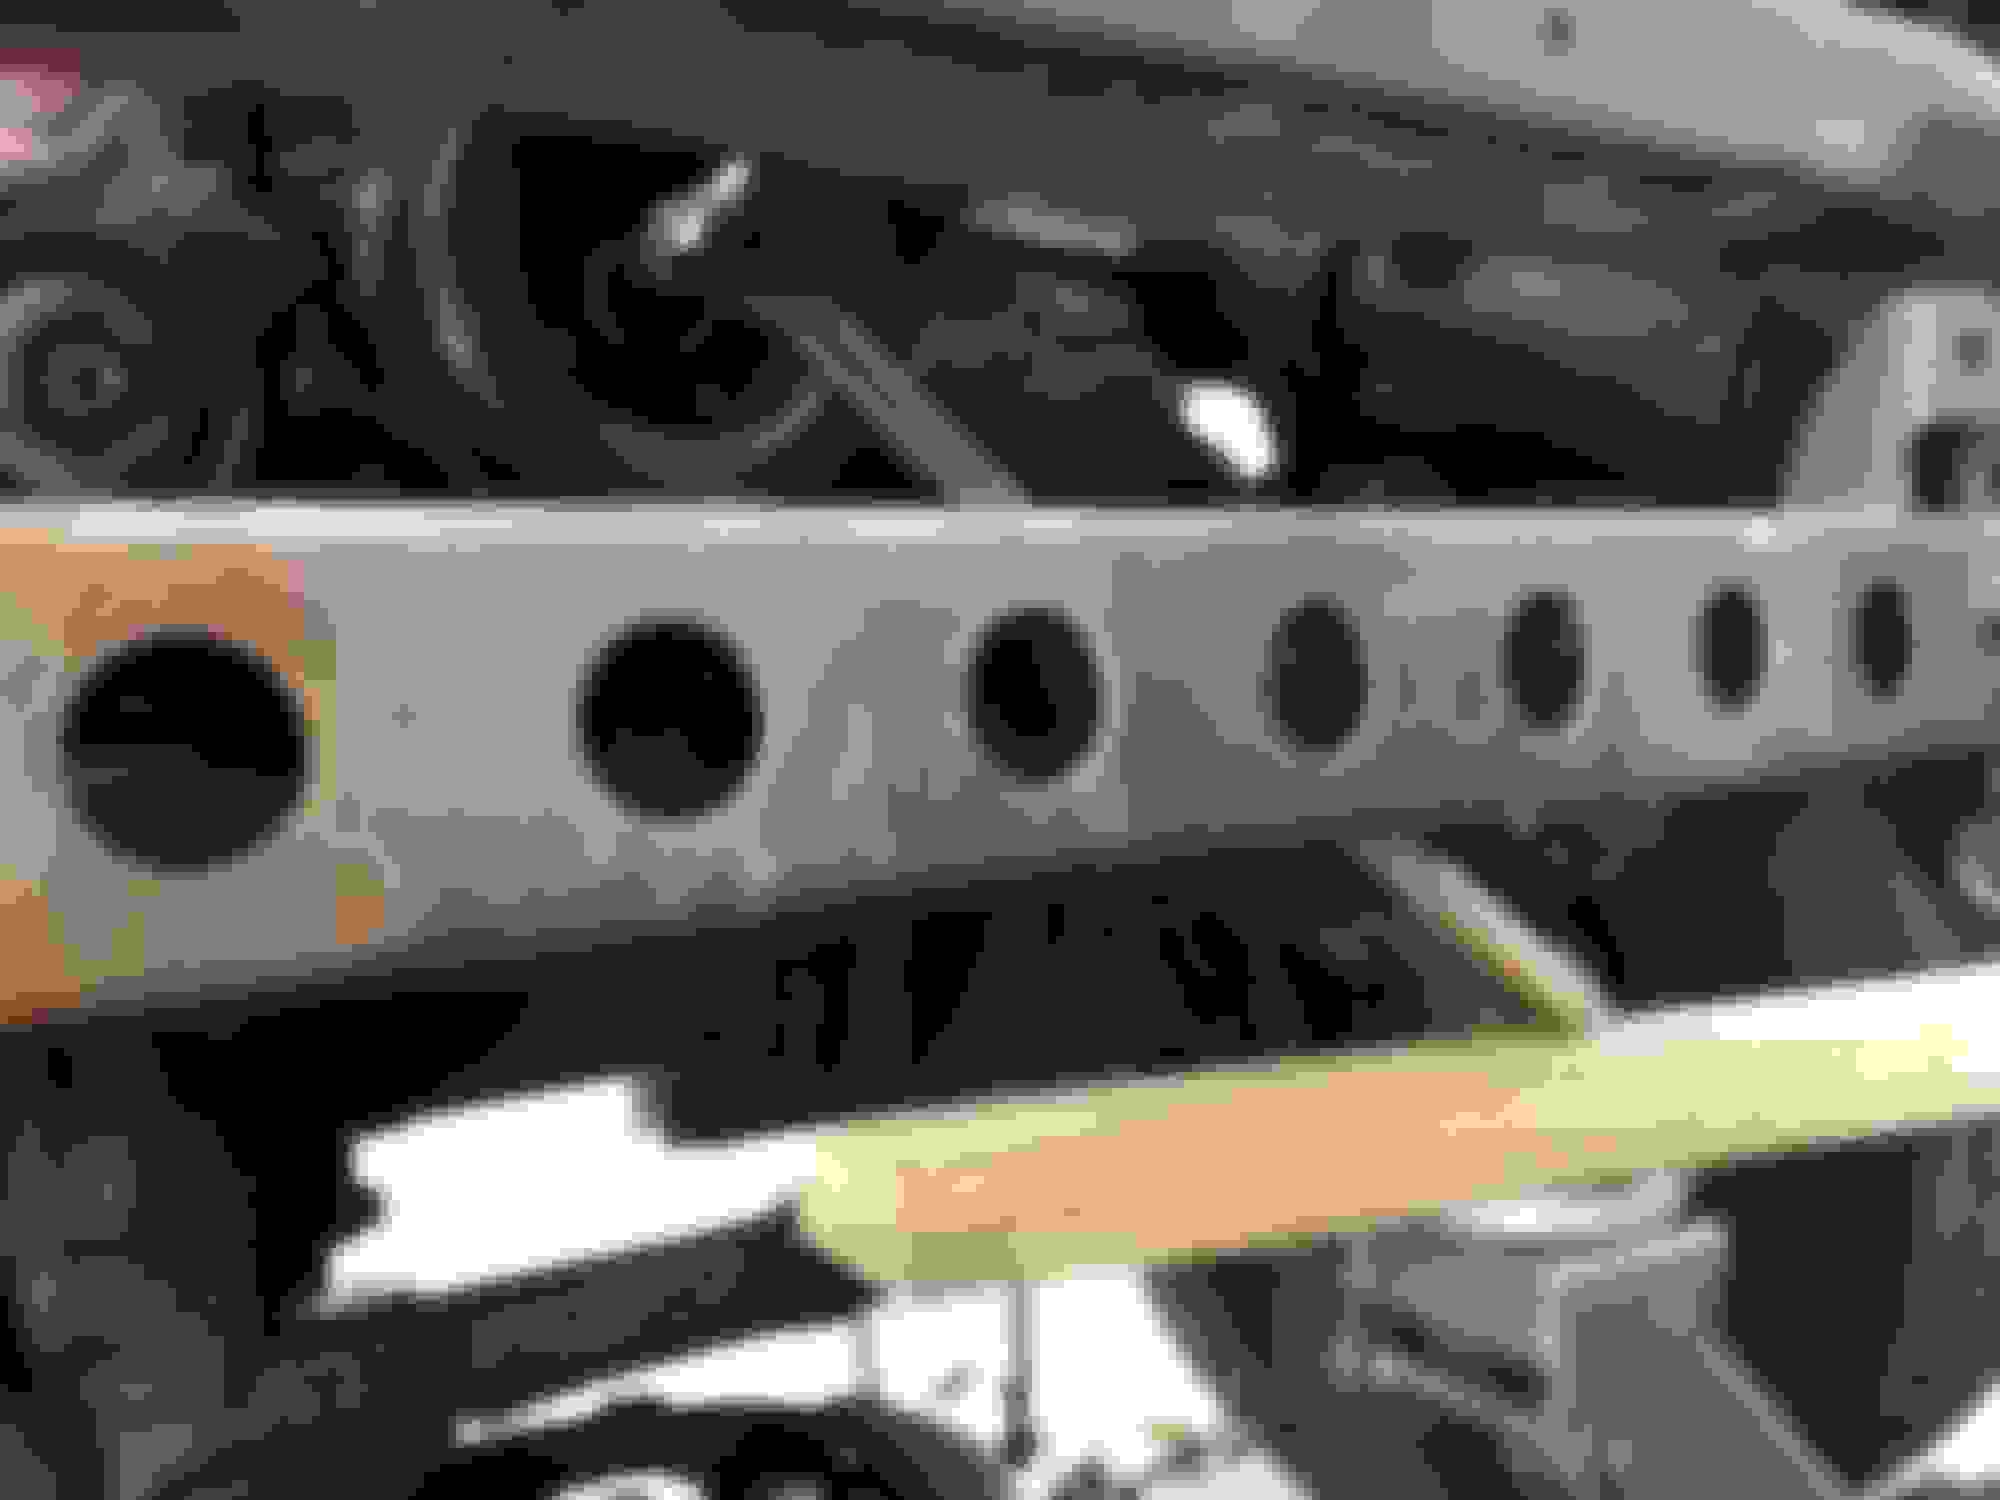
Angle for strength on the core support
In place
Almost finished
Meanwhile earlier in the day this guy got caught in the track on my garage door when it was closing. Didn't turn out well for him
Nice build 92, where did you find the rear regulator and window if you dont mind me asking, I need the same.
The PO's grandson broke the rear glass and then gutted the gate.
So i need a few more items that what you got
Nice build 92, where did you find the rear regulator and window if you dont mind me asking, I need the same.
The PO's grandson broke the rear glass and then gutted the gate.
So i need a few more items that what you got
I got them from charlies junk in hendersonville nc.
I don't know where you live but if you are in this area you can have my old rear glass. Is scratched but functional
Could someone measure how far their battery is from the fender to center and from firewall to center so i can get an idea of where mine should sit.
Would appreciate it
I got about 25-1/2" from firewall to center and 7" from fender to center (measuring from the lip where the hood and fender meet if that makes sense, lol.) I can post pics if you need them for a better reference.
I got about 25-1/2" from firewall to center and 7" from fender to center (measuring from the lip where the hood and fender meet if that makes sense, lol.) I can post pics if you need them for a better reference.
I just needed center measurements to get close enough. I know the battery hangs over slightly and just needed close enough for making my mount. I appreciate the help.


 Jan 25, 2016 | 09:31 AM