
Gizler00's 85 4Runner Build Thread


 Dec 4, 2015 | 11:27 AM
#942
Thread Starter
Joined: Aug 2007
Posts: 3,276
Likes: 7
From: Pennsylvania
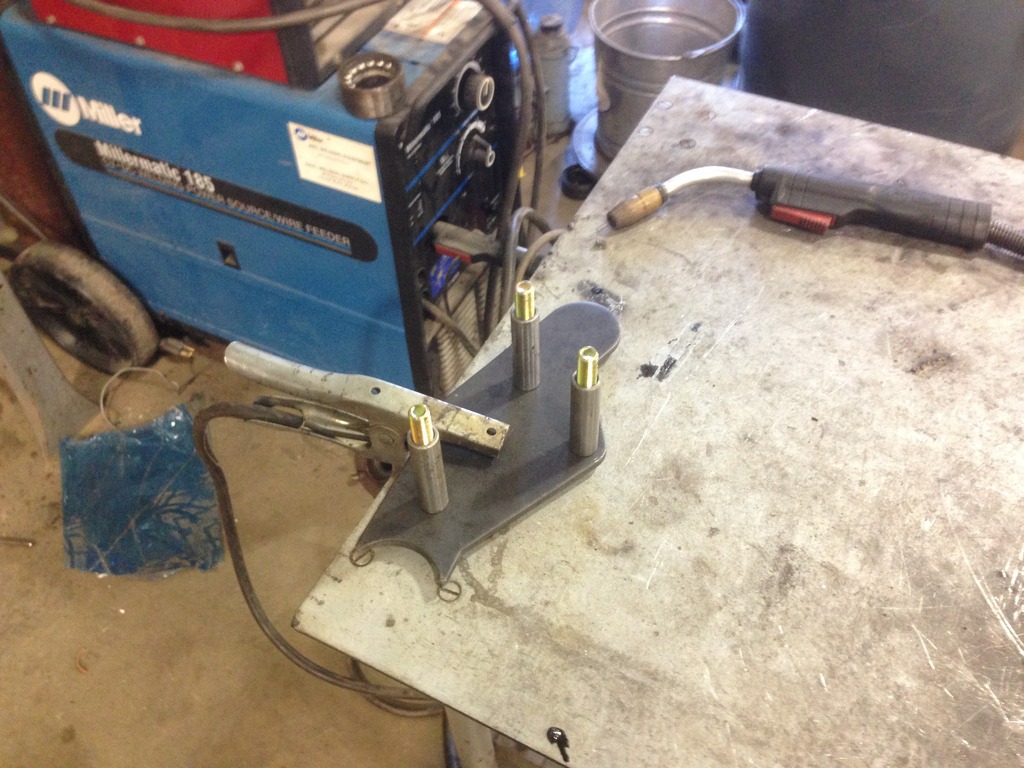
Got the Frame Tubes welded on to the Outer Plate and fit in the Frame.
I now need to bolt everything up and get it down on the ground to roll it closer to the welder so I can weld the entire Brace up.
I now need to bolt everything up and get it down on the ground to roll it closer to the welder so I can weld the entire Brace up.


 Dec 4, 2015 | 08:18 PM
#944
Thread Starter
Joined: Aug 2007
Posts: 3,276
Likes: 7
From: Pennsylvania
I ended up going back to the shop tonight to try and get some stuff done.
I tightened up all the tie rod ends, hooked all the PS lines back up, topped off the fluid. And cut down and tightened the U bolts.
All I have left is to bleed the brakes, and weld the IFS brace to the frame and I can drive it!!!!!!
I can't wait.
I tightened up all the tie rod ends, hooked all the PS lines back up, topped off the fluid. And cut down and tightened the U bolts.
All I have left is to bleed the brakes, and weld the IFS brace to the frame and I can drive it!!!!!!
I can't wait.
Dec 5, 2015 | 07:51 AM
#946
Thread Starter
Joined: Aug 2007
Posts: 3,276
Likes: 7
From: Pennsylvania
Dec 5, 2015 | 07:59 AM
#947
Thread Starter
Joined: Aug 2007
Posts: 3,276
Likes: 7
From: Pennsylvania
So I woke up, got some breakfast with the Family, and decided to head to the school to try and finish up bleeding the brakes and weld the IFS brace so I can get this thing on the Road.
I get there and started in on trying to get the Brakes sorted out. Come to find out after I started bleeding the brakes that threads on the new (reman) caliper for the drivers side were all boogered up and stripped out the brake line threads, then started to leak...........
I was irritated trying to get this all sorted out. I had plans to bleed the brakes then Weld the Brace. Well I had to end up spending the next 5 minutes of the Hour that I had fixing the caliper and making a new line.
The only good out come is that I ended up fixing and sorting the brakes all out and getting the system bled.
List of things to still do.
Bolt front shocks in.(might need longer ones now since there is more droop)
Weld the IFS Brace to the Frame
Set front TOE
Check Caster angle at the Pinion
Bolt the front DS in
Fill the Front diff with Fluid
Dec 5, 2015 | 08:04 AM
#948
Thread Starter
Joined: Aug 2007
Posts: 3,276
Likes: 7
From: Pennsylvania
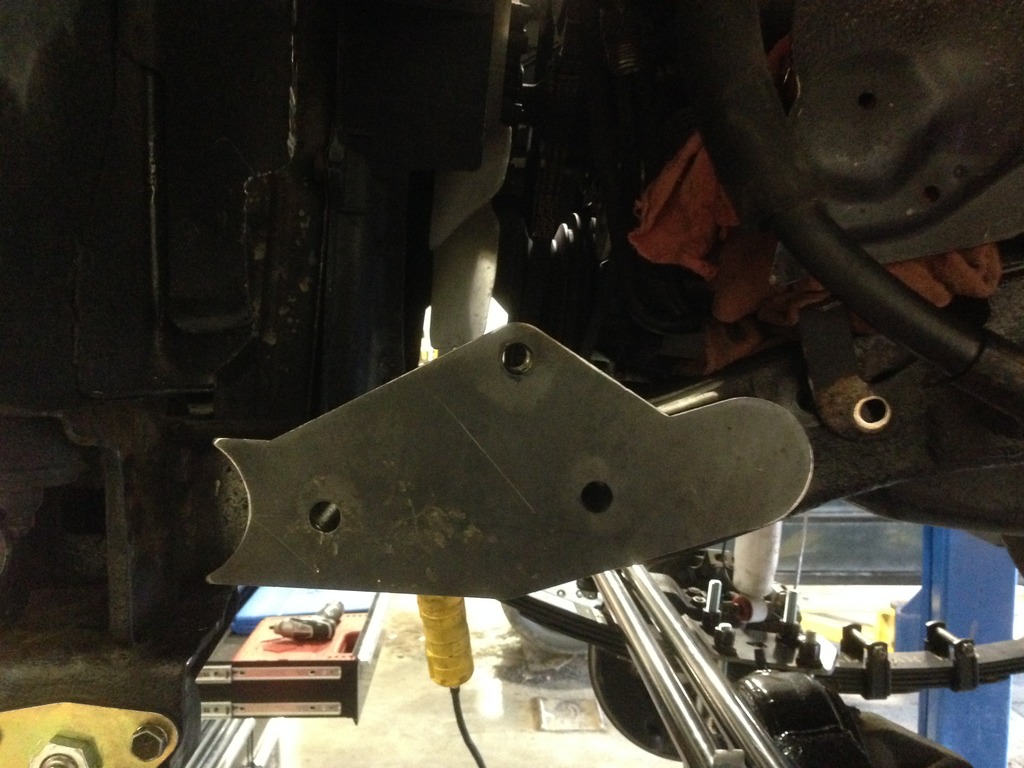
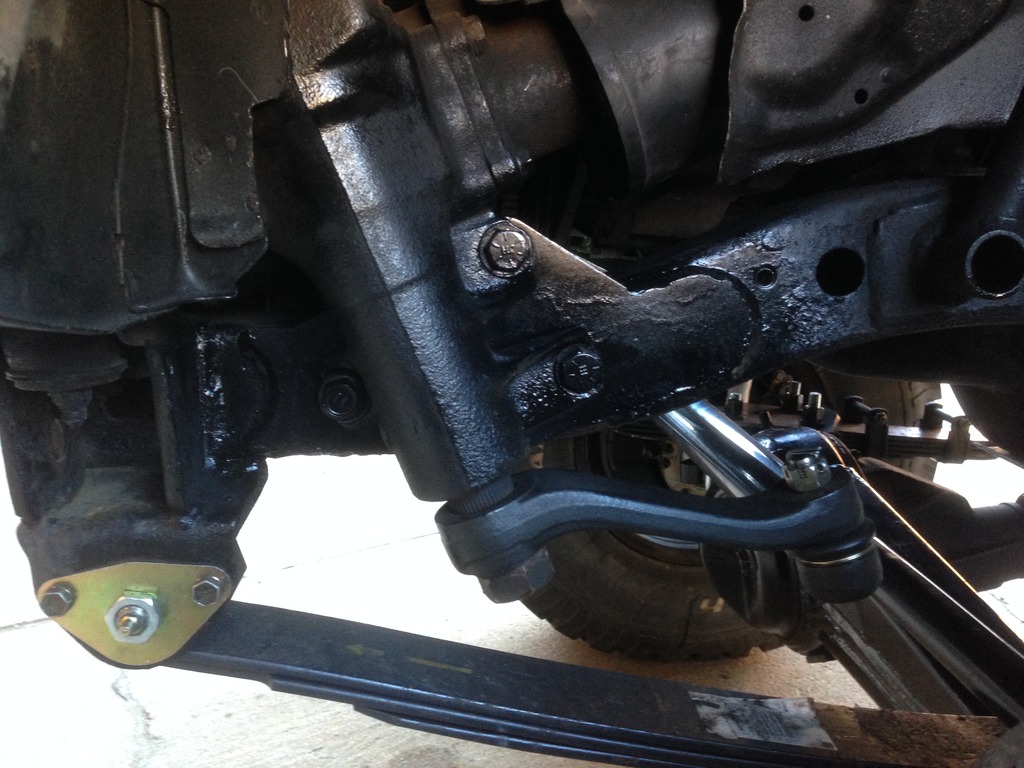
One thing that I noticed about the Brace kit was that my frame has a slight curve to it right as it comes into the core support.
I found a thread describing the same problem with an older (81-83) frame that someone was installing High-steer on. Of course now I cannot find that thread, but the guy ended up shimming the gap with steel.
I think that I am going to just fill the gap with Weld. I have a pretty high power 220v Millermatic welder at the shop.
My question is that I was under the impression that the 85 frame did not have this curve to it. Maybe my frame is actually an older old 84 and back??
Who knows.
All I know is that when I fired up the truck last night the PS was like BUTTER. Now I know that there was no weight/pressure on the front end because the Tires were off and it was in the air.
Very excited!!
Dec 6, 2015 | 04:55 PM
#949
Thread Starter
Joined: Aug 2007
Posts: 3,276
Likes: 7
From: Pennsylvania
Went back to the Shop today to try and get everything all wrapped up.
I burned the Brace in as Hot as I could get the Welder.

Getting ready to pull it out for the Maiden Voyage!
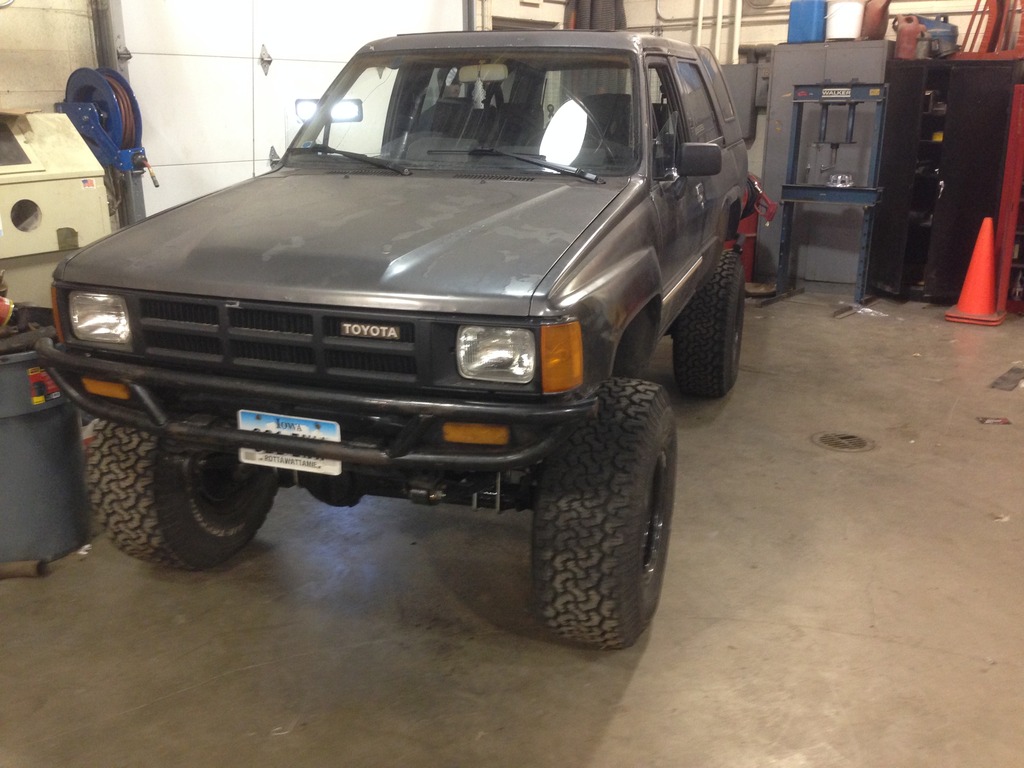
So far so good for the First Shakedown run! Big Thumbs up From my buddy Nick! We are going to SAS his Truck next and Greg Eccles Jr's also.
Got the Box Primed and Painted to protect against the Winter months.
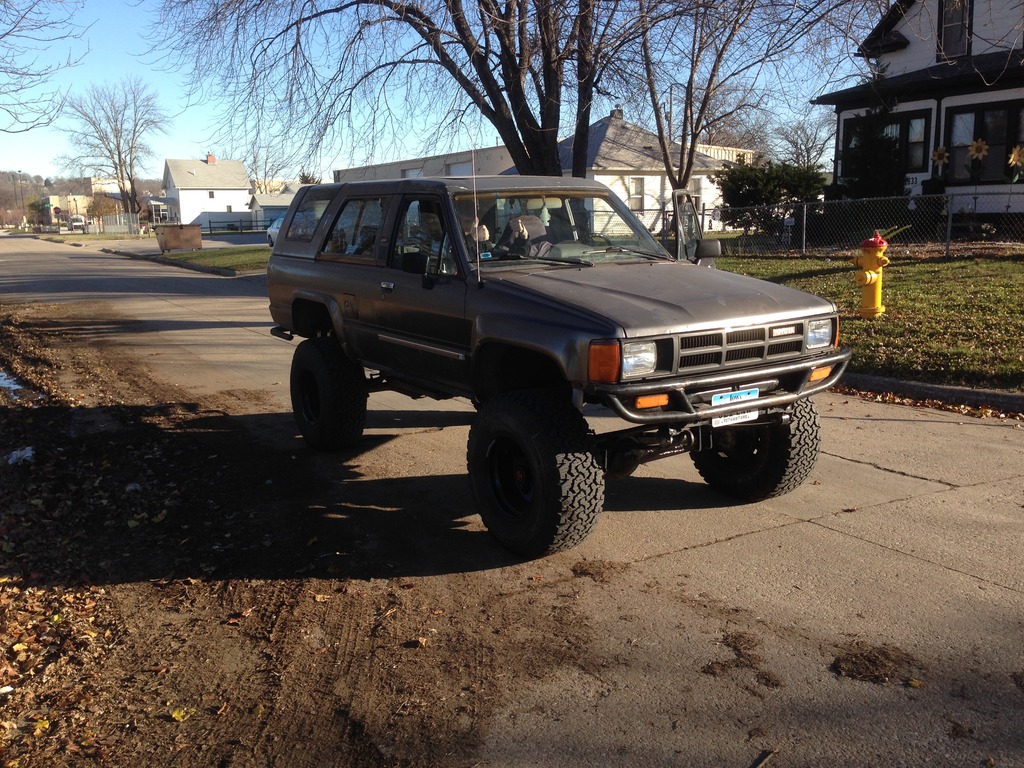
Took it out for a cruise tonight on some Country Roads.
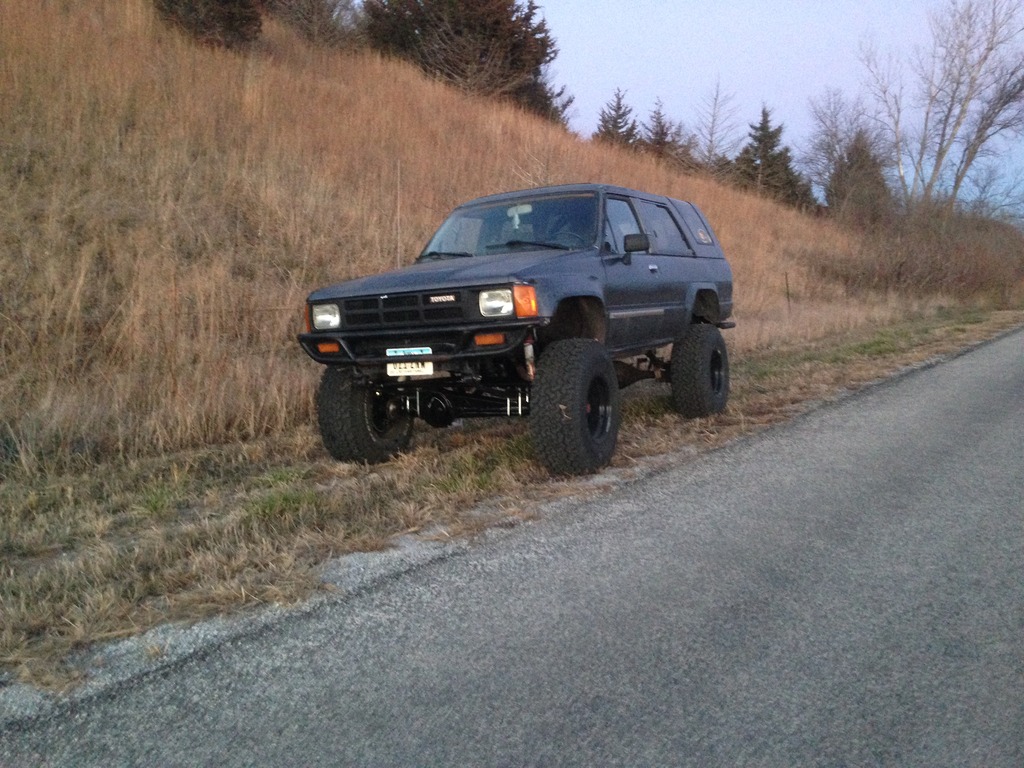

So My Initial Impressions are the High Steer makes for a Completely Different Driving experience!! I mean so much so that I was a little shaky and not used to the was it drove. It was very weird.
I am not used to How responsive the Steering. I think I am going to Retro-fit a steering Stabilizer onto the tie-rod.
It also has a waaaay smoother ride and More Body roll than before. The old NWOR springs were so stiff that it was a kidney shaker that has ZERO give.
I drove it home tonight and will be taking it back to the school tomorrow to get it up on the Lift to check every thing out.
Im really glad I also replaced the Wheel bearings in it while I was in there.
I will report back with more info tomorrow.
I burned the Brace in as Hot as I could get the Welder.

Getting ready to pull it out for the Maiden Voyage!

So far so good for the First Shakedown run! Big Thumbs up From my buddy Nick! We are going to SAS his Truck next and Greg Eccles Jr's also.

Got the Box Primed and Painted to protect against the Winter months.

Took it out for a cruise tonight on some Country Roads.


So My Initial Impressions are the High Steer makes for a Completely Different Driving experience!! I mean so much so that I was a little shaky and not used to the was it drove. It was very weird.
I am not used to How responsive the Steering. I think I am going to Retro-fit a steering Stabilizer onto the tie-rod.
It also has a waaaay smoother ride and More Body roll than before. The old NWOR springs were so stiff that it was a kidney shaker that has ZERO give.
I drove it home tonight and will be taking it back to the school tomorrow to get it up on the Lift to check every thing out.
Im really glad I also replaced the Wheel bearings in it while I was in there.
I will report back with more info tomorrow.
Last edited by Gizler00; Dec 6, 2015 at 04:57 PM.
Dec 6, 2015 | 05:48 PM
#951
Thread Starter
Joined: Aug 2007
Posts: 3,276
Likes: 7
From: Pennsylvania
Dec 6, 2015 | 07:25 PM
#952
I just noticed that you do not have the steering stablizer on since you mentioned it. I did not care for my set up at first but the more you drive it and things start settling and breaking in seems to help. Great job and I like the stance of it.
Dec 6, 2015 | 11:46 PM
#953
Thread Starter
Joined: Aug 2007
Posts: 3,276
Likes: 7
From: Pennsylvania
I think I am going to make a bracket to attach one to the steering.
 Dec 7, 2015 | 09:07 AM
#956
Thread Starter
Joined: Aug 2007
Posts: 3,276
Likes: 7
From: Pennsylvania
Hey!! Yeah I sent the Link to Jason Last night. I also sent him another one that I had my students build.
Glad you are on the Forum!
You need to make a build Thread.
Dec 7, 2015 | 10:16 AM
#958
Yeah mine drove fine without one as well, I never did experience death wobble, I was just curious if it would help the steering return to center after hitting bumps and dips in the road. I notice that all the ifs eliminator kits come with the steering stabilizer, but since I peiced my kit together I never did get around to installing one, lol. How do you plan mounting yours? I've seen some people add a mount to the front axel, seems like most put the mount on the frame, I'm not sure if there are any added benifits of doing it one way over the other.
Last edited by rustED; Dec 7, 2015 at 10:20 AM.
Dec 7, 2015 | 10:58 AM
#959
Thread Starter
Joined: Aug 2007
Posts: 3,276
Likes: 7
From: Pennsylvania
Yeah mine drove fine without one as well, I never did experience death wobble, I was just curious if it would help the steering return to center after hitting bumps and dips in the road. I notice that all the ifs eliminator kits come with the steering stabilizer, but since I peiced my kit together I never did get around to installing one, lol. How do you plan mounting yours? I've seen some people add a mount to the front axel, seems like most put the mount on the frame, I'm not sure if there are any added benifits of doing it one way over the other.
Not sure when I am going to do that though. Still trying to get the CNC Plasma cutter going.
Dec 7, 2015 | 11:06 AM
#960
Thread Starter
Joined: Aug 2007
Posts: 3,276
Likes: 7
From: Pennsylvania
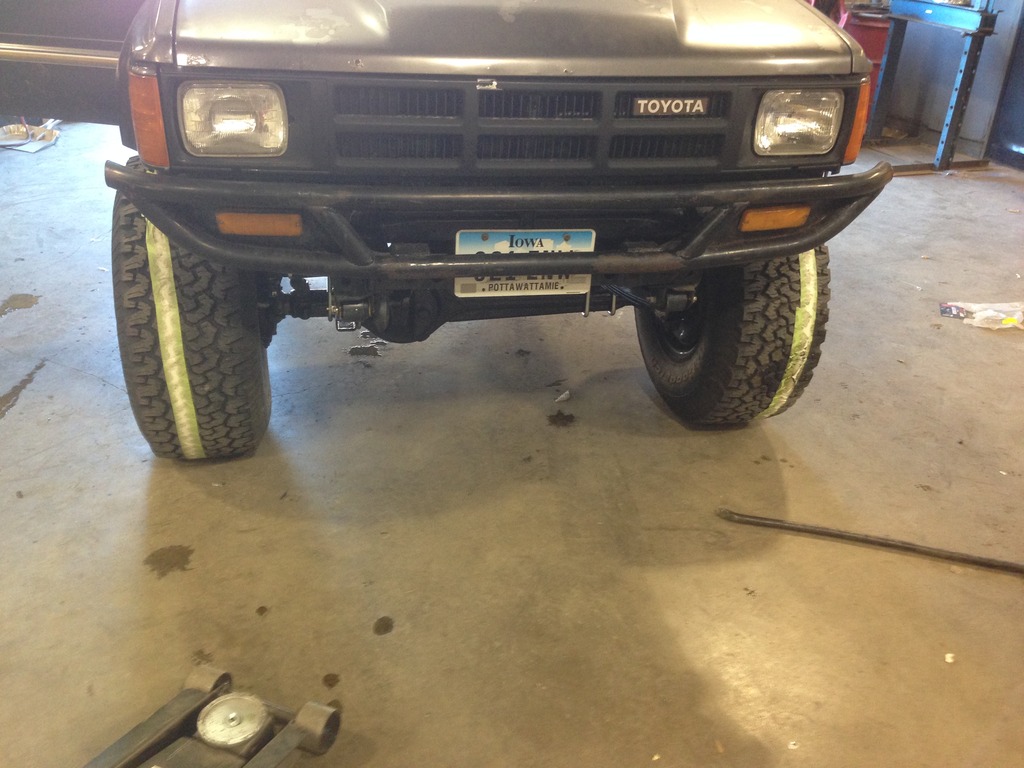
So Yesterday I setup the Alignment close enough to get me on the Road and driving.
Today My Buddy, he comes to help out at the school on Mondays, helped me setup a home brew alignment station. He has been a steering and suspension guy for the better part of 20 years.
He has some slip Plates with bearings in it.
We set some tape up and Used a Home Brew Scriber to make a perfectly straight line to take measurements from.
I ended up getting it really close on my own. I was pretty happy with that.
But we ended up getting Toe set perfectly and it drives even better than it did this morning.
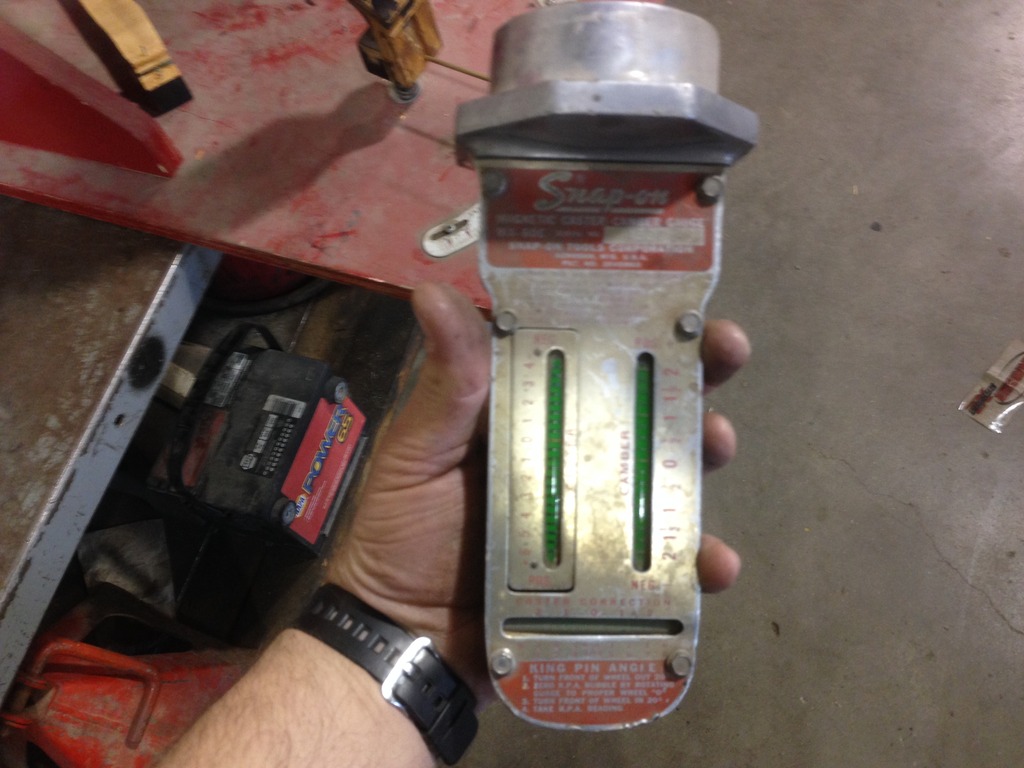
I also have a really cool Snap-on tool that was used for alignments waaaay before they had electronics and machines.
Now I need to start saving for 35's!! I am planning on selling these 33's when I have enough saved to pay for the difference.
Today My Buddy, he comes to help out at the school on Mondays, helped me setup a home brew alignment station. He has been a steering and suspension guy for the better part of 20 years.
He has some slip Plates with bearings in it.
We set some tape up and Used a Home Brew Scriber to make a perfectly straight line to take measurements from.
I ended up getting it really close on my own. I was pretty happy with that.
But we ended up getting Toe set perfectly and it drives even better than it did this morning.
I also have a really cool Snap-on tool that was used for alignments waaaay before they had electronics and machines.


Now I need to start saving for 35's!! I am planning on selling these 33's when I have enough saved to pay for the difference.


