
Boomtacoma's 85 Ext Cab Build up
 Sep 29, 2016 | 06:49 AM
#221
Thread Starter
Registered User
Joined: Jun 2011
Posts: 198
Likes: 5
From: Houston TX
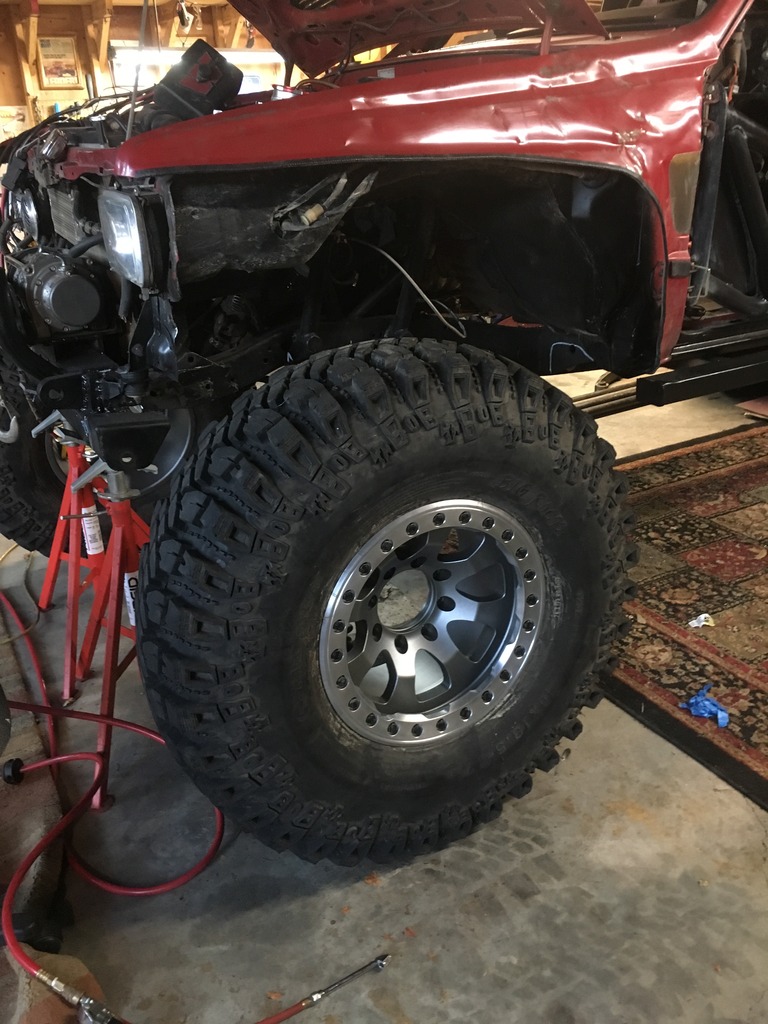
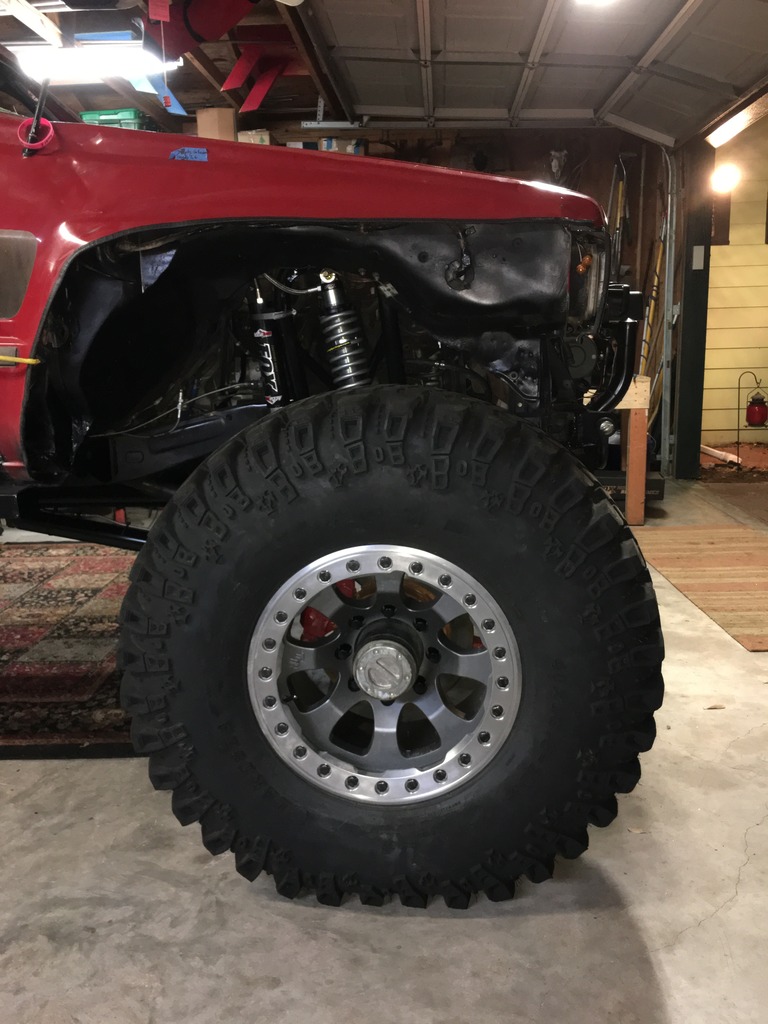
Well, I bit the bullet today and bought some beadlocks. Hopefully they will cure my tire problems on future wheeling trips.
They are fairly new on the market and are a joint venture between TrailReady and American Eagle Alloys.
TR Hardrock - Series 025 - TRUE BEAD-LOCK (Single Wheel)
I found a better price than the one on that page though. They should be here next week sometime.
They are fairly new on the market and are a joint venture between TrailReady and American Eagle Alloys.
TR Hardrock - Series 025 - TRUE BEAD-LOCK (Single Wheel)
I found a better price than the one on that page though. They should be here next week sometime.
Oct 14, 2016 | 07:47 AM
#223
Thread Starter
Registered User
Joined: Jun 2011
Posts: 198
Likes: 5
From: Houston TX
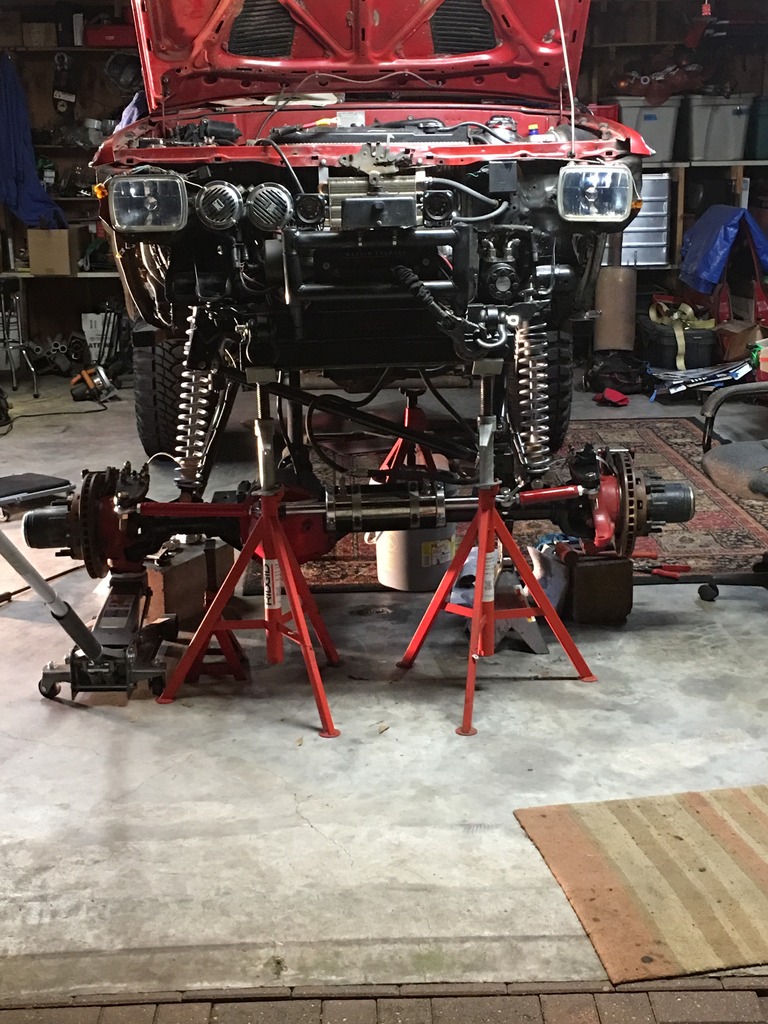
I got the second tire mounted up on Wednesday substantially faster than the first one. I brought the other 2 to Discount Tire to get dismounted today. I had the chance to use my Thermal Dynamics plasma last night. Besides being an older model, this unit blasts through steel with ease. I trimmed the front leaf spring hanger, driver side body mount, ifs steering box mount and some inner frame brackets. I also cut the front fenders a little higher, deleted the parking/turn signal lights and reinstalled the fender molding. Plan for this evening and weekend is to burn off the D60 leaf perch, hydro steering bracket and shock mounts. I also mocked up my orbital steering valve and made a nice place for it to mount where the IFS steering box was located.
Mounted the tires on the 14b. I had to order some small diameter lugs which should be here on Tuesday.
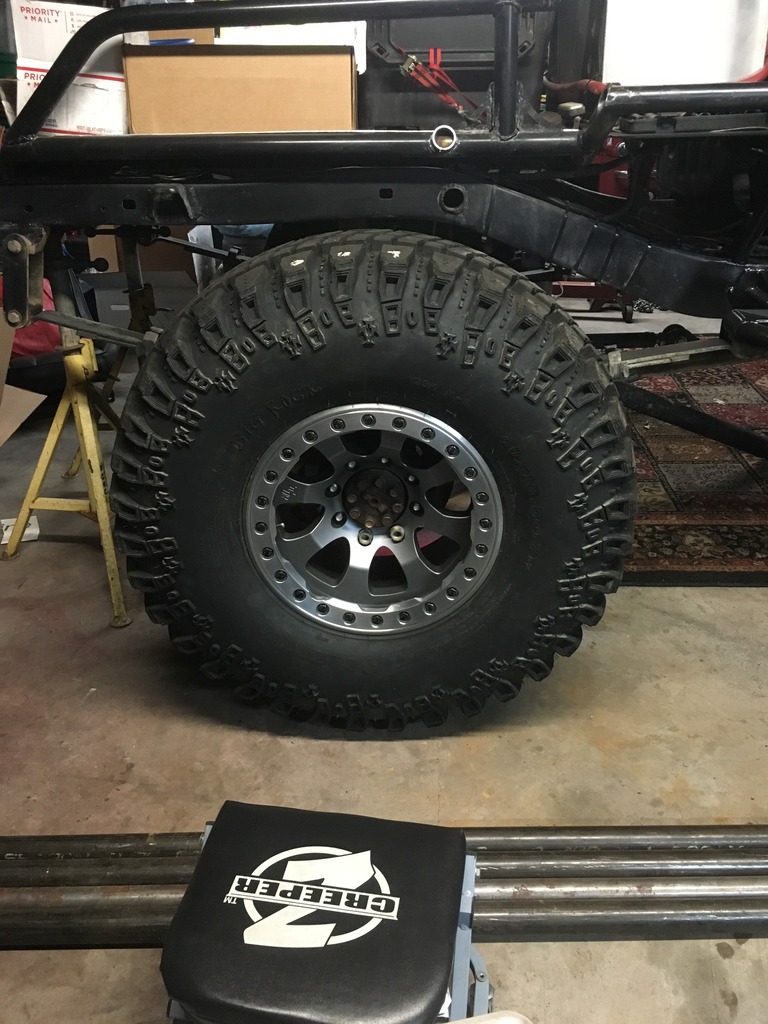

Mounted the tires on the 14b. I had to order some small diameter lugs which should be here on Tuesday.
 Apr 2, 2017 | 07:57 PM
#225
Thread Starter
Registered User
Joined: Jun 2011
Posts: 198
Likes: 5
From: Houston TX
Many updates...
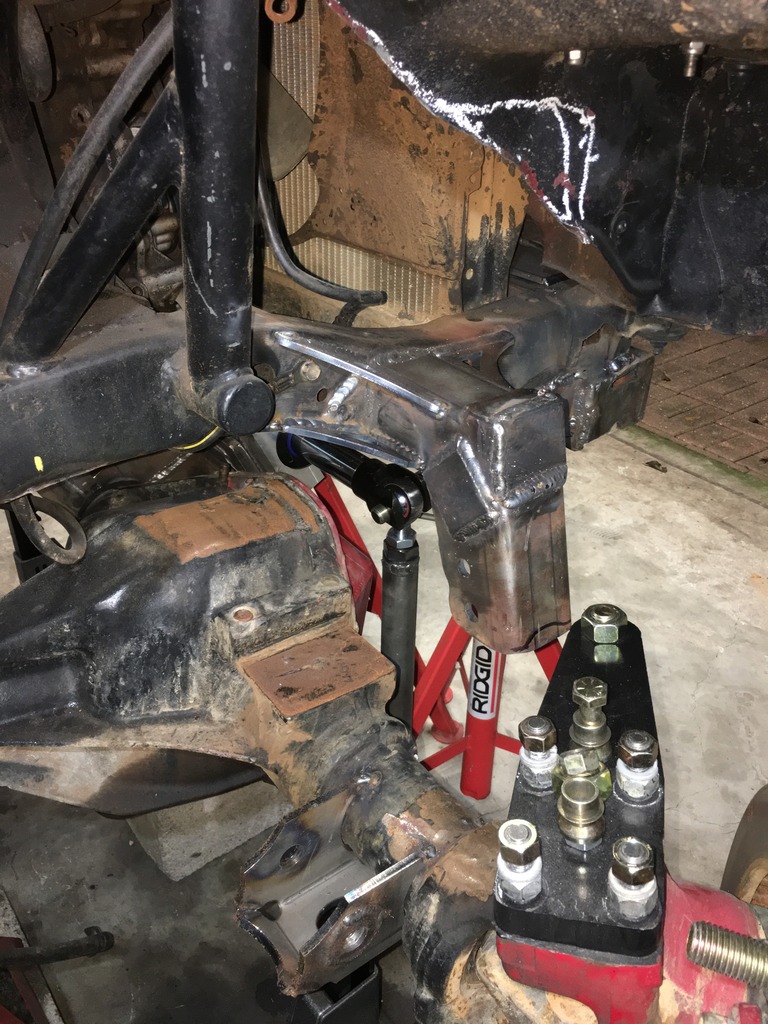
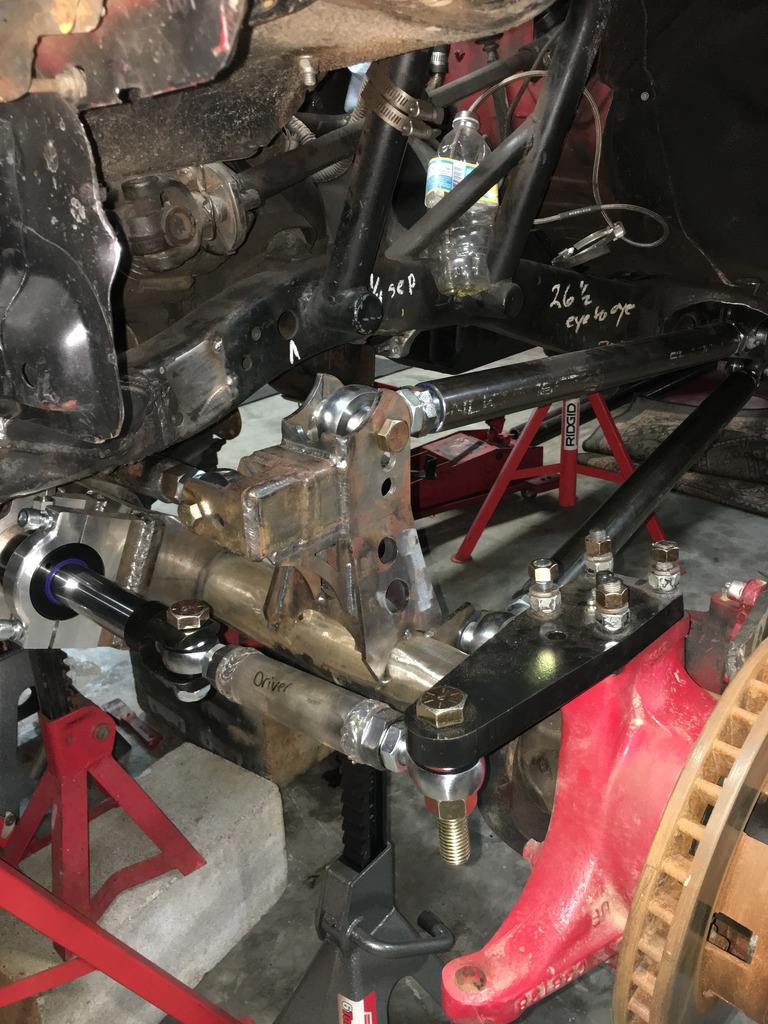
I had to do some fitment issues with my hydro mount. I had to trim about 3 inches out of the mount to get my steering linkage at a better angle and buy me some room by the lower radiator hose. I also added 2 more clamp mounts for the ram.
I also got my 2" .25 DOM links and the 1.5" DOM panhard cut. I extended my frame side panhard mount to add some length. Killed my HF Sawzall. Had to order up a quality Milwaukee one to replace it.
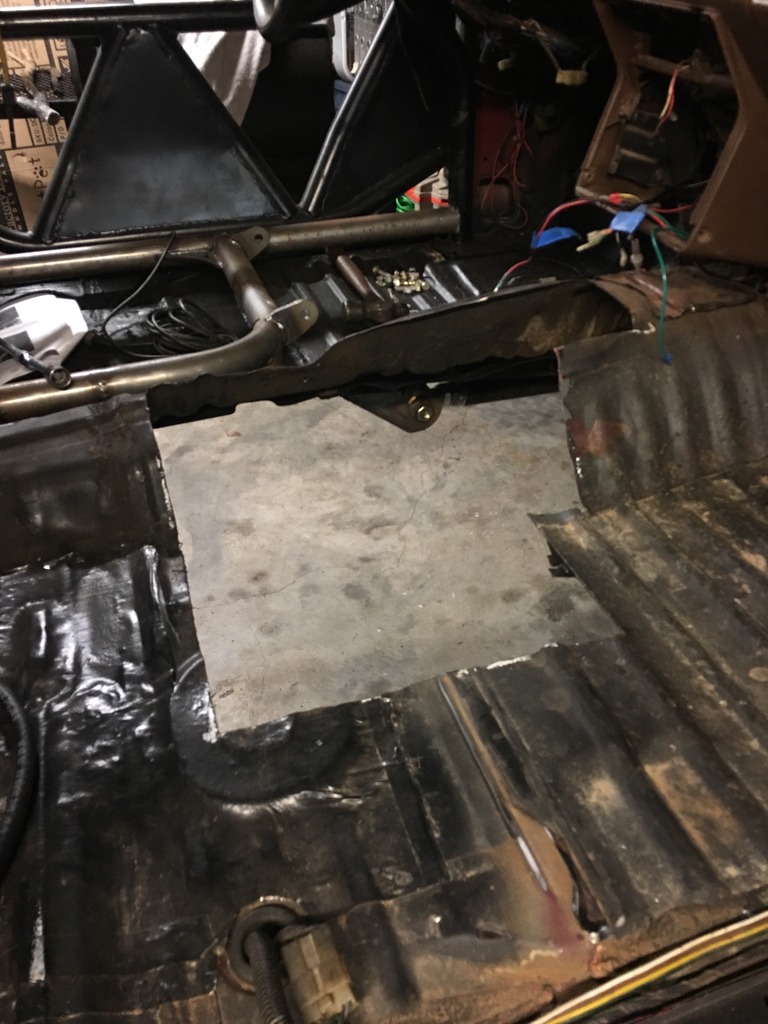
I got my transmission and Atlas dropped for final assembly and trimmed the hole a little more. I will have to put my sheet metal skills to work to patch this hole and get my passenger seat mounted.
I hope to have it back in place this weekend after I get my crossmember mounts burnt in and do some more finish grinding on the inner frame.
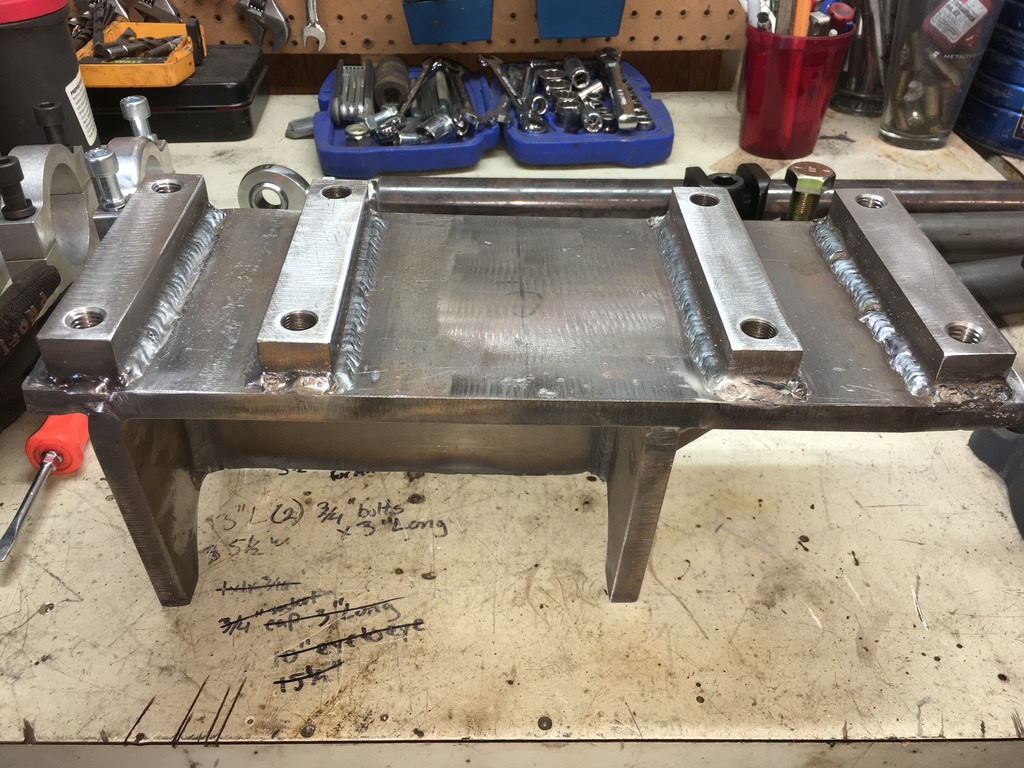
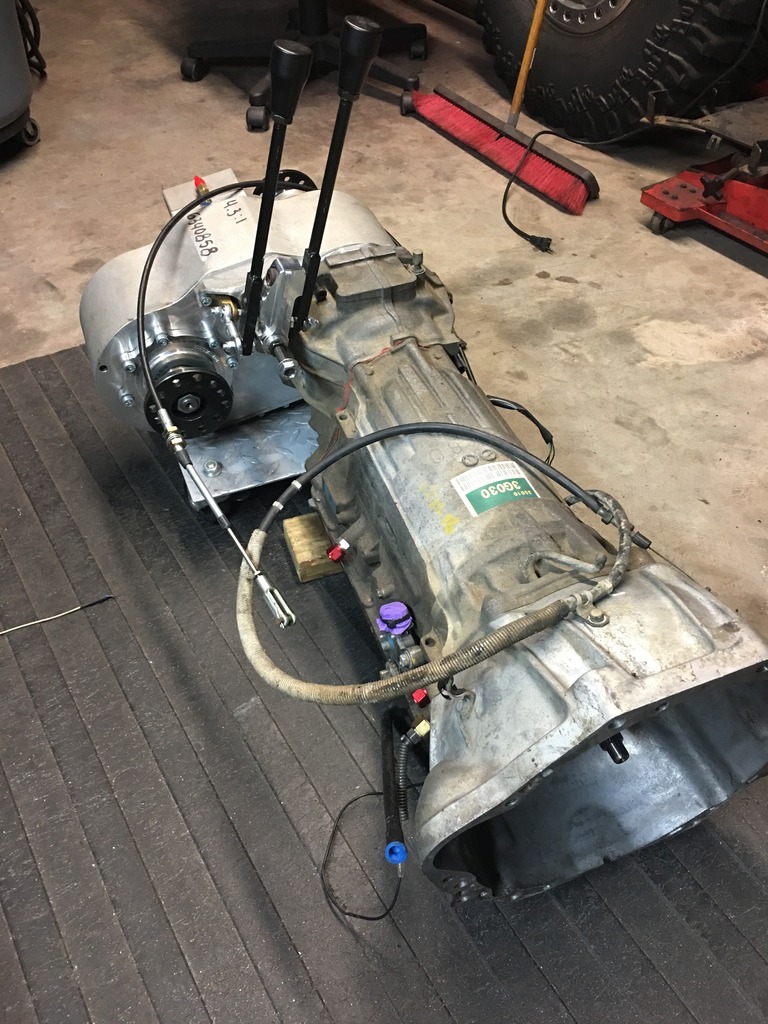
I finally got the A340 and Atlas together and sealed up. I burned in the crossmember mounts and skinned the transmission/ transfer case skid with a piece of AR500 plate.
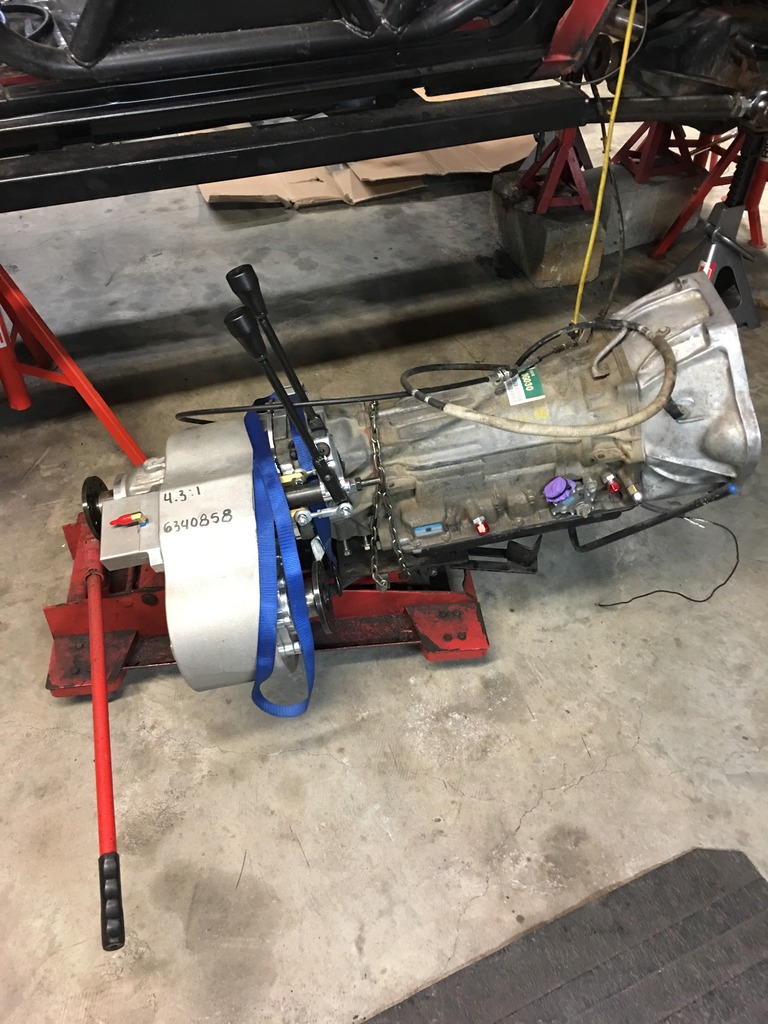
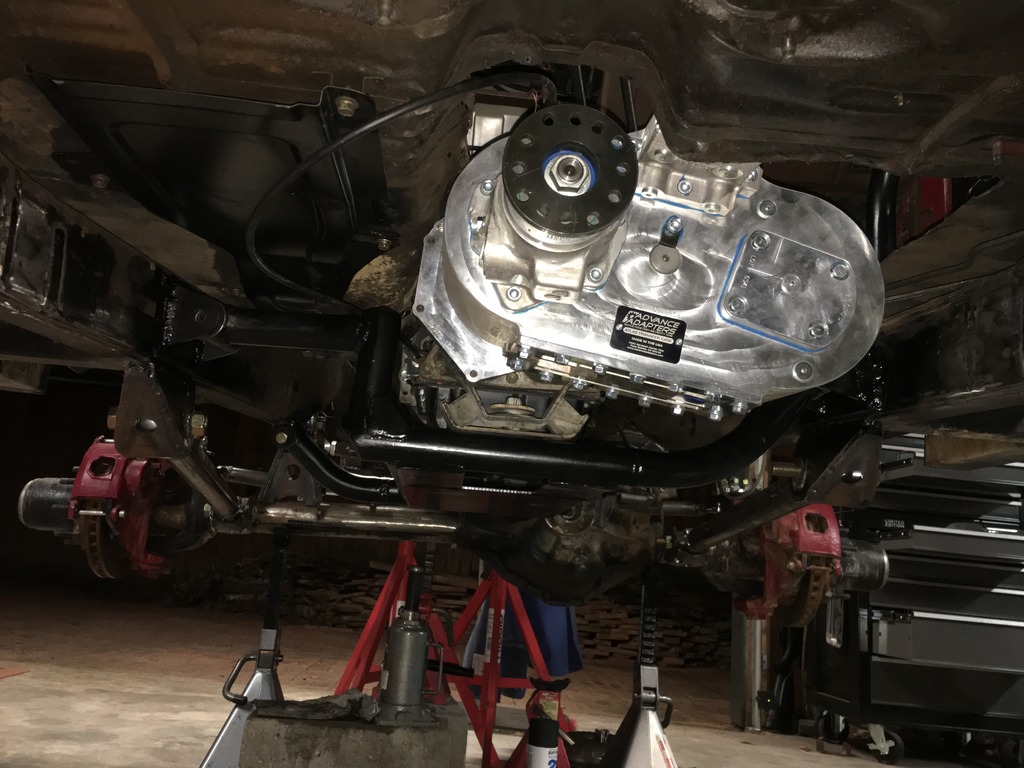

I will be adding another crossmember for a tail support for the Atlas.
I ordered some more parts from Barnes4WD to finish up some small things and will be fabbing up a cover for that gaping hole in the floor.
I should be ordering up my Fox 14"coilovers from Ryan at Accutune after KOH.
Then I need to cut out my old shock hoops and fit my 4WheelUnderground shock towers on the frame rail.
There is still a lot to do.
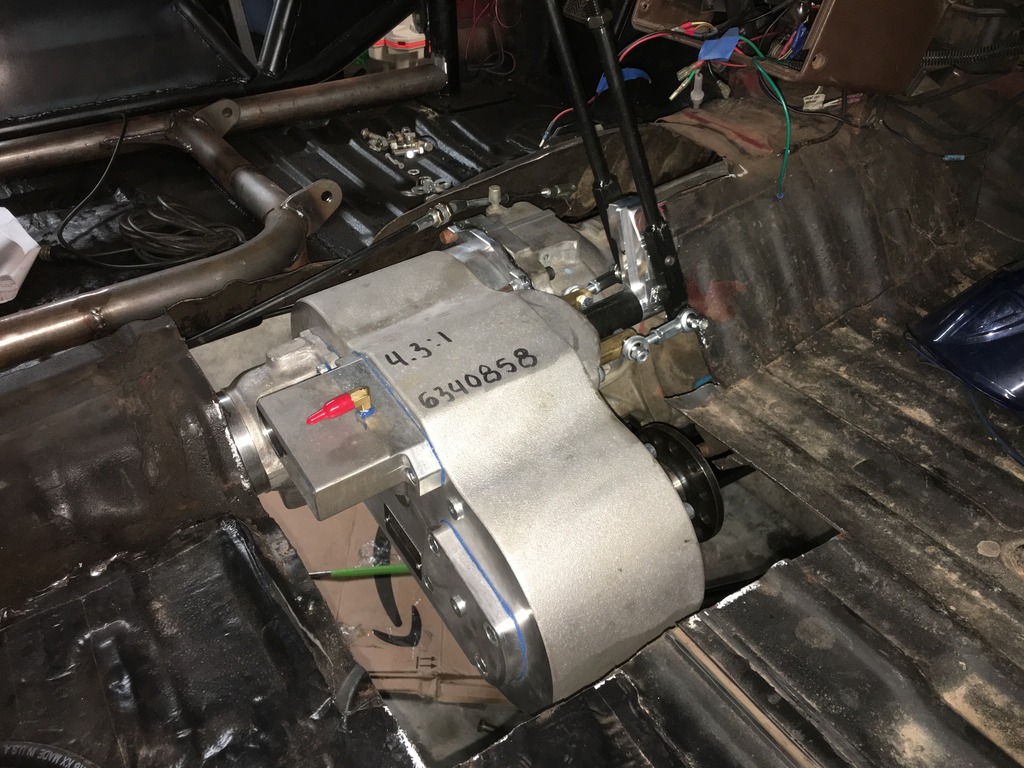
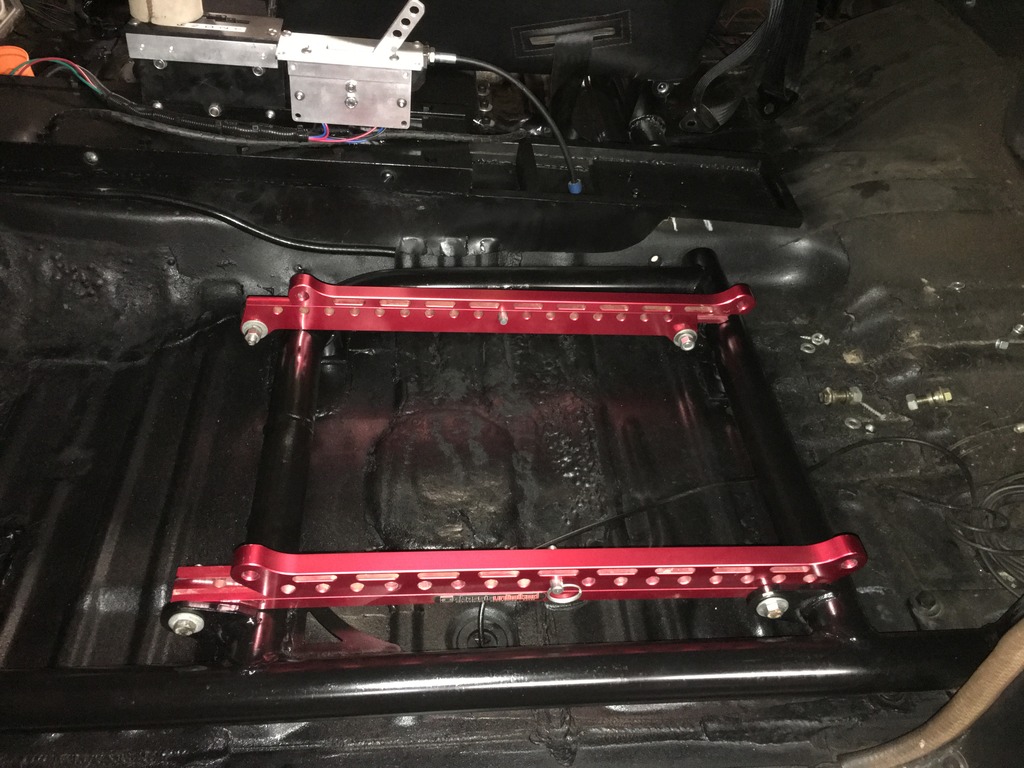
Transfer case cover finished with the integrated seat mounts.
http://s241.photobucket.com/user/boomtacoma01/media/85 Toyota/22518771-D234-4235-BD48-033E033C9B94_zpsv71qi9vm.jpg.html] [/URL]
I found a set of the liquid sounds shallow mount speaker pods with a set of Kicker 6.5" coax speakers.
http://s241.photobucket.com/user/boomtacoma01/media/85 Toyota/F18B0092-109E-477A-80B0-9009DBE8B406_zpsxdtzusla.jpg.html] [/URL]
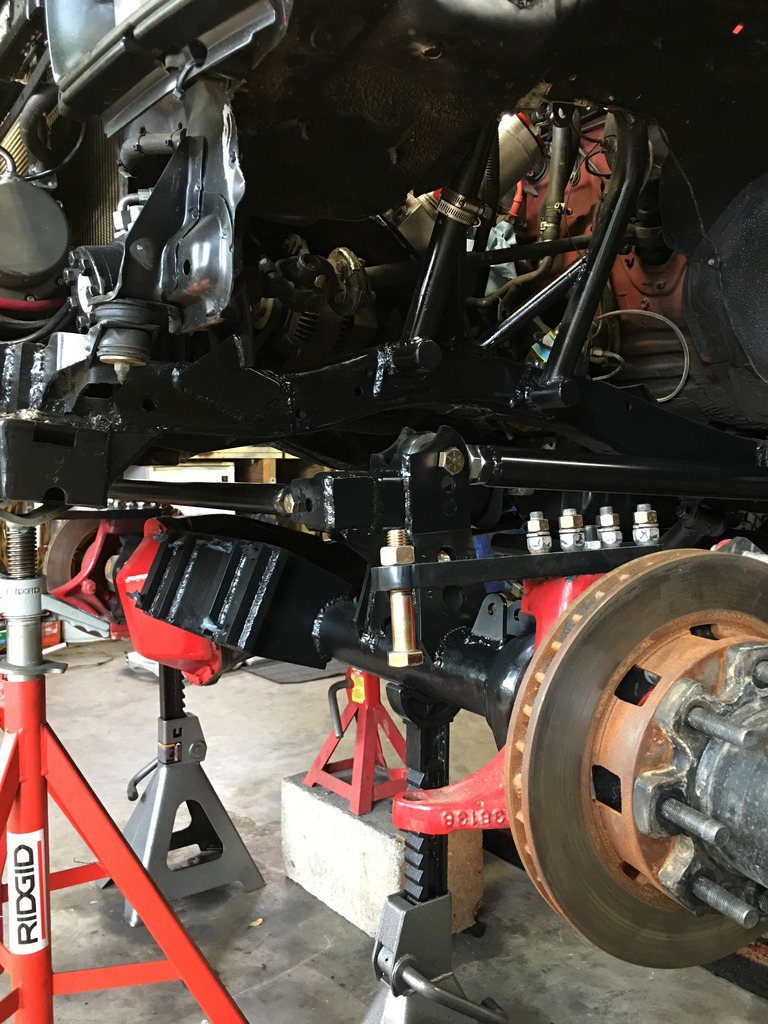
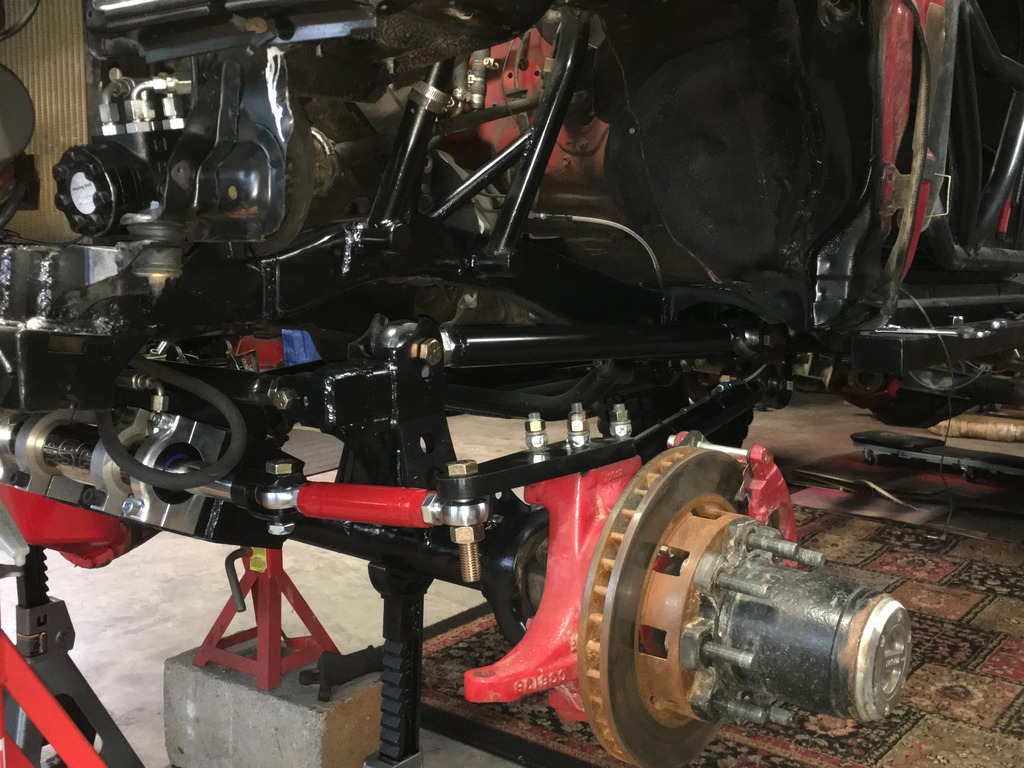
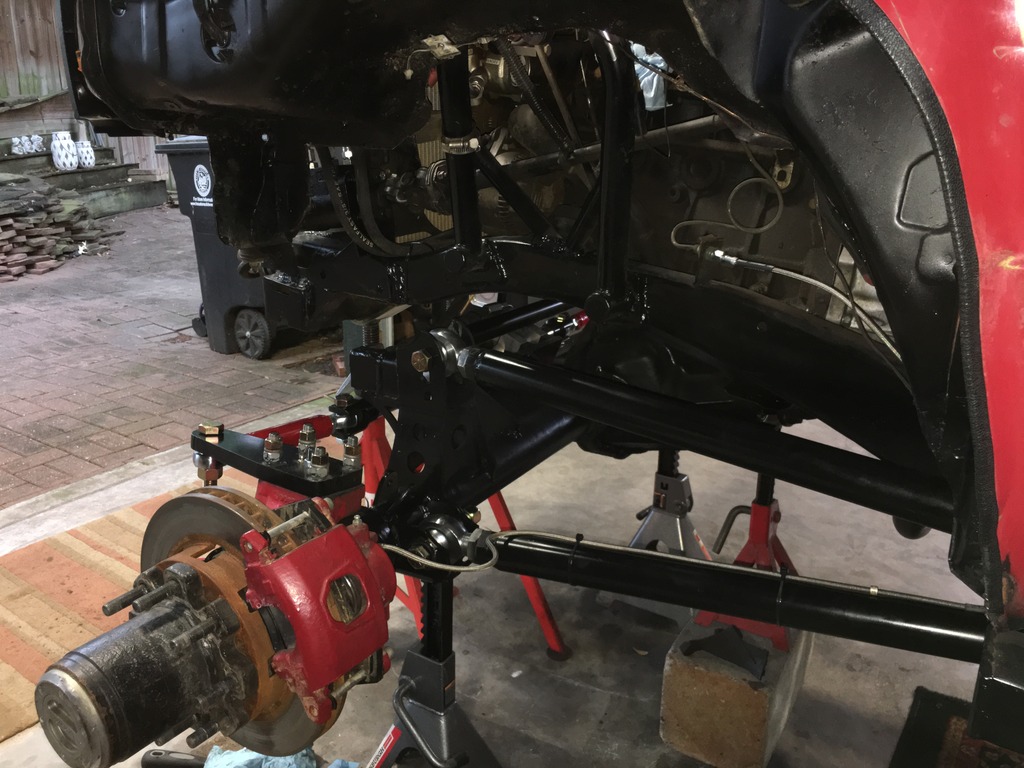
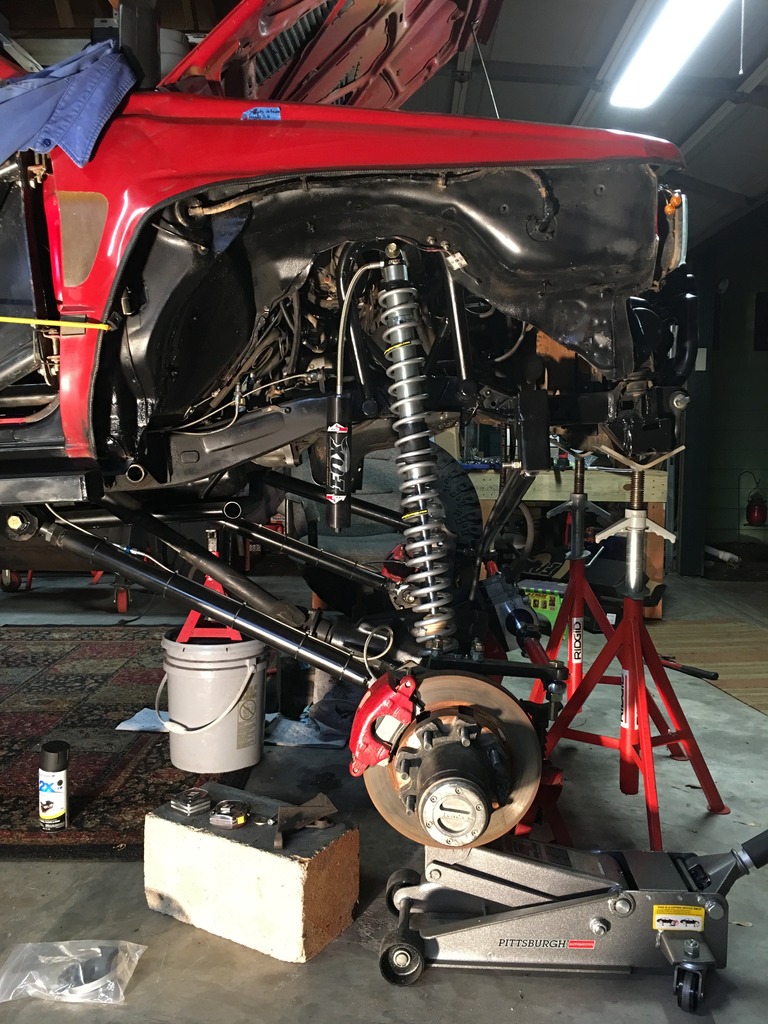
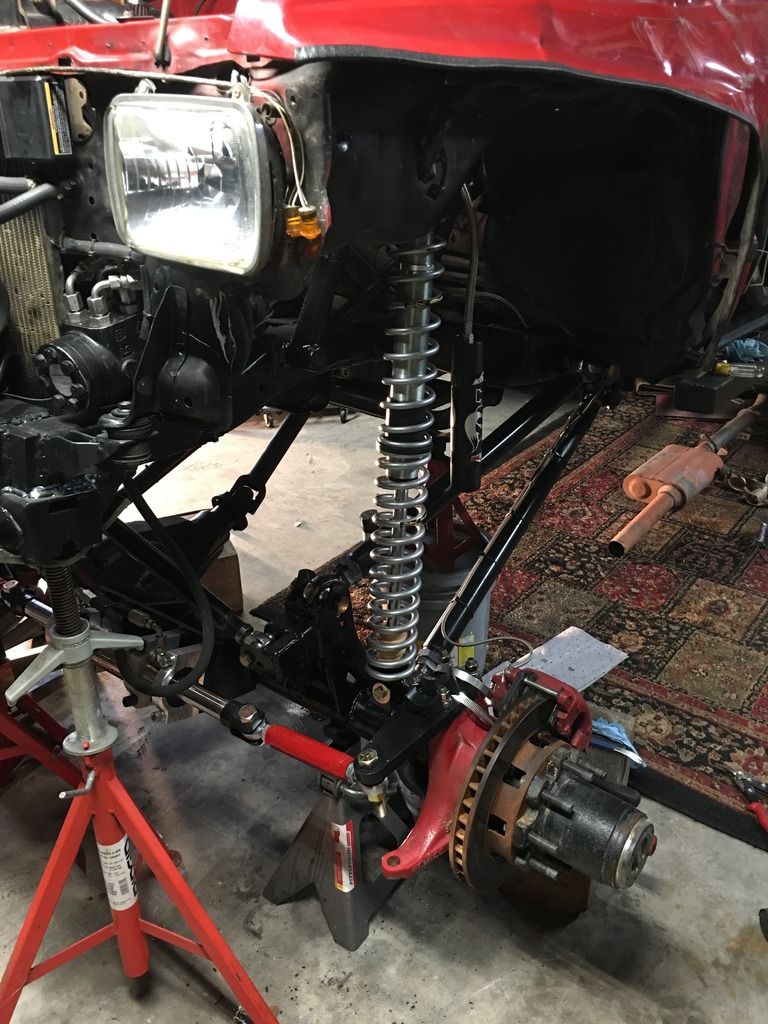
Most importantly I started mocking up my Fox 14" coilovers. I had to cut off the shock hoops, move them forward about 2.5" and kick them back about 10 degrees. The lower shock mounts are from Artec and integrate to the lower link mounts. The upper shock hoop mounts are from Wide Open Design.
http://s241.photobucket.com/user/boomtacoma01/media/85 Toyota/1E4F517D-DF6B-49A9-A1F0-B230268E5137_zpsofwerr6w.jpg.html] [/URL]
I had a chance to work in the truck for a solid 3 days. I got the front welded out and painted. Both coilover mounts are done. The full hydro is mounted and the lines are plumbed. I finally finished mounting my last tire and torqued it to spec.
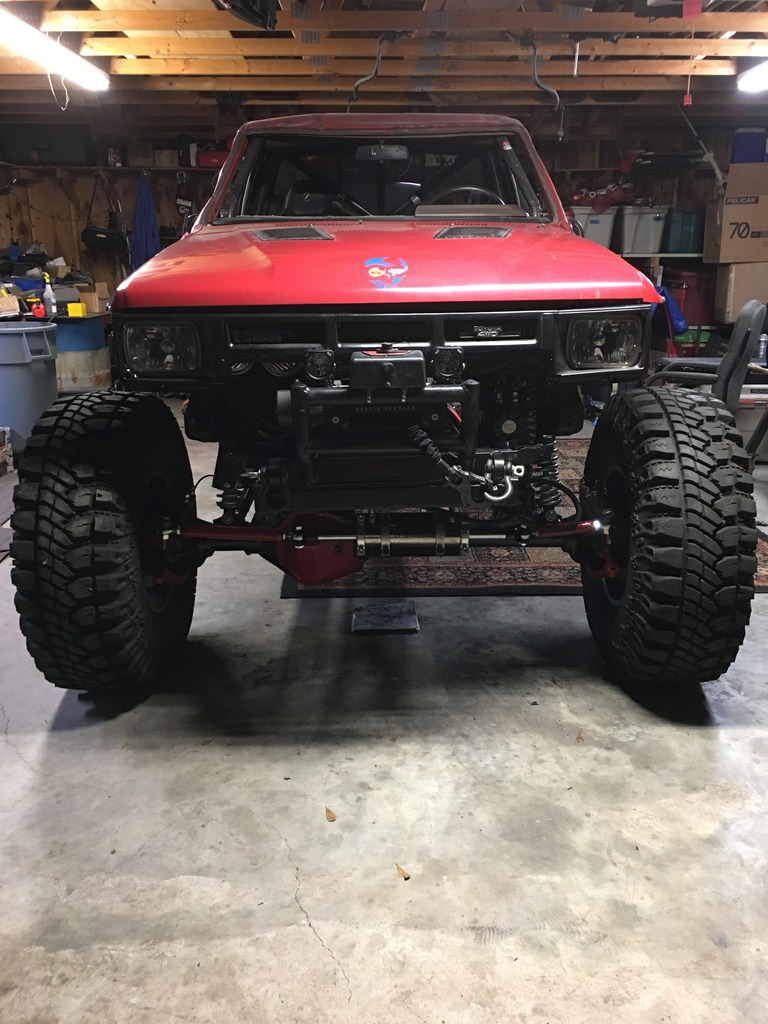
I mounted the front grille and welded in the driver side seat mount.
I should have a roller by the end of the week when I get my coilovers back from Brave Motorsports. I'm pretty excited. It has been a long time coming.

I also got my 2" .25 DOM links and the 1.5" DOM panhard cut. I extended my frame side panhard mount to add some length. Killed my HF Sawzall. Had to order up a quality Milwaukee one to replace it.


I got my transmission and Atlas dropped for final assembly and trimmed the hole a little more. I will have to put my sheet metal skills to work to patch this hole and get my passenger seat mounted.


I hope to have it back in place this weekend after I get my crossmember mounts burnt in and do some more finish grinding on the inner frame.
I finally got the A340 and Atlas together and sealed up. I burned in the crossmember mounts and skinned the transmission/ transfer case skid with a piece of AR500 plate.


I will be adding another crossmember for a tail support for the Atlas.
I ordered some more parts from Barnes4WD to finish up some small things and will be fabbing up a cover for that gaping hole in the floor.
I should be ordering up my Fox 14"coilovers from Ryan at Accutune after KOH.
Then I need to cut out my old shock hoops and fit my 4WheelUnderground shock towers on the frame rail.
There is still a lot to do.
Transfer case cover finished with the integrated seat mounts.
http://s241.photobucket.com/user/boomtacoma01/media/85 Toyota/22518771-D234-4235-BD48-033E033C9B94_zpsv71qi9vm.jpg.html]
 [/URL]
I found a set of the liquid sounds shallow mount speaker pods with a set of Kicker 6.5" coax speakers.
http://s241.photobucket.com/user/boomtacoma01/media/85 Toyota/F18B0092-109E-477A-80B0-9009DBE8B406_zpsxdtzusla.jpg.html]
 [/URL]
Most importantly I started mocking up my Fox 14" coilovers. I had to cut off the shock hoops, move them forward about 2.5" and kick them back about 10 degrees. The lower shock mounts are from Artec and integrate to the lower link mounts. The upper shock hoop mounts are from Wide Open Design.
http://s241.photobucket.com/user/boomtacoma01/media/85 Toyota/1E4F517D-DF6B-49A9-A1F0-B230268E5137_zpsofwerr6w.jpg.html]
 [/URL]
I had a chance to work in the truck for a solid 3 days. I got the front welded out and painted. Both coilover mounts are done. The full hydro is mounted and the lines are plumbed. I finally finished mounting my last tire and torqued it to spec.
I mounted the front grille and welded in the driver side seat mount.


I should have a roller by the end of the week when I get my coilovers back from Brave Motorsports. I'm pretty excited. It has been a long time coming.
Last edited by Boomtacoma01; Apr 2, 2017 at 08:03 PM.
Apr 8, 2017 | 08:56 AM
#226
Thread Starter
Registered User
Joined: Jun 2011
Posts: 198
Likes: 5
From: Houston TX
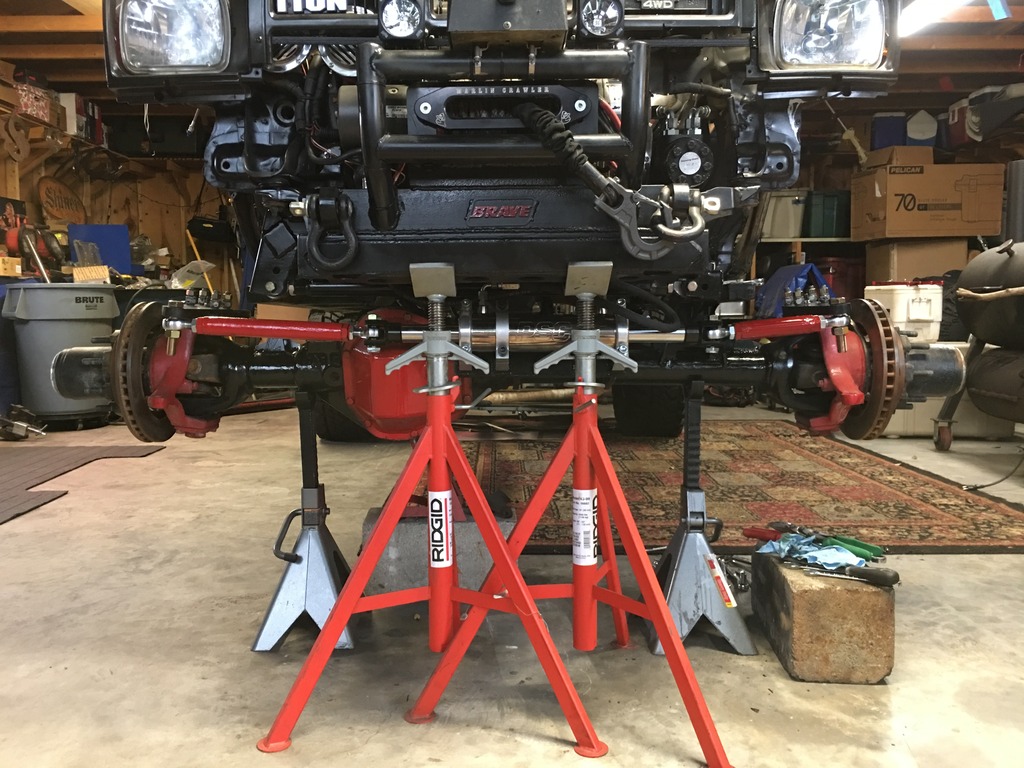
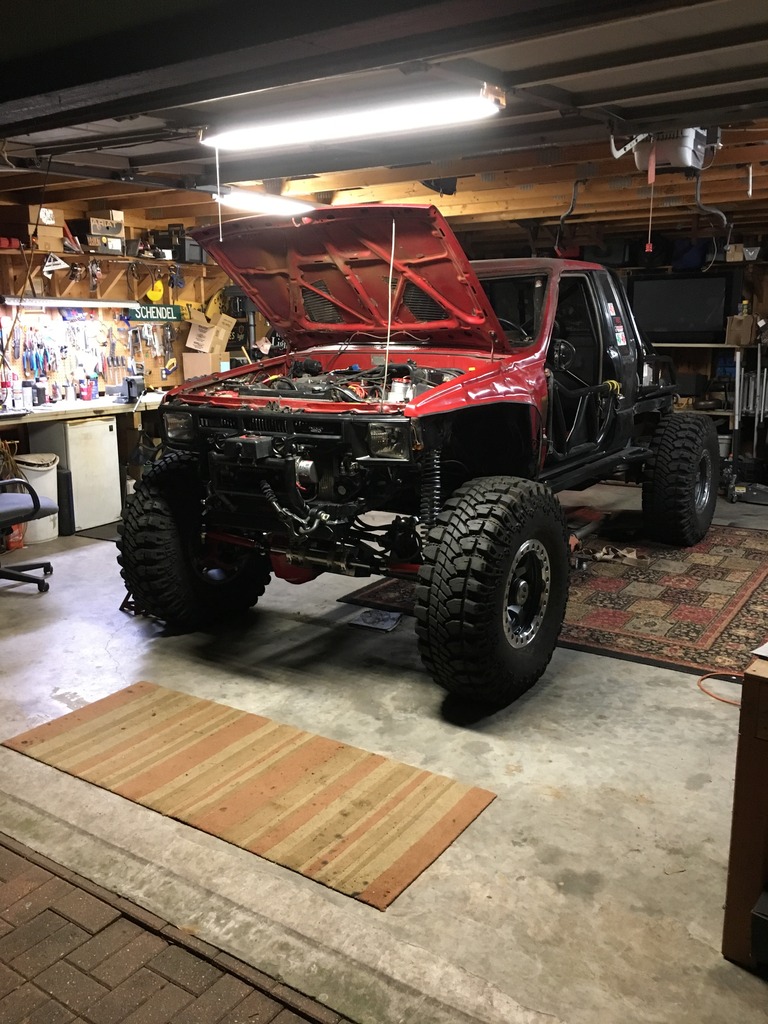
We have a roller. Links are 98%, steering is plumbed in and bled, the engine fired up after 8 months on the first crank and the auto seems to be working correctly. I'm pretty happy.


 Apr 11, 2017 | 10:05 AM
#231
Thread Starter
Registered User
Joined: Jun 2011
Posts: 198
Likes: 5
From: Houston TX
Thanks for the kind words guys. It has been a fairly long process. I managed to get the Radesigns Baja shifter wired up yesterday. I can't wait to test it out at speed now that the driver seat is finally back in place.
Last edited by Boomtacoma01; Apr 11, 2017 at 10:08 AM.
Apr 11, 2017 | 11:45 AM
#232
Rory makes an awesome shifter! you will like it
my wife as overlooking my shoulder and just said, "Who has carpet in their garage!, don't get any ideas!"
Made me laugh
my wife as overlooking my shoulder and just said, "Who has carpet in their garage!, don't get any ideas!"
Made me laugh
Last edited by dropzone; Apr 11, 2017 at 11:46 AM.
Jan 14, 2018 | 07:16 AM
#234
Thread Starter
Registered User
Joined: Jun 2011
Posts: 198
Likes: 5
From: Houston TX
Since I can�t leave well enough alone

I bought a set of BFG stickies at the end of last year and got one trip on the tires. Wow is all I have to say. Wheeling season is getting close here in TX so the mods will slow a bit.
However i I am planning for a 1UZ swap, rear 4 link and a completely new back half setup.
However i I am planning for a 1UZ swap, rear 4 link and a completely new back half setup.
Jan 18, 2018 | 03:34 PM
#235

Registered User
Joined: Jan 2018
Posts: 36
Likes: 5
Love this truck. The floor cut outs look just like what I did when I installed my atlas. What a PITA! I think rebuilding the sheet metal floor was one of my least favorite parts of the build. Curious to see how you complete it.
Jan 18, 2018 | 05:10 PM
#236
Thread Starter
Registered User
Joined: Jun 2011
Posts: 198
Likes: 5
From: Houston TX

Yep it was a pain. I went with some 3/16� steel and boxed it in. I flanged it to the floor and used some seam sealer to make it somewhat watertight. The front panel is removable to access the driveshaft.


