
KawaZX636's 1983 Toyota Pickup Restoration
 May 30, 2013 | 07:22 PM
#81
Thread Starter
Super Moderator
iTrader: (3)
Joined: Jan 2012
Posts: 3,218
Likes: 26
From: Salisbury, MD
84 Yota Dude, Yeah...I'm a little tight for space in my garage and this is why:
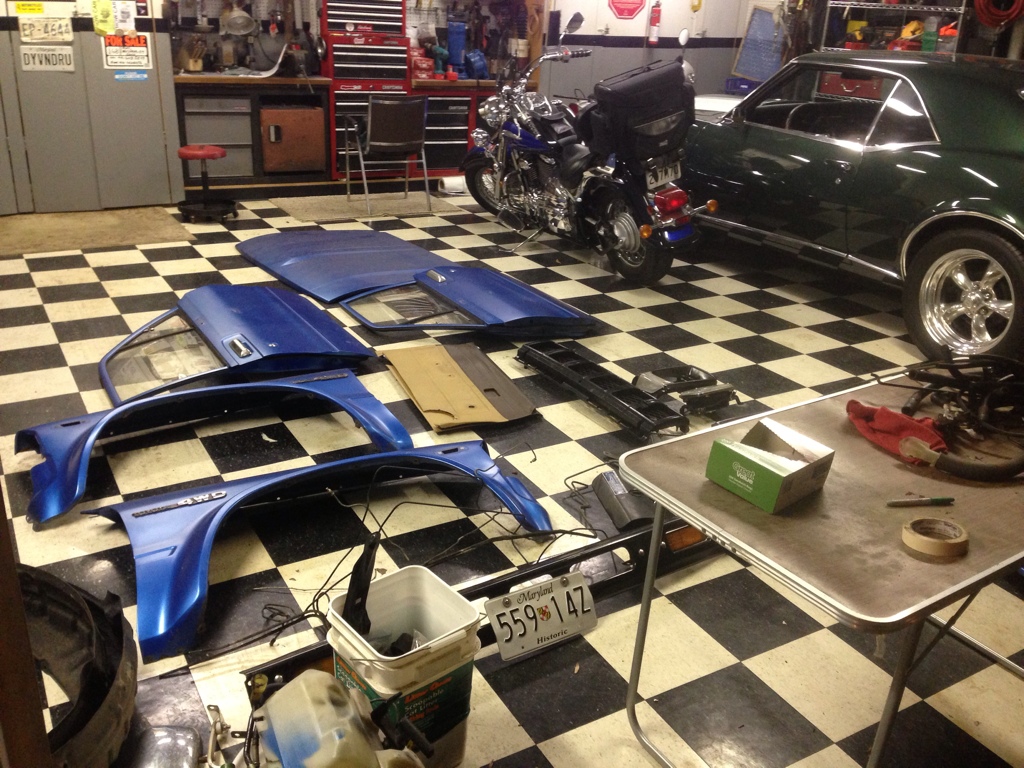
See that 68 Camaro RS sitting there?? That's my Pop's baby that he stores in the detached garage and he would kill me if I even put a fingerprint on it. So in the best interest of my life, I work in my attached garage. I would move the Camaro to the attached garage, but there would be more of a chance of it getting mamed since we enter and exit our house through the garage. For now, I store a few parts in there and the cab in my friend's barn while I work in tight quarters.

See that 68 Camaro RS sitting there?? That's my Pop's baby that he stores in the detached garage and he would kill me if I even put a fingerprint on it. So in the best interest of my life, I work in my attached garage. I would move the Camaro to the attached garage, but there would be more of a chance of it getting mamed since we enter and exit our house through the garage. For now, I store a few parts in there and the cab in my friend's barn while I work in tight quarters.
May 30, 2013 | 07:27 PM
#82
Thread Starter
Super Moderator
iTrader: (3)
Joined: Jan 2012
Posts: 3,218
Likes: 26
From: Salisbury, MD
Warmonger88, Thanks! I used POR-15 on the axle housings (I still need to apply a coat of POR-15 ChassisCoat top coat). I powdercoated everything else (Hubs, hub dial, hub ring, knuckles, knuckle caps, j-arm, axle flanges, bearing cups, disce brake conversion bracket, etc). I ordered the POR-15 from www.eastwood.com. They have the lowest price on POR-15 products. Follow the directions and you'll have good results.

 Jun 3, 2013 | 06:15 PM
#87
Thread Starter
Super Moderator
iTrader: (3)
Joined: Jan 2012
Posts: 3,218
Likes: 26
From: Salisbury, MD
I would never pay anybody to do powdercoating ever again unless it doesn't fit in my oven.
I finally got my replacement hub studs from trail gear today. It took a couple weeks to get here, but they replaced the 2 that were stripped with 4 new ones (I now have 2 spares, no questions asked free of charge. Now that is good customer service! Trail Gear will certainly be my go-to source with this kind of service.
I finally got my replacement hub studs from trail gear today. It took a couple weeks to get here, but they replaced the 2 that were stripped with 4 new ones (I now have 2 spares, no questions asked free of charge. Now that is good customer service! Trail Gear will certainly be my go-to source with this kind of service.
Jun 7, 2013 | 07:40 PM
#90
Thread Starter
Super Moderator
iTrader: (3)
Joined: Jan 2012
Posts: 3,218
Likes: 26
From: Salisbury, MD
Another update. I got the frame about 90% painted. Laid down three coats of POR-15 and knocked it down with some 320 grit sandpaper. Then sprayed two coats of the POR-15 Chassis Coat top coat (thinned about 15% to spray) on both axles and the bottom and sides of the frame. Now for the past 2 days we've been getting pounded with heavy rain fom tropical storm Andrea so I haven't been able to flip the frame and run out to do the top side of the frame...That B*TCH!! None the less, the Chassis Coat looks great! It's semi-gloss, but lays down more like a eggshell finish. The delay is probably good since it does take quite a bit of time to cure fully, but once cured it's hard as nails.
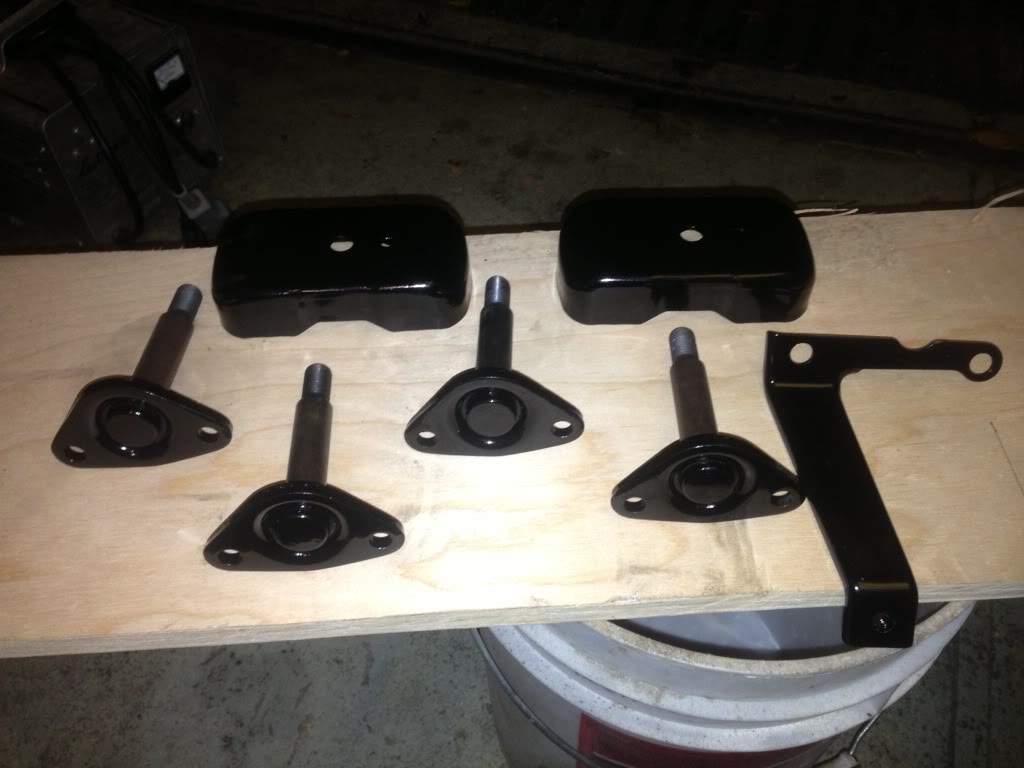
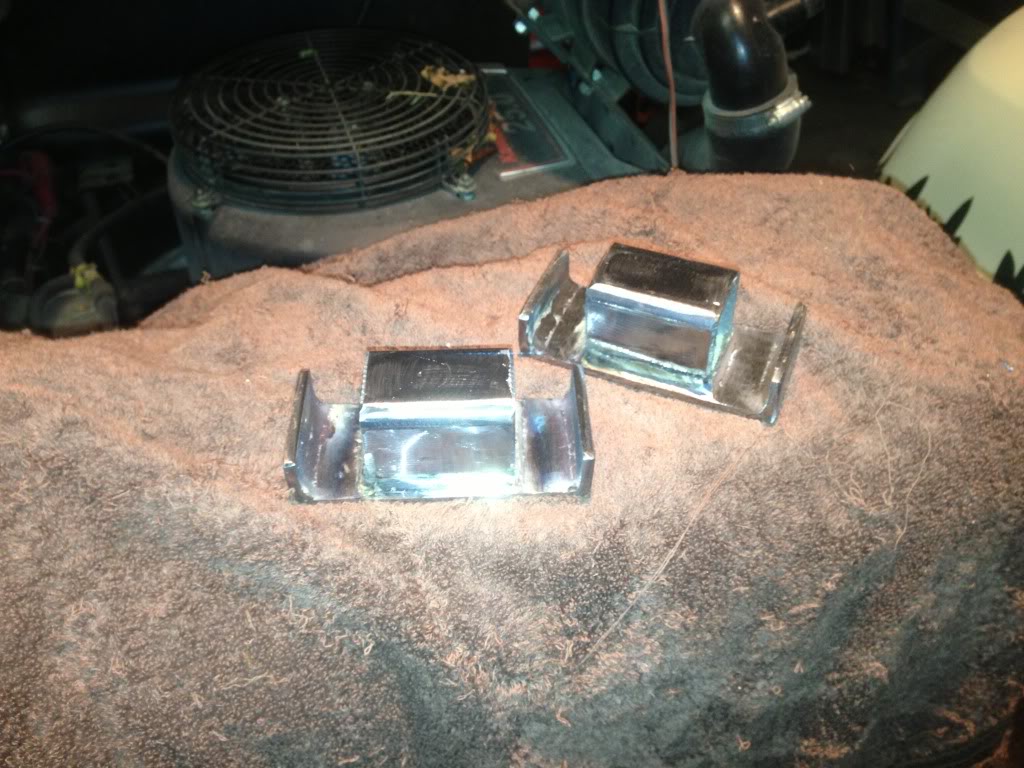
So in the interim, I have knocked out some more powdercoating. I baked the U-bolt plates, the plate that goes between the block and tranny, one of the t-case shield brackets, the motor mount "cups" and hanger pins.
Here's a shot of the motor mounts, hanger pins and t-case bracket:
I also started fabricating some new bump stop brackets tonight. My factory brackets that sit on top of the rear leaf springs and help retain the u-bolts were rusted out pretty badly and looked like crap so I figured I'd take care of that while I had some down time. I got it mostly welded up, but I ran out of gas so my welds look like sh**. I'll clean them up and post some pics when I'm done.
On another note...I completely neglected to order my shackles when I order my OME springs so I ordered them yesterday. I got a hell of a deal on Trail Gear 5.5" greasable shackles from www.roadlessgear.com. They were $53 per a pair. Most places have them for at least $80 per pair. Not a bad gig, hopefully they are a legit company.
Hopefully tomorrow afternoon the clouds will part and I'll be able to finally finish up painting my frame with the last two coats of chassic coat. Pics will come shortly.
So in the interim, I have knocked out some more powdercoating. I baked the U-bolt plates, the plate that goes between the block and tranny, one of the t-case shield brackets, the motor mount "cups" and hanger pins.
Here's a shot of the motor mounts, hanger pins and t-case bracket:

I also started fabricating some new bump stop brackets tonight. My factory brackets that sit on top of the rear leaf springs and help retain the u-bolts were rusted out pretty badly and looked like crap so I figured I'd take care of that while I had some down time. I got it mostly welded up, but I ran out of gas so my welds look like sh**. I'll clean them up and post some pics when I'm done.
On another note...I completely neglected to order my shackles when I order my OME springs so I ordered them yesterday. I got a hell of a deal on Trail Gear 5.5" greasable shackles from www.roadlessgear.com. They were $53 per a pair. Most places have them for at least $80 per pair. Not a bad gig, hopefully they are a legit company.
Hopefully tomorrow afternoon the clouds will part and I'll be able to finally finish up painting my frame with the last two coats of chassic coat. Pics will come shortly.
Last edited by kawazx636; Jun 7, 2013 at 07:42 PM.
Jun 9, 2013 | 09:26 AM
#92
Thread Starter
Super Moderator
iTrader: (3)
Joined: Jan 2012
Posts: 3,218
Likes: 26
From: Salisbury, MD
Alas, my frame is completed!!! I was able spray he last two coats of POR-15 Chassis Coat today on the top side of the frame. I forgot to take a pictured before I pulled it back into the garage, but here it is:
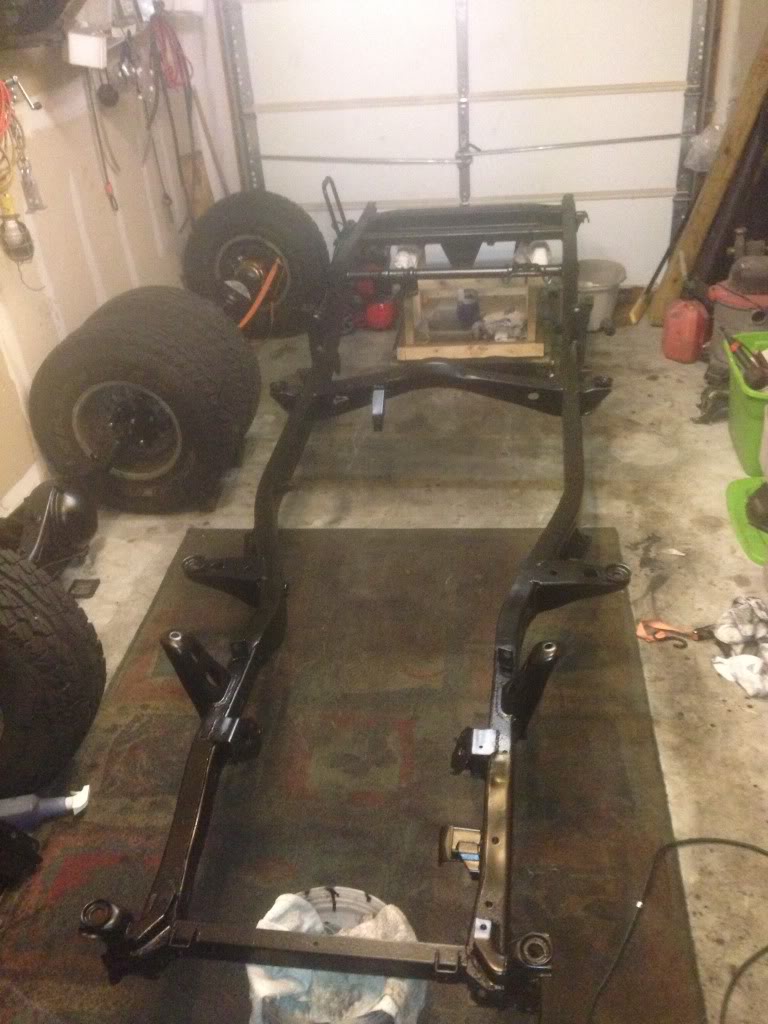
As you can see in the picture above, I mounted the wheels and tires on the axles to prevent the axles from getting dinged up while waiting to be installed. Also makes it a bit easier to move the fully build front axle since it now weighs a ton!
I also cleaned up the tranny. I used some POR-15 marine clean, wire brush and hose - worked excellent! Marine clean is some legit stuff. I'll post some pictures of it after I paint the bell housing.
The only thing stopping me from having a rolling chassis are the shackles and front springs. I just heard word that the front springs are about 3 weeks out and the shackles should be in sometime this week. I can at least get the rear together and start prepping the motor and tranny for mounting while I wait.
Jun 9, 2013 | 11:09 AM
#93
The frame is looking great, sometimes I wish I had used POR15, just because of it flow out properties. I'm also waiting for the weather to get better to paint my trans and bell housing and cross member, that way I can mount into frame. Engine comes a little later, a few more things are a priority, Oh and money  I have a rolling chassis, but still need to rebuild both axles with new seals, etc.
I have a rolling chassis, but still need to rebuild both axles with new seals, etc.
Jun 9, 2013 | 07:34 PM
#94
Thread Starter
Super Moderator
iTrader: (3)
Joined: Jan 2012
Posts: 3,218
Likes: 26
From: Salisbury, MD
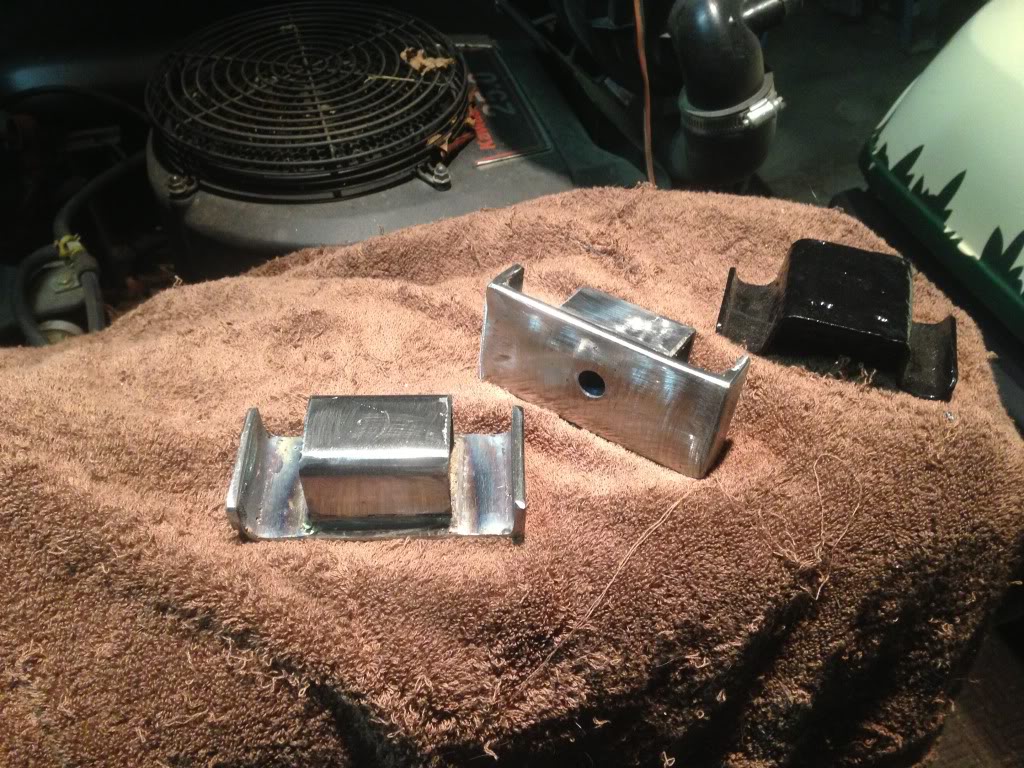
I was highly motivated with nothing to do today so I also got my rear bump stop brackets welded up tonight. I've still got some cleaning up to do on the welds and I need to powdercoat them, but they are pretty much done. The factory one in the pictures is the better one of the two - the other one was nearly completely rusted out. I powdercoated them anyway, but I still didn't like the way they turned out so I made these new ones with some 1/4" x 2" flat bar and 1.5" square tube stock. Turned out pretty good.
And here's a shot of my tranny and transfer case pretty much all cleaned up with marine clean. I still have some grim that I want to get off here and there, but for the most part the aluminum is as good as it's going to get and the bell housing is ready to paint.
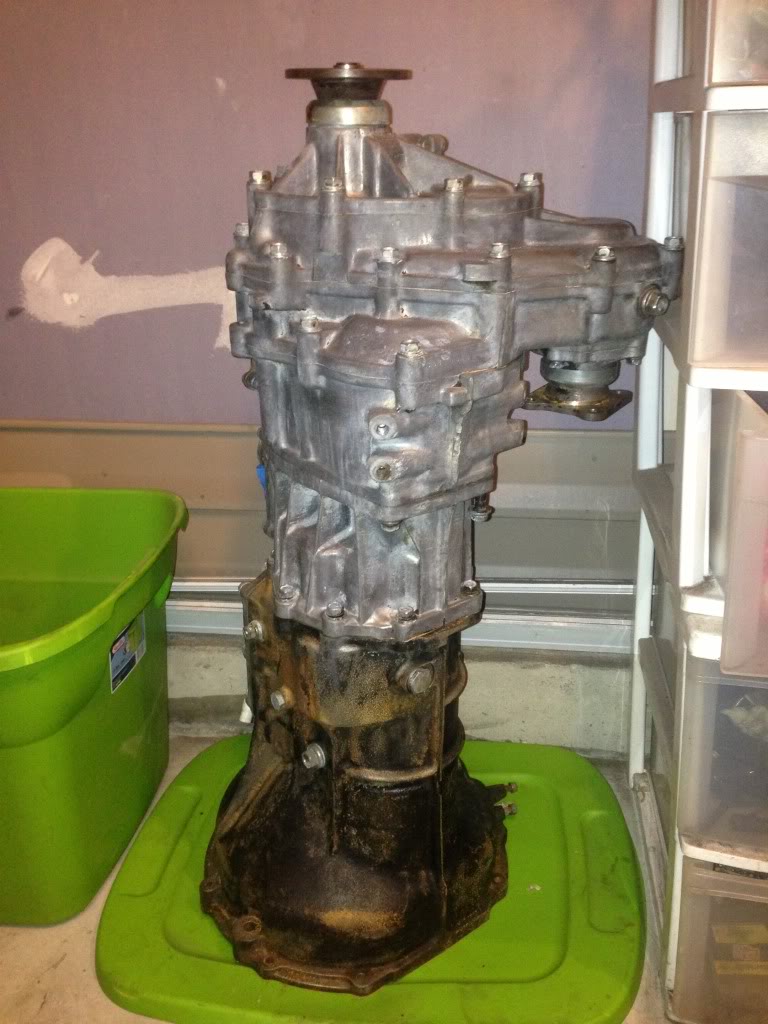
You can see how dirty this pig was in the left side if this picture:
 Jun 17, 2013 | 12:10 PM
#95
Thread Starter
Super Moderator
iTrader: (3)
Joined: Jan 2012
Posts: 3,218
Likes: 26
From: Salisbury, MD
I got my TG shackles in today from www.roadlessgear.com. Looks like they are a legit company - I would highly recommend them for purchasing Trail Gear shackles as they are by far the cheapest out there. Ordered on June 6th, received them on June 17th. Perhaps a bit slow, but that's the typical shipping time that I've had for parts.
Regardless, they are 5.5" greasable shackles - should give me about 1" over stock height plus the 2" that I am getting from the OME springs so I should be seeing about 3" of lift after everything is said and done. In case you haven't seen the Trail Gear shackles, these things are SUPER beefy - Especially over the stock shackle plate thickness. Now if only the Australians would get their act together and ship my front springs out so I can assemble a rolling chassis.
I'm debating on whether or not to powdercoat the plates. They are zinc plated and should be fairly resistant to corrosion, but I wouldn't mind the all black suspension look. I'm thinking that I'll just install them as is and powdercoat them later if I don't like them. Thoughts?
Jun 19, 2013 | 10:06 PM
#97
Thread Starter
Super Moderator
iTrader: (3)
Joined: Jan 2012
Posts: 3,218
Likes: 26
From: Salisbury, MD
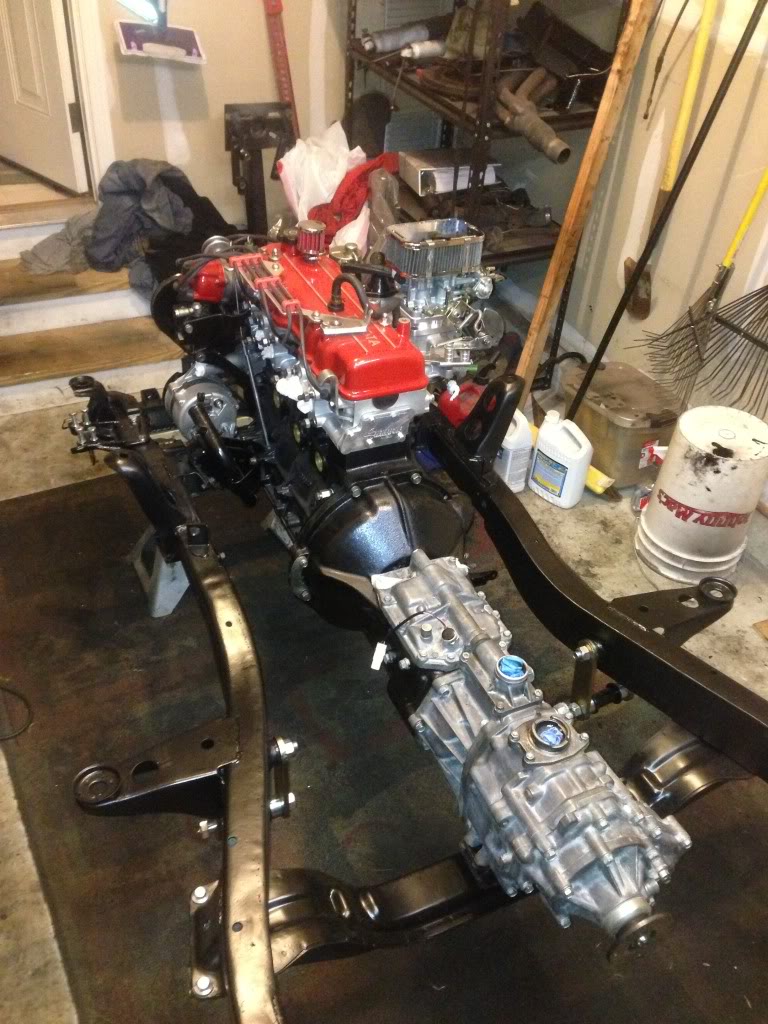
Since I'm waiting on my front springs, I'm kind of at a stand still when it comes to the suspension. Sooooo, I decided that my engine and tranny needed to find their new home! I managed to get it mounted up by myself... without an engine hoist!! You all should have seen this; I'll try to explain.
So I'm sitting in my garage pissed off because I don't have my front springs yet and a friend of mine conveniently has my engine hoist. I looked at the frame, then at the engine on the engine stand, then back at the frame and back to the engine LIGHT BULB!! I decided to tilt the front of the frame up about 6 ft off the garage floor so I could roll the engine stand underneath the frame towards the middle of the frame. I then lowered the front of the frame to the floor so the I could position the engine (on the stand) over the motor mount brackets on the frame. I then jacked up the front of the frame until it met the motor mounts on the engine so I could bolt them together. I had to secure the engine with a ratchet strap so it wouldn't tilt backwards when I removed the engine stand. Removed the engine stand and voila, engine is now mounted!!! Installed the flywheel and clutch on the engine and the throw out bearing and clutch fork on the tranny. Then bear hugged that big ole pig of a transmission and slid it in on the first try! I have never had a tranny go in that easily (and didn't even have a clutch alignment tool - I used a bolt and socket). So the moral of this story is? Engine hoists are for pansies who lack innovation!! I really can't believe that it worked as planned.
Here are some shots in all its glory:
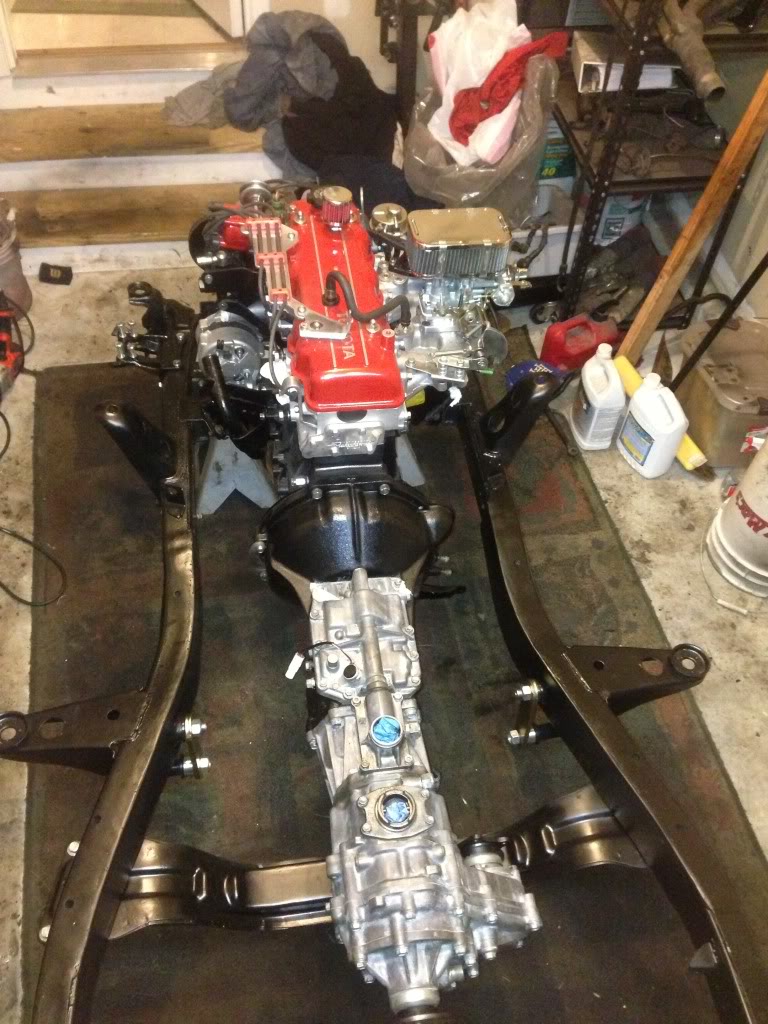
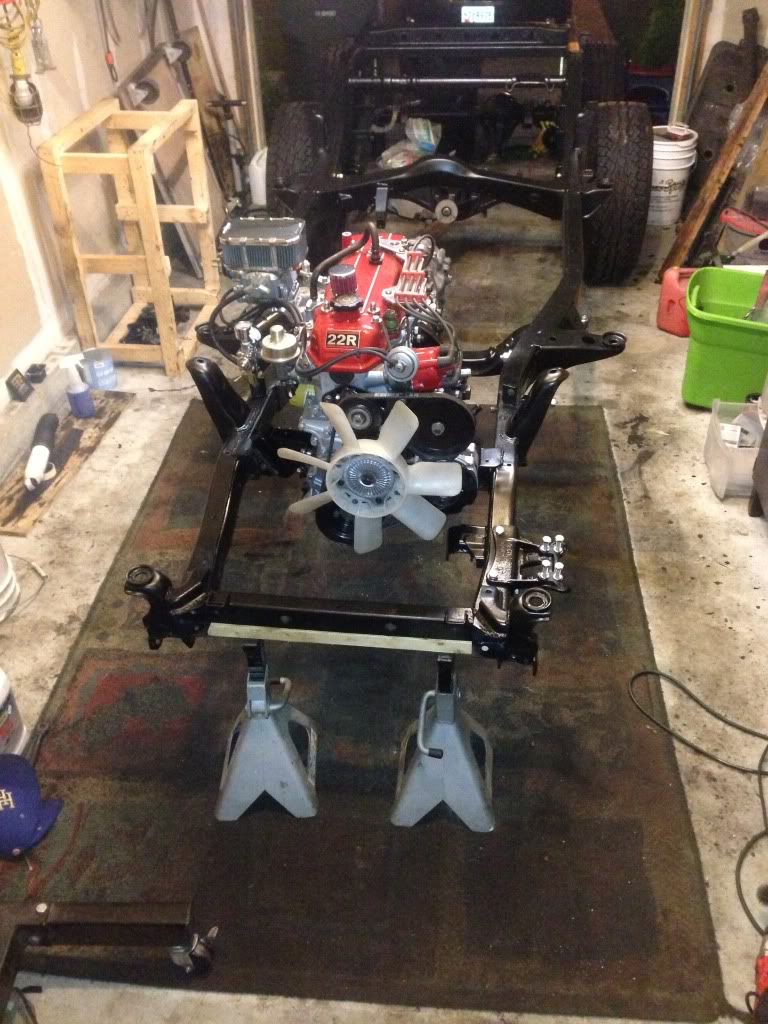


 Jun 23, 2013 | 04:09 AM
#100

Registered User
Joined: Nov 2010
Posts: 80
Likes: 0
From: NH
This is looking great. Very similar process to what I did when I built my FJ40 10 years ago. Just sold it and i'm contemplating building something out of my 89 yard truck now. But anyhow... For the insides of the framerails check out Eastwood's internal frame coating. It's a green coating that comes in spray cans with extension nozzles that spray in a radial pattern. You stick the hose inside the framerail and push it in as far as you can. Then depress the trigger and pull it out slowly. I used 3 cans of it on my 96 tacoma that I had to do frame repairs on. I was looking at the frame the other day and when you look in the holes it's still all green inside. So the stuff works. Not cheap at $20 or so a can but it's the best way I've found to get a coating in there. On my FJ40 the holes on the inner frame rails are pretty big so I just used brushes and the same rust encapsulator (from eastwood) that I sprayed on the outside of the frame. It still looks great 10 years later.


