
Dropzone's 1981 Trekker Build-Up Thread

 Dec 1, 2011 | 05:51 AM
#822

Thanks!
Not much of an update.
TrekkerPaul and I did some horsetrading. he got the Trekker back half back that I got from him a couple of years ago. I still wanted a trekker top to play with, he got this one from a past owner of my Trekker.
This is what a top off a Rolled Sky's Off road trekker looks like
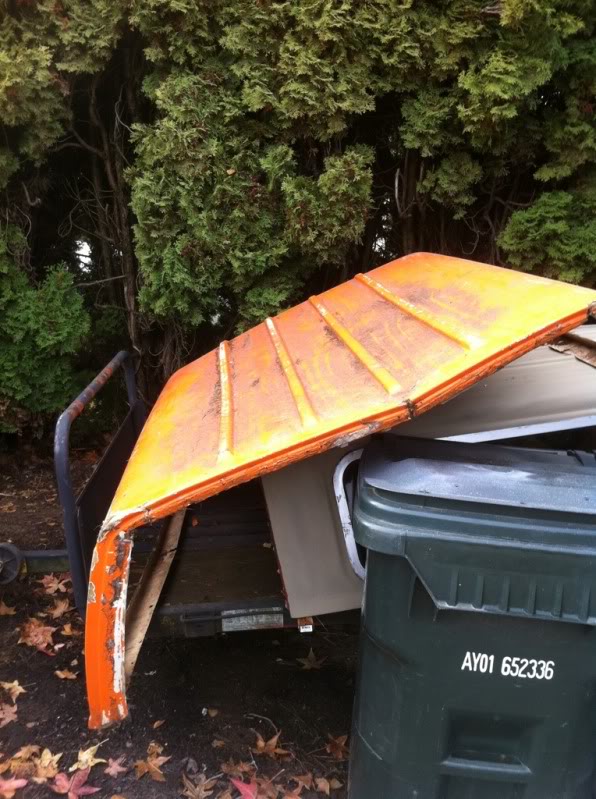
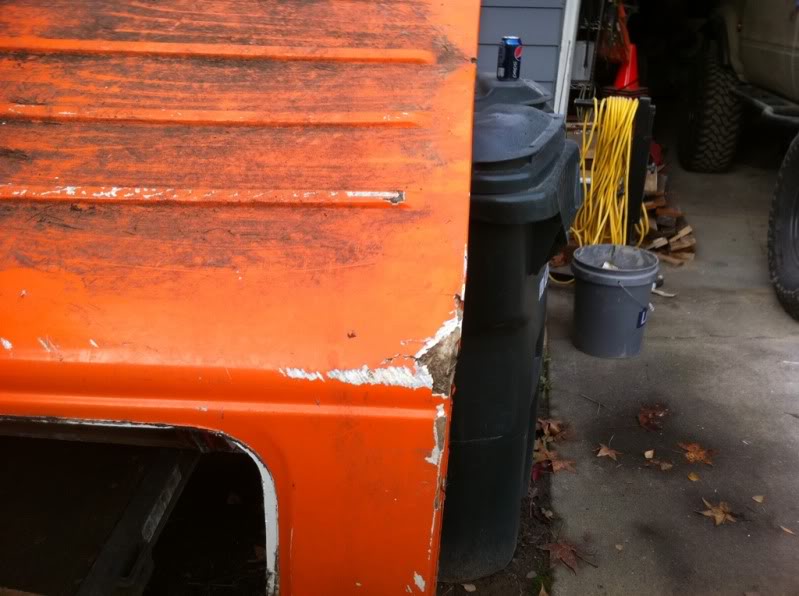
rough, but salvageable.
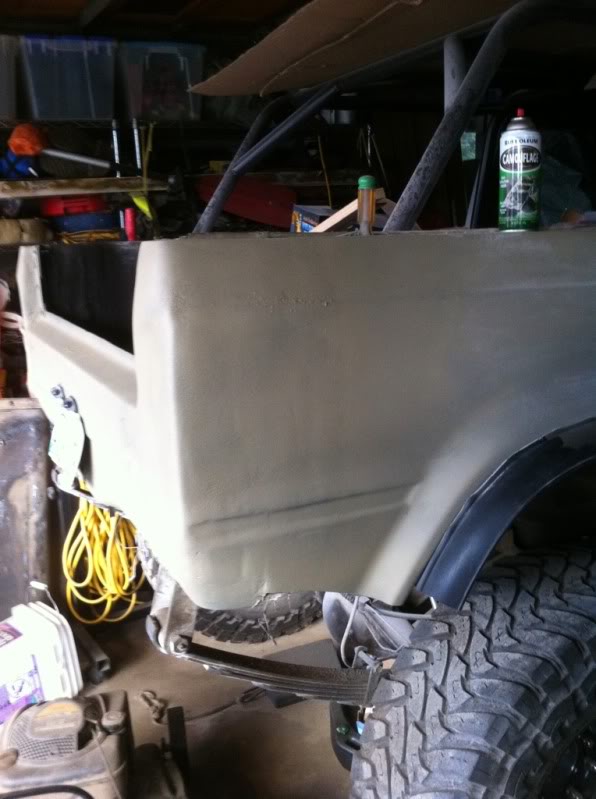
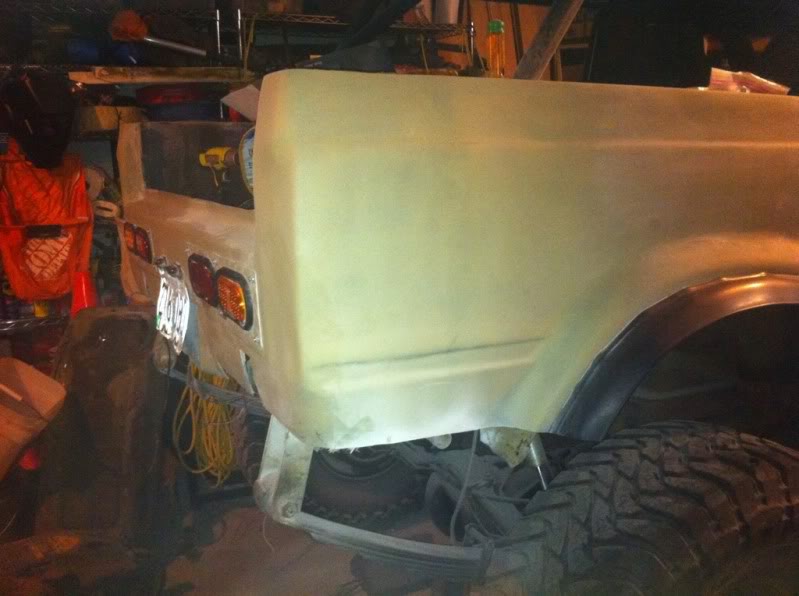
I really needed to get off my butt and get this thing back together so that I have somewhat of a chance to get this thing into the snow this winter so I went the bondo route:

I tried something half ass to cover up the imperfections...spray on bed liner..yeah I know, but I figure what put a ton of time and money into something that I will probably crack/bust up when I hit a tree or rock, pics suck but they were taken at night with my iphone:
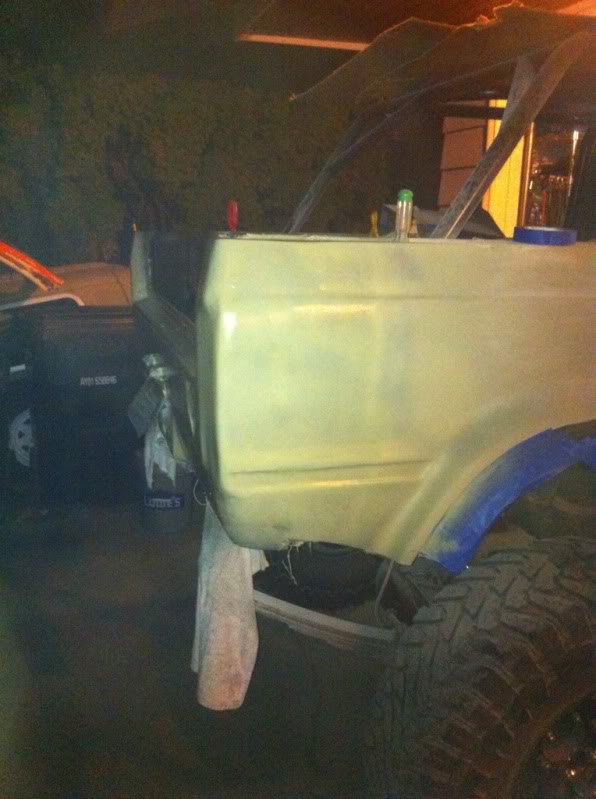
the indentation where the 4" back up light will be cut out again for the turnsignals/brakelights..
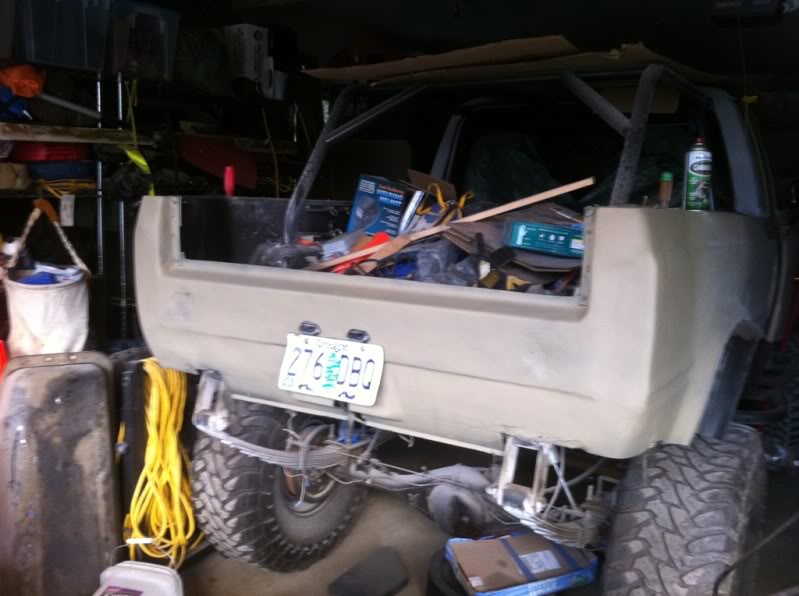
not perfect, but works for me. Lower part needs to be trimmed for the bumper/recovery points. Looks like it will be a combination of 2x2 and 2x3 box tubing with a 2" receiver and 2 D-ring mounts.
will post up a pic in the day light when i get home from work...
gonna chop the top next week. Paul wants my side windows for his Trekker. Gonna get a set of sliders out of a canopy that will be slightly shorter that will allow me to retain for fiberglass towards the tail end...
oh and I just realized that I was a bonehead and forgot to weld in my rear crossmember I wanted to add at the end of the fram
..oh well it works out better for being able to sleeve my rear bumper mounts into the frame...
 Dec 2, 2011 | 08:13 AM
#824
Registered User
Joined: Dec 2006
Posts: 383
Likes: 0
From: Las Cruces, NM
That's looking really good! Once you trim up and mold in that lower section it's going to look top notch! Have you done the chop on the top yet? I'm pretty curious to see what it looks like bobbed with the top on.
On another note I've really been eyeing your back up lights and how you've flush mounted them. If I missed them I appologize, but do you have any pics of how you went about doing thne flush mount?
And how do you like them there? Anything you'd change or do differently? I'm thinking about doing something similar in the rear lower pan (under the tail gate) on mine like that. I'd like them to double as area lighting for when I'm using my truck bed tent. Just illuminate the ground right around the camp-site.
Dec 3, 2011 | 05:31 AM
#825
That's looking really good! Once you trim up and mold in that lower section it's going to look top notch! Have you done the chop on the top yet? I'm pretty curious to see what it looks like bobbed with the top on.
On another note I've really been eyeing your back up lights and how you've flush mounted them. If I missed them I appologize, but do you have any pics of how you went about doing thne flush mount?
And how do you like them there? Anything you'd change or do differently? I'm thinking about doing something similar in the rear lower pan (under the tail gate) on mine like that. I'd like them to double as area lighting for when I'm using my truck bed tent. Just illuminate the ground right around the camp-site.
On another note I've really been eyeing your back up lights and how you've flush mounted them. If I missed them I appologize, but do you have any pics of how you went about doing thne flush mount?
And how do you like them there? Anything you'd change or do differently? I'm thinking about doing something similar in the rear lower pan (under the tail gate) on mine like that. I'd like them to double as area lighting for when I'm using my truck bed tent. Just illuminate the ground right around the camp-site.

back up lights: don't have a pic of when I made the cut for them, but I used a metal bracket for 4" round lights i got at Napa as the stencil, it worked pretty good..it allowed the lights to just slide in with the rubber grommit
i am not sure if you would have enough room to flush mount them like I did. never drove the truck with them but testing they did put out a ton of light. Plan was to wire them with a diode so I could have a switch in the cab to use them like you mentioned.
The trekker tailgate mounts up about 3-4" above the floor of the bed.
with having to move my tail lights up I am actually going to be mounting a set of lights to the stock spare tire brackets, also going to have a set facing backwards mounted either on the slider or just inside the rocker panel where it would be protected..
Dec 5, 2011 | 05:46 PM
#826
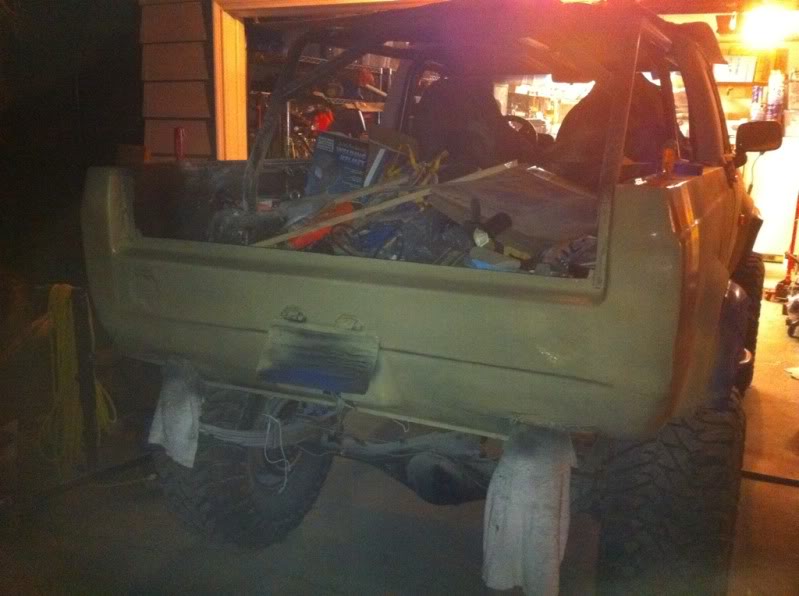
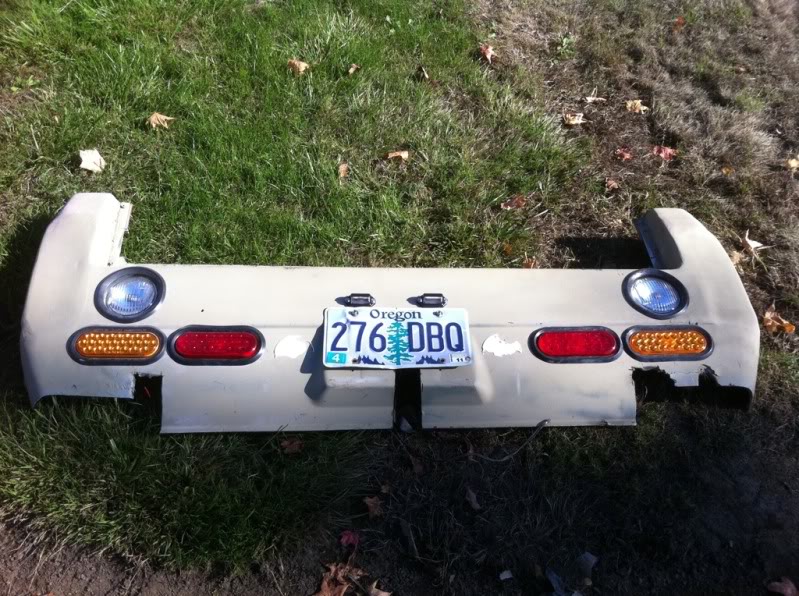
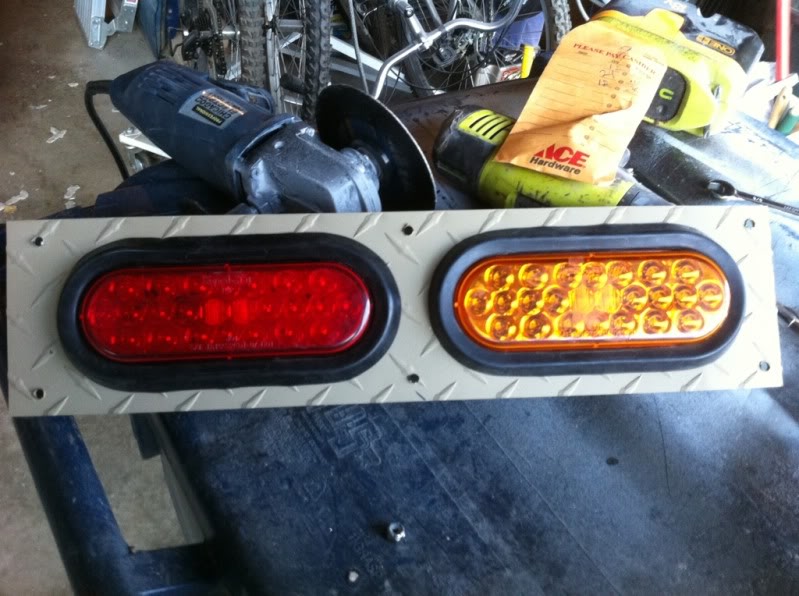
got some time to get the tail lights mounted:
went with a piece of diamond plate to mount the lights so it would give me the option to change to round lights or single lights down the road and not have to do a ton of fiberglass work again, just replace the aluminum:
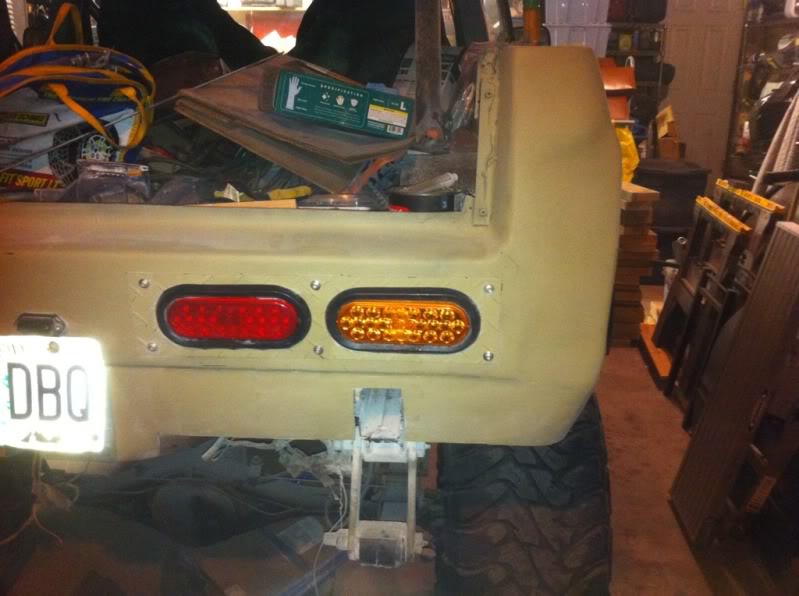
cleaned up the lower portion of the rear valance and cut holes for frame mounted bumper brackets:
went with a piece of diamond plate to mount the lights so it would give me the option to change to round lights or single lights down the road and not have to do a ton of fiberglass work again, just replace the aluminum:
cleaned up the lower portion of the rear valance and cut holes for frame mounted bumper brackets:
 Dec 9, 2011 | 12:50 AM
#830
thanks guys..getting there slowly..
Dec 9, 2011 | 06:09 PM
#832

 I gotta say so far it looks really really good. Best of luck with the top. Smart move getting a practice top too.
Dec 13, 2011 | 03:17 PM
I gotta say so far it looks really really good. Best of luck with the top. Smart move getting a practice top too.
Dec 13, 2011 | 03:17 PM
#836
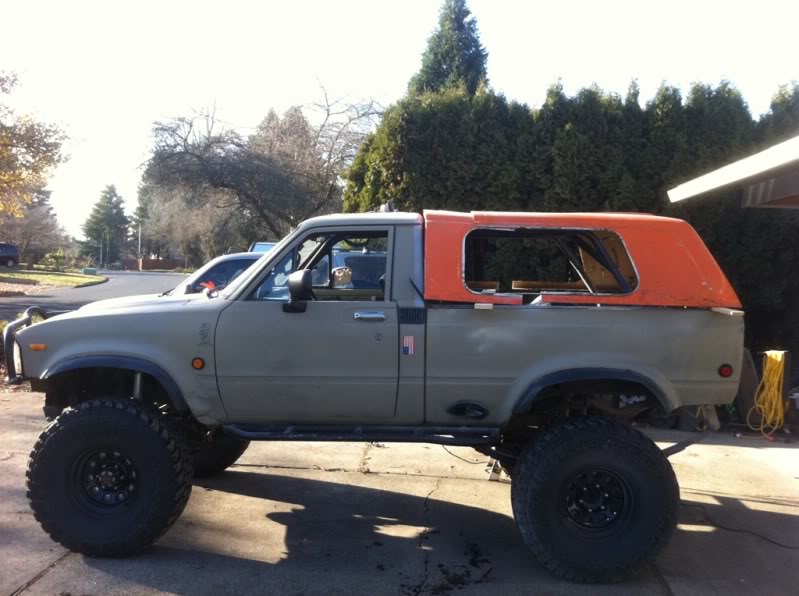
the sun was out today so rolled the truck out of the dungeon and took a comparison shot..
before the chop:
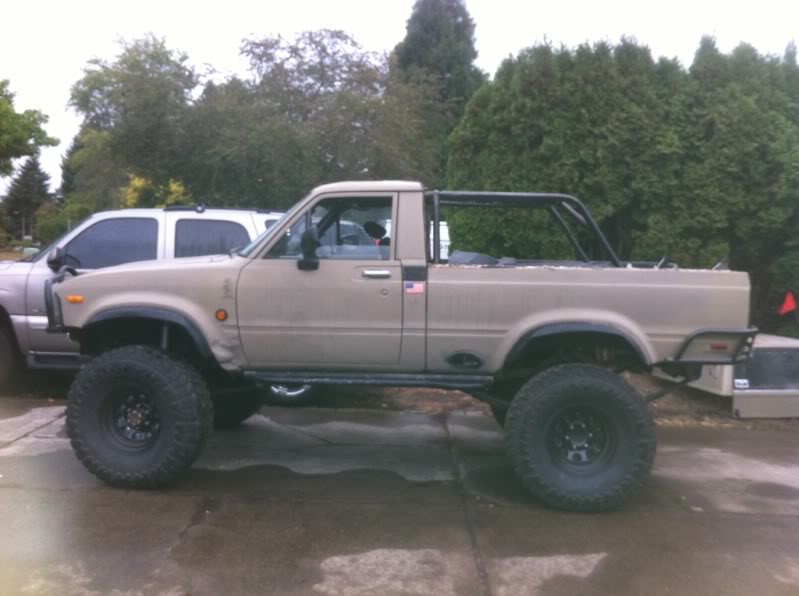
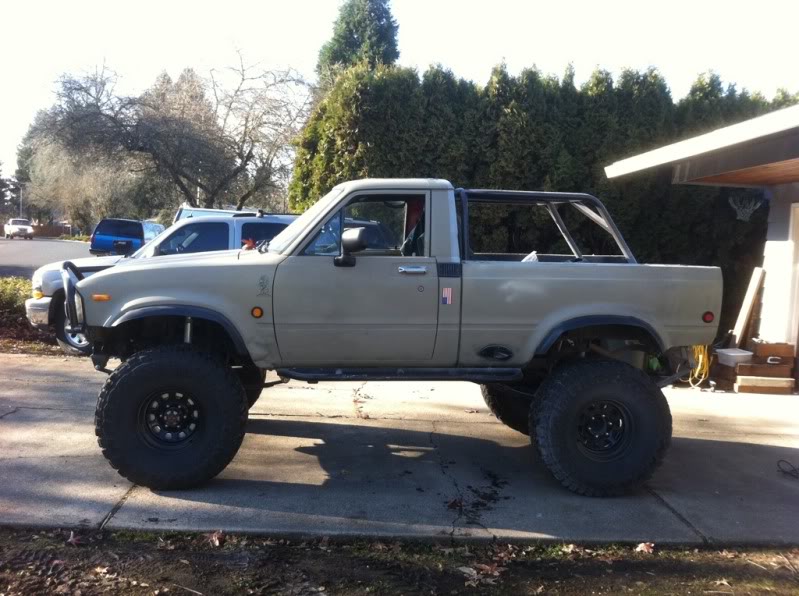
Talking with my neighbor who came up with a simple solution to chopping the top..cut it and overlap it, than make the final cut through the overlap..theory is that the cuts will than align. Tried it with the trashed out orange top and I think it will work.
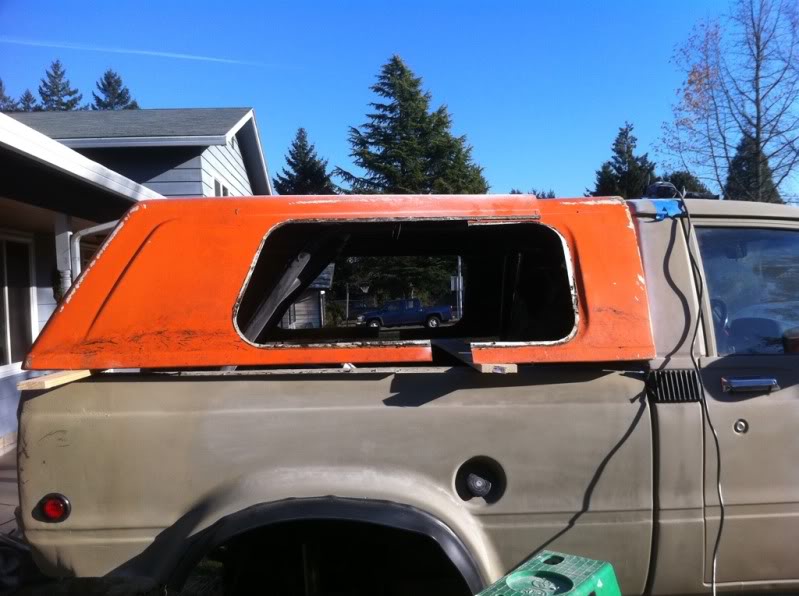
i need to pick up some more 1x2 and 1x4 to build a sub frame to keep the good top spaced correctly when i actually cut it..
before the chop:
Talking with my neighbor who came up with a simple solution to chopping the top..cut it and overlap it, than make the final cut through the overlap..theory is that the cuts will than align. Tried it with the trashed out orange top and I think it will work.
i need to pick up some more 1x2 and 1x4 to build a sub frame to keep the good top spaced correctly when i actually cut it..


