
irab88 adds another liter: 22R-EC to 5VZ-FE


 Oct 17, 2015 | 06:59 PM
#225
i got stuff done today
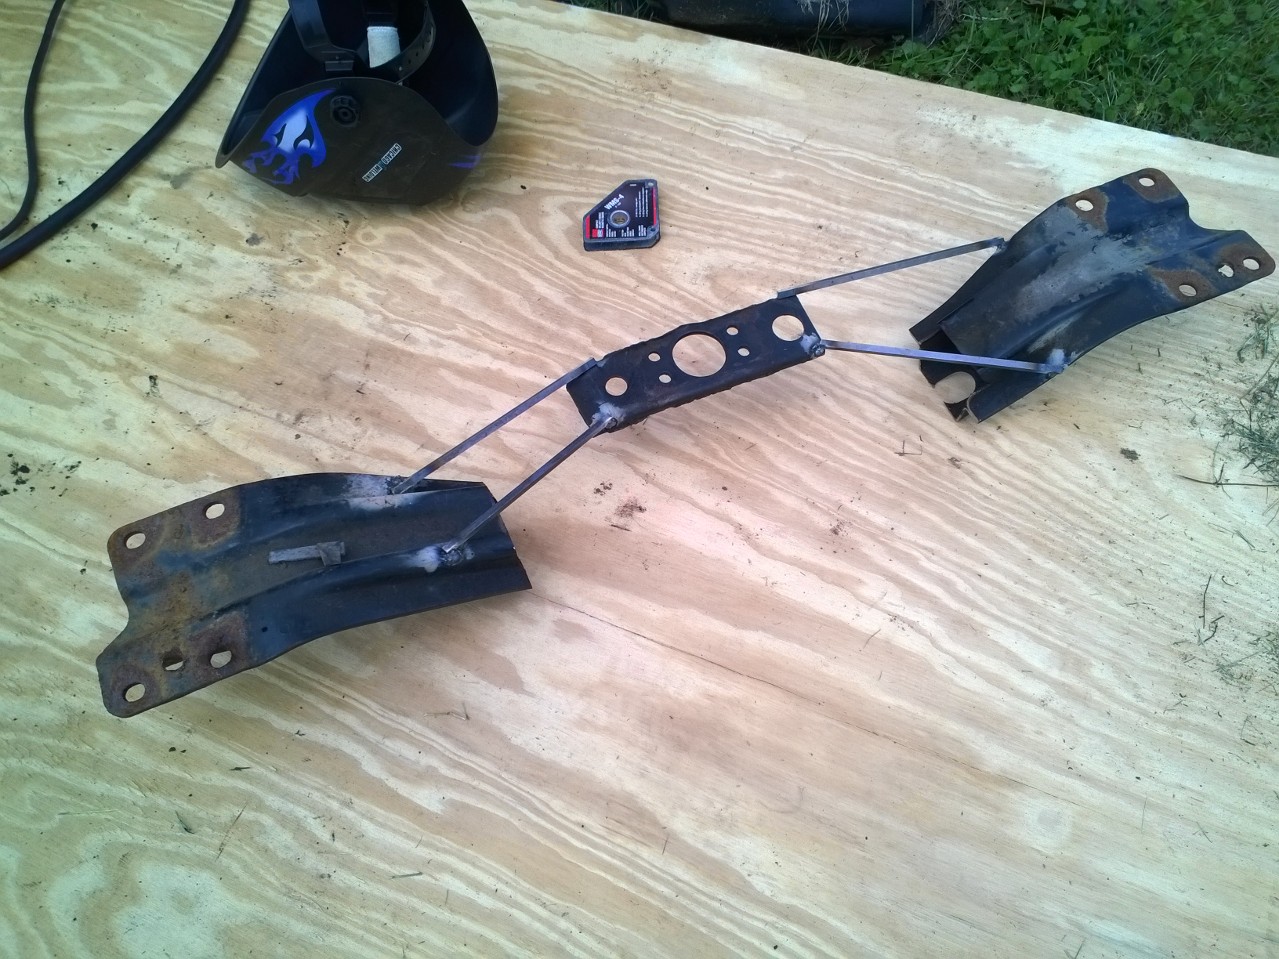
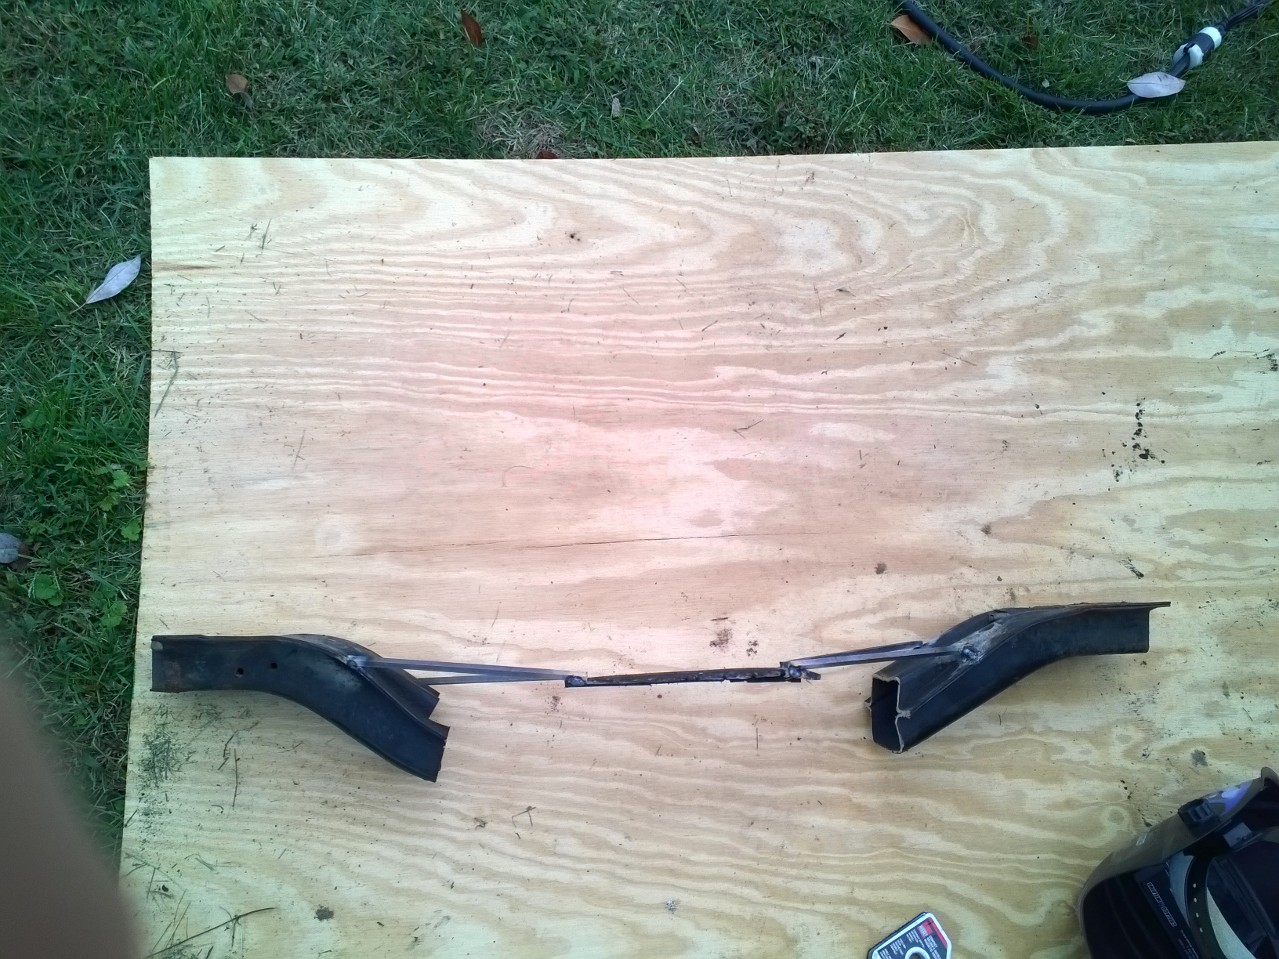
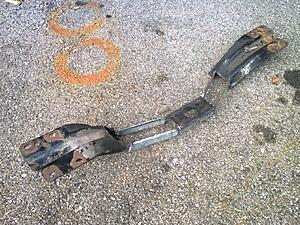
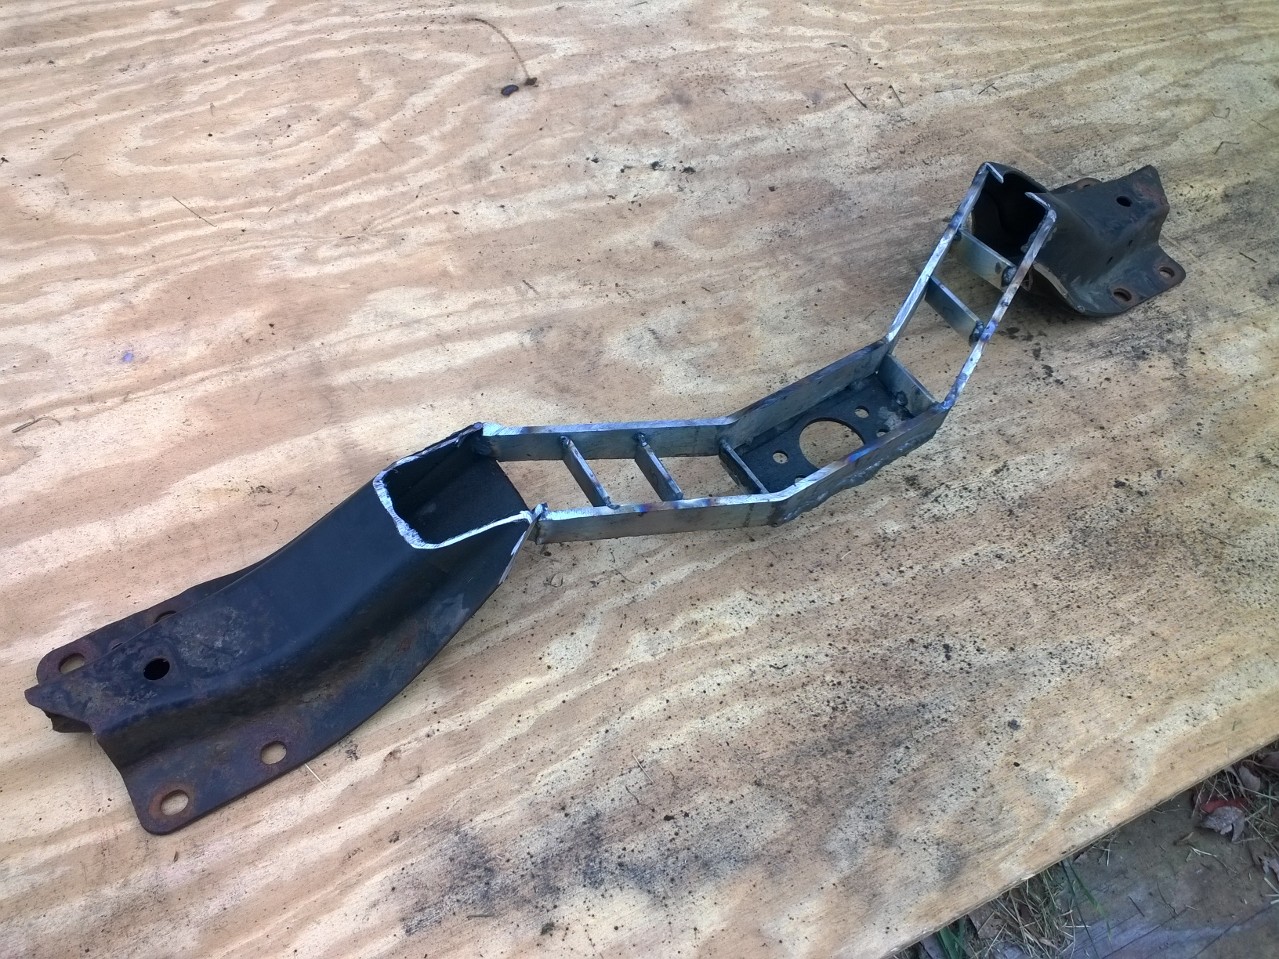
i cut and tacked the 4cyl crossmember to get a template/jig

by welding the rods on top, it leaves the sides and bottom free to weld on a piece of channel or plating


it looks twisted, but that's just how i tacked the rods on. it's pretty stiff, so i have high hopes for this
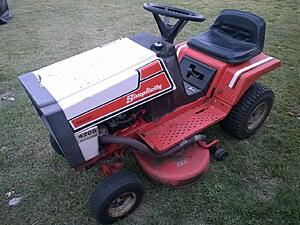
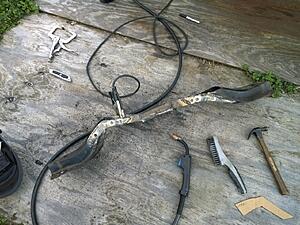
also, while i was at it, i took off the old 4cyl exhaust. turns out, the bends in the last 3 feet are perfect for my lawn tractor!
i cut and tacked the 4cyl crossmember to get a template/jig


by welding the rods on top, it leaves the sides and bottom free to weld on a piece of channel or plating
it looks twisted, but that's just how i tacked the rods on. it's pretty stiff, so i have high hopes for this
also, while i was at it, i took off the old 4cyl exhaust. turns out, the bends in the last 3 feet are perfect for my lawn tractor!
 Oct 18, 2015 | 10:15 AM
#227
Oct 18, 2015 | 01:50 PM
#228
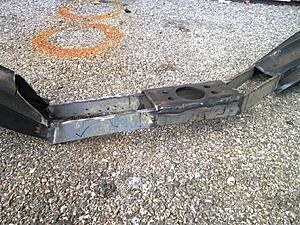
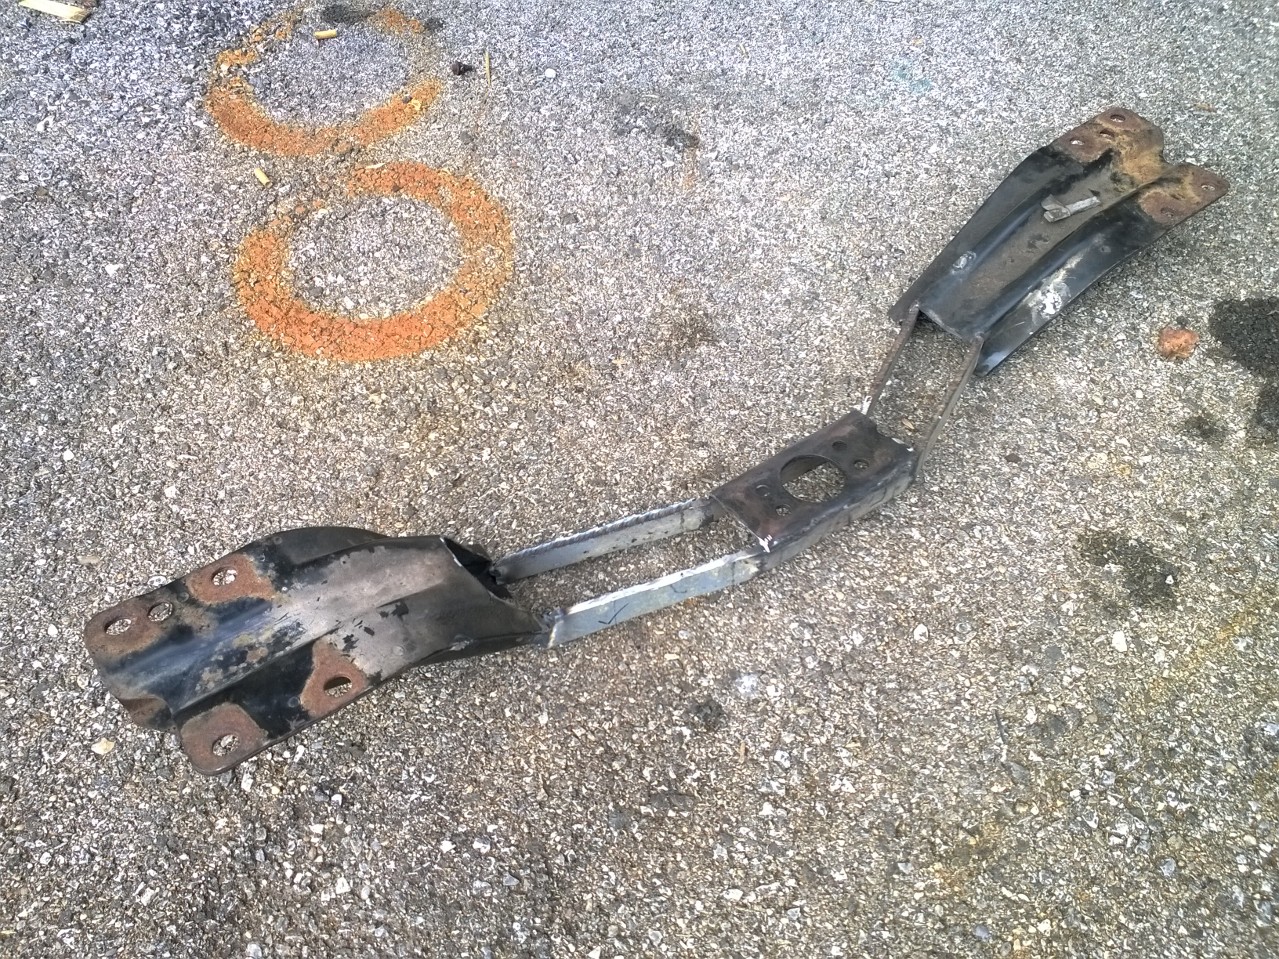
got most of the crossmember done today. thank goodness for friends with plasma cutters, gas mig, and 1/4" steel plating
i'll brace it and plate it a bit, but the structure is there. and damn solid, too
i'll brace it and plate it a bit, but the structure is there. and damn solid, too

 Feb 1, 2016 | 08:33 AM
#231
nothing's changed yet, and the crossmember is still hanging on the wall of my shed. i don't have a place to work on this indoors, so the winter months are very slow. there's a small chance i'll get some work done this weekend, but no promises
if i was working on this in a garage, i would be driving it around by now
if i was working on this in a garage, i would be driving it around by now
Feb 22, 2016 | 05:43 AM
#233
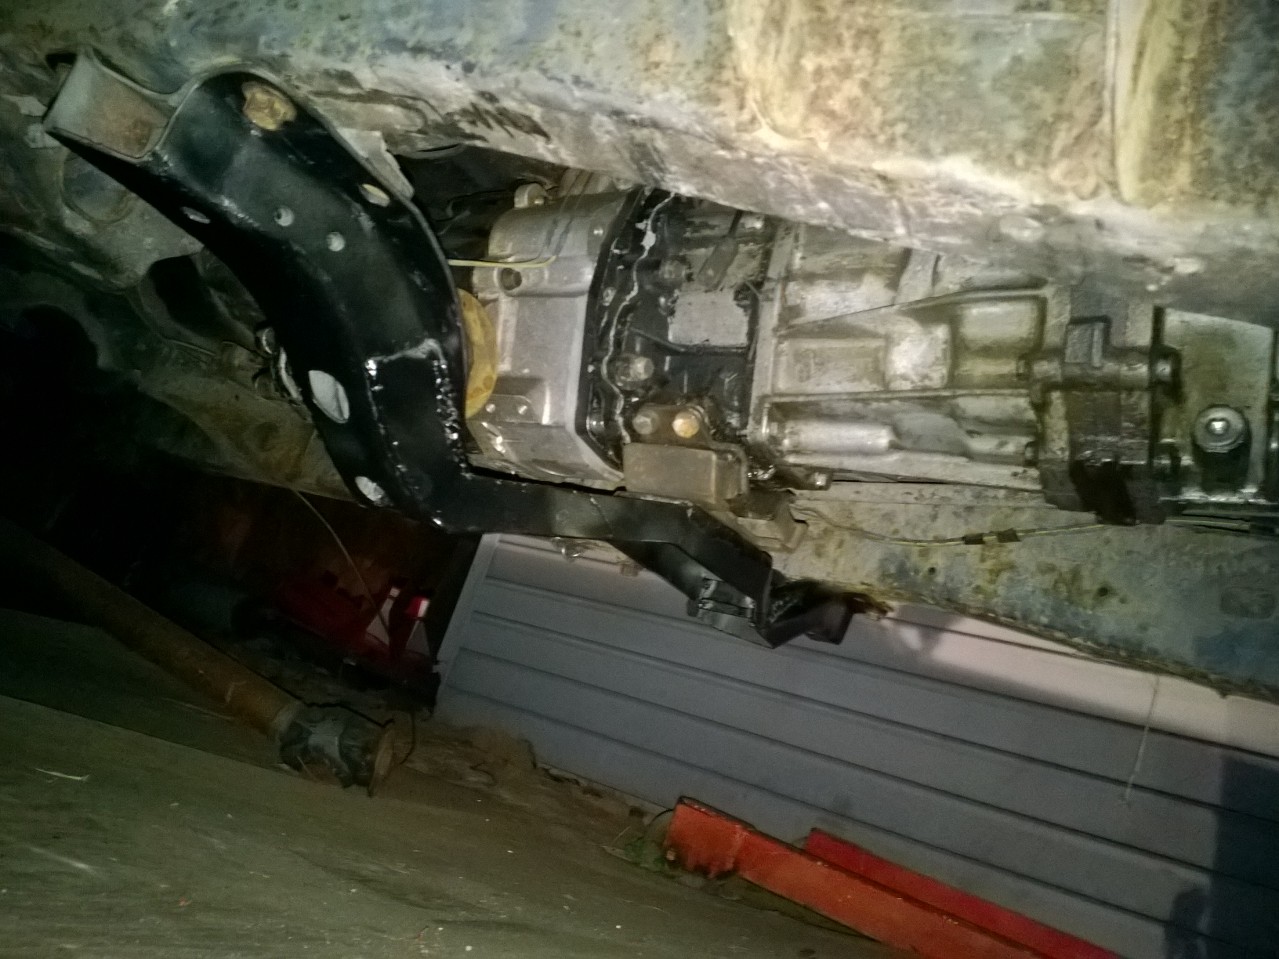
if you aren't using a v6 trans, you WILL need to move the trans. likewise, if you use a v6 trans, it should bolt up with a v6 crossmember, and line up with the shifter opening in the trans tunnel. since i'm using an r151f (4cyl), i needed to do much more work.
as for a body lift, i recommend at least a 1" for clearance under the hood and behind the crossover, but you should be able to squeeze it all in if you keep the engine mounts low enough.
as for a body lift, i recommend at least a 1" for clearance under the hood and behind the crossover, but you should be able to squeeze it all in if you keep the engine mounts low enough.
Feb 22, 2016 | 06:15 AM
#234
i did a little bit of work this past weekend, with it being nice out. between ordering parts and grilling out, i managed to put together most of the large-gauge cables.

the wires here are 2 and 1/0 awg. i was originally going to use the 1/0 for the rear-mounted battery (more than enough), but i forgot i had 2/0 in storage. so i decided to upgrade the grounds to 1/0 and use some of the 50ft of 2/0 for the front-to-back run. whenever i decide to add a second battery, i'll run another 2/0
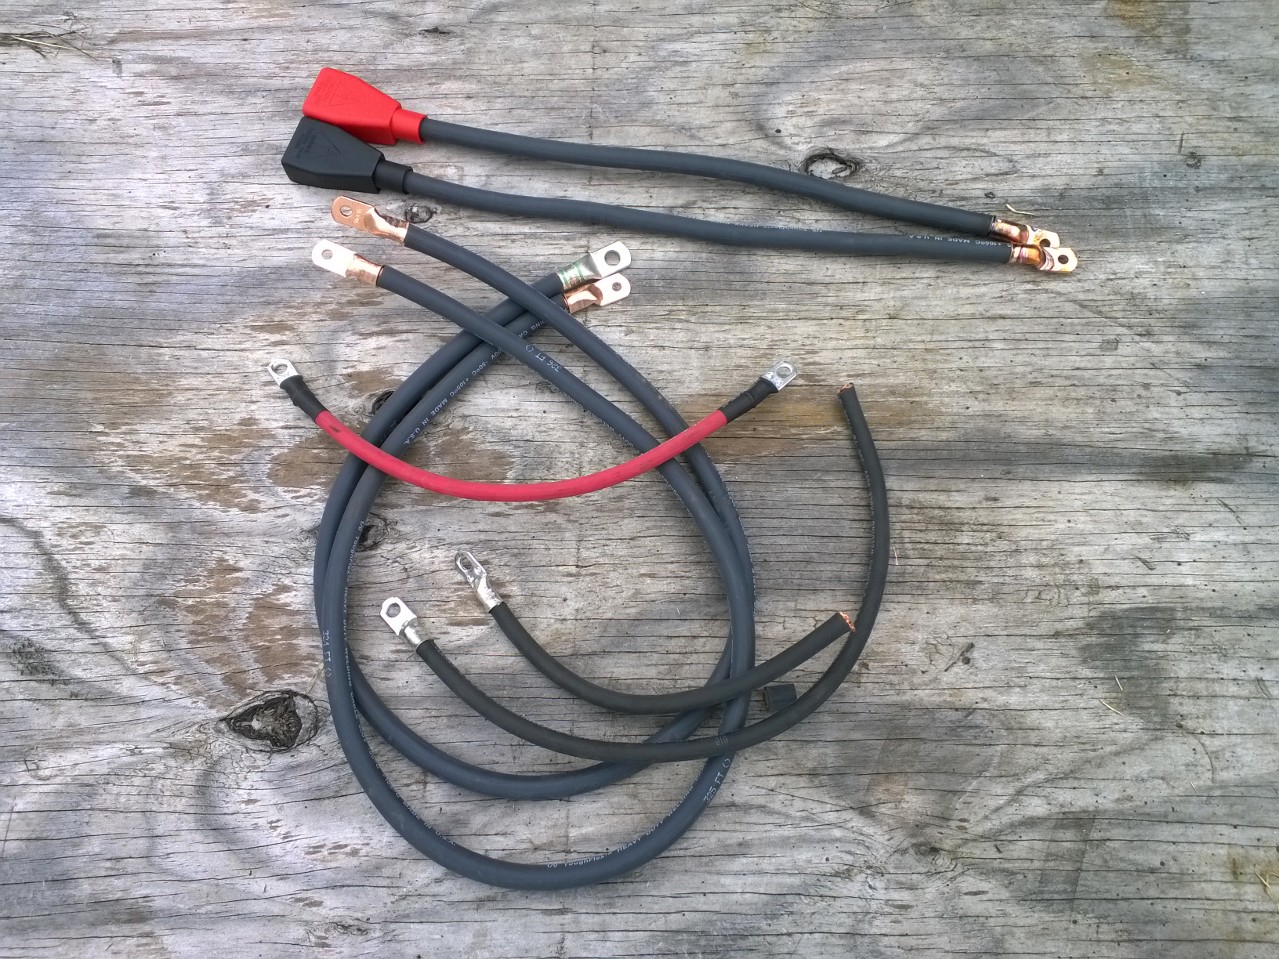
the wires here are 2 and 1/0 awg. i was originally going to use the 1/0 for the rear-mounted battery (more than enough), but i forgot i had 2/0 in storage. so i decided to upgrade the grounds to 1/0 and use some of the 50ft of 2/0 for the front-to-back run. whenever i decide to add a second battery, i'll run another 2/0
Feb 22, 2016 | 08:48 AM
#235
Registered User
Joined: Jun 2013
Posts: 219
Likes: 0
From: Iowa
i will trying to use my w56. I will be using mine as a daily driver. And yes I will be making my own low motor mounts. I'm buying a whole 4runner to do the swap. electronic are what i wont like doing but following what you did it shouldnt be too hard.
Feb 22, 2016 | 11:25 AM
#236
making your own motor mounts is good. that should keep it nice and low. the w56 will NOT bolt up to the 3.4. you will need an "R"-series trans with an R150 bellhousing, or the trans that came with the 3.4 vehicle. Or you will need to make your own custom bellhousing, but that's way more work.
the electronics aren't that hard, so far. just keep it into 3 main groups: body wiring, engine/ecu wiring, and power wiring.
body: this is stuff like lights, windows, radio, climate. basically, anything not required to move the vehicle.
engine/ecu: since the engine harnesses all plug into the ecu, they are fairly separate from the body.
power: battery, alternator, starter, grounds. both of the above need 12v to run.
where it gets tricky is integrating the 3.4 wiring to the 2.4 (or other) dash. since the dash combines engine and non-engine functions, you need to pay attention to what goes where. some of the minimum wires that connect between the body and ecu are: brake light, speedometer, tachometer, 4wd indicator, check-engine light. i'm using a different system, so i won't need most of these.
Apr 3, 2016 | 05:22 PM
#238
announcement!
with pics, even!
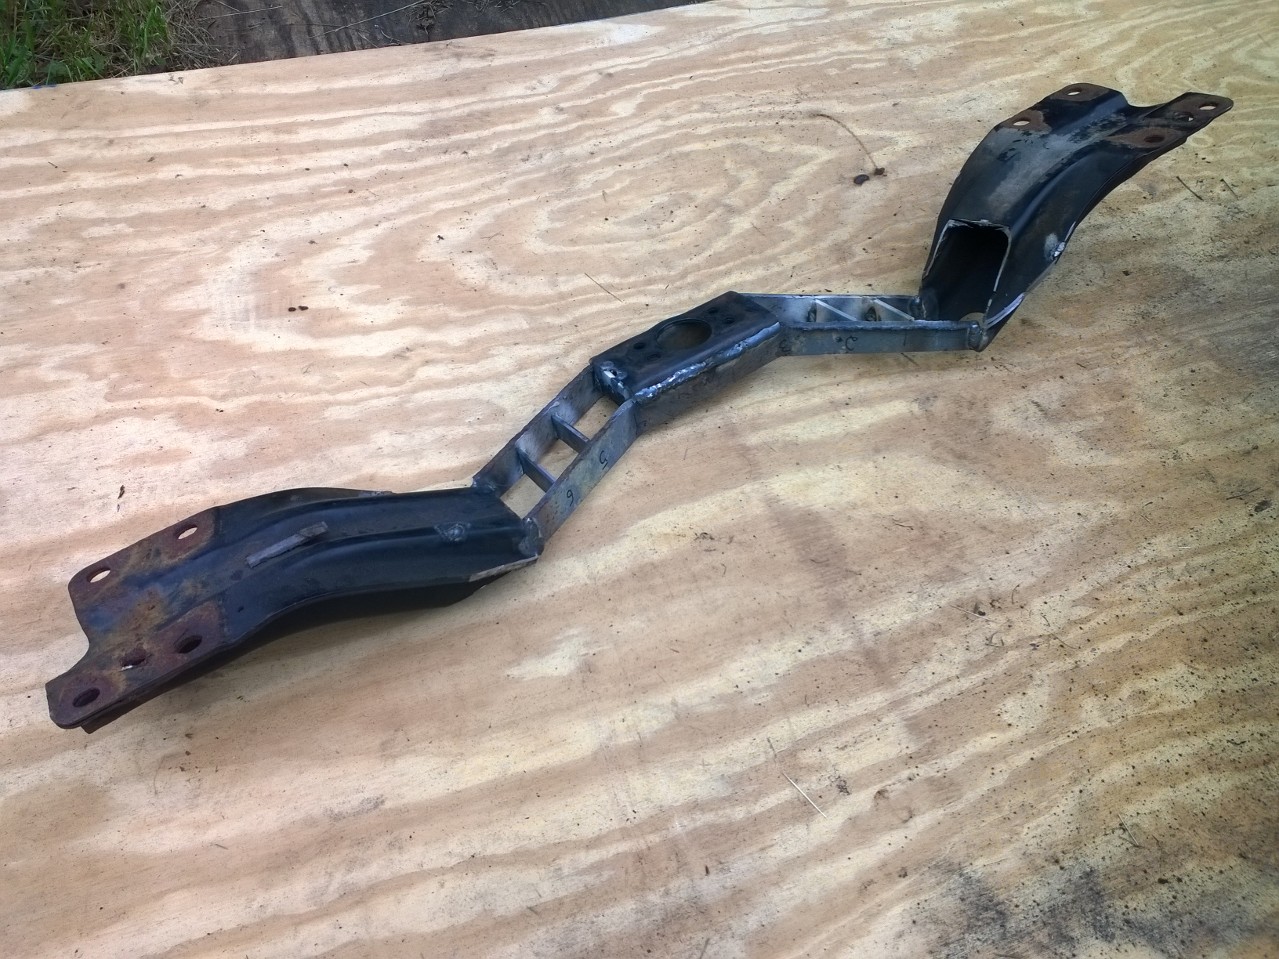
saturday i finished up welding the crossmember, adding in support plates at the butt-joints
today i painted and installed it, after the rain stopped


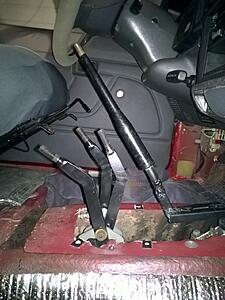
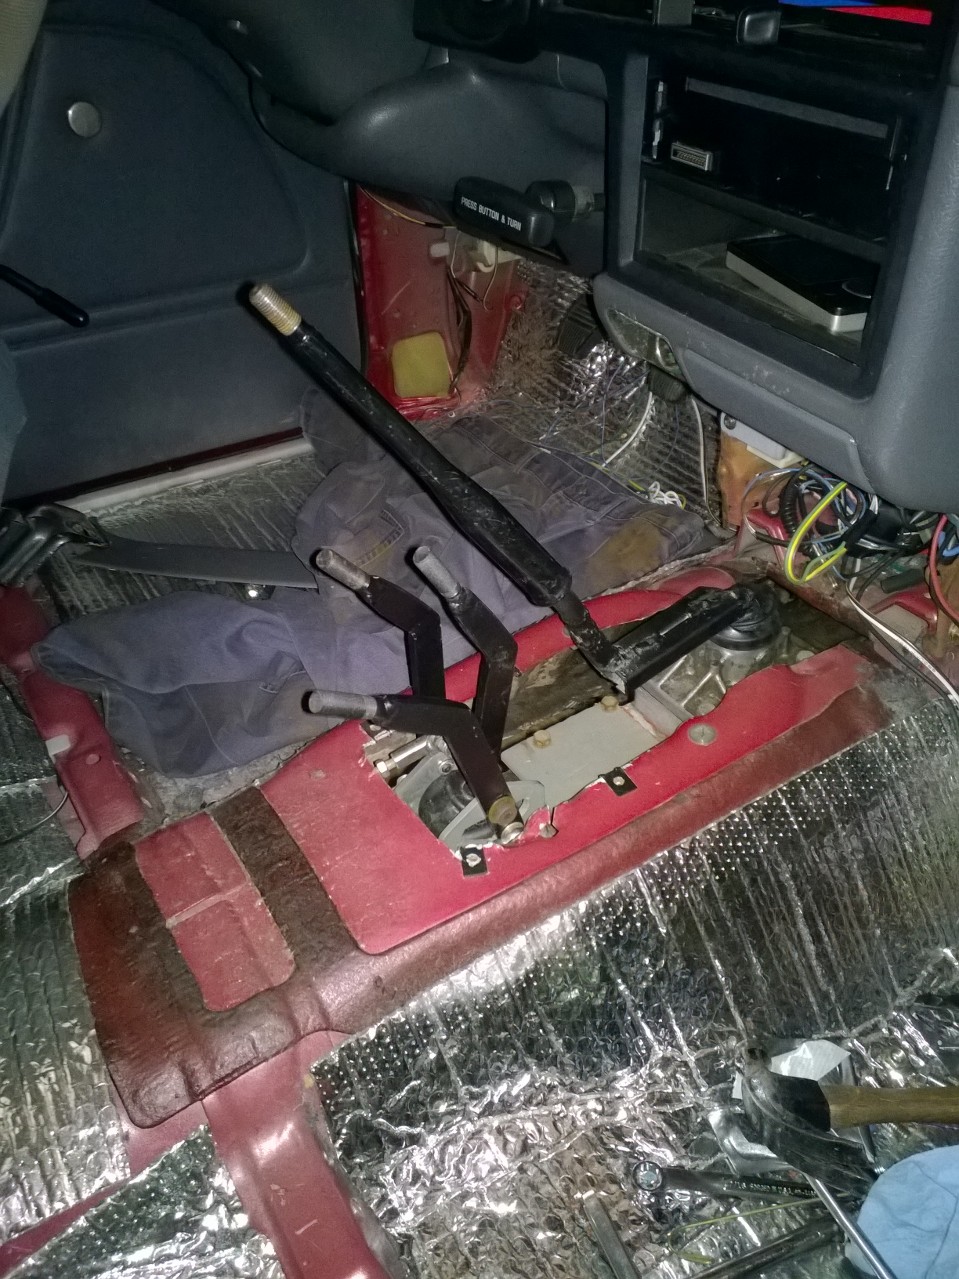
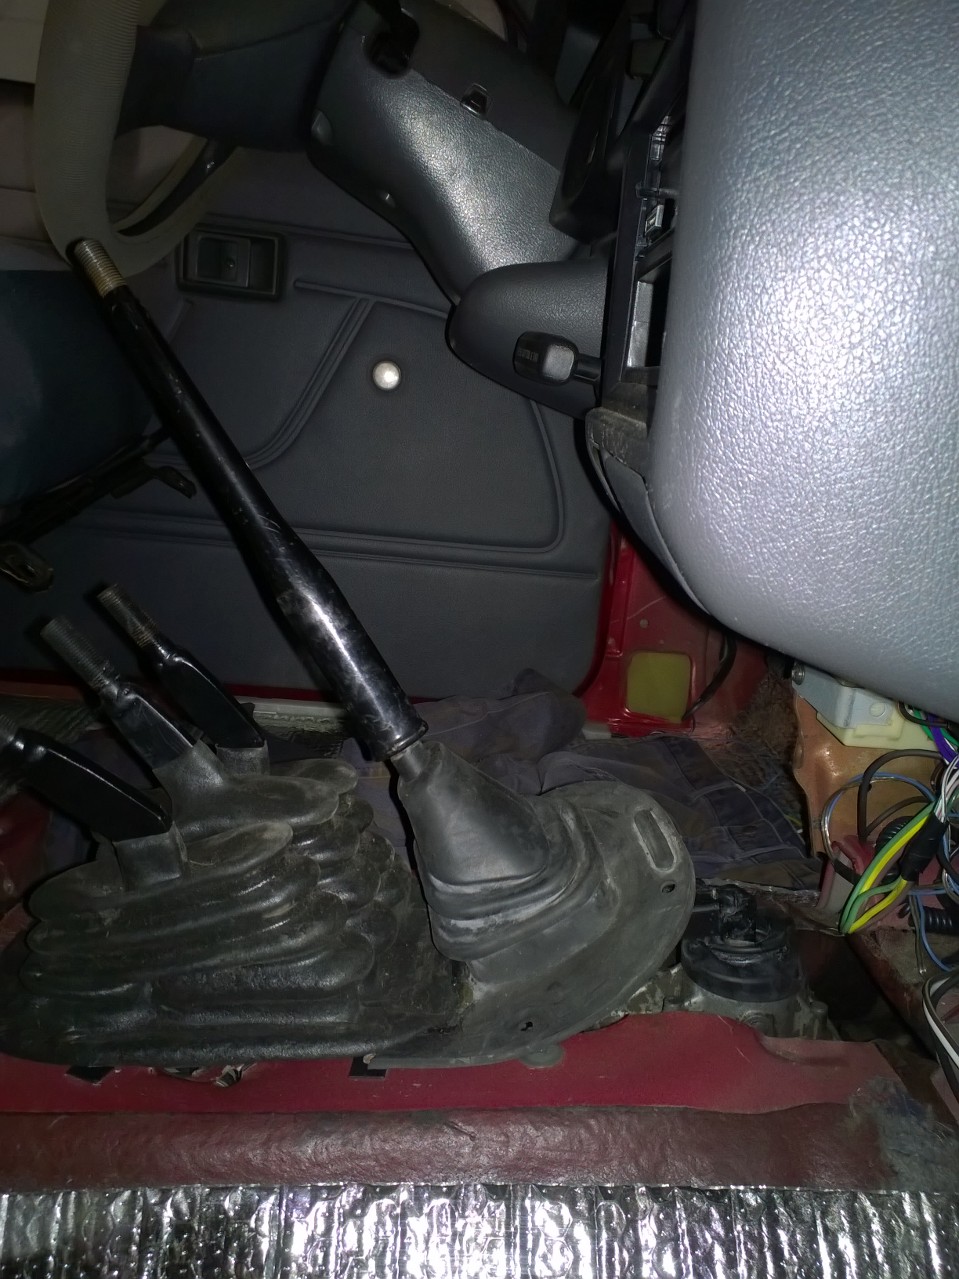
aaand got the shifters in! woo!

this is as close as the levers will be. i still need to adjust the other two
this is as close as the lever gets to the console...
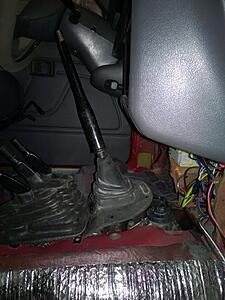
...and down into 4th
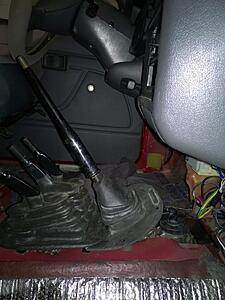
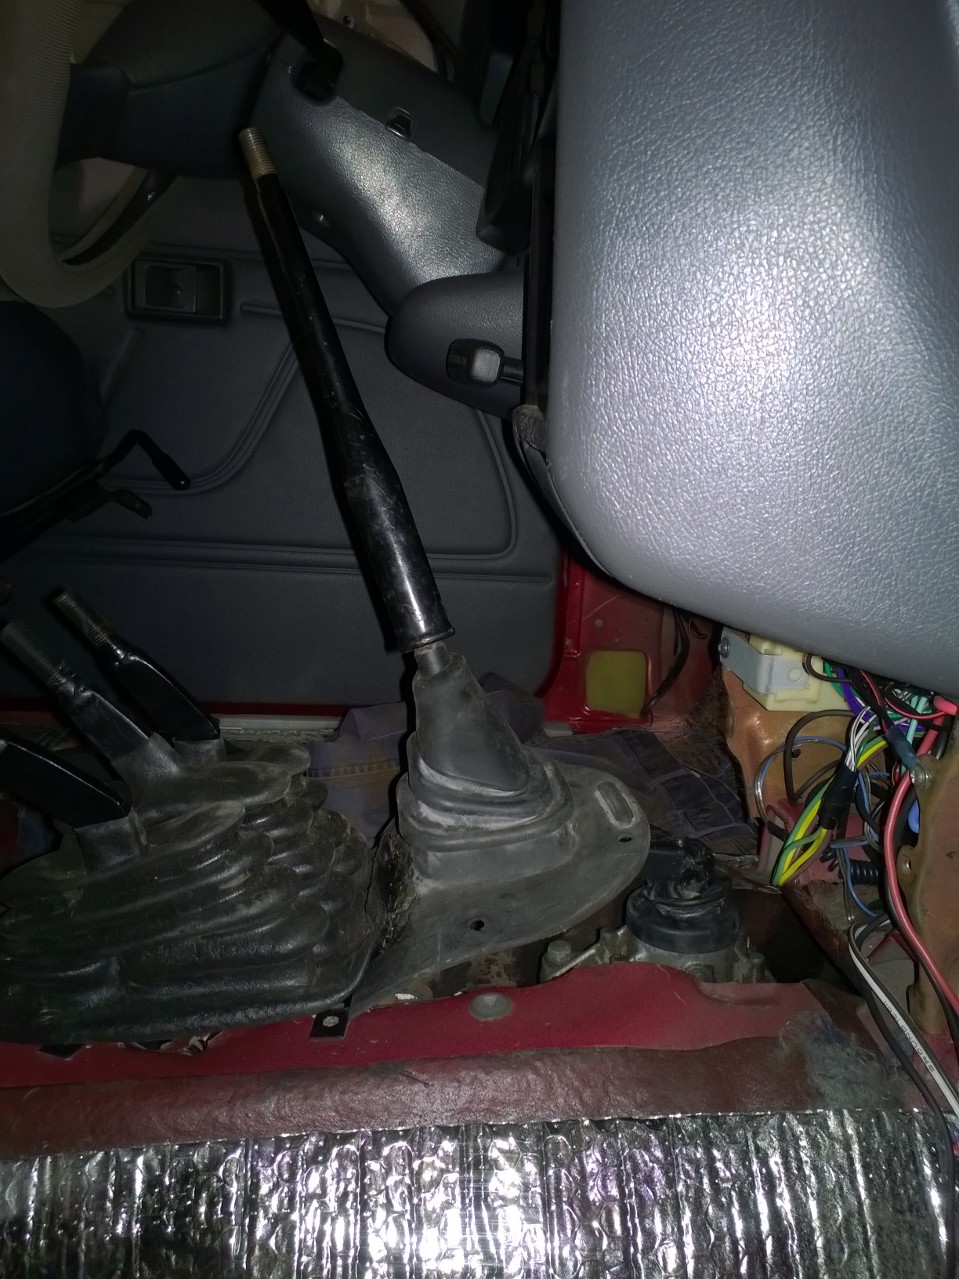
i need to figure out something for the shift boot, the dog-leg bumps it up :/
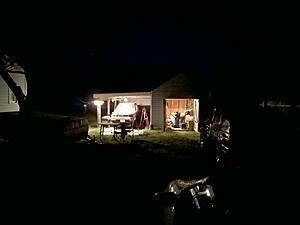
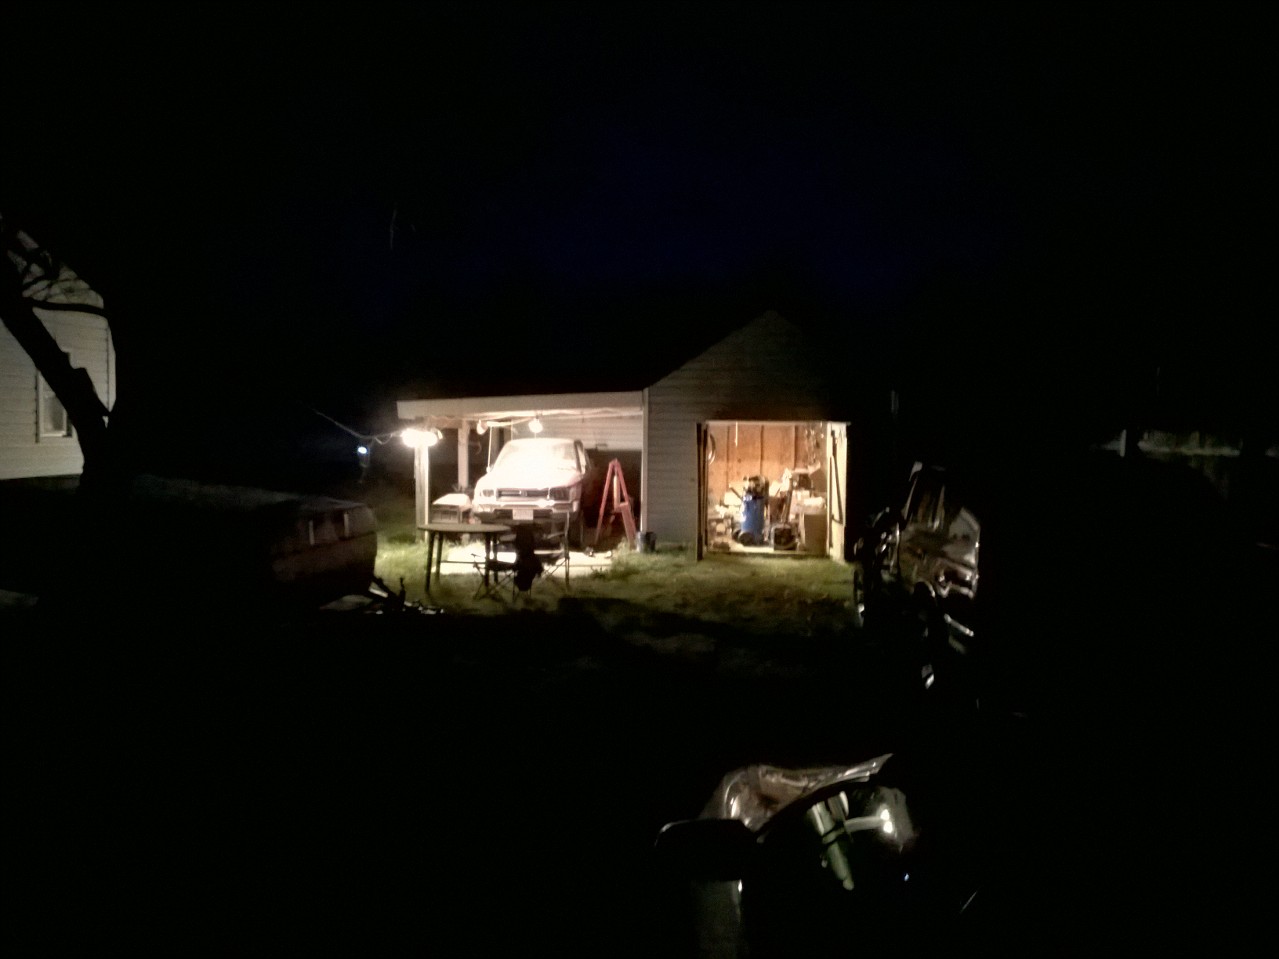
the workspace at night. damn i wish i had a garage.
all-in-all, a good weekend. i'm about 3-4 nice weekends away from driving this thing. left to do (critical):
-battery wiring/mounting
-exhaust
-fluids (oil, coolant, drain old gas)
-minor wiring (last few wires to the ecu)
-driveshafts
and the minor list:
-interior
-obd ii dash
-replace body mounts
-remove/replace bed
but i'm happy to say that the truck is resting on all 4 wheels without a jack holding the trans up.
with pics, even!

saturday i finished up welding the crossmember, adding in support plates at the butt-joints
today i painted and installed it, after the rain stopped


aaand got the shifters in! woo!
this is as close as the levers will be. i still need to adjust the other two
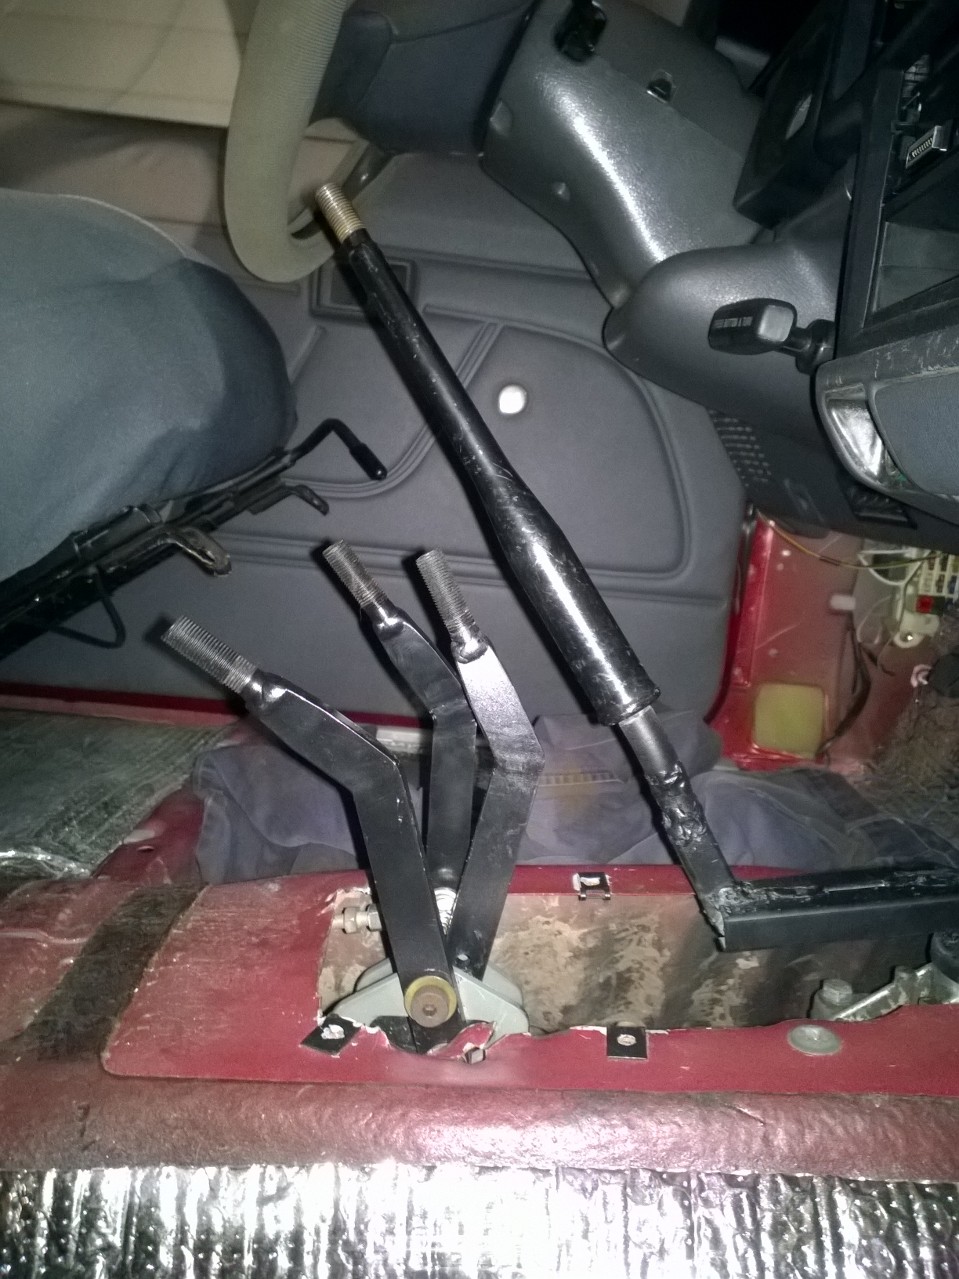
this is as close as the lever gets to the console...
...and down into 4th
i need to figure out something for the shift boot, the dog-leg bumps it up :/
the workspace at night. damn i wish i had a garage.
all-in-all, a good weekend. i'm about 3-4 nice weekends away from driving this thing. left to do (critical):
-battery wiring/mounting
-exhaust
-fluids (oil, coolant, drain old gas)
-minor wiring (last few wires to the ecu)
-driveshafts
and the minor list:
-interior
-obd ii dash
-replace body mounts
-remove/replace bed
but i'm happy to say that the truck is resting on all 4 wheels without a jack holding the trans up.
Apr 18, 2016 | 05:51 AM
#239
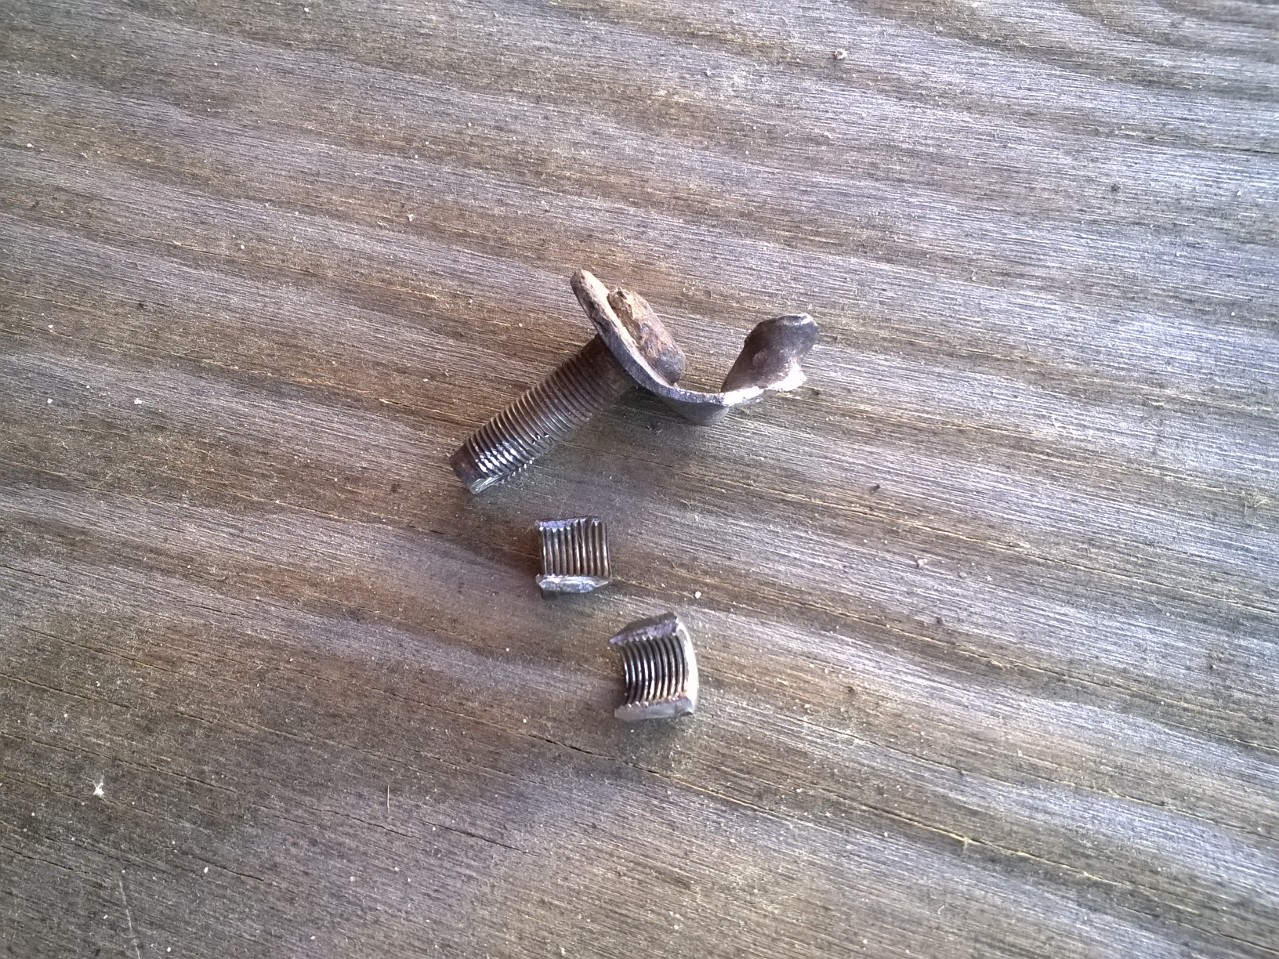
after some frustrating times with this bolt
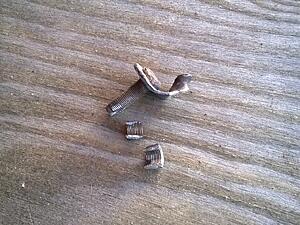
i got the bed raised to the 2" body lift

i also drained about 11 gallons of old gas out of the tank. in hindsight, i probably should have done that when i parked it over two years ago
oh well.
this week i want to try getting as much done as possible, because i will not have any free weekends from now until late may
Apr 18, 2016 | 04:35 PM
#240
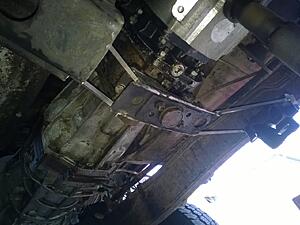
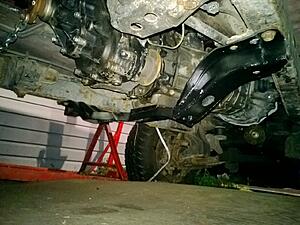
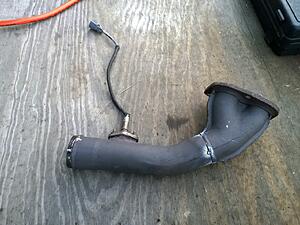
This afternoon: exhaust, PS line, and parts orders. I will have to fab my own exhaust line, but it doesn't look too daunting. There is a lot of room to work under the truck, and I'm not worried about perfection (yet). I will be reusing the 4Runner's downpipe (slightly angled), O2 sensors, and muffler.
You can see how little I had to rotate it (black line by the cut). The stock cat was to biig to fit, and was hitting the torsion bar (gone whenever I go SAS).
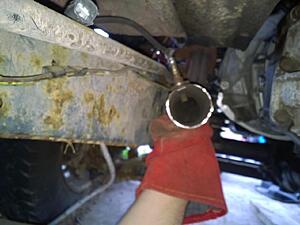
Here it is lined up. It's near perfect, with plenty of room on all sides to add a smaller cat. Note the good clearance around the O2 sensor.

This picture is a bit out of focus, but it does a good job of showing the placement between the frame and transmission.
You can see how little I had to rotate it (black line by the cut). The stock cat was to biig to fit, and was hitting the torsion bar (gone whenever I go SAS).

Here it is lined up. It's near perfect, with plenty of room on all sides to add a smaller cat. Note the good clearance around the O2 sensor.
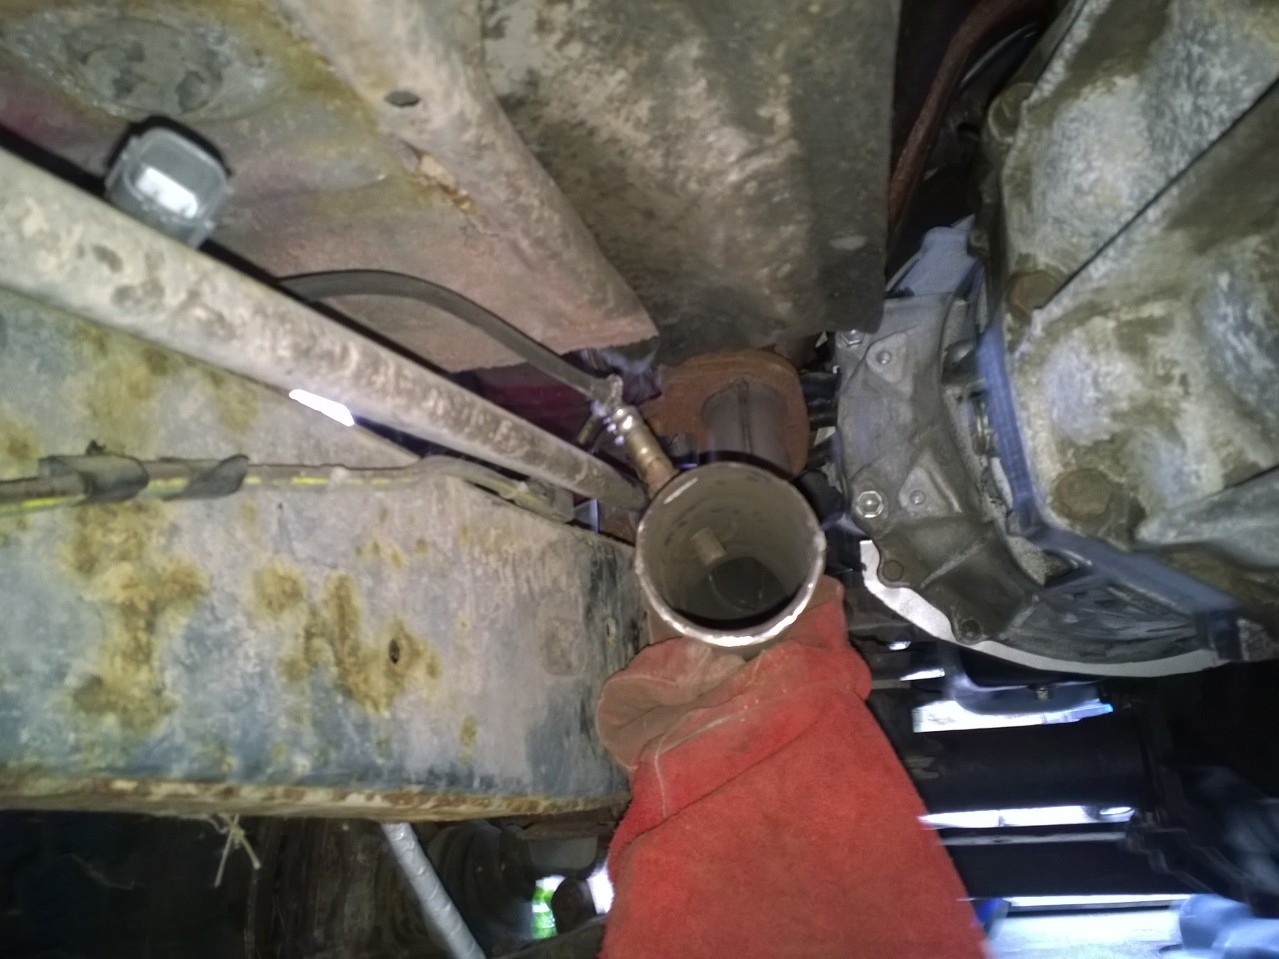
This picture is a bit out of focus, but it does a good job of showing the placement between the frame and transmission.


